Home>Technology>Security & Surveillance>How To Rekey A Car Door Lock
Security & Surveillance
How To Rekey A Car Door Lock
Modified: August 17, 2024
Learn how to rekey a car door lock for improved security and surveillance. Follow our step-by-step guide to ensure your vehicle's safety.
(Many of the links in this article redirect to a specific reviewed product. Your purchase of these products through affiliate links helps to generate commission for Storables.com, at no extra cost. Learn more)
Introduction
Welcome to the ultimate guide on rekeying a car door lock! Whether you've lost your keys, moved into a new place, or simply want to enhance the security of your vehicle, knowing how to rekey your car door lock is a valuable skill. Rekeying a car door lock involves changing the internal components of the lock so that a new key can be used to operate it. This process is essential for maintaining the security of your vehicle and ensuring that only authorized individuals have access to it.
In this comprehensive guide, we will walk you through the step-by-step process of rekeying a car door lock, providing you with all the information you need to successfully complete the task. From understanding the mechanics of car door locks to the tools and materials required, as well as the actual process of rekeying the lock, we've got you covered.
Whether you're a seasoned DIY enthusiast or someone who's never attempted a task like this before, we've tailored this guide to be accessible and easy to follow. By the end of this journey, you'll have the knowledge and confidence to tackle the rekeying of your car door lock with ease.
So, grab your tools, roll up your sleeves, and let's dive into the fascinating world of car door locks and the art of rekeying them!
Key Takeaways:
- Rekeying a car door lock involves changing the internal components to match a new key, enhancing vehicle security and controlling access.
- Mastering the art of rekeying empowers DIY enthusiasts to address security concerns, accommodate new key configurations, and maintain control over vehicle access.
Read more: How To Rekey A Door Lock
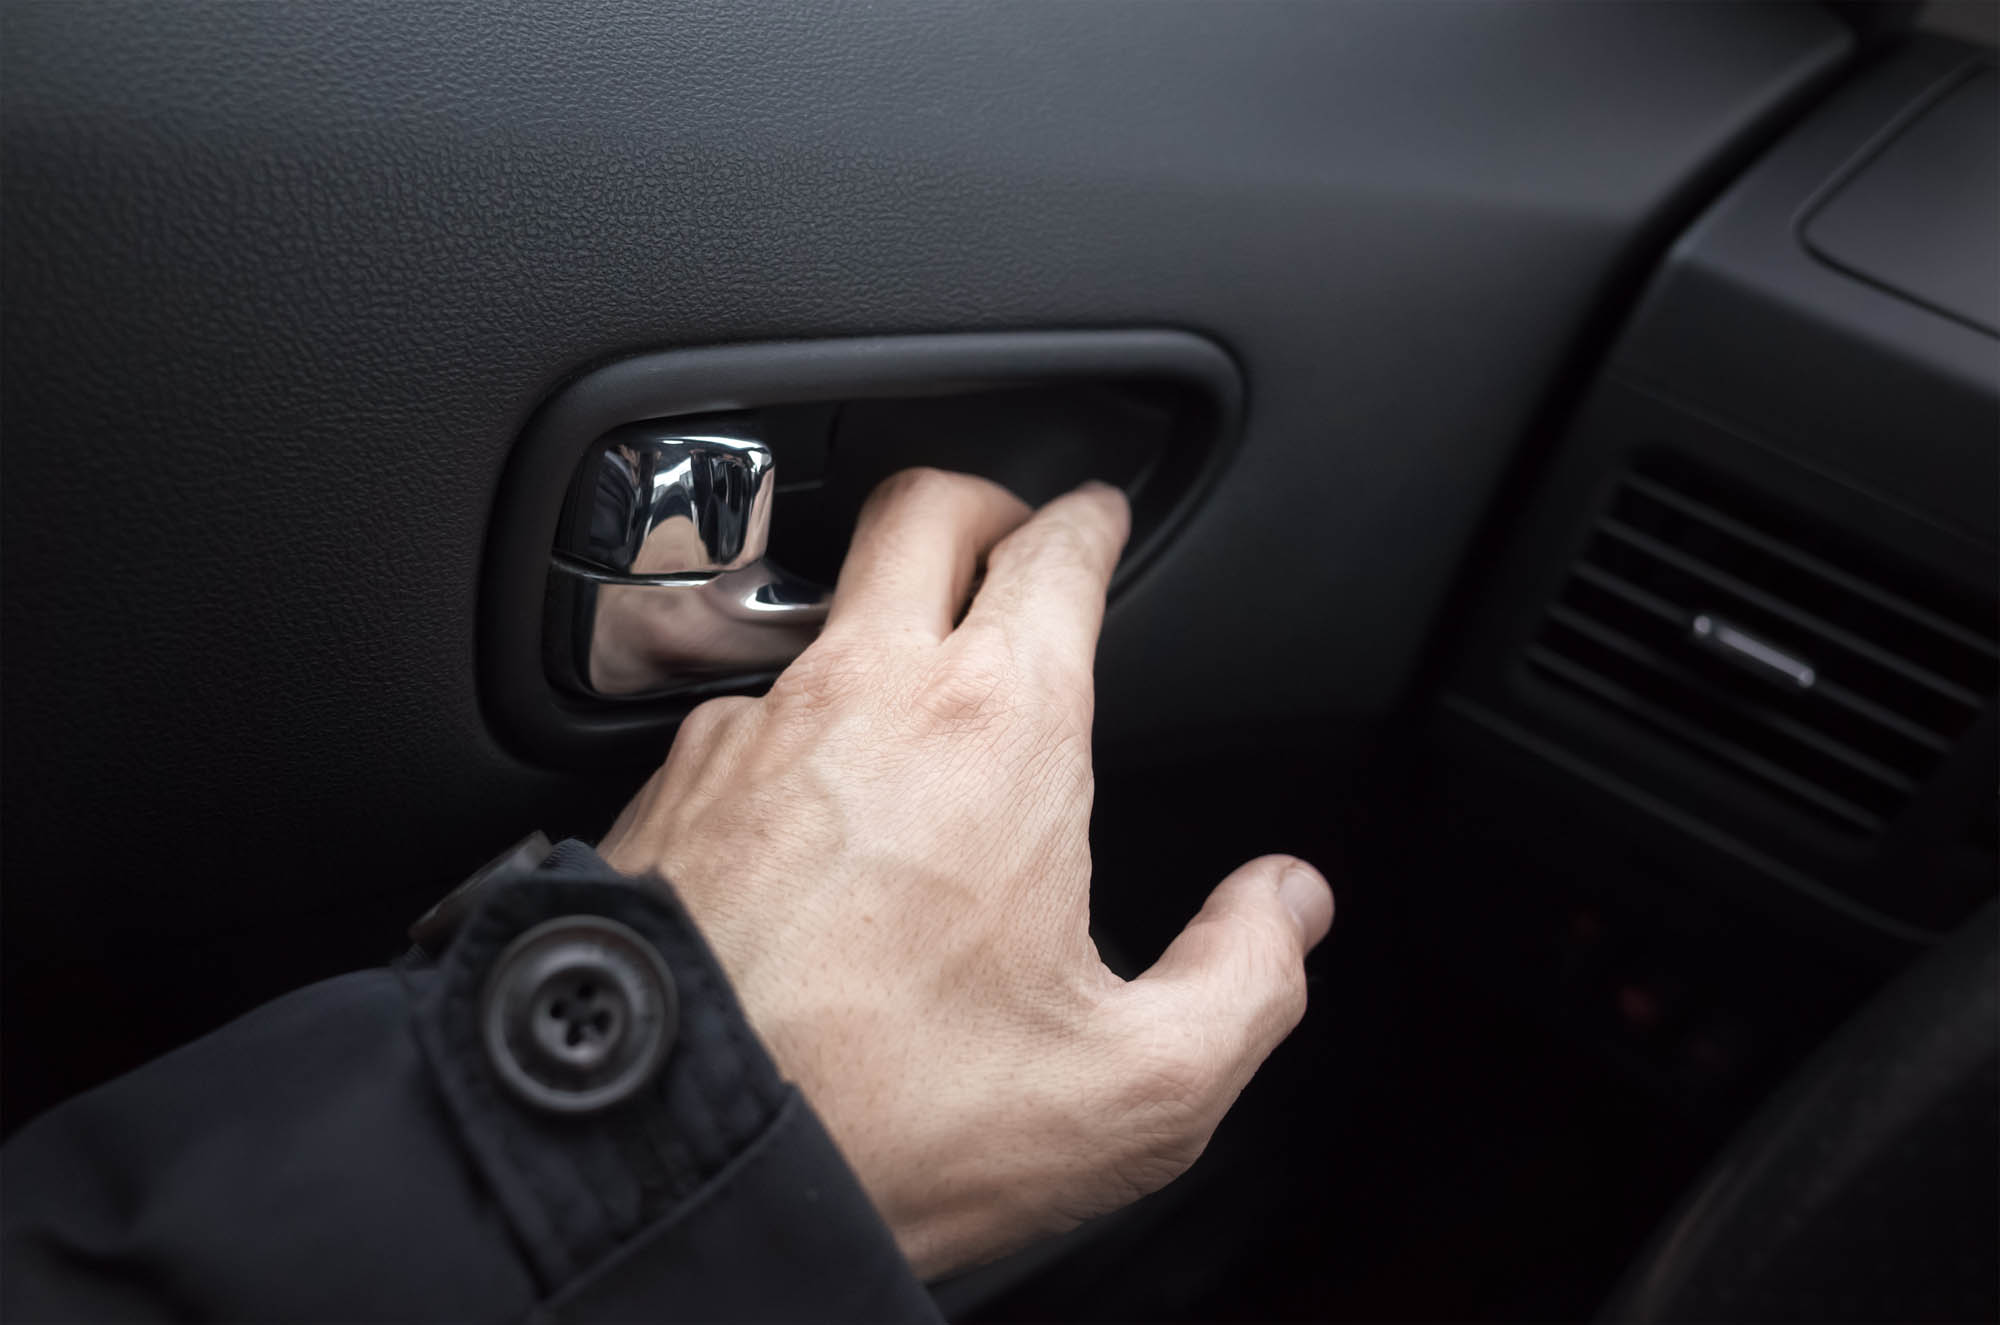
Understanding Car Door Locks
Before delving into the rekeying process, it's essential to grasp the fundamentals of car door locks. Car door locks are designed to secure the vehicle and prevent unauthorized access. They typically consist of a lock cylinder, which houses the tumblers and pins that interact with the key, and a latch mechanism that secures the door in the closed position.
Modern car door locks utilize a tumbler and pin system, where the key is inserted into the lock cylinder, and the ridges and valleys of the key align with the pins inside the cylinder. When the correct key is inserted, the pins align at the shear line, allowing the cylinder to turn and actuate the latch mechanism, thus unlocking the door. Understanding this mechanism is crucial to the rekeying process, as it involves altering the pins and tumblers to match a new key.
Additionally, car door locks may feature built-in security features such as anti-drill and anti-pick pins to deter unauthorized entry attempts. These security measures add complexity to the rekeying process but are essential for safeguarding your vehicle against potential threats.
It’s important to note that different car models may have varying lock designs, and some vehicles may incorporate electronic or smart key systems. While the rekeying process for these advanced locks differs from traditional mechanical locks, the underlying principles remain similar – the need to alter the lock to accept a new key configuration.
By gaining a clear understanding of how car door locks function, you’ll be better equipped to navigate the rekeying process with confidence. Now that we’ve covered the basics of car door locks, let’s move on to the tools and materials you’ll need to embark on this rekeying journey.
Tools and Materials Needed
Embarking on the rekeying journey requires a specific set of tools and materials to ensure a successful outcome. Here’s a comprehensive list of what you’ll need:
- Key Decoder: This tool is essential for determining the specific pin sizes required for the new key.
- Plug Followers: These are used to safely remove the lock cylinder without causing the pins to scatter.
- Tweezers: Precision tweezers are necessary for handling small pins and springs within the lock cylinder.
- Pinning Mat: A pinning mat provides a designated workspace for organizing the pins and springs during the rekeying process.
- New Key Blanks: These are the blank keys that will be configured to operate the rekeyed lock.
- Pinning Kit: A pinning kit contains an assortment of pins and springs to match the new key configuration.
- Screwdriver Set: A set of precision screwdrivers will aid in disassembling and reassembling the lock cylinder.
- Needle Nose Pliers: These are useful for manipulating and extracting small components within the lock.
- Lubricant: A high-quality lock lubricant will ensure smooth operation of the rekeyed lock cylinder.
- Replacement Screws: In case any screws are damaged or misplaced during the process, having replacements on hand is crucial.
Additionally, it’s important to work in a well-lit and organized space to prevent misplacing small components and to facilitate a clear view of the intricate rekeying process. With these tools and materials at your disposal, you’re well-equipped to proceed with confidence as we move on to the next steps of rekeying the car door lock.
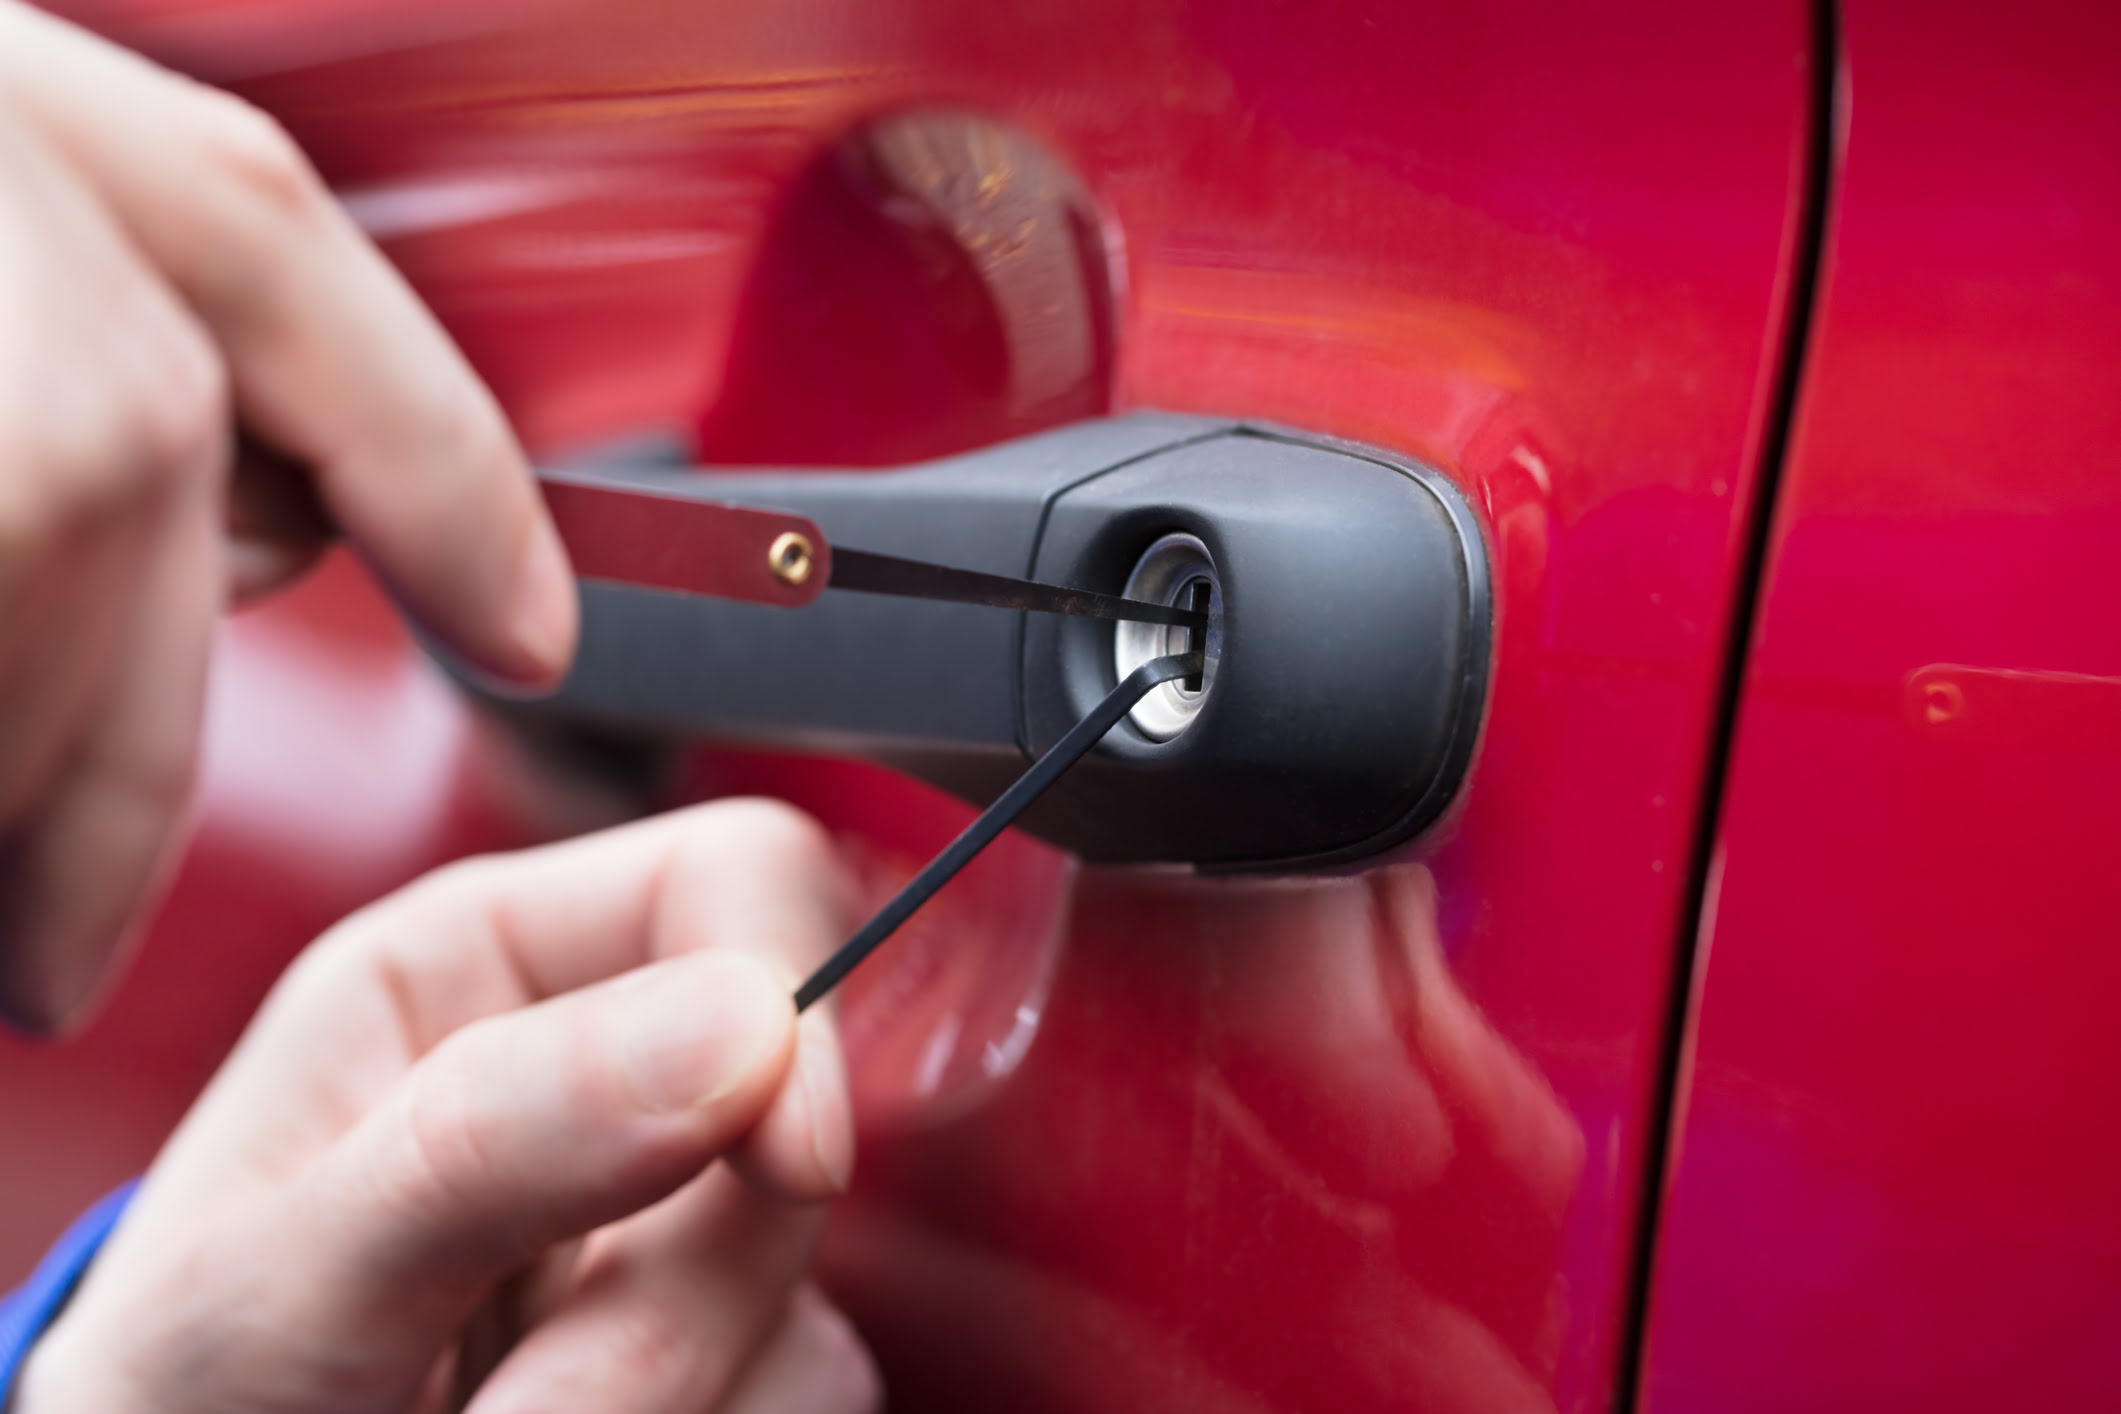
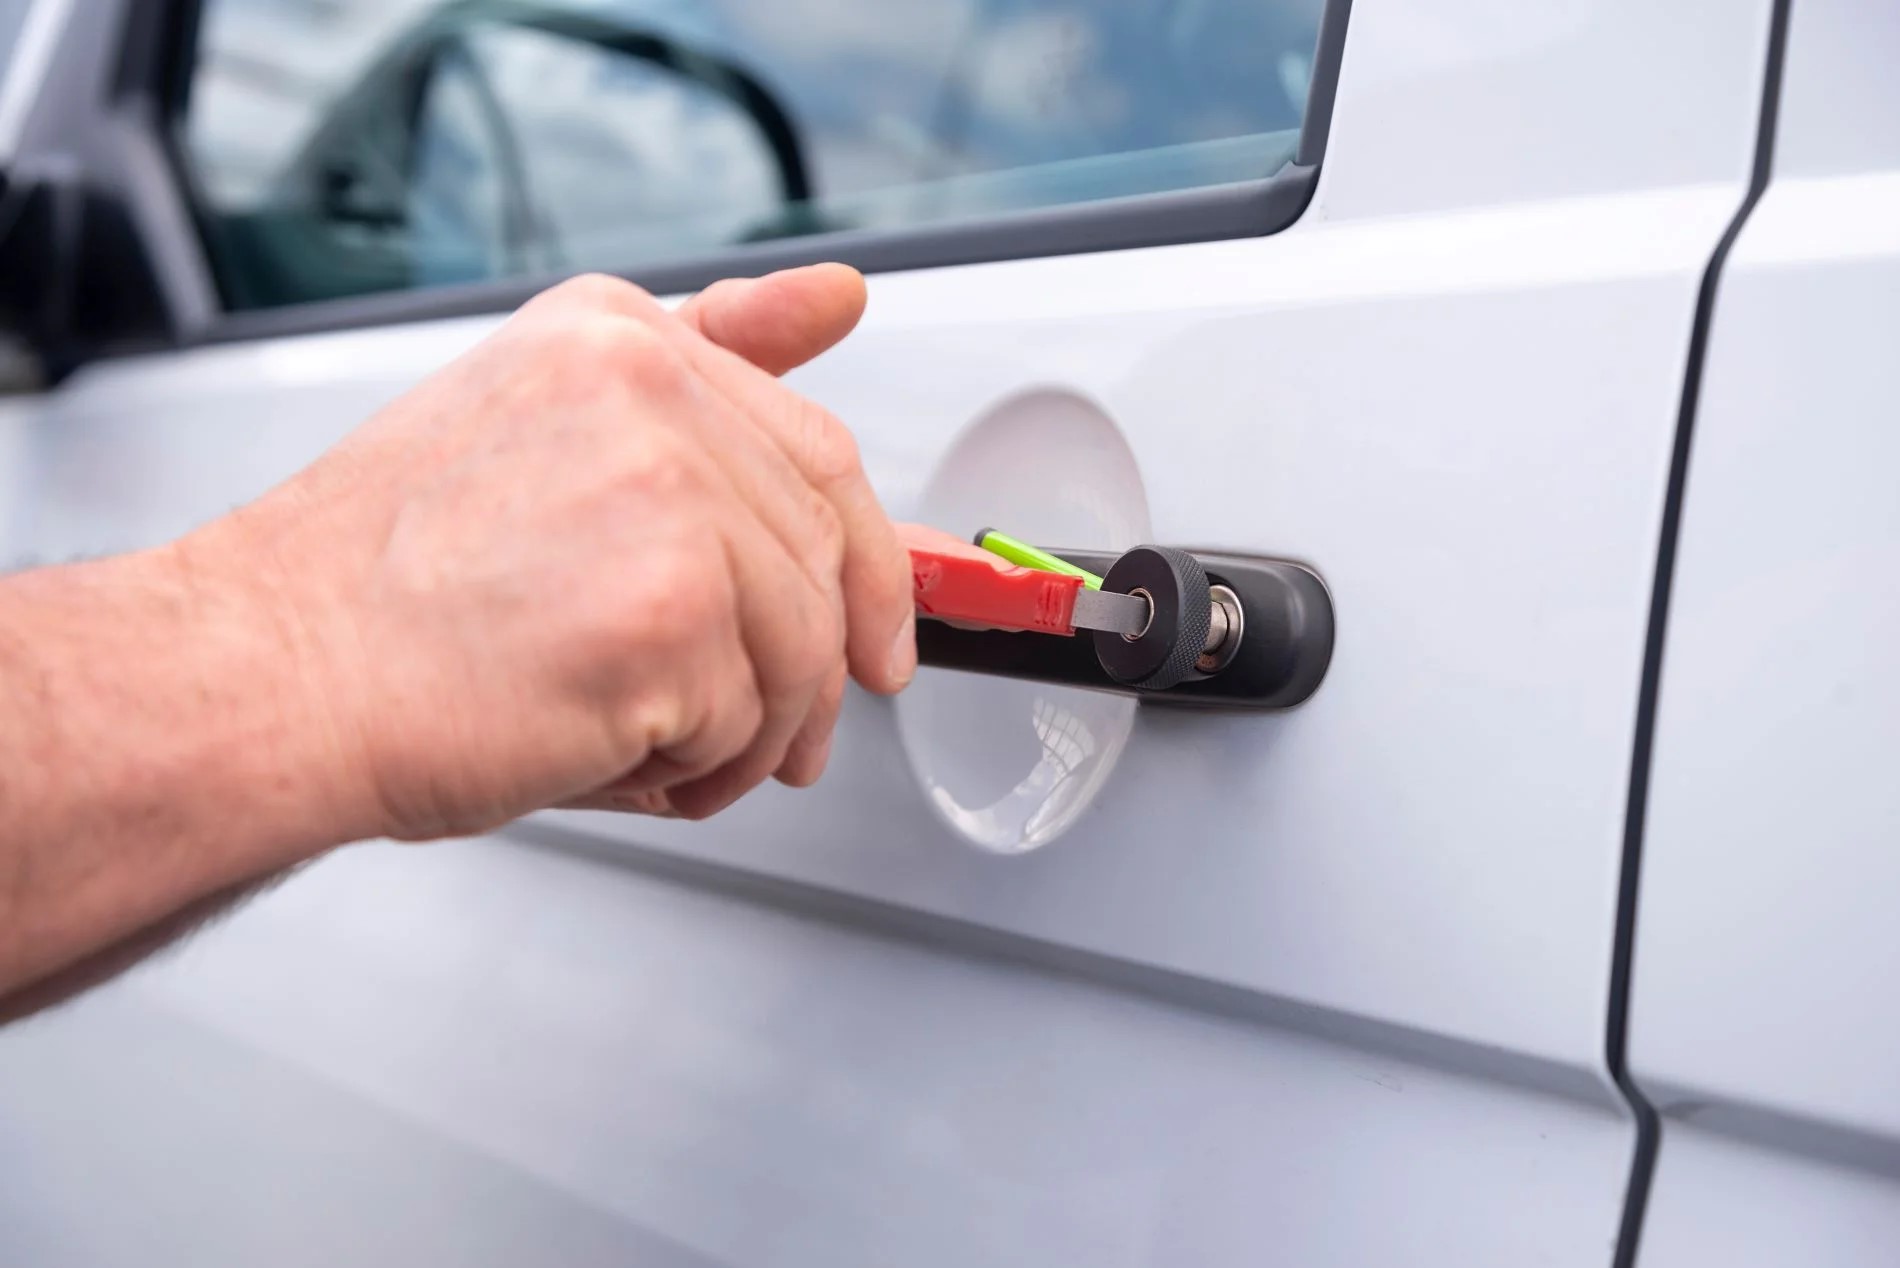
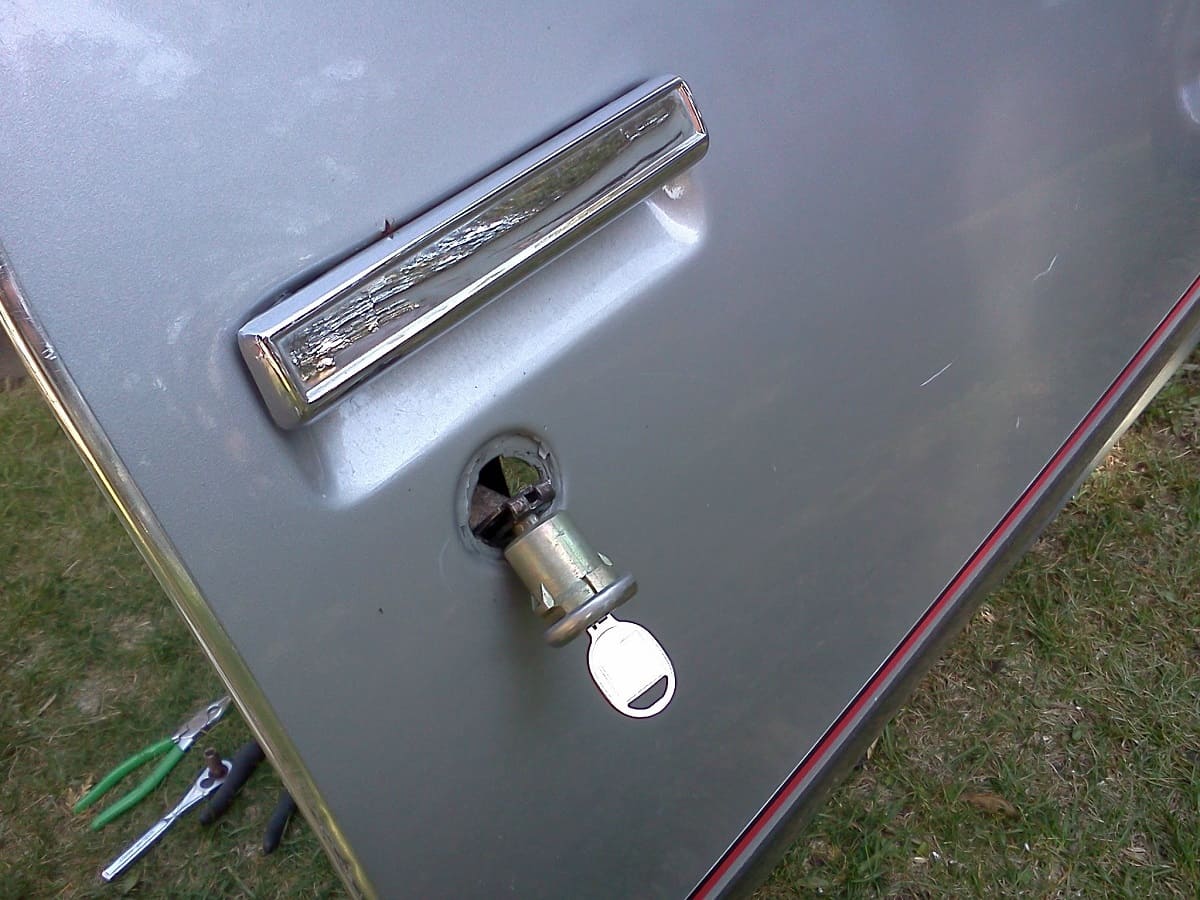
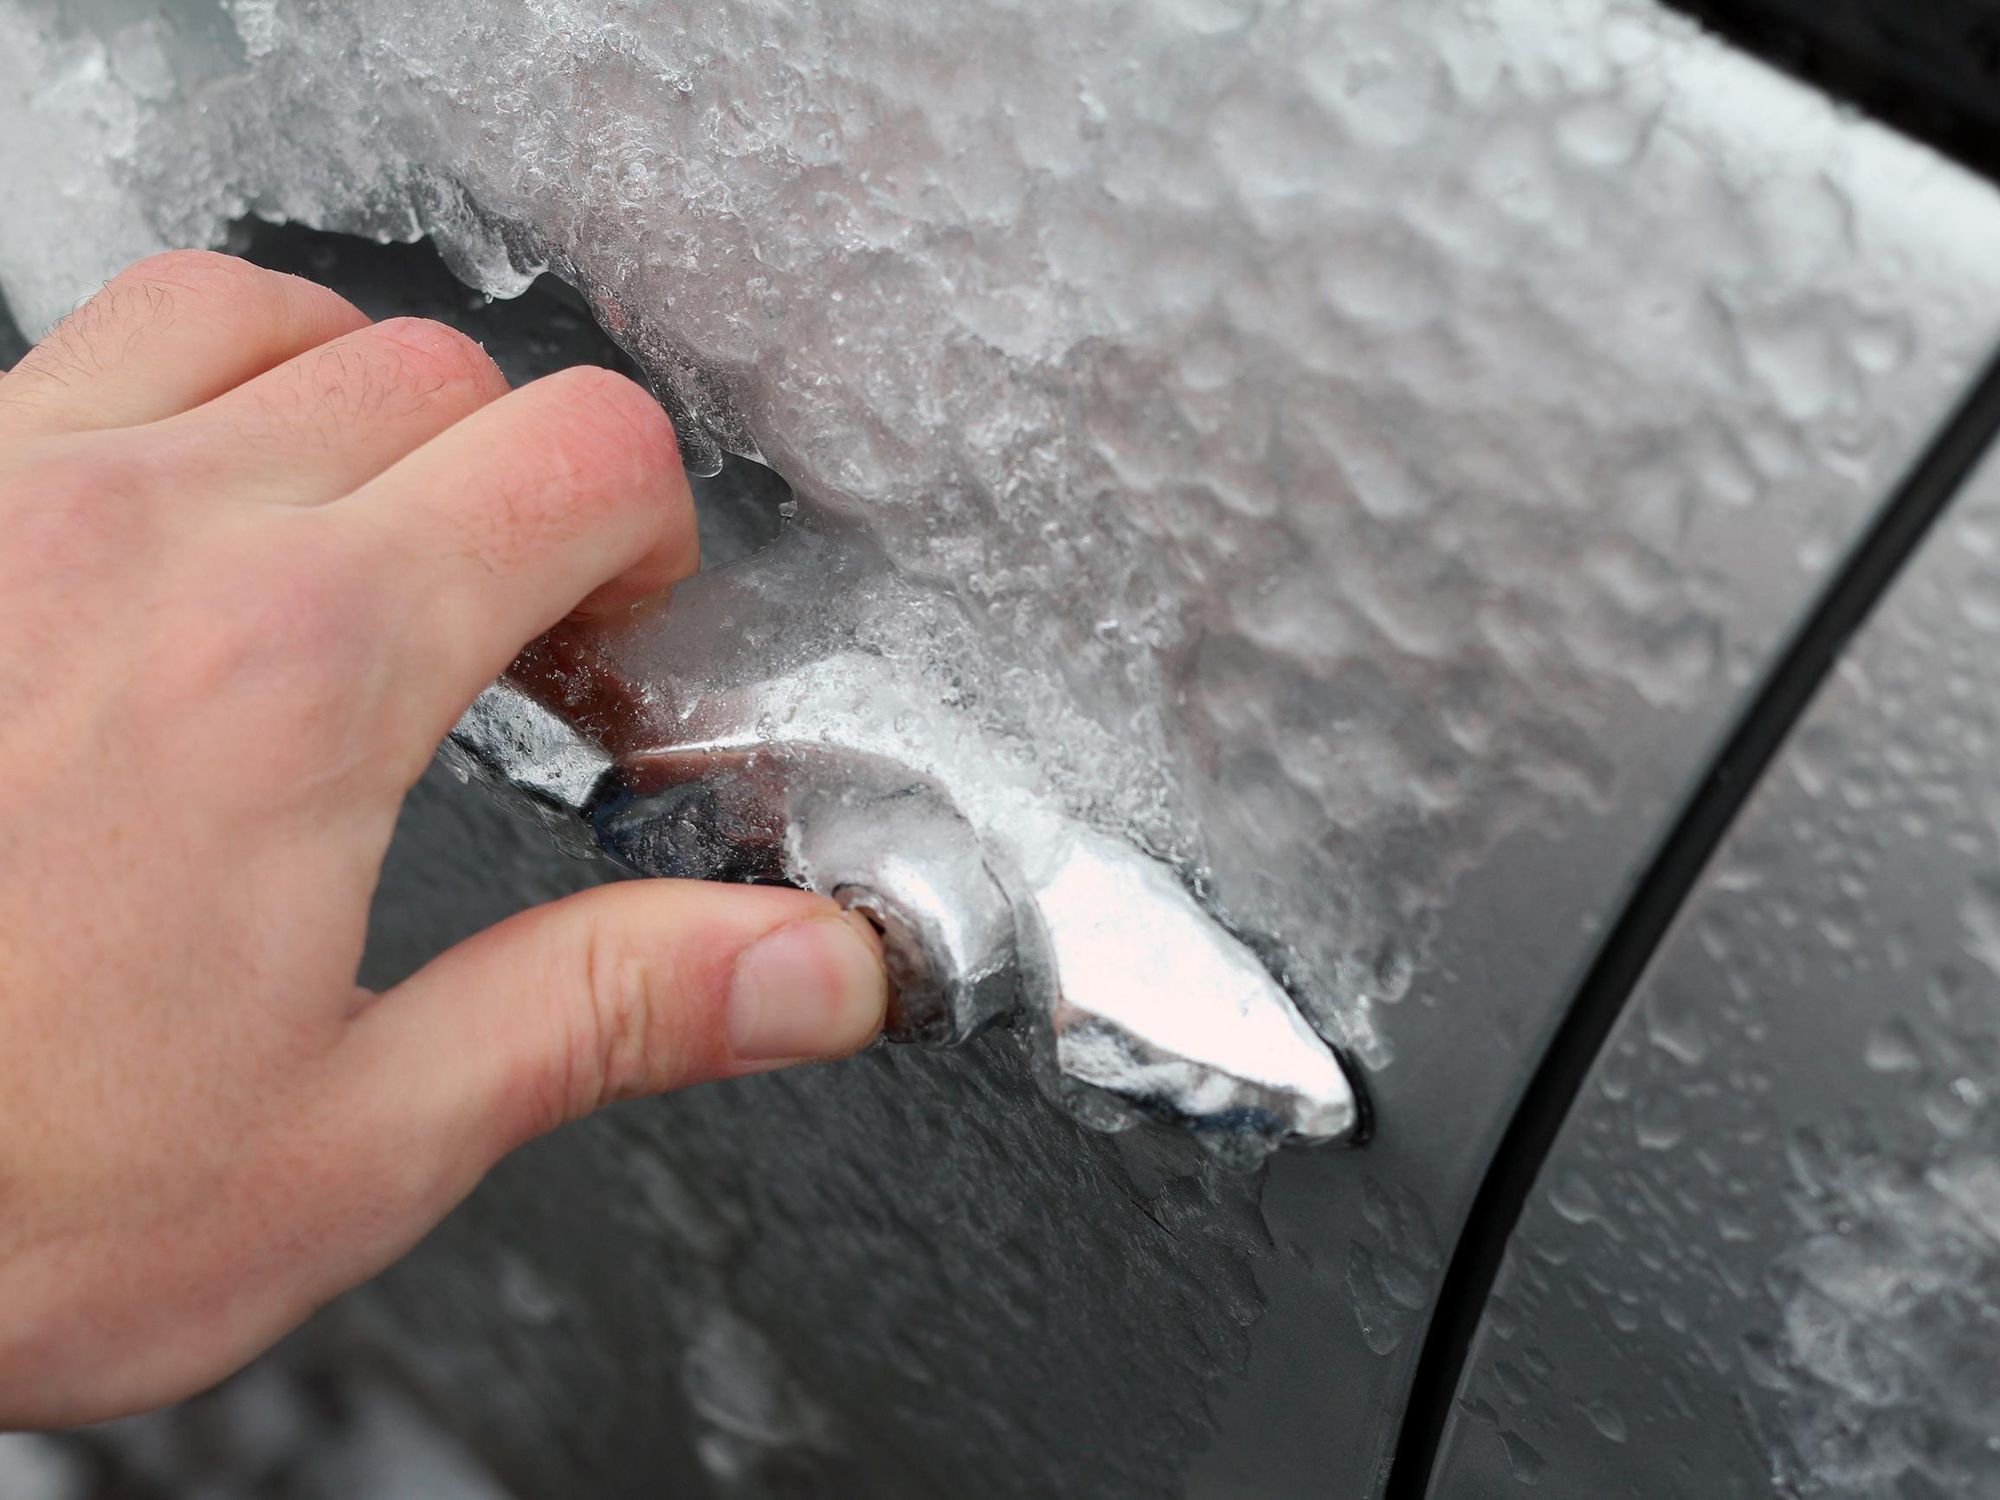
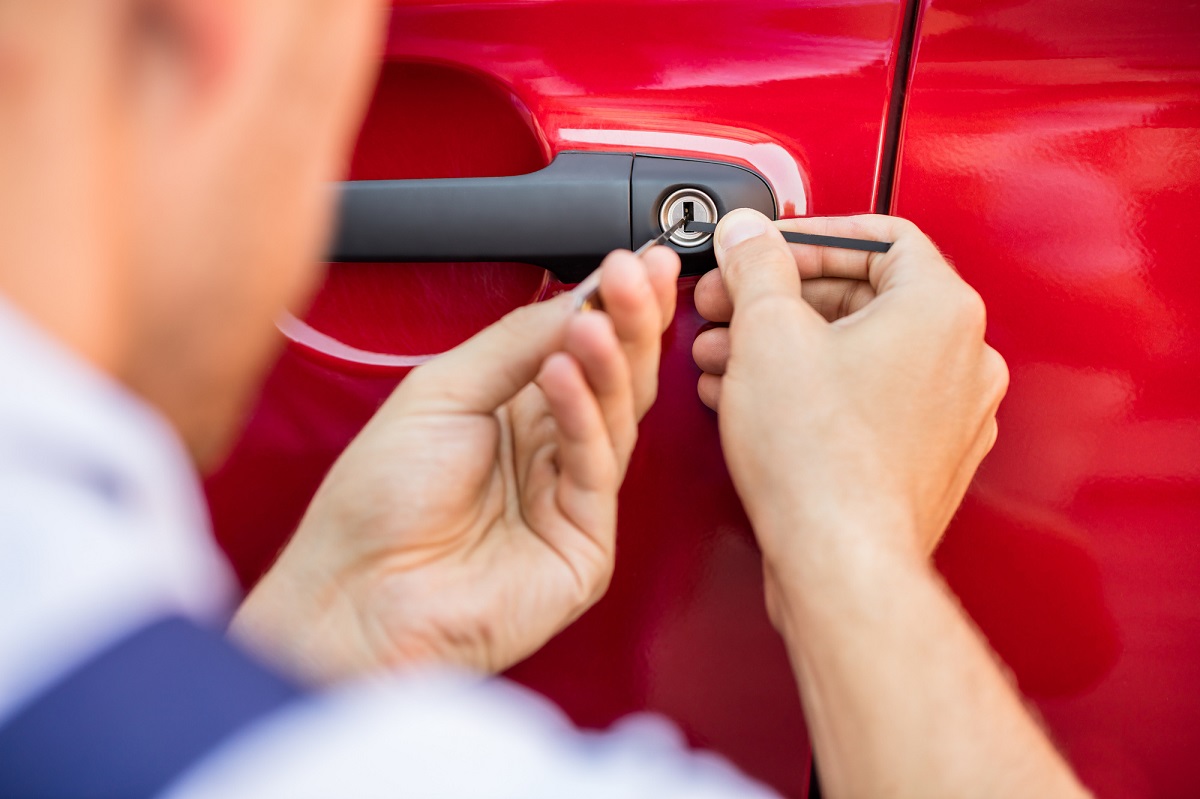
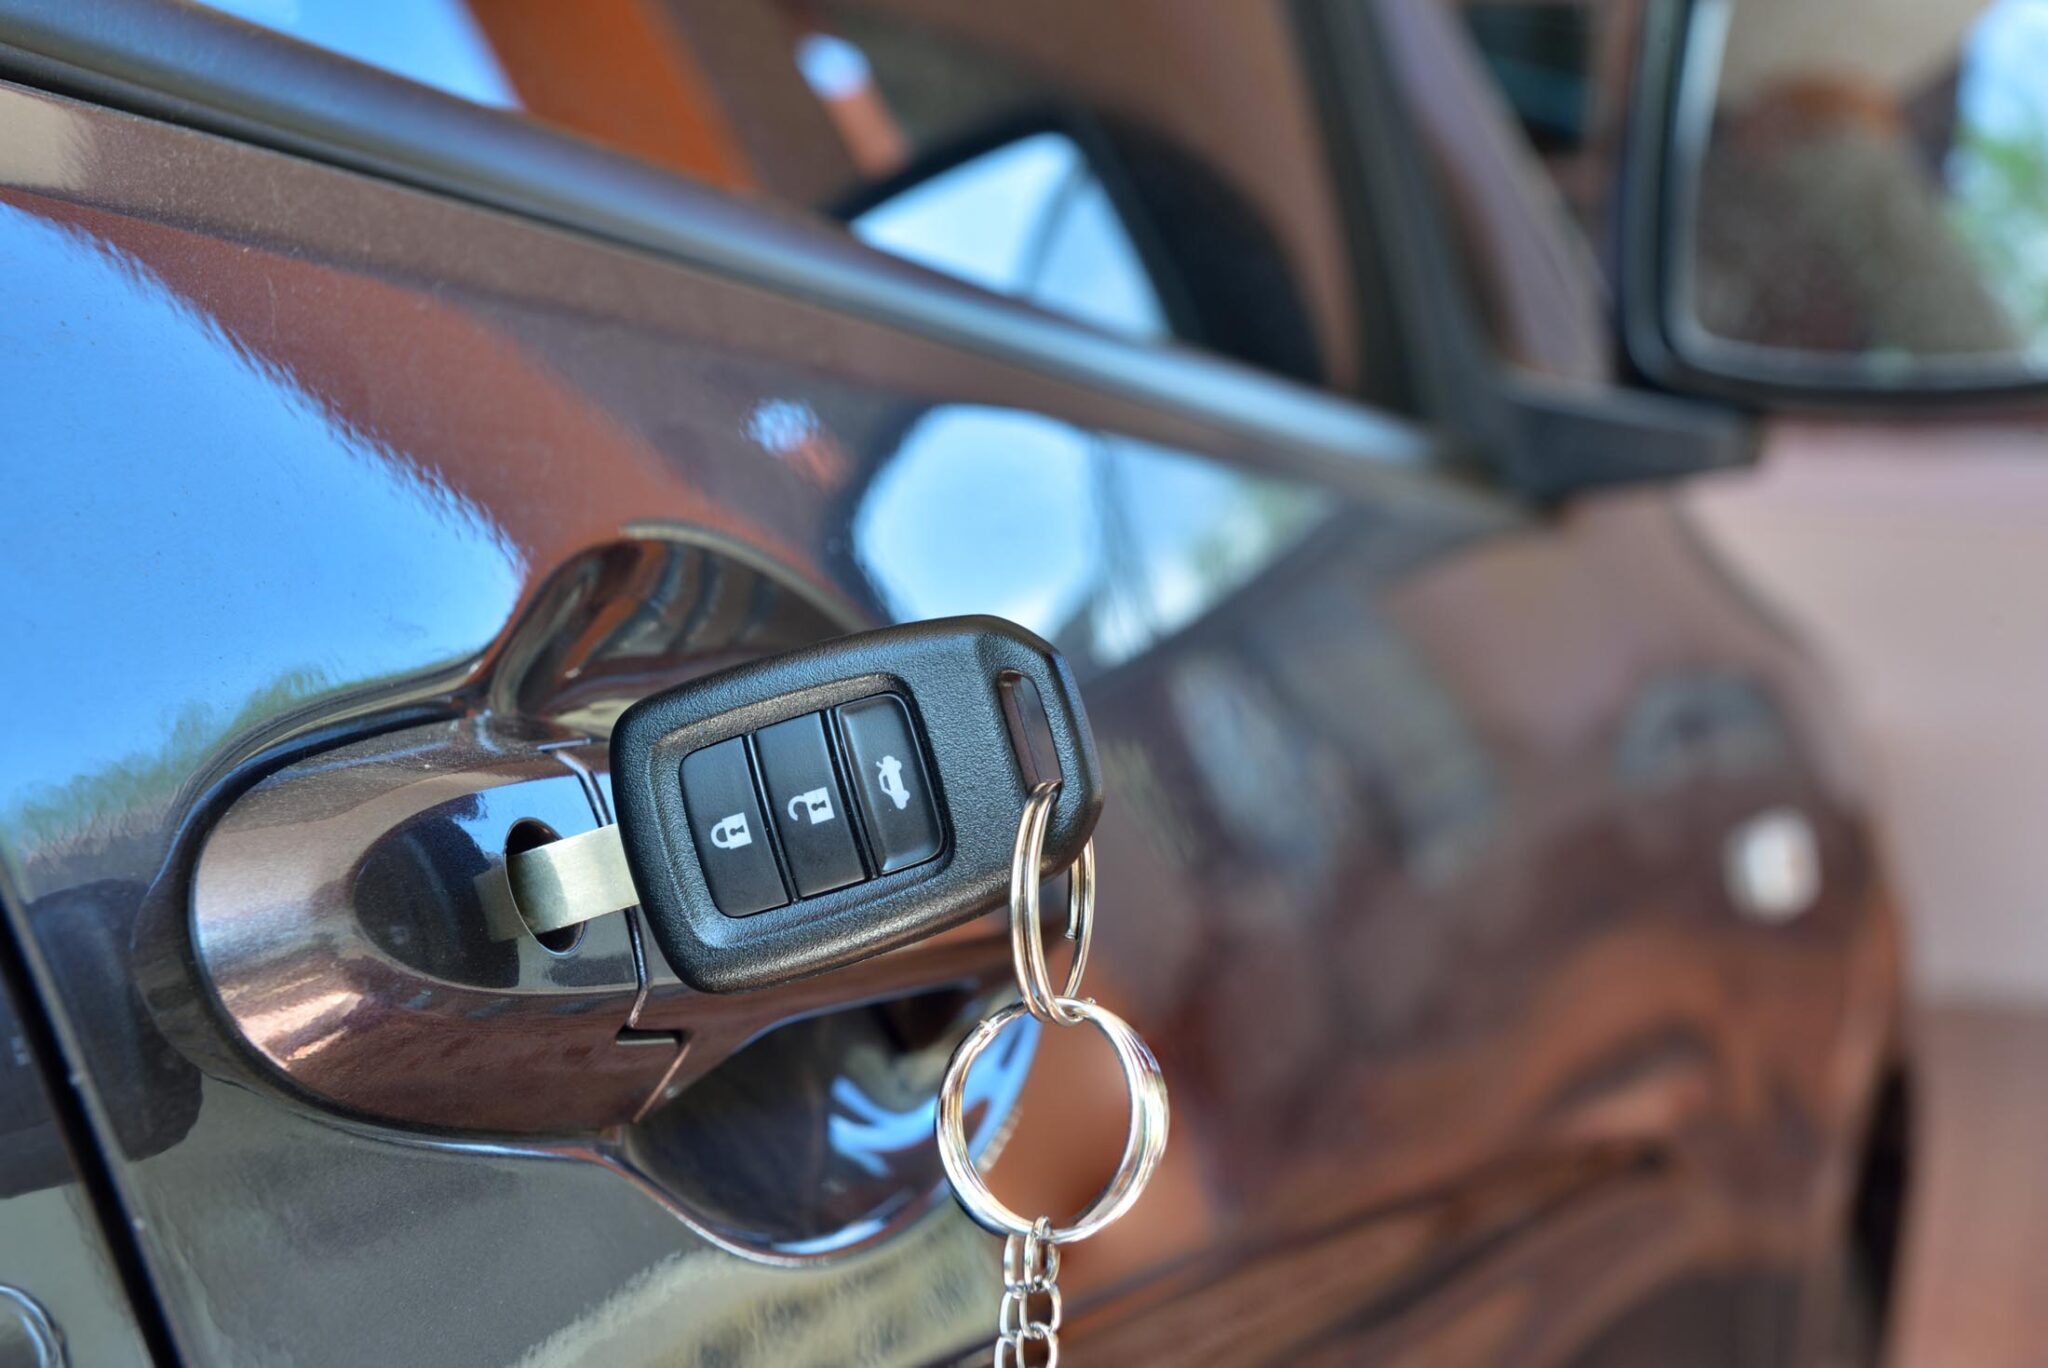
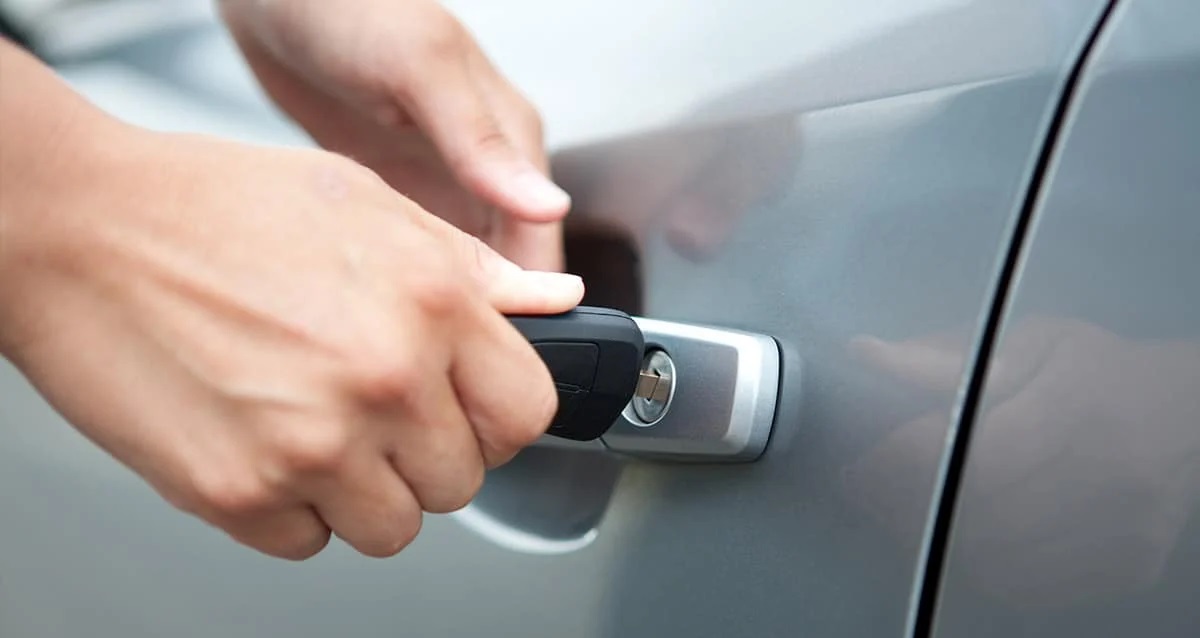
Removing the Old Lock Cylinder
The first step in rekeying a car door lock is to gain access to the lock cylinder, which involves removing it from the door. Here’s a step-by-step guide on how to remove the old lock cylinder:
- Prepare the Work Area: Park your vehicle in a well-lit and secure location. Ensure that the surrounding area is clear to provide ample space for maneuvering and working on the door lock.
- Access the Lock: Depending on the make and model of your vehicle, you may need to remove the interior door panel to access the lock mechanism. This typically involves removing screws and gently prying the panel away from the door frame.
- Locate the Retaining Clip: Once the interior panel is removed, locate the retaining clip that secures the lock cylinder to the door handle. This clip may be visible upon inspection or may be concealed behind a protective cover.
- Remove the Retaining Clip: Use a suitable tool, such as needle-nose pliers, to carefully remove the retaining clip. Take caution to prevent the clip from falling into the door cavity.
- Extract the Cylinder: With the retaining clip removed, gently extract the old lock cylinder from the door handle. Exercise care to avoid damaging the surrounding components or the cylinder itself.
- Disconnect Electrical Connections (If Applicable): For vehicles equipped with electronic locks or keyless entry systems, it may be necessary to disconnect electrical connections before fully removing the lock cylinder.
By following these steps, you can safely remove the old lock cylinder from your car door, paving the way for the subsequent stages of the rekeying process. With the cylinder in hand, you’re ready to disassemble it and proceed with the intricate task of rekeying the lock to match a new key.
Disassembling the Lock Cylinder
With the old lock cylinder removed from the car door, the next phase of the rekeying process involves disassembling the cylinder to access the internal pins and tumblers. This intricate task requires precision and attention to detail. Here’s a step-by-step guide on how to disassemble the lock cylinder:
- Secure the Cylinder: Place the lock cylinder on a stable and clean surface, ensuring that it is held securely to prevent rolling or movement during the disassembly process.
- Remove Retaining Clip (If Present): Some lock cylinders may have a retaining clip securing the outer housing. Use the appropriate tools to carefully remove this clip, taking care not to damage it in the process.
- Separate the Housing: Gently separate the outer housing from the core of the lock cylinder. This may require a combination of twisting and pulling to disengage the components without causing damage.
- Extract the Core: Once the outer housing is removed, extract the core of the lock cylinder from within. Exercise caution to avoid misplacing any small springs or components that may be housed within the core.
- Inspect the Core: With the core exposed, carefully inspect the internal components, including the pins, springs, and any security features present. Take note of the existing pin configuration, as this will guide the rekeying process.
- Organize Components: Lay out the pins and springs on a pinning mat or a designated workspace, arranging them in the order in which they were removed. This organization is crucial for maintaining the integrity of the lock’s internal components during the rekeying process.
Disassembling the lock cylinder requires patience and a steady hand to ensure that all components are handled with care. By following these steps, you can successfully access the internal workings of the lock cylinder, setting the stage for the meticulous process of rekeying the lock to accommodate a new key configuration.
When rekeying a car door lock, make sure to have the new key and the current key. Remove the lock cylinder, replace the pins to match the new key, and reassemble the lock. Test the new key to ensure it works smoothly.
Read more: How To Lubricate A Car Door Lock
Rekeying the Lock Cylinder
Rekeying a car door lock involves the intricate process of altering the internal components of the lock cylinder to match a new key configuration. This task requires precision and attention to detail to ensure that the rekeyed lock operates seamlessly with the new key. Here’s a comprehensive guide on how to rekey the lock cylinder:
- Identify Pin Sizes: Utilize a key decoder to determine the specific pin sizes required for the new key. This step is crucial for configuring the lock cylinder to accept the new key’s unique ridges and valleys.
- Remove Existing Pins: Using tweezers or a pinning tool, carefully remove the existing pins from the lock cylinder, taking note of their arrangement and sizes. Organize the removed pins on a pinning mat for easy reference.
- Match New Key Configuration: Based on the pin sizes identified earlier, select the corresponding pins from the pinning kit that align with the new key’s configuration. These pins will replace the existing ones to accommodate the new key.
- Insert New Pins: Carefully insert the selected pins into their respective chambers within the lock cylinder, ensuring that they align with the shear line when the new key is fully inserted. This step requires precision to prevent any misalignments that could affect the functionality of the rekeyed lock.
- Test Key Insertion and Rotation: Insert the new key into the rekeyed lock cylinder and test its insertion and rotation. The key should move smoothly and actuate the cylinder without any resistance. If any issues are encountered, reevaluate the pin placement and make necessary adjustments.
- Verify Smooth Operation: Once the key functions smoothly in the rekeyed lock cylinder, perform multiple test insertions and rotations to ensure consistent and reliable operation. Any irregularities should be addressed before proceeding to reassemble the lock cylinder.
Rekeying the lock cylinder demands meticulous attention to detail and a methodical approach to ensure that the new key operates flawlessly with the reconfigured internal components. By following these steps, you can successfully rekey the lock cylinder, setting the stage for the final phase of reassembling the lock and testing its functionality.
Reassembling the Lock Cylinder
After successfully rekeying the lock cylinder to accommodate a new key configuration, the next critical step is to reassemble the cylinder, ensuring that all components are securely positioned for optimal functionality. Here’s a detailed guide on how to reassemble the lock cylinder:
- Align Core Components: Begin by aligning the core of the lock cylinder with the outer housing, ensuring that they fit together seamlessly without any misalignments. This step sets the foundation for the reassembly process.
- Insert Core into Housing: Carefully insert the core of the lock cylinder back into the outer housing, taking care to guide any protruding components, such as the actuator, into their respective positions.
- Secure Retaining Clip (If Present): If the lock cylinder features a retaining clip, reattach it to secure the outer housing and core together. Ensure that the clip is properly seated and provides a secure hold without impeding the functionality of the lock.
- Test Core Movement: With the core reassembled, test its movement within the outer housing to verify smooth operation. The core should rotate and actuate without any obstructions or resistance, indicating a successful reassembly.
- Apply Lubricant: Prior to finalizing the reassembly, apply a small amount of high-quality lock lubricant to the keyway and internal components of the cylinder. This lubrication promotes smooth operation and longevity of the rekeyed lock.
- Verify Component Alignment: Perform a visual inspection to ensure that all components are aligned and seated correctly within the lock cylinder. Any misalignments or discrepancies should be addressed before proceeding.
By meticulously following these steps, you can effectively reassemble the lock cylinder, culminating in a seamlessly integrated unit ready for installation back into the car door. With the lock cylinder reassembled, the final phase of the rekeying process involves testing the rekeyed lock to ensure its reliable functionality with the new key.
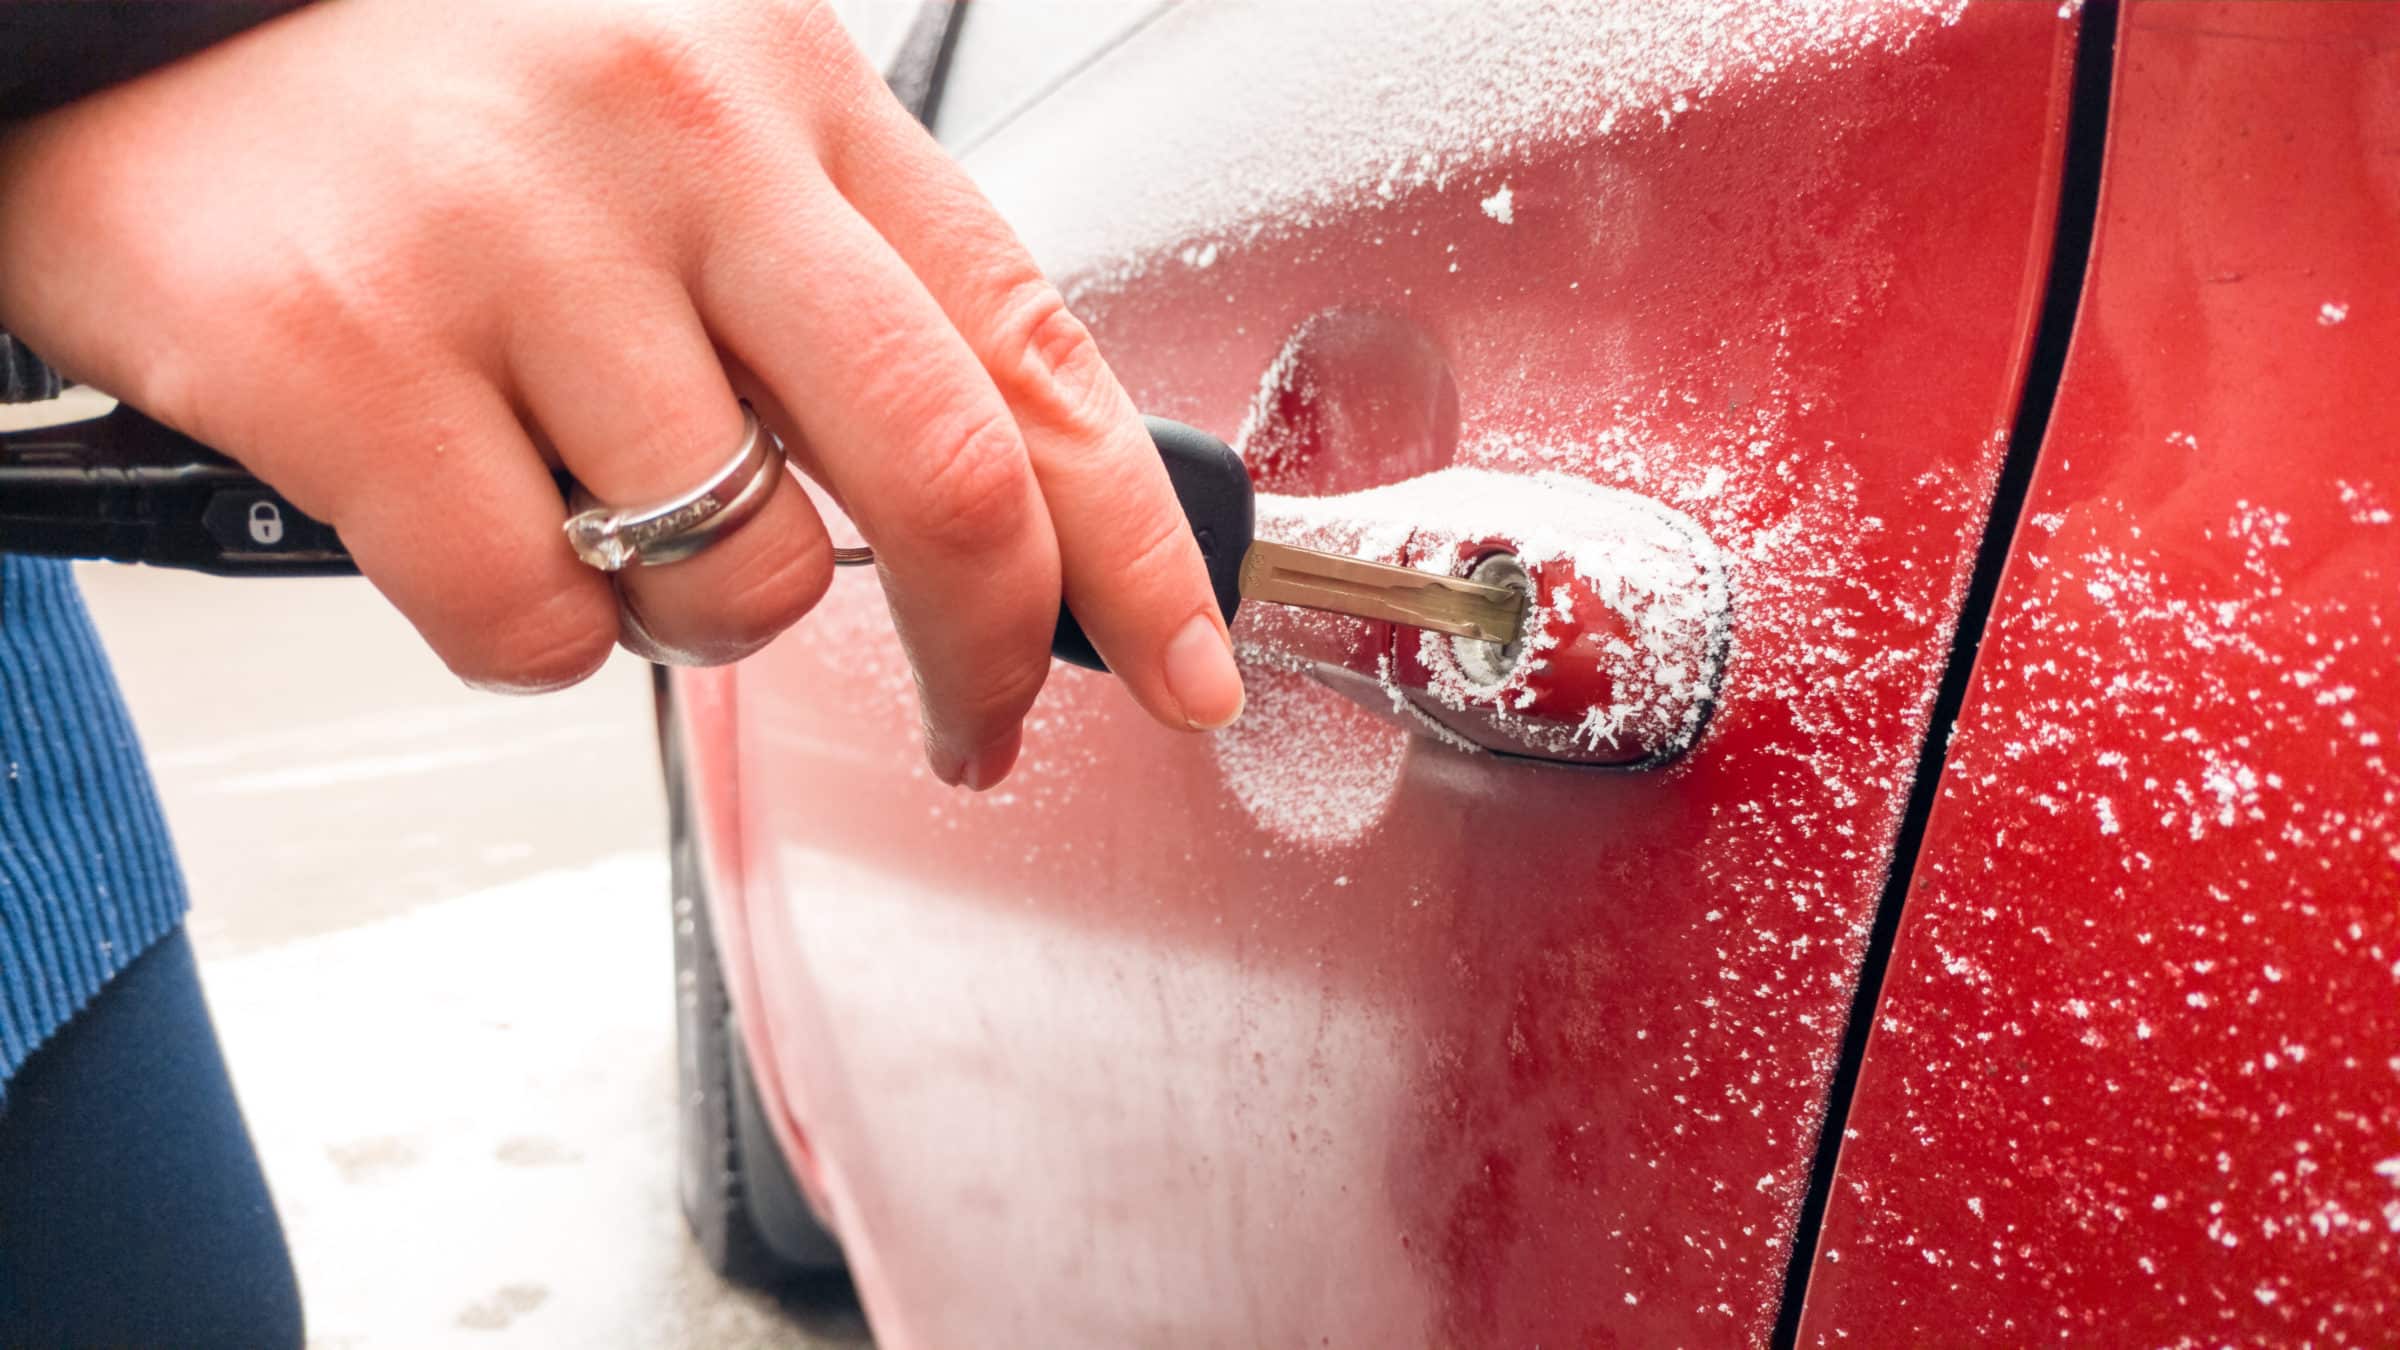
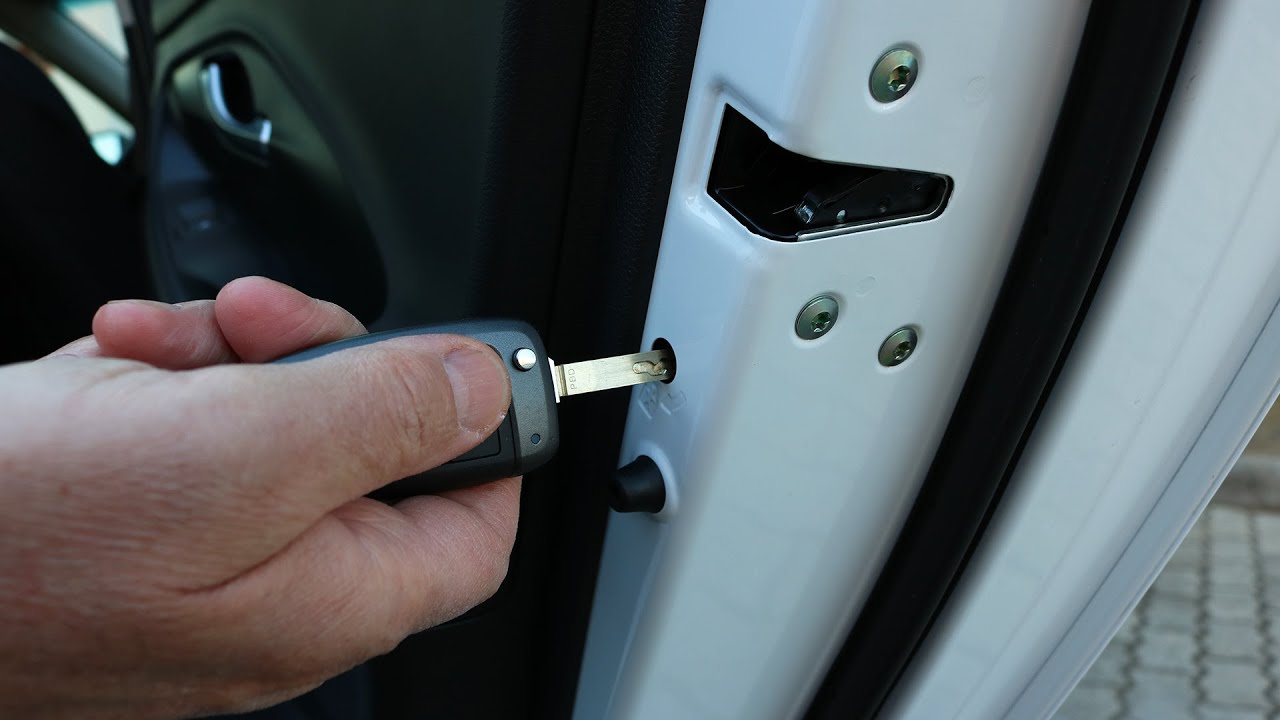
Testing the Rekeyed Lock
After completing the intricate process of rekeying and reassembling the lock cylinder, it’s crucial to thoroughly test the rekeyed lock to ensure its seamless functionality with the new key. This phase is essential for validating the success of the rekeying process and confirming that the lock operates reliably. Here’s a comprehensive guide on how to test the rekeyed lock:
- Install the Lock Cylinder: Carefully reinstall the rekeyed lock cylinder into the car door, ensuring that it is securely positioned and aligned with the door handle and latch mechanism. Take caution to prevent any damage to the cylinder or surrounding components during installation.
- Insert and Rotate the New Key: With the rekeyed lock cylinder in place, insert the new key and test its insertion and rotation. The key should engage the cylinder smoothly and actuate the lock without any resistance or difficulty.
- Test Locking and Unlocking: Utilize the new key to lock and unlock the car door multiple times, verifying that the rekeyed lock operates reliably in both functions. Pay close attention to the responsiveness and smoothness of the locking mechanism.
- Check Key Removal: After locking and unlocking the door, ensure that the new key can be removed from the lock cylinder without any sticking or binding. The key should disengage effortlessly, indicating proper alignment and functionality.
- Verify Consistent Operation: Perform additional locking and unlocking cycles, paying attention to the consistent operation of the rekeyed lock. Any irregularities or inconsistencies should be addressed promptly to ensure optimal performance.
- Confirm Key Identification: To avoid confusion, confirm that the new key is clearly identifiable and distinguishable from any previously used keys. This step ensures clarity in key management and usage.
Thoroughly testing the rekeyed lock is a critical final step in the rekeying process, providing assurance that the lock operates seamlessly with the new key configuration. By following these steps and conducting comprehensive tests, you can validate the success of the rekeying endeavor and enjoy the enhanced security and convenience of a rekeyed car door lock.
Conclusion
Congratulations on mastering the art of rekeying a car door lock! Throughout this comprehensive guide, we’ve embarked on a journey into the intricate world of car door locks, delving into the process of rekeying a lock to accommodate a new key configuration. By understanding the mechanics of car door locks, gathering the necessary tools and materials, and following a methodical approach, you’ve gained the knowledge and confidence to successfully rekey your car door lock.
From removing the old lock cylinder to disassembling, rekeying, and reassembling it, you’ve navigated each step with precision and attention to detail. The thorough testing of the rekeyed lock has provided assurance of its reliable functionality, ensuring enhanced security and peace of mind for your vehicle.
By mastering the skill of rekeying car door locks, you’ve empowered yourself to address security concerns, accommodate new key configurations, and maintain control over access to your vehicle. Whether it’s for security upgrades, key loss, or transitioning to a new set of keys, the ability to rekey a car door lock is a valuable skill that offers practical benefits and a sense of accomplishment.
As you reflect on this journey, remember that the knowledge and expertise you’ve gained can be applied to other aspects of security and maintenance, further enhancing your DIY capabilities and problem-solving skills. With this newfound proficiency, you’re well-equipped to tackle future challenges and projects with confidence.
Thank you for joining us on this rekeying adventure. May your rekeyed car door lock serve as a testament to your resourcefulness and determination. Here’s to a future filled with security, empowerment, and the satisfaction of mastering new skills!
Frequently Asked Questions about How To Rekey A Car Door Lock
Was this page helpful?
At Storables.com, we guarantee accurate and reliable information. Our content, validated by Expert Board Contributors, is crafted following stringent Editorial Policies. We're committed to providing you with well-researched, expert-backed insights for all your informational needs.

0 thoughts on “How To Rekey A Car Door Lock”