Home>Articles>Aroma Electric Skillet How To Remove Control Knob
Articles
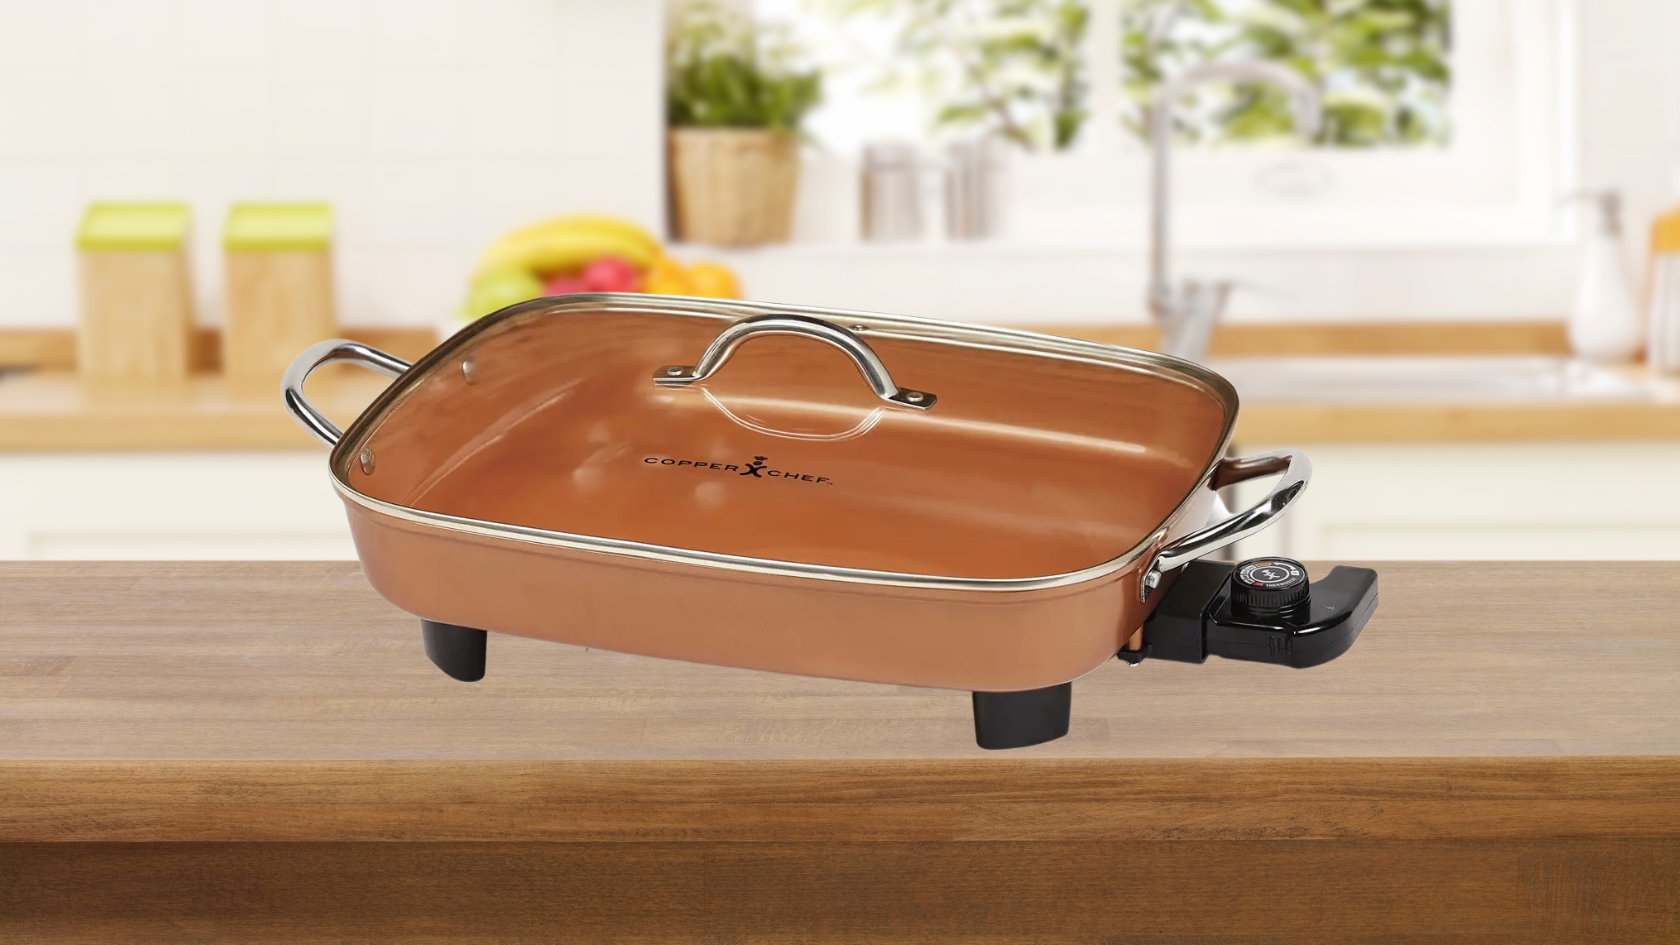
Aroma Electric Skillet How To Remove Control Knob
Modified: August 27, 2024
Learn how to remove the control knob from your Aroma electric skillet with this helpful article. Make cooking easier with these step-by-step instructions.
(Many of the links in this article redirect to a specific reviewed product. Your purchase of these products through affiliate links helps to generate commission for Storables.com, at no extra cost. Learn more)
Introduction
Welcome to our comprehensive guide on how to remove the control knob from your Aroma Electric Skillet. Whether you are looking to replace a faulty control knob or simply need to clean it thoroughly, we’ve got you covered. This article will walk you through the step-by-step process of safely removing the control knob, cleaning and maintaining it, and reassembling your electric skillet.
The control knob is an essential component of the Aroma Electric Skillet, allowing you to adjust the temperature and cooking settings. Over time, it may become sticky or difficult to turn due to food residue, grease, or general wear and tear. By removing the control knob and giving it a thorough cleaning, you can ensure smooth and precise temperature adjustments while cooking.
Before we dive into the step-by-step process, it’s important to note that safety should be your top priority. Always make sure to follow the manufacturer’s instructions and guidelines when working with electrical appliances. Additionally, ensure that the skillet is unplugged and cool to the touch before attempting to remove the control knob.
Now that we’ve covered the basics, let’s gather the necessary tools and materials to get started on removing the control knob from your Aroma Electric Skillet.
Key Takeaways:
- Safely remove, clean, and reassemble your Aroma Electric Skillet’s control knob for smooth temperature adjustments and optimal cooking performance. Prioritize safety and follow the step-by-step guide for hassle-free maintenance.
- Regularly maintaining the control knob ensures a safe and efficient cooking experience. Follow the safety precautions, gather the necessary tools, and enjoy revitalized control knob functionality for culinary adventures.
Safety Precautions
Before you begin the process of removing the control knob from your Aroma Electric Skillet, it is important to take some safety precautions. By following these guidelines, you can minimize the risk of accidents and ensure a safe working environment:
- Always ensure that the skillet is unplugged and turned off before attempting to remove the control knob.
- Allow the skillet to cool down completely before you begin working on it. This will prevent any accidental burns.
- Read and understand the manufacturer’s instructions and guidelines for your electric skillet. Different models may have specific instructions for removing the control knob.
- Wear protective gloves to protect your hands during the process, especially if the skillet has been recently in use and may still be hot.
- Work on a clean and stable surface to prevent any accidental slips or falls.
- Do not use excessive force or sharp objects to remove the control knob, as this may cause damage to the skillet or result in personal injury.
- If you encounter any difficulties or are unsure about any step of the process, it is recommended to consult the manufacturer’s customer support or seek professional assistance.
By adhering to these safety precautions, you can ensure a smooth and risk-free process of removing the control knob from your Aroma Electric Skillet. Remember, safety should always be the top priority when working with electrical appliances.
Tools and Materials Needed
Before you start removing the control knob from your Aroma Electric Skillet, gather the following tools and materials:
- Clean cloth or sponge
- Mild dish soap
- Warm water
- Small bowl
- Phillips-head screwdriver
- Pliers (optional, in case the control knob is hard to remove)
It’s important to have these tools and materials on hand as they will make the process of removing and cleaning the control knob much easier and more efficient.
The clean cloth or sponge will be used to wipe down the control knob and remove any stuck-on dirt or residue. Mild dish soap and warm water will be used to create a gentle cleaning solution. The small bowl will be used to mix the dish soap and warm water together.
The Phillips-head screwdriver is necessary for unscrewing the control knob from the skillet. It is crucial to use the proper size and type of screwdriver to prevent damage to the screw or the control knob itself.
Lastly, pliers can be helpful if the control knob is difficult to remove by hand. The pliers will provide the extra grip and leverage needed to unscrew the knob without causing any damage.
Having these tools and materials ready will ensure a smooth and hassle-free process of removing and cleaning the control knob from your Aroma Electric Skillet.
Step 1: Power Off and Unplug the Skillet
The first step to remove the control knob from your Aroma Electric Skillet is to ensure that the skillet is powered off and unplugged. This is crucial for your safety and to avoid any electrical accidents or damage to the skillet.
If the skillet was recently in use, make sure to allow it to cool down completely before proceeding to avoid the risk of burns. It is essential to work with a cool skillet to prevent any accidents and ensure safe handling.
Locate the power cord and unplug it from the electrical outlet. Double-check that the skillet is completely disconnected from any power source to eliminate any chance of electrical shock.
Once you have confirmed that the skillet is powered off and unplugged, you can proceed to the next step of removing the control knob.
Remember, safety is paramount when working with electrical appliances. Always prioritize your well-being and follow the manufacturer’s guidelines to ensure a safe and smooth process. By powering off and unplugging the skillet, you minimize the risk of accidents and create a safe working environment.
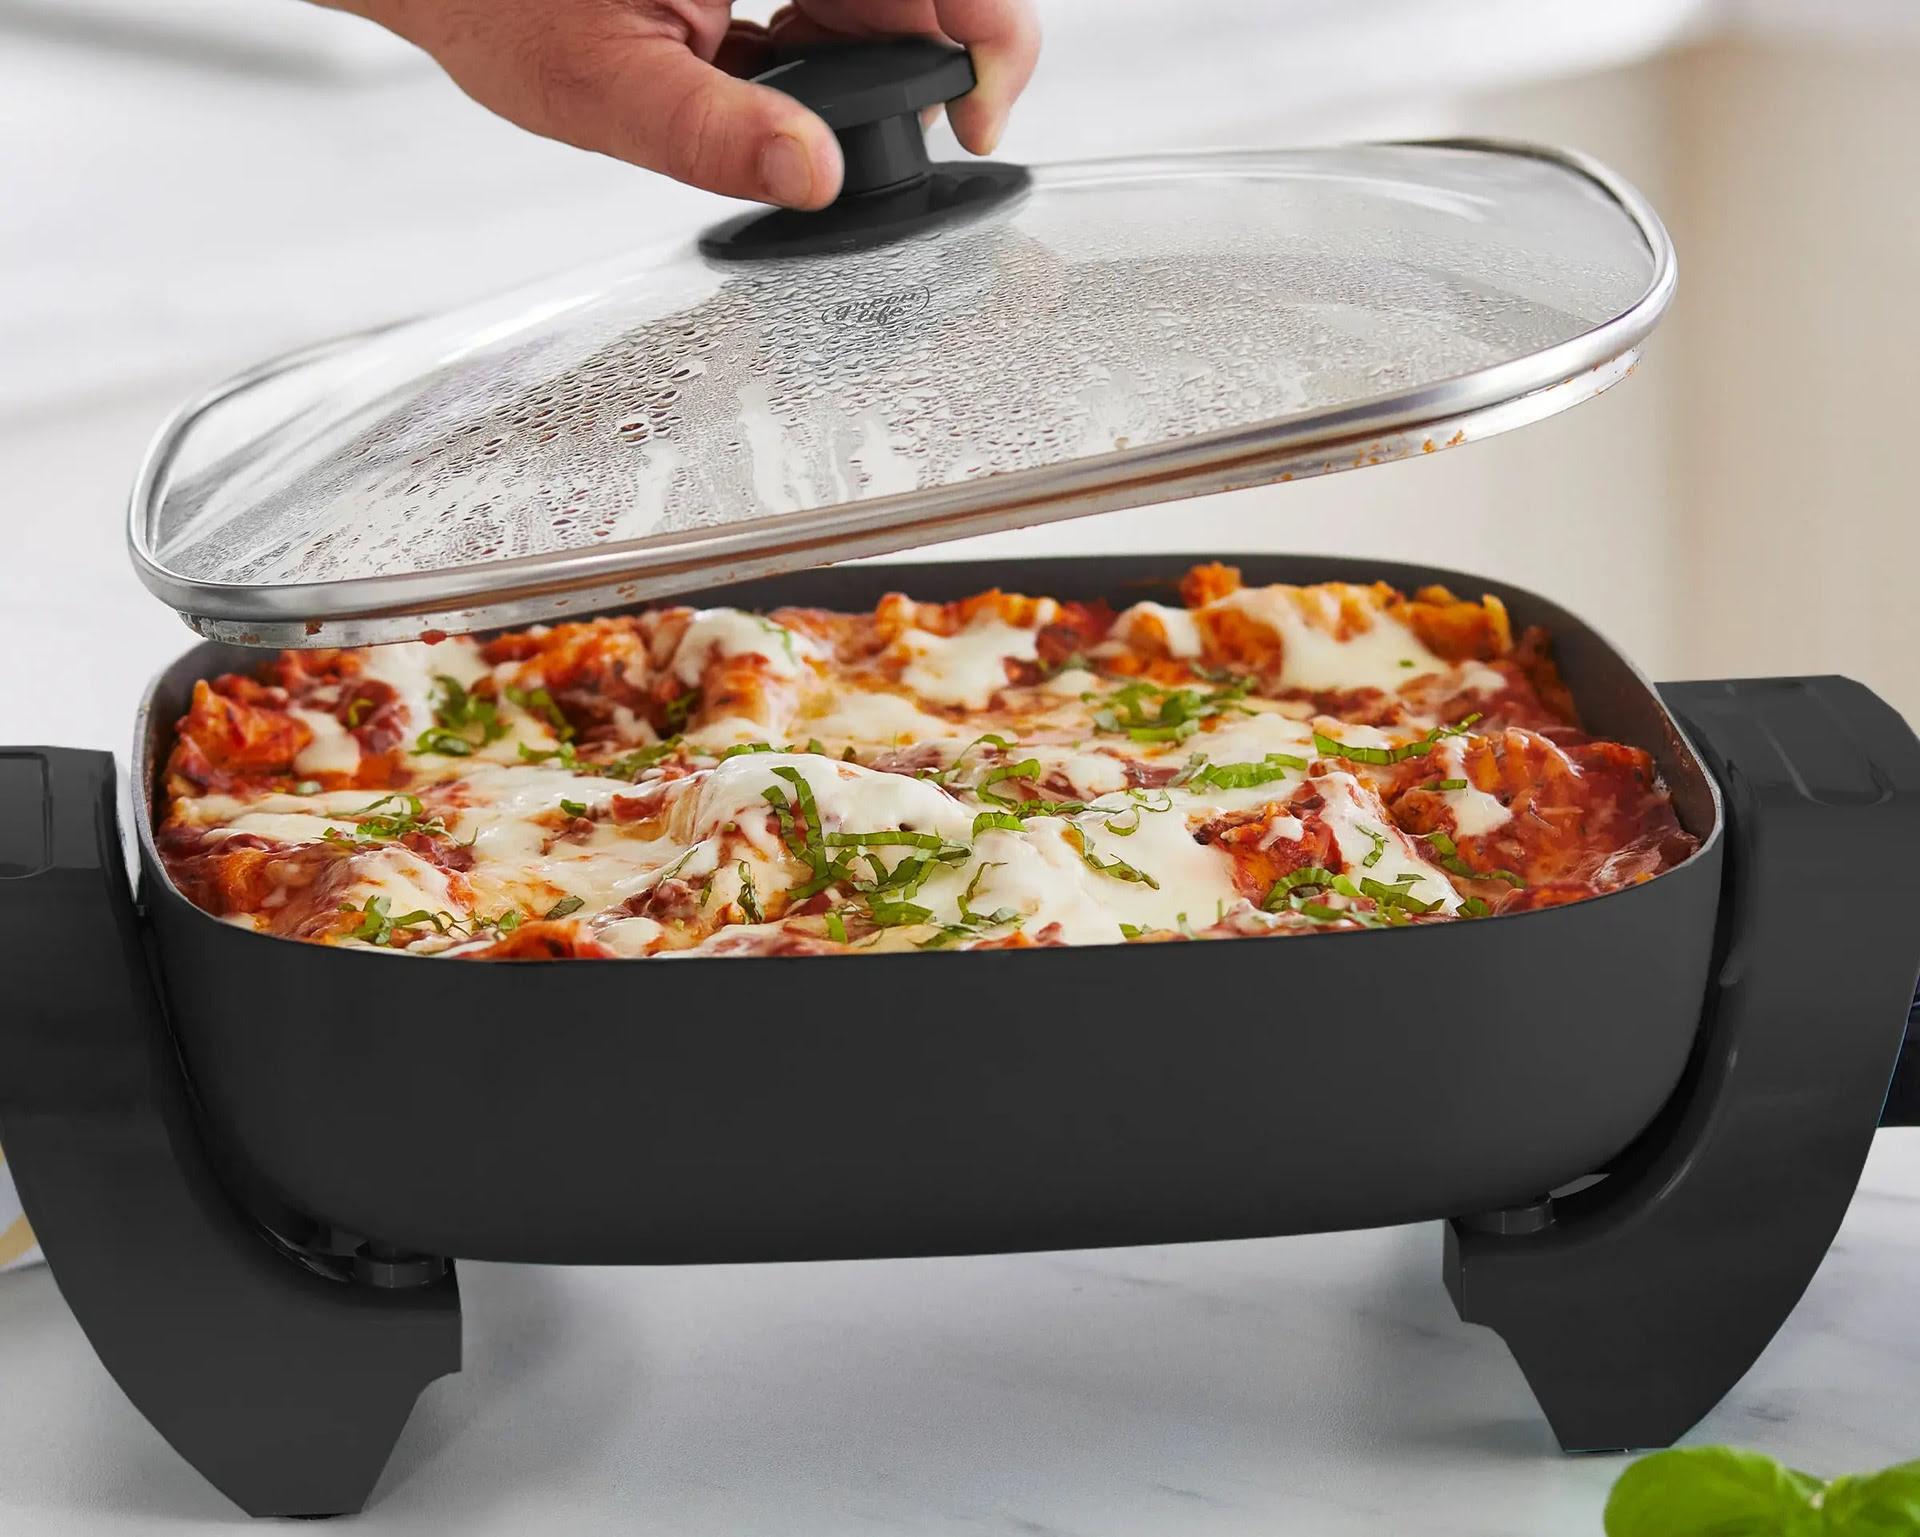
Step 2: Remove the Skillet Lid
Before you can access and remove the control knob, you will need to remove the skillet lid. Removing the lid will provide easy access to the control knob and make the removal process more convenient.
Start by checking if the skillet lid has any latches or locks holding it in place. If there are any, release them to unlock the lid. Most electric skillets have a simple mechanism to release the lid, such as a button or lever.
Once the lid is unlocked, carefully lift it off the skillet. Set the lid aside in a safe place where it won’t get damaged or cause any obstructions during the remaining steps.
Make sure to handle the lid with care as it can be quite heavy, and dropping it may cause damage to the skillet or injure yourself or others.
With the skillet lid removed, you now have a clear view and access to the control knob. Proceed to the next step to continue with the removal process.
Remember, always prioritize safety and handle the lid and skillet with caution during this process. Taking proper care when removing the lid ensures a smooth and hassle-free process of accessing and removing the control knob from your Aroma Electric Skillet.
Read also: 9 Best Removable Electric Skillet for 2025
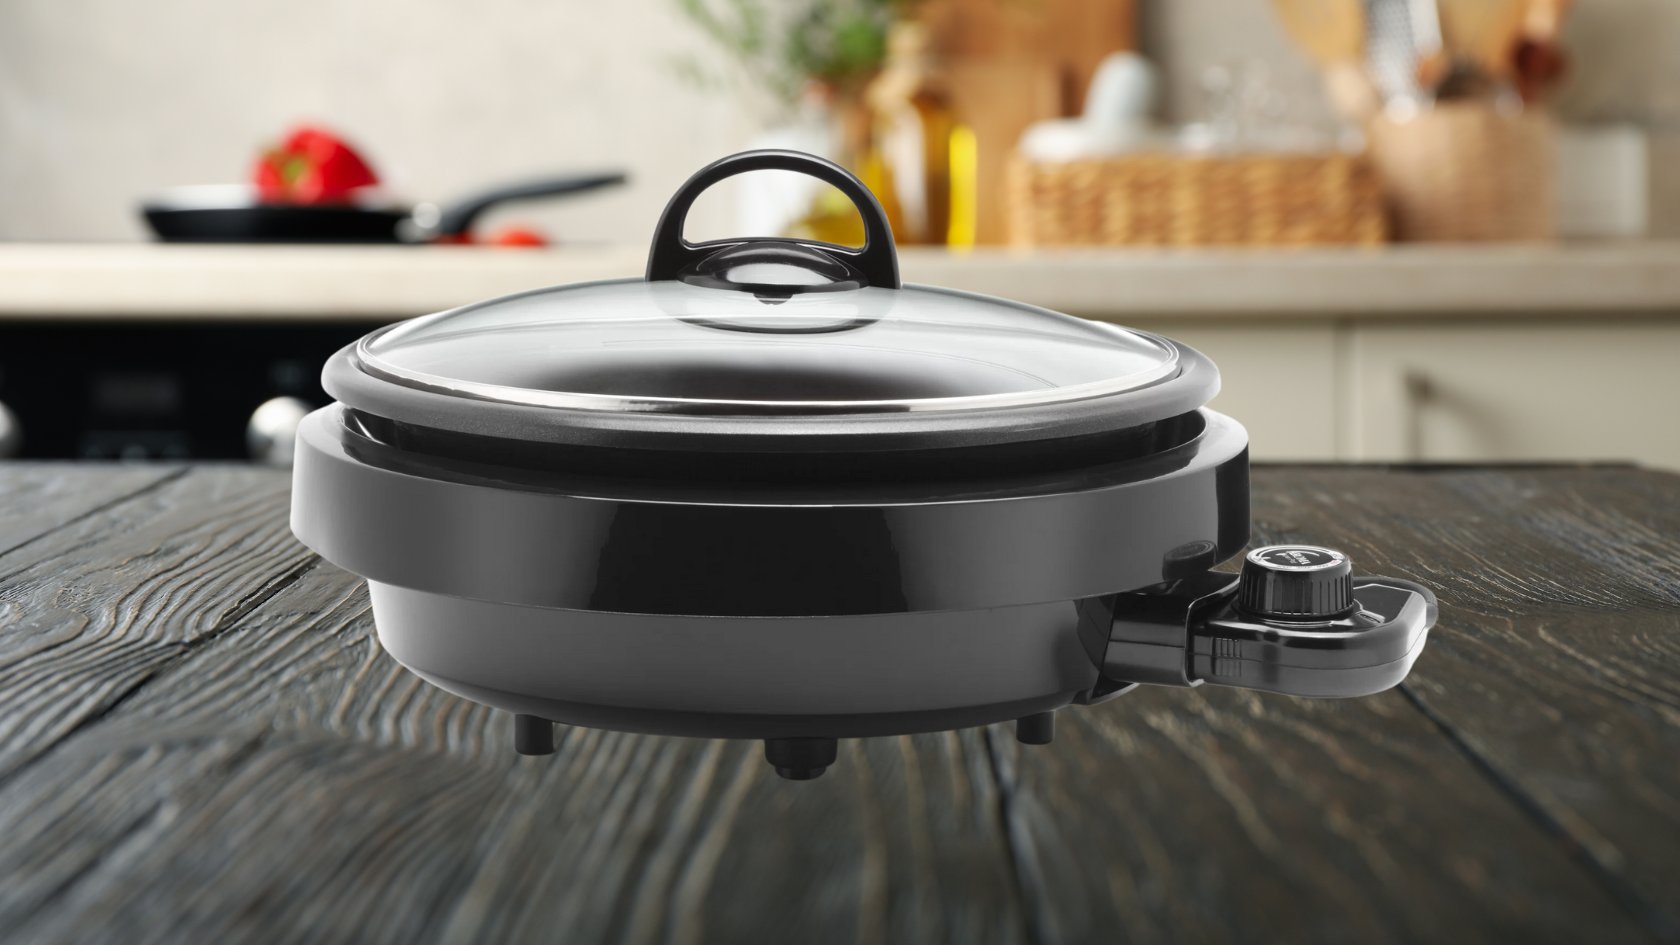
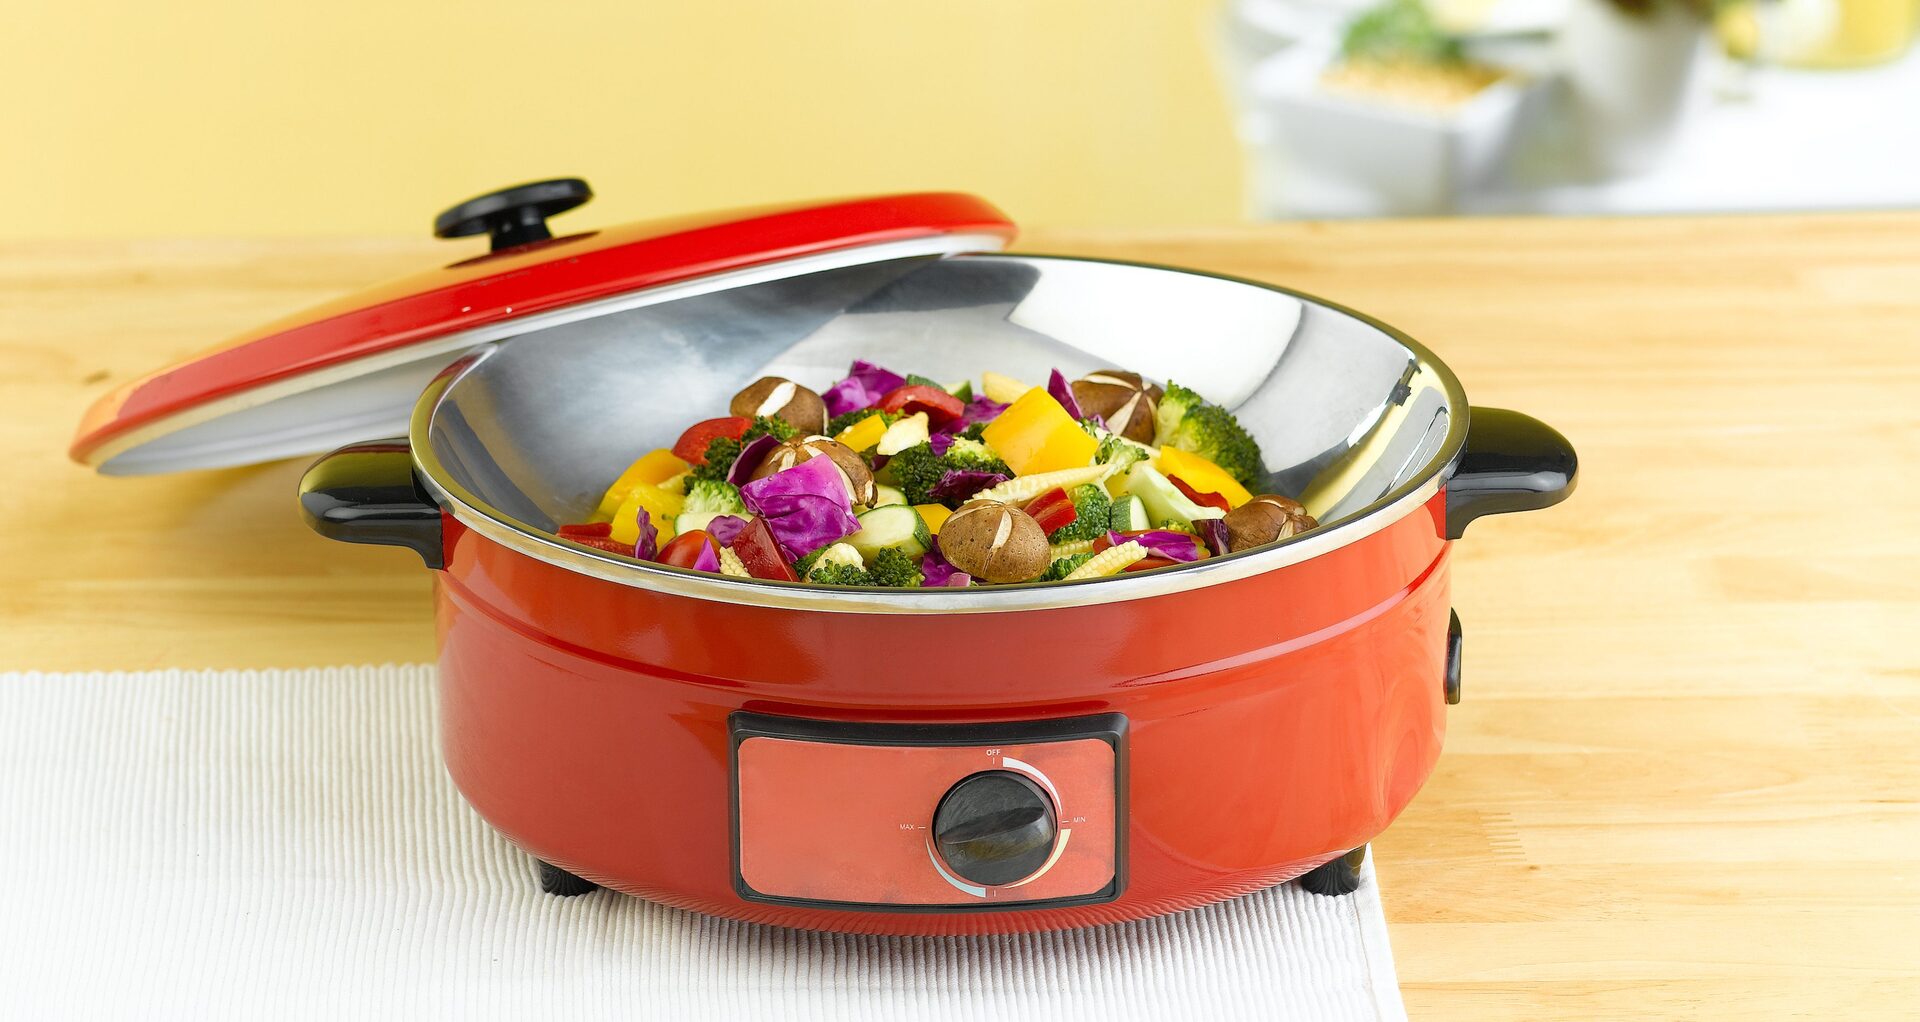
Step 3: Locate and Identify the Control Knob
In this step, your task is to locate and identify the control knob on your Aroma Electric Skillet. The control knob is the component responsible for adjusting the temperature and cooking settings of the skillet.
The control knob is typically located on the front panel of the skillet, near the handle or control panel. It may have markings indicating temperature levels or cooking modes.
Take a close look at the front panel of your electric skillet and find the control knob. It is usually a circular or dial-shaped component that protrudes slightly from the surface of the panel.
Once you have located the control knob, take a moment to familiarize yourself with its structure. Notice any buttons, switches, or indicators that are part of the knob. Understanding the knob’s design will help you during the removal and reassembly process.
It is important to properly identify the control knob to avoid accidentally removing other components or causing damage to the skillet. Carefully examine the knob and ensure that you have identified it correctly before proceeding to the next step.
If you are unsure about the location or identification of the control knob, consult the user manual or contact the manufacturer for assistance. It is better to be certain rather than risk damaging the skillet.
Once you are confident in the location and identification of the control knob, you can move on to the next step of removing the control knob cap.
To remove the control knob on an Aroma Electric Skillet, gently pull the knob straight off the shaft. If it’s stuck, try using a small amount of lubricant or gently wiggling the knob while pulling.
Step 4: Remove the Control Knob Cap
Now that you have located and identified the control knob on your Aroma Electric Skillet, it’s time to remove the control knob cap. The control knob cap is the outer covering or protective layer of the control knob.
To remove the control knob cap, follow these steps:
- Inspect the control knob cap to identify any screws or fasteners holding it in place. Some control knob caps may have visible screws while others may have hidden clips or snaps.
- Using a Phillips-head screwdriver, carefully unscrew any visible screws securing the control knob cap. Turn the screw counterclockwise to loosen and remove it. Set the screws aside in a safe place.
- If there are no visible screws, gently pry the control knob cap off using your fingers. Apply even pressure around the edges of the cap to release any hidden clips or snaps. Take care not to use excessive force to prevent damage to the control knob cap or the skillet.
- Once the control knob cap is loose, carefully lift it off the control knob. Set it aside in a safe place where it won’t get lost or damaged.
With the control knob cap removed, you will now have a clear view of the control knob itself. This will allow you to proceed to the next step of unscrewing the control knob from the skillet.
Remember to handle the control knob cap and screws with care to avoid misplacing them. It’s a good practice to keep them in a small container or bag during the removal process to prevent any accidental losses.
Now that you have successfully removed the control knob cap, you are ready to move on to the next step of unscrewing the control knob from the Aroma Electric Skillet.
Step 5: Unscrew the Control Knob
With the control knob cap removed, you can now proceed to unscrew the control knob from your Aroma Electric Skillet. Unscrewing the control knob will allow you to detach it from the skillet for cleaning or replacement purposes.
Follow these steps to unscrew the control knob:
- Using a Phillips-head screwdriver, locate the screw connecting the control knob to the skillet. The screw is typically found in the center of the control knob.
- Insert the screwdriver into the screw and turn it counterclockwise to loosen and unscrew it. You may need to apply some gentle pressure and hold the control knob in place to prevent it from spinning as you unscrew.
- Continue to unscrew the control knob until it is fully detached from the skillet. Set the screw aside in a safe place.
If the control knob is tightly secured or difficult to unscrew, you can use pliers for additional leverage. Gently grip the control knob with the pliers and rotate counterclockwise to unscrew it. Take caution not to apply too much force to avoid damaging the control knob or the skillet.
Once the control knob is unscrewed, carefully lift it away from the skillet. Be mindful of any wires or connectors attached to the control knob, as you may need to disconnect them before fully removing the knob.
By unscrewing the control knob, you have successfully detached it from your Aroma Electric Skillet. This will allow you to clean or replace the control knob as needed.
Now that the control knob is removed, you can proceed to the next step of gently pulling out the control knob from the skillet.
Step 6: Gently Pull Out the Control Knob
After unscrewing the control knob from your Aroma Electric Skillet, the next step is to gently pull it out from the skillet. Removing the control knob completely will give you better access to clean and maintain it properly.
Follow these steps to safely pull out the control knob:
- Hold the base of the control knob firmly with one hand to provide support while pulling it out.
- Using your other hand, gently and steadily pull the control knob straight out from the skillet. Avoid twisting or yanking it forcefully to prevent any damage to the control knob or the skillet.
- If the control knob feels stuck or resistant, do not force it. Take a moment to inspect the area around the knob for any obstructions or hidden screws that may still be holding it in place. Carefully remove or unscrew them before attempting to pull out the knob again.
- Continue to pull the control knob until it is completely detached from the skillet.
It is important to handle the control knob with care while pulling it out to avoid any accidental damage. Take your time and be patient during this step to ensure a smooth and safe removal process.
Once the control knob is fully removed, set it aside in a secure location where it won’t get misplaced or damaged. With the control knob out of the skillet, you can move on to the next step of cleaning and maintaining it.
Now that you have successfully pulled out the control knob, you are ready to proceed with cleaning and maintaining it to ensure optimal performance.
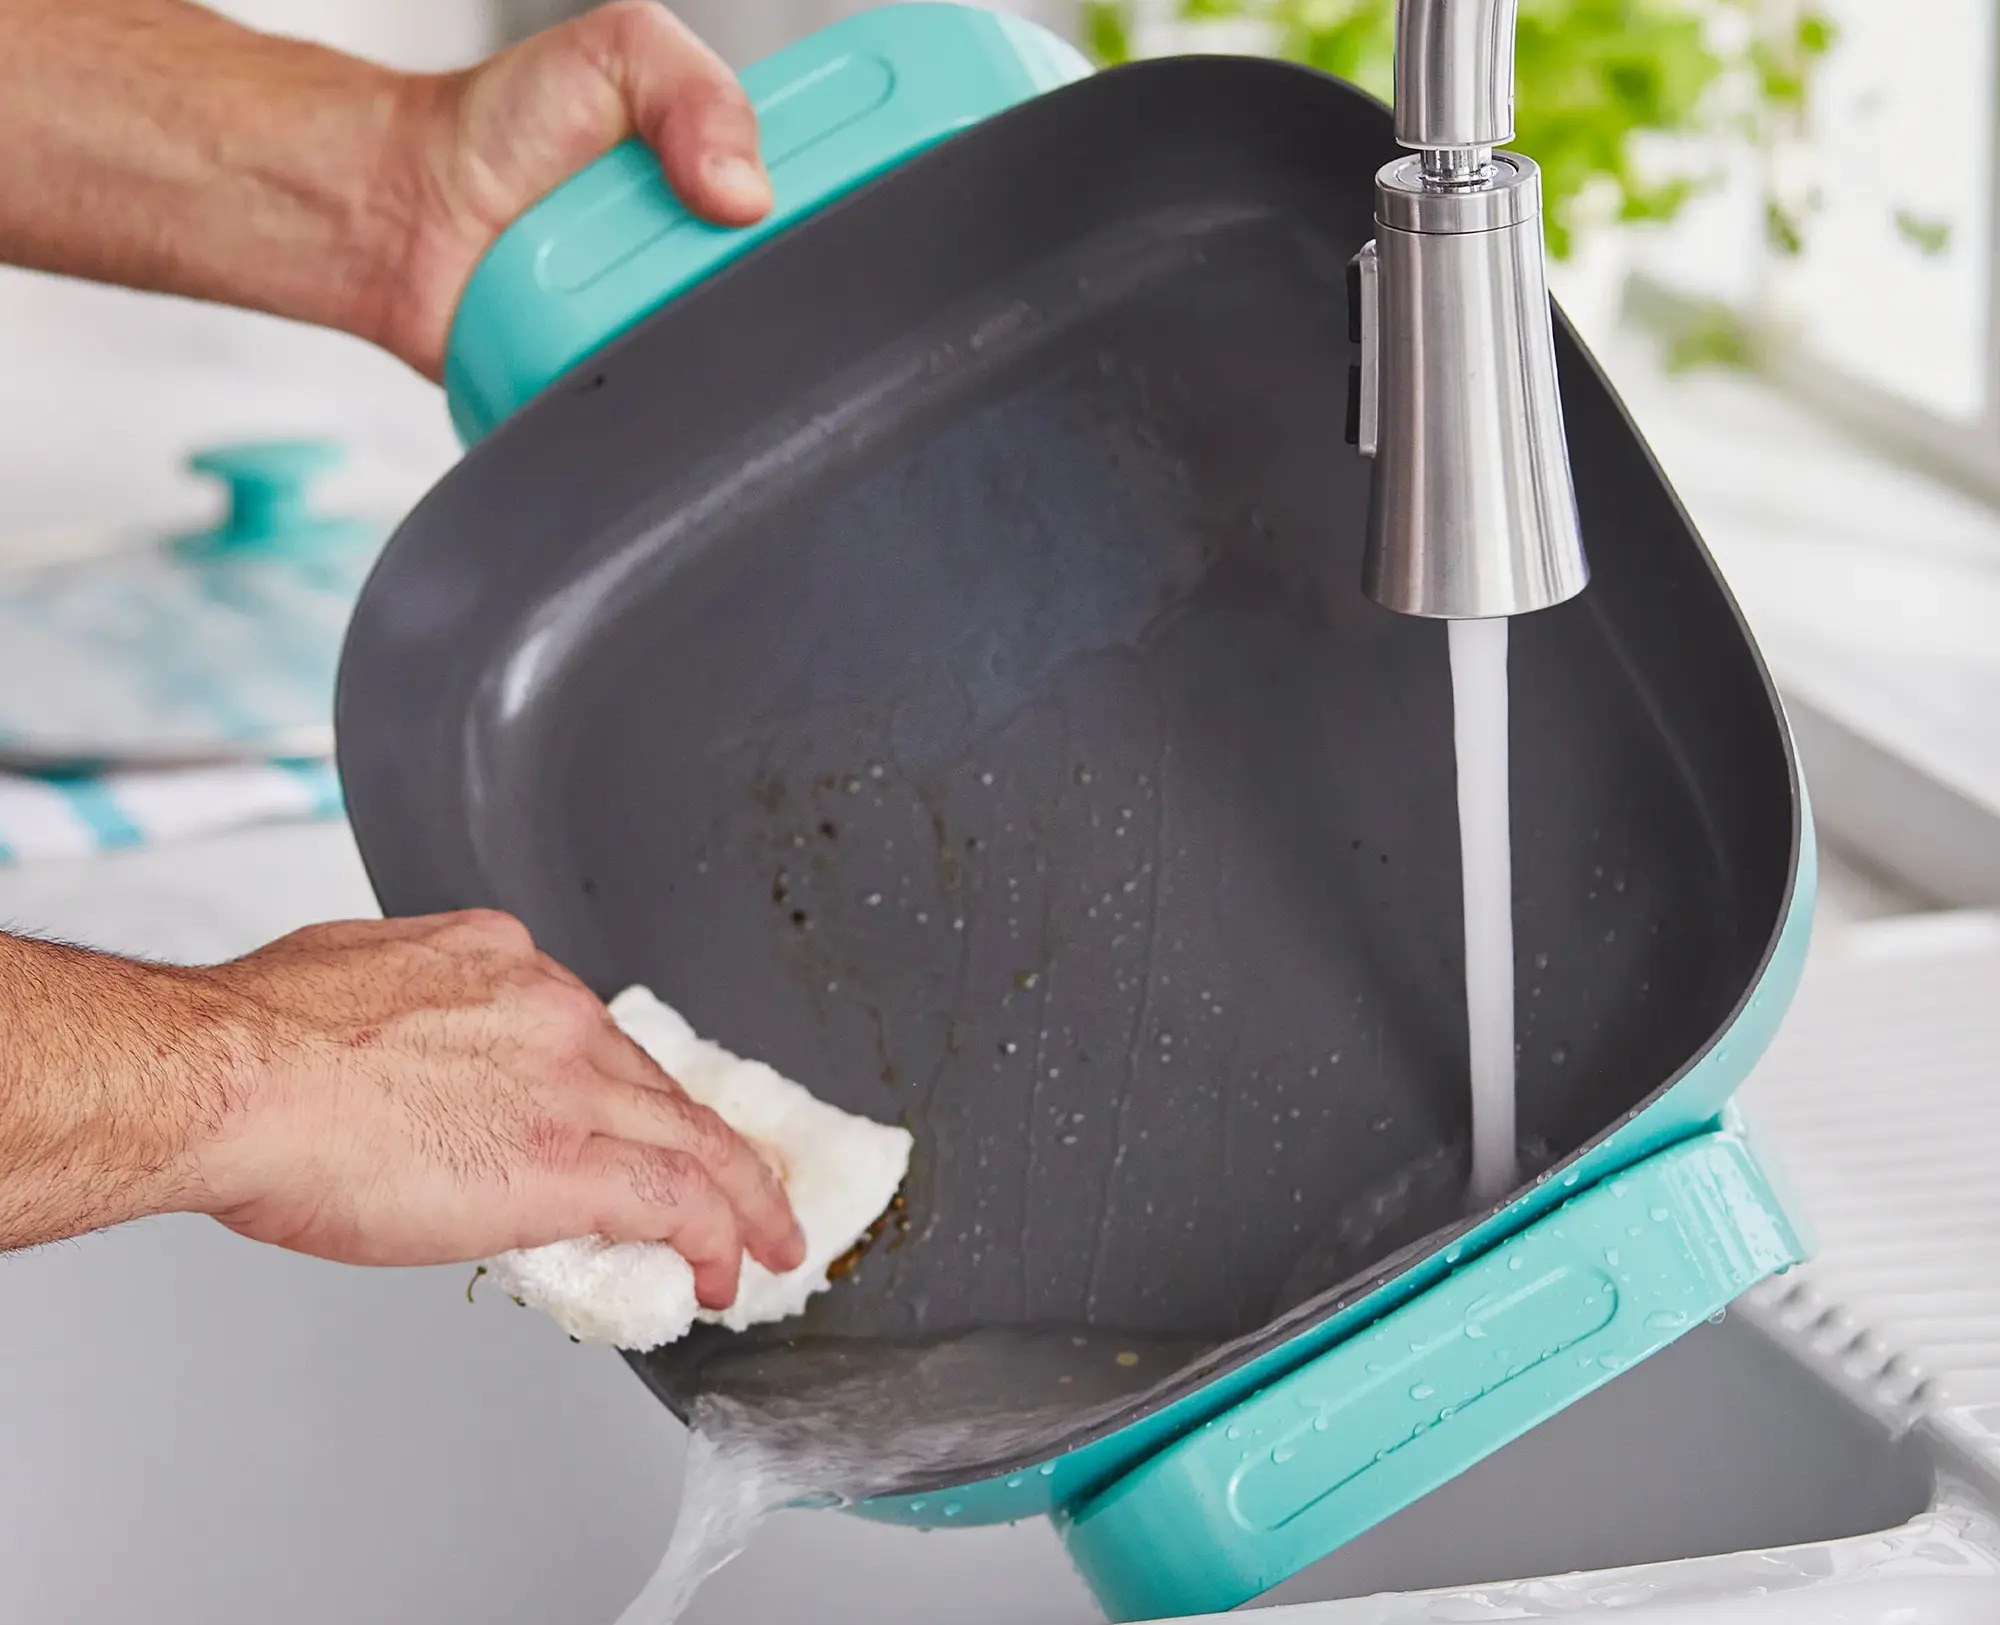
Step 7: Clean and Maintain the Control Knob
Now that you have removed the control knob from your Aroma Electric Skillet, it’s time to clean and maintain it. Regular cleaning and maintenance will help ensure that the control knob operates smoothly and efficiently.
Follow these steps to clean and maintain the control knob:
- Using a clean cloth or sponge, dampen it with warm water and a mild dish soap. Avoid using harsh or abrasive cleaners that can damage the control knob.
- Gently wipe down the entire surface of the control knob, removing any food residue, grease, or dirt. Pay extra attention to any grooves or crevices where debris may accumulate.
- Rinse the cloth or sponge to remove any soapy residue, then wipe the control knob again to remove any remaining soap.
- For tough stains or stubborn grime, you can create a paste using baking soda and water. Apply the paste to the control knob and let it sit for a few minutes before scrubbing gently with a soft brush or toothbrush.
- Once the control knob is clean, rinse it thoroughly with warm water to remove any cleaning agents.
- Pat dry the control knob with a clean towel or allow it to air dry completely before reassembling it.
- Inspect the control knob for any signs of damage, such as cracks or loose components. If you notice any issues, consider contacting the manufacturer for further assistance or to inquire about replacement parts.
- It is also important to maintain the control knob by ensuring that it remains free of any food or liquid spills during cooking. Regularly wipe down the control knob after each use to prevent build-up of residue.
By following these steps, you can effectively clean and maintain the control knob of your Aroma Electric Skillet. A clean and well-maintained control knob will ensure smooth temperature adjustments and prolong the lifespan of your skillet.
Once the control knob is clean and dry, you can move on to the next step of reassembling the skillet.
Step 8: Reassemble the Skillet
After cleaning and maintaining the control knob of your Aroma Electric Skillet, it’s time to reassemble the skillet. Reassembling the skillet will allow you to restore its functionality and resume your cooking activities.
Follow these steps to reassemble the skillet:
- Take the cleaned and dried control knob and align it with the opening on the front panel of the skillet.
- Gently insert the control knob into the opening, making sure it fits snugly but without forcing it.
- If the control knob has any wires or connectors attached to it, carefully reconnect them to their respective terminals or sockets. Ensure that the connections are secure and properly aligned.
- If you had used pliers to unscrew the control knob, now is the time to remove the pliers and ensure that the control knob is securely in place.
- If there were screws that held the control knob in place, reinsert them into their respective holes and tighten them using a Phillips-head screwdriver. Turn the screws clockwise to securely fasten the control knob.
- Double-check that the control knob is firmly in place and properly aligned with the temperature markings or cooking modes on the front panel of the skillet.
- If there is a control knob cap, position it over the control knob and align it with the markings or indicators on the front panel. Press it down gently until it snaps or locks into place.
- If the skillet lid was removed earlier, carefully place it back onto the skillet, ensuring that it is properly aligned and securely in place.
Once you have reassembled the skillet, take a moment to power it on and do a quick functionality check. Ensure that the control knob turns smoothly and allows you to adjust the temperature or cooking settings as desired.
Congratulations! You have successfully reassembled your Aroma Electric Skillet, and it is now ready for use. Enjoy cooking your favorite meals with the revitalized control knob.
Remember, always prioritize safety and refer to the manufacturer’s instructions for specific guidelines on reassembling your skillet. If you encounter any difficulties or have concerns, it is advisable to consult the manufacturer’s customer support for assistance.
With the skillet reassembled, you can confidently use it for your culinary adventures once again.
Conclusion
Congratulations on successfully removing, cleaning, and reassembling the control knob of your Aroma Electric Skillet! By following the step-by-step guide provided in this article, you have learned how to safely and effectively maintain this essential component of your skillet.
Regular cleaning and maintenance of the control knob will ensure smooth temperature adjustments, accurate cooking settings, and overall optimal performance of your Aroma Electric Skillet. It is important to prioritize safety throughout the process and to follow the manufacturer’s instructions and guidelines.
Remember to always power off and unplug the skillet before working on it, allow it to cool down, and wear protective gloves if necessary. Adhering to safety precautions will prevent accidents and ensure a safe working environment.
Properly identifying the control knob, removing the control knob cap, unscrewing the control knob, gently pulling it out, cleaning and maintaining it, and finally reassembling the skillet will keep your Aroma Electric Skillet in excellent condition for years to come.
Now that your control knob is clean and functioning smoothly, you can enjoy cooking delicious meals without any interruptions or issues. Take pride in your well-maintained skillet and explore a variety of recipes and culinary adventures with confidence.
Remember, if you encounter any difficulties or are unsure about any step of the process, do not hesitate to reach out to the manufacturer’s customer support or seek professional assistance. They will be able to offer guidance and ensure that you are on the right track.
Thank you for taking the time to follow this comprehensive guide on how to remove, clean, and reassemble the control knob of your Aroma Electric Skillet. We hope this article has equipped you with the knowledge and skills to maintain your skillet for optimal performance and longevity.
Frequently Asked Questions about Aroma Electric Skillet How To Remove Control Knob
Was this page helpful?
At Storables.com, we guarantee accurate and reliable information. Our content, validated by Expert Board Contributors, is crafted following stringent Editorial Policies. We're committed to providing you with well-researched, expert-backed insights for all your informational needs.


0 thoughts on “Aroma Electric Skillet How To Remove Control Knob”