Articles
How To Adjust Liftmaster Garage Door
Modified: August 22, 2024
Learn how to adjust your Liftmaster garage door with our informative articles. Find step-by-step instructions and tips for smooth operation.
(Many of the links in this article redirect to a specific reviewed product. Your purchase of these products through affiliate links helps to generate commission for Storables.com, at no extra cost. Learn more)
Introduction
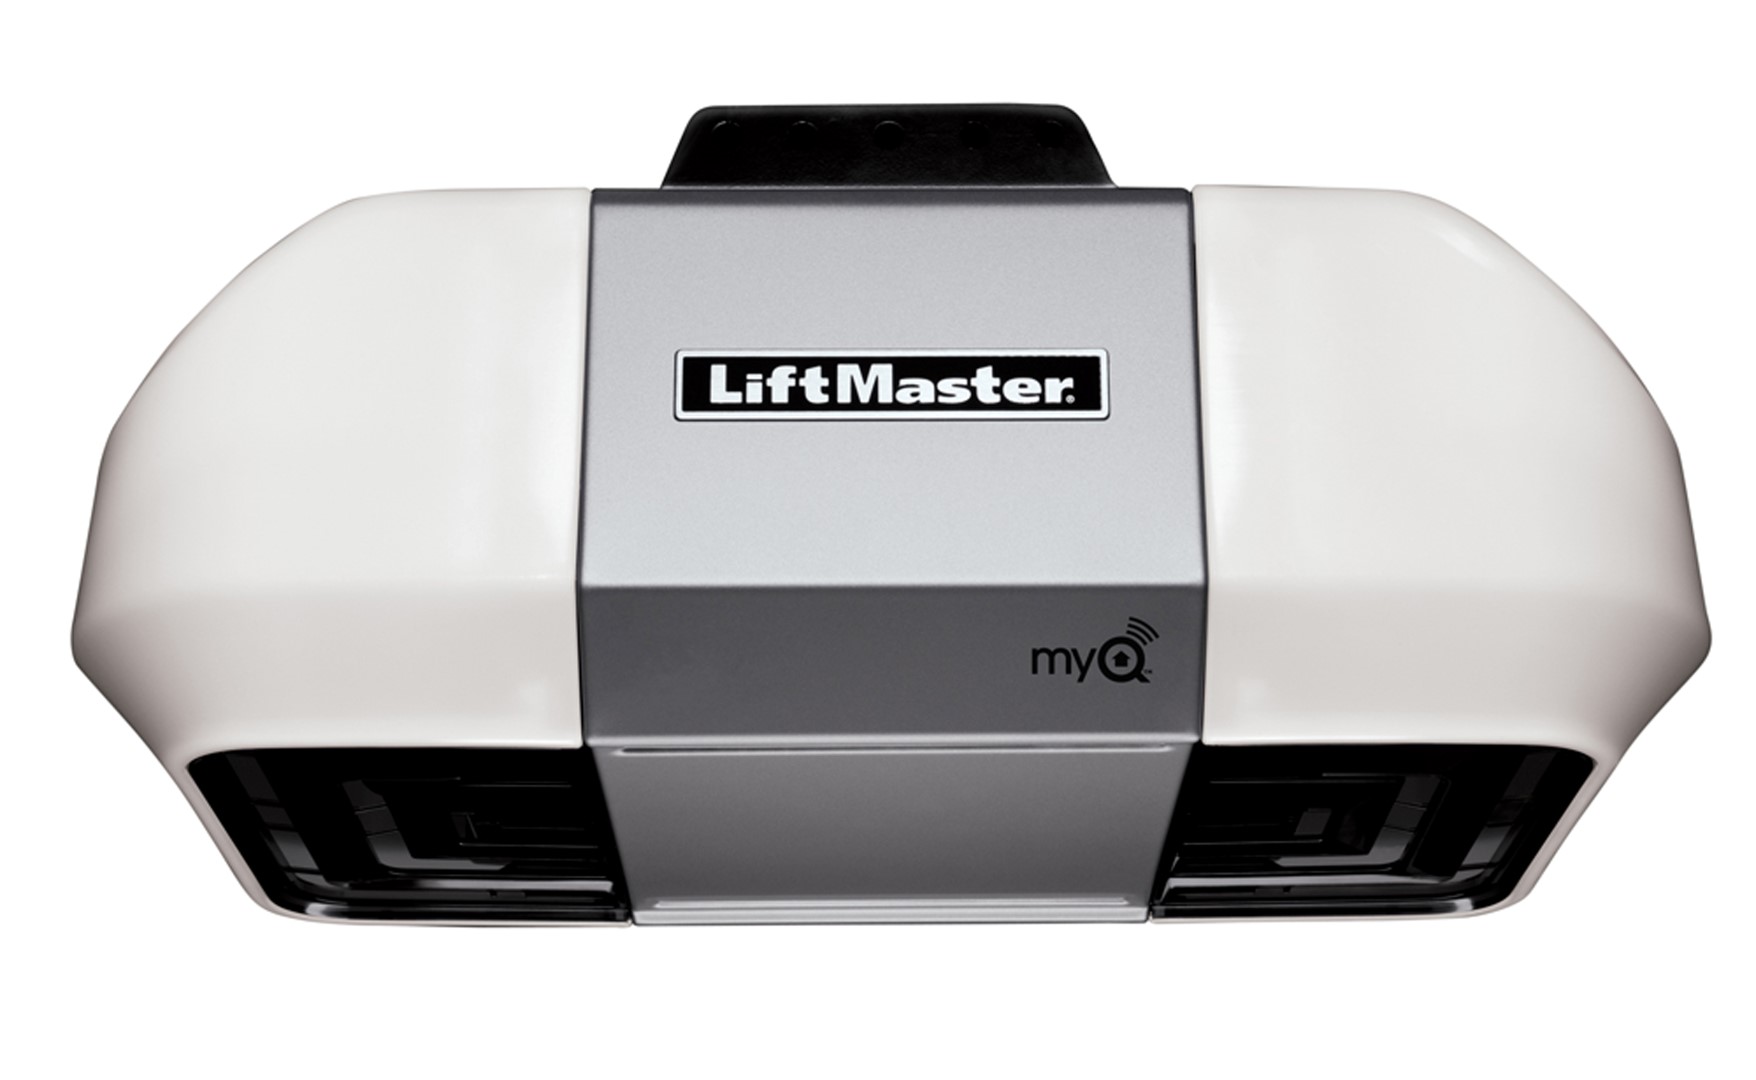
Having a properly functioning garage door is essential for the security and convenience of your home. Over time, you may notice that your Liftmaster garage door is not operating as smoothly as it used to. This could be due to a misalignment, incorrect settings, or simply wear and tear on the moving parts. Adjusting your Liftmaster garage door can help improve its performance and extend its lifespan.
In this article, we will guide you through the step-by-step process of adjusting a Liftmaster garage door. Whether you are experiencing problems with the door’s balance, limit settings, force settings, or safety sensors, we will provide you with the necessary information to make the necessary adjustments.
Before we begin, it’s worth noting that Liftmaster garage doors are equipped with safety features to prevent accidents or injuries. Always exercise caution when working on your garage door and consult the manufacturer’s manual for specific instructions.
Now, let’s dive into the task of adjusting your Liftmaster garage door to ensure optimal performance.
Key Takeaways:
- Ensure your Liftmaster garage door’s longevity and performance by checking balance, adjusting limit and force settings, lubricating moving parts, and testing safety sensors. Regular maintenance is key to optimal functionality.
- Prioritize safety and convenience by adjusting your Liftmaster garage door. Follow the step-by-step guide to ensure proper alignment, smooth operation, and extended lifespan. Regular maintenance is crucial for optimal performance.
Read more: How To Lock Liftmaster Garage Door
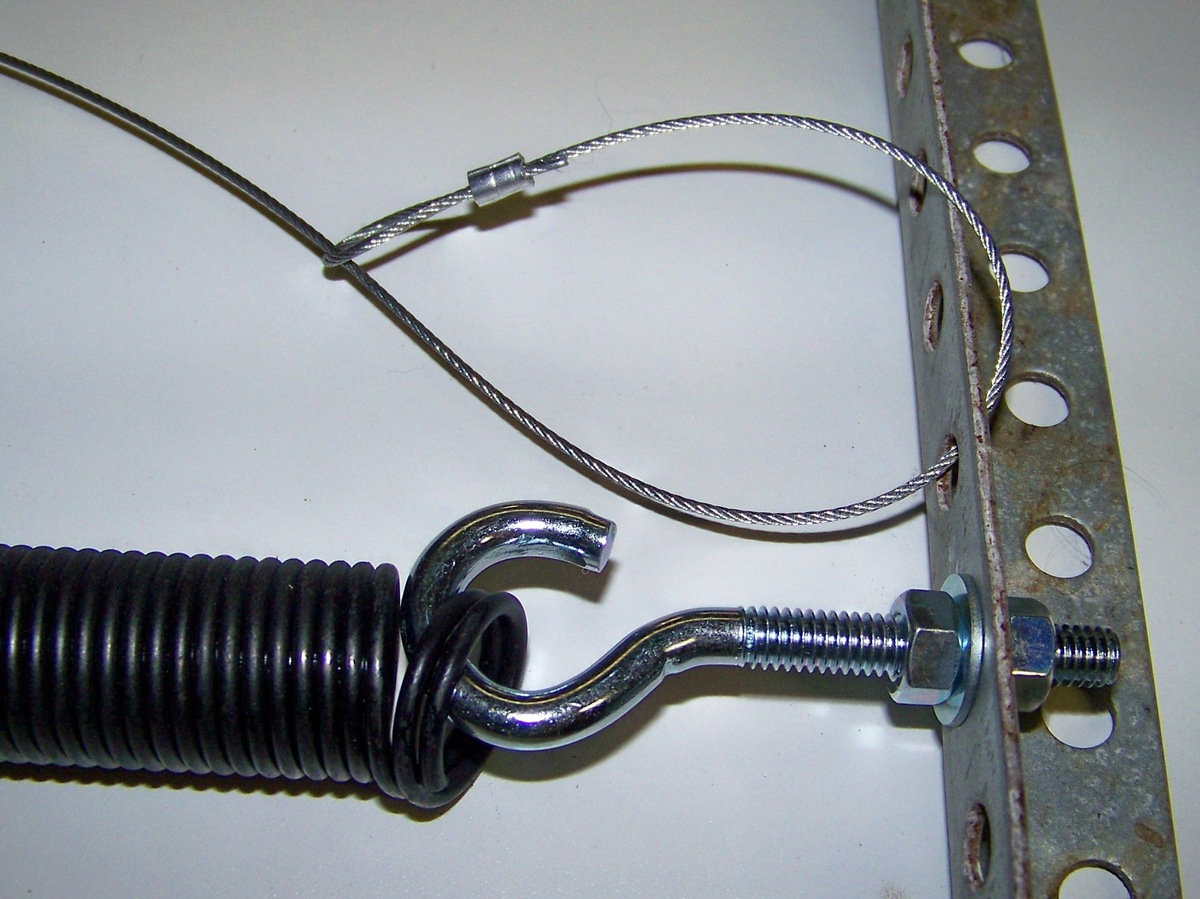
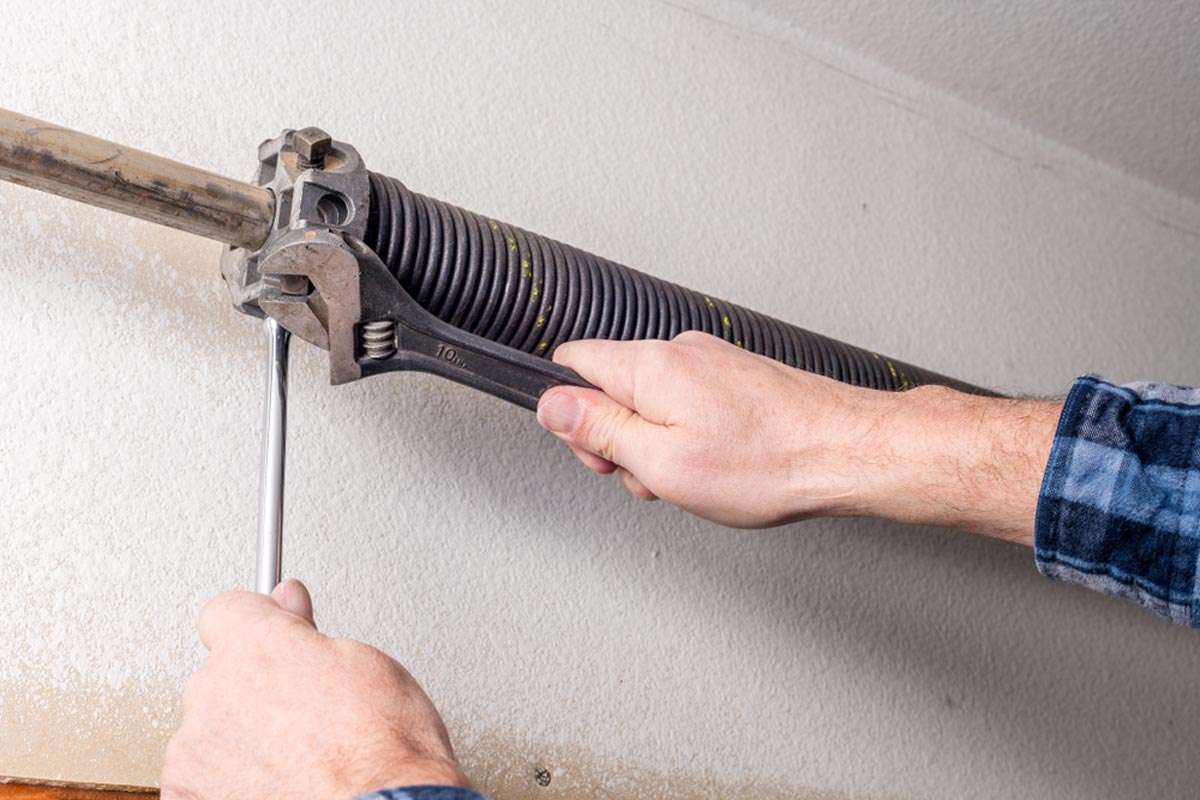
Step 1: Check the Balance of the Garage Door
The first step in adjusting a Liftmaster garage door is to check its balance. An imbalanced garage door can cause strain on the opener and lead to premature wear and tear. To check the balance, follow these steps:
- Disconnect the automatic opener by pulling the release cord.
- Manually lift the door to its halfway point and let go.
- If the door stays in place, it is properly balanced. However, if it falls or rises on its own, it is imbalanced and will require adjustment.
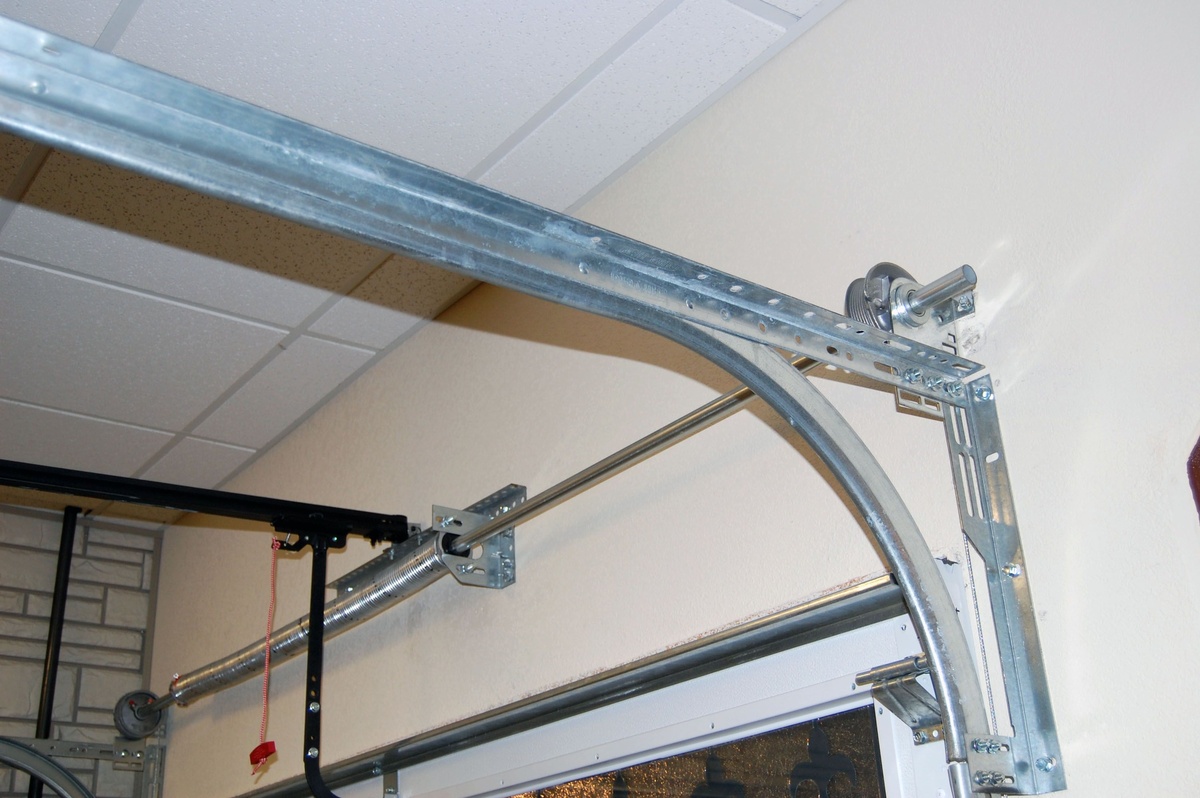
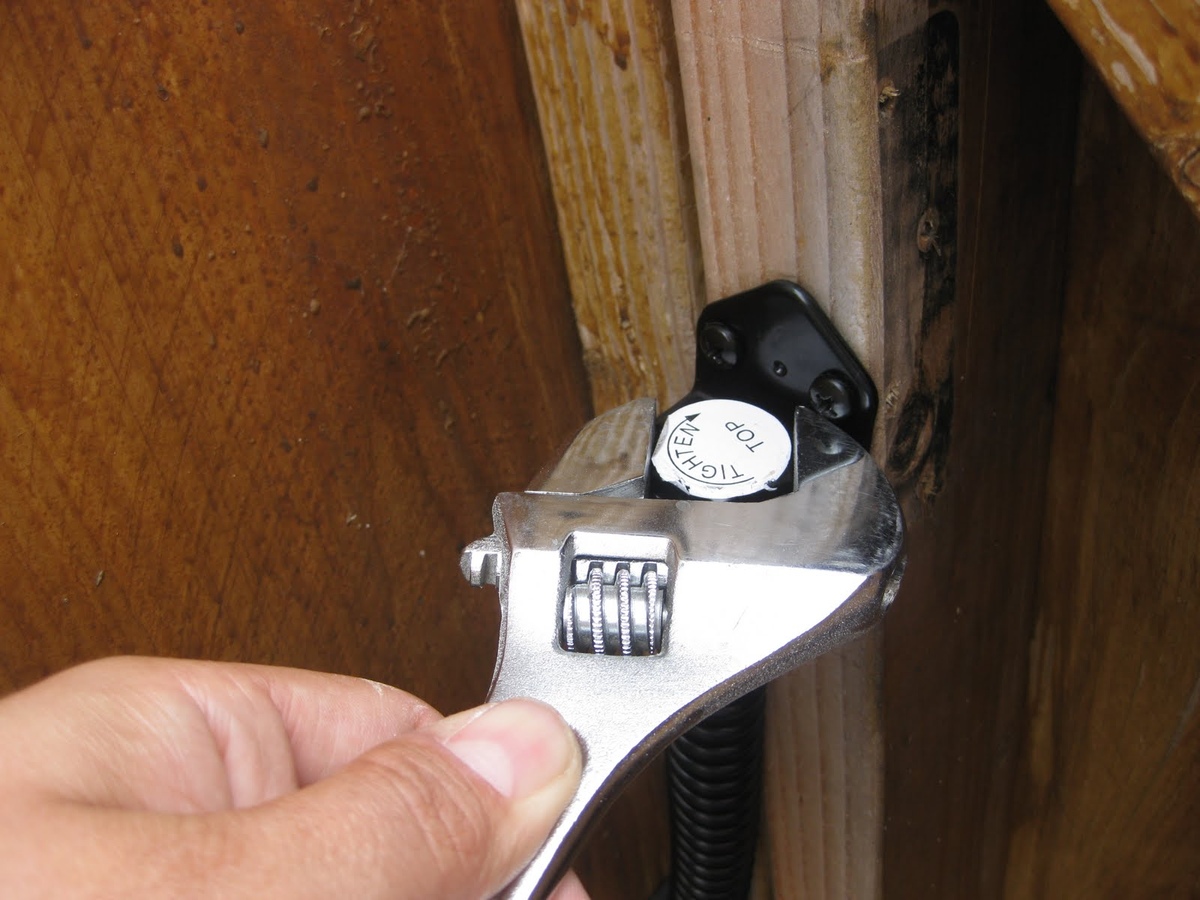
To adjust the balance of the garage door, locate the spring system on either side of the door. There are tension adjustment screws that can be turned clockwise or counterclockwise to increase or decrease the tension respectively. Make small adjustments and test the door’s balance after each adjustment until it remains in place when opened halfway.
It is important to note that adjusting the balance of a garage door can be dangerous. If you are not confident in your ability to perform this task, it is recommended to seek professional assistance.
Once you have successfully balanced your Liftmaster garage door, you can move on to the next step of adjusting the limit settings.
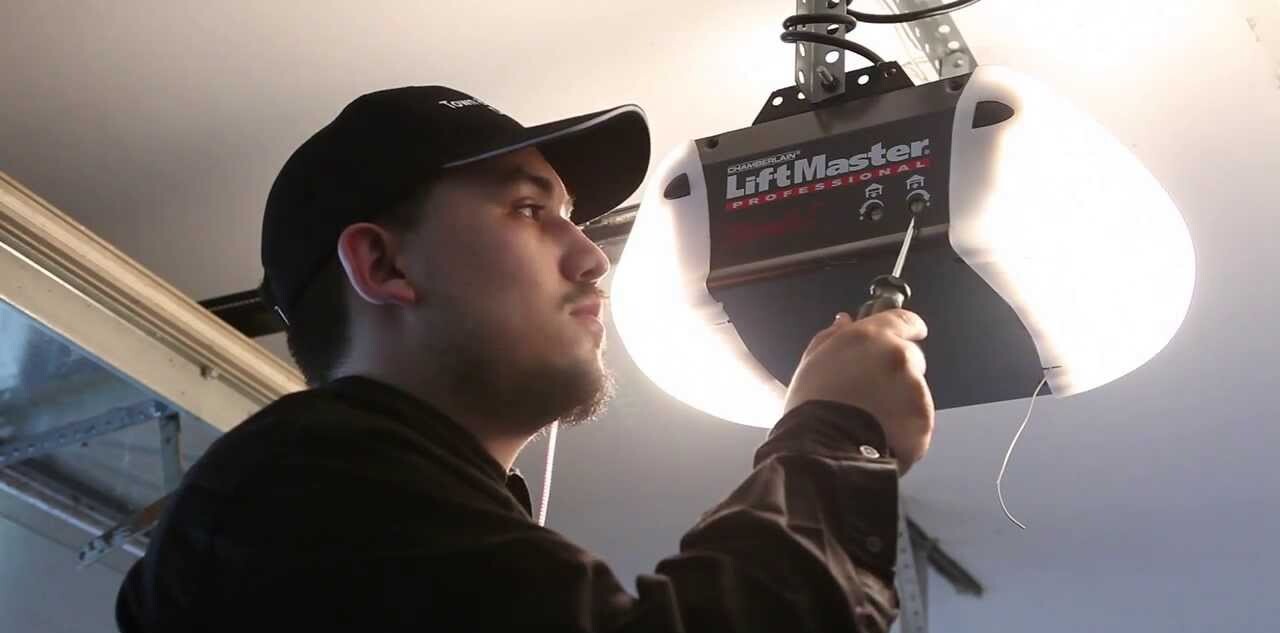
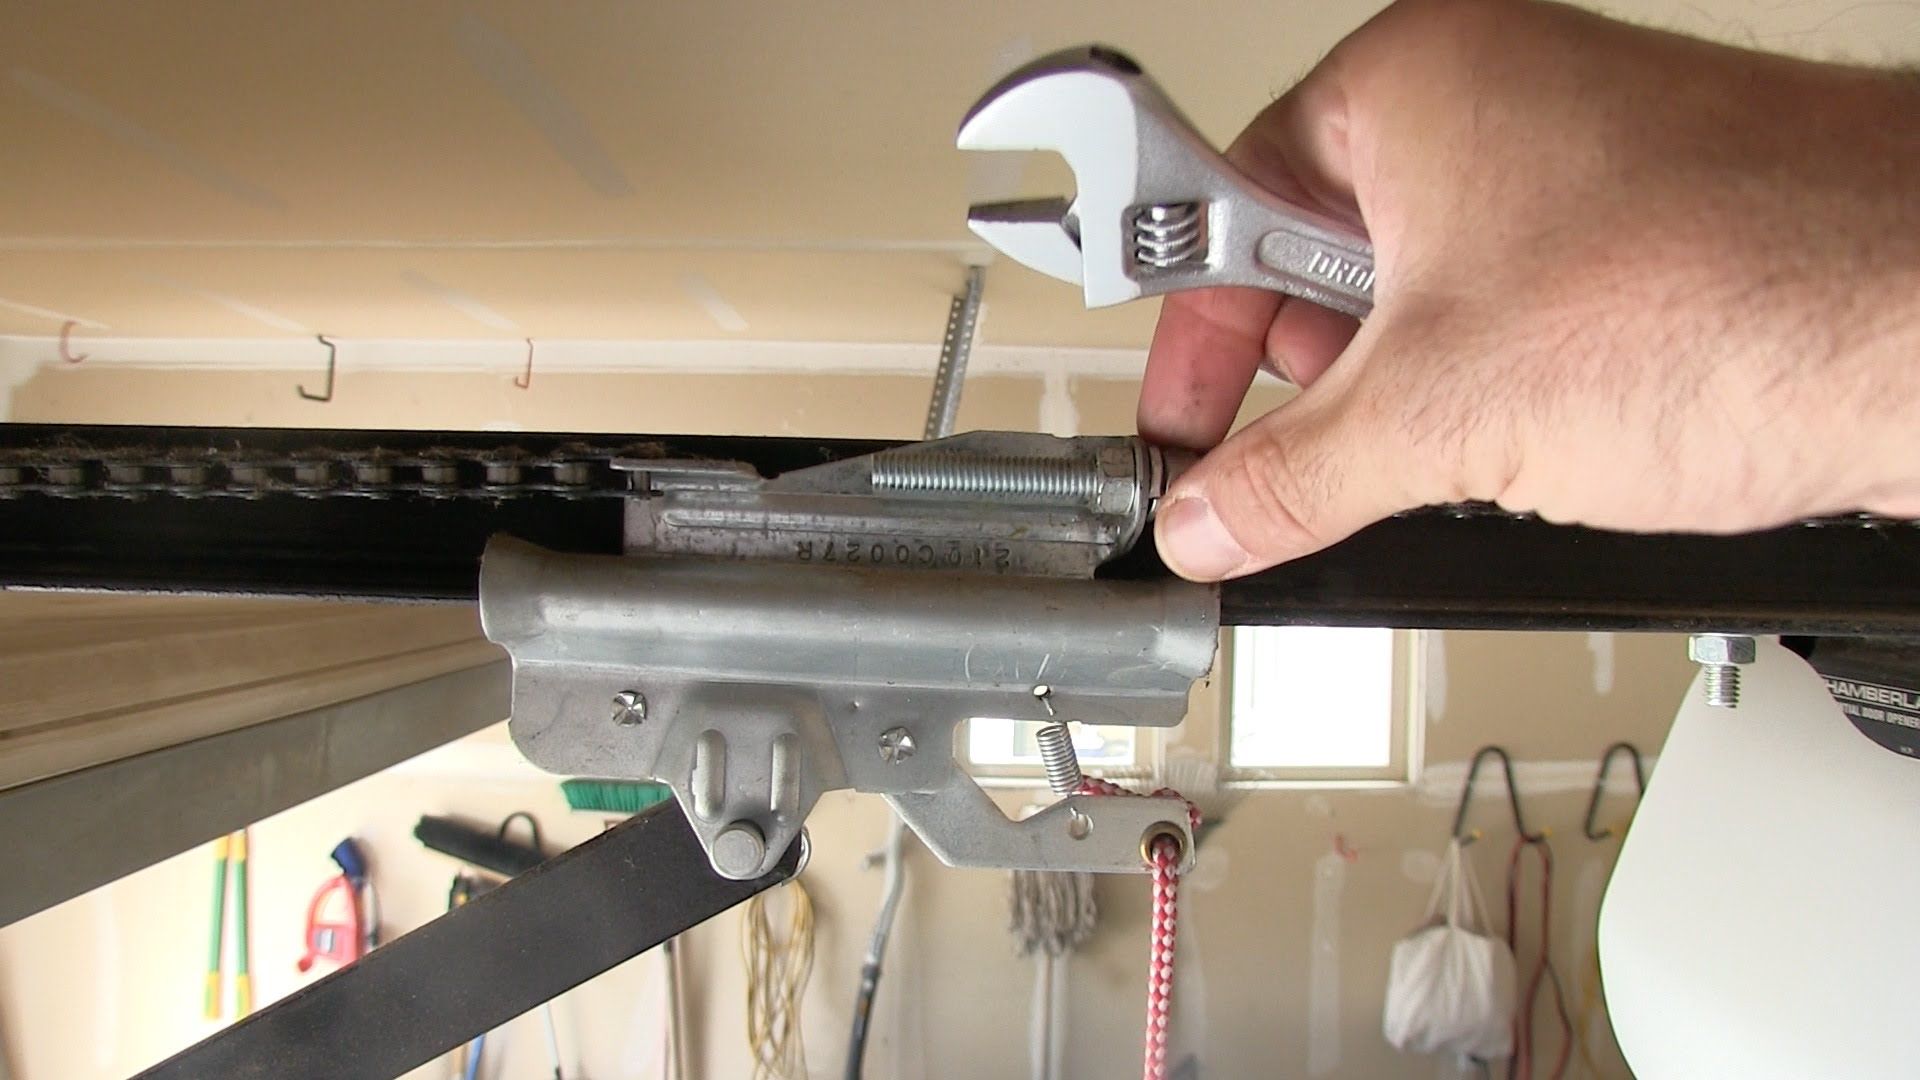
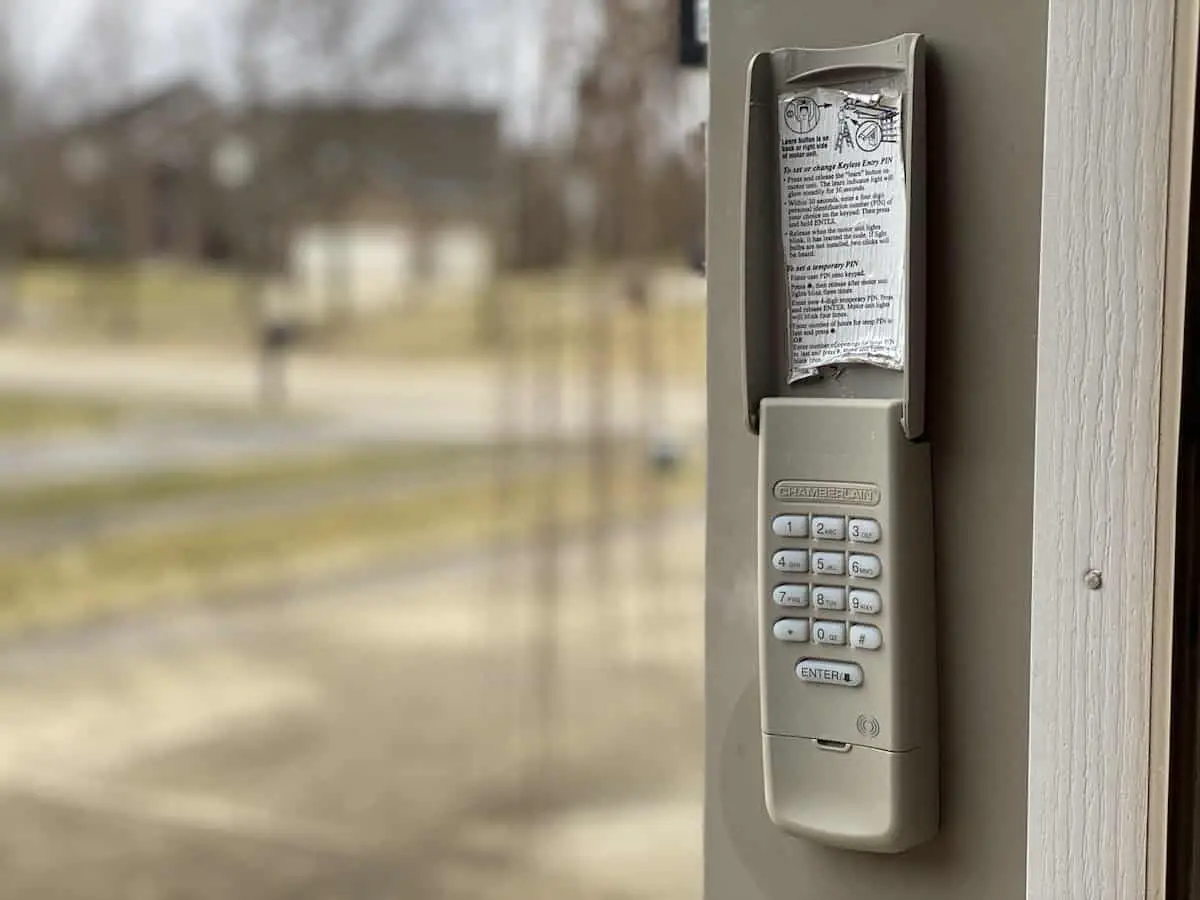
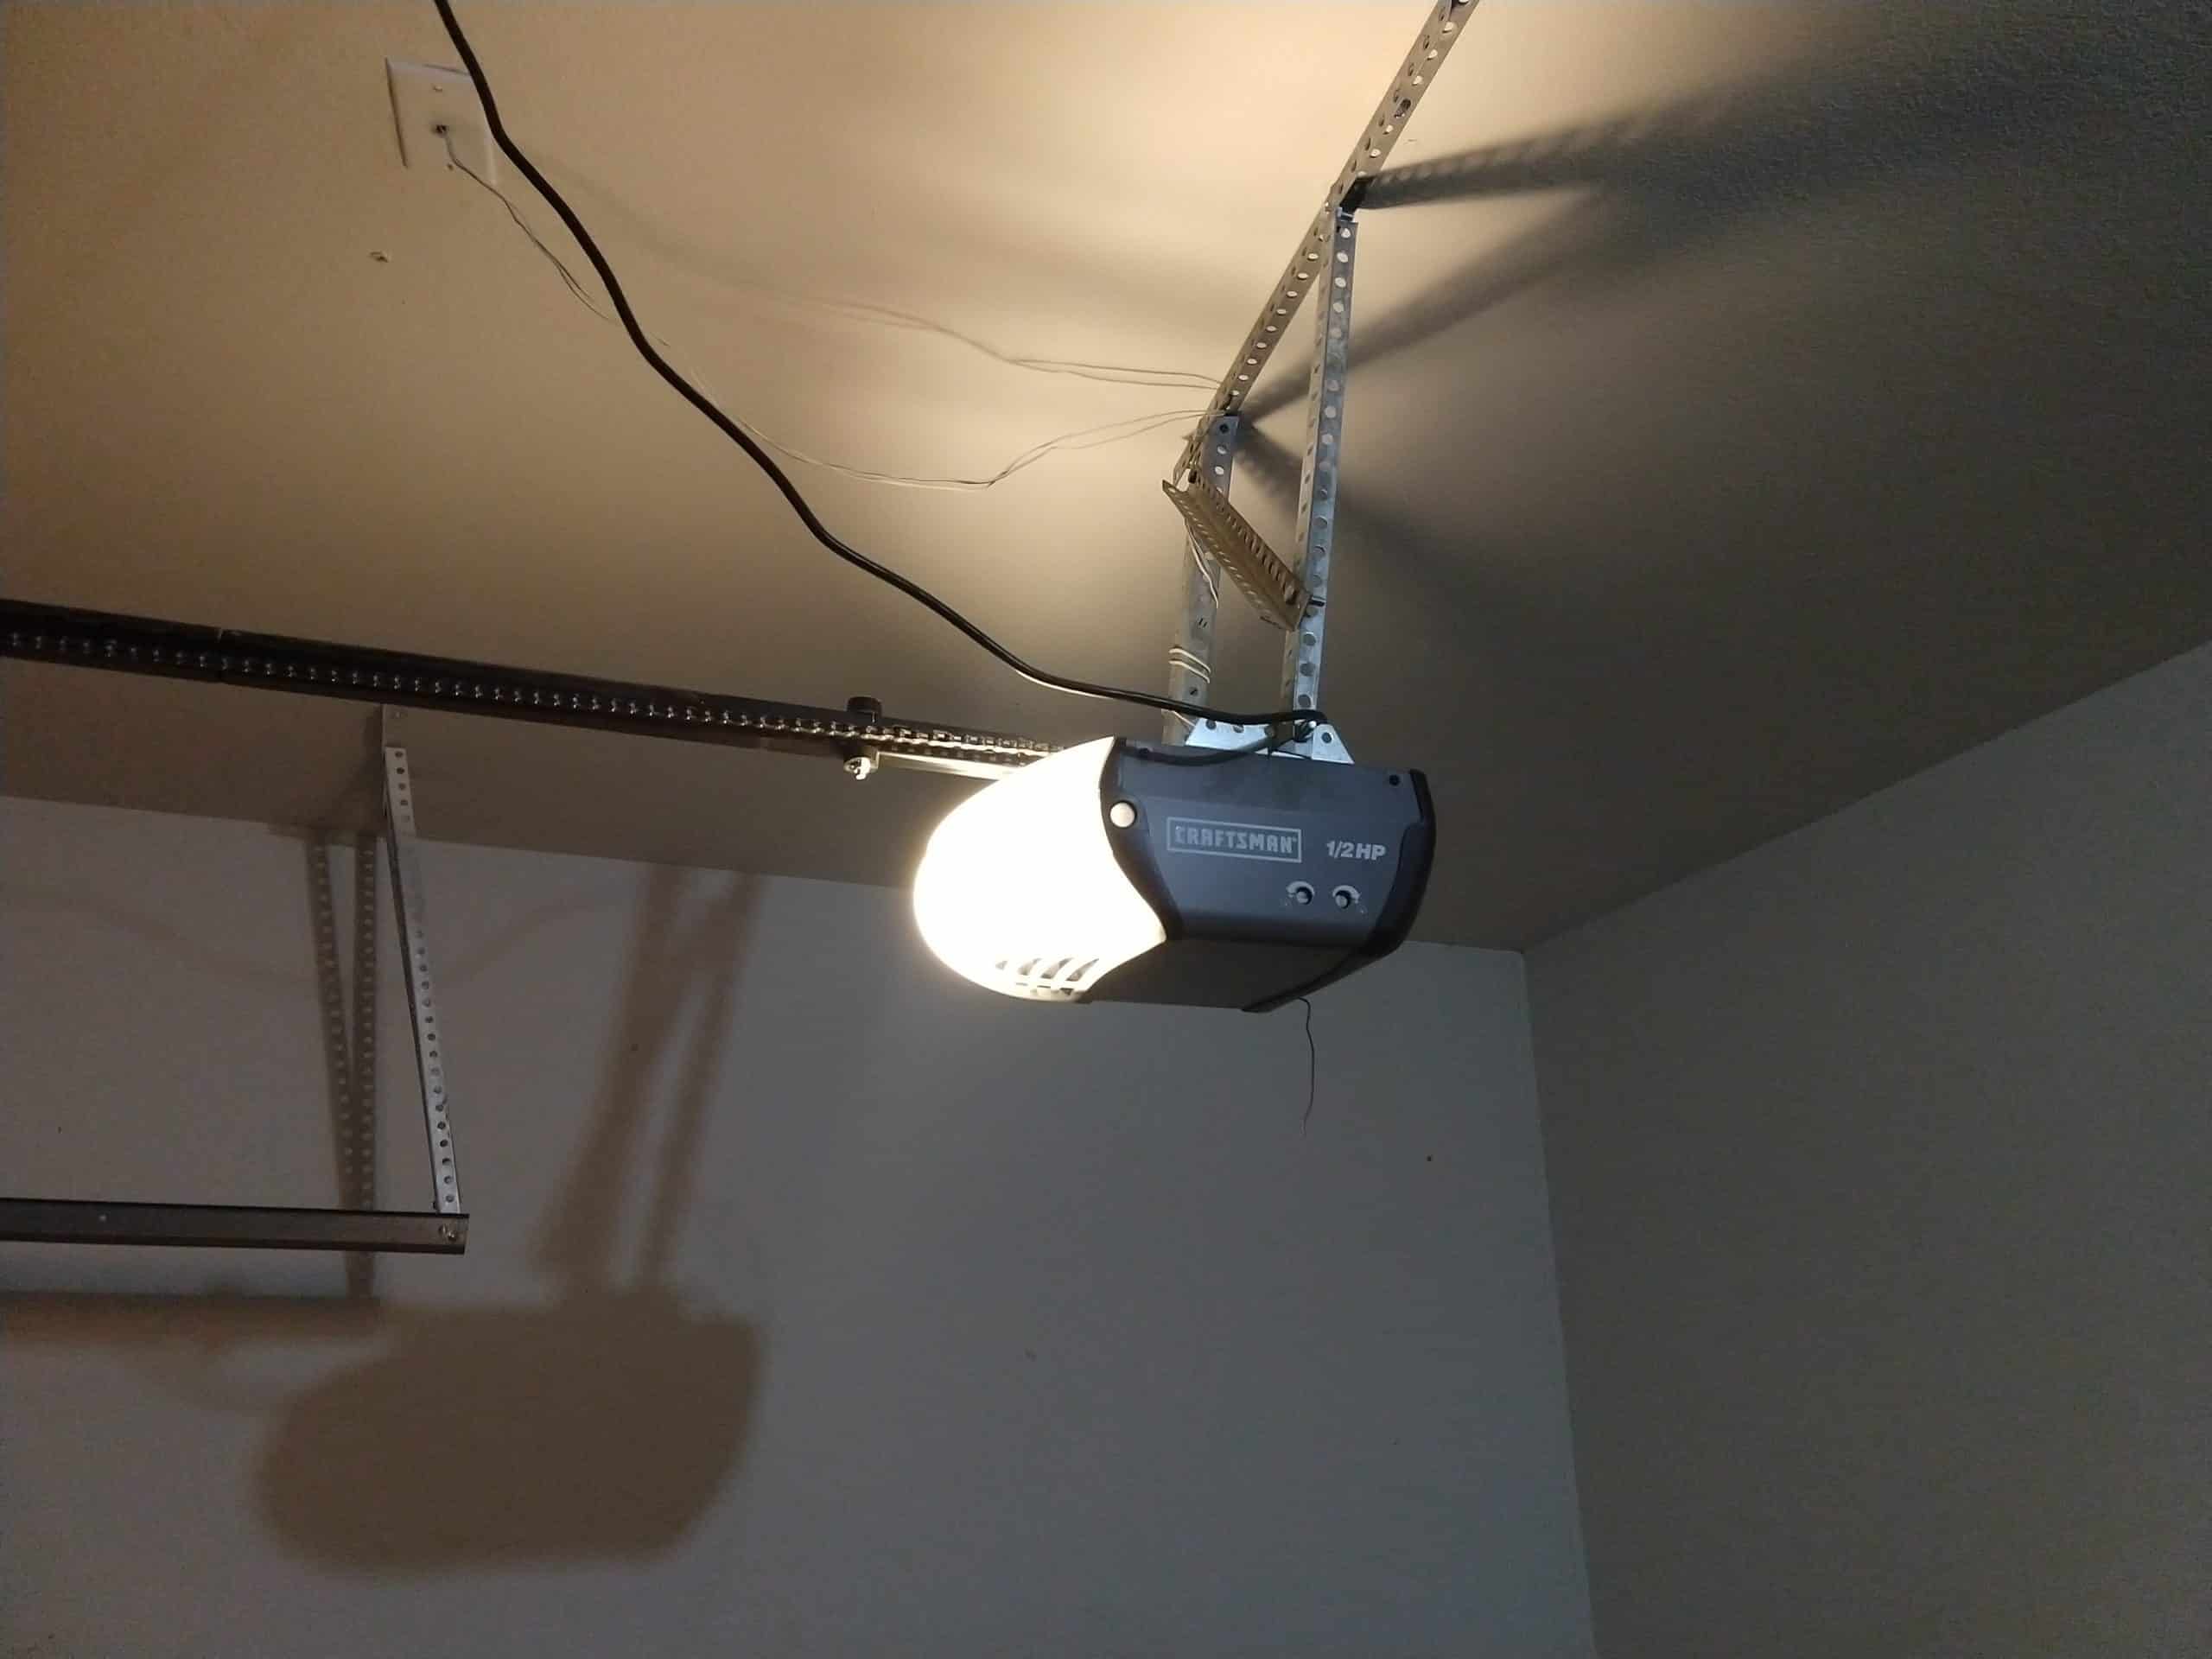
Step 2: Adjust the Limit Settings
The limit settings of a Liftmaster garage door control how far the door opens and closes. If these settings are not properly adjusted, the door may not fully open or close, causing inconvenience and potential safety hazards. To adjust the limit settings, follow these steps:
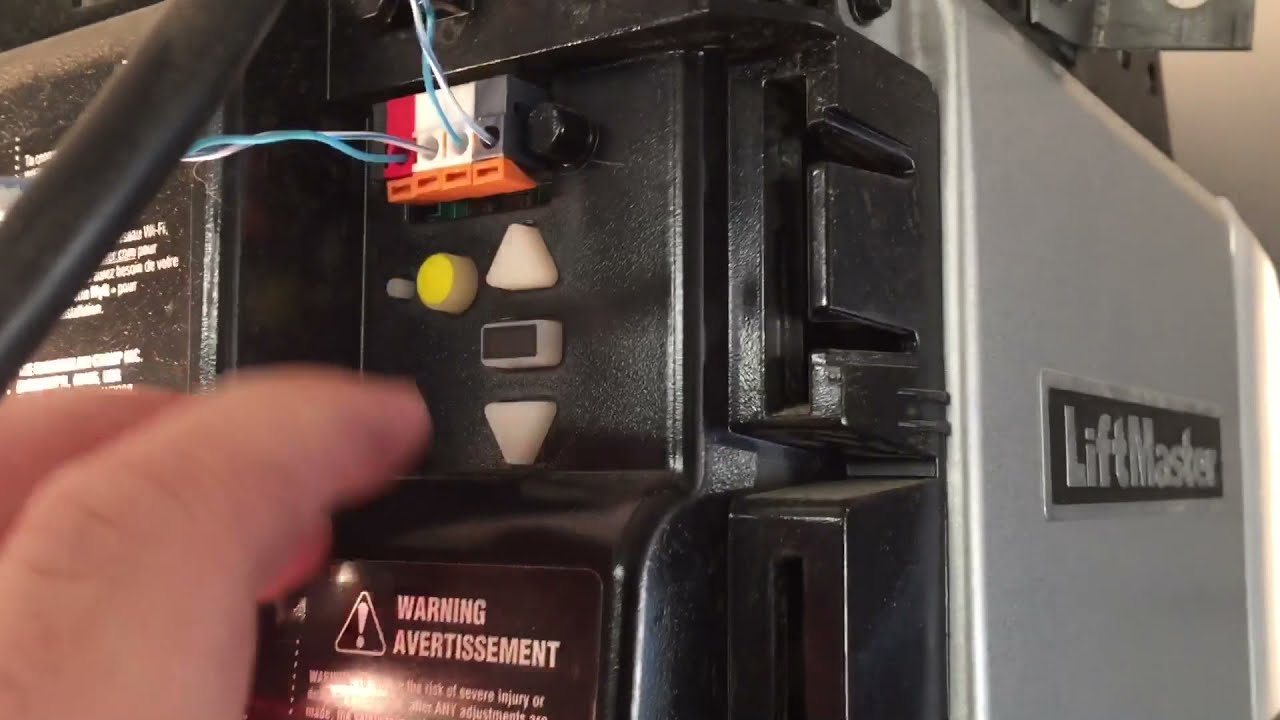
- Locate the limit adjustment screws on the side or back of the opener unit. These screws are usually labeled “up” and “down”.
- Use a screwdriver to turn the “up” screw clockwise to increase the open limit or counterclockwise to decrease it. Similarly, turn the “down” screw clockwise to increase the close limit or counterclockwise to decrease it.
- Make small adjustments to the limit settings and test the door’s operation after each adjustment.
- Continue adjusting the limit settings until the door opens and closes smoothly, reaching the desired height and fully closing without hitting the ground.
It is important to note that the limit settings should be adjusted in small increments to avoid overadjusting, which can lead to damage or malfunction of the opener. Also, make sure to test the safety sensors after adjusting the limit settings to ensure they are still functioning properly.
With the limit settings properly adjusted, the next step is to adjust the force settings of the Liftmaster garage door opener.
Step 3: Adjust the Force Settings
The force settings of a Liftmaster garage door opener determine how much force is required to open and close the door. If the force settings are too high, it can strain the opener and potentially damage the door. Conversely, if the force settings are too low, the door may not close properly or may reverse when it encounters resistance. Follow these steps to adjust the force settings:
- Locate the force adjustment screws on the opener unit. These screws are usually labeled “up force” and “down force”.
- Using a screwdriver, turn the “up force” screw clockwise to increase the force or counterclockwise to decrease it. Similarly, turn the “down force” screw clockwise to increase the force or counterclockwise to decrease it.
- Make small adjustments to the force settings and test the door’s operation after each adjustment. The door should close smoothly without exerting too much force.
- Continue adjusting the force settings until the door operates smoothly and reverses upon encountering resistance.
It’s crucial to find the right balance with the force settings. If the force is too high, it can cause damage to the door or pose a safety hazard. If it’s too low, the door may not close properly. Take your time and make incremental adjustments to achieve the optimal force settings.
Once the force settings are dialed in, it’s time to move on to our next step: lubricating the moving parts of the garage door.
To adjust a Liftmaster garage door, locate the limit adjustment screws on the opener and use a screwdriver to adjust the up and down limits as needed for smooth operation.
Step 4: Lubricate the Moving Parts
Lubricating the moving parts of your Liftmaster garage door is essential to ensure smooth operation and prevent excessive wear and noise. Over time, the hinges, rollers, and tracks can become dry and create friction, leading to poor performance. To lubricate the moving parts, follow these steps:
- Start by cleaning the tracks with a damp cloth to remove any dirt or debris.
- Apply a small amount of lubricant to the hinges, rollers, and tracks. Use a silicone-based lubricant or garage door lubricant specifically designed for this purpose.
- Move the door up and down a few times to distribute the lubricant evenly.
- Wipe off any excess lubricant with a cloth.
Regularly lubricating your garage door’s moving parts will help extend their lifespan and ensure smooth and quiet operation. It’s recommended to lubricate the parts at least once a year or as needed.
With the moving parts lubricated, we can now move on to checking the safety sensors of your Liftmaster garage door.
Read more: How To Unlock Liftmaster Garage Door
Step 5: Check the Safety Sensors
The safety sensors of a Liftmaster garage door are designed to detect any obstructions or objects in the path of the closing door. These sensors are an important safety feature that prevents accidents or injuries. To ensure the safety sensors are functioning properly, follow these steps:
- Start by inspecting the sensors located on each side of the garage door, near the floor. Ensure that they are clean and free from any dust, debris, or obstructions.
- Check the alignment of the sensors. They should be facing each other directly, with the indicator lights on each sensor lit up.
- If the indicator lights are not lit, try cleaning the sensors and realigning them. Use a soft cloth to wipe away any dirt or debris and gently adjust the position of the sensors until the indicator lights are illuminated.
- Test the sensors by closing the garage door. Place an object, such as a broom or cardboard box, in the path of the closing door. The door should stop and reverse immediately upon detecting the obstruction. If it doesn’t, there may be an issue with the sensors that requires further troubleshooting or professional assistance.
Regularly checking and maintaining the safety sensors is crucial for the safe operation of your garage door. Ensure that the sensors are always clean, aligned, and in proper working condition.
Now that you have checked the safety sensors, it’s time to move on to the final step: testing the operation of your Liftmaster garage door.
Step 6: Test the Door’s Operation
The final step in adjusting your Liftmaster garage door is to test its operation to ensure it is functioning correctly. Testing the door’s operation will allow you to verify that all the adjustments you have made have been successful. Follow these steps to test the door’s operation:
- Reconnect the automatic opener by pulling the release cord back into place.
- Stand clear of the door and use the remote control or wall switch to open and close the garage door.
- Observe the door as it opens and closes. Pay attention to any unusual noises, jerking movements, or hesitation in its operation.
- Check if the door opens and closes smoothly, reaches the desired height, and fully closes without hitting the ground. It should also reverse immediately if it encounters an obstruction.
- If you notice any issues during the test, go back and recheck the previous steps to ensure that all adjustments have been made correctly. Make necessary adjustments as needed.
If the door operates smoothly and meets all the desired criteria, congratulations! You have successfully adjusted your Liftmaster garage door. Enjoy the convenience and functionality of your properly adjusted garage door.
However, if you continue to experience issues with the door’s operation or if you are not comfortable performing these adjustments on your own, it is recommended to consult a professional garage door technician for further assistance.
Remember to perform regular maintenance on your garage door to keep it in optimal condition. This includes lubricating the moving parts, checking the balance, and testing the door’s safety features periodically.
By following these steps and maintaining your Liftmaster garage door properly, you can ensure its longevity, performance, and safety for years to come.
Conclusion
Adjusting your Liftmaster garage door is an important task that ensures its smooth operation, extends its lifespan, and enhances the safety of your home. By following the step-by-step guide outlined in this article, you can easily make the necessary adjustments to your garage door.
Starting with checking the balance of the door, you can ensure that it is properly aligned and not causing unnecessary strain. Adjusting the limit settings allows you to control how far the door opens and closes, providing convenience and safety. By adjusting the force settings, you can find the perfect balance of force needed for the door to operate smoothly without causing excessive strain on the opener or the door itself.
Regular maintenance of your garage door includes lubricating the moving parts, which reduces friction and noise, and checking the safety sensors to ensure they are working correctly. Testing the operation of the door at the end allows you to verify that all adjustments have been successful and that your garage door is operating as it should.
If at any point you feel unsure or uncomfortable performing these adjustments yourself, it is always recommended to consult a professional garage door technician. They have the expertise and knowledge to address any issues or concerns you may have.
Remember to perform regular maintenance on your garage door and address any issues promptly to avoid costly repairs down the line. By taking care of your Liftmaster garage door, you can enjoy its reliable performance and peace of mind for years to come.
Now that you have the knowledge and tools to adjust your Liftmaster garage door, go ahead and give it the attention it deserves. Start by checking the balance, adjusting the limit and force settings, lubricating the moving parts, checking the safety sensors, and testing the operation. Your garage door will thank you with improved functionality and longevity.
Frequently Asked Questions about How To Adjust Liftmaster Garage Door
Was this page helpful?
At Storables.com, we guarantee accurate and reliable information. Our content, validated by Expert Board Contributors, is crafted following stringent Editorial Policies. We're committed to providing you with well-researched, expert-backed insights for all your informational needs.

0 thoughts on “How To Adjust Liftmaster Garage Door”