
Articles
How Do They Install Quartz Countertops
Modified: October 20, 2024
Learn all about the installation process of quartz countertops in this informative article. Discover the steps involved and expert tips to ensure a successful installation.
(Many of the links in this article redirect to a specific reviewed product. Your purchase of these products through affiliate links helps to generate commission for Storables.com, at no extra cost. Learn more)
Introduction
Quartz countertops have gained immense popularity in recent years due to their durability, aesthetic appeal, and low maintenance requirements. Homeowners are increasingly opting for quartz countertops over traditional options like granite or laminate. But have you ever wondered how these stunning quartz countertops are installed?
In this comprehensive guide, we will take you through the step-by-step process of installing quartz countertops, ensuring that you have a clear understanding of what it takes to tackle this project.
From measuring and preparing the area to securing and leveling the quartz slabs, we will cover every aspect of the installation process. So, whether you are a DIY enthusiast looking to upgrade your kitchen or a homeowner planning to hire professionals, this article will equip you with the knowledge you need to ensure a successful and seamless installation of quartz countertops.
But before we delve into the installation process, let’s take a closer look at why quartz countertops have become such a sought-after choice for homeowners.
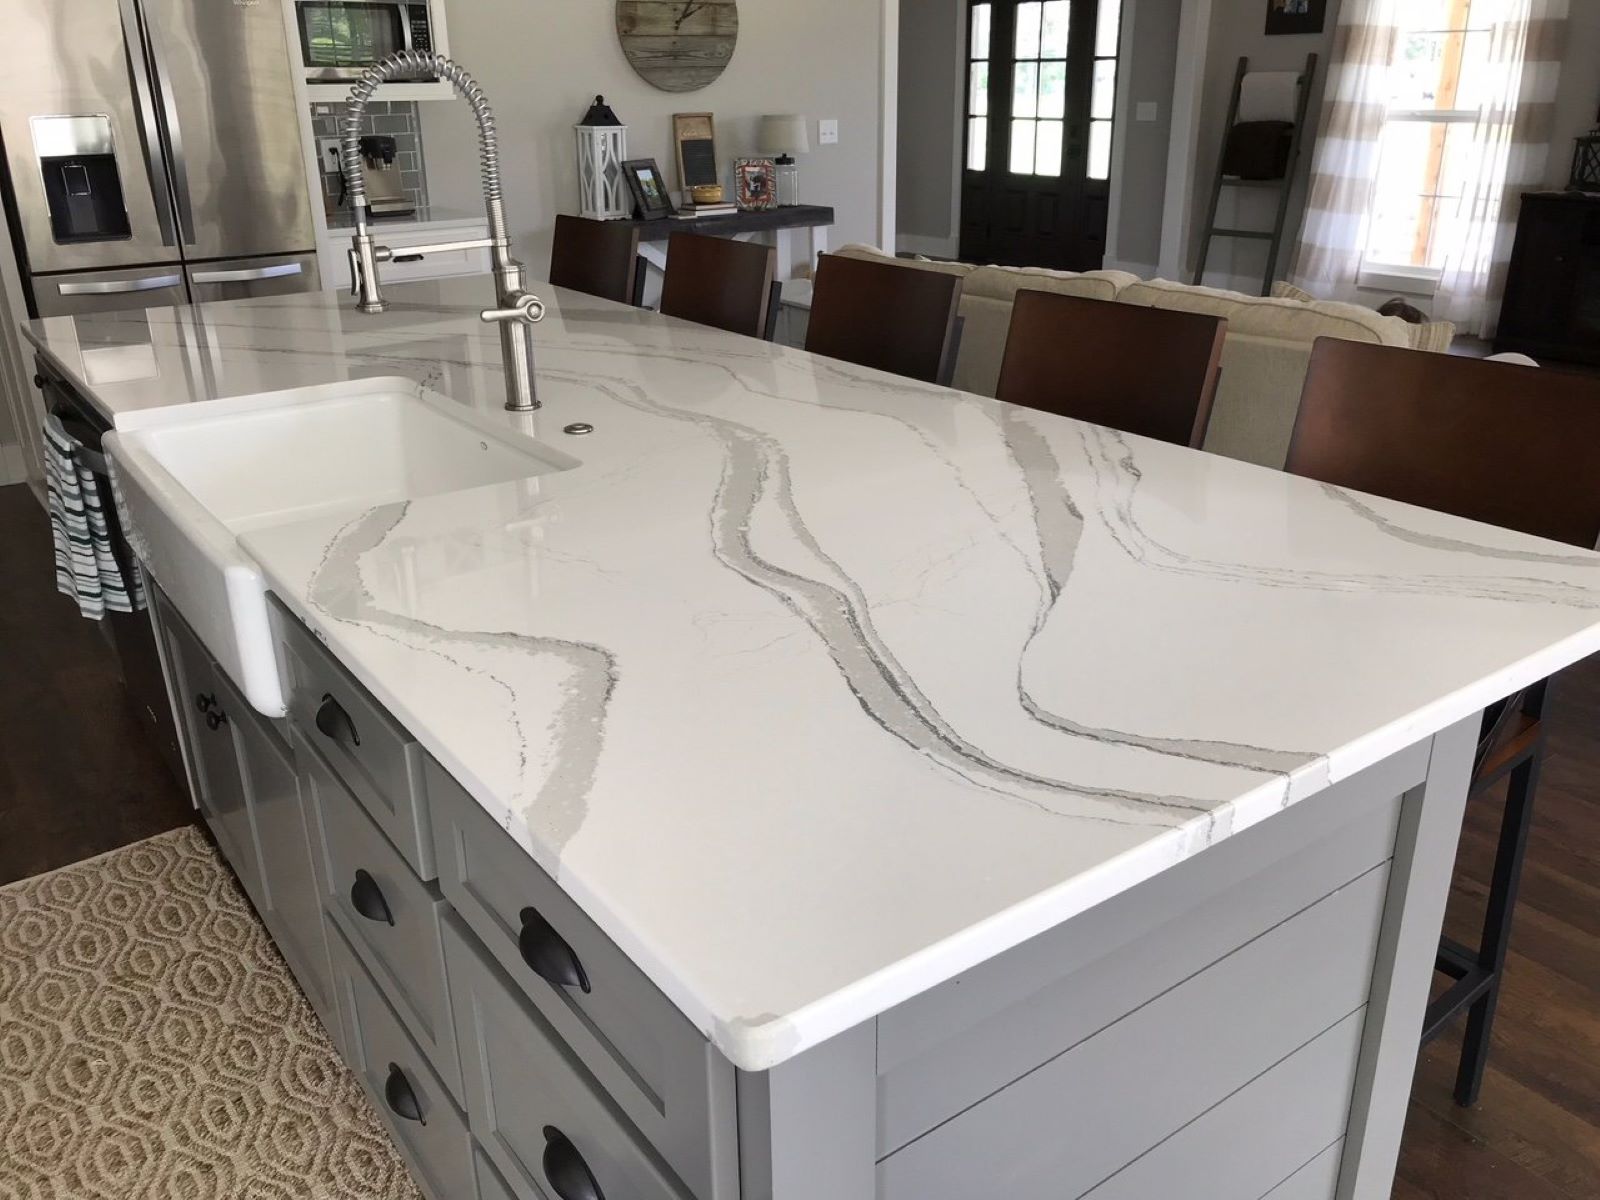
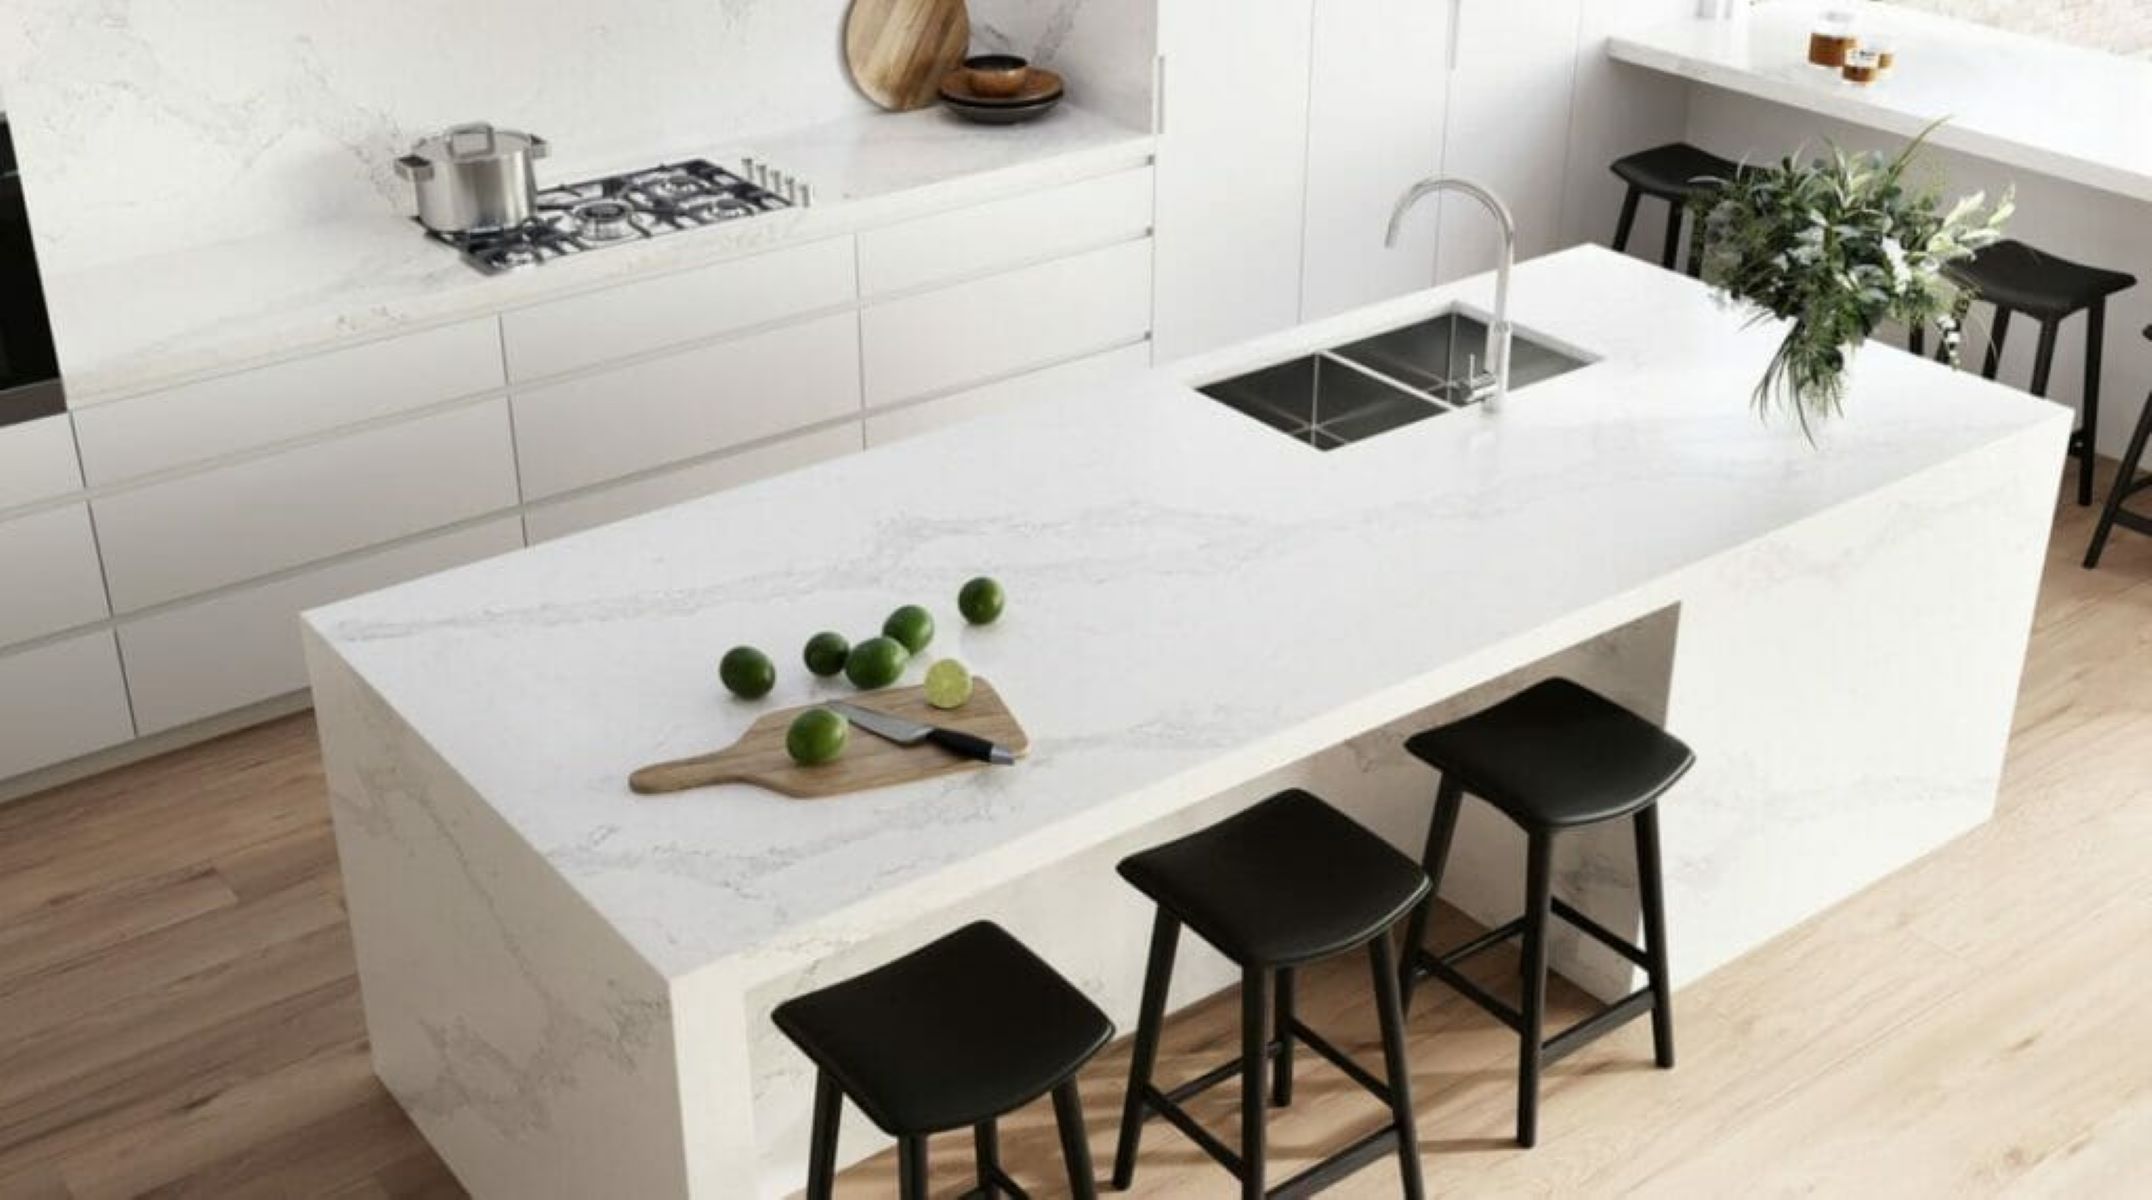
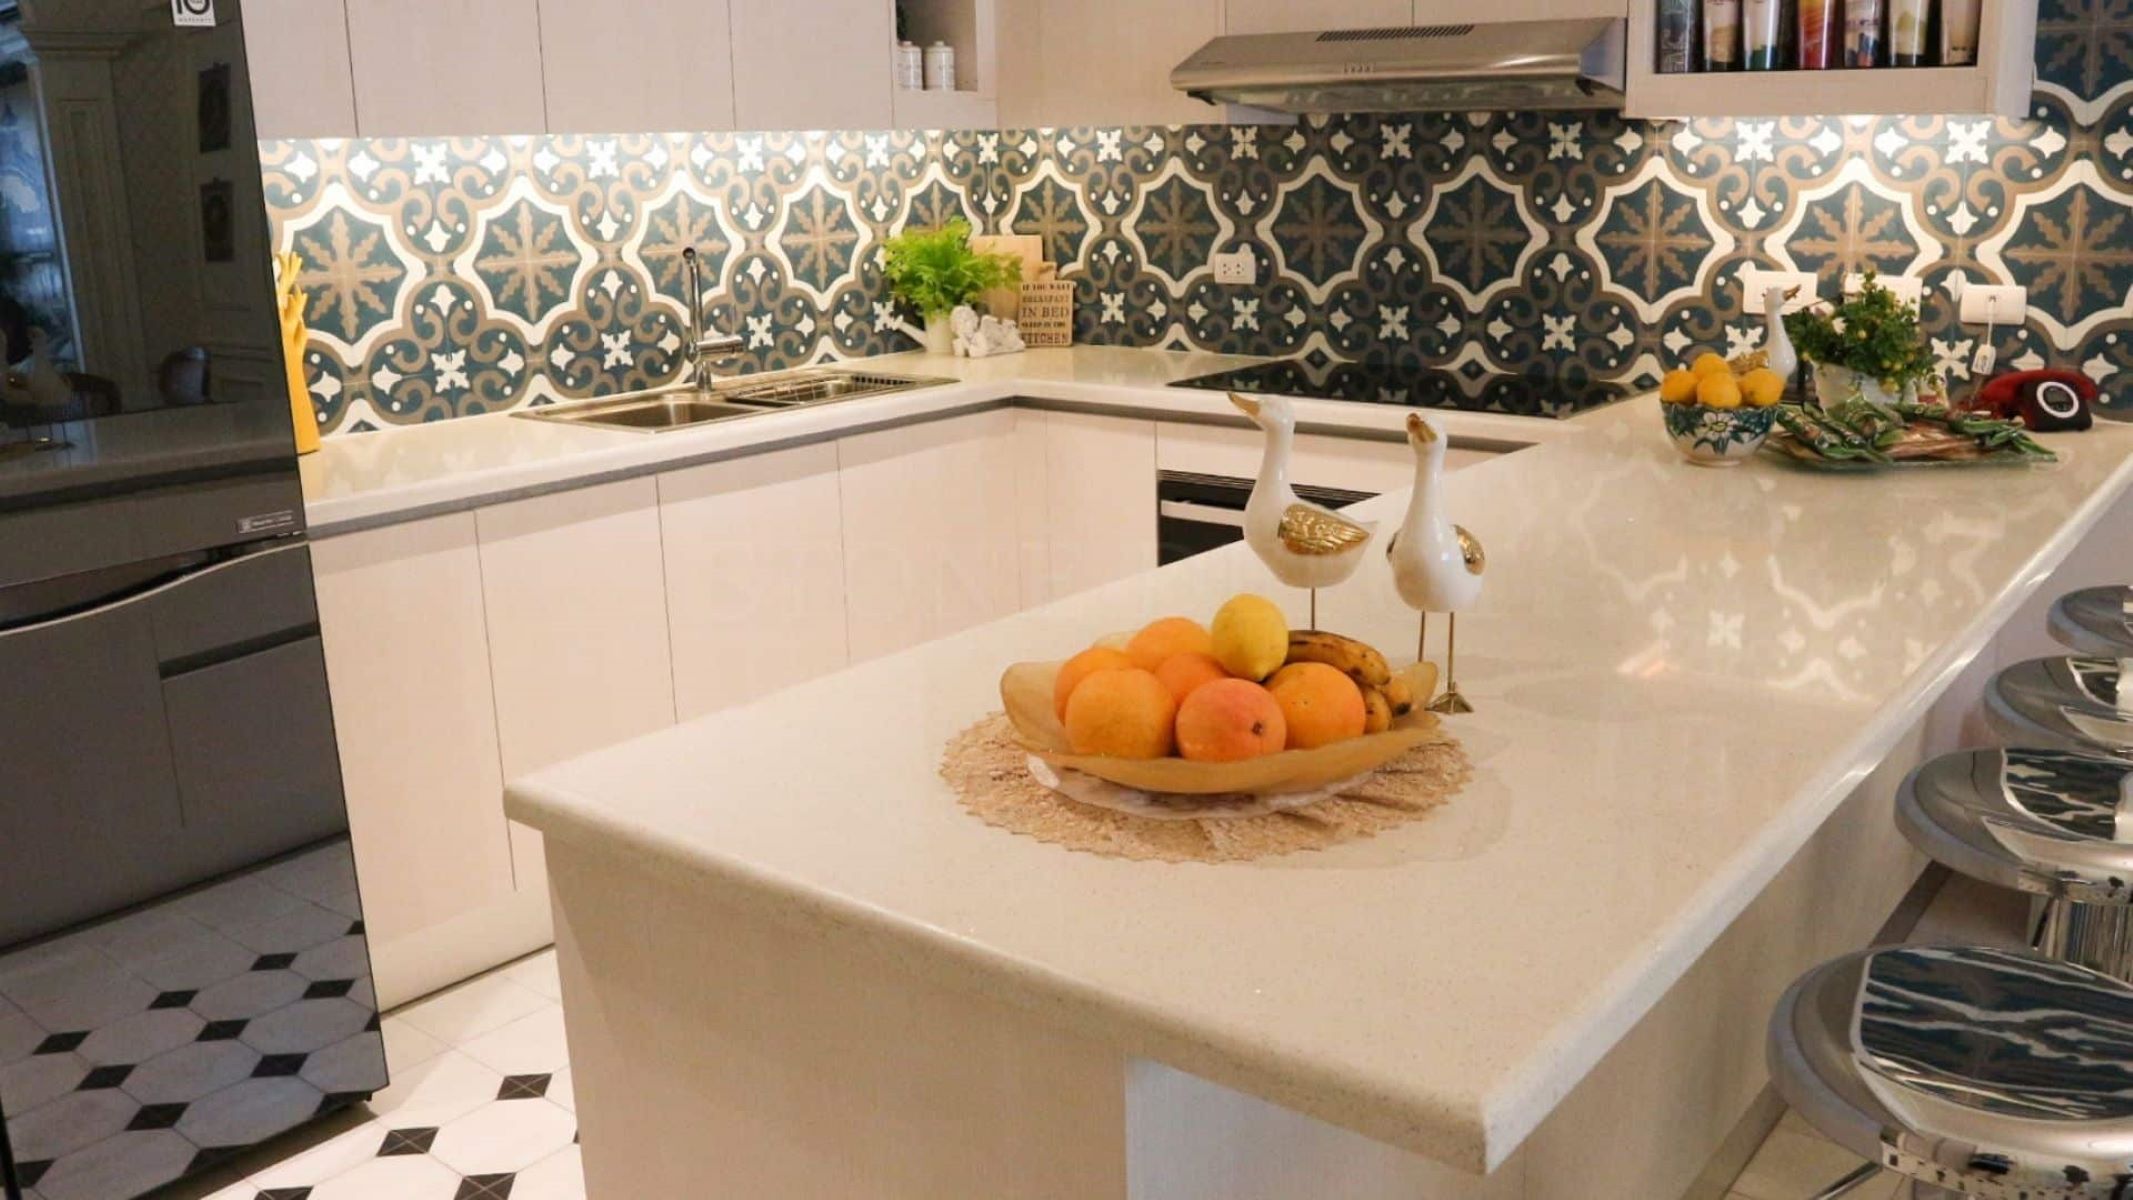
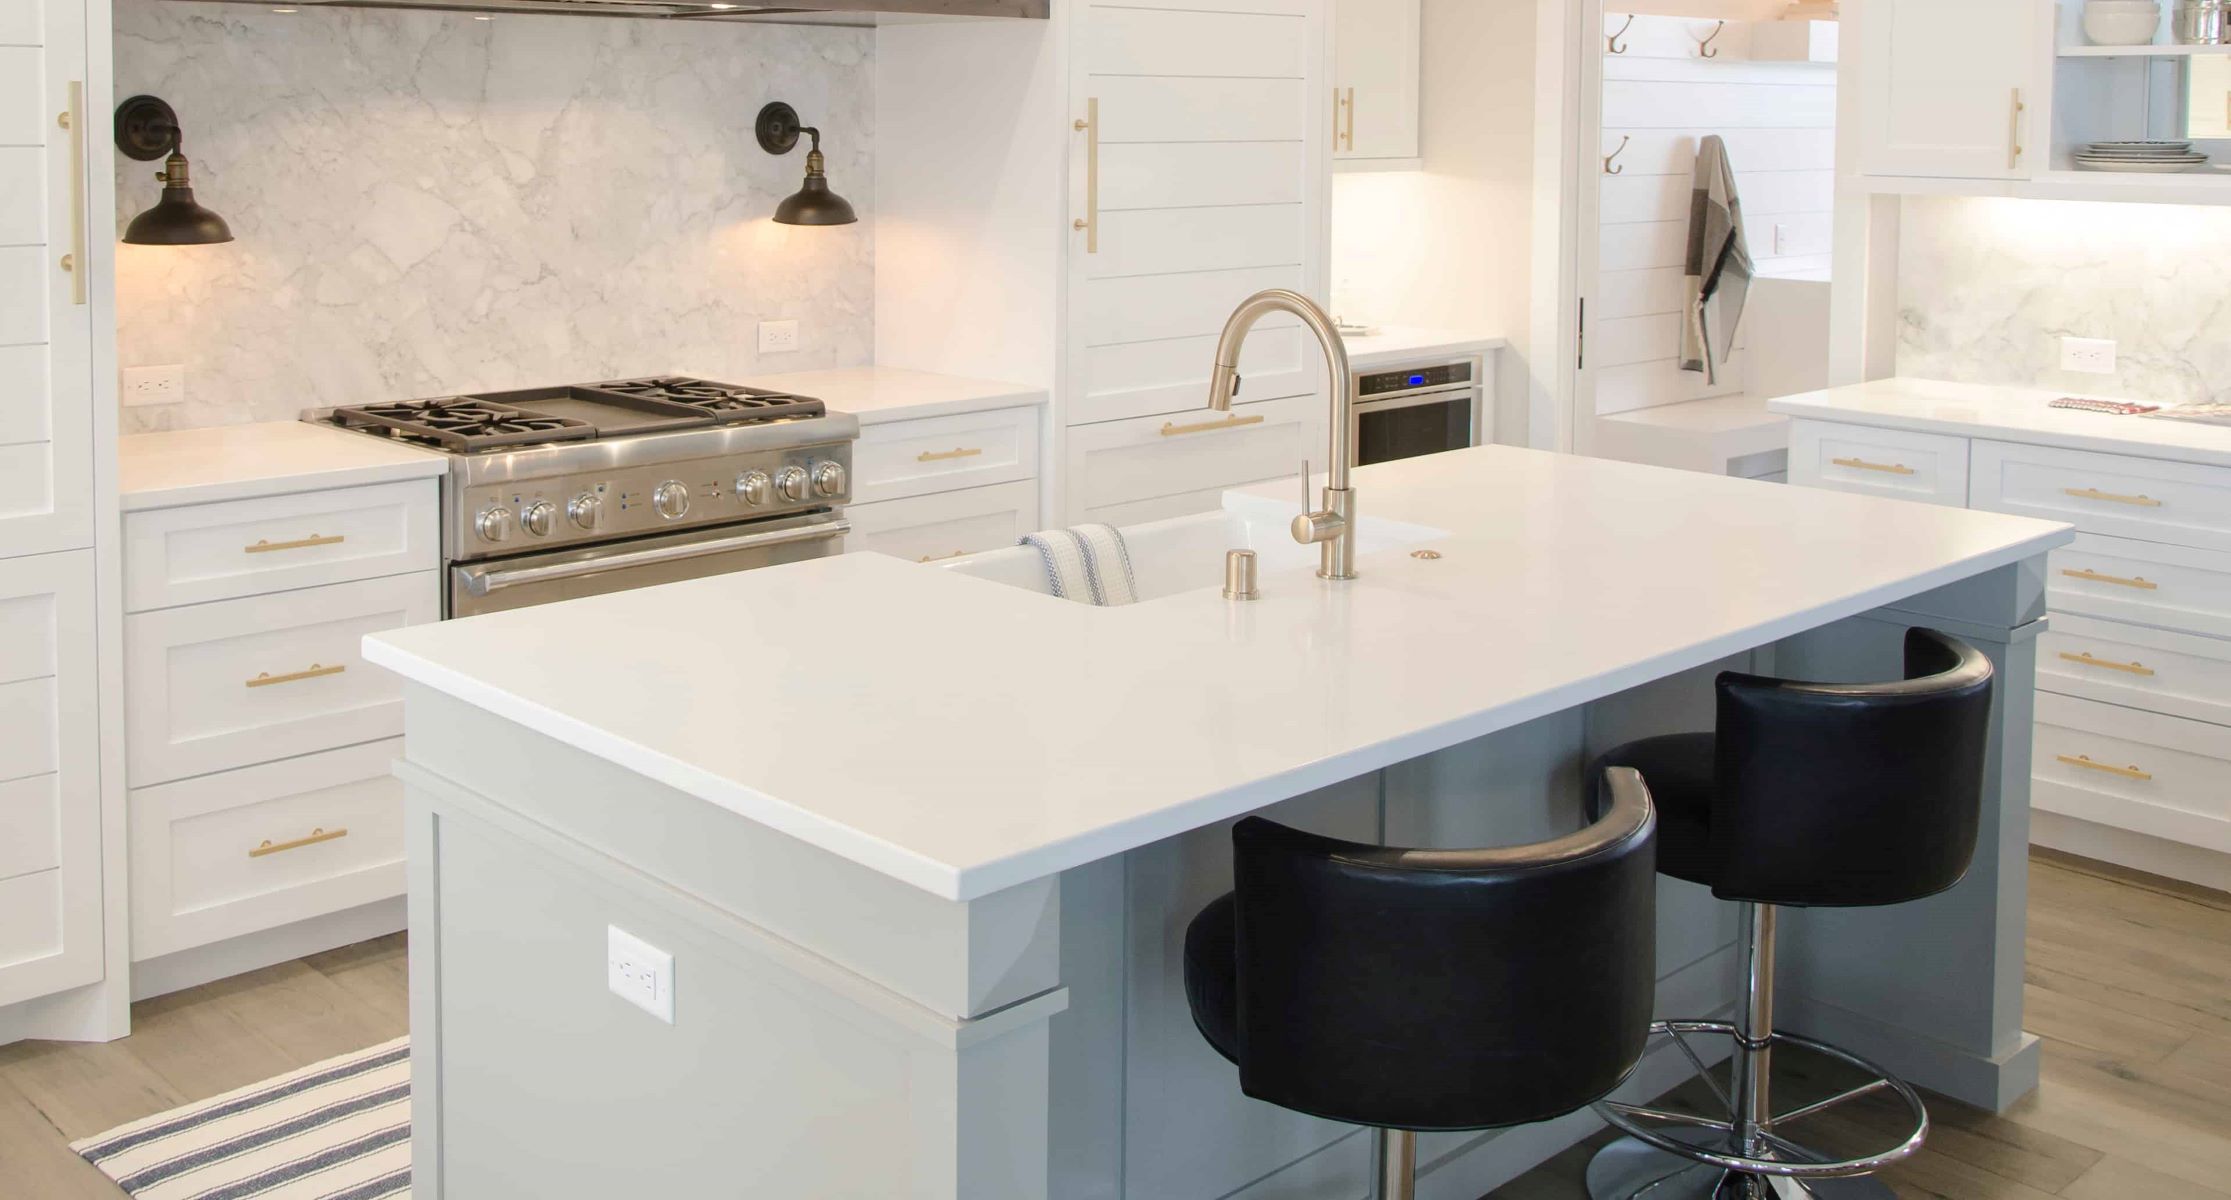
Why Choose Quartz Countertops?
1. Durability: Quartz is an extremely durable material, ensuring that your countertops will withstand the wear and tear of everyday use. It is resistant to scratches, stains, and heat, making it ideal for kitchens.
2. Aesthetics: Quartz countertops are available in a wide range of colors, patterns, and finishes, allowing you to choose the perfect look to complement your kitchen or bathroom design. Whether you prefer a sleek and modern appearance or a more traditional style, there is a quartz countertop option to suit your taste.
3. Low Maintenance: Unlike natural stone countertops, quartz requires minimal maintenance. It is non-porous, so it does not require sealing. Daily cleaning can be done with mild soap and water, without the need for any harsh or specialized cleaning products.
4. Hygienic: Quartz is a non-porous material, meaning that it does not harbor bacteria or viruses. This makes quartz countertops a hygienic choice for kitchens and bathrooms where cleanliness is of utmost importance.
Now that we have explored the advantages of quartz countertops, let’s move on to the step-by-step process of installing them. So grab your measuring tape and let’s get started!
Key Takeaways:
- Installing quartz countertops requires meticulous measuring, precise cutting, and careful adhesive application. The process involves dry fitting, securing with clamps, leveling, and seam joining to achieve a flawless and durable finish.
- Quartz countertops offer durability, aesthetic variety, and low maintenance. Whether DIY or hiring professionals, understanding the installation process empowers homeowners to make informed decisions and ensures a stunning, long-lasting result.
Read more: What Are Quartz Countertops
Step 1: Measuring and Preparing the Area
Before the installation process can begin, it is crucial to accurately measure the area where the quartz countertops will be installed. This ensures that the countertops fit perfectly and align with the overall design of the space.
The first step is to determine the dimensions of the countertop. Using a tape measure, measure the length and width of the area where the countertops will be placed. Take into account any irregularities or obstacles, such as curves or corners, and make note of them.
Once you have the measurements, it’s time to clear the workspace. Remove any existing countertops, appliances, or debris from the area. This will provide a clean and level surface for the installation.
Ensure that the cabinets or substrate where the quartz will be installed are sturdy and properly supported. Repair any damage or reinforce weak areas to provide a stable base for the countertops.
Lastly, thoroughly clean the installation area. Remove any dirt, dust, or grease that may affect the bonding of the adhesive. A clean surface is essential for a successful installation.
By accurately measuring and preparing the area, you set the foundation for a smooth and efficient installation process. Taking the time to ensure that everything is properly cleared and cleaned will help eliminate any potential issues and ensure a professional result.
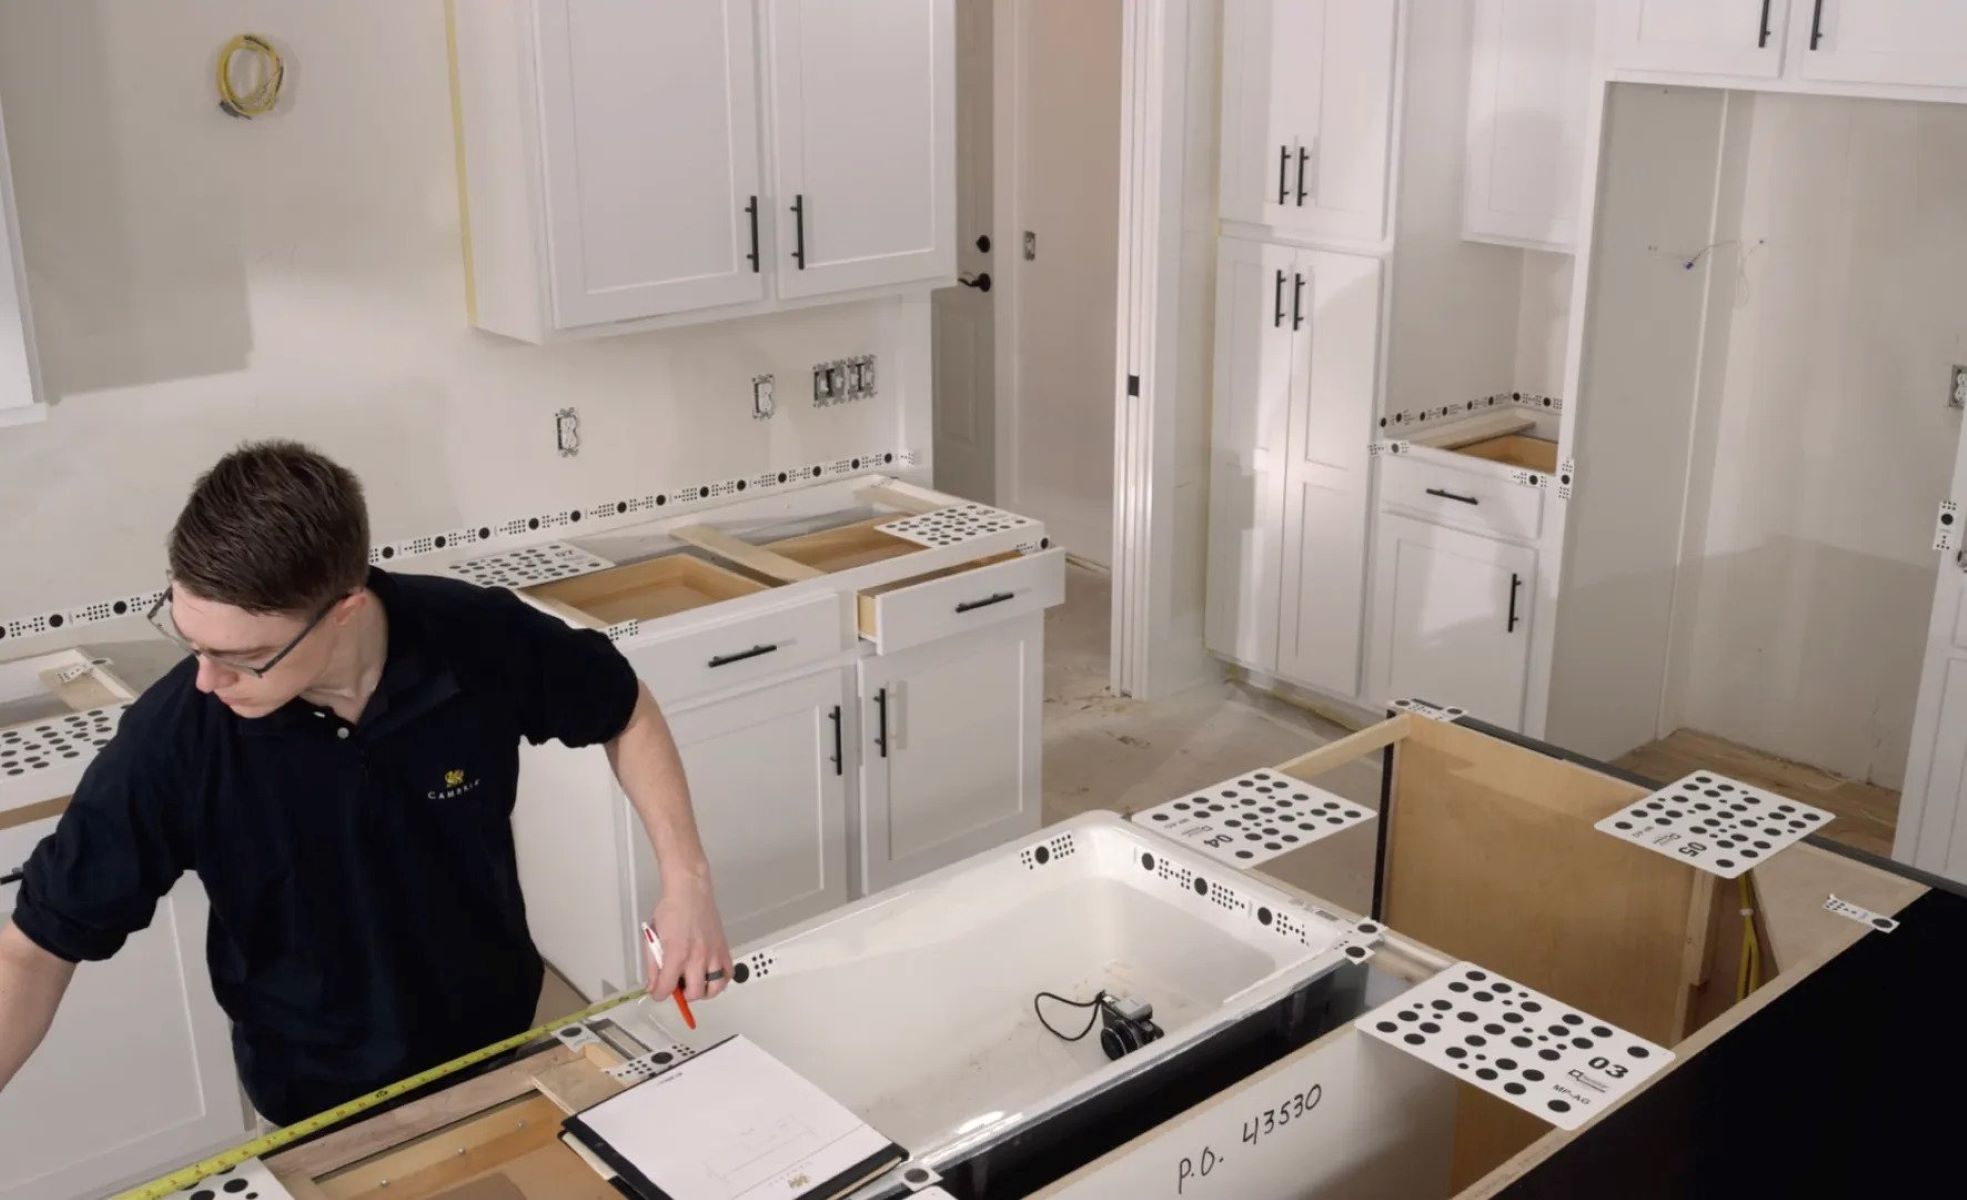
Step 2: Creating a Template
Creating a template is a crucial step in the installation process as it allows you to precisely determine the shape and dimensions of the quartz countertop. This template will serve as a guide for cutting the quartz slabs later on.
To create the template, you will need cardboard or plywood that is sturdy enough to withstand tracing and handling. Place the material on top of the cabinets or substrate, ensuring that it covers the entire area where the countertops will be installed.
Using a pencil or marker, trace the outline of the countertop onto the template material. Take your time and ensure accuracy in this step, as any inaccuracies will be reflected in the final installation.
If there are any cutouts required for sinks, stoves, or other appliances, mark these on the template as well. Measure and mark the exact positions and dimensions of these cutouts to ensure a precise fit.
Once you have traced the outline and marked the cutouts, carefully remove the template from the installation area. Double-check the measurements and make any necessary adjustments or corrections. The template should be an exact representation of the shape and size of the countertop you desire.
Remember that accuracy is key when creating the template. A well-made template will ensure that the quartz slabs are cut to the correct dimensions and fit seamlessly into your kitchen or bathroom.
Step 3: Cutting the Quartz Slabs
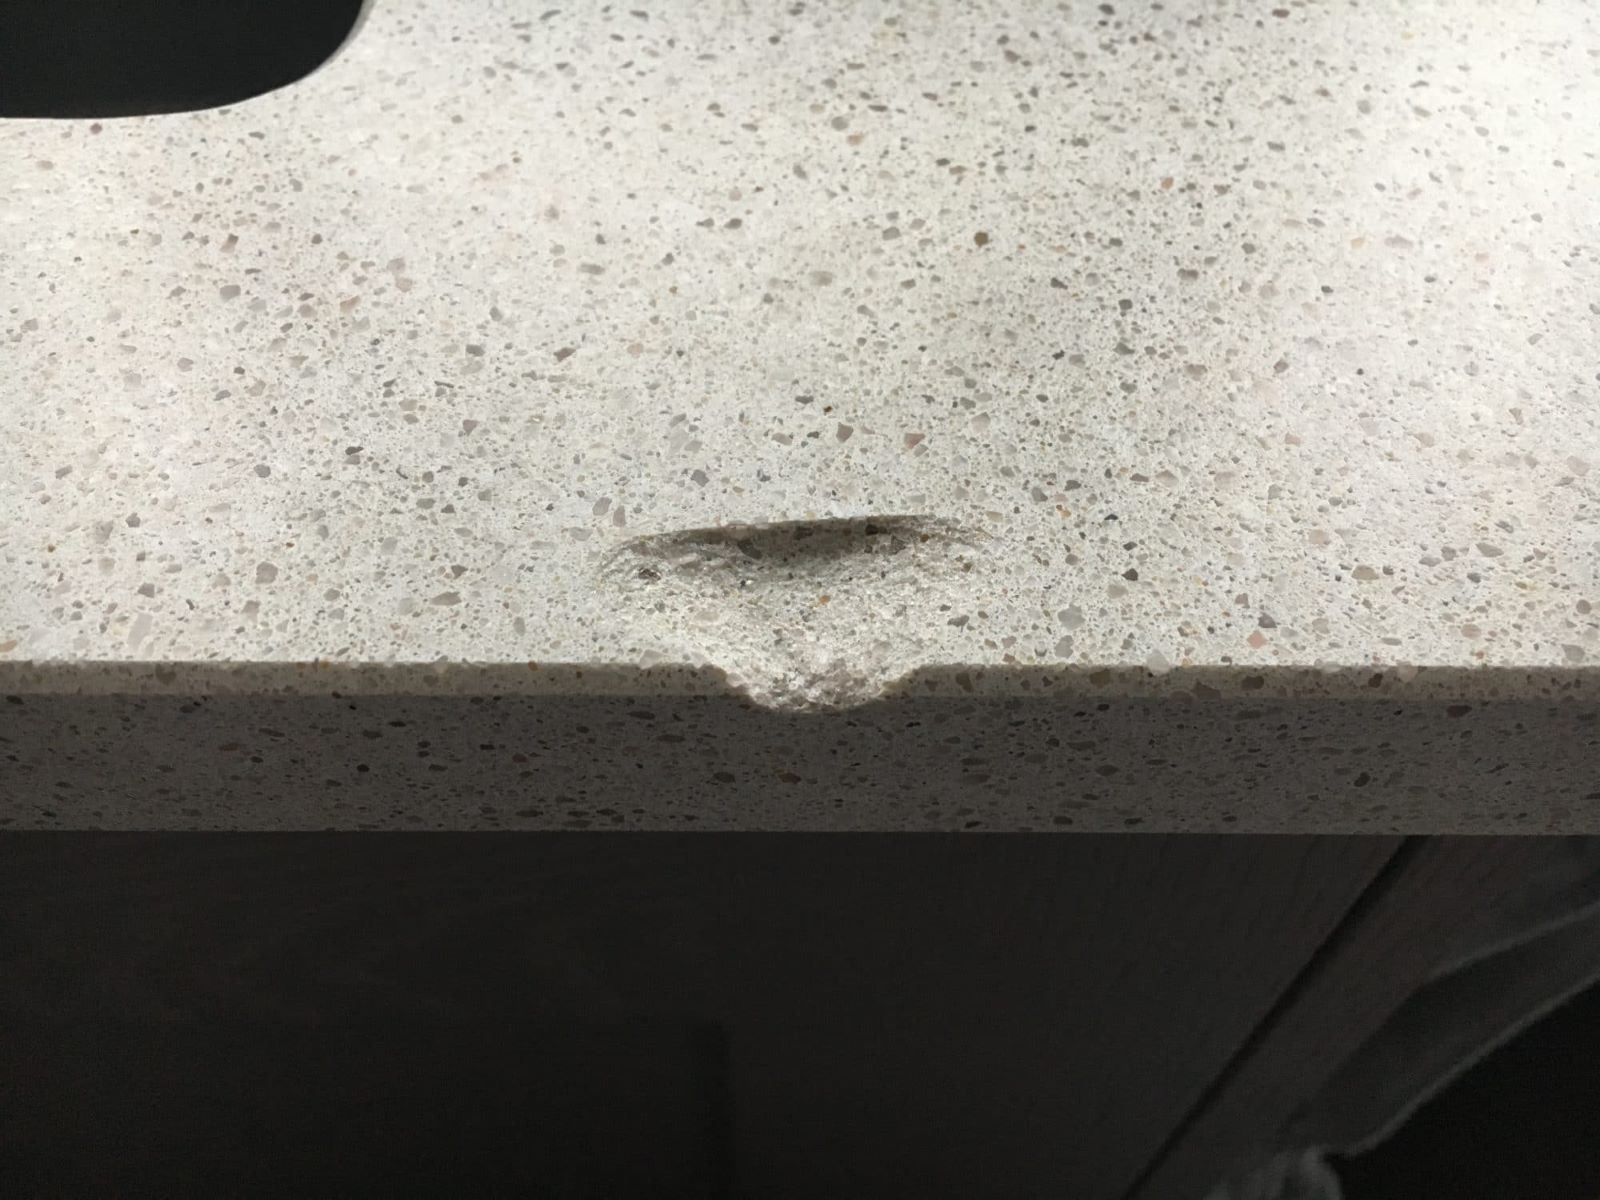
Once you have created a precise template, it’s time to cut the quartz slabs according to the template’s dimensions. This step requires careful handling and the right tools to ensure clean and accurate cuts.
Using a diamond blade saw or a wet saw is the most common method for cutting quartz slabs. These tools are designed to handle the hardness of quartz and provide clean and precise cuts.
Before you begin cutting, it’s essential to take necessary precautions to prevent chipping or damaging the slabs. Make sure the slabs are properly supported to avoid excessive vibration during the cutting process. You can use sawhorses or a sturdy workbench to provide stable support.
Mark the measurement lines on the slabs according to the template. Take your time to ensure accuracy, and use a straight edge or a square to create precise lines.
When using the saw, follow the manufacturer’s instructions and guidelines for the specific model you are using. Always wear appropriate safety equipment, including goggles, gloves, and a dust mask, to protect yourself from any potential hazards.
As you cut the slabs, go slowly and steadily. Let the blade do the work without applying excessive pressure. This will help prevent chipping or cracking of the quartz. If necessary, make multiple shallow passes instead of trying to cut through the entire slab in one go.
Remember to keep the workspace clean and clear any debris regularly. This will prevent any debris from interfering with the cutting process and potentially causing damage to the slabs.
By using the right tools, taking necessary precautions, and being mindful of the cutting process, you can achieve clean and precise cuts on the quartz slabs. This ensures that they fit perfectly into the designated areas on your countertop.
Step 4: Dry Fitting
After cutting the quartz slabs to the desired dimensions, it’s time to perform a dry fit. Dry fitting involves placing the cut slabs on the countertop area without adhesive to ensure they fit properly and make any necessary adjustments before the final installation.
Start by carefully placing the cut quartz slabs onto the countertop area according to the template. Take your time and ensure that each slab aligns with the adjacent ones and fits snugly against the walls or cabinets.
During the dry fit, pay close attention to the seams between the slabs. Ensure that they are flush and level with each other. If you notice any gaps or unevenness, this is the time to make appropriate adjustments.
To make adjustments, you can use a diamond blade or a grinding tool to trim the edges of the slabs. This allows you to achieve a more precise fit and create seamless transitions between the slabs.
If there are any areas where the slabs do not fit correctly or gaps are present, it may indicate an issue with the template or the cutting process. In such cases, it is crucial to reassess the measurements, make any necessary modifications to the template, and recut the slabs if required.
Remember that dry fitting gives you the opportunity to troubleshoot and rectify any issues before permanently bonding the slabs to the countertop. It ensures that the final installation will be flawless and that the quartz countertops will fit seamlessly into your kitchen or bathroom.
Once you have achieved a satisfactory fit during the dry fit, you can move on to the next step: applying adhesive to secure the quartz slabs in place.
When installing quartz countertops, make sure to hire a professional installer who has experience working with quartz. Improper installation can lead to cracking and other issues.
Read more: How Much Do Quartz Countertops Weigh
Step 5: Applying Adhesive
With the dry fit successfully completed, it’s time to move on to the next crucial step: applying adhesive to secure the quartz slabs in place. The adhesive is essential for achieving a strong bond between the slabs and the cabinets or substrate.
Start by selecting a high-quality adhesive specifically designed for quartz countertop installation. This ensures proper bonding and long-term durability.
Before applying the adhesive, thoroughly clean the cabinets or substrate where the quartz will be installed. Remove any dust, debris, or grease that may hinder the bonding process. A clean and dry surface is crucial for a strong and reliable bond.
Once the surface is clean, apply the adhesive in strategic spots or lines on the cabinets or substrate. Follow the manufacturer’s instructions for the recommended application method, such as using a notched trowel or a caulking gun. Apply the adhesive evenly to ensure consistent coverage.
Take care not to apply too much adhesive, as excessive amounts can lead to uneven installations or seep onto the visible surfaces of the quartz slabs. On the other hand, insufficient adhesive may result in weak bonding and compromised stability.
During the adhesive application process, be mindful of any cutouts or areas where sink or appliance installations will take place. Apply adhesive around these areas, ensuring proper coverage to secure the slabs in these specific regions.
Once the adhesive has been applied, carefully place the quartz slabs onto the adhesive in their designated positions. Apply gentle pressure to ensure proper contact between the slabs and the adhesive. Using clamps or suction cups can help hold the slabs in place while the adhesive cures.
Ensure that the slabs are positioned accurately and align with the edges and corners of the countertop. Make any necessary adjustments promptly before the adhesive sets, as it becomes more difficult to reposition the slabs once the adhesive begins to dry.
By applying the adhesive correctly and evenly, you ensure a secure and stable installation of the quartz countertops. The adhesive performs a crucial role in maintaining the longevity and integrity of the countertops, so take the time to apply it with care and precision.
Step 6: Securing the Quartz Slabs
Now that the adhesive has been applied, it’s time to securely place the quartz slabs onto the adhesive in their designated positions. This step ensures a strong bond between the slabs and the cabinets or substrate.
Carefully lift each quartz slab and place it onto the adhesive, following the template and alignment markings made during the dry-fit. Take your time to ensure that each slab fits precisely and aligns with the adjacent ones.
During the installation, it is essential to apply even pressure across the surface of each slab to ensure proper contact with the adhesive. This helps eliminate any gaps or unevenness between the slabs.
To hold the slabs in place while the adhesive cures, you can use clamps or suction cups. Clamps help provide consistent and secure pressure to ensure a solid bond. Place the clamps strategically along the edges and corners of the slabs.
Suction cups are useful for large or heavy quartz slabs. They create a temporary grip on the slabs, holding them in place as the adhesive cures. Make sure to use enough suction cups to provide sufficient support.
Ensure that the slabs are level with each other during the securing process. Use a level to check for any variations or unevenness. If necessary, add shims or leveling compounds to ensure a level surface before the adhesive fully cures.
Once the quartz slabs are securely in place, allow the adhesive to cure following the manufacturer’s instructions. This usually takes several hours or even overnight, depending on the adhesive used. Avoid disturbing or applying pressure to the slabs during this curing process.
By properly securing the quartz slabs with the help of clamps or suction cups, you ensure that they bond securely with the adhesive and maintain proper alignment. This step plays a critical role in ensuring a stable and long-lasting installation of the quartz countertops.
Step 7: Leveling and Seam Joining
As the quartz slabs are secured in place, the focus shifts to leveling the surfaces and achieving a seamless appearance. This step involves two crucial processes: leveling the slabs and joining the seams.
Leveling the Surfaces: Use a level to check the surfaces of the quartz slabs for any variations or unevenness. If you find any areas that are not level, you can use shims or leveling compounds to adjust and create a flat and even surface. This is important for both functional and aesthetic reasons, as it ensures a stable countertop and a visually pleasing finish.
Shims are thin, tapered pieces of material that can be placed underneath the slabs to level and balance them. Insert the shims in the areas that need adjustment until the slab surfaces are uniformly level. Use a mallet or a hammer to lightly tap the shims into place.
If there are more significant variations or unevenness, leveling compounds can be used. These self-leveling compounds can be poured onto the surface and will settle into a smooth and level layer. Follow the manufacturer’s instructions to properly apply and cure the leveling compound.
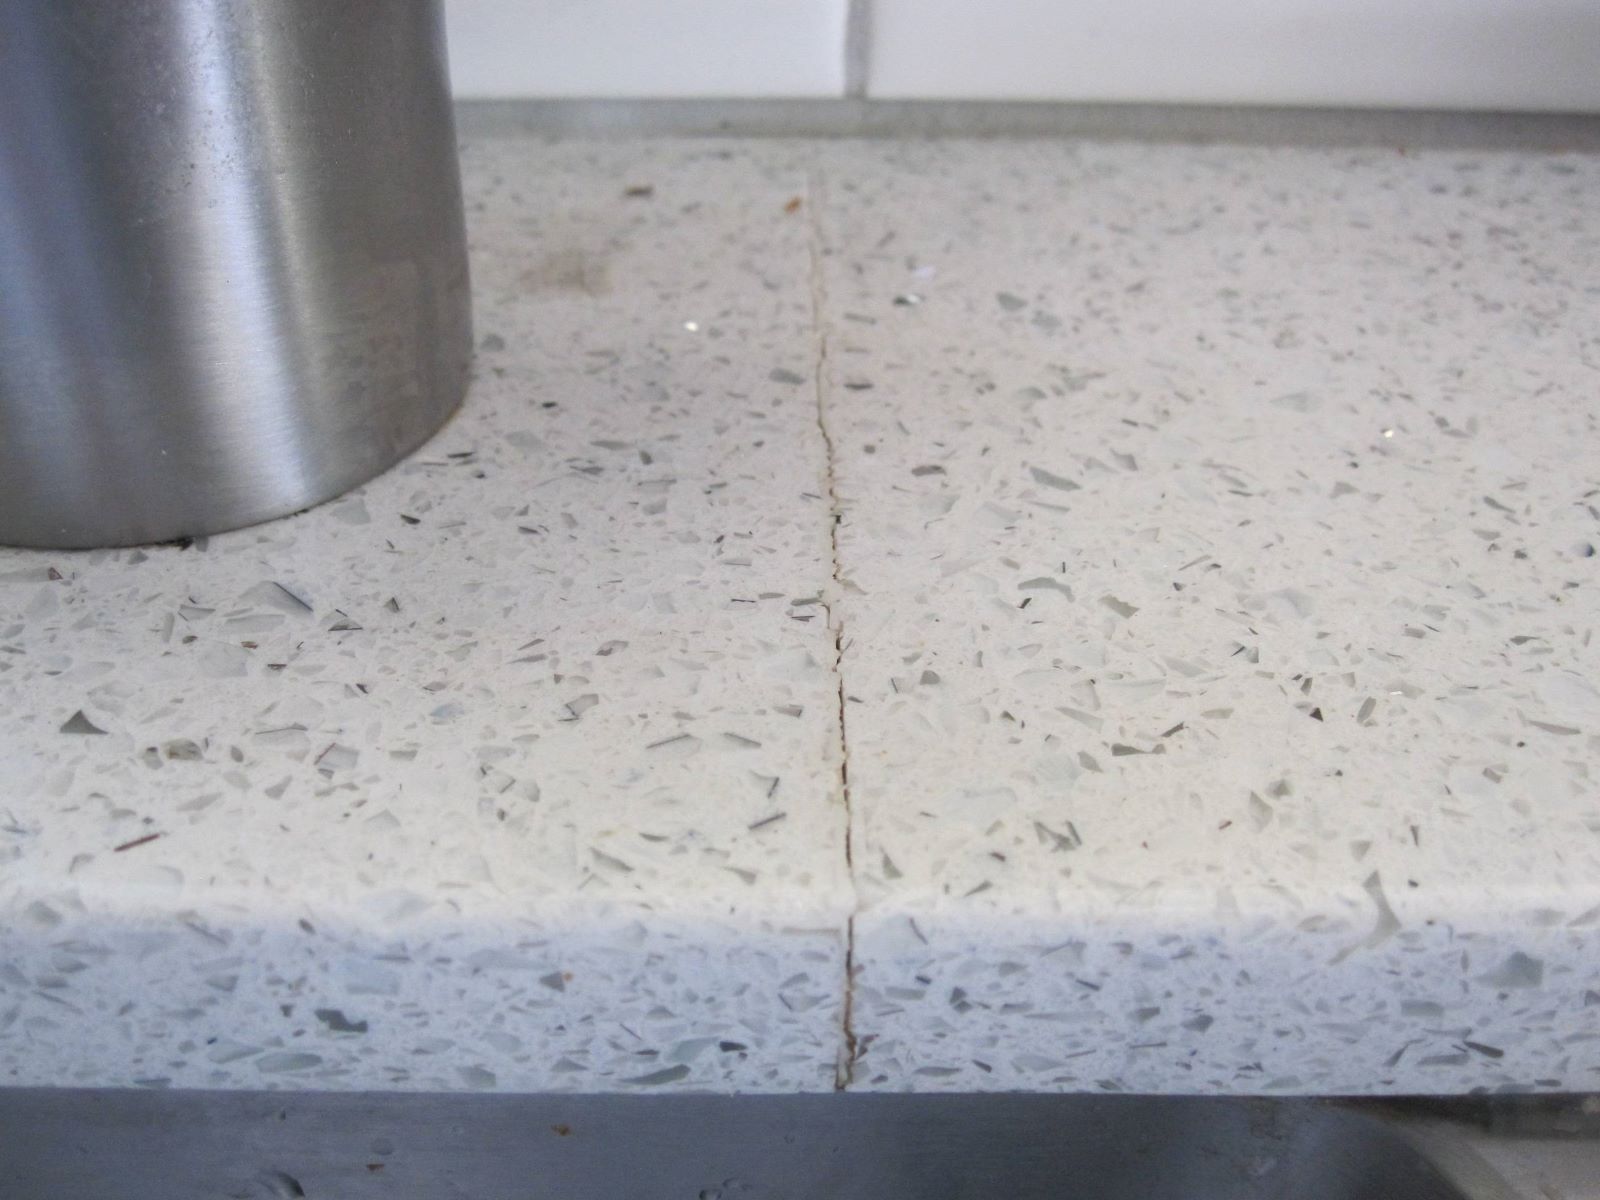
Seam Joining: Quartz countertops often require multiple slabs to cover larger areas. Seam joining is the process of creating a seamless appearance by filling the gaps between the slabs.
To join the seams, it is essential to use a high-quality epoxy adhesive that is specifically designed for quartz countertops. The epoxy should be color-matched to the quartz slabs to ensure a seamless blend.
Clean the seam area thoroughly, removing any debris or excess adhesive. Apply a thin layer of epoxy adhesive to the seam, making sure to distribute it evenly along the entire length. Use a putty knife or a seam setter tool to level and smooth the epoxy, blending it seamlessly with the surrounding surfaces.
Allow the epoxy to cure according to the manufacturer’s instructions before proceeding with any further steps. This typically takes several hours.
By leveling the surfaces of the quartz slabs and joining the seams with epoxy, you ensure an even and cohesive appearance. This attention to detail enhances the overall aesthetic appeal of the countertops and creates a seamless transition between the slabs.
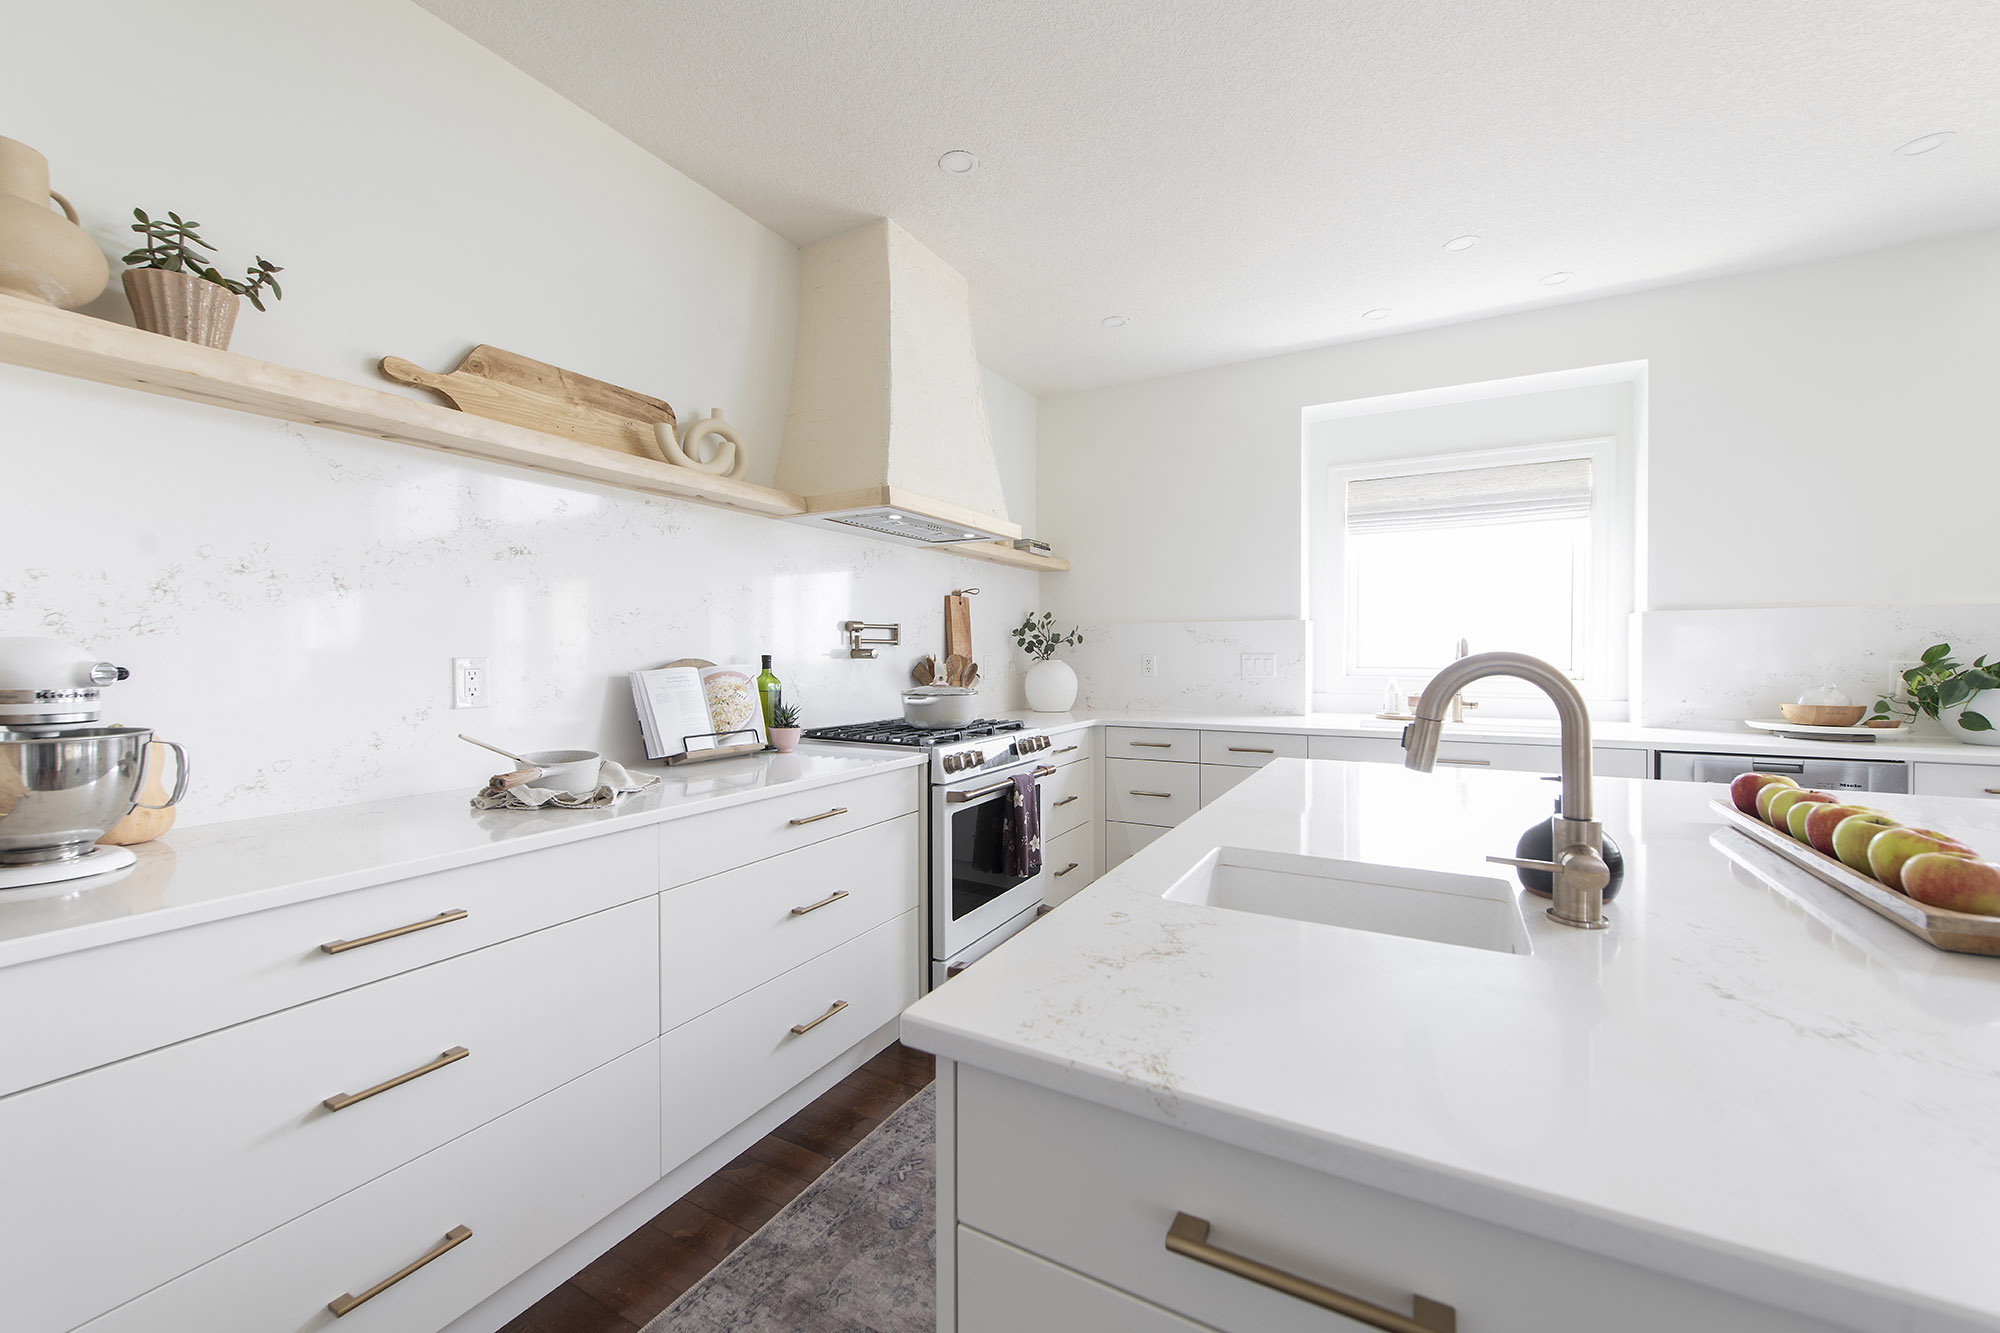
Step 8: Finishing TouchesAs we near the completion of the quartz countertop installation, it’s time to focus on the finishing touches that will give your countertops a polished and professional look.
Polishing the Edges: The edges of the quartz countertops may have a rough or unfinished appearance after the cutting and installation process. To achieve a smooth and seamless finish, it is necessary to polish the edges.
Using a diamond polishing pad or sandpaper with progressively finer grits, start by smoothing any rough edges. Work your way from coarser grits to finer ones, gradually achieving a polished and refined edge. Take care not to apply too much pressure, as it can damage the quartz surface. Follow the manufacturer’s instructions for optimal polishing techniques.
Cleaning Excess Adhesive and Debris: Throughout the installation process, it is common to have some adhesive or debris leftover on the quartz surface. To achieve a clean and pristine appearance, it’s crucial to carefully clean any remaining adhesive and debris from the installation area.
Use a scraper or a putty knife to gently remove any excess adhesive from the countertop surface. Take care not to scratch or damage the quartz in the process. After removing the bulk of the adhesive, use a damp cloth or sponge to wipe down the surface, ensuring that it is free from any remaining residue.
Additionally, thoroughly clean the surrounding area, including the cabinets, walls, and floors, to remove any dust or debris that may have accumulated during the installation process.
By polishing the edges and cleaning away any excess adhesive or debris, you add the final touches to your quartz countertops, leaving them looking sleek, refined, and ready to be showcased in your kitchen or bathroom.
Congratulations! You have successfully completed the installation of your quartz countertops. Take a step back and admire the transformation you have achieved. With proper care and maintenance, your quartz countertops will continue to enhance the beauty and functionality of your space for years to come.
Read more: How Do You Cut Quartz Countertops
Conclusion
Installing quartz countertops might seem like a daunting task, but with the right knowledge and careful execution, it can be a rewarding project that adds beauty and functionality to your kitchen or bathroom. Throughout the step-by-step process we have discussed, each stage plays a vital role in ensuring a successful installation.
From accurately measuring and preparing the area to cutting the quartz slabs and dry-fitting to ensure a precise fit, every detail matters. Applying the adhesive correctly and securing the slabs with clamps or suction cups ensures a strong bond. Leveling the surfaces and joining the seams make for a seamless and visually appealing finish. Finally, polishing the edges and cleaning away any excess adhesive or debris add those finishing touches that truly elevate the appearance of your quartz countertops.
By choosing quartz countertops, you benefit from their durability, aesthetic appeal, and low maintenance requirements. They offer a wide range of colors, patterns, and finishes to suit any style or design preference.
Whether you decide to take on the installation as a DIY project or hire professionals, understanding the installation process empowers you to make informed decisions and ensures that the end result meets your expectations.
Remember to follow the manufacturer’s instructions and safety guidelines for all tools, adhesives, and materials used during the installation. Taking the time to properly measure, prepare, and execute each step will yield a stunning and functional countertop that will stand the test of time.
So go ahead and transform your kitchen or bathroom with the beauty and elegance of quartz countertops. Enjoy the benefits of their durability, low maintenance, and timeless appeal. Whether you’re preparing meals, entertaining guests, or simply enjoying the aesthetics of your space, your quartz countertops will continue to impress for years to come.
Frequently Asked Questions about How Do They Install Quartz Countertops
Was this page helpful?
At Storables.com, we guarantee accurate and reliable information. Our content, validated by Expert Board Contributors, is crafted following stringent Editorial Policies. We're committed to providing you with well-researched, expert-backed insights for all your informational needs.


0 thoughts on “How Do They Install Quartz Countertops”