Articles
How Do You Cut Quartz Countertops
Modified: October 20, 2024
Looking for articles on how to cut quartz countertops? Find step-by-step instructions and expert tips to make the process easier and more efficient.
(Many of the links in this article redirect to a specific reviewed product. Your purchase of these products through affiliate links helps to generate commission for Storables.com, at no extra cost. Learn more)
Introduction
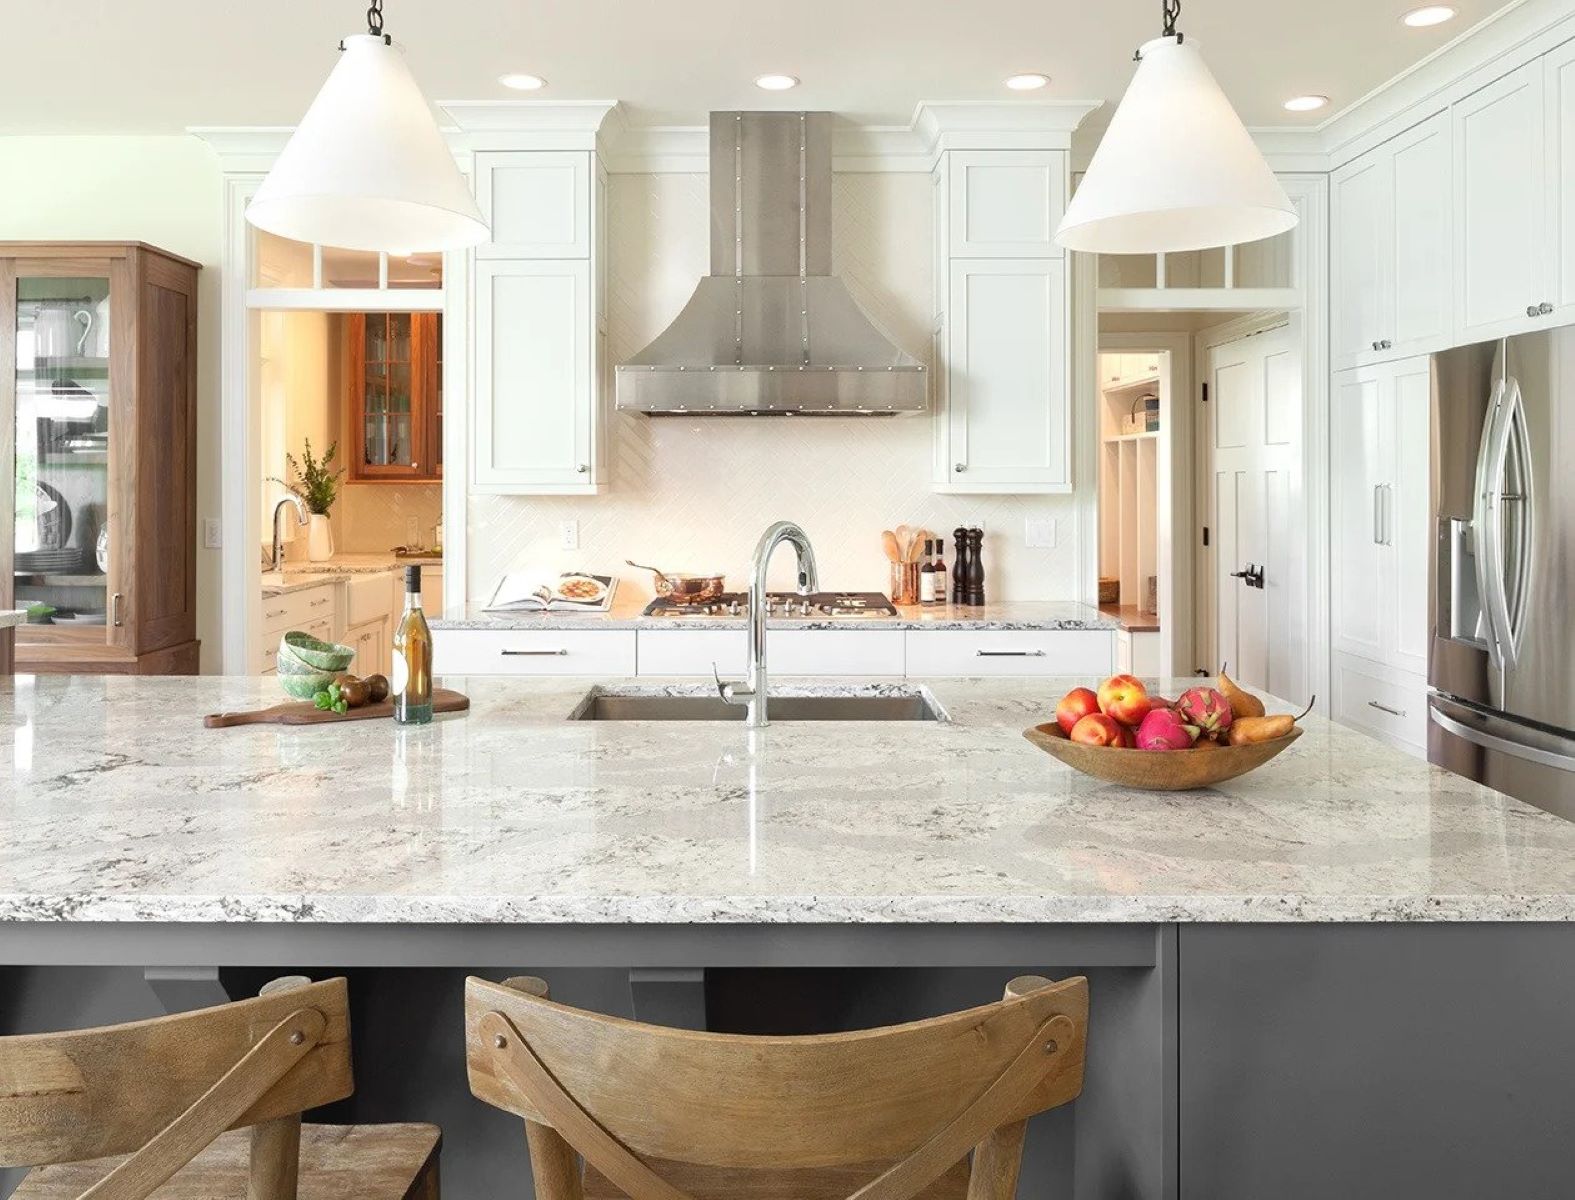
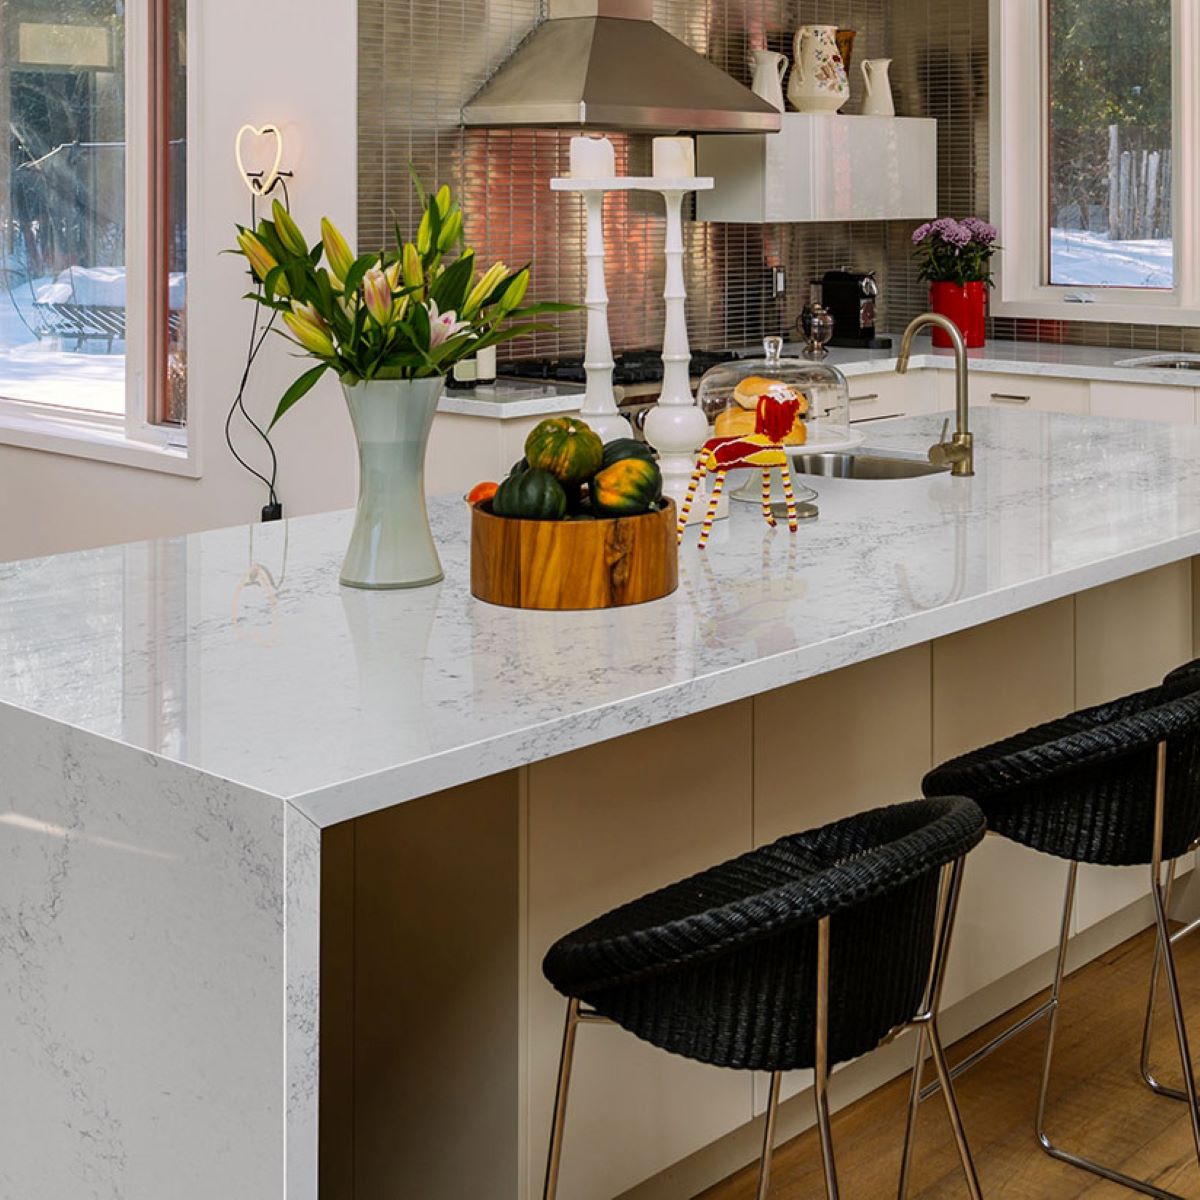
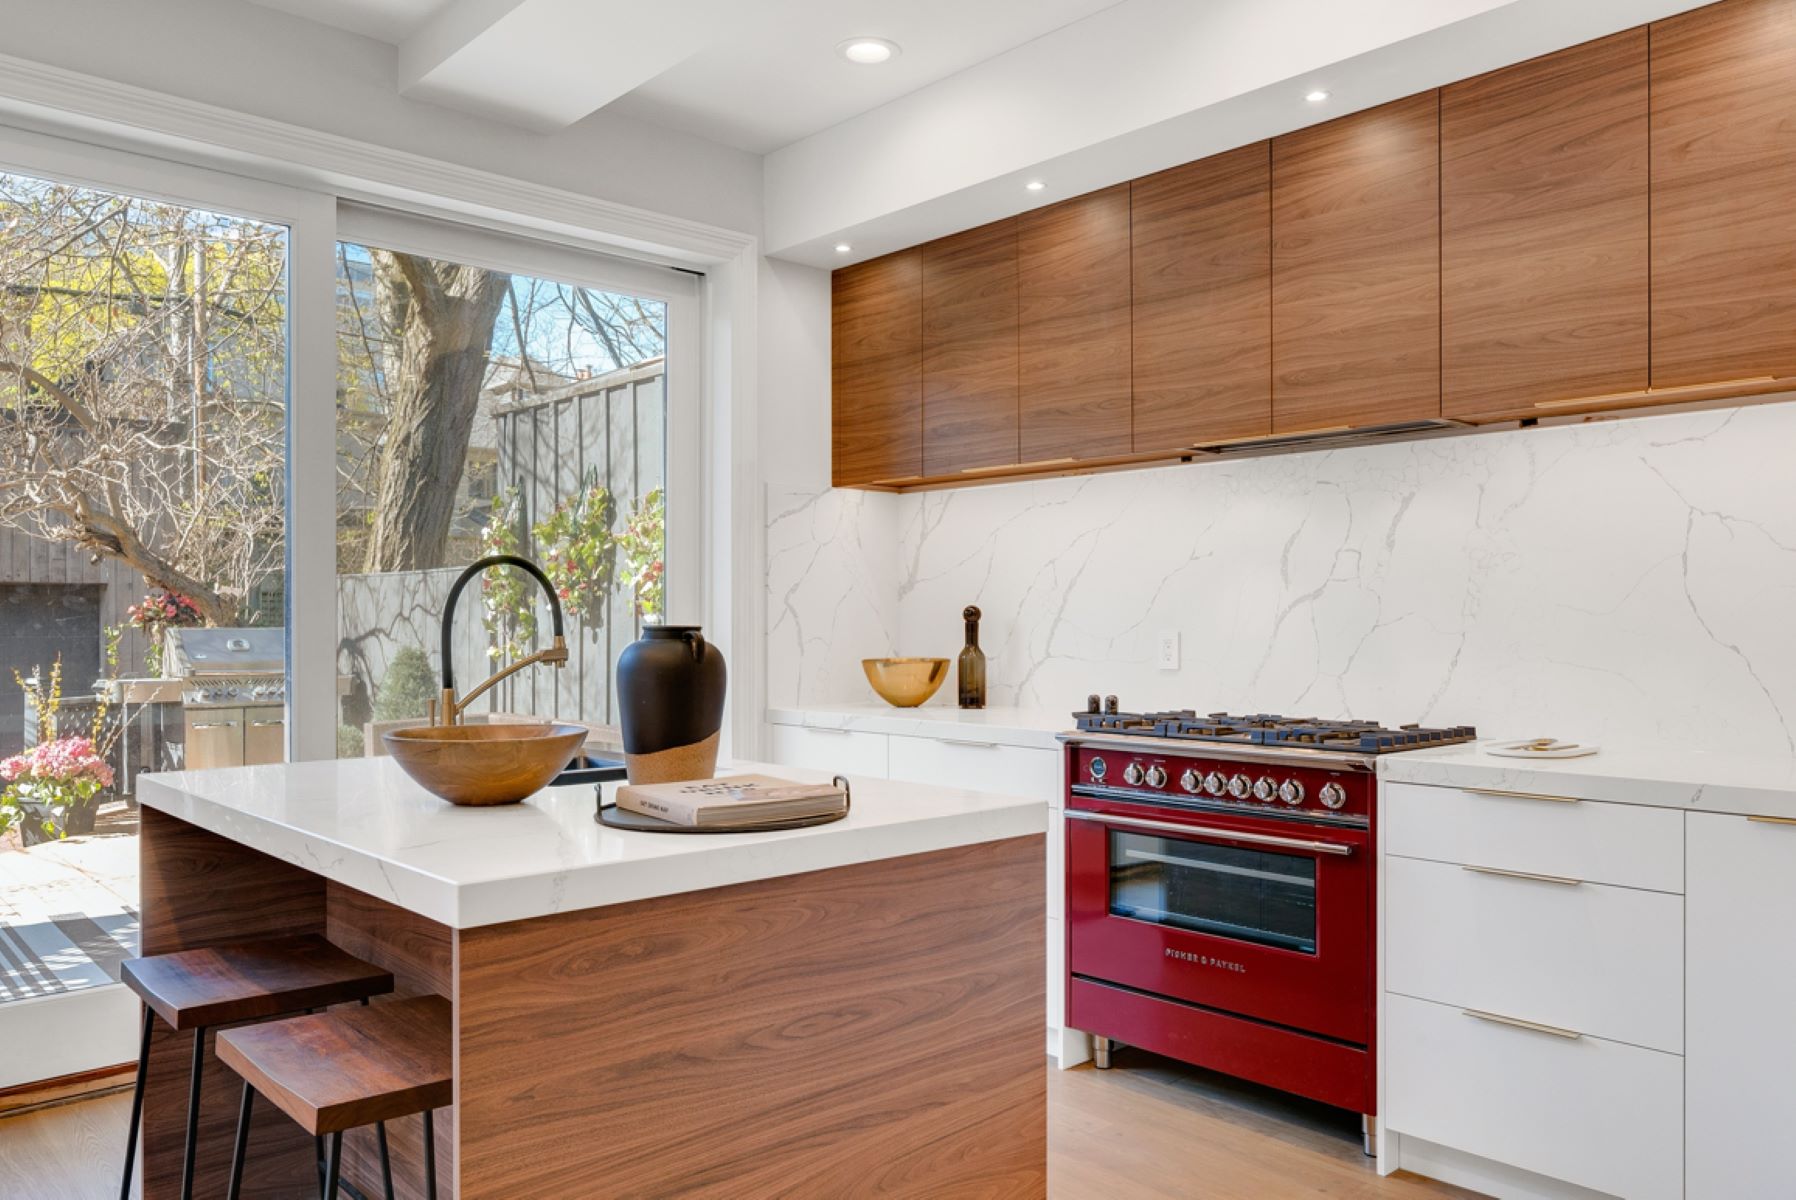
Quartz countertops have become incredibly popular in modern kitchens due to their durability, stylish appearance, and low maintenance requirements. However, there may be instances where you need to cut a quartz countertop to fit a specific size or shape. While cutting quartz may seem like a daunting task, with the right tools and techniques, you can achieve precise cuts and a professional-looking result.
In this article, we will guide you through the process of cutting quartz countertops, step by step. Whether you are a seasoned DIY enthusiast or a beginner looking to tackle your first home improvement project, this article will provide you with the knowledge and confidence you need to successfully cut quartz countertops.
Before we dive into the cutting process, let’s first understand what quartz countertops are made of and why they have become such a popular choice in kitchens.
Key Takeaways:
- Cutting quartz countertops requires precision, patience, and the right tools. By following the step-by-step guide and prioritizing safety, you can achieve a flawless and customized countertop for your space.
- Understanding the composition and characteristics of quartz countertops is essential for a successful cutting process. With the right tools and techniques, you can confidently tackle the task of cutting quartz countertops and achieve professional results.
Read more: How Do You Seal Quartz Countertops
Understanding Quartz Countertops
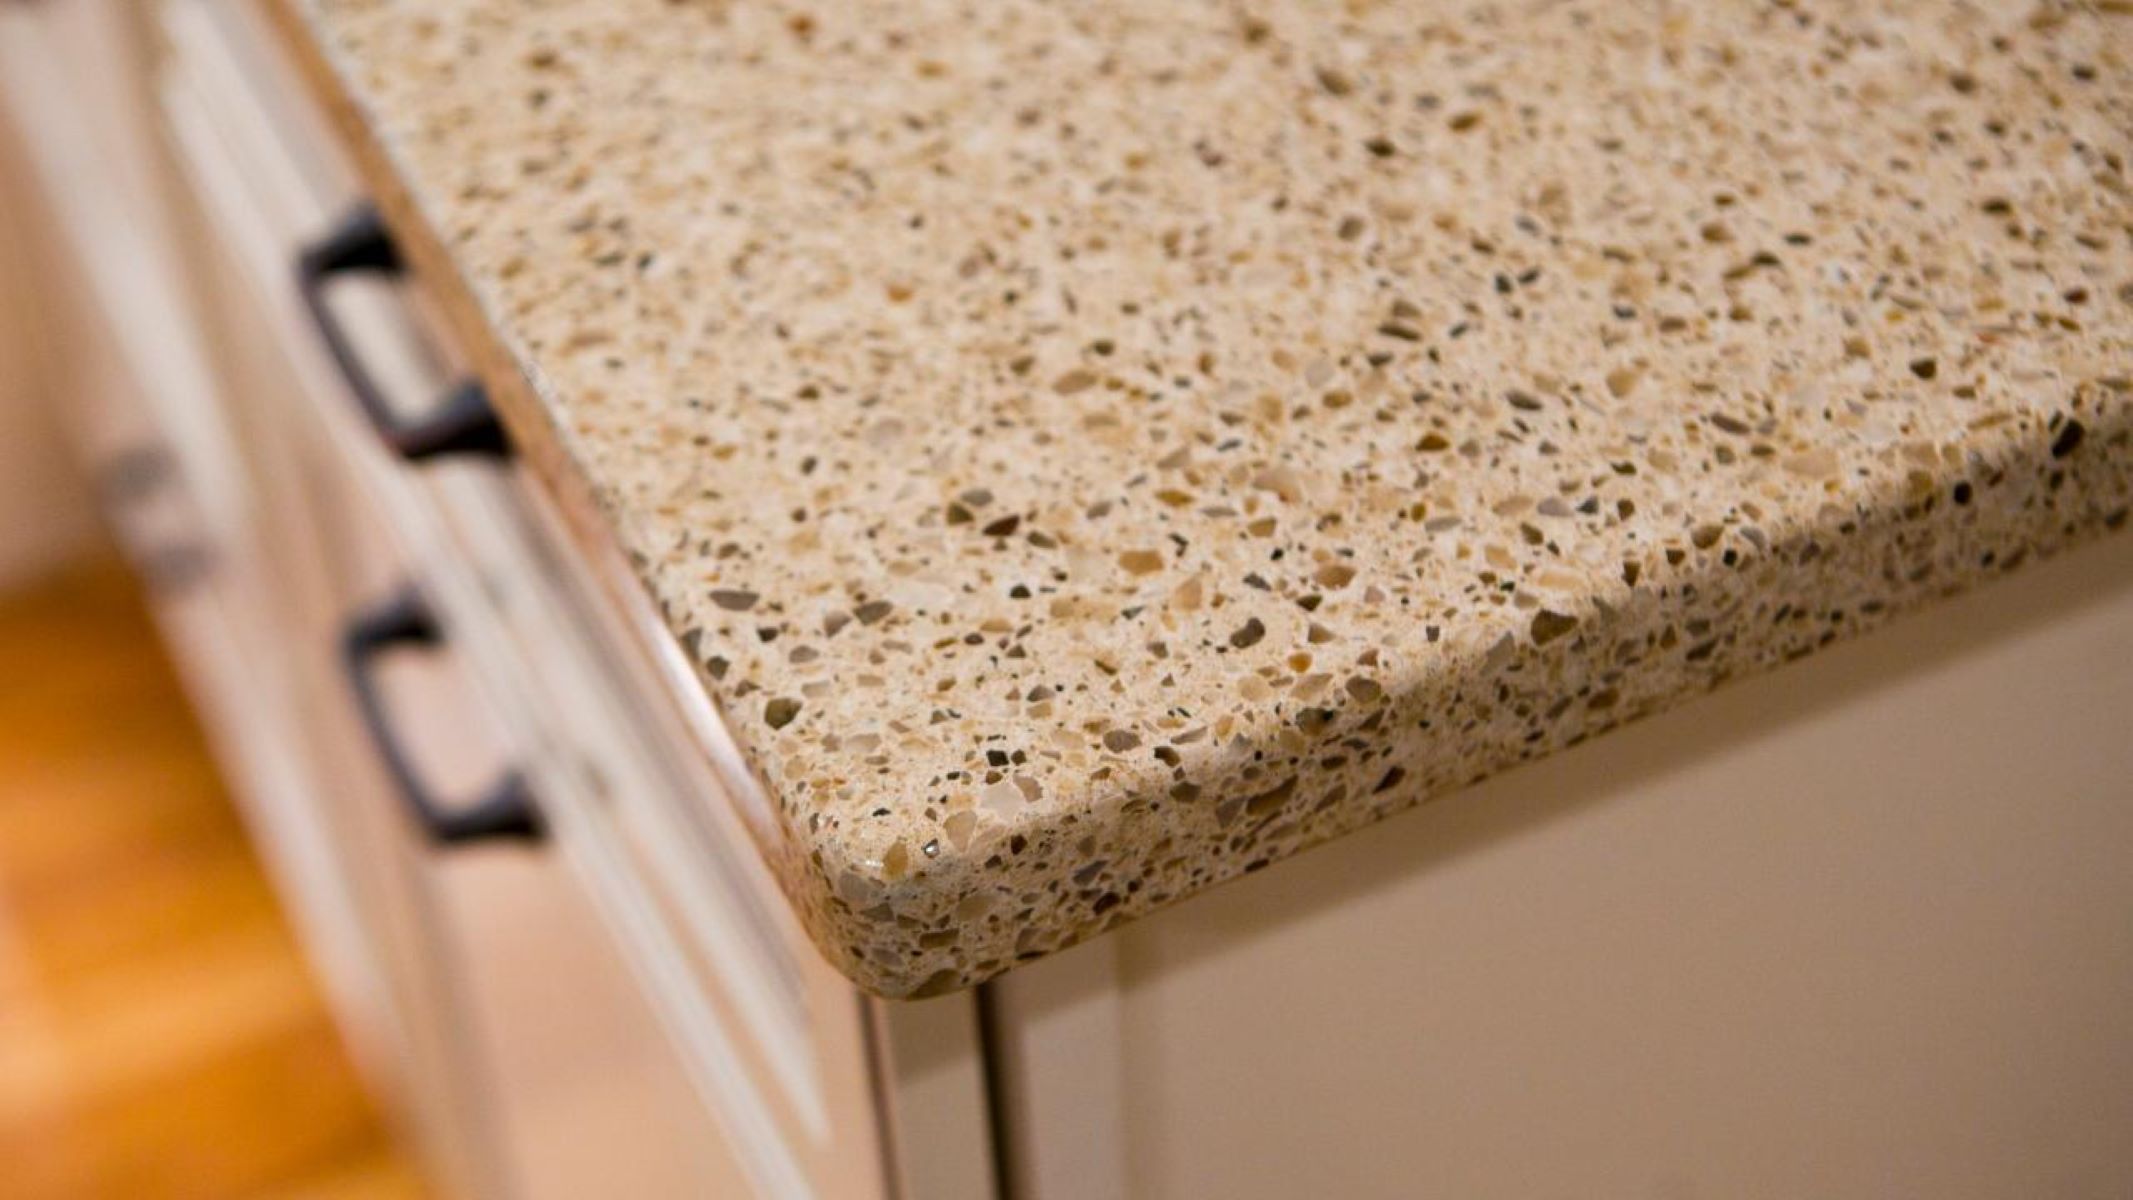
Quartz countertops are engineered stone surfaces made from a combination of natural quartz minerals and resin binders. Unlike natural stone countertops like granite or marble, which are cut straight from quarried slabs, quartz countertops are manufactured using a precise manufacturing process.
The primary component of quartz countertops is quartz, a naturally occurring mineral known for its hardness and durability. Quartz is one of the hardest minerals on earth, second only to diamonds. To create quartz countertops, manufacturers crush and mix quartz crystals with resin binders and other ingredients. This mixture is then subjected to intense heat and pressure, which results in a solid and non-porous slab.
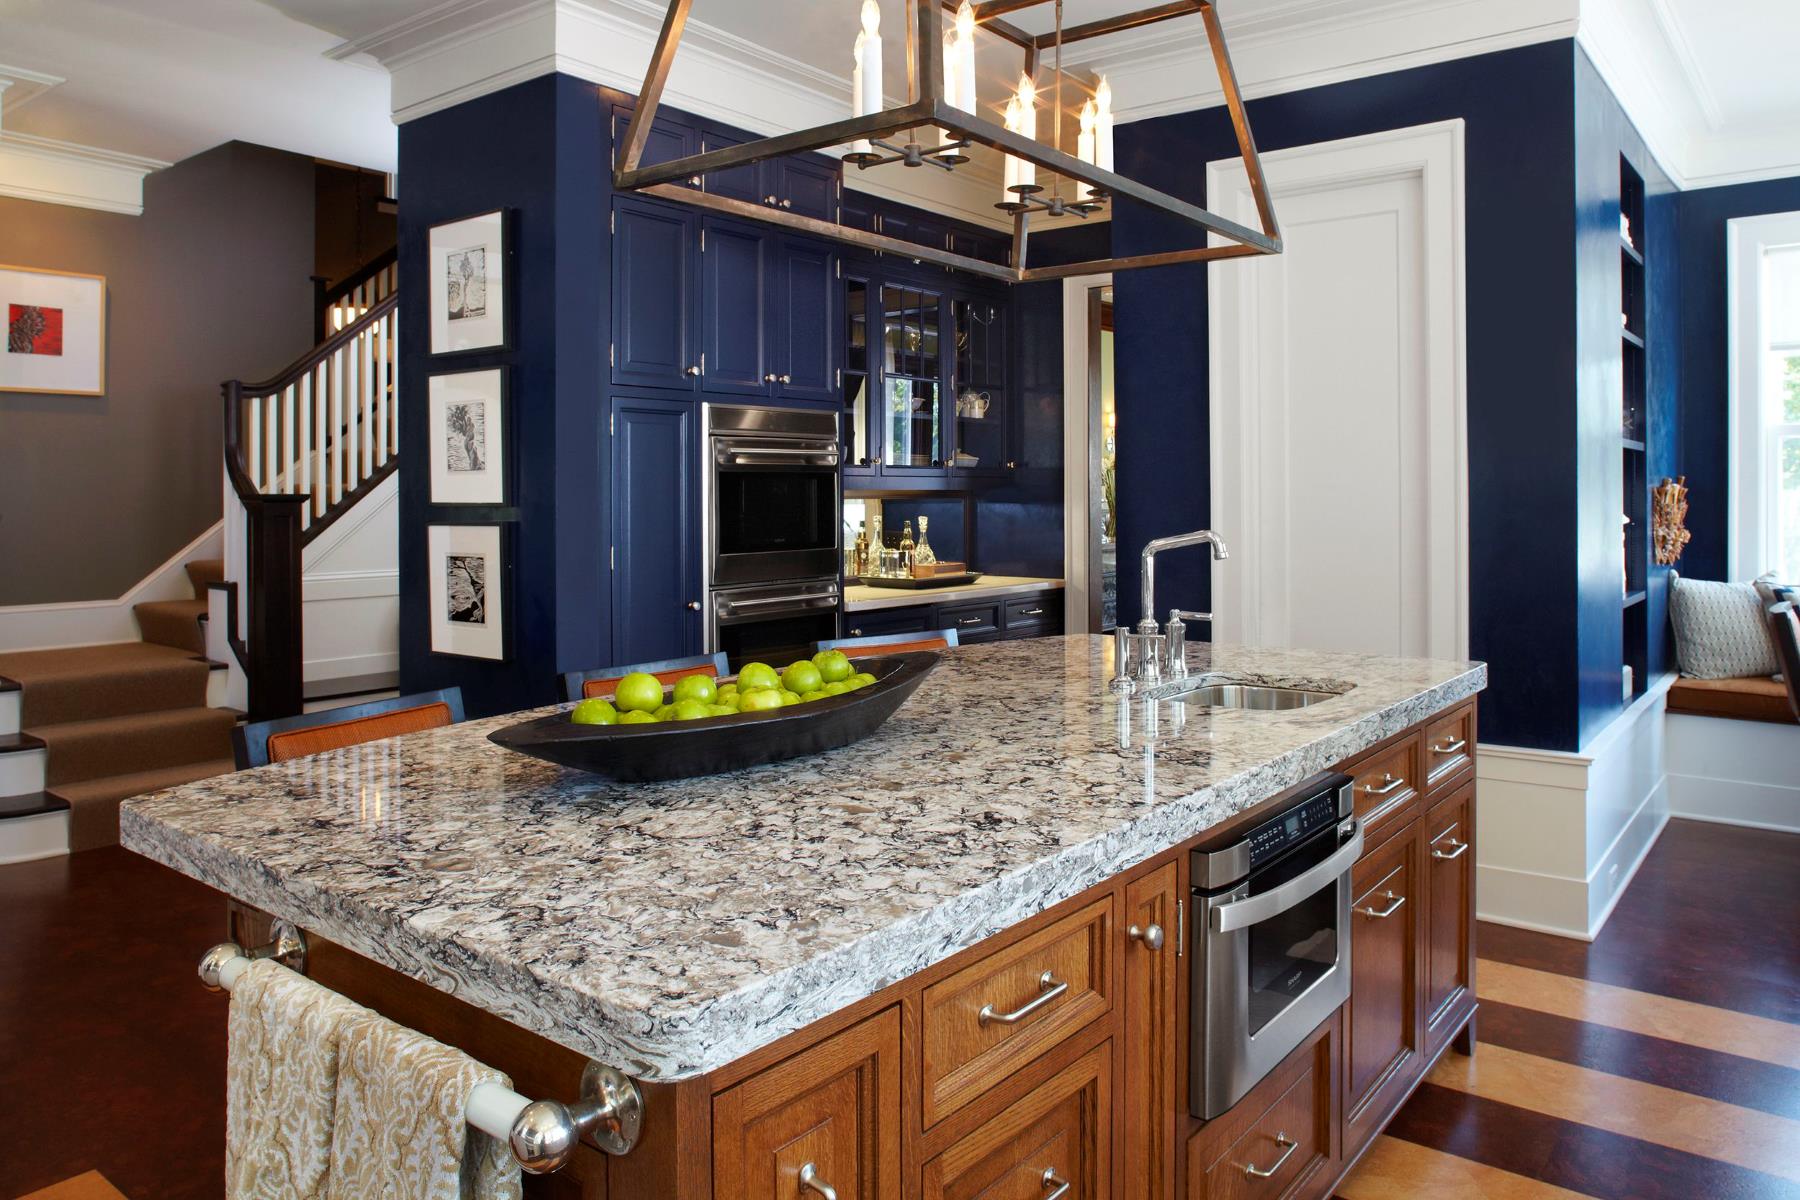
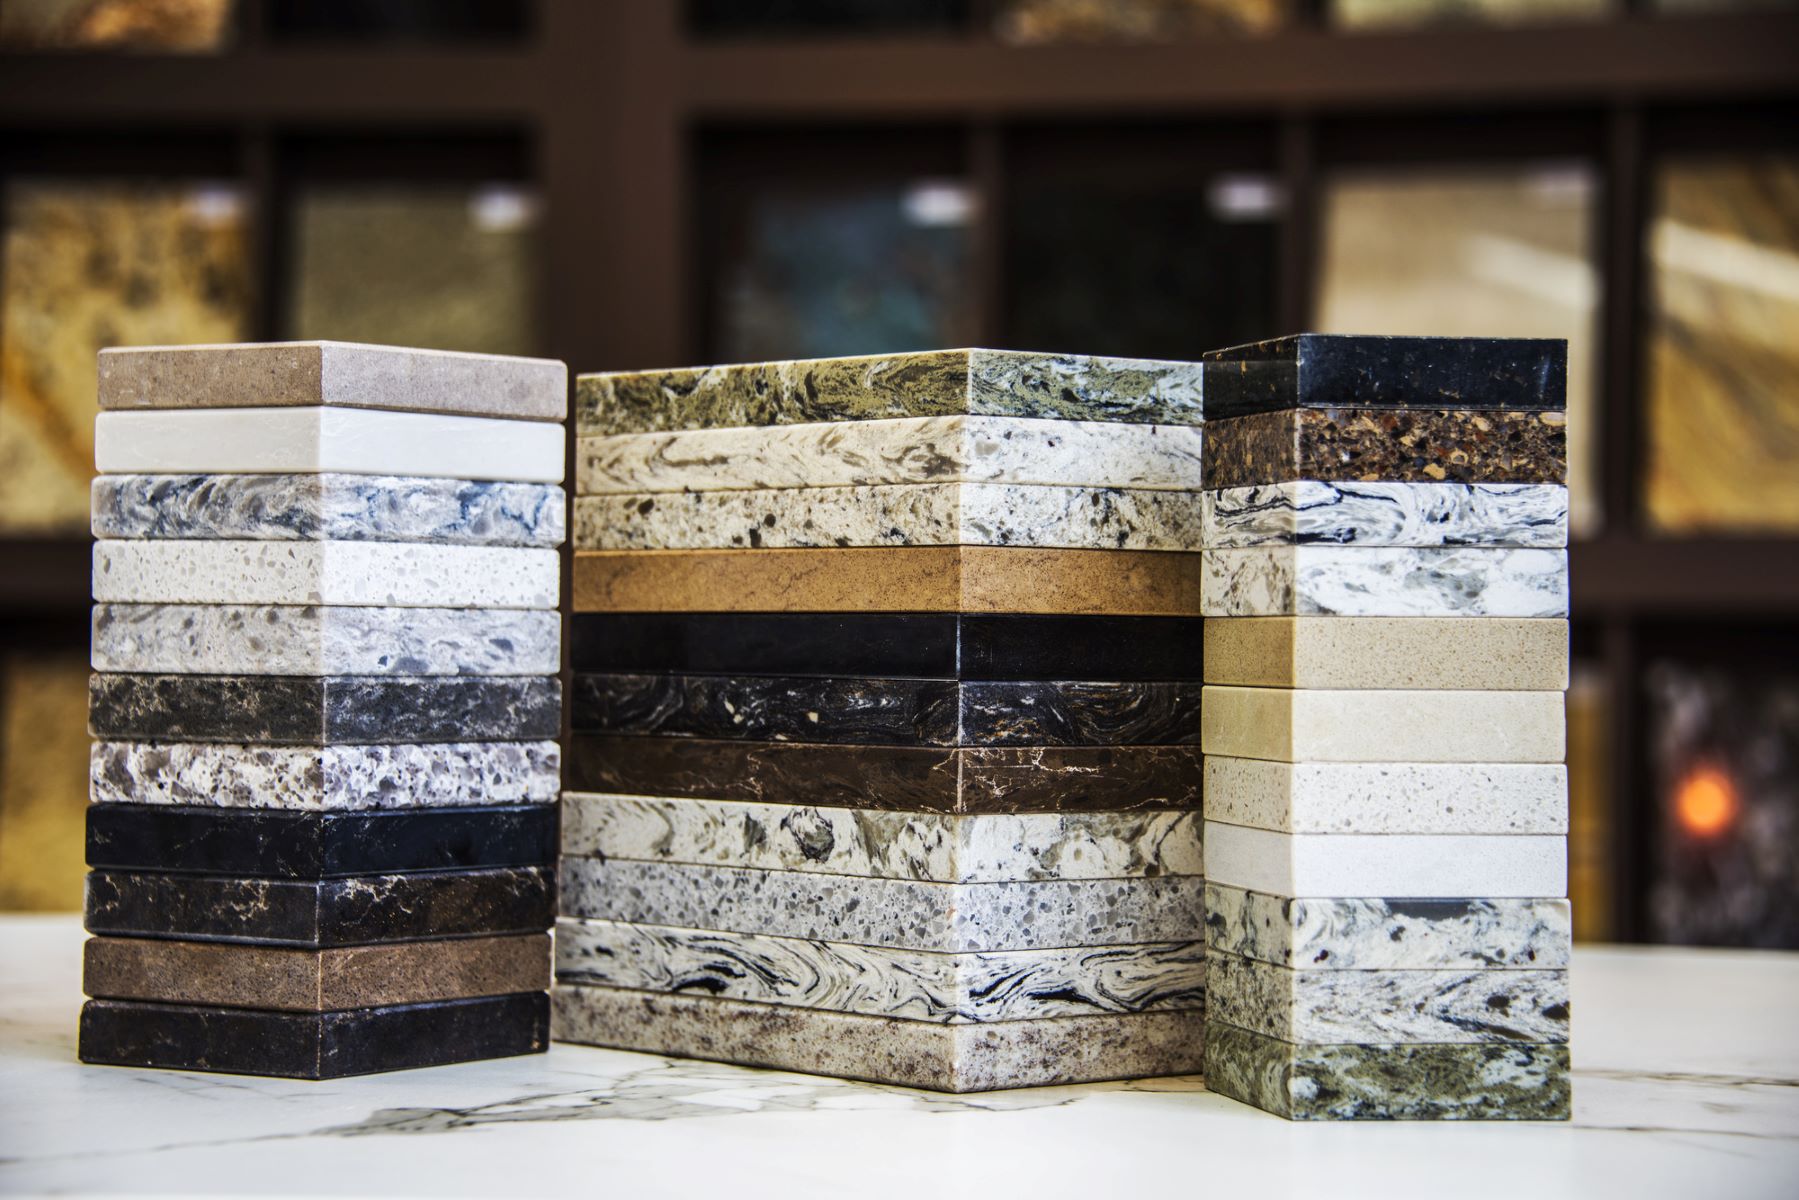
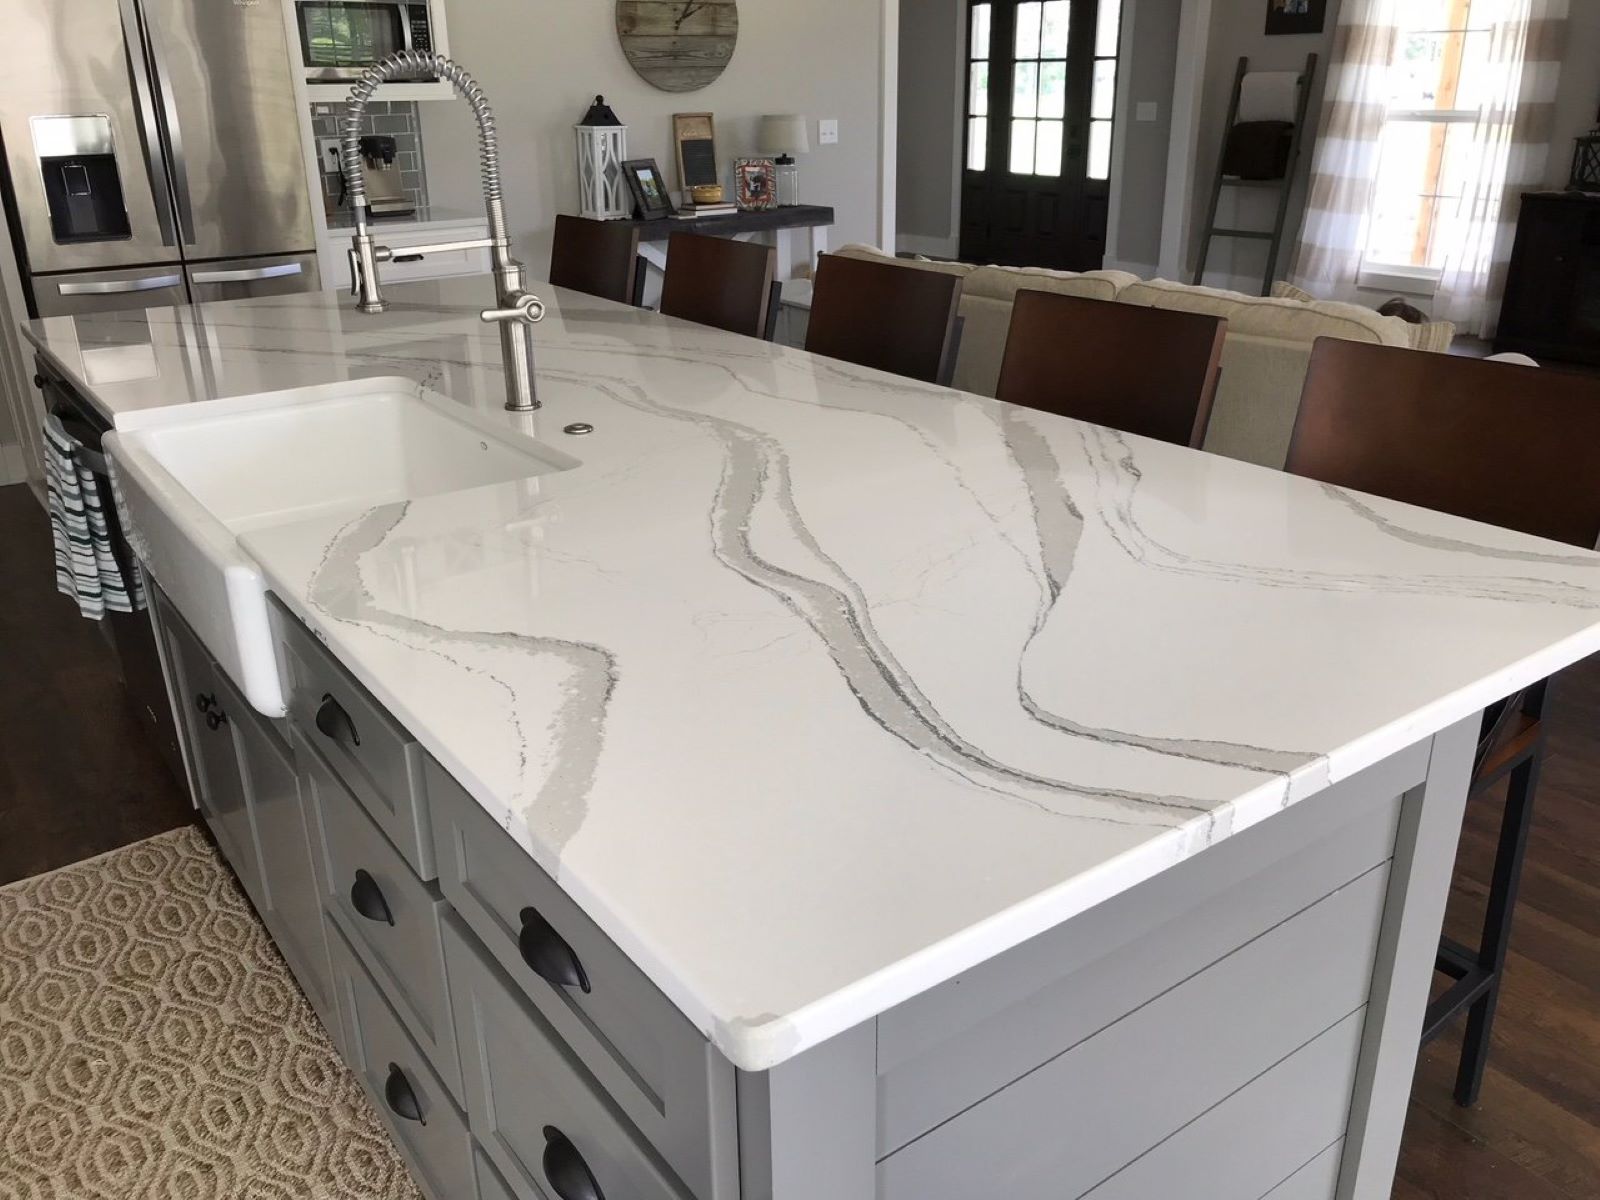
One of the distinguishing features of quartz countertops is their wide range of colors and patterns. Unlike natural stone countertops, which have limited options, quartz countertops can be manufactured in almost any color or pattern, allowing homeowners to find the perfect match for their kitchen décor.
Another advantage of quartz countertops is their resistance to stains, scratches, and heat. The resin binders used in the manufacturing process make the surface non-porous, preventing liquids and stains from seeping in. This makes quartz countertops easy to clean and maintain. Additionally, the hardness of quartz ensures that it is highly resistant to scratches and can withstand high temperatures without cracking or discoloration.
Understanding the composition and characteristics of quartz countertops is essential when it comes to cutting them. By knowing how they are made and their inherent properties, you can select the appropriate tools and techniques to ensure a successful cutting process without compromising the integrity of the countertop.
Tools and Materials Needed
Before you begin cutting a quartz countertop, it’s important to gather all the necessary tools and materials. Here is a list of what you’ll need:
- Diamond Blade: A diamond blade is essential for cutting through the hard quartz material. Make sure to choose a blade specifically designed for cutting quartz or other hard stone surfaces.
- Tape Measure: Accurate measurements are crucial when cutting a countertop to fit a specific size or shape. A tape measure will help you determine the dimensions precisely.
- Marker or Pencil: Use a marker or pencil to mark the cutting line on the quartz countertop. Choose a color that contrasts with the color of the countertop for better visibility.
- Masking Tape: Apply masking tape on the surface of the countertop along the cutting line. This will help prevent chipping and provide additional protection.
- Safety Glasses: Protect your eyes from flying debris and fine particles by wearing safety glasses during the cutting process.
- Dust Mask: Cutting quartz produces fine dust particles that can be harmful when inhaled. Wear a dust mask to protect your respiratory system.
- Clamps: Secure the quartz countertop in place during the cutting process using clamps. This will ensure stability and accuracy.
- Sanding Block: A sanding block with a fine-grit sandpaper will be needed to smooth the edges of the cut quartz countertop.
- Circular Saw or Wet Saw: Depending on your preference and the availability of tools, you can use either a circular saw or a wet saw to make the cuts. Just make sure the chosen tool is compatible with a diamond blade.
It is important to have all the necessary tools and materials ready before you start cutting the quartz countertop. Being prepared will save you time and ensure a smoother cutting process. Once you have gathered everything, you are now ready to tackle the task of cutting your quartz countertop.
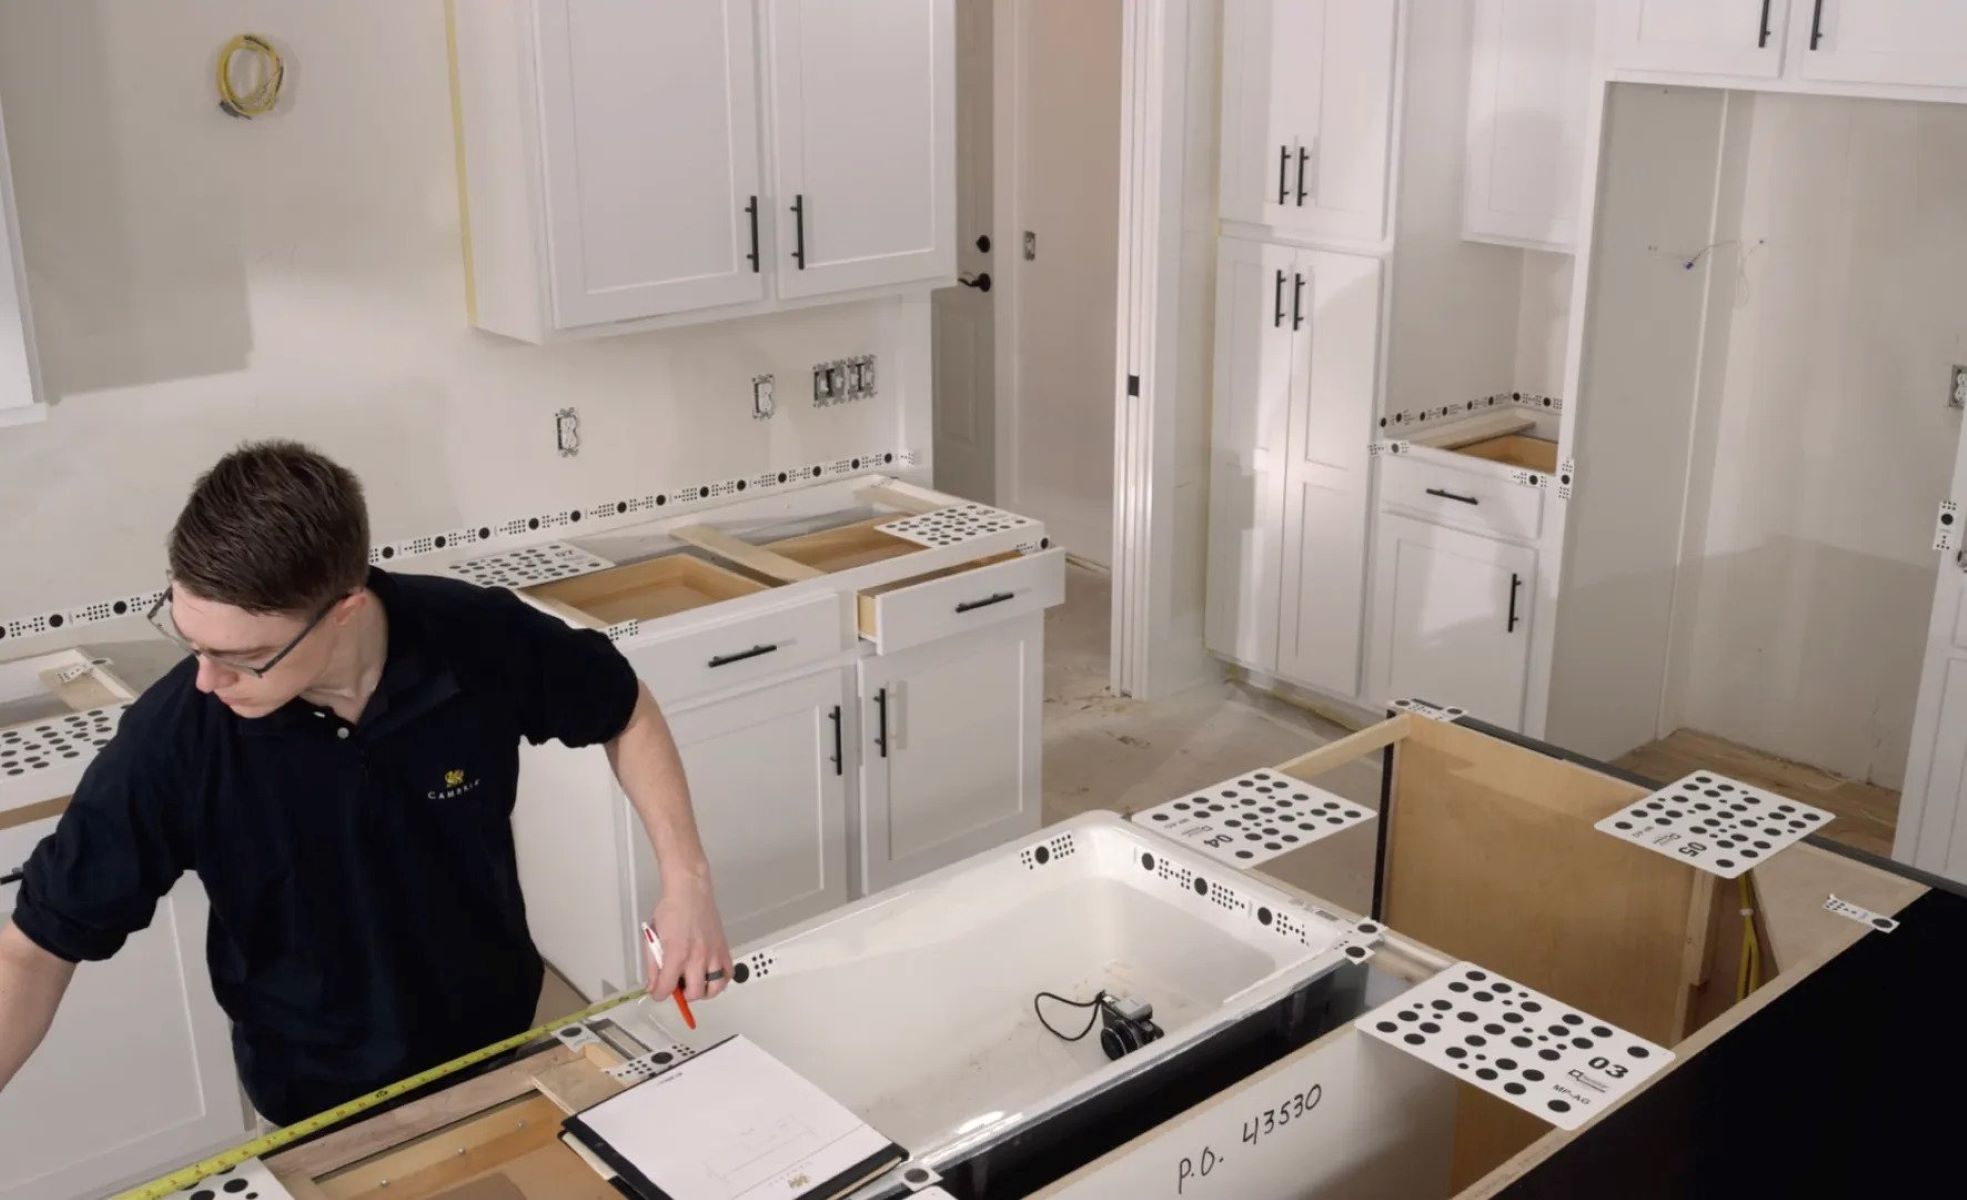
Step 1: Measure and Mark
The first step in cutting a quartz countertop is to measure and mark the area where you need to make the cut. Accurate measurements are crucial to ensure a precise fit. Here’s how to do it:
- Measure the dimensions: Use a tape measure to measure the length and width of the area where you need to cut the quartz countertop. Make sure to double-check your measurements to avoid any mistakes.
- Mark the cutting line: Once you have the accurate measurements, use a marker or pencil to mark the cutting line on the countertop. The line should be visible and extend across the entire length or width of the area you want to cut.
- Consider the overhang: If you are cutting the countertop to fit around a sink or other fixtures, take into account any required overhang. Typically, there is a 1-2 inch overhang from the front edge of the cabinets.
- Double-check the markings: Before proceeding to the cutting stage, double-check your measurements and markings to ensure they are correct. Mistakes at this stage can lead to costly errors, so it is essential to be as accurate as possible.
Measuring and marking the cutting line accurately is vital to ensure that the quartz countertop fits perfectly in its intended location. Take your time with this step to avoid any unnecessary mistakes. Once you are confident in your measurements and markings, you are ready to move on to the next step: protecting the surface.
Step 2: Protect the Surface
Before you start cutting the quartz countertop, it’s crucial to protect the surface from potential damage. Here’s how to do it:
- Cover the countertop: Start by covering the entire countertop with a thick layer of drop cloths or old blankets. This will help cushion the surface and prevent any accidental scratches or chips during the cutting process. Make sure to secure the coverings in place using tape or clamps.
- Apply masking tape: Along the marked cutting line, apply a strip of masking tape on the surface of the countertop. This will provide an additional layer of protection and help minimize chipping or splintering of the quartz during cutting.
- Secure the clamps: If necessary, secure clamps on the edges of the countertop to provide stability during the cutting process. This will help minimize vibration and ensure more precise cuts.
- Protect the immediate area: Lastly, lay down drop cloths or plastic sheets around the cutting area to catch any debris or dust that may result from the cutting process. This will make cleanup easier and prevent debris from spreading to other surfaces.
By taking the time to protect the surface of the quartz countertop, you can minimize the risk of damage during the cutting process. The drop cloths, masking tape, and clamps act as safeguards, ensuring that the countertop remains intact and free from any accidental marks or chips. With the surface properly protected, you can proceed with setting up the cutting area, which is the next step in the process.
Read more: How Do You Cut Laminate Countertops
Step 3: Set Up the Cutting Area
Setting up the cutting area properly is essential to ensure a safe and efficient cutting process. Here’s how to set up the cutting area:
- Choose a well-ventilated area: It’s important to work in a well-ventilated space to minimize the inhalation of dust particles. If possible, set up the cutting area outdoors. However, if indoor cutting is unavoidable, open windows and use fans to improve ventilation.
- Place the saw: Position the circular saw or wet saw on a stable and level surface. Make sure it is securely anchored and does not wobble during operation. Refer to the manufacturer’s instructions for the proper setup and safety precautions for your specific saw.
- Secure the countertop: Carefully place the marked quartz countertop on the cutting area, making sure it is securely held in place. If using clamps, tighten them to prevent any movement during the cutting process.
- Put on safety gear: Before proceeding with the cutting, ensure you are wearing appropriate safety gear. This includes safety glasses to protect your eyes from debris, and a dust mask to prevent inhalation of fine dust particles.
By setting up the cutting area properly, you create a safe and controlled environment for the cutting process. Having a stable and well-ventilated area allows for better precision and reduces the risk of accidents. Once the cutting area is set up, you are ready to move on to the next step: making the initial cut.
When cutting quartz countertops, use a diamond blade on a wet saw to minimize dust and prevent chipping. Make sure to wear proper safety gear and take your time to ensure a clean, precise cut.
Step 4: Make the Initial Cut
Now that the cutting area is set up, it’s time to make the initial cut on the quartz countertop. Follow these steps to make the first cut:
- Position the saw: If you’re using a circular saw, align the blade with the marked cutting line. Ensure that the blade guard is in place and the saw is securely held. For a wet saw, adjust the cutting depth according to the thickness of the countertop.
- Start the saw: Turn on the saw and allow it to reach full speed before making the cut. Make sure you have a firm grip on the saw, and your hands are away from the blade.
- Make the initial cut: Slowly guide the saw along the marked cutting line, applying steady and even pressure. Let the saw do the work, avoiding excessive force that may damage the countertop. Take your time and maintain a consistent cutting speed.
- Use a guide: To ensure a straight and precise cut, you can use a straight edge or guide clamped to the countertop. This will serve as a reference point for the saw blade, helping you achieve a straight line.
- Continue the cut: Once the initial cut is made, carefully follow the marked cutting line, keeping the saw blade aligned. Take breaks if needed, allowing the blade and countertop to cool down.
During the initial cut, it’s important to maintain control of the saw and follow the marked cutting line closely. Keeping a steady hand and allowing the saw to work at its own pace will minimize the risk of chipping or splintering the quartz countertop. Once the initial cut is complete, you can proceed to the next step: completing the cut.
Step 5: Complete the Cut
After making the initial cut on the quartz countertop, it’s time to complete the cut and create the desired shape or size. Follow these steps to complete the cut:
- Adjust the saw: If needed, adjust the cutting depth or angle of the saw to continue the cut along the marked cutting line.
- Continue cutting: Guide the saw along the remaining portion of the cutting line, following the same steady and even pressure as before. Ensure that the saw blade stays aligned with the cutting line to achieve accurate results.
- Support the overhang: If you are cutting with an overhang, ensure that the unsupported portion of the countertop is adequately supported to prevent it from breaking or cracking during the cut.
- Take breaks if needed: As cutting through quartz can generate heat, it is advisable to take short breaks to let the blade and countertop cool down. This helps to avoid overheating and potential damage.
Completing the cut requires patience and precision. Take your time to ensure that the blade follows the marked cutting line accurately. It’s crucial to maintain control over the saw and make smooth, continuous movements. Supporting any overhangs during the cut will help ensure the stability and integrity of the countertop. Once the cut is completed, move on to the next step: smoothing the edges.
Step 6: Smooth the Edges
After cutting the quartz countertop, the edges may be rough or uneven. In this step, we will guide you on how to smooth the edges for a clean and polished finish. Follow these steps to smooth the edges:
- Use a sanding block: Attach a fine-grit sandpaper to a sanding block. This will allow you to have better control and precision while smoothing the edges.
- Sand the edges: Gently run the sanding block along the cut edges of the quartz countertop. Move in a back-and-forth motion, applying even pressure. This will smooth out any rough edges and create a more polished finish.
- Be patient: Take your time with this step, making sure to sand all edges evenly. It may require some effort to achieve the desired smoothness.
- Inspect the edges: After sanding, inspect the edges to ensure they are smooth and free from any sharp or rough areas. If necessary, repeat the sanding process until the edges are to your satisfaction.
Smoothing the edges of the quartz countertop is essential for both aesthetics and safety. It not only creates a more polished appearance but also eliminates any sharp edges that could pose a risk of injury. By taking the time to sand and smooth the edges, you can achieve a professional-looking finish on your newly cut quartz countertop.
Read more: How Do You Cut Granite Countertops
Step 7: Clean and Inspect the Countertop
After completing the cutting and smoothing process, it’s important to clean and inspect the quartz countertop to ensure it is ready for use. Follow these steps for the final touches:
- Remove any debris: Use a brush or a damp cloth to remove any dust or debris that may have accumulated on the countertop during the cutting and sanding process. Thoroughly clean the surface to ensure it is free from any particles that could mar the appearance.
- Inspect the surface: Carefully examine the entire countertop to check for any imperfections or inconsistencies. Look for any chipping, unevenness, or scratches that may have occurred during the cutting or smoothing process.
- Repair any damage: If you notice any damage or rough spots, address them accordingly. Use a fine-grit sandpaper to smooth out minor imperfections. For deeper scratches or chipping, consult a professional if necessary.
- Seal the cut edges (optional): Depending on the type of quartz countertop you have, you may consider sealing the cut edges. This can provide added protection and prevent any moisture penetration. Follow the manufacturer’s instructions for the appropriate sealant to use.
Cleaning and inspecting the countertop is crucial to ensure the desired results and a high-quality finish. By removing any debris and thoroughly inspecting the surface, you can address any issues promptly. Take the time to make any necessary repairs or consider sealing the cut edges if desired. This will help maintain the longevity and beauty of your newly cut quartz countertop.
With the cleaning and inspection complete, your quartz countertop is now ready to be installed in its designated space. Admire your hard work, and enjoy the beauty and functionality of your perfectly cut and polished quartz countertop.
Conclusion
Cutting quartz countertops may initially seem like a daunting task, but with the right tools, techniques, and attention to detail, it can be successfully achieved. By following the step-by-step guide outlined in this article, you can confidently cut and customize your quartz countertops to fit your specific needs.
Understanding the composition and characteristics of quartz countertops is key to ensuring a successful cutting process. Knowing their durability, resistance to stains and scratches, and wide range of color options allows you to approach the cutting process with confidence.
Before diving into the cutting process, it’s important to gather all the necessary tools and materials and prepare the cutting area properly. This includes using a diamond blade, marking the cutting line accurately, protecting the surface, and securing the countertop in place.
By following the step-by-step instructions, you can make the initial cut, complete the cutting process, and smooth the edges for a polished finish. Take your time, pay attention to details, and prioritize safety throughout the process.
Once the cutting and smoothing processes are complete, clean the countertop thoroughly and inspect for any imperfections. Address any issues promptly to ensure the final result is flawless.
Cutting quartz countertops requires patience, precision, and the right tools, but the end result is well worth the effort. A perfectly cut and customized quartz countertop can enhance the beauty and functionality of your kitchen or bathroom, adding value to your home.
Remember, if you are unsure or uncomfortable with cutting quartz countertops yourself, it is always best to consult a professional. They have the expertise and experience to ensure a flawless and safe cutting process.
With this comprehensive guide, you can confidently tackle the task of cutting quartz countertops and achieve professional results. Embrace the opportunity to transform your quartz countertop into a personalized piece that fits your space perfectly.
Frequently Asked Questions about How Do You Cut Quartz Countertops
Was this page helpful?
At Storables.com, we guarantee accurate and reliable information. Our content, validated by Expert Board Contributors, is crafted following stringent Editorial Policies. We're committed to providing you with well-researched, expert-backed insights for all your informational needs.

0 thoughts on “How Do You Cut Quartz Countertops”