Articles
How To Refinish Quartz Countertops
Modified: October 20, 2024
Discover the best techniques and products for refinishing quartz countertops in our informative articles. Transform your surfaces with ease and achieve a beautiful, lasting finish.
(Many of the links in this article redirect to a specific reviewed product. Your purchase of these products through affiliate links helps to generate commission for Storables.com, at no extra cost. Learn more)
Introduction
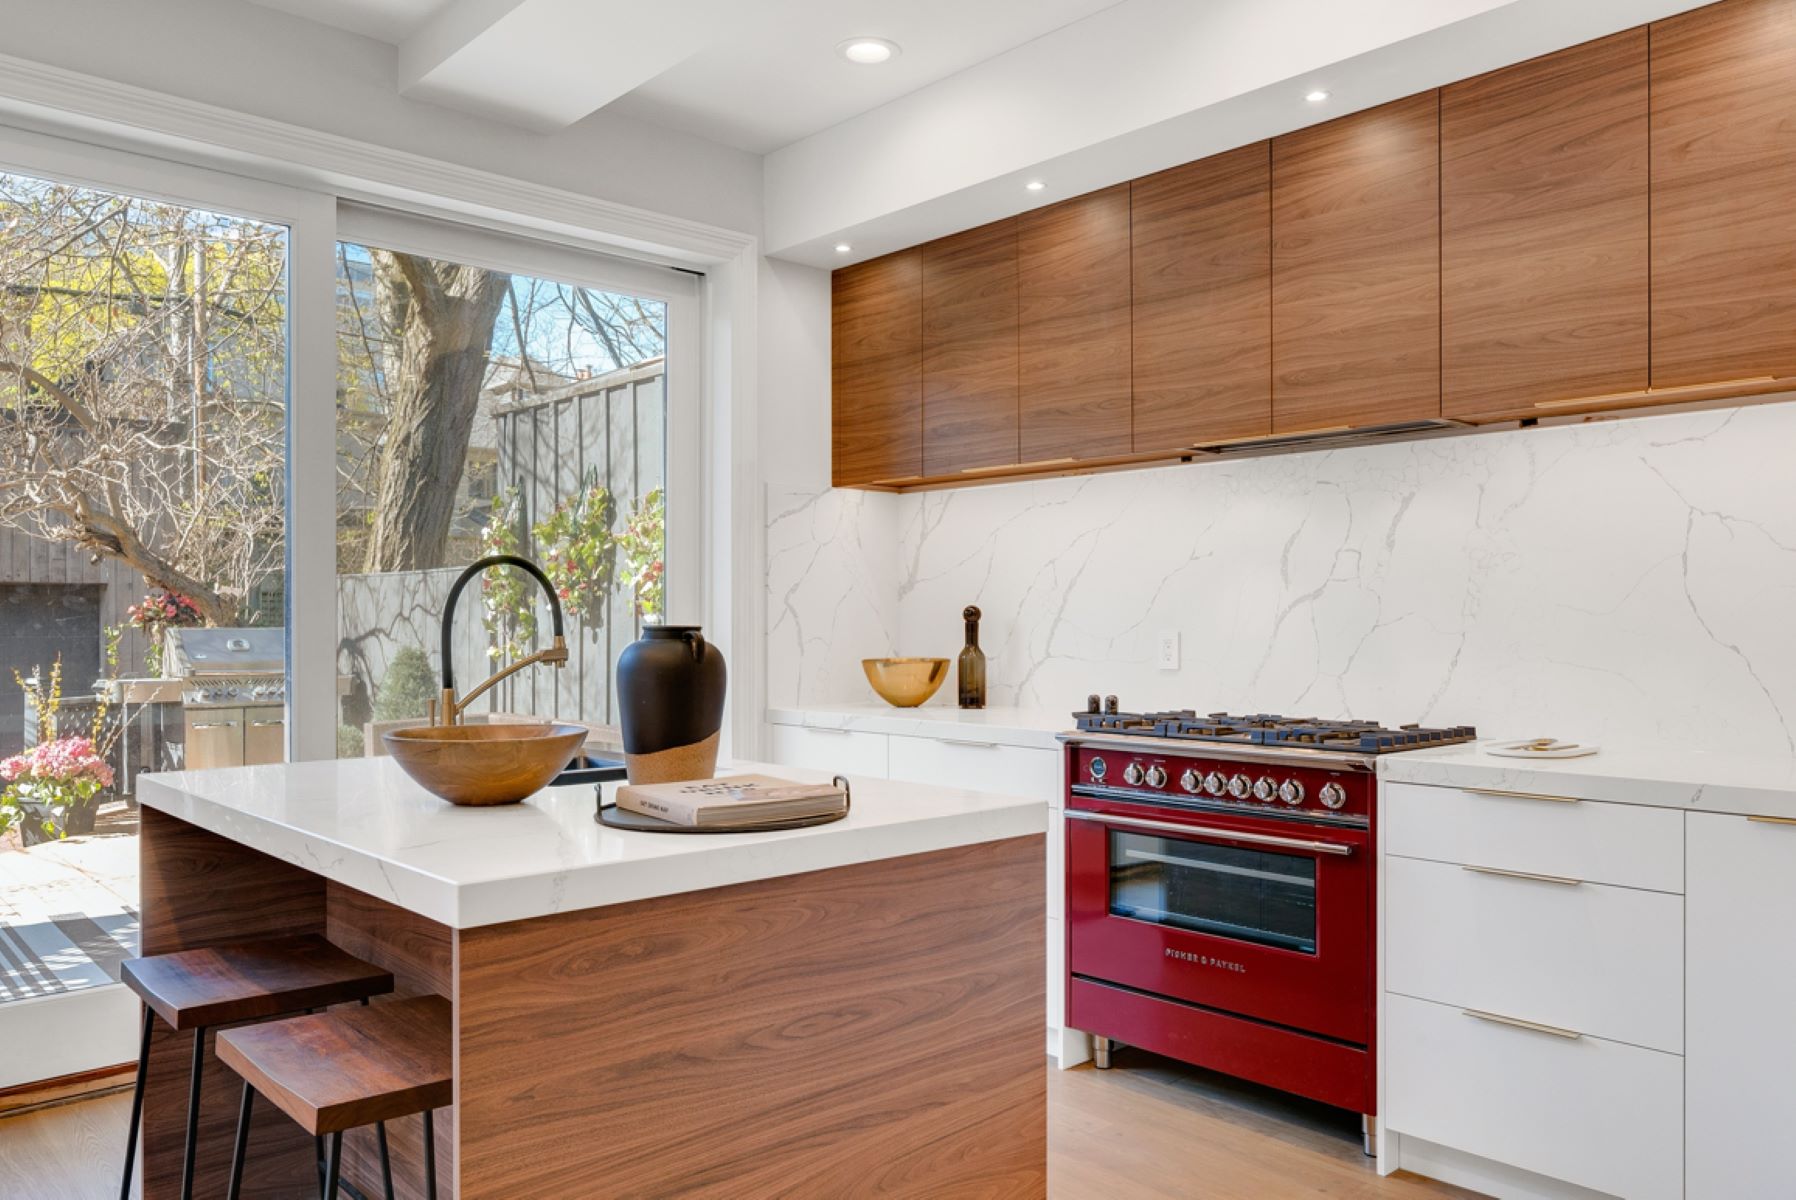
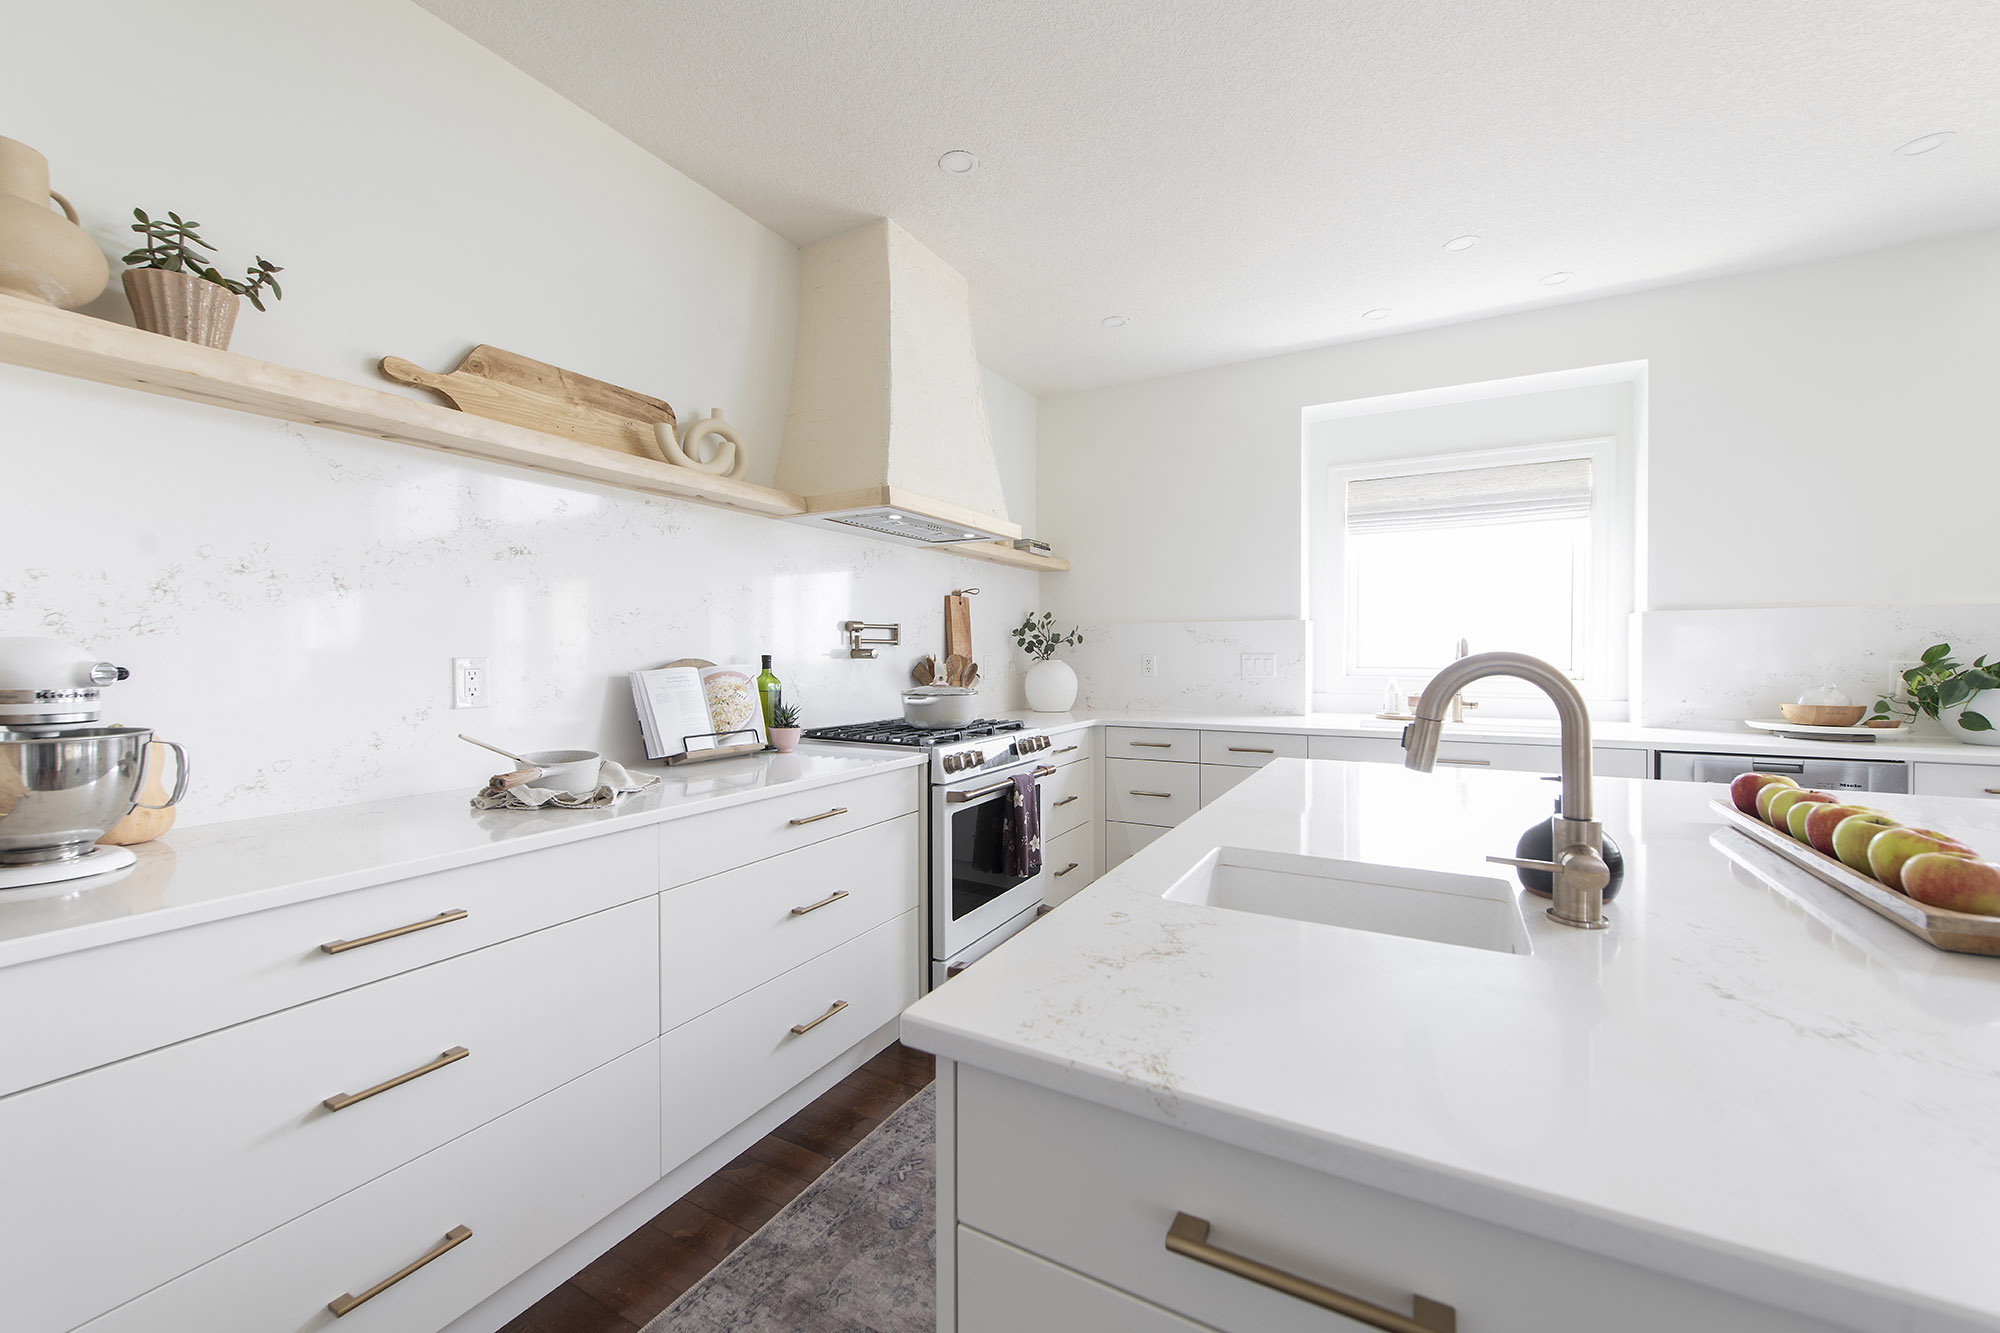
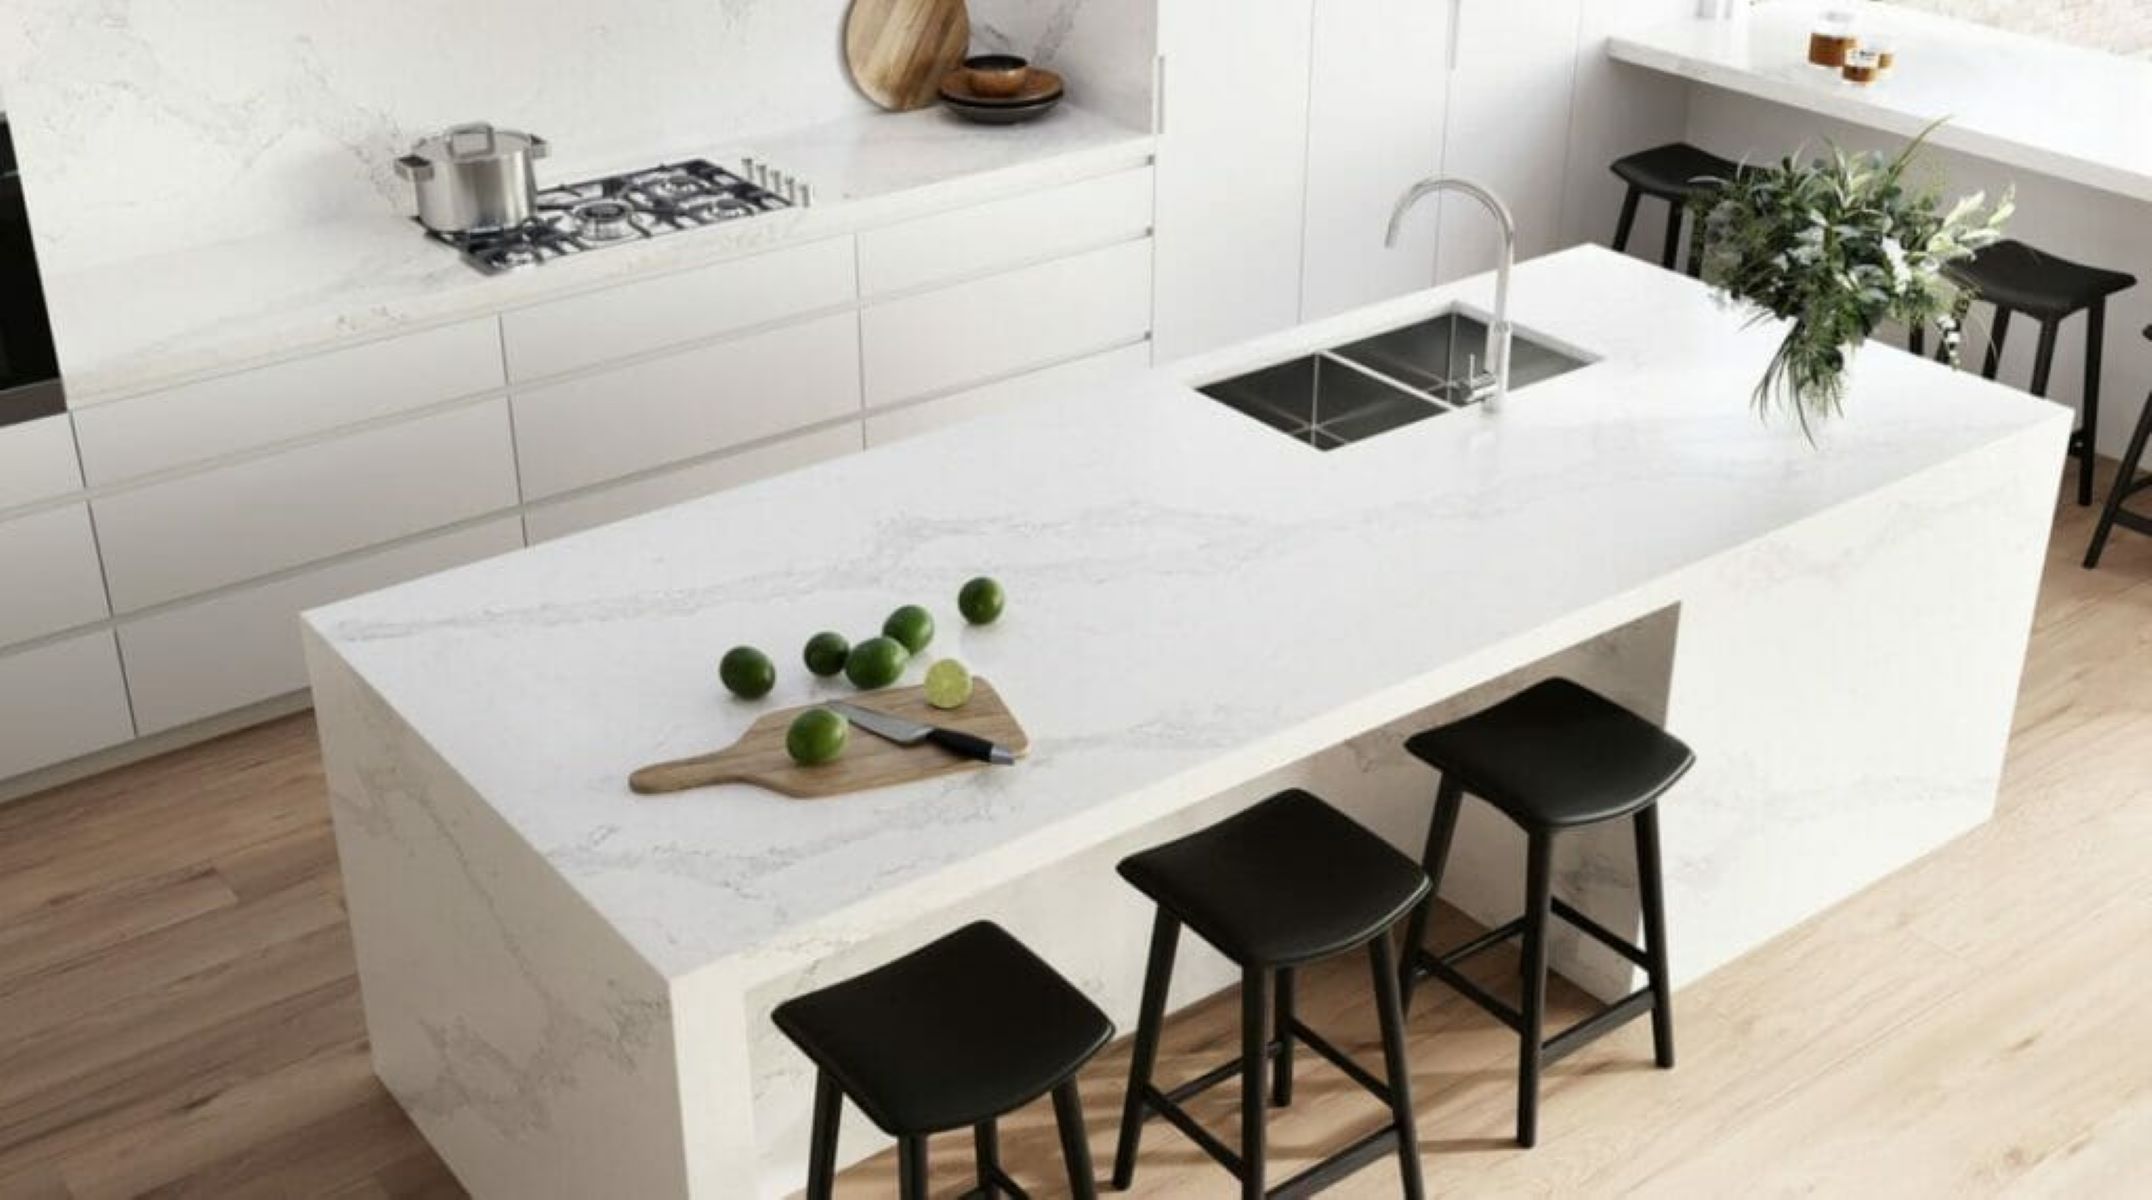
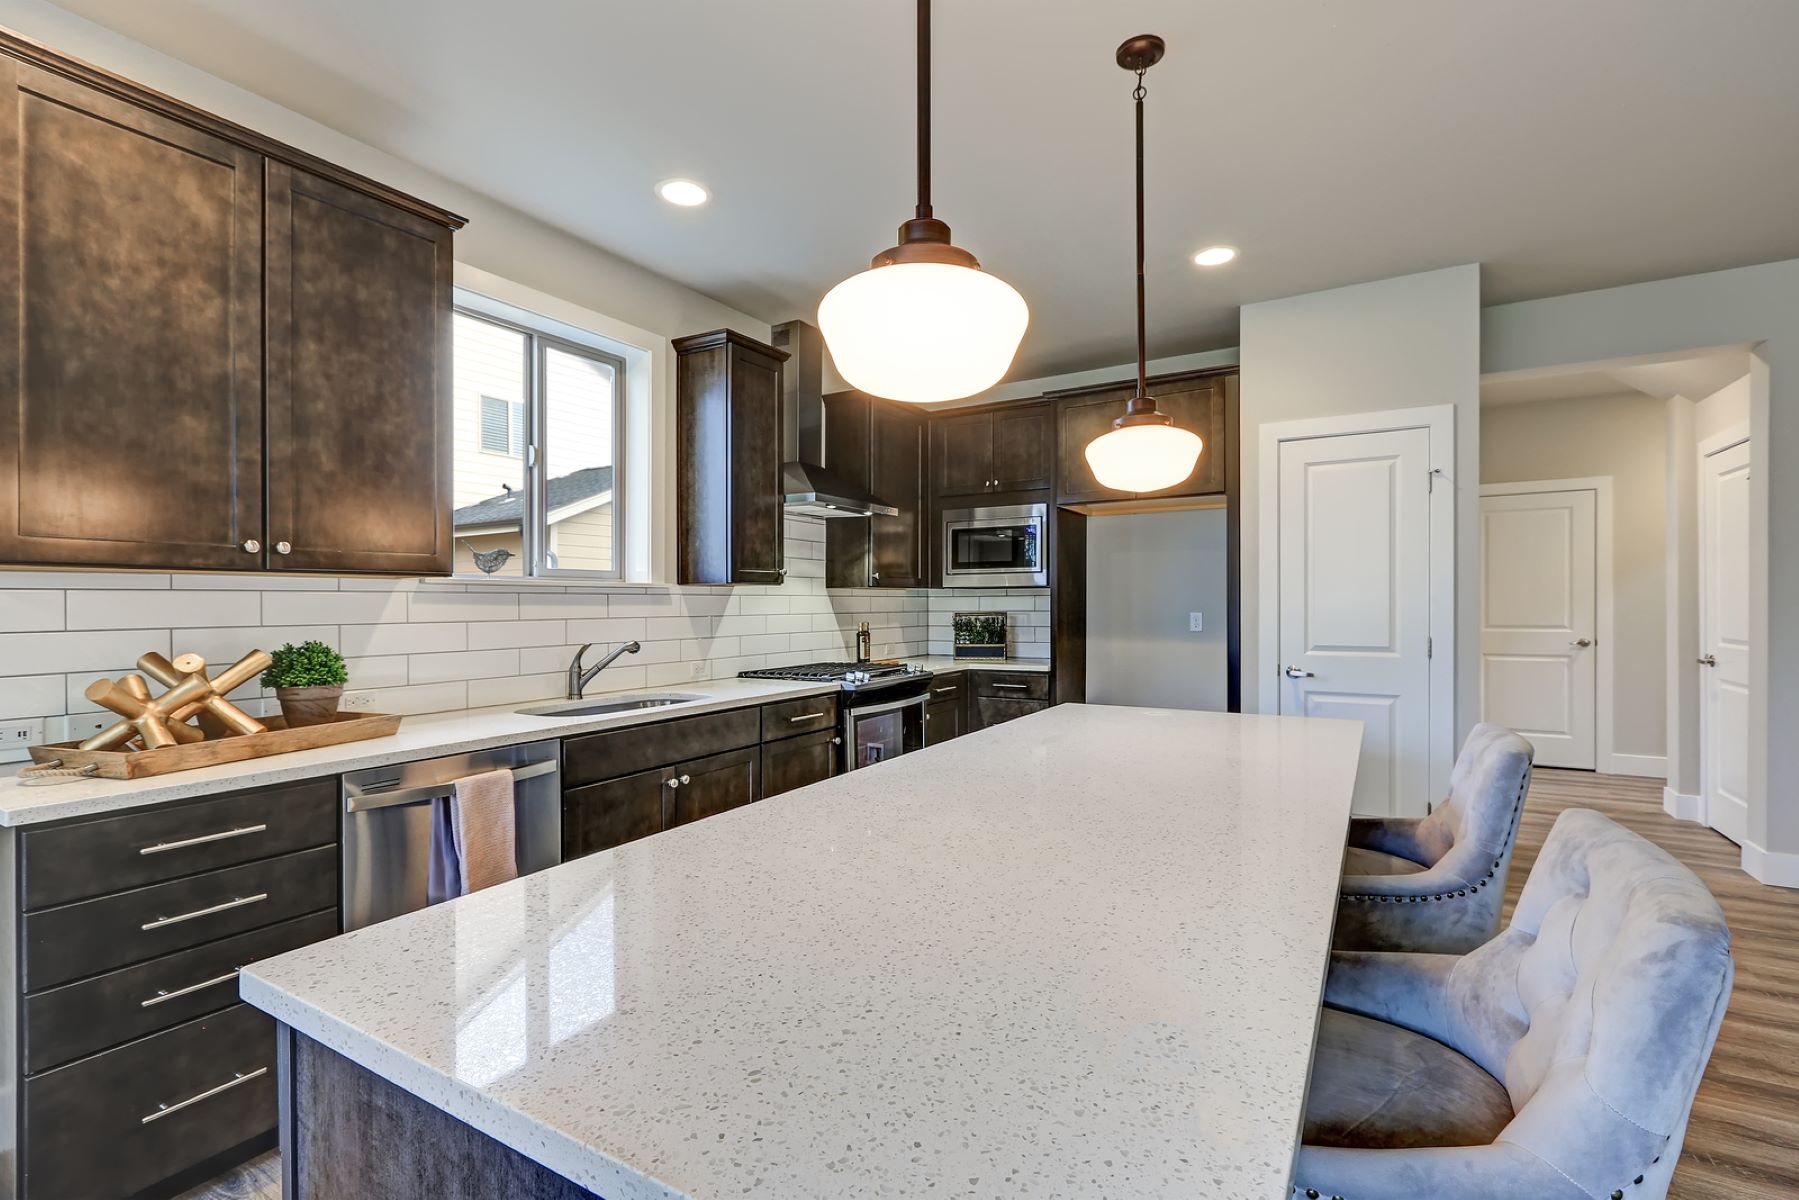
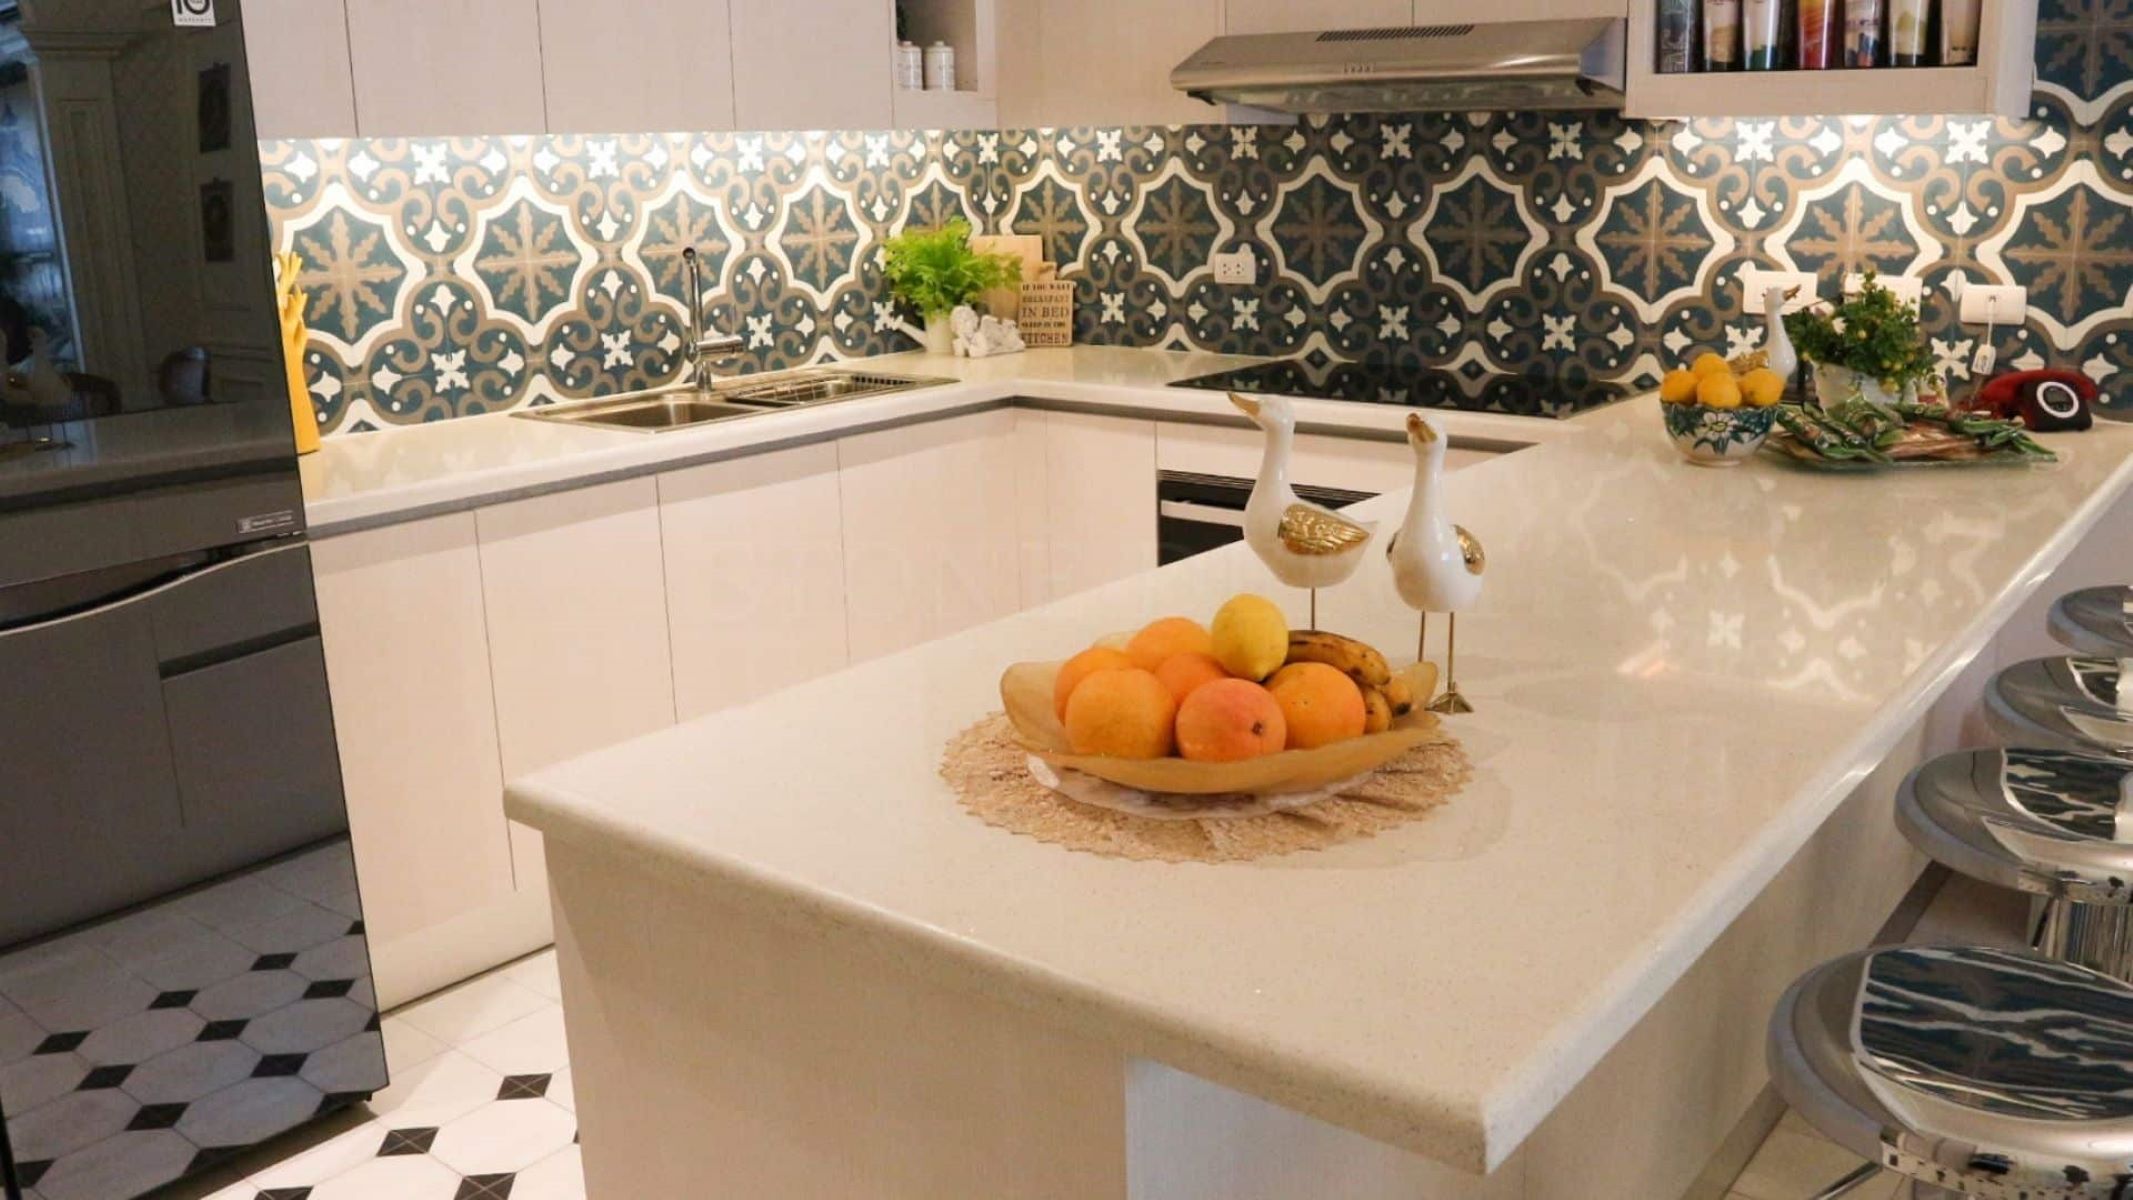
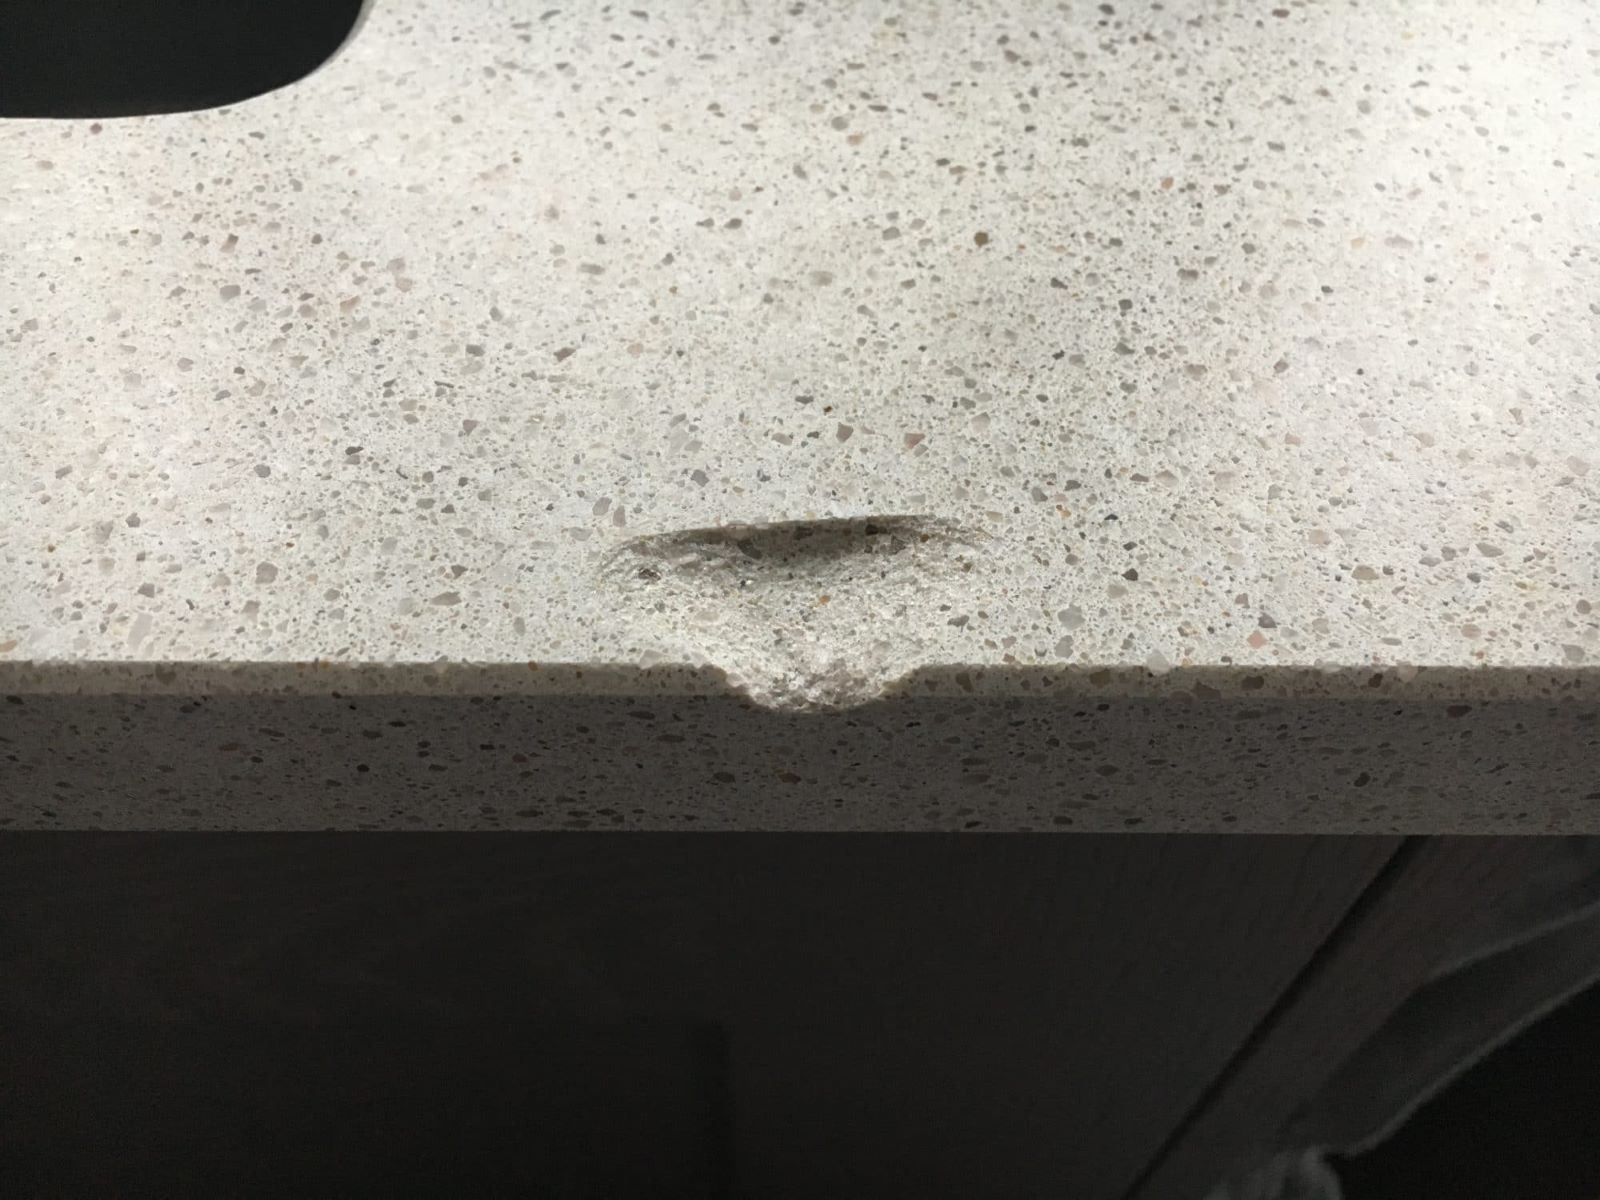
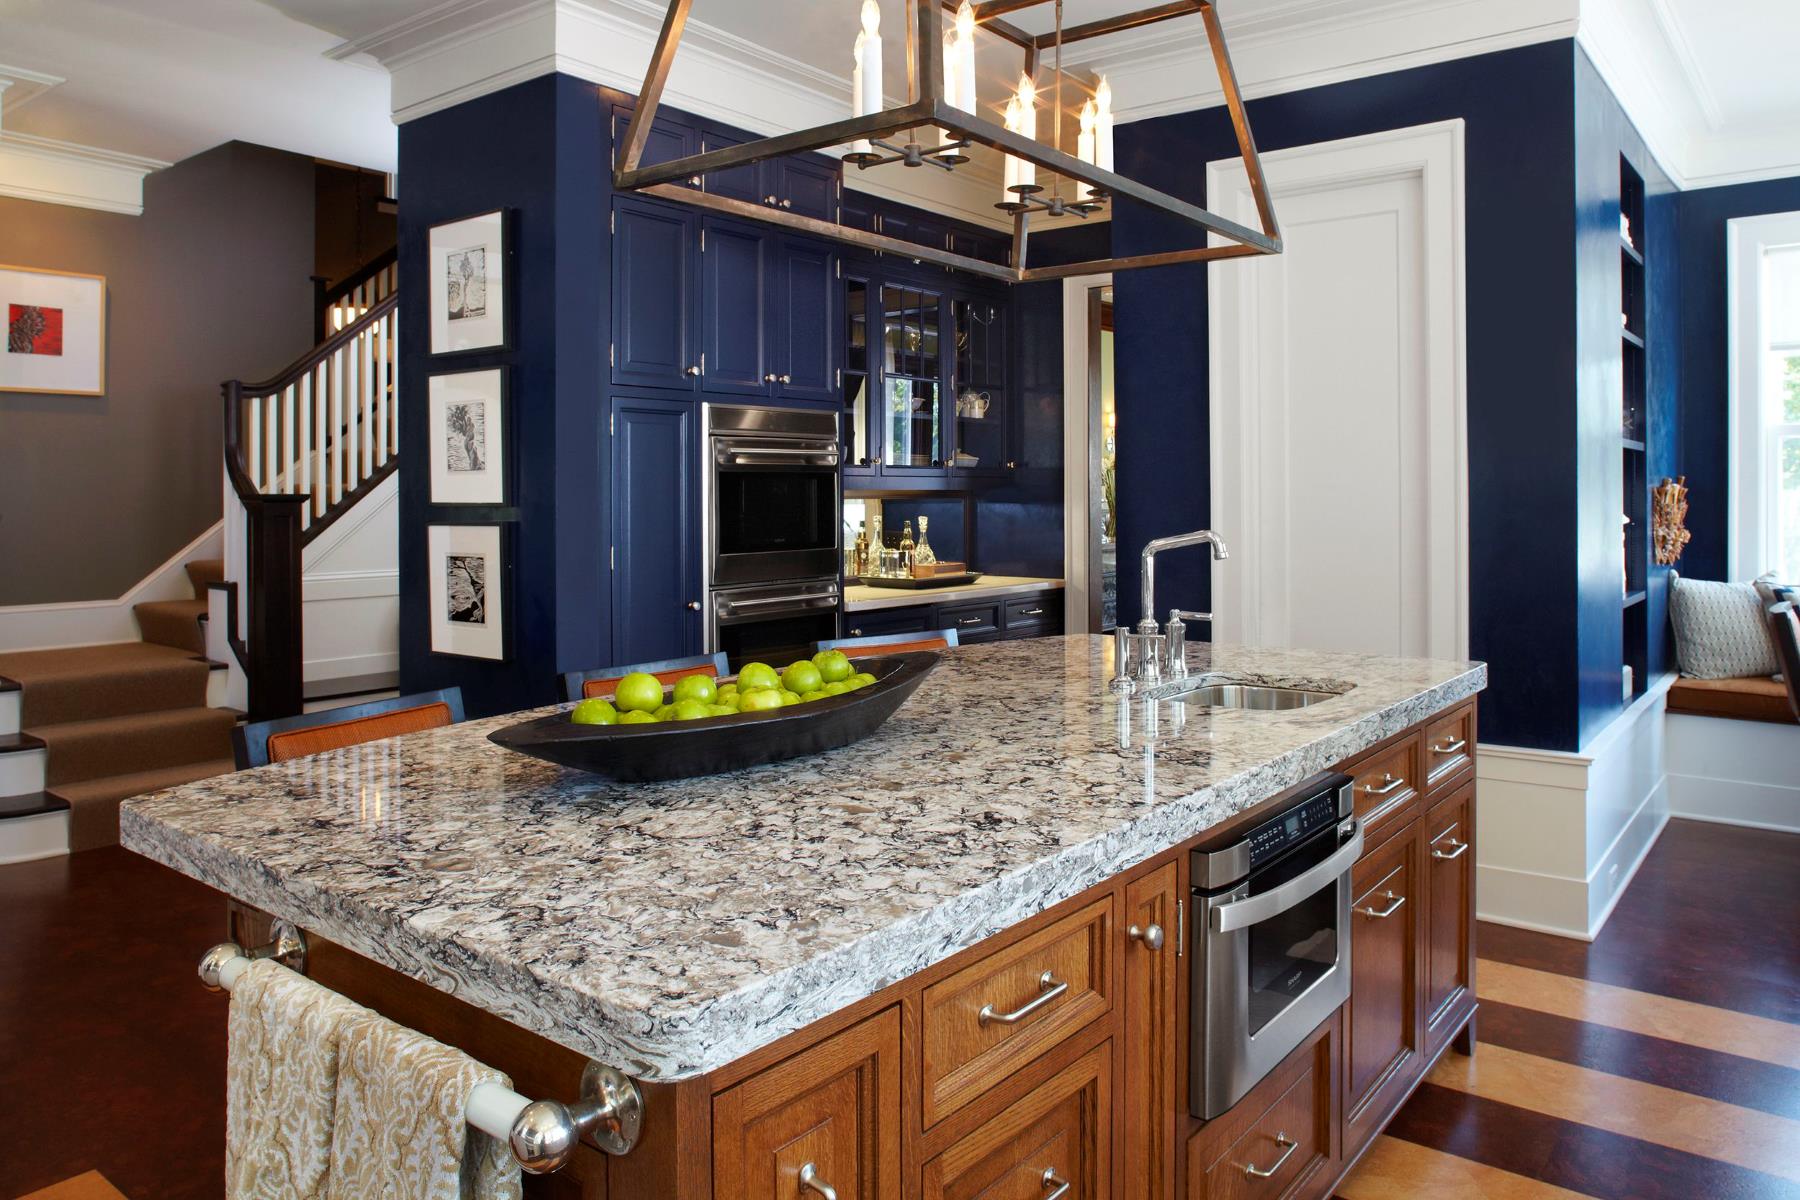
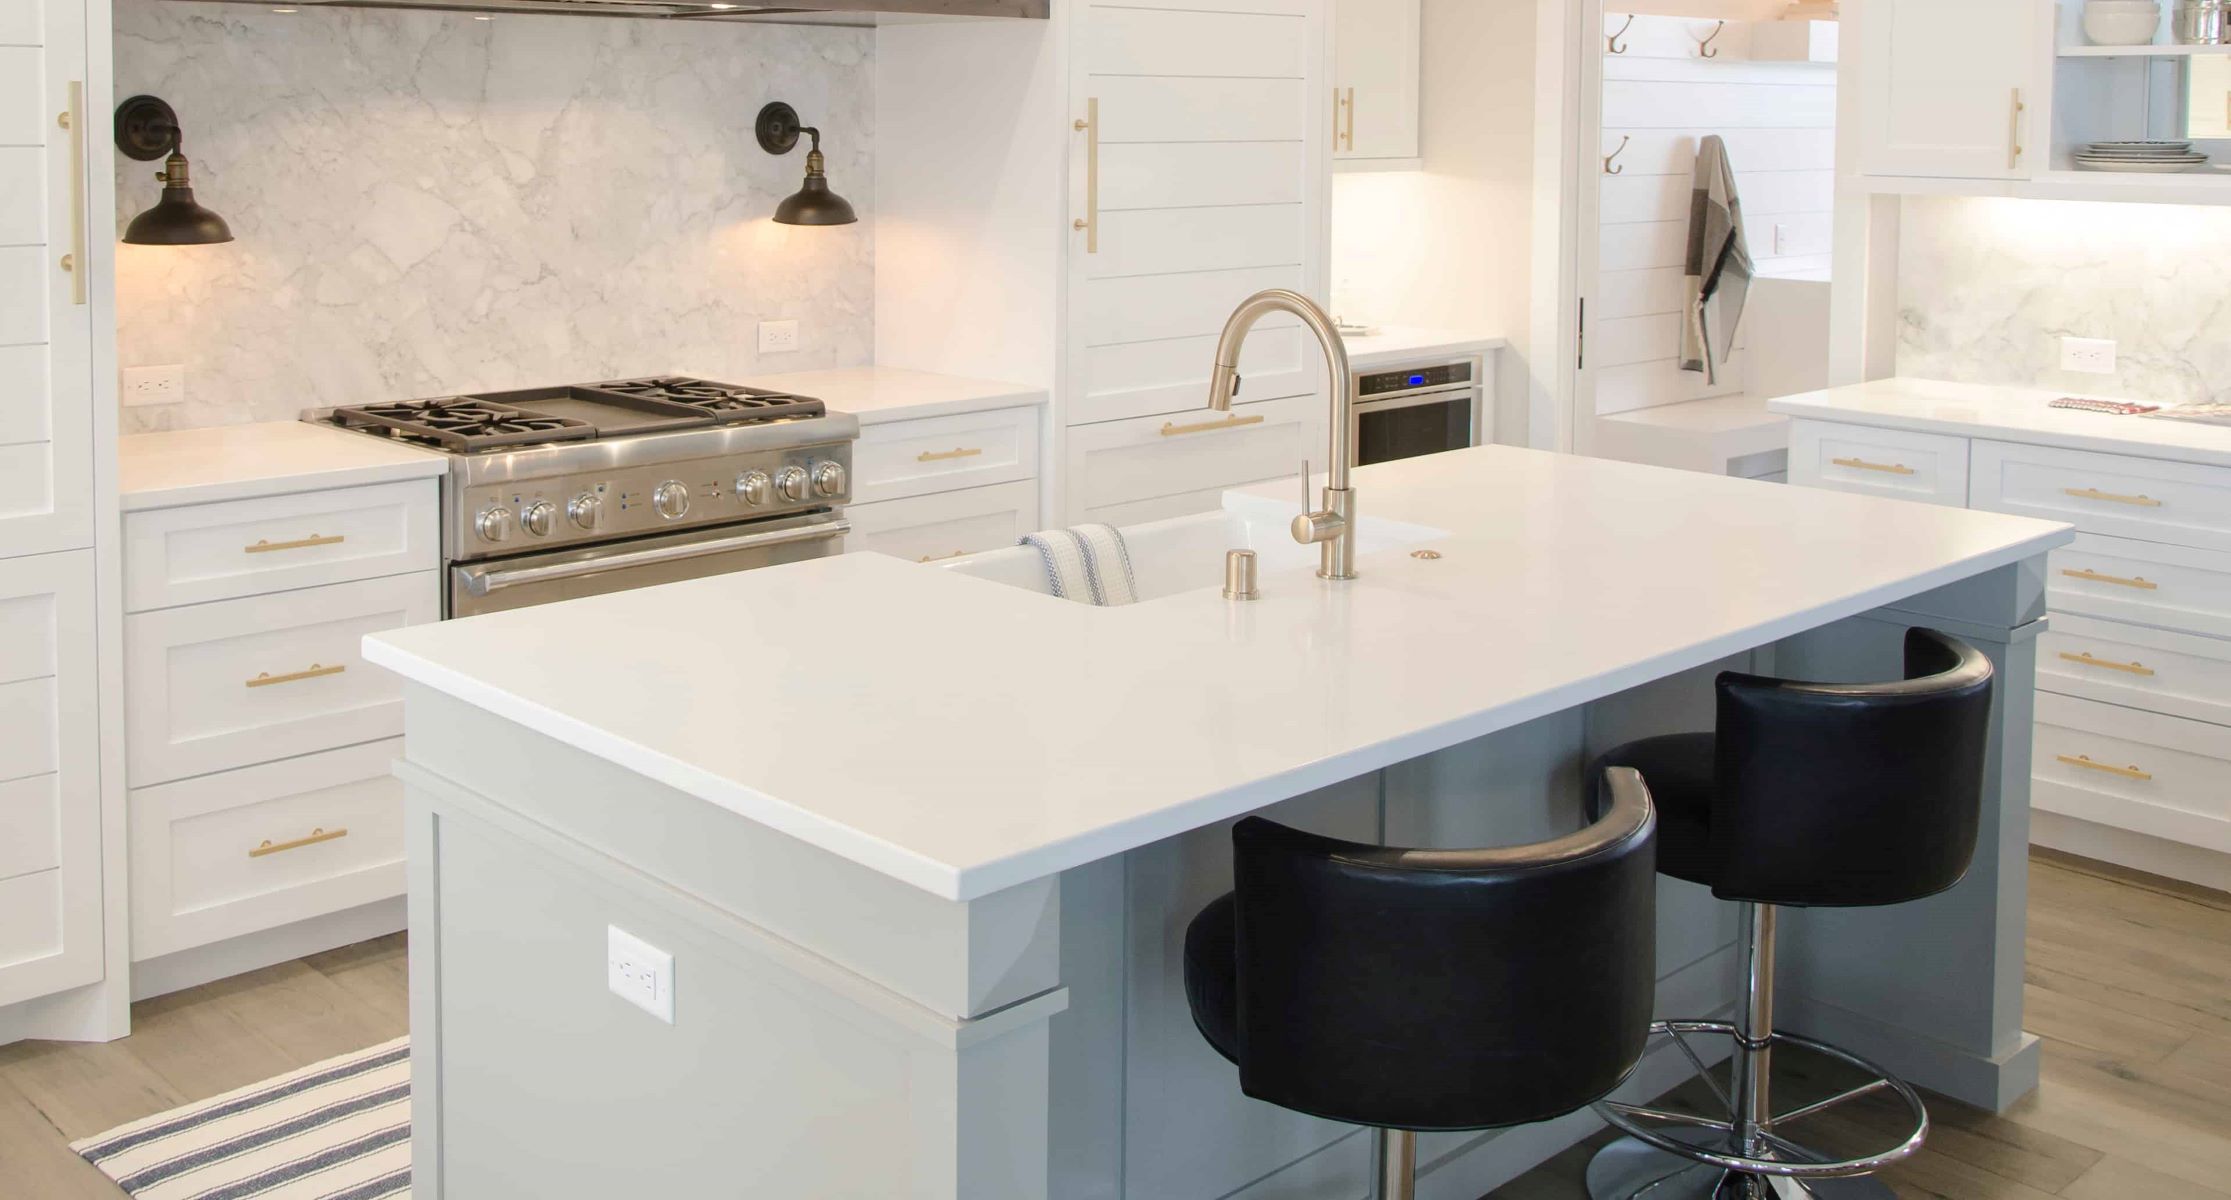
Quartz countertops are a popular choice for kitchens and bathrooms due to their durability and aesthetic appeal. Over time, however, these countertops may start to show signs of wear and tear, making them look dull and unattractive. If your quartz countertops are in need of a refresh, you may be wondering how to refinish them.
Refinishing quartz countertops can be a cost-effective alternative to replacing them entirely. By following a few simple steps and using the right materials, you can restore the shine and beauty of your countertops without breaking the bank. In this article, we will walk you through the process of refinishing your quartz countertops, from preparation to final touches.
Before we dive into the steps, let’s take a look at the materials you will need for this project:
Key Takeaways:
- Revitalize your kitchen or bathroom with a cost-effective and rewarding method of refinishing quartz countertops. Follow the step-by-step guide to restore shine and beauty without the need for expensive replacements.
- Ensure long-lasting beauty by properly preparing, cleaning, and maintaining your refinished quartz countertops. With regular care and attention, you can enjoy the rejuvenated appearance for years to come.
Read more: What Are Quartz Countertops
Materials Needed
- Protective goggles
- Dust mask
- Gloves
- Sanding block or orbital sander
- Fine-grit sandpaper (200-400 grit)
- Masking tape
- Primer suitable for quartz countertops
- Paint roller or brush
- Topcoat specifically designed for quartz
- Microfiber cloth
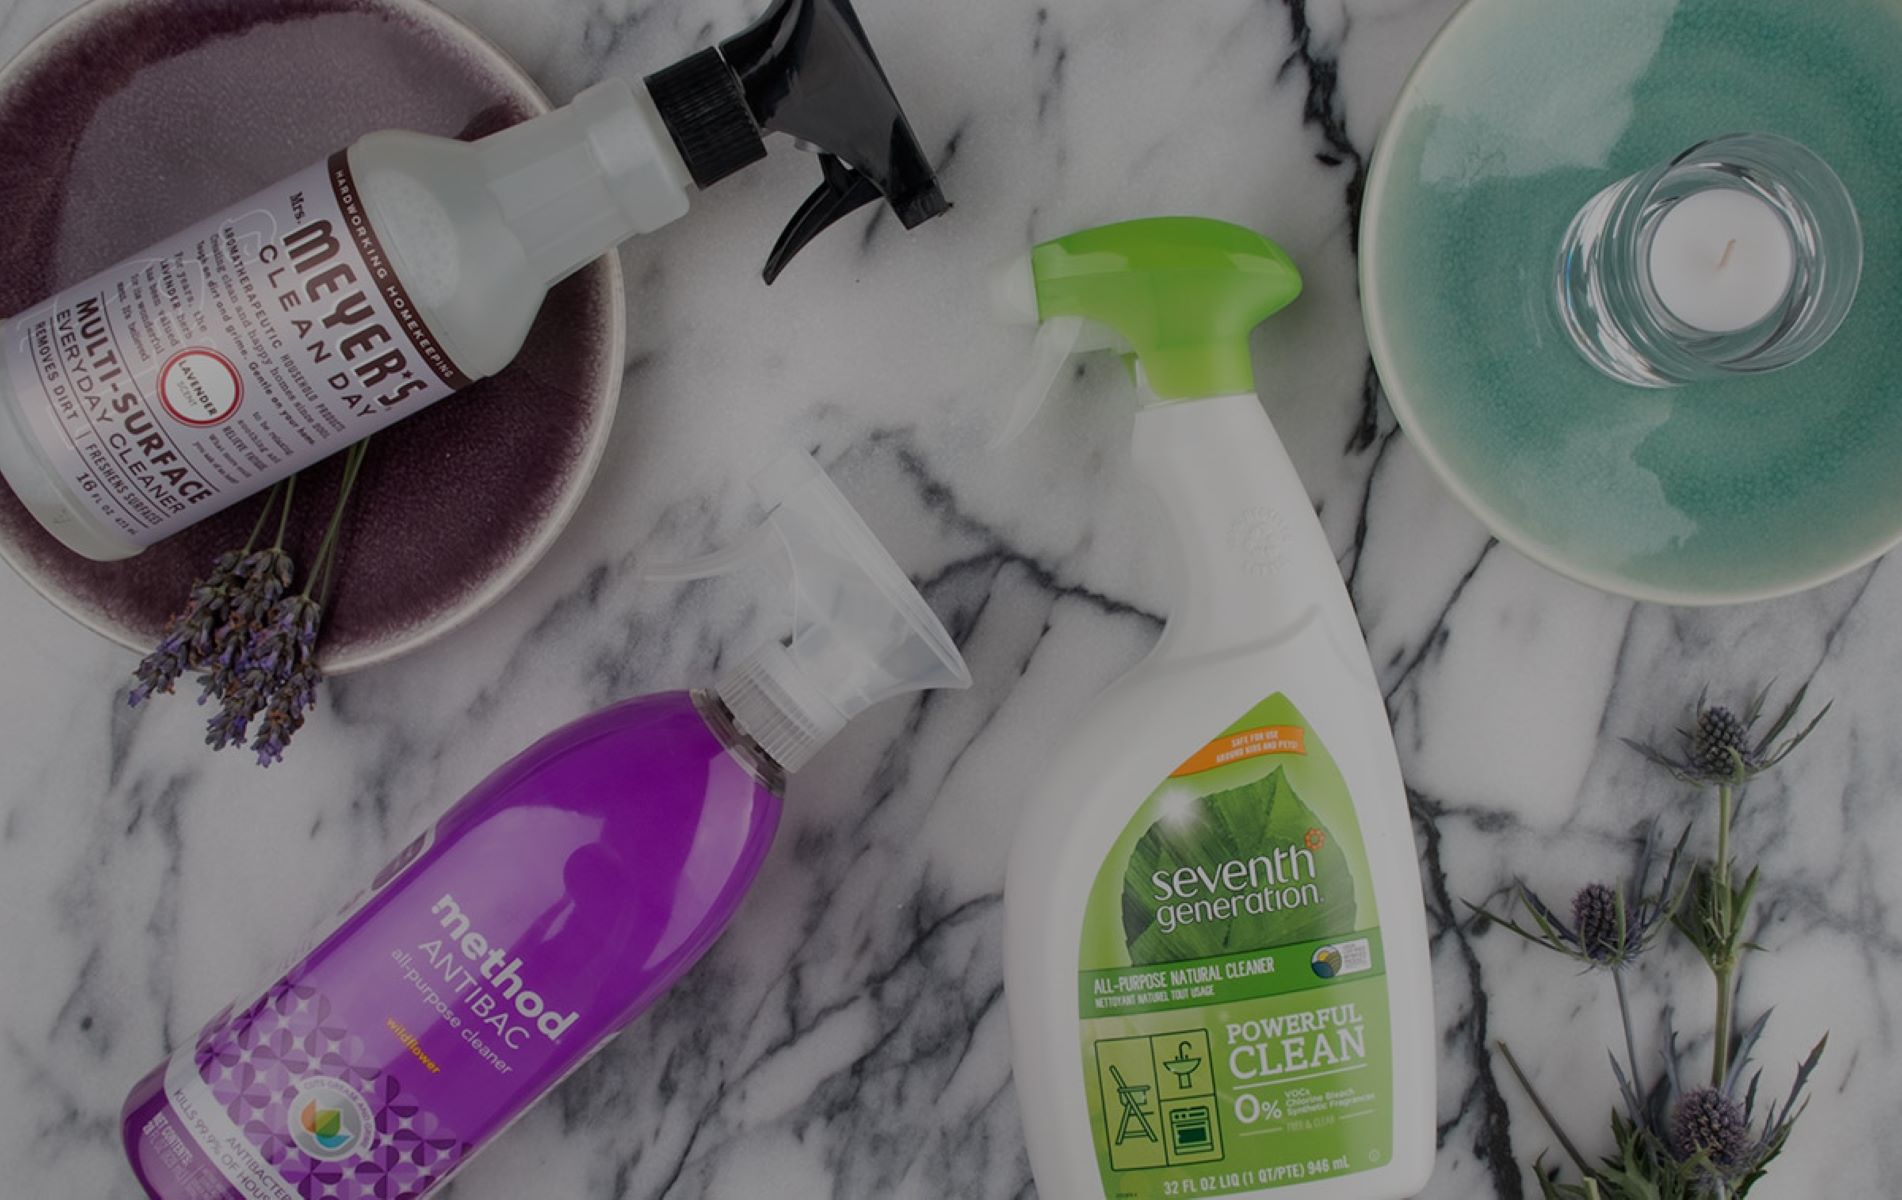
- Mild soap or quartz cleaner
- Soft sponge or cloth
- Water
It’s important to gather all the necessary materials before you begin the refinishing process. This will ensure that you have everything you need within reach, allowing you to complete the project smoothly and efficiently.
Now that you have the materials, let’s get started on refinishing your quartz countertops!
Step 1: Preparing the Countertop
Before you can begin refinishing your quartz countertops, it’s crucial to properly prepare the surface. This step involves removing any items or objects from the countertop and protecting surrounding areas to prevent any accidental damage.
Start by clearing off your countertops, removing any appliances, dishware, or decorative objects. Place them in a safe area away from the workspace to ensure they remain protected throughout the refinishing process.
Next, take the time to protect the edges and any adjacent surfaces to prevent them from accidentally getting damaged during the refinishing process. Use masking tape to cover the edges of the countertops, as well as any other areas that you do not want to be exposed to the refinishing materials.
By preparing the countertop and taking the necessary precautions, you can ensure that the refinishing process goes smoothly and that your countertops remain in excellent condition.
Once you have completed the preparation steps, you’re ready to move on to the next phase: cleaning the countertop.
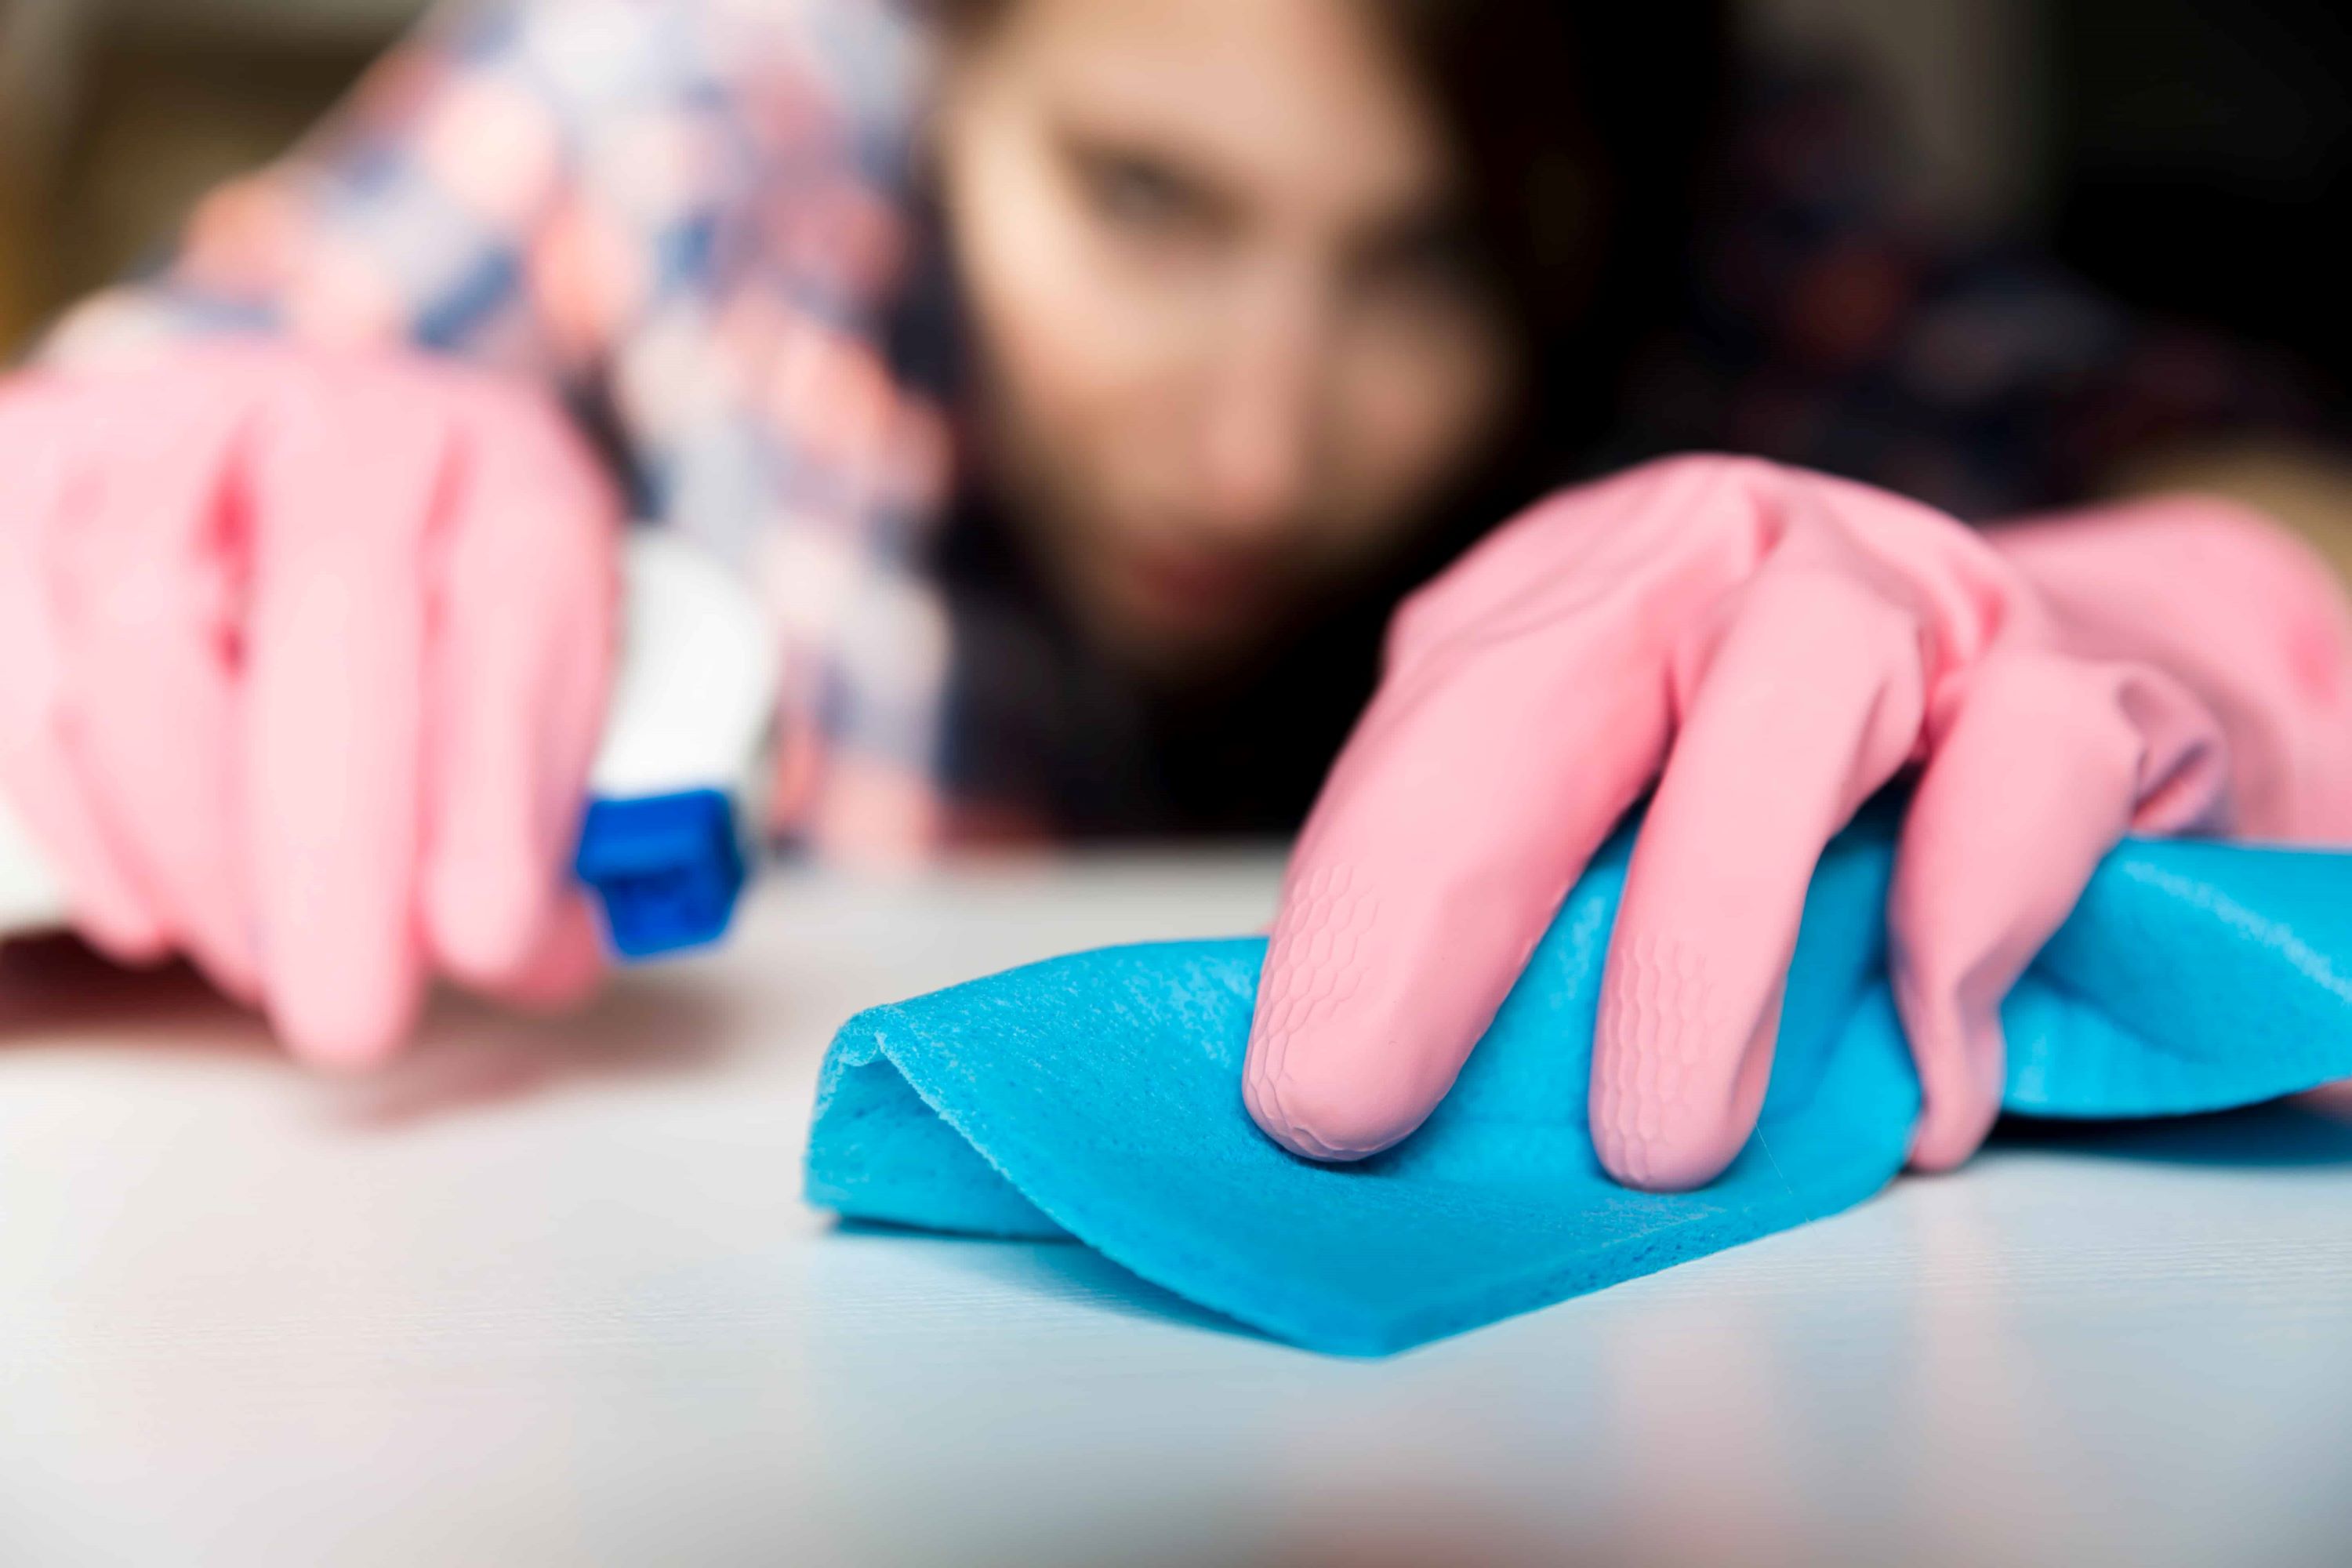
Step 2: Cleaning the Countertop
Before you can proceed with refinishing your quartz countertops, it’s essential to thoroughly clean the surface to remove any dirt, grime, or residue that may have accumulated over time. Cleaning the countertop ensures a smooth and even application of the refinishing materials.
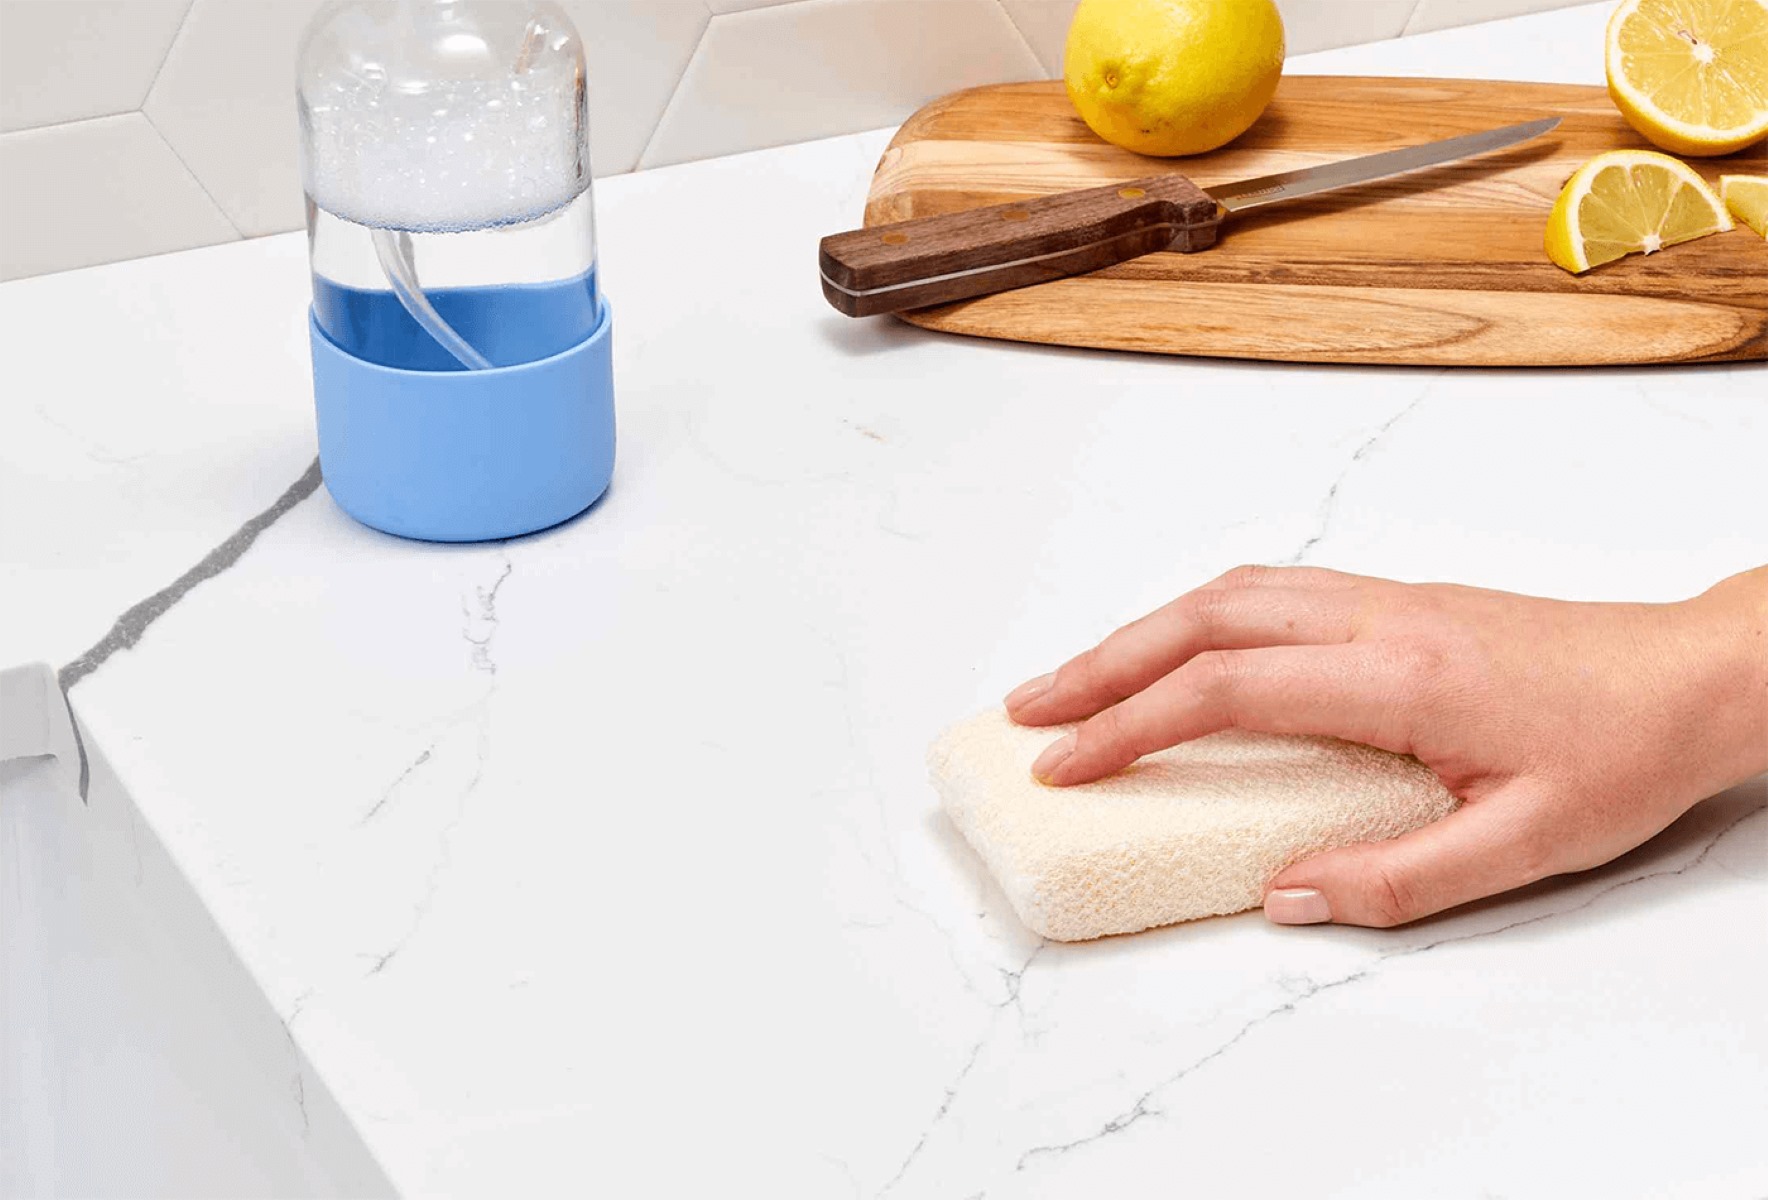
Start by using a mild soap or quartz cleaner and mix it with warm water. Avoid using abrasive cleaners or harsh chemicals that may damage the quartz surface. Dampen a soft sponge or cloth with the cleaning solution and gently wipe down the entire countertop, paying extra attention to any areas with built-up stains or dirt.
After cleaning, rinse the countertop with clean water to remove any leftover soap residue. Use a microfiber cloth to dry the surface thoroughly, ensuring no moisture is left behind. It’s important to have a completely dry countertop before moving on to the next step.
Cleaning the countertop not only removes dirt and grime but also provides a clean canvas for the refinishing process. By following this step, you can achieve a professional-looking finish and restore the natural beauty of your quartz countertops.
Once the countertop is clean and dry, it’s time to move on to the next step: sanding the countertop.
Step 3: Sanding the Countertop
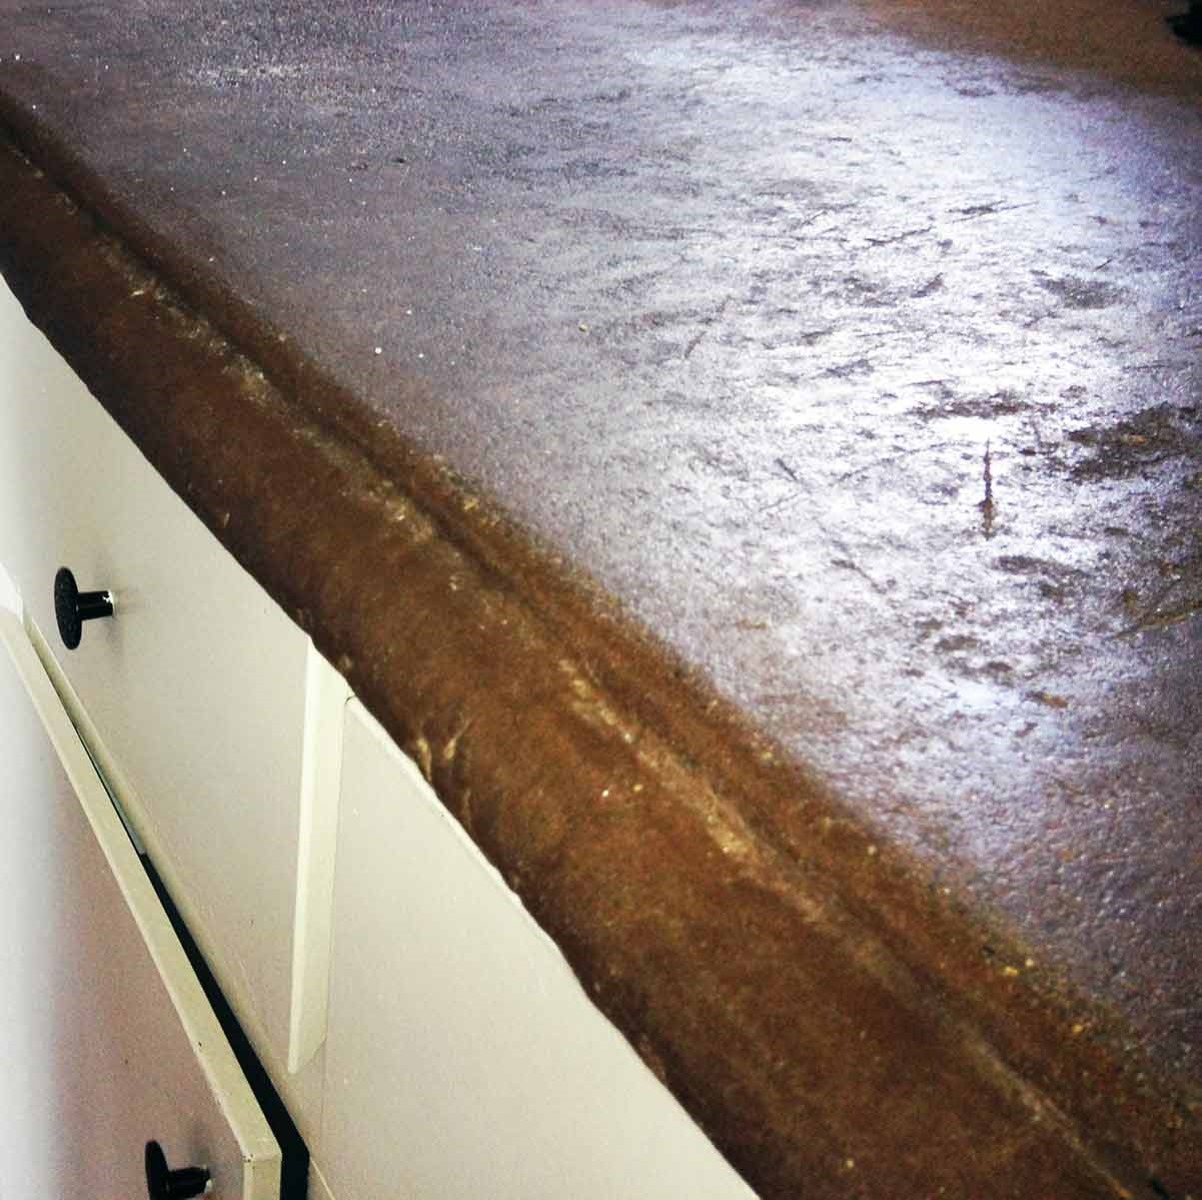
In order to achieve a smooth and even surface for the application of primer and topcoat, it is important to sand the quartz countertop. Sanding helps to remove any existing coatings, imperfections, or unevenness on the surface, allowing for better adhesion of the refinishing materials.
Start by using a sanding block or an orbital sander equipped with a fine-grit sandpaper (around 200-400 grit). Begin sanding the countertop in a circular motion, applying light pressure. Be sure to sand the entire surface evenly, paying special attention to any areas with visible scratches or roughness.
During the sanding process, it is important to maintain a consistent and even pressure to avoid sanding too aggressively, which can damage the quartz surface. Take breaks periodically to inspect the countertop and remove any dust or debris that may have accumulated.
Once you have sanded the entire surface, wipe away any remaining dust or debris with a clean, dry microfiber cloth. Ensure that the countertop is clean and free from any particles before proceeding to the next step. This will help to achieve a smooth finish when applying the primer.
By sanding the countertop, you are creating a clean and uniform surface for the primer and topcoat. This step is crucial for achieving a professional-looking refinishing job.
With the countertop sanded and cleaned, you are now ready to move on to the next step: applying the primer.
When refinishing quartz countertops, always use a non-abrasive cleaner and a soft cloth to avoid scratching the surface. Avoid harsh chemicals and abrasive scrubbers to maintain the quartz’s shine and durability.
Read more: How To Seam Quartz Countertops
Step 4: Applying Primer
Now that you have sanded and cleaned the quartz countertop, it’s time to apply the primer. Primer creates a strong bond between the surface of the countertop and the topcoat, ensuring better adhesion and a long-lasting finish.
Before applying the primer, make sure the surrounding areas are adequately protected using masking tape. This will prevent any accidental spills or smudges on other surfaces.
Using a paint roller or brush, apply a thin and even coat of primer to the entire surface of the countertop. Work in one direction to ensure consistent coverage. Be sure to follow the manufacturer’s instructions on the specific drying time and application method for the primer you are using.
Allow the primer to dry completely before moving on to the next step. This usually takes around 2-4 hours, but it’s best to consult the product label for accurate drying times. Avoid touching or disturbing the countertop while the primer is drying to prevent any imperfections or smudges.
Once the primer has dried, inspect the countertop for any unevenness or missed spots. If necessary, lightly sand those areas and wipe away any dust with a clean cloth before proceeding to the next step.
By applying the primer, you are creating a solid foundation for the topcoat to adhere to, ensuring a smooth and durable finish. With the primer dried and any touch-ups completed, you’re ready for the next step: applying the topcoat.
Step 5: Applying the Topcoat
After allowing the primer to dry completely, it’s time to apply the topcoat to your quartz countertop. The topcoat enhances the appearance of the surface and provides an extra layer of protection against daily wear and tear.
Before you begin, ensure that the surrounding areas are still protected with masking tape to prevent any accidental splatters or drips.
Using a clean paint roller or brush, apply a thin and even layer of the topcoat to the entire countertop surface. Work in one direction to ensure smooth and consistent coverage. Be sure to follow the manufacturer’s instructions regarding the drying time and application method for the specific topcoat you are using.
Allow the topcoat to dry thoroughly between coats. Depending on the product, this may take several hours or overnight. Make sure to check the recommended drying time on the product label for best results.
If desired or necessary, you can apply multiple coats of the topcoat for added protection and a more lustrous finish. However, be sure to allow each coat to dry completely before applying the next one.
Once the final coat of topcoat has been applied, allow the countertop to dry and cure according to the manufacturer’s instructions. This will typically take a few days before the surface is completely ready for use.
By applying the topcoat, you are sealing and protecting the countertop, giving it a beautiful and glossy finish. With the topcoat applied, you’re ready to move on to the next step: curing the countertop.
Step 6: Curing the Countertop
After applying the topcoat, it’s important to allow the countertop to cure properly. Curing is the process where the refinishing materials fully harden and adhere to the surface, ensuring maximum durability and longevity.
Check the manufacturer’s instructions for the recommended curing time for the specific topcoat you used. Typically, the countertop will need to cure for several days before it can withstand regular use and cleaning.
During the curing process, it is crucial to avoid placing any heavy objects or subjecting the countertop to excessive moisture or cleaning. This can disrupt the curing process and impact the quality of the finish.
Be mindful of temperature and humidity conditions in the area where the countertop is located. Extreme temperatures or high humidity levels can affect the curing process and may lead to unfavorable results.
While the countertop is curing, it’s important to follow the manufacturer’s instructions for cleaning and maintenance. Use a soft cloth or sponge along with a mild cleaner specifically designed for quartz surfaces to keep the countertop clean without causing damage.
By allowing the countertop to cure properly, you ensure that the refinishing materials have fully hardened and bonded to the surface, resulting in a durable and long-lasting finish.
Once the countertop has cured, it’s time for the final step: applying the finishing touches and learning how to maintain your newly refinished quartz countertops.
Step 7: Final Touches and Maintenance Tips
Now that your quartz countertops have been refinished, it’s time to add the final touches and learn some maintenance tips to keep them looking their best for years to come.
Start by removing the masking tape from the edges of the countertop carefully. This will reveal clean and crisp lines, giving your countertops a professional and polished look.
Take a close look at the surface for any imperfections or areas that may require touch-ups. If you notice any, sand them lightly and apply a thin layer of the topcoat to blend them in with the rest of the countertop.
Once any touch-ups have been completed and the countertop is to your satisfaction, it’s time to establish a regular maintenance routine. Here are some tips to keep in mind:
- Wipe up spills promptly: Quartz is a non-porous material, but it’s still essential to clean up spills quickly to prevent any potential staining.
- Use mild cleaning products: Avoid using harsh or abrasive cleaners that can damage the finish of your countertops. Stick to mild soap or quartz cleaners along with a soft cloth or sponge for regular cleaning.
- Avoid cutting directly on the surface: While quartz is highly durable, it’s still best to use a cutting board to avoid any potential scratches or damage to the surface.
- Use trivets or hot pads: Quartz can withstand high temperatures, but it’s recommended to use trivets or hot pads to protect the surface from direct heat.
- Regularly clean and dry the countertops: Wipe down your quartz countertops regularly with a soft cloth or sponge and mild cleaner to remove any dirt or residue. Ensure the countertop is thoroughly dried to prevent any moisture-related issues.
By following these maintenance tips, you can preserve the beauty of your refinished quartz countertops and keep them looking pristine for years to come.
Congratulations! You have successfully refinished your quartz countertops and learned how to maintain them for long-lasting beauty. Enjoy your refreshed and revitalized kitchen or bathroom space!
Remember, if you ever need to refresh the appearance of your quartz countertops again, you can always refer back to this guide for step-by-step instructions.
That concludes our article on how to refinish quartz countertops. We hope you found it informative and helpful.
Read more: How To Measure Quartz Countertops
Conclusion
Refinishing quartz countertops can be a rewarding and cost-effective way to rejuvenate the appearance of your kitchen or bathroom. By following the steps outlined in this article and using the right materials, you can restore the shine and beauty of your countertops without the need for expensive replacements.
Remember to start by preparing the countertop and protecting the surrounding areas before diving into the refinishing process. Cleaning and sanding the surface will ensure a smooth foundation for the primer and topcoat. Applying the primer creates a strong bond, and the topcoat adds a protective and glossy finish.
Allowing the countertop to cure properly is essential for achieving maximum durability and longevity. Once cured, you can remove the masking tape, make any necessary touch-ups, and establish a maintenance routine to keep your countertops looking their best.
With regular cleaning, prompt spill cleanup, and proper care, you can enjoy the beauty of your newly refinished quartz countertops for years to come.
We hope this article has provided you with valuable insights and guidance on how to refinish your quartz countertops. Remember, if you ever need a refresh in the future, this guide will be here to assist you.
Thank you for reading, and happy refinishing!
Frequently Asked Questions about How To Refinish Quartz Countertops
Was this page helpful?
At Storables.com, we guarantee accurate and reliable information. Our content, validated by Expert Board Contributors, is crafted following stringent Editorial Policies. We're committed to providing you with well-researched, expert-backed insights for all your informational needs.


0 thoughts on “How To Refinish Quartz Countertops”