Articles
How To Seam Quartz Countertops
Modified: May 6, 2024
Learn how to seam quartz countertops with our informative articles. Get step-by-step instructions and expert tips to achieve seamless results.
(Many of the links in this article redirect to a specific reviewed product. Your purchase of these products through affiliate links helps to generate commission for Storables.com, at no extra cost. Learn more)
Introduction
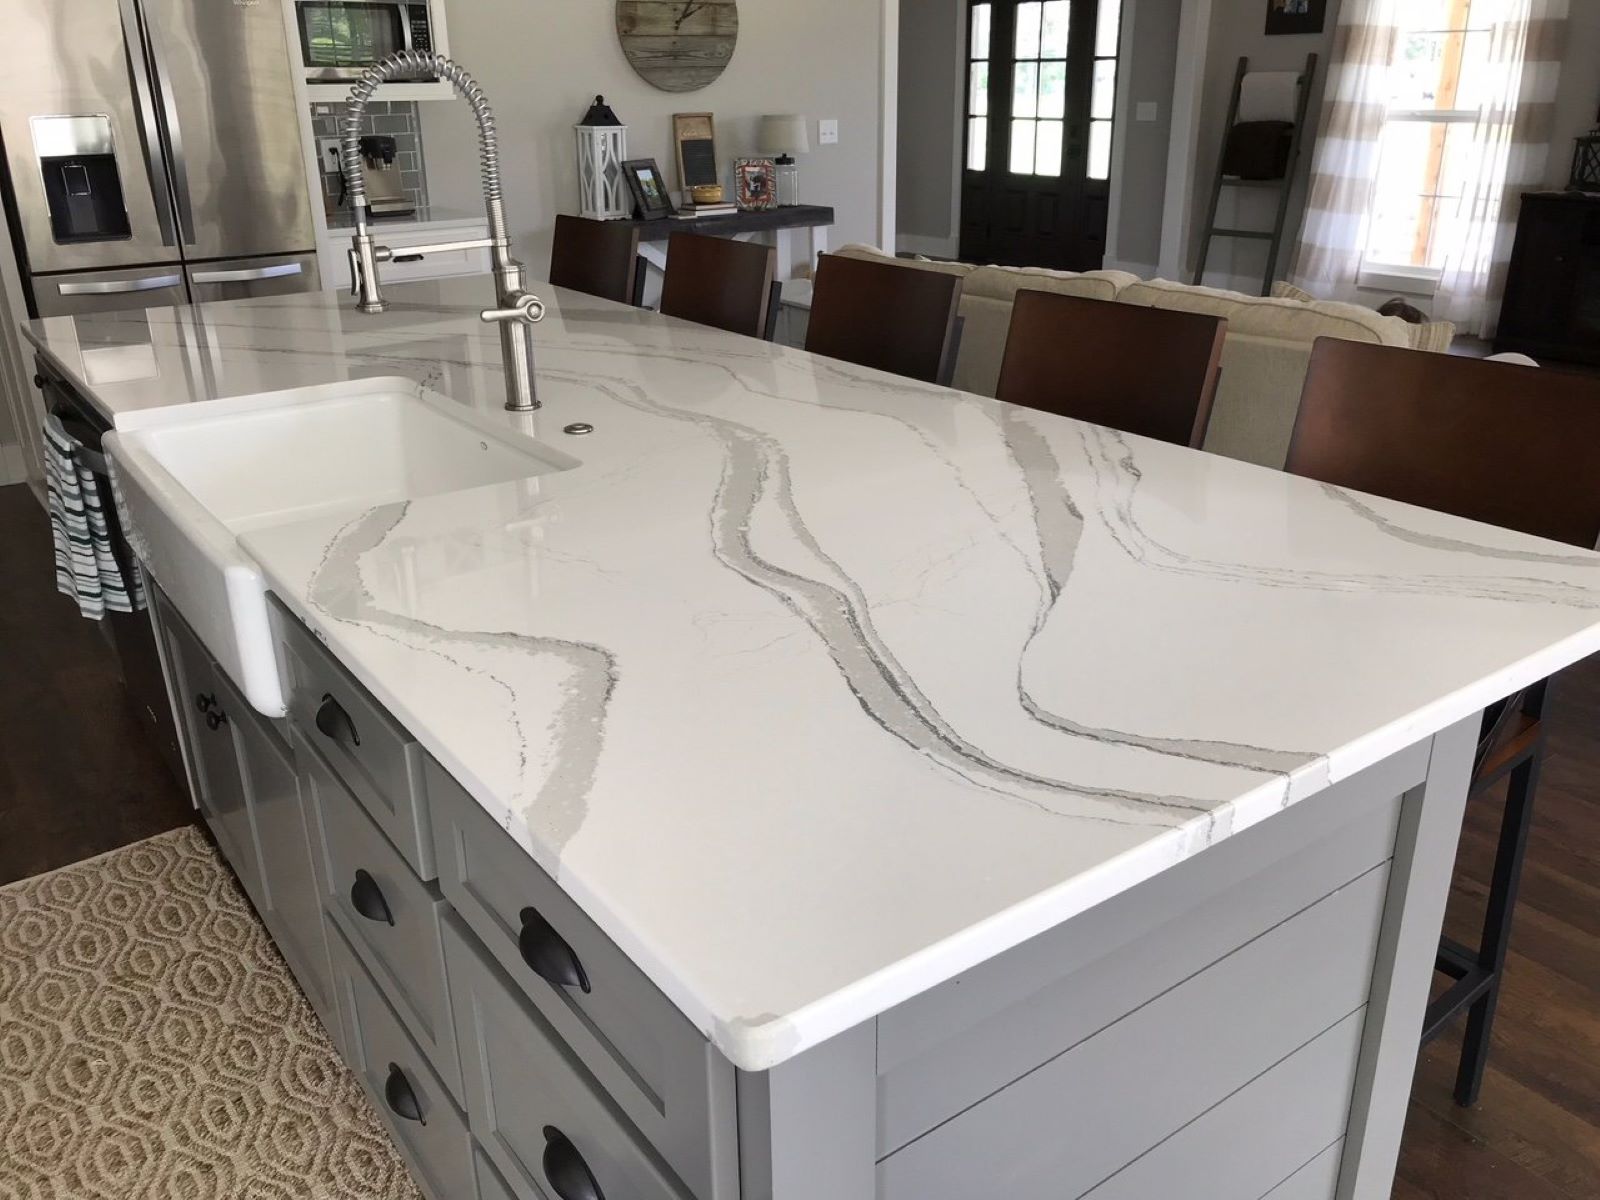
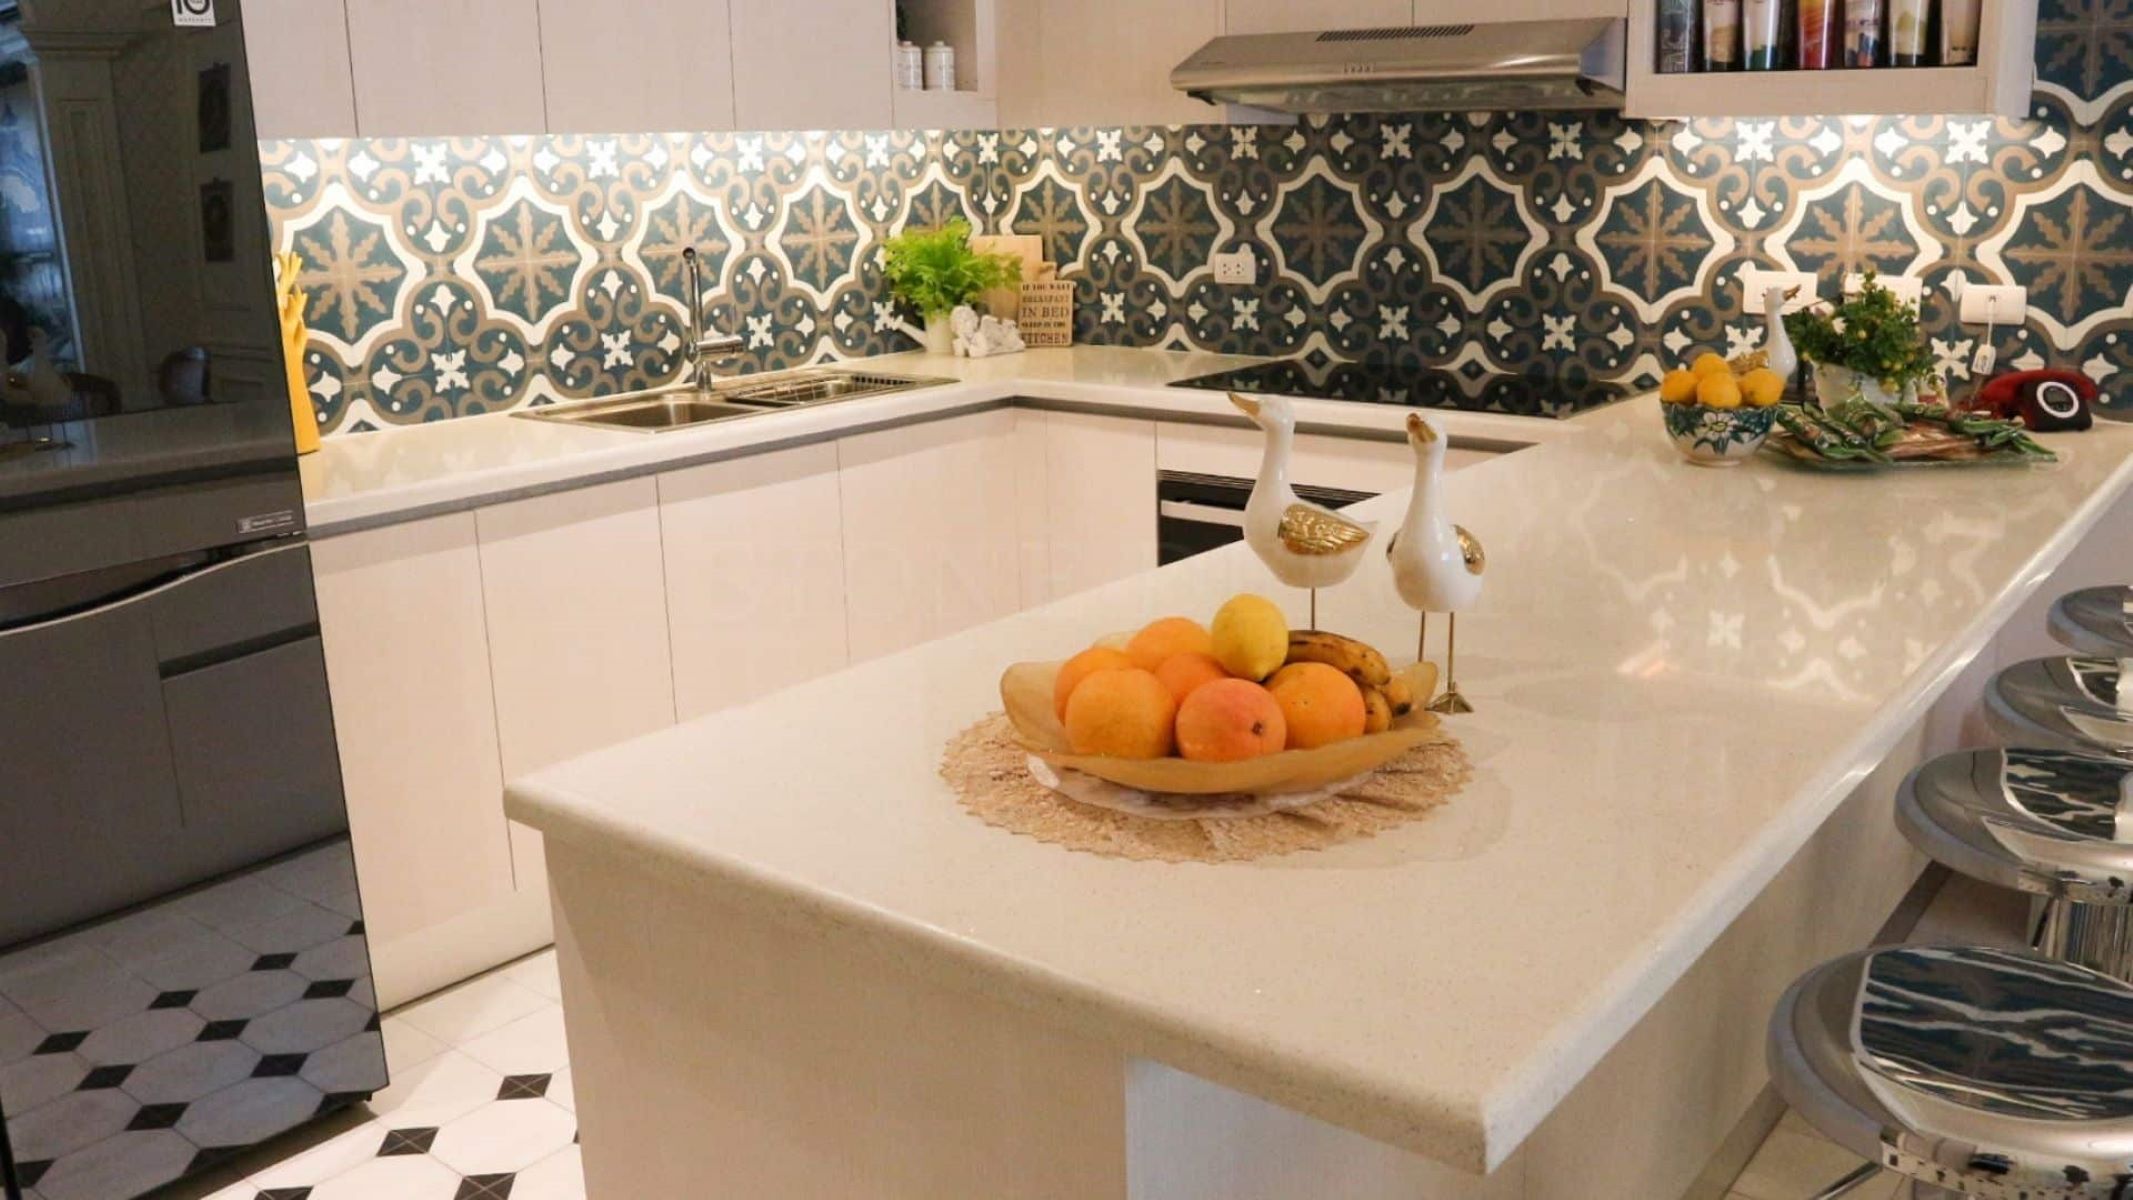
Quartz countertops have become increasingly popular in modern homes due to their durability, low maintenance, and stunning aesthetics. These countertops are fabricated from engineered stone, a combination of natural quartz crystals and resin. One of the key factors that contribute to the flawless appearance of quartz countertops is seamless installation.
In this article, we will guide you through the process of seaming quartz countertops, ensuring a professional-looking and virtually invisible seam. Whether you are a seasoned DIY enthusiast or a homeowner looking to get a better understanding of the installation process, we will provide you with all the information and tips you need.
Seaming quartz countertops involves carefully aligning and joining separate quartz slabs together to create a seamless surface. With the right tools, materials, and techniques, you can achieve a seamless look that enhances the beauty and functionality of your countertop.
Before diving into the details of how to seam quartz countertops, it’s important to note that this process requires precision and careful planning. It may be beneficial to seek assistance from a professional countertop installer if you are unsure or lack experience in working with stone surfaces. However, if you are willing to take on the challenge, we’re here to guide you every step of the way.
Key Takeaways:
- Achieving seamless seams in quartz countertops requires precision, from accurate measurements and precise cutting to careful dry fitting and meticulous application of seam adhesive. The result is a stunning and virtually invisible transition between slabs.
- Seaming quartz countertops is a rewarding process that enhances the beauty and functionality of your space. With the right tools, materials, and techniques, you can achieve professional-looking results, adding value and style to your home for years to come.
Read more: What Are Quartz Countertops
Tools and Materials Needed
Before you start seaming your quartz countertops, gather the following tools and materials:
- Quartz slabs: Ensure you have enough slabs to cover the desired countertop area and create the necessary seams.
- Diamond blade circular saw: This tool is essential for cutting the quartz slabs to the required size and shape.
- Measuring tape: Accurate measurements are crucial to ensure precise cutting and fitting of the slabs.
- Silicone or acrylic seam adhesive: Choose an adhesive specifically designed for quartz countertops for the best results.
- Seam clamps: These clamps will help align and secure the slabs in place during the installation process.
- Leveling wedges: Wedges will assist in keeping the slabs level and even during the seaming process.
- Masking tape: This will protect the surface of the quartz from scratches or damage while working on the seams.
- Damp cloth or sponge: You’ll need this for cleaning the countertop and removing any excess adhesive.
- Protective gloves and safety glasses: Always prioritize your safety when working with tools and materials.
Make sure to have all these tools and materials readily available before starting the seaming process. This will ensure a smooth and efficient installation, minimizing any delays or interruptions.
Measuring and Cutting the Quartz Slabs
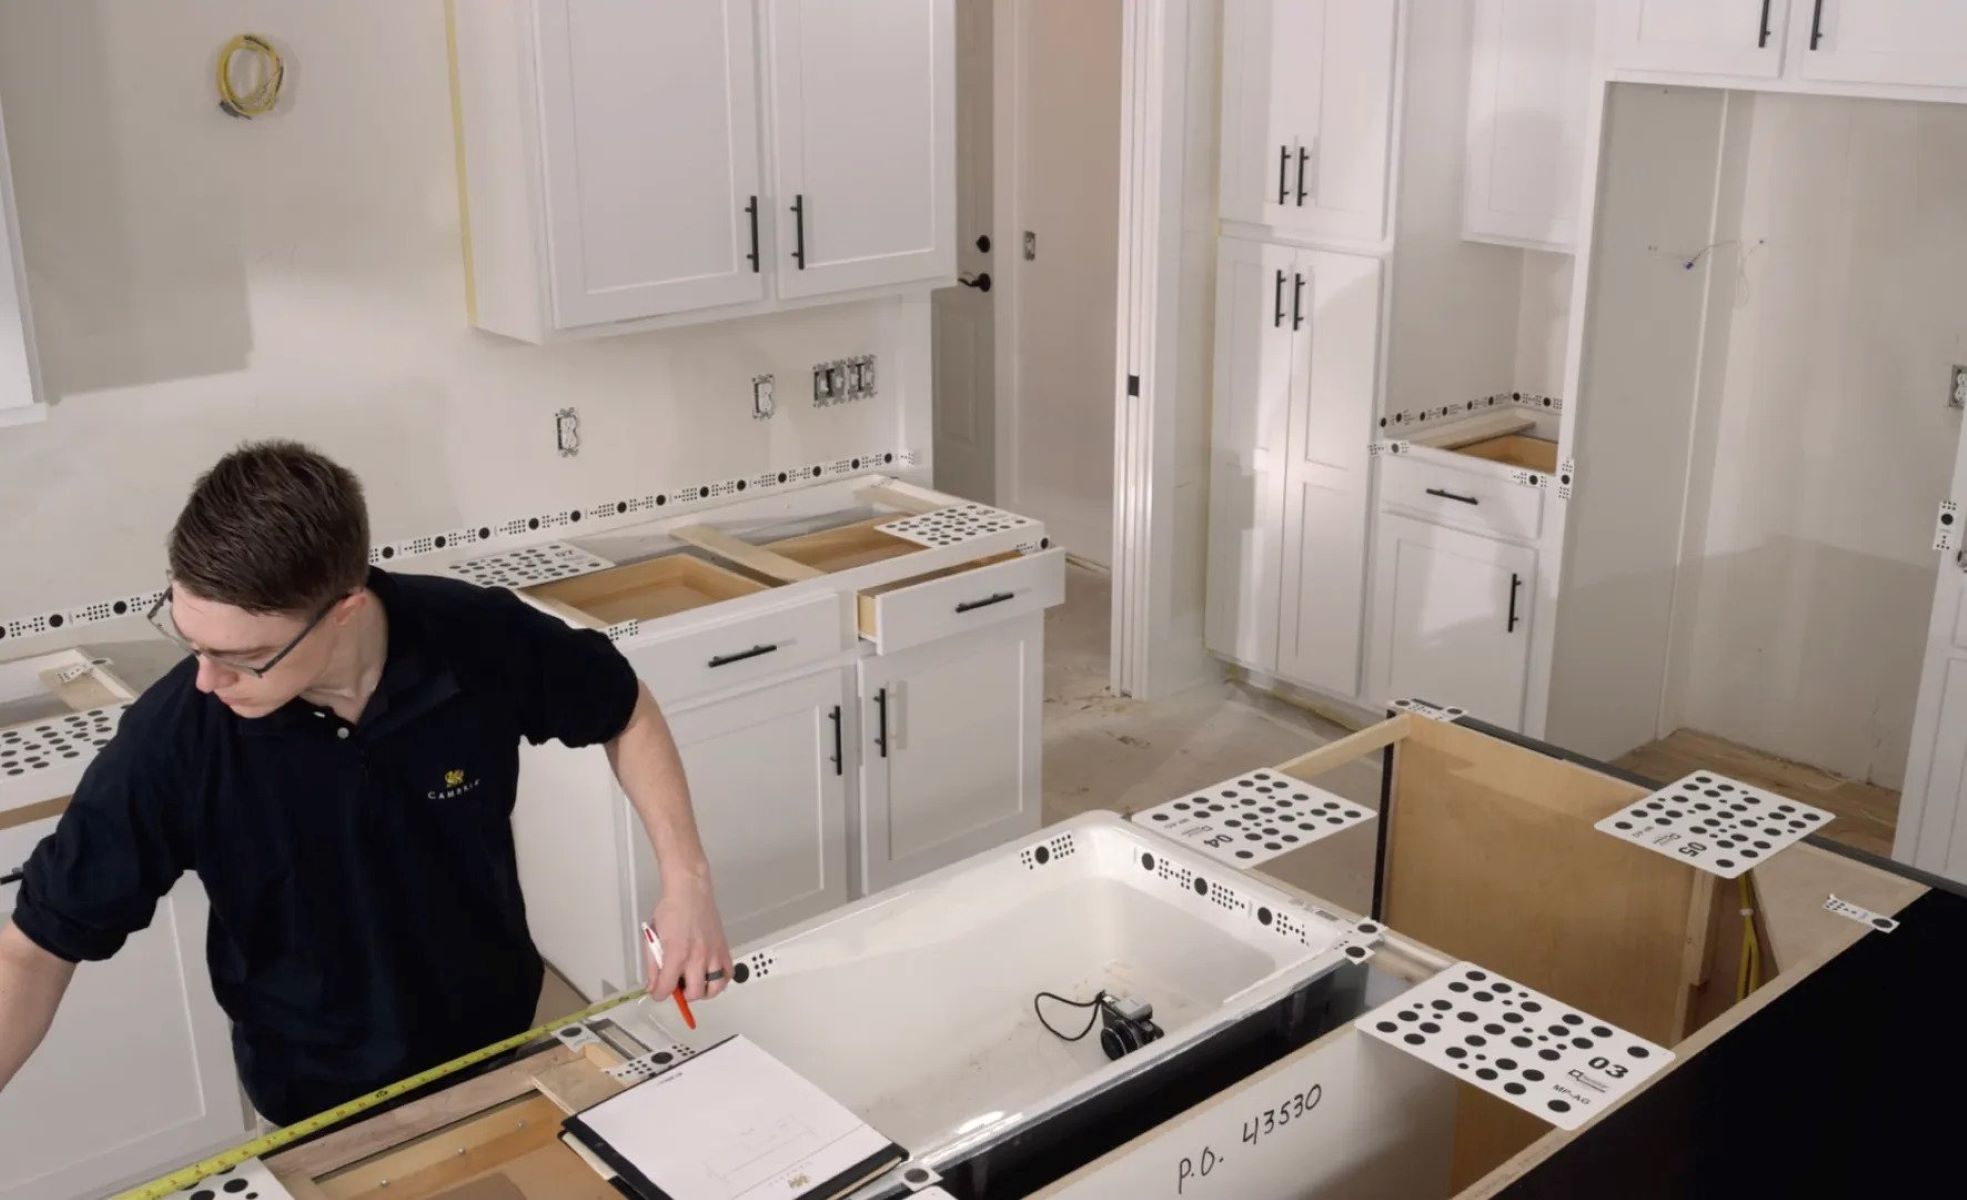
Accurate measurements and precise cutting are key to achieving seamless seams in your quartz countertops. Follow these steps to measure and cut the quartz slabs:
- Measure the countertop area: Use a measuring tape to determine the dimensions of the countertop space where the quartz slabs will be installed. Take into account any corners or irregularities in the layout.
- Transfer measurements to the slabs: Mark the measurements on the quartz slabs using a pencil or marker. Ensure that the markings are clear and visible.
- Cut the slabs: Using a diamond blade circular saw, carefully cut the quartz slabs according to the marked measurements. Follow the manufacturer’s instructions for operating the saw, and always wear protective gloves and safety glasses.
- Smooth the edges: Once the slabs are cut to the desired size, use a profile wheel or sandpaper to smooth the edges and remove any roughness.
- Dry fit the slabs: Place the cut slabs onto the countertop area to check the fit. Make any adjustments if necessary, ensuring that the slabs fit snugly together with minimal gaps.
It’s crucial to take your time during the measuring and cutting process to ensure accuracy. Remember, the goal is to achieve tight and seamless seams, so pay attention to every detail. If you’re unsure about cutting the slabs yourself, it’s best to consult a professional to avoid any costly mistakes.
Dry Fitting the Quartz Slabs
Dry fitting the quartz slabs is an important step in the seaming process. It allows you to ensure a proper fit and alignment before applying any adhesive. Here’s how you can dry fit the slabs:
- Clear and clean the countertop area: Remove any debris or dust from the countertop surface to ensure a clean installation.
- Place the slabs in position: Carefully place the cut quartz slabs onto the countertop area, starting with the first slab. Ensure that the slabs fit together tightly and align properly along the seams.
- Check for gaps or unevenness: Inspect the seams between the slabs for any gaps or unevenness. Use leveling wedges or shims to adjust the slabs and create an even surface. Make sure to place the wedges strategically to distribute the weight and provide stability.
- Ensure proper overhang: Check that the front edge of the countertop has the desired overhang. Typically, a 1-inch overhang is recommended for quartz countertops, but you can adjust it according to your preference.
- Assess the overall appearance: Step back and assess the overall appearance of the dry-fitted slabs. Make sure the color patterns and veins of the quartz align seamlessly, creating a cohesive and visually pleasing surface.
Dry fitting gives you the opportunity to make any necessary adjustments and ensure that the seams will be as inconspicuous as possible. Take your time during this step and make sure everything is in order before proceeding to the next stage of the installation process.
Applying Seam Adhesive
Once you have completed the dry fitting process and are satisfied with the alignment and fit of the quartz slabs, it’s time to apply the seam adhesive. The adhesive will bond the slabs together, creating a strong and nearly invisible seam. Follow these steps to apply the seam adhesive:
- Clean the seams: Use a damp cloth or sponge to clean the seams and remove any debris or dust. It’s important to have a clean surface for the adhesive to adhere properly.
- Apply masking tape: Place strips of masking tape along both sides of the seam, leaving a small space in the middle exposed. This will protect the surrounding surface from any excess adhesive.
- Prepare the adhesive: Follow the manufacturer’s instructions for preparing the seam adhesive. Typically, this involves mixing the adhesive components according to the recommended ratio, stirring well to ensure a homogeneous mixture.
- Apply the adhesive: Using a putty knife or a specialized adhesive applicator, apply a thin, even layer of the seam adhesive to the exposed area of the seam. Be careful not to apply too much adhesive, as excess can be difficult to remove and may affect the final appearance.
- Smooth the adhesive: After applying the adhesive, use the putty knife or a specialized smoothing tool to evenly spread and smooth the adhesive across the seam. This will help create a seamless and flush appearance.
Once the seam adhesive is applied, allow it to cure according to the manufacturer’s instructions before proceeding to the next steps. This typically involves giving the adhesive enough time to harden and bond the quartz slabs together.
Remember to work with precision and care while applying the adhesive to ensure the best results. Keep in mind that quartz is a non-porous material, so it is essential to use a seam adhesive specifically designed for quartz countertops to achieve a strong and durable bond.
When seaming quartz countertops, use a high-quality adhesive specifically designed for quartz. Make sure to clean and dry the surfaces thoroughly before applying the adhesive for a strong and seamless bond.
Read more: How To Seam Laminate Countertops
Aligning and Securing the Slabs
After applying the seam adhesive to the quartz slabs, the next step is to align and secure them into position. This ensures that the seams remain tight and inconspicuous. Follow these steps to align and secure the slabs:
- Remove the masking tape: Once the adhesive has been applied and smoothed, carefully remove the masking tape from both sides of the seam. This will reveal the seam and allow you to work more effectively.
- Align the slabs: With the masking tape removed, carefully position the quartz slabs as you did during the dry fitting process. Ensure that the slabs align perfectly along the seam without any gaps or overlapping.
- Use seam clamps: Place seam clamps along the edges of the seam to hold the slabs firmly together. The clamps will help maintain the alignment and apply pressure to the seam as the adhesive cures.
- Adjust the slabs if needed: If you notice any gaps or unevenness in the seam, make the necessary adjustments by using the leveling wedges or shims. Continuously check and recheck the alignment and adjust as required.
- Apply pressure: Once the slabs are properly aligned, apply gentle pressure to the seam using a mallet or a rubber mallet. This will help ensure a strong bond between the slabs and the adhesive.
Leave the clamps in place as recommended by the adhesive manufacturer. Typically, the slabs will need to remain clamped for a certain period of time to allow the adhesive to fully cure and bond the slabs together.
Remember to handle the slabs with care and avoid excessive force during the alignment and securing process. Applying even pressure and using proper techniques will help achieve a seamless and professional look for your quartz countertops.
Cleaning and Finishing the Seams
Once the adhesive has fully cured and the slabs are securely aligned and clamped, it’s time to clean and finish the seams. This final step ensures a seamless appearance and removes any residue or excess adhesive. Follow these steps to clean and finish the seams:
- Remove the clamps: Carefully remove the seam clamps from the countertop. Take your time to avoid shifting or disturbing the alignment of the slabs.
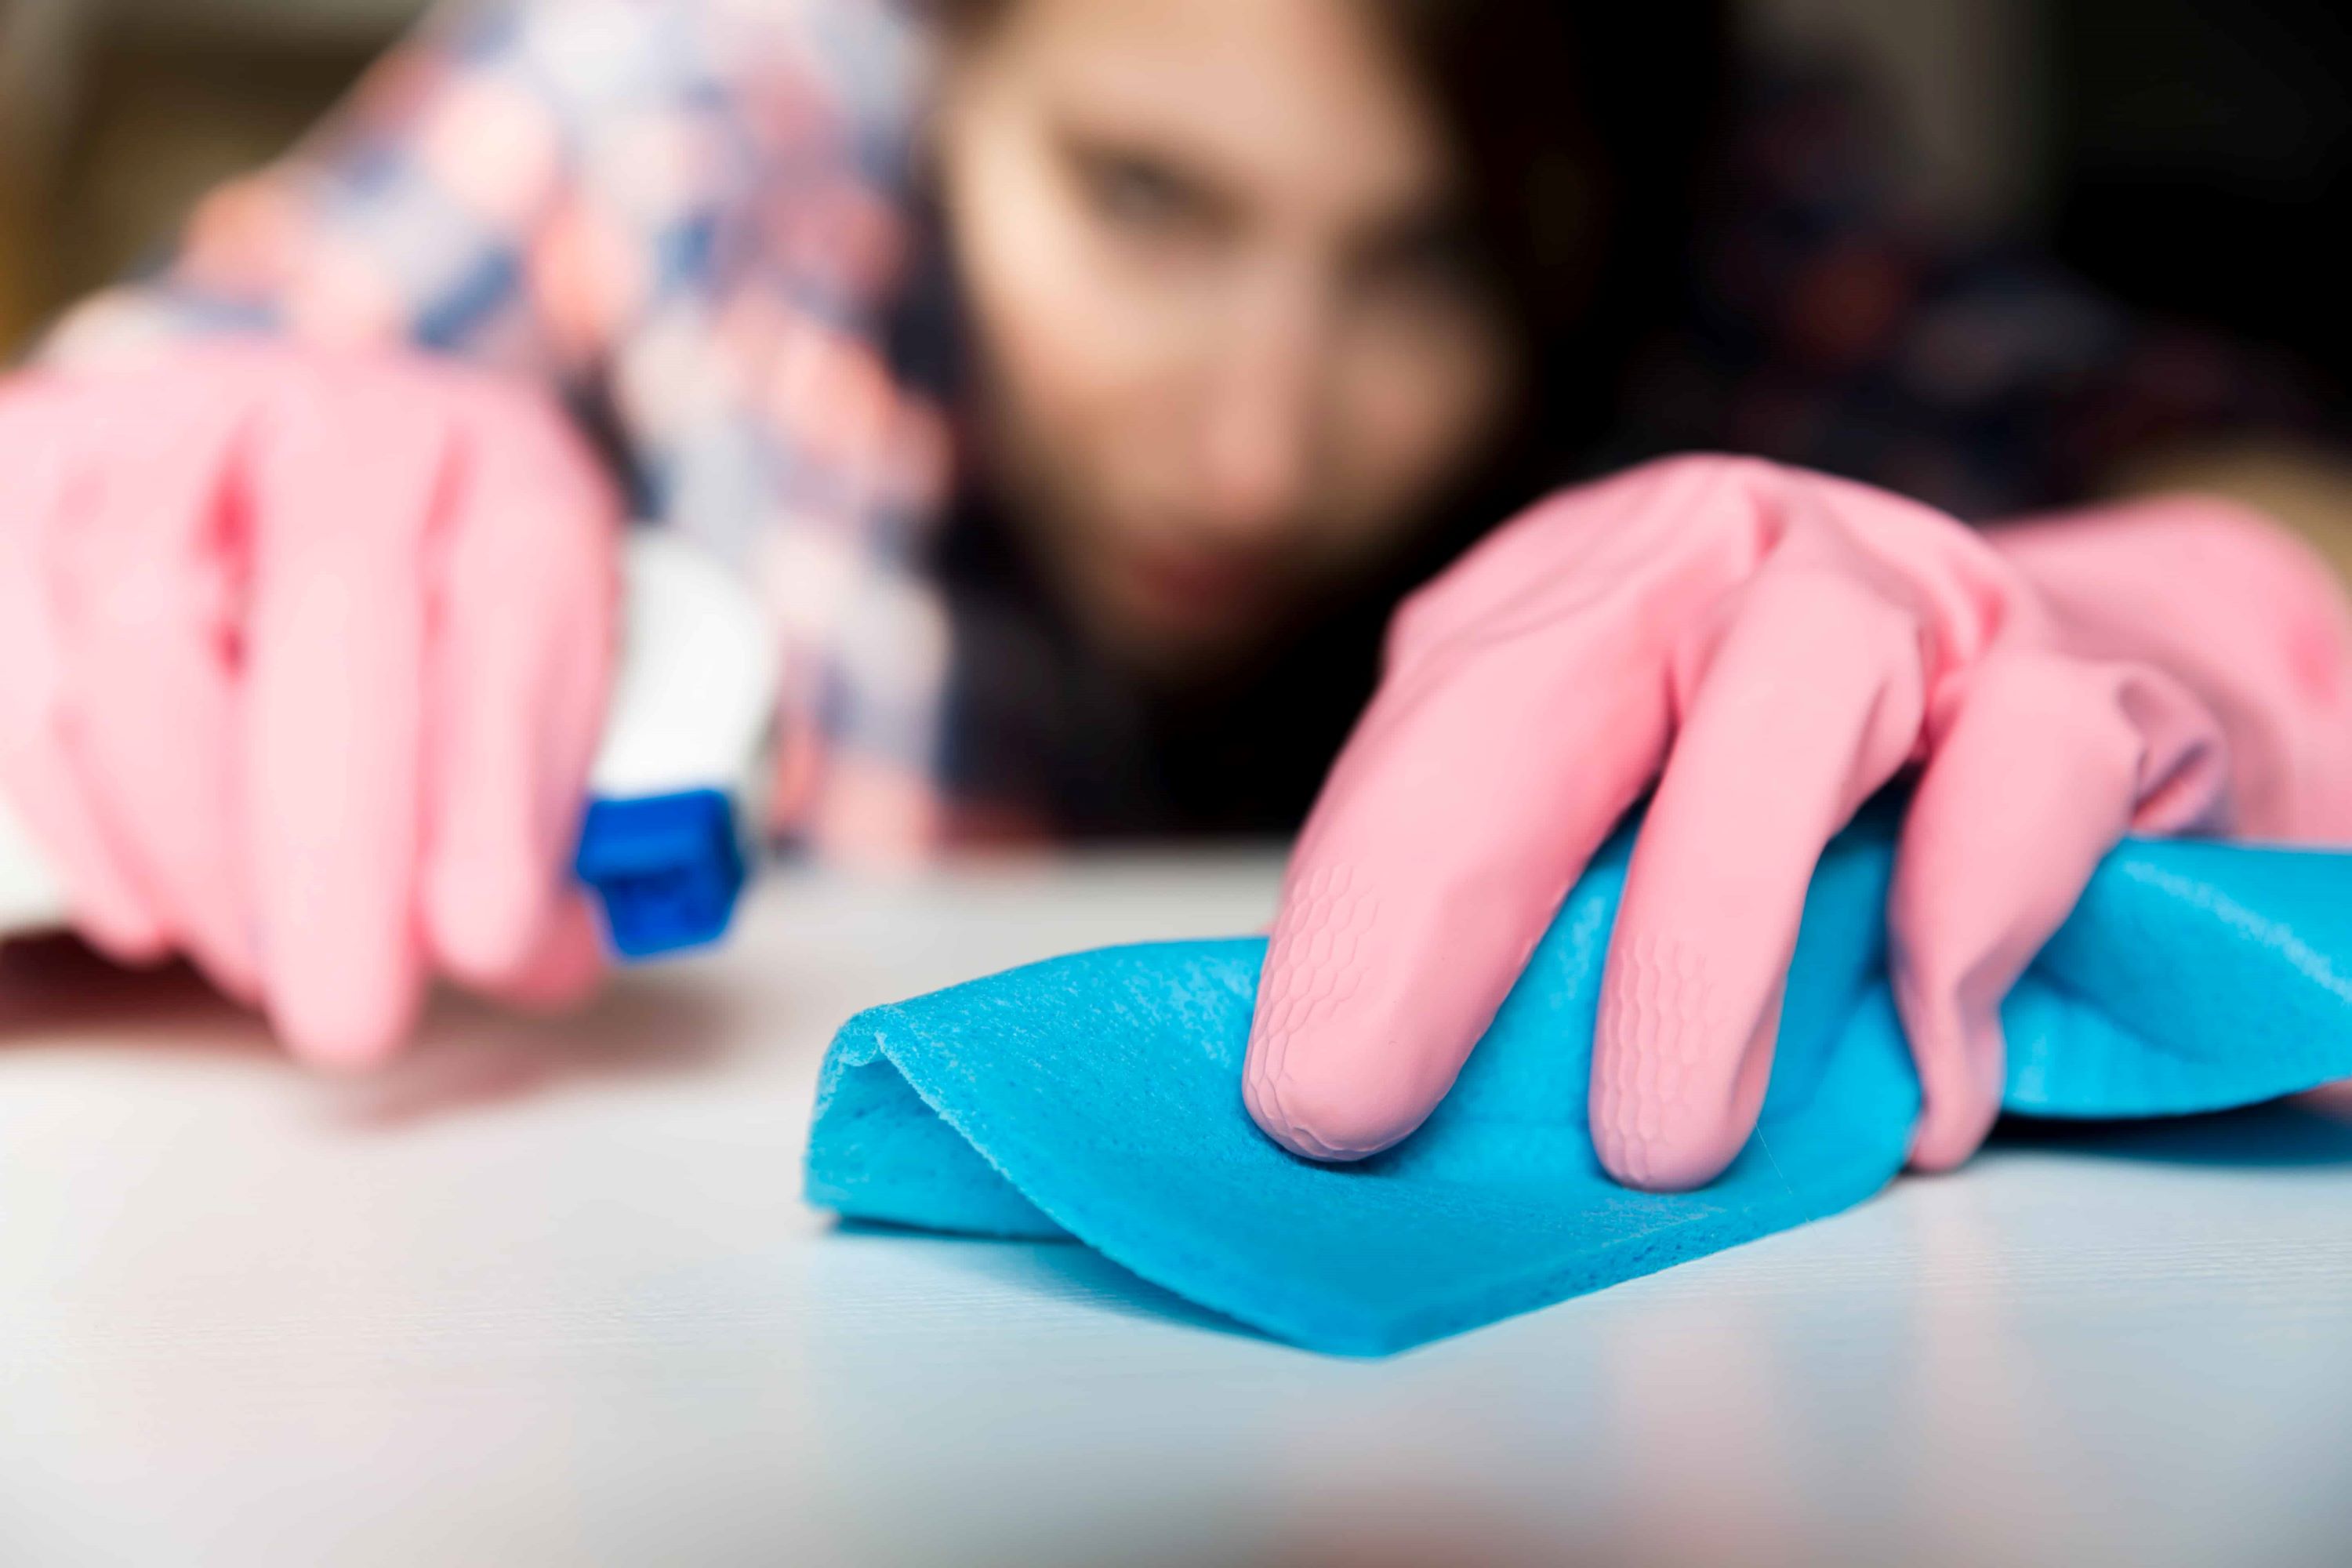
- Clean the seams: Use a damp cloth or sponge to clean the seams and remove any adhesive residue or debris. Be gentle and thorough, ensuring that the seams are clean and free from any visible traces of adhesive.
- Finishing touch: To achieve a perfectly seamless look, you can use a color-matched epoxy or filler specifically designed for quartz countertops. Apply a thin layer of the epoxy or filler to the seam, following the manufacturer’s instructions. Smooth it with a putty knife or a smoothing tool to create a flush and seamless appearance.
- Give it a final clean: Once the epoxy or filler has dried, wipe down the countertop surface with a clean, damp cloth or sponge to remove any excess material. This will leave you with a clean and tidy countertop with virtually invisible seams.
It’s important to follow the manufacturer’s instructions for the epoxy or filler, as different products may have specific curing times or application guidelines. Be patient during this step to ensure the best results.
By cleaning and finishing the seams, you’ll achieve a professional and seamless appearance for your quartz countertops. The finished result will enhance the overall aesthetics of your kitchen or bathroom and provide a durable and beautiful surface for years to come.
Finalizing the Countertop Installation
With the seams cleaned and finished, you’re almost done with the countertop installation. Follow these final steps to complete the process:
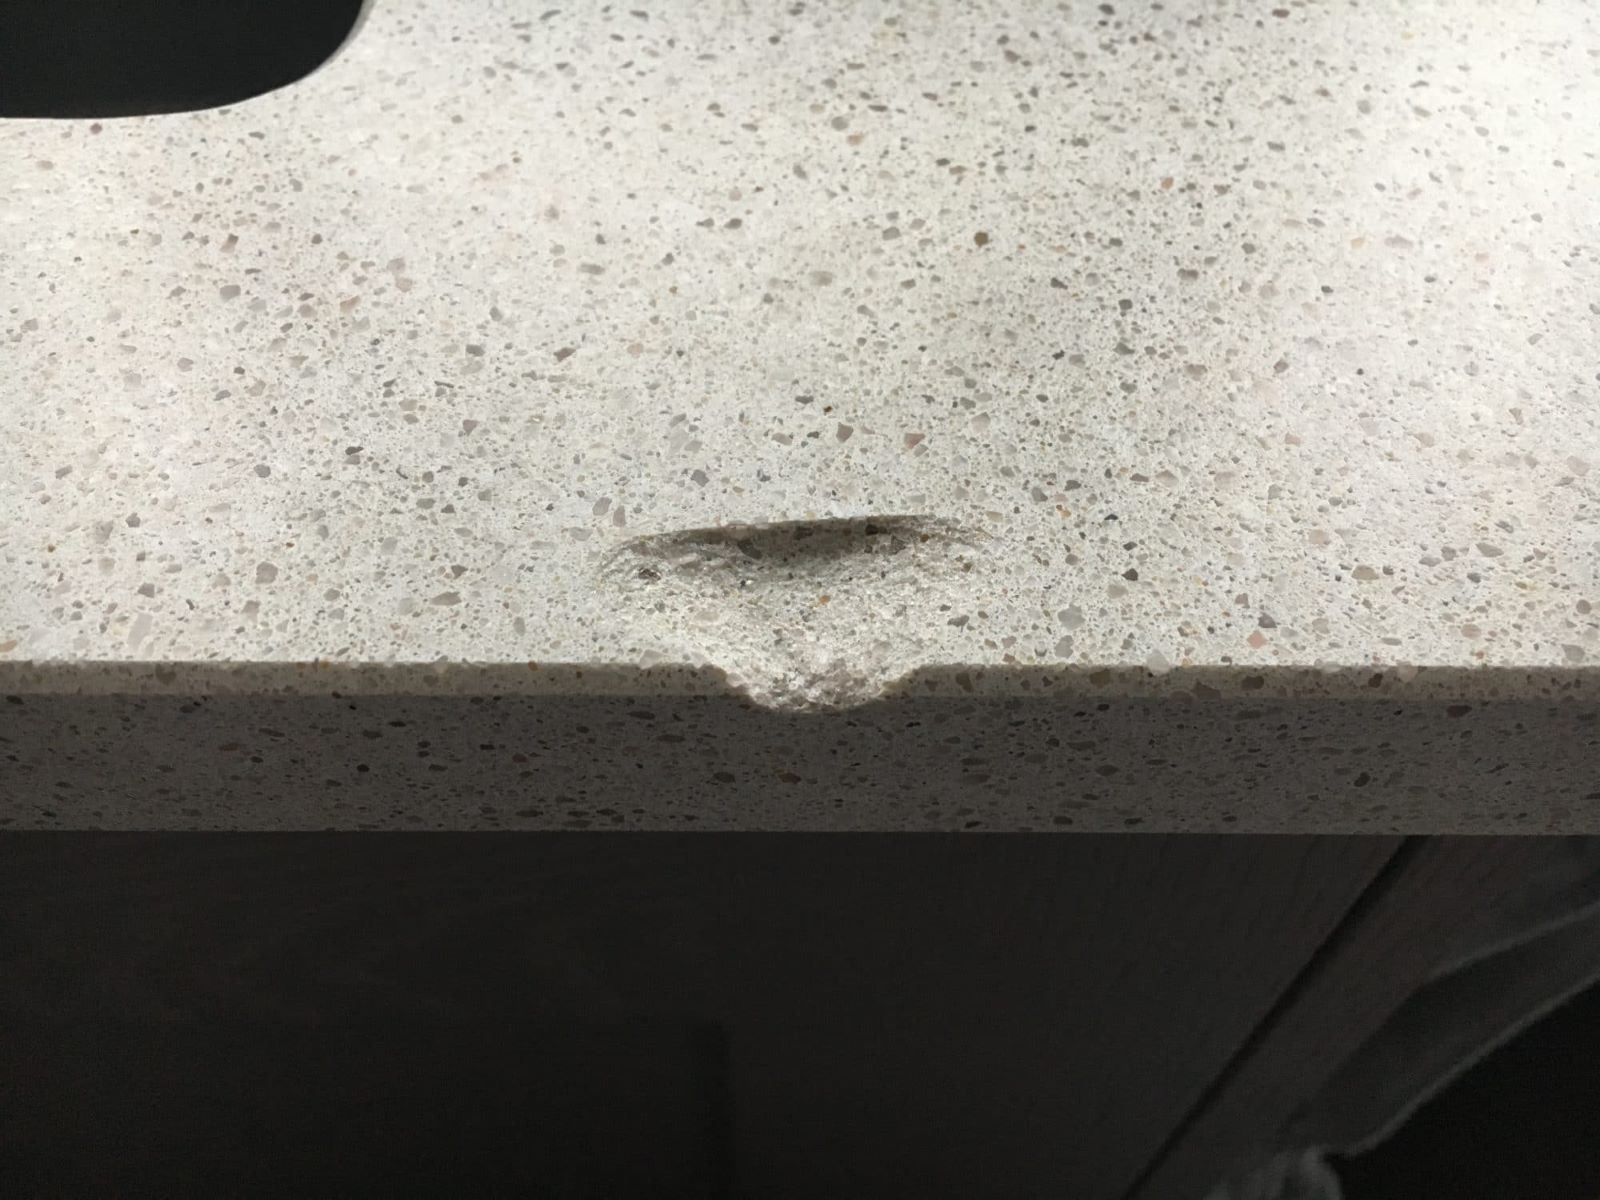
- Inspect the countertop: Take a close look at the entire countertop surface to ensure everything is in order. Check for any visible gaps, unevenness, or imperfections. If you spot any issues, make the necessary adjustments or consider consulting a professional.
- Seal the countertop: Depending on the specific type of quartz you’ve used, it may be advisable to seal the countertop. Quartz countertops are generally low maintenance and resistant to staining, but sealing can provide an extra layer of protection. Consult the manufacturer’s guidelines or a countertop specialist for the appropriate sealer and application instructions.
- Complete any edge treatments: If you’ve chosen to incorporate edge treatments on your quartz countertop, now is the time to finalize them. Whether it’s a rounded edge, beveled edge, or any other design, follow the manufacturer’s guidelines or consult a professional to ensure a precise and polished finish.
- Clean and polish: Give your newly installed quartz countertop a thorough cleaning with a non-abrasive cleaner specifically formulated for quartz surfaces. This will remove any residue, fingerprints, or smudges and leave the countertop sparkling clean. Polish the surface with a quartz-specific polish to enhance its natural shine.
After completing these final steps, step back and admire your beautifully installed quartz countertop. The seamless seams, along with the overall aesthetics and functionality, will significantly enhance the look and value of your kitchen or bathroom.
Remember to follow proper maintenance practices for your quartz countertop, including regular cleaning and avoiding abrasive materials or harsh chemicals that may damage the surface. With proper care, your quartz countertop will continue to impress for many years to come.
Conclusion
Seaming quartz countertops may seem like a daunting task, but with the right tools, materials, and techniques, you can achieve seamless and professional-looking results. By following the steps outlined in this article, you can successfully install and seam your own quartz countertops, adding beauty and functionality to your space.
Remember to take your time during the process, paying attention to precision and detail. Accurate measurements, precise cutting, and thorough dry fitting are essential for achieving seamless seams. Applying the right seam adhesive and aligning and securing the slabs correctly will ensure a strong and durable bond.
Take pride in cleaning and finishing the seams to create a virtually invisible transition between the slabs. Consider sealing the countertops and completing any edge treatments for a polished and customized look. Finally, maintain and care for your quartz countertop to preserve its beauty and longevity.
If you’re uncertain or inexperienced, don’t hesitate to seek assistance from a professional countertop installer. They can provide expertise and guidance specific to your project, ensuring the best possible results.
Seaming quartz countertops requires attention to detail and careful execution, but the end result is well worth the effort. You’ll enjoy a stunning and seamless surface that adds value and style to your home for years to come.
Now that you've mastered seaming quartz countertops, why not take your kitchen design skills further? Check out our article on tips from a top kitchen designer on storage for clever ways to maximize space. If you're considering more extensive home upgrades, you'll find our guide on best hardwood floors invaluable. And for those dreaming of a lavish culinary space, dive into our collection of luxury kitchen ideas. Each guide is packed with practical advice to refine and transform your home.
Frequently Asked Questions about How To Seam Quartz Countertops
Was this page helpful?
At Storables.com, we guarantee accurate and reliable information. Our content, validated by Expert Board Contributors, is crafted following stringent Editorial Policies. We're committed to providing you with well-researched, expert-backed insights for all your informational needs.


0 thoughts on “How To Seam Quartz Countertops”