Home>Articles>How Much Does It Cost To Replace Timing Belt And Water Pump
Articles
How Much Does It Cost To Replace Timing Belt And Water Pump
Modified: February 22, 2024
Looking for articles on how much it costs to replace a timing belt and water pump? Find out the average cost and get expert advice in our informative guides
(Many of the links in this article redirect to a specific reviewed product. Your purchase of these products through affiliate links helps to generate commission for Storables.com, at no extra cost. Learn more)
Introduction
When it comes to maintaining the health and performance of your vehicle, regular maintenance is key. One crucial component that often requires replacement is the timing belt and water pump. These two components work in tandem to ensure the smooth operation of your engine.
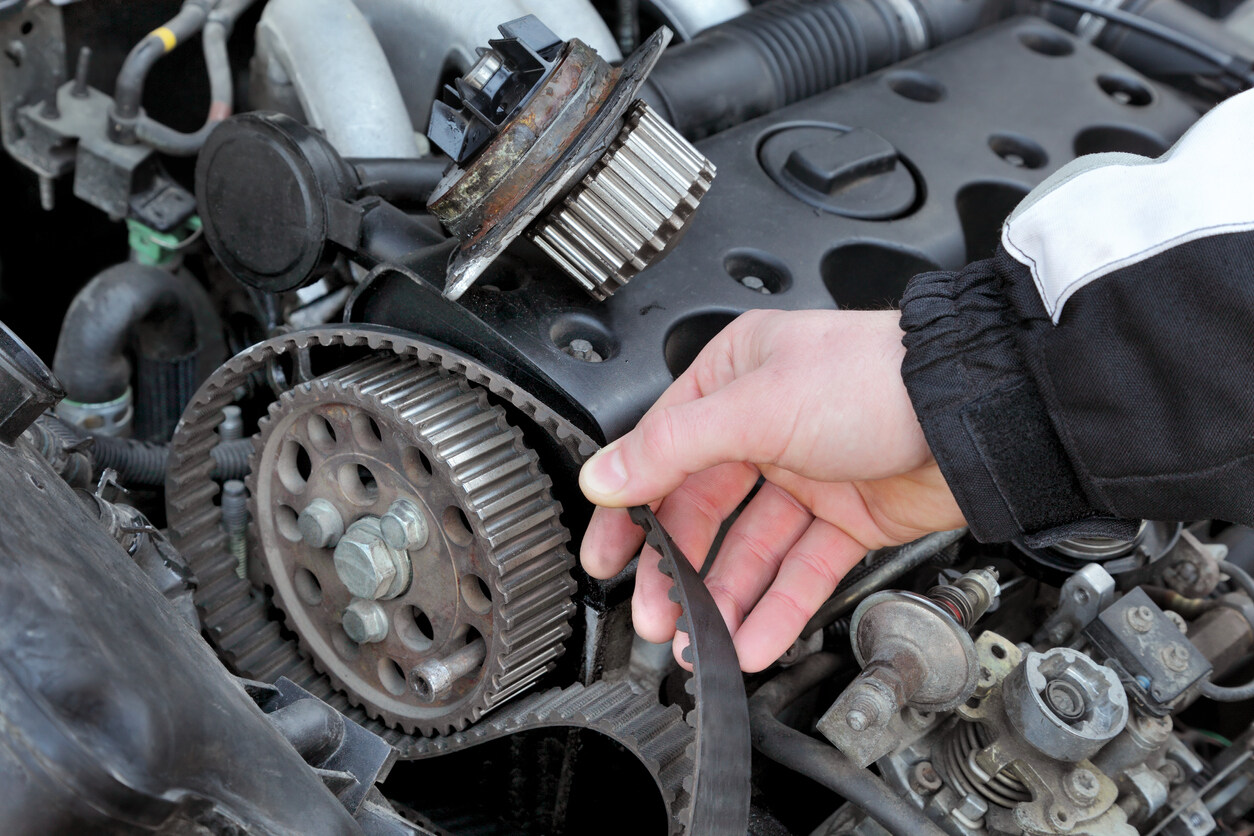
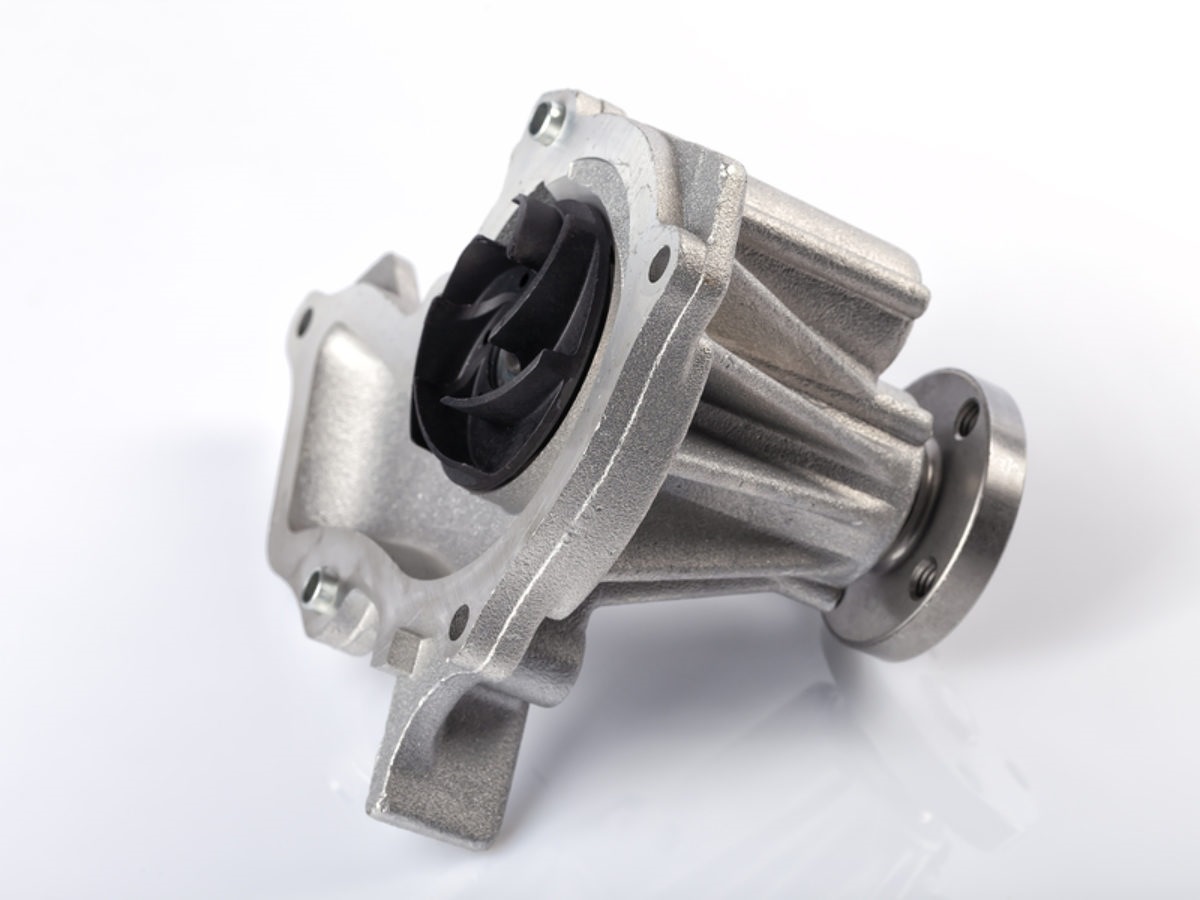
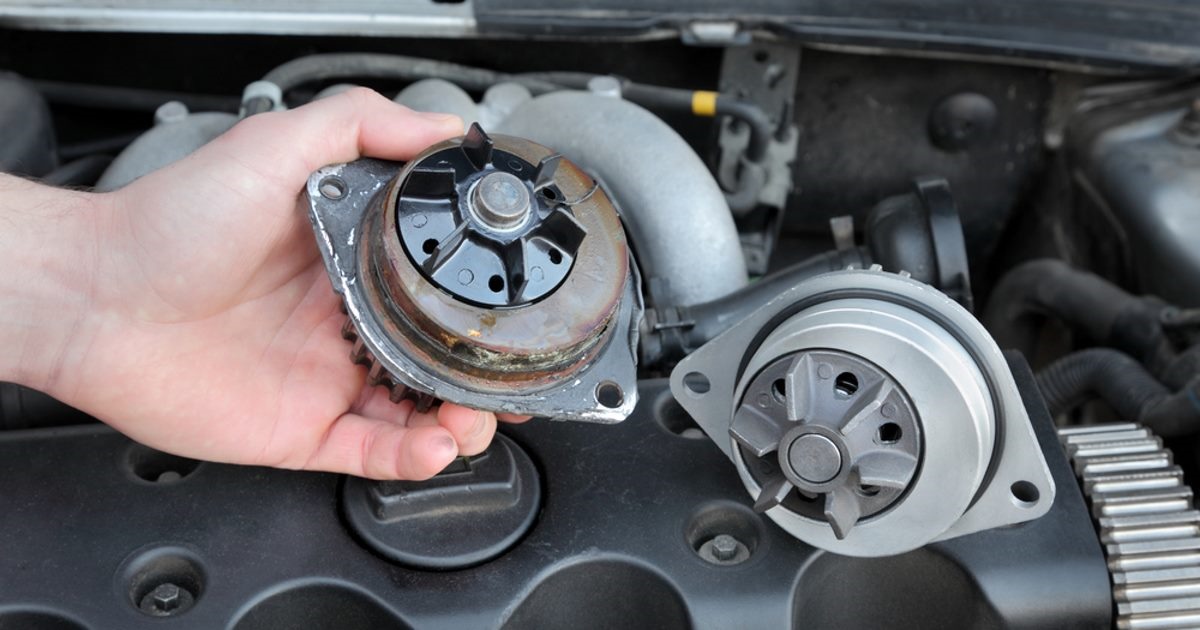
The timing belt, also known as a camshaft belt, is responsible for synchronizing the rotation of the engine’s crankshaft and camshaft. It ensures that the engine’s valves open and close at the appropriate times during the combustion process. On the other hand, the water pump circulates coolant through the engine, preventing it from overheating.
Over time, the timing belt can wear out, crack or break, leading to serious engine damage if not replaced in a timely manner. The water pump can also fail and cause coolant leakage, jeopardizing the engine’s cooling system. To avoid costly repairs and potential engine failure, it is important to understand the cost of replacing the timing belt and water pump.
In this article, we will explore the factors that affect the cost of timing belt and water pump replacement, provide an average cost estimate, discuss additional costs to consider, and highlight the pros and cons of DIY versus professional replacement.
So, if you’re curious to know how much it will cost you to replace your timing belt and water pump, keep reading!
Key Takeaways:
- Regularly replacing the timing belt and water pump is crucial for preventing engine damage, overheating, and maintaining performance. Costs range from $500 to $1000, but additional components and labor can impact the total expense.
- When deciding between DIY and professional replacement, consider expertise, time, and potential risks. Professional assistance offers efficiency, warranty coverage, and added services, while DIY may provide cost savings and a learning experience.
Read more: When To Replace Water Pump And Timing Belt
Importance of Timing Belt and Water Pump Replacement
Replacing the timing belt and water pump at the recommended intervals is crucial for the longevity and reliability of your vehicle. Here are a few reasons why:
- Prevention of Engine Damage: The timing belt plays a vital role in synchronizing the crankshaft and camshaft, ensuring optimal engine performance. If the timing belt fails, it can cause the valves to collide with the pistons, resulting in severe engine damage. By replacing the timing belt, you can prevent costly repairs or even engine replacement.
- Prevention of Engine Overheating: The water pump is responsible for circulating coolant throughout the engine, absorbing heat and keeping the temperature within a safe range. If the water pump fails, it can lead to overheating, which can cause significant engine damage. Replacing the water pump ensures the proper functioning of the cooling system, preventing engine overheating.
- Improved Performance and Fuel Efficiency: A worn-out timing belt can cause issues such as engine misfires, hesitation, or decreased power. Replacing the timing belt allows the engine to function smoothly, leading to improved performance and fuel efficiency. Similarly, a faulty water pump can result in coolant leakage, reducing the effectiveness of the cooling system and impacting engine performance. By replacing the water pump, you can maintain optimal performance and fuel efficiency.
- Peace of Mind: Regularly replacing the timing belt and water pump according to the manufacturer’s recommendations gives you peace of mind, knowing that your vehicle’s critical components are in good condition. It reduces the risk of unexpected breakdowns, costly repairs, or being stranded on the roadside due to engine failure.
Overall, the timing belt and water pump are essential components of your vehicle’s engine system, and replacing them at the recommended intervals ensures the smooth operation, performance, and reliability of your vehicle.
Factors Affecting the Cost
Several factors come into play when determining the cost of replacing the timing belt and water pump. It’s essential to consider these factors to understand why the cost can vary. Here are the key factors that affect the overall cost:
- Vehicle Make and Model: The make and model of your vehicle play a significant role in determining the cost. Some vehicles have more complex engine systems that require more labor and specialized parts, which can increase the overall cost of replacement.
- Parts Quality: The quality of the timing belt and water pump you choose can impact the cost. OEM (Original Equipment Manufacturer) parts tend to be more expensive but offer better reliability and compatibility with your vehicle. On the other hand, aftermarket parts may be more affordable but might not offer the same level of quality.
- Labor Costs: The cost of labor can vary depending on where you take your vehicle for replacement. Labor rates differ based on location and the expertise of the technician performing the replacement. Dealerships and specialized automotive repair shops typically charge higher labor rates compared to independent mechanics.
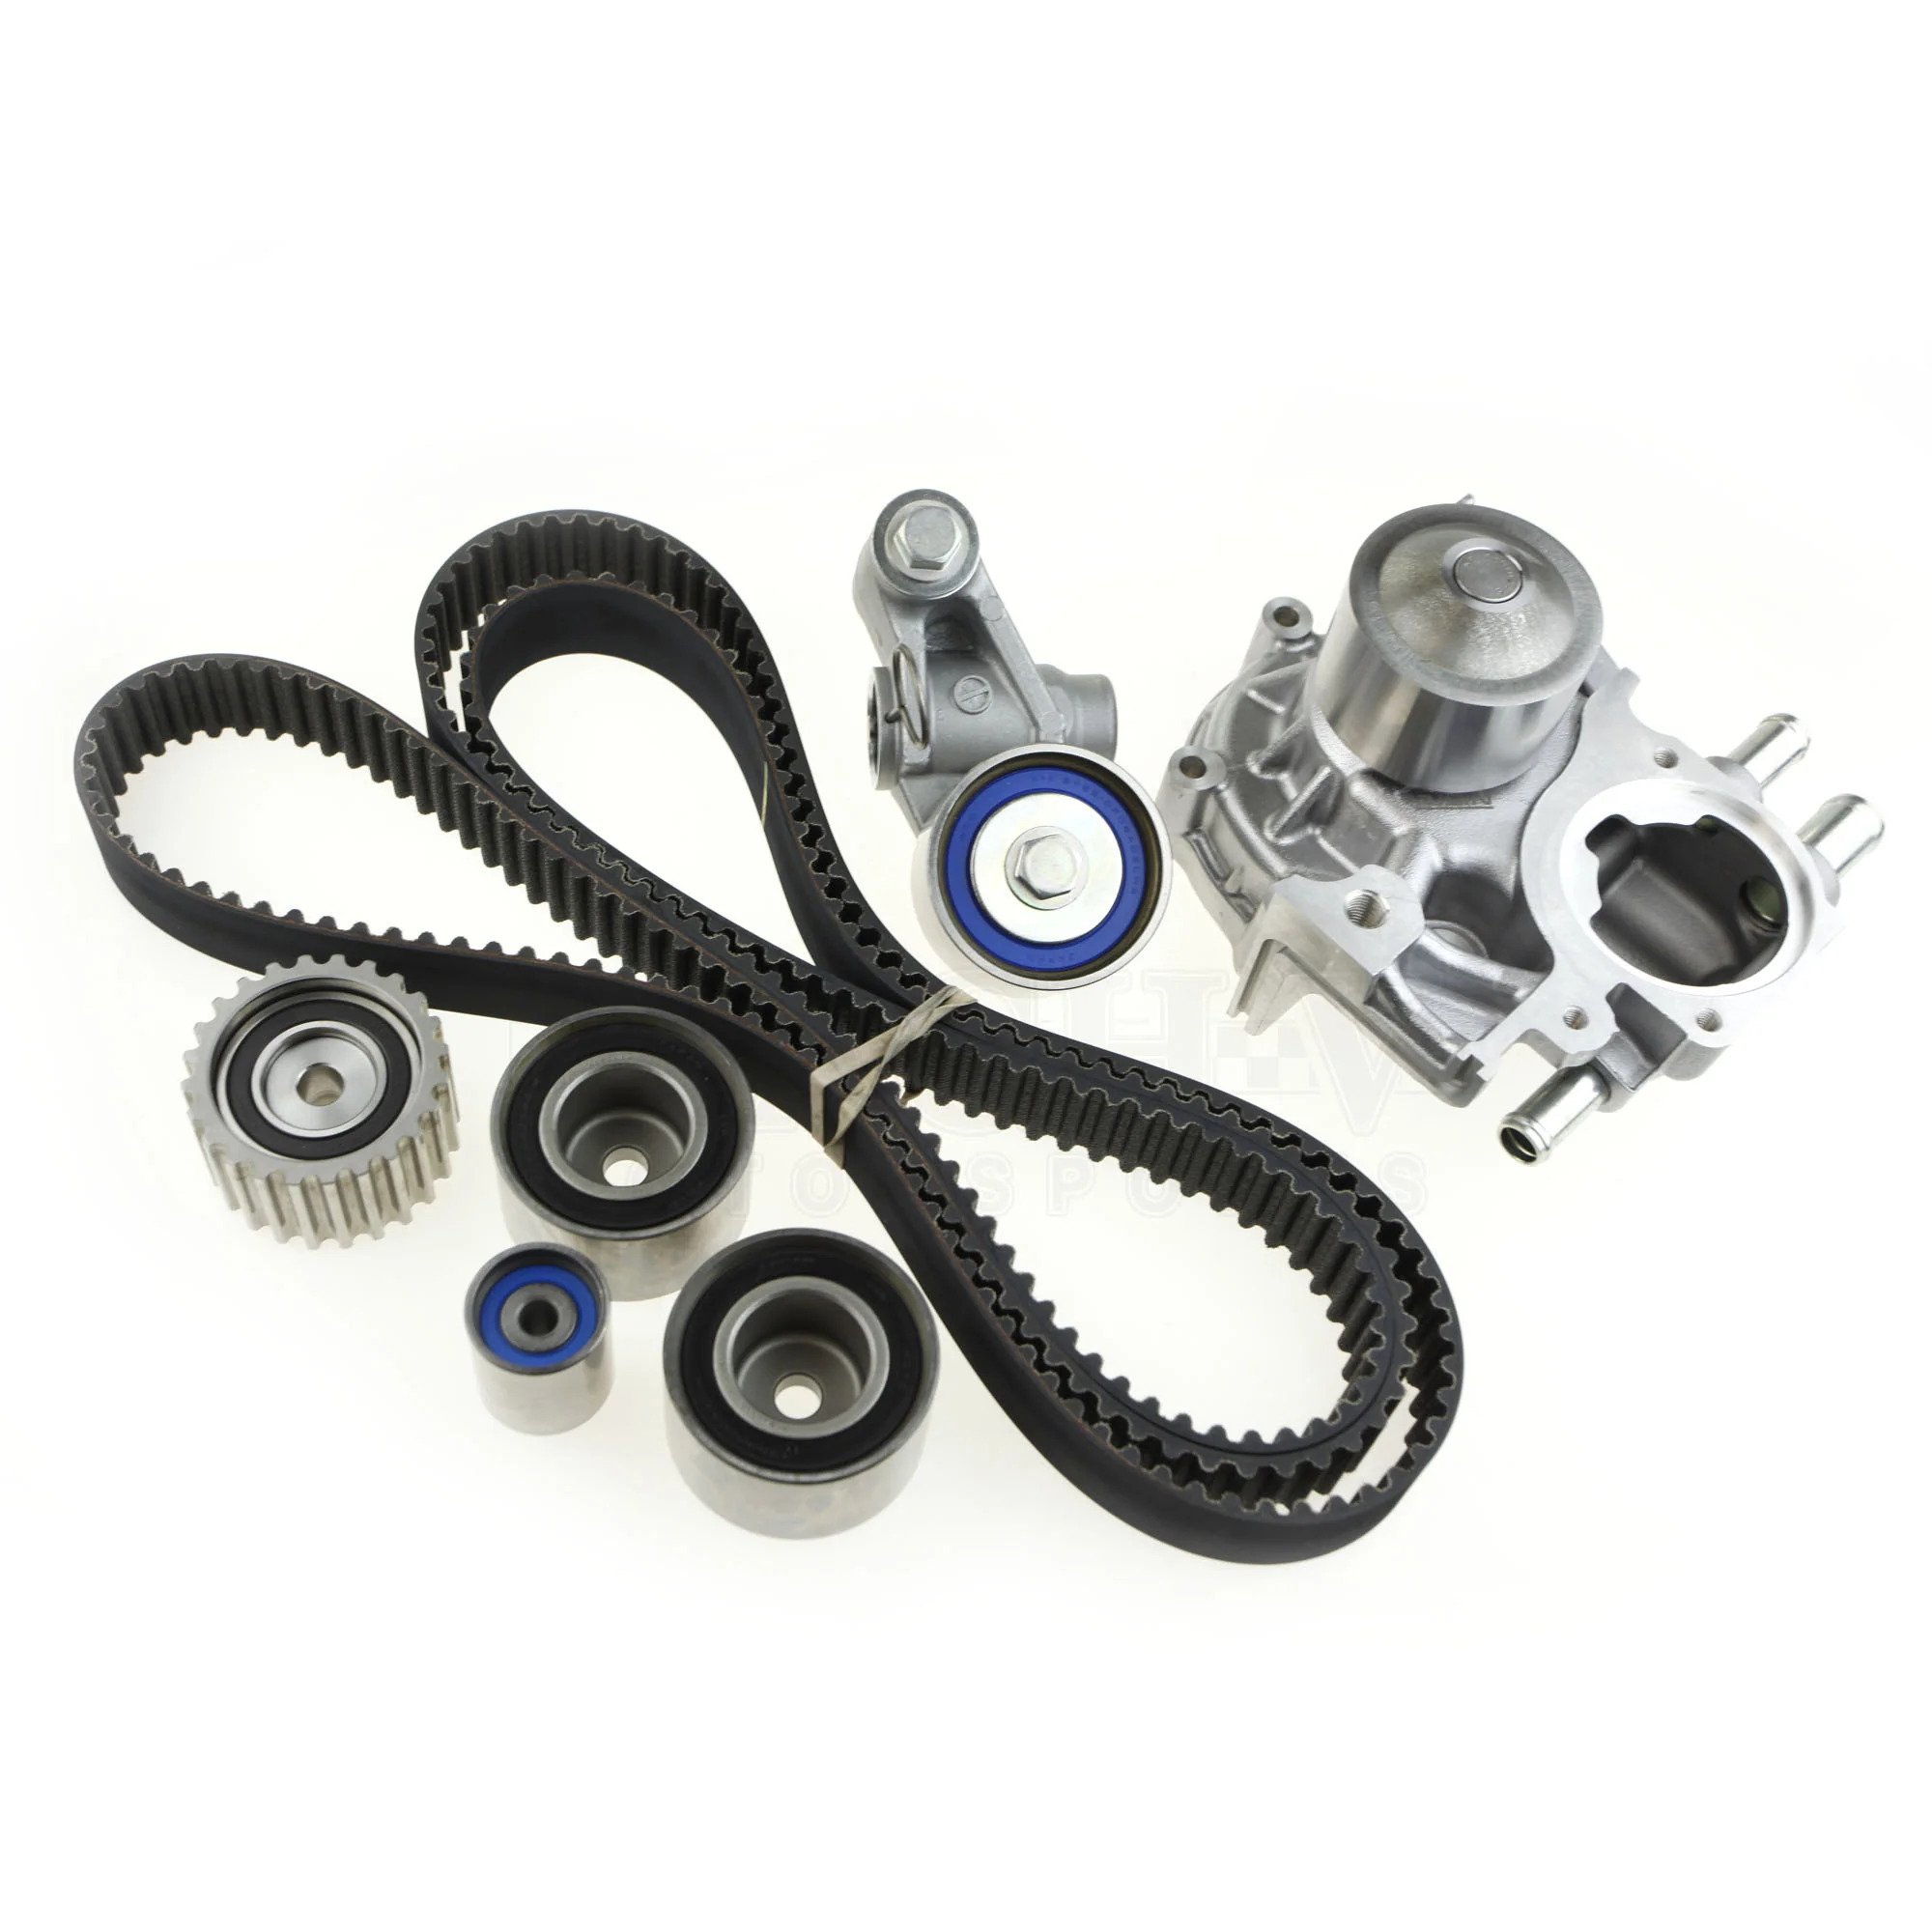
- Additional Components: During the replacement process, other components such as the drive belt, tensioner, and pulleys may need to be inspected or replaced. Including these additional components in the replacement can increase the overall cost.
- Geographical Location: The cost of parts and labor can vary depending on your geographical location. Areas with a higher cost of living or limited access to automotive services may result in higher overall costs.
It’s important to note that these factors can vary, and it’s always recommended to consult with a trusted mechanic or dealership to get an accurate estimate based on your specific vehicle and location.
Understanding these factors will help you better anticipate the cost of replacing the timing belt and water pump and make informed decisions when it comes to maintaining your vehicle’s engine system.
Average Cost of Timing Belt and Water Pump Replacement
The cost of replacing the timing belt and water pump can vary depending on several factors, including the make and model of your vehicle, labor rates, parts quality, and additional components needed. However, we can provide you with a general average cost range to give you an idea of what to expect.
On average, the cost of replacing the timing belt and water pump ranges from $500 to $1000. This estimate includes the cost of parts and labor. Keep in mind that this is a general estimate, and the actual cost can be higher or lower based on the factors mentioned earlier.
If you opt for OEM parts, the cost may be on the higher end of the range. These parts are typically more expensive, but they offer better quality and are specifically designed for your vehicle. On the other hand, choosing aftermarket parts can help lower the cost, but it’s essential to ensure they are of good quality and compatible with your vehicle.
Labor costs also contribute significantly to the overall cost. Labor rates can vary depending on the location and the expertise of the technician performing the replacement. It’s worth noting that some vehicles require more labor-intensive procedures, which can increase the cost of replacement.
Additionally, if additional components, such as the drive belt, tensioner, or pulleys, need replacement, it will incur extra costs. It’s important to factor in these potential additional expenses when budgeting for the timing belt and water pump replacement.
Remember, the average cost mentioned here is a rough estimate, and it’s always recommended to consult with a reputable mechanic or dealership for an accurate cost estimate specific to your vehicle and location. They can provide you with a personalized quote based on your vehicle’s requirements and any additional factors that may affect the overall cost.
By understanding the average cost range, you can better plan and budget for the replacement of the timing belt and water pump for your vehicle.
Additional Costs to Consider
When it comes to replacing the timing belt and water pump, there are a few additional costs that you should consider beyond the cost of the parts and labor. These additional costs can vary depending on the circumstances and the condition of your vehicle. Let’s take a look at some of these potential additional costs:
- Additional Components: As mentioned earlier, during the replacement process, other components such as the drive belt, tensioner, and pulleys may also need to be inspected or replaced. These components ensure the overall performance and reliability of the engine system. If any additional components are found to be worn or damaged, it is recommended to replace them at the same time to avoid future issues. However, this will add to the overall cost of the replacement.
- Coolant Replacement: Since the water pump plays a crucial role in the engine’s cooling system, it is often recommended to replace the coolant at the same time as the water pump. This ensures that you have fresh coolant circulating through the engine, optimizing its cooling performance. The cost of coolant replacement will add to the overall cost of the replacement.
- Tensioner and Pulley Replacement: The timing belt tensioner and pulleys are critical components that help maintain the proper tension and alignment of the timing belt. Over time, these components can wear out and lose their effectiveness. It is often recommended to replace them during the timing belt replacement to ensure optimal performance. The cost of the tensioner and pulley replacement should be factored into the overall cost estimation.
- Engine Seal Replacement: Depending on the condition of the engine seals, it may be necessary to replace them during the timing belt and water pump replacement. Engine seals help prevent oil and coolant leaks and ensure the proper functioning of the engine. If your vehicle’s seals are worn or damaged, it is advisable to replace them to avoid future leaks and potential engine damage.
- Additional Repairs: During the inspection process, if any other issues or repairs are identified, such as a leaking radiator or a faulty thermostat, it is recommended to address them while the timing belt and water pump are being replaced. Ignoring these additional repairs can lead to more significant issues down the line, resulting in additional costs and potential engine damage.
It’s important to keep in mind that these additional costs are not always necessary, but they should be considered to ensure the overall health and performance of your vehicle’s engine system. Consulting with a trusted mechanic or dealership will help determine if any of these additional costs are required based on the condition of your vehicle.
By taking these potential additional costs into account, you’ll have a more accurate estimate of the total investment required for the timing belt and water pump replacement.
When replacing the timing belt and water pump, it’s a good idea to also replace the tensioner and pulleys to ensure the entire system is in good working order. This can help prevent future issues and save on labor costs in the long run.
Read more: How Much It Cost To Replace Water Pump
DIY vs Professional Replacement
When it comes to replacing the timing belt and water pump, you have the option to do it yourself (DIY) or hire a professional. Both approaches have their advantages and considerations. Let’s take a closer look at DIY and professional replacement to help you make an informed decision:
DIY Replacement
DIY replacement involves performing the timing belt and water pump replacement yourself, without the assistance of a professional mechanic. Here are some factors to consider if you’re contemplating a DIY approach:
- Cost Savings: One of the primary motivations for choosing a DIY replacement is the potential cost savings. By eliminating labor costs, you can save a significant amount of money. However, it’s essential to keep in mind that you’ll need to invest in the necessary tools and have the mechanical skills and knowledge to perform the replacement correctly.
- Learning Experience: DIY replacement allows you to gain valuable knowledge and experience with your vehicle. It can be a rewarding and educational experience as you become more familiar with the inner workings of your car. Additionally, it provides the flexibility to work at your own pace and schedule.
- Risks and Challenges: Performing a timing belt and water pump replacement requires a certain level of mechanical expertise. If not done correctly, it can lead to further damage to your engine and costly repairs. It’s crucial to thoroughly research and understand the process before attempting a DIY replacement. Additionally, if something goes wrong during the replacement, you may not have the support or warranty coverage that a professional mechanic provides.
- Time and Effort: DIY replacements can be time-consuming, especially if you’re unfamiliar with the process. It requires careful attention to detail and a significant investment of time and effort. It’s important to allocate enough time to complete the replacement properly, ensuring everything is installed correctly.
Professional Replacement
Professional replacement involves hiring a qualified mechanic or taking your vehicle to a reputable dealership or automotive repair shop. Here are some factors to consider when opting for professional replacement:
- Expertise and Experience: Professional mechanics have the knowledge, experience, and specialized tools needed to perform timing belt and water pump replacements correctly. They are familiar with the specific requirements of your vehicle, reducing the risk of errors and potential engine damage.
- Time and Efficiency: Professional replacements are typically completed in a timely manner. Mechanics are trained to perform these replacements efficiently, minimizing the time your vehicle is out of commission and ensuring that the job is done correctly the first time.
- Warranty and Guarantees: Reputable repair shops and dealerships often provide warranties or guarantees on the parts and labor involved in the replacement. This offers peace of mind, knowing that if any issues arise after the replacement, you have a recourse for assistance and potential cost coverage.
- Additional Services: Professional replacements may include additional services, such as a thorough inspection of your vehicle’s engine system, ensuring that all components are functioning properly. They may also offer advice on any other potential repairs or maintenance that may be needed.
Ultimately, the decision between DIY and professional replacement depends on your level of expertise, comfort with working on your vehicle, and the availability of resources. If you have the necessary skills and confidence, a DIY replacement may be a cost-effective option. However, if you’re unsure or lack experience, it’s generally recommended to seek professional assistance to ensure a proper and reliable replacement.
Remember, safety should always be a priority, and if you’re unsure about any aspect of the replacement process, it’s best to consult with a professional mechanic who can provide guidance and expertise.
Conclusion
Replacing the timing belt and water pump is a critical part of maintaining your vehicle’s engine system. It ensures the proper functioning of the engine, prevents potential damage, and contributes to the overall performance and longevity of your vehicle.
When considering the cost of timing belt and water pump replacement, there are several factors to take into account, including the vehicle make and model, parts quality, labor costs, and additional components. The average cost of replacement falls within a range of $500 to $1000, but it may vary depending on individual circumstances.
It’s essential to be aware of potential additional costs, such as replacing additional components, coolant, tensioner, pulleys, and engine seals, as these can impact the overall cost of the replacement. Consulting with a trusted mechanic or dealership will help provide an accurate cost estimate specific to your vehicle and situation.
You also have the choice between DIY and professional replacement. While DIY replacement can offer potential cost savings and a learning experience, it requires mechanical expertise and carries risks if not done properly. Professional replacement ensures expertise, efficiency, warranty coverage, and added services, such as comprehensive inspections.
Ultimately, the decision on whether to opt for a DIY approach or seek professional assistance depends on your level of experience, comfort, and available resources. Safety should always be a priority, and if you’re unsure about the replacement process, it’s best to consult with a professional mechanic.
By maintaining regular timing belt and water pump replacements according to manufacturer recommendations, you can keep your vehicle running smoothly, improve performance, and avoid costly engine damage. Your vehicle will thank you with reliable and efficient performance for miles to come.
So, whether you choose to tackle the replacement yourself or rely on the expertise of a professional, don’t delay in replacing your timing belt and water pump. Your wallet, your engine, and your peace of mind will thank you in the long run.
Frequently Asked Questions about How Much Does It Cost To Replace Timing Belt And Water Pump
Was this page helpful?
At Storables.com, we guarantee accurate and reliable information. Our content, validated by Expert Board Contributors, is crafted following stringent Editorial Policies. We're committed to providing you with well-researched, expert-backed insights for all your informational needs.


0 thoughts on “How Much Does It Cost To Replace Timing Belt And Water Pump”