Articles
How To Make A Solar Powered Water Pump
Modified: December 7, 2023
Learn how to make a solar powered water pump with this informative article. Discover the benefits of harnessing solar energy for your pumping needs.
(Many of the links in this article redirect to a specific reviewed product. Your purchase of these products through affiliate links helps to generate commission for Storables.com, at no extra cost. Learn more)
Introduction
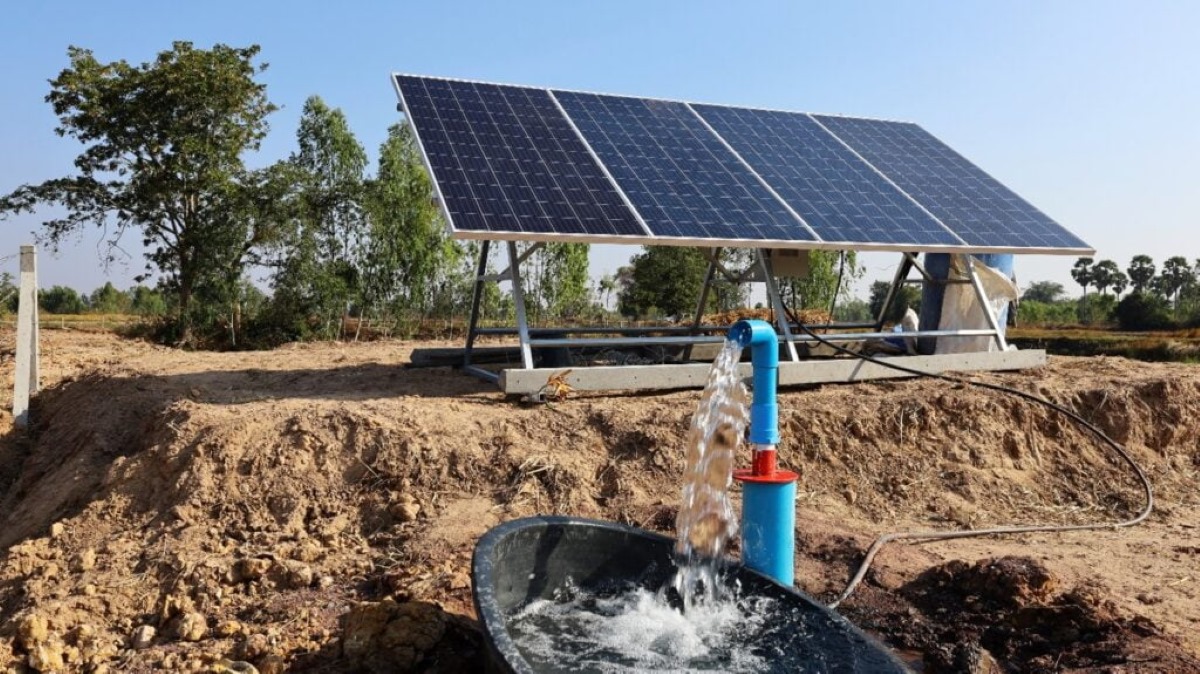
With the increasing global focus on sustainability and renewable energy, solar-powered solutions are becoming more popular in various applications. One such application is a solar-powered water pump, which harnesses the power of the sun to pump water without relying on electricity or fuel.
A solar-powered water pump can be a valuable addition to any agricultural, irrigation, or water supply system, providing a cost-effective and environmentally-friendly alternative. Whether you are looking to create a reliable water source for your garden or need to pump water for livestock or crop irrigation, a solar-powered water pump offers numerous benefits.
In this article, we will guide you through the process of making a solar-powered water pump. From selecting the right components to assembling and testing the pump, we will provide step-by-step instructions along with helpful tips to ensure your project is a success.
Before we dive into the details, let’s take a look at the basic components you will need for this project.
Key Takeaways:
- Building a solar-powered water pump involves selecting the right components, designing a sturdy mounting structure, and ensuring proper connectivity. Regular maintenance and troubleshooting are essential for optimal performance and longevity.
- By harnessing the power of the sun, a solar-powered water pump offers a sustainable and environmentally-friendly solution for pumping water. It’s a rewarding way to contribute to renewable energy and reduce dependence on non-renewable resources.
Read more: How To Make A Solar Water Fountain
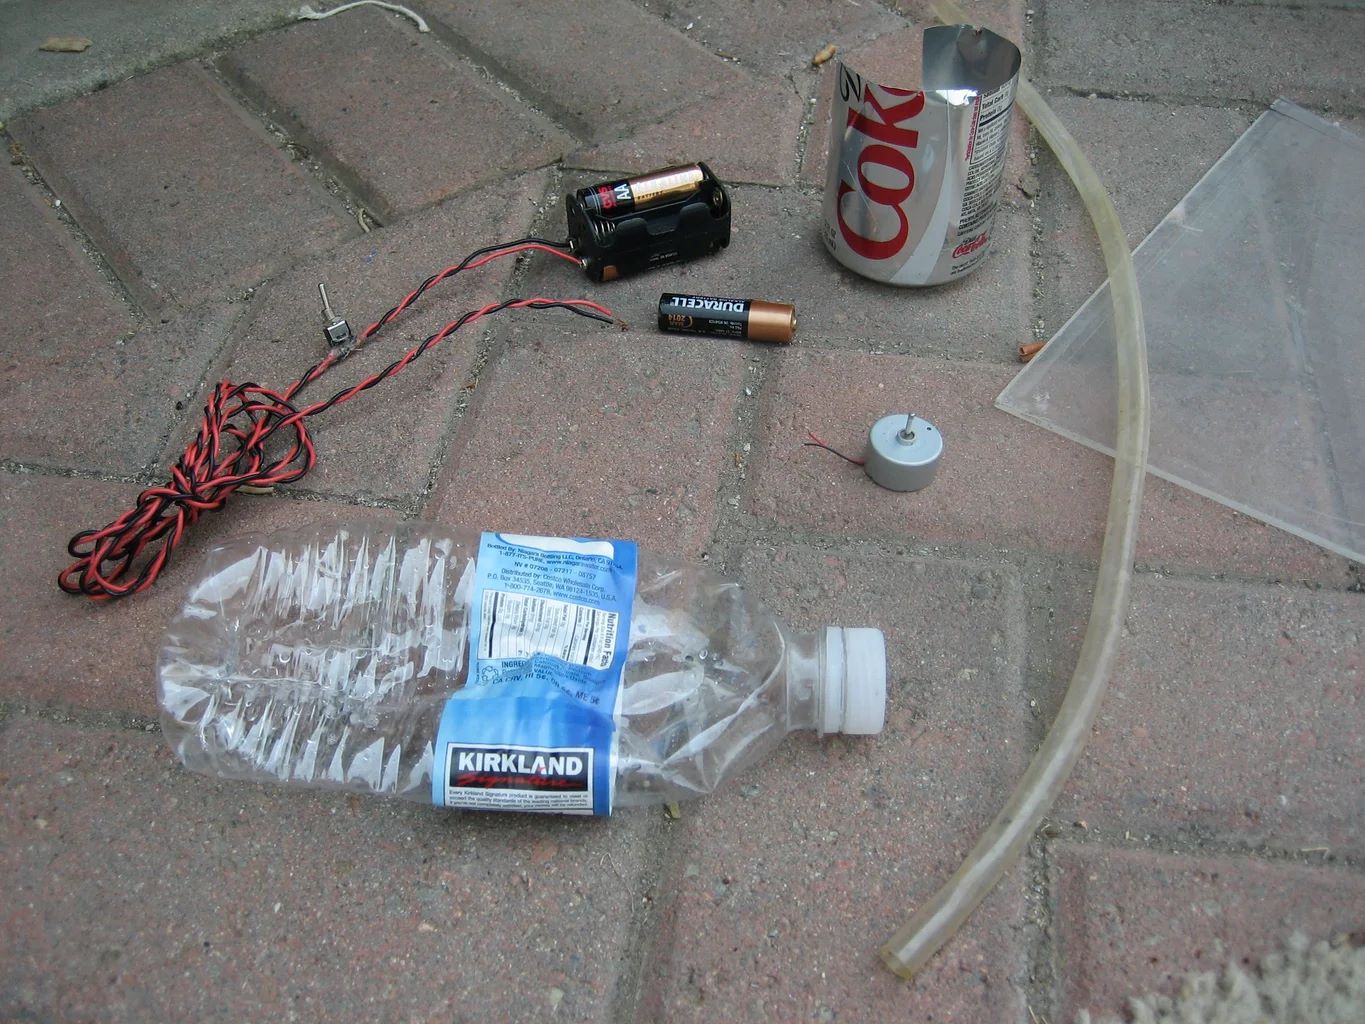
Components Needed
Before you start building your solar-powered water pump, it’s important to gather all the necessary components. Here’s a list of the main components you will need:
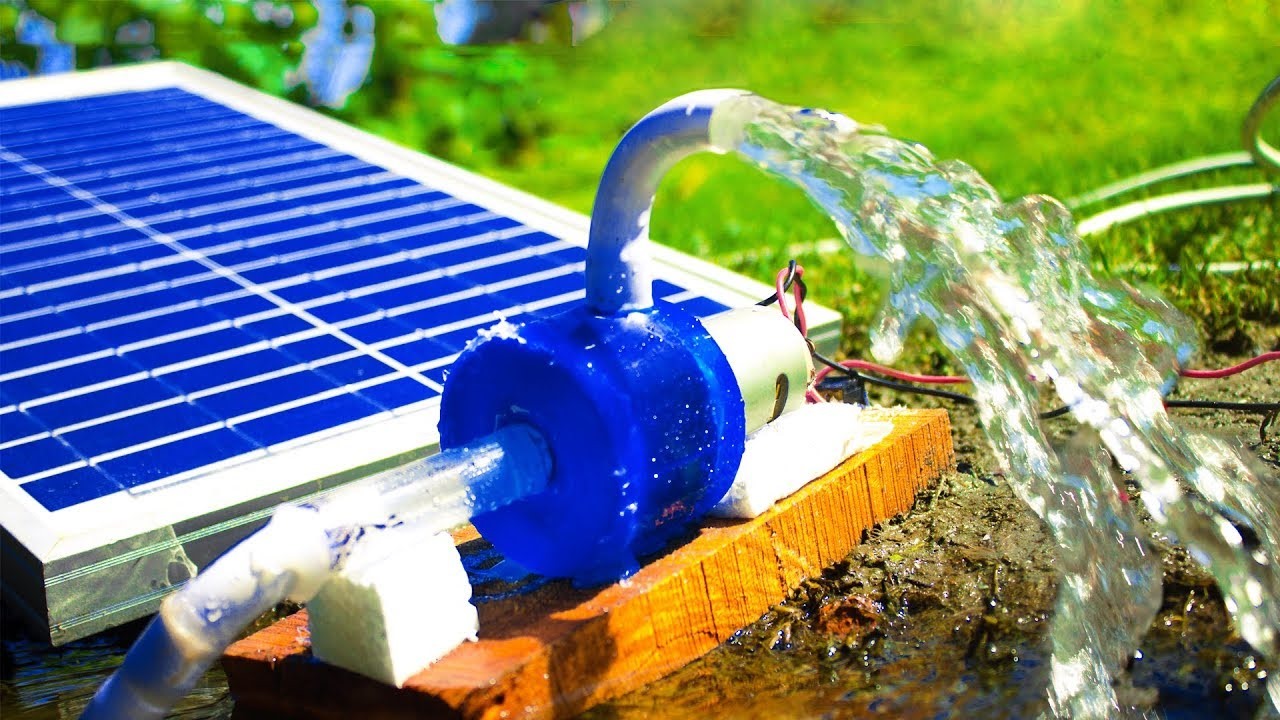
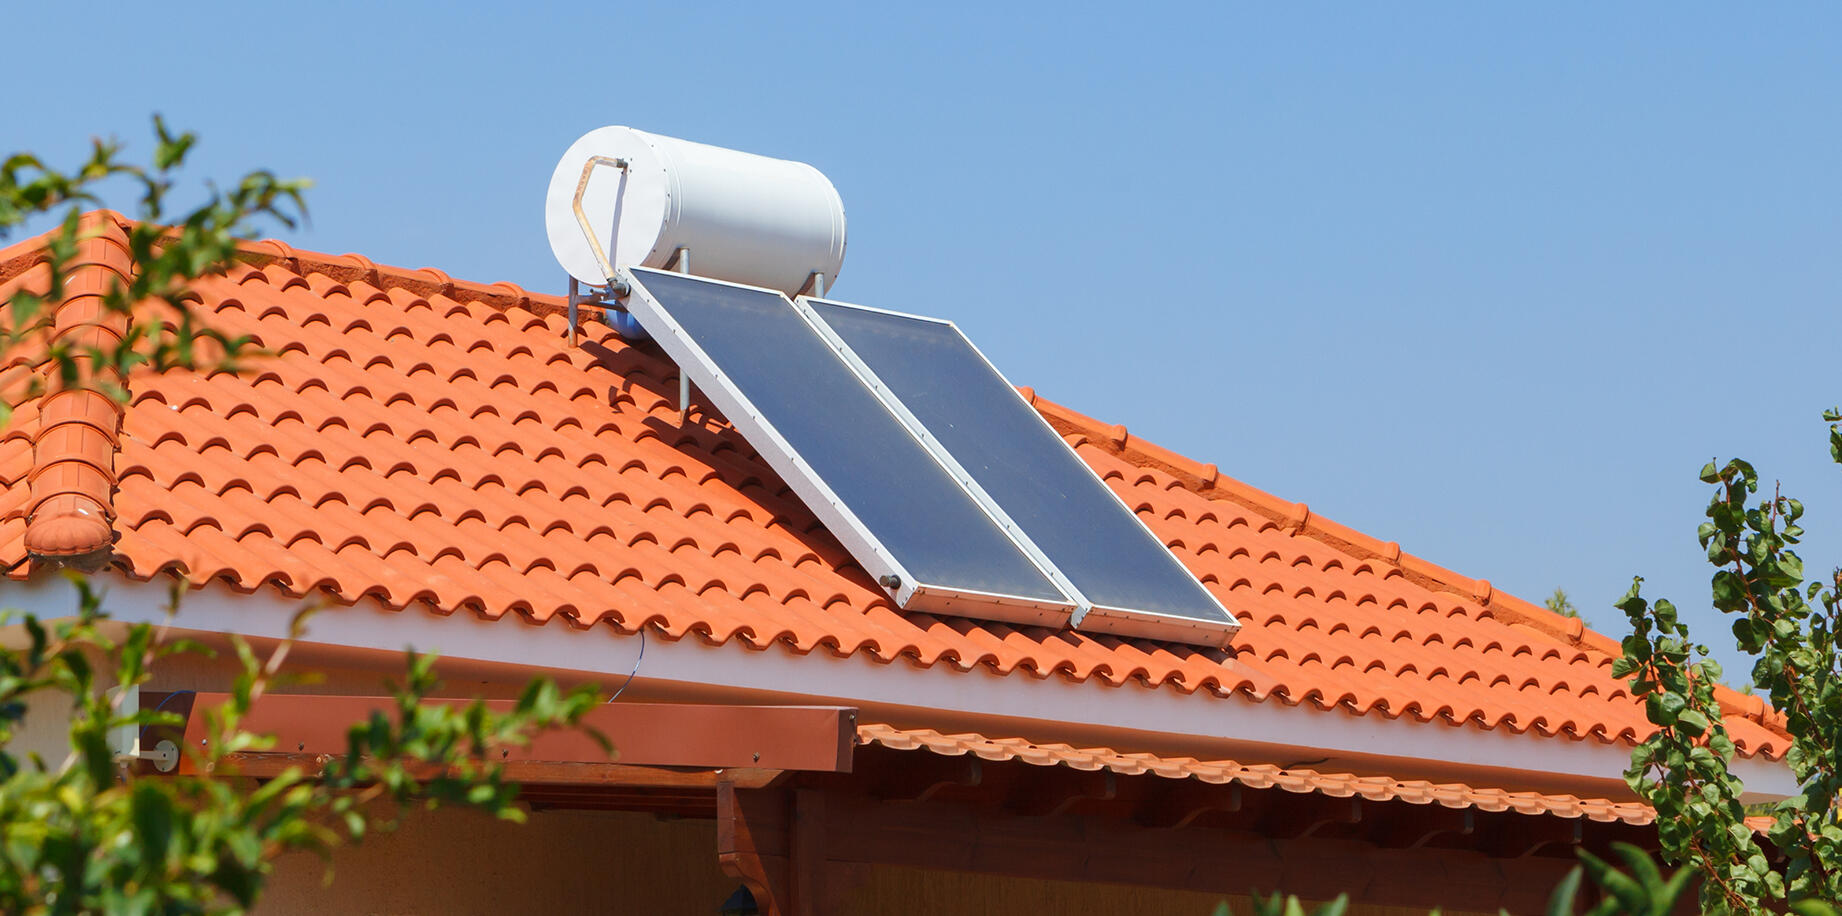
- Solar Panel: The solar panel is responsible for converting sunlight into electricity. Look for a high-quality solar panel with a suitable wattage to power the water pump efficiently.
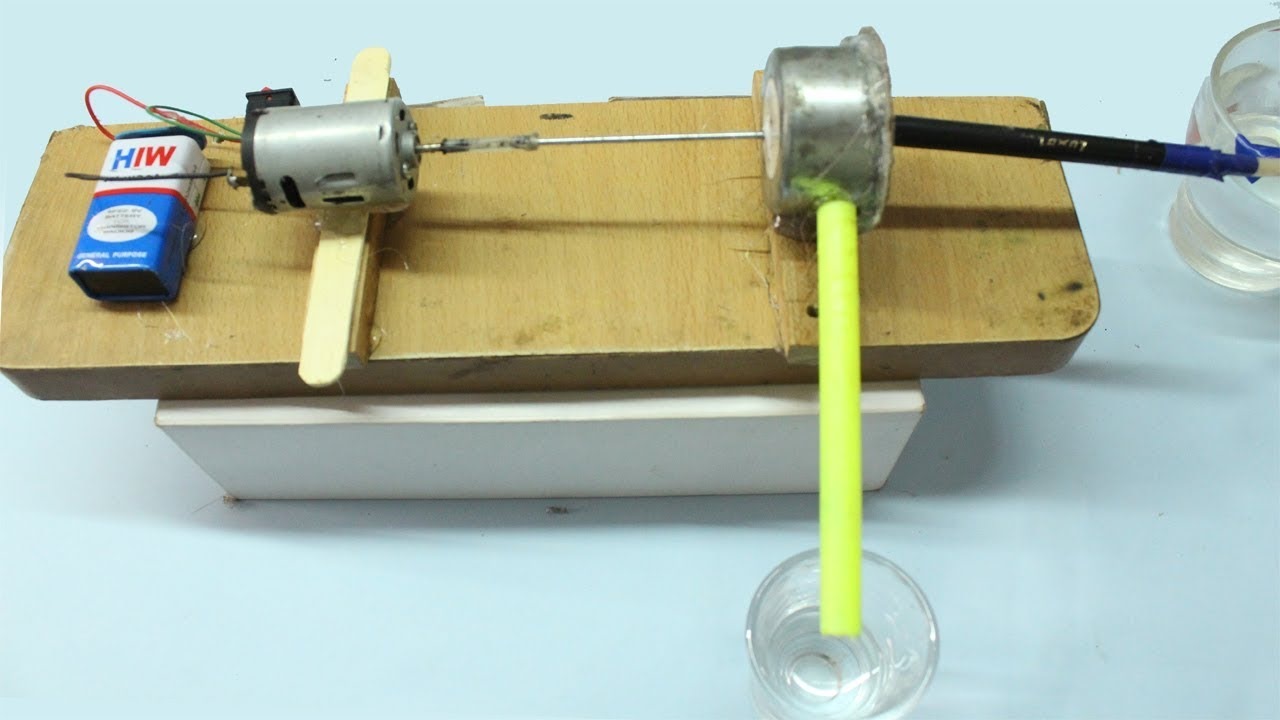
- Water Pump: Choose a water pump that is compatible with the power output of your solar panel. Consider factors such as flow rate, head height, and motor efficiency to ensure proper water pumping capabilities.
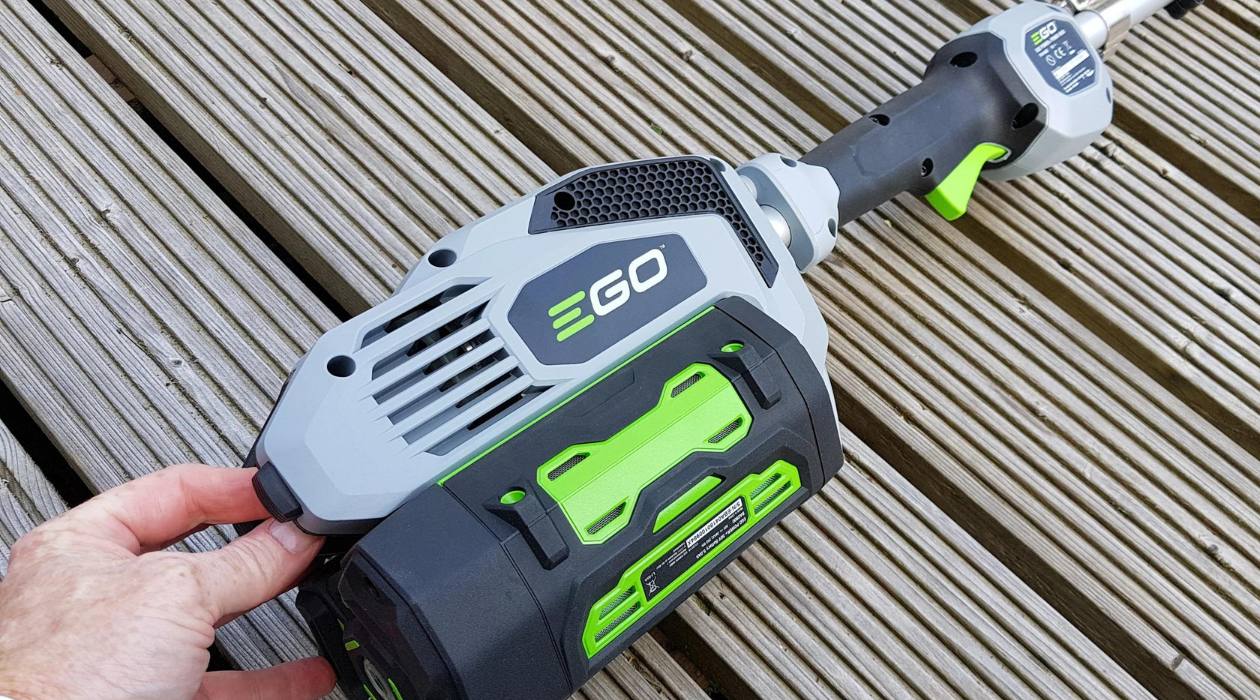
- Battery: A battery is optional but recommended as it helps store excess energy generated by the solar panel, allowing the water pump to operate during low sunlight conditions or at night.
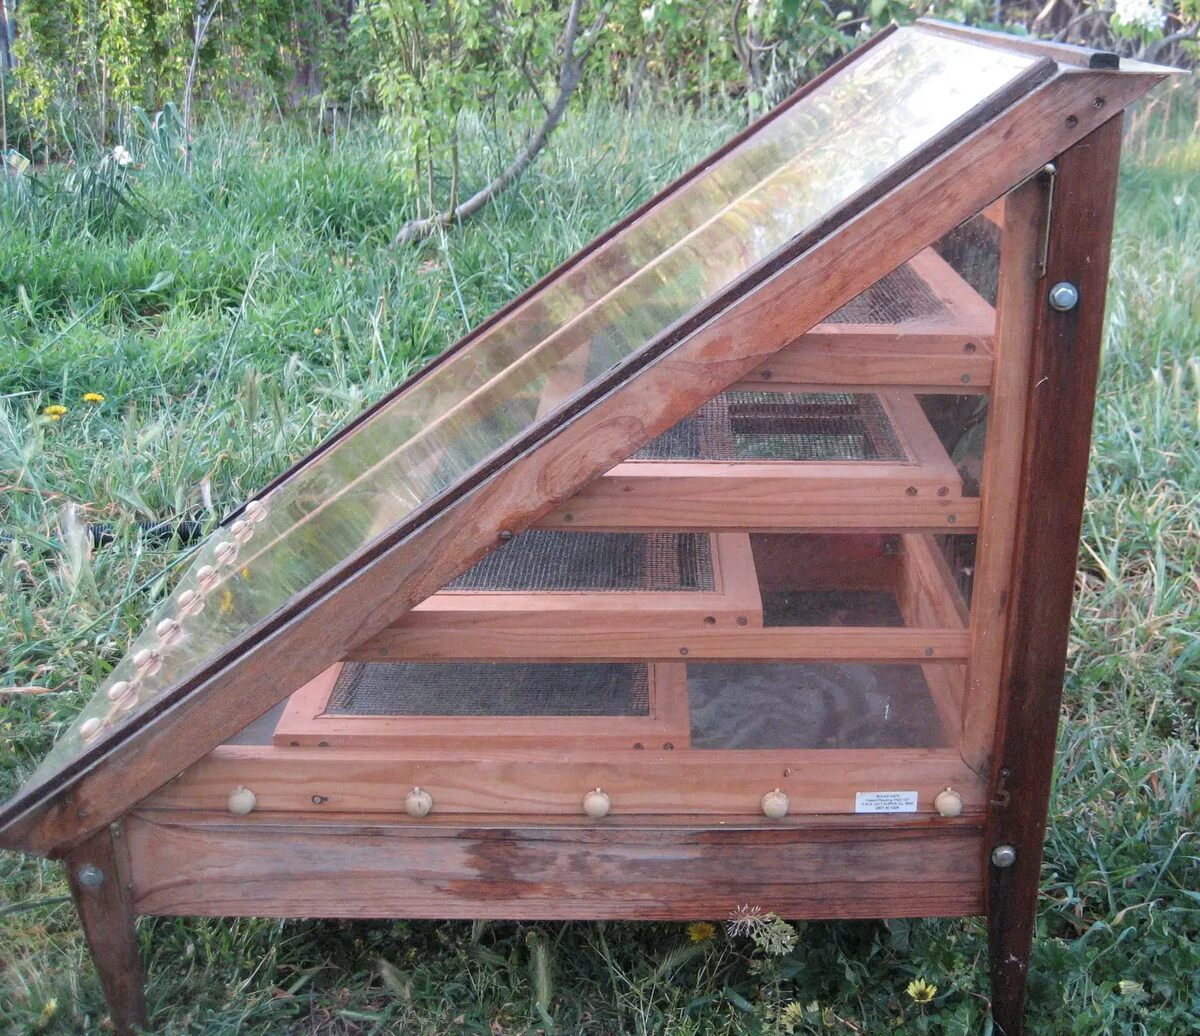
- Mounting Structure: You will need a sturdy mounting structure to support the solar panel and secure it in an optimal position to capture sunlight.
- Piping and Fittings: Depending on your specific setup, you may require piping and fittings to connect the water pump to the water source and delivery system.
- Controller: A solar charge controller helps regulate the energy flow from the solar panel to the battery, preventing overcharging and optimizing battery performance.
- Wiring and Connectors: To connect all the components together, you will need appropriate wiring and connectors.
- Tools: Don’t forget to gather the necessary tools such as wire cutters, pliers, screwdrivers, and a soldering iron for the installation process.
Now that you have a clear understanding of the components needed, let’s move on to the step-by-step process of building your solar-powered water pump.
Step 1: Selecting a Suitable Solar Panel
The solar panel is a crucial component of your solar-powered water pump system, as it is responsible for converting sunlight into electricity. When selecting a solar panel, there are a few key factors to consider:
- Power Output: Determine the power requirements of your water pump and choose a solar panel with an appropriate wattage to meet those needs. Keep in mind that the power output of a solar panel is directly related to its size, so consider the available space for installation.
- Efficiency: Look for a solar panel with a high efficiency rating. This indicates how effectively the panel converts sunlight into electricity. Higher efficiency panels will produce more power with the same amount of sunlight.
- Durability: Since the solar panel will be exposed to different weather conditions, choose a panel with a durable and weather-resistant design. Look for panels with tempered glass and corrosion-resistant frames to ensure long-lasting performance.
- Mounting Compatibility: Consider the mounting options available for the solar panel. Ensure that it can be easily mounted on the chosen structure and positioned to receive maximum sunlight exposure throughout the day.
- Budget: Lastly, consider your budget when selecting a solar panel. Compare prices and features from different manufacturers to find the best value for your investment.
Once you have chosen a suitable solar panel, the next step is to select an appropriate water pump. In the next section, we will discuss the factors to consider when choosing a water pump for your solar-powered system.
Step 2: Choosing a Water Pump
Now that you have selected a suitable solar panel, it’s time to choose a water pump that will meet your specific needs. Here are some important factors to consider when selecting a water pump for your solar-powered system:
- Flow Rate: The flow rate is a measure of how much water the pump can move per unit of time. Consider the amount of water you need to pump and choose a pump with an appropriate flow rate that can meet your requirements.
- Head Height: Head height refers to the vertical distance between the water source and the desired delivery point. It is important to choose a pump that can provide sufficient pressure to overcome the head height and deliver water effectively.
- Pump Type: There are different types of water pumps available, including centrifugal pumps, submersible pumps, and diaphragm pumps. Each type has its own advantages and suitability for specific applications. Research and choose a pump type that suits your needs.
- Power Consumption: Consider the power consumption of the water pump and ensure that it is compatible with the power output of your solar panel. An energy-efficient pump will help optimize the performance of your solar-powered system.
- Motor Efficiency: Look for a water pump with a high motor efficiency rating. A more efficient motor will require less energy from the solar panel, allowing your system to operate more effectively.
- Durability and Reliability: Since the water pump will be exposed to outdoor conditions, choose a pump that is rugged, durable, and reliable. Look for pumps with corrosion-resistant materials and a proven track record of longevity.
Take your time to research and compare different water pump models and brands to find the best option for your specific needs. Once you have chosen a water pump, you can proceed to the next step of designing the mounting structure for your solar panel and water pump system.
Step 3: Designing the Mounting Structure
Now that you have selected a suitable solar panel and water pump, it’s time to design a mounting structure that will securely hold these components in place. The mounting structure should be strong, stable, and positioned to maximize sunlight exposure. Here are some steps to guide you in designing the mounting structure:
- Assess the Installation Site: Choose a location for the solar panel and pump installation. Consider factors such as sunlight exposure, accessibility, and proximity to the water source.
- Research Mounting Options: Explore different mounting options such as ground mounts, roof mounts, or pole mounts. Select the option that is most suitable for your installation site and available space.
- Ensure Sturdy Construction: The mounting structure should be able to withstand wind, rain, and other weather conditions. Use durable materials such as galvanized steel or aluminum for the frame and supports.
- Optimize Angle and Orientation: Position the solar panel at an optimal angle and orientation to receive maximum sunlight throughout the day. The angle will depend on your latitude and the time of year.
- Secure the Water Pump: Ensure that the water pump is securely mounted to the structure and positioned at the desired height for proper water flow and accessibility.
- Consider Tilt and Rotation: If possible, design the mounting structure to allow for tilting and rotation of the solar panel. This can help optimize sunlight exposure and adjust for seasonal changes.
- Professional Consultation: If you are unsure about the design or structural integrity of the mounting system, consult with a professional or seek advice from experienced individuals.
Remember to follow all safety guidelines and local building codes when designing and constructing the mounting structure. Once the design is finalized, you can proceed to the next step of assembling the solar panel and water pump.
When choosing a solar panel for your water pump, make sure to calculate the total power consumption of the pump and select a solar panel that can generate enough power to meet those needs, taking into account factors such as sunlight intensity and duration.
Read also: 11 Best Solar Water Pump for 2025
Step 4: Assembling the Solar Panel and Water Pump
Now that you have designed the mounting structure for your solar panel and water pump, it’s time to assemble the components. Follow these steps to ensure a proper assembly:
- Position the Solar Panel: Install the solar panel onto the mounting structure, securely affixing it in the desired position. Ensure that the panel is facing the correct direction to maximize sunlight exposure.
- Connect the Water Pump: Position the water pump in its designated spot on the mounting structure. Depending on the type of pump you are using, follow the manufacturer’s instructions for proper installation.
- Secure the Pump: Use appropriate tools and fasteners to securely attach the water pump to the mounting structure. This will prevent any movement or vibration that could impact the pump’s performance.
- Ensure Proper Alignment: Check that the solar panel and water pump are properly aligned and level. This will ensure optimal functionality and prevent any water leaks or damage to the pump.
- Check Wiring Connections: Verify that all wiring connections between the solar panel, water pump, and controller are secure and properly connected. Use the correct connectors and follow the manufacturer’s guidelines for wiring.
- Perform a Test Run: Before the final installation, perform a test run of the system to ensure that the solar panel is generating power and the water pump is functioning correctly. Monitor the water flow and check for any leaks or issues.
It is important to carefully follow the instructions provided by the manufacturer for your specific solar panel and water pump model during the assembly process. Once the solar panel and water pump are securely assembled, you can proceed to the next step of connecting the solar panel to the water pump.
Step 5: Connecting the Solar Panel to the Water Pump
Now that you have assembled the solar panel and water pump, it’s time to connect them together to ensure proper functionality. Follow these steps to effectively connect the solar panel to the water pump:
- Identify the Wiring Requirements: Refer to the documentation and guidelines provided by the manufacturer to understand the specific wiring requirements for your solar panel and water pump system.
- Connect the Solar Panel to the Controller: Use appropriate wiring and connectors to connect the positive and negative terminals of the solar panel to the corresponding terminals on the solar charge controller. Ensure a secure and proper connection.
- Connect the Controller to the Battery (if applicable): If you are using a battery to store excess solar energy, connect the output terminals of the controller to the corresponding terminals on the battery. Follow the manufacturer’s instructions to ensure proper connection.
- Connect the Controller to the Water Pump: Use suitable wiring and connectors to connect the output terminals of the controller to the input terminals of the water pump. Ensure proper polarity and secure connections.
- Verify Proper Connectivity: Double-check all connections to ensure they are secure and properly connected. Inspect the wiring for any signs of damage or loose connections and rectify any issues before proceeding.
- Test the System: Once the connections are made, perform a test run of the system to verify that the solar panel is charging the battery (if applicable) and the water pump is receiving power and pumping water effectively.
It is essential to follow the manufacturer’s instructions and guidelines for your specific solar panel, controller, battery, and water pump models during the connection process. Proper wiring and connection will ensure the safe and efficient operation of your solar-powered water pump system.
Continue to the next step to learn about testing the pump and ensuring its proper functionality.
Step 6: Testing the Pump
After connecting the solar panel to the water pump, it is important to test the system to ensure proper functionality and performance. Follow these steps to effectively test your solar-powered water pump:
- Position the Solar Panel: Ensure that the solar panel is placed in an area with maximum sunlight exposure throughout the day. This will ensure optimal power generation and performance of the system.
- Check Solar Panel Output: Use a multimeter or a solar panel output meter to measure the voltage and current output of the solar panel. Verify that it is generating the expected power based on its specifications.
- Monitor Water Pump Operation: Observe the water pump’s operation as it is powered by the solar panel. Ensure that it is delivering water at the desired flow rate and head height, meeting your specific requirements.
- Check Battery (if applicable): If you are using a battery in your system, monitor its charge level during the testing phase. Ensure that it is charging adequately during sunlight hours and discharging properly when the pump is operating.
- Observe for Issues: Pay attention to any unusual noises, vibrations, leaks, or other issues during the testing phase. If you notice any problems, troubleshoot and resolve them before the final installation.
- Monitor Performance: Track the system’s performance over a few days, including varying weather conditions. Look for any inconsistencies or inefficiencies in power generation or water pump operation and make adjustments as necessary.
Testing your solar-powered water pump system will help you ensure its reliability and effectiveness. By monitoring its performance and addressing any issues, you can optimize its functionality and make necessary adjustments before the final installation.
Once you are satisfied with the testing results and have addressed any issues, you can move on to the final step of managing maintenance and troubleshooting.
Step 7: Managing Maintenance and Troubleshooting
Now that your solar-powered water pump system is installed and operational, it’s important to establish a regular maintenance routine and be prepared for any troubleshooting that may arise. Follow these guidelines to effectively manage maintenance and troubleshoot any issues:
- Regular Inspection: Conduct routine inspections of the solar panel, water pump, and all connections to check for any signs of damage, wear, or loose connections. Inspect for vegetation or debris that may affect the performance of the system.
- Cleaning the Solar Panel: Keep the solar panel clean by removing dust, dirt, and any other debris that may accumulate on its surface. Use a soft cloth and soapy water to gently clean the panel. Avoid using abrasive materials that can scratch the panel’s surface.
- Battery Maintenance (if applicable): If you are using a battery in your system, regularly monitor its charge level and perform any required maintenance, such as checking electrolyte levels (for flooded lead-acid batteries) or monitoring the state of charge (for sealed batteries).
- Responding to Performance Issues: If you notice a decrease in the water pump’s performance or a drop in the solar panel’s power output, troubleshoot the system. Check for any loose connections, clean the panel if necessary, and verify that the correct settings are in place.
- Professional Servicing: If you encounter complex issues or are unsure about proper maintenance procedures, consider consulting a professional for servicing and maintenance tasks.
- Record Keeping: Maintain a record of any maintenance tasks performed, troubleshooting steps taken, and any modifications made to the system. This record will serve as a valuable reference for future maintenance and can help identify patterns of recurring issues.
- Stay Informed: Keep yourself updated on the latest advancements and best practices in solar-powered water pump systems. This will help you optimize the performance of your system and make informed decisions regarding maintenance and troubleshooting.
By implementing a proactive maintenance routine and being prepared to troubleshoot any issues, you can ensure the longevity and efficient operation of your solar-powered water pump system.
With these steps, you have successfully built and installed your very own solar-powered water pump. Enjoy the benefits of a sustainable and environmentally-friendly solution for your water pumping needs!
Read more: How To Make Water Pump Quieter
Conclusion
Congratulations on completing the process of building and installing your own solar-powered water pump system! By harnessing the power of the sun, you now have a sustainable and environmentally-friendly solution for pumping water.
Throughout this article, we discussed the essential components needed for a solar-powered water pump system, including the solar panel, water pump, battery (optional), and mounting structure. We also provided step-by-step instructions on selecting suitable components, designing the mounting structure, assembling the system, connecting the solar panel to the water pump, testing the pump, and managing maintenance and troubleshooting.
By selecting a suitable solar panel and water pump, designing a sturdy mounting structure, and properly connecting all the components, you have created an efficient and reliable system. Regular maintenance, including cleaning the solar panel and monitoring the system’s performance, will ensure optimal operation and longevity.
Remember, as with any system, there may be occasional issues that require troubleshooting. By staying informed on best practices, keeping a record of maintenance tasks, and seeking professional help when needed, you can effectively address any challenges that arise.
Building a solar-powered water pump not only benefits you by providing a cost-effective and sustainable solution, but also contributes to the larger goal of reducing our dependence on non-renewable resources and protecting the environment.
Now that you have completed the process, take a moment to appreciate the impact you have made. Enjoy the benefits of your solar-powered water pump system, whether it’s providing water for your garden, livestock, or irrigation needs. Embrace the efficiency and eco-friendliness of this sustainable solution.
Thank you for your commitment to renewable energy and taking part in creating a greener future. May your solar-powered water pump serve you well for years to come!
Frequently Asked Questions about How To Make A Solar Powered Water Pump
Was this page helpful?
At Storables.com, we guarantee accurate and reliable information. Our content, validated by Expert Board Contributors, is crafted following stringent Editorial Policies. We're committed to providing you with well-researched, expert-backed insights for all your informational needs.


0 thoughts on “How To Make A Solar Powered Water Pump”