
Articles
How To Unfreeze Water Pump
Modified: August 27, 2024
Learn how to unfreeze your water pump with these helpful articles. Prevent damage and get your pump running smoothly again.
(Many of the links in this article redirect to a specific reviewed product. Your purchase of these products through affiliate links helps to generate commission for Storables.com, at no extra cost. Learn more)
Introduction
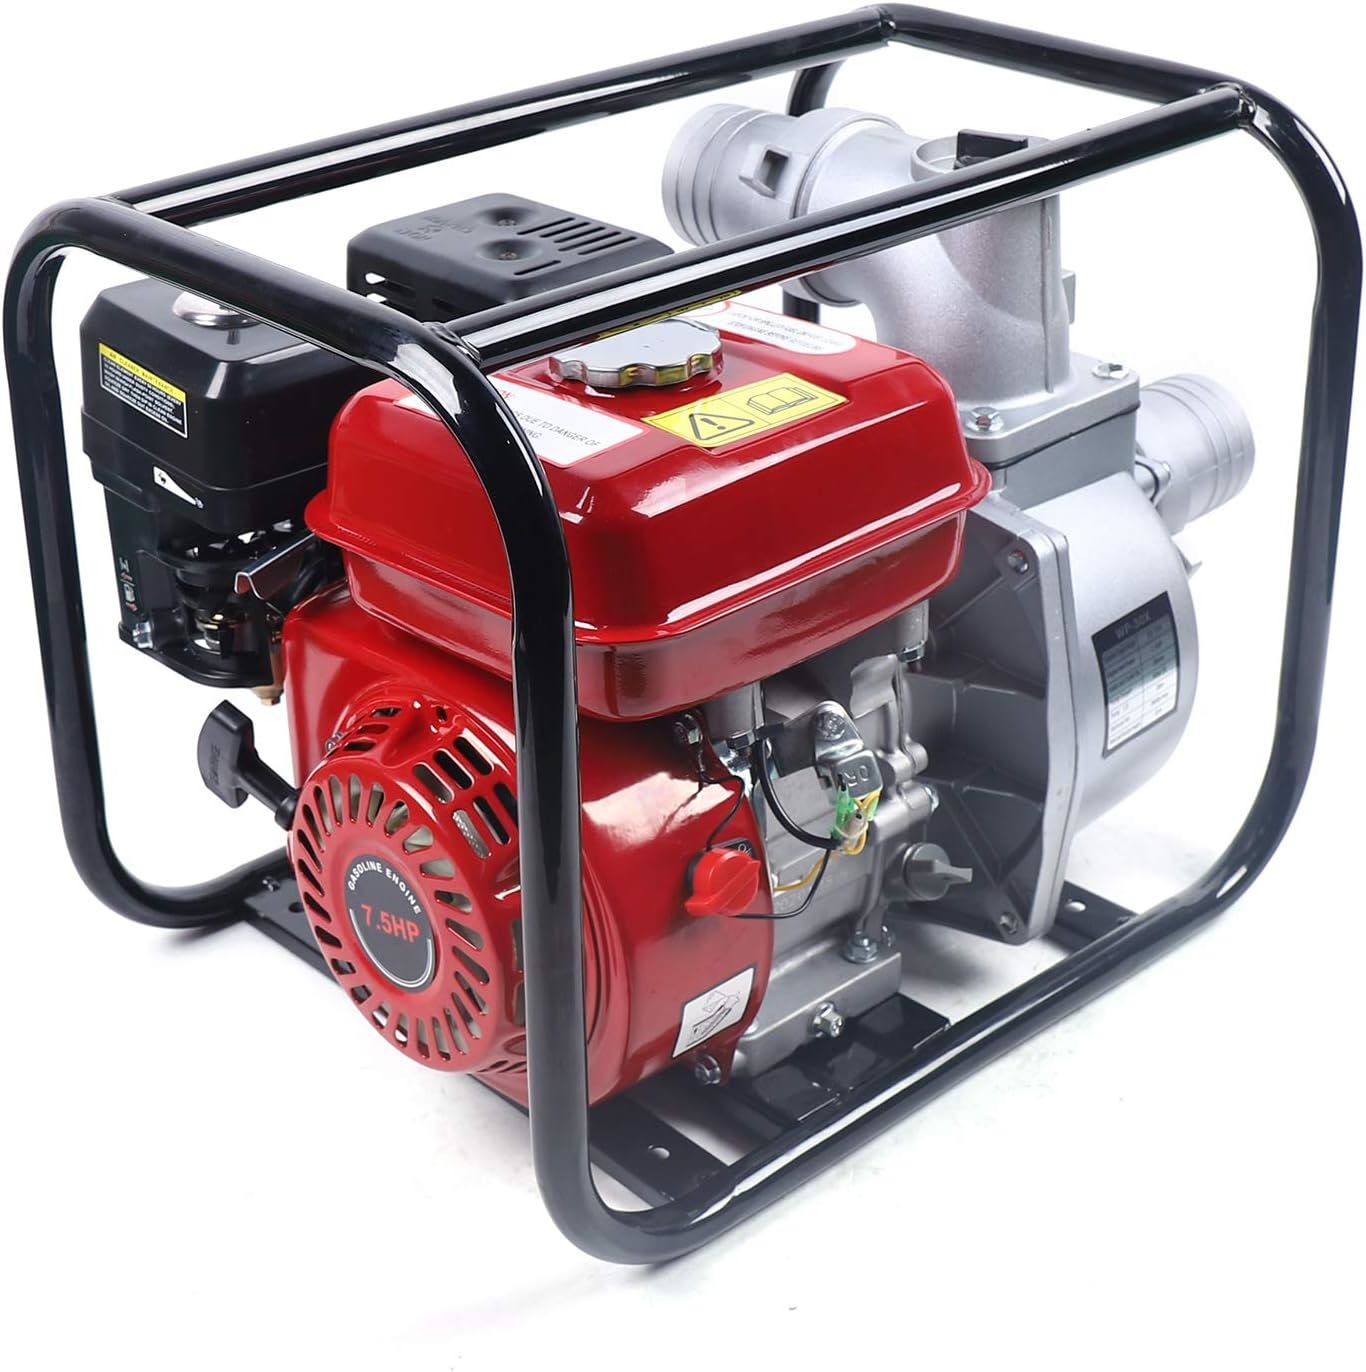
Water pumps are essential for maintaining a constant water supply in residential or commercial settings. However, during the colder months, these pumps can be prone to freezing, which can interrupt the flow of water and potentially damage the pump. If you find yourself facing a frozen water pump, it is essential to address the issue promptly to prevent any further complications.
In this article, we will guide you through the necessary steps to unfreeze a water pump and get it up and running again. We will also provide safety precautions to ensure that you handle the situation correctly. By following these steps, you can restore the functionality of your water pump and prevent any future freeze-ups.
Key Takeaways:
- Safety First!
When unfreezing a water pump, prioritize safety by disconnecting power, using protective gear, and working in a well-ventilated area. Following these precautions minimizes risks and ensures a safe unfreezing process. - Preventive Measures Matter
Implementing insulation, sealing gaps, and maintaining regular pump maintenance can prevent future freeze-ups. By staying proactive, you can protect your water pump and enjoy a reliable water supply year-round.
Read more: How To Unfreeze Outdoor Pipes
Understanding the Freeze-Up
Before we delve into the steps of unfreezing a water pump, it’s important to understand why freezing occurs and the potential risks involved.
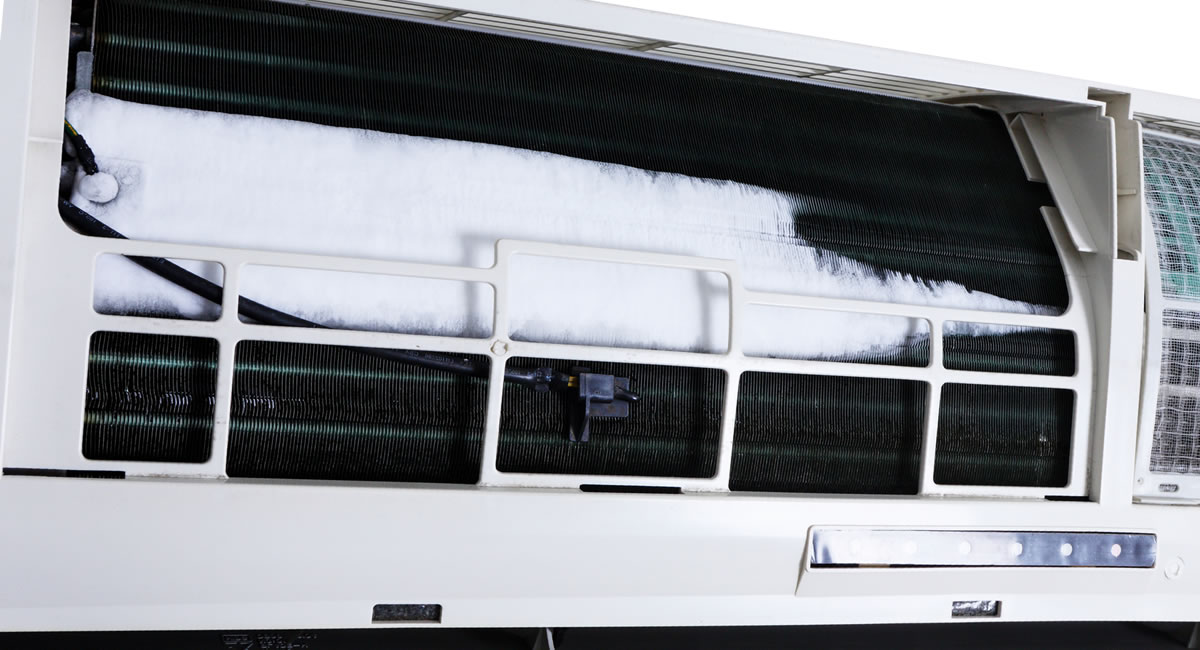
Water pumps are designed to operate in temperatures above freezing. When temperatures drop below that threshold, any water or moisture in the pump or connecting pipes can freeze. This frozen water forms an obstruction, preventing the pump from functioning correctly. If left unaddressed, the freeze-up can cause significant damage to the pump, leading to costly repairs or even replacement.
Safety Precautions
When dealing with a frozen water pump, it is crucial to prioritize your safety. Follow these safety precautions before attempting to unfreeze the pump:
- Ensure Power is Safely Disconnected: Before working on the water pump, make sure you shut off the power supply. This step is critical to avoid any electrical shocks or accidents.
- Use Protective Gear: Wear appropriate safety gear, such as gloves and goggles, to protect yourself from any potential hazards.
- Work in a Well-Ventilated Area: If you are using any heating devices, ensure that you are working in a well-ventilated area to avoid the buildup of harmful fumes.
- Follow Manufacturer’s Guidelines: Consult the manufacturer’s instructions or user manual for specific safety guidelines related to your water pump model.
By adhering to these safety precautions, you can minimize the risks associated with unfreezing a water pump and keep yourself protected throughout the process.
Key Takeaways:
- Safety First!
When unfreezing a water pump, prioritize safety by disconnecting power, using protective gear, and working in a well-ventilated area. Following these precautions minimizes risks and ensures a safe unfreezing process. - Preventive Measures Matter
Implementing insulation, sealing gaps, and maintaining regular pump maintenance can prevent future freeze-ups. By staying proactive, you can protect your water pump and enjoy a reliable water supply year-round.
Read more: How To Unfreeze Outdoor Pipes
Understanding the Freeze-Up
Before we delve into the steps of unfreezing a water pump, it’s important to understand why freezing occurs and the potential risks involved.
Water pumps are designed to operate in temperatures above freezing. When temperatures drop below that threshold, any water or moisture in the pump or connecting pipes can freeze. This frozen water forms an obstruction, preventing the pump from functioning correctly. If left unaddressed, the freeze-up can cause significant damage to the pump, leading to costly repairs or even replacement.
Freezing can occur for several reasons, including inadequate insulation, exposure to cold drafts, or a malfunctioning heating system. It is essential to identify the source of the freeze-up to prevent it from happening again in the future.
In addition to impeding water flow, a frozen pump can also cause pressure buildup within the system. This increased pressure puts strain on the pump and other components, potentially leading to leaks or bursts in the pipes. These issues can result in water damage to your property and lead to further repair expenses.
Another concern with a frozen water pump is the formation of ice plugs. These ice plugs can obstruct the flow of water and cause significant damage to the pump and pipes. They can also result in a loss of water supply to your property, impacting daily activities and essential functions.
It’s important to address a freeze-up as soon as possible to minimize the risks and avoid any long-term damage. By understanding the causes and potential consequences of a freeze-up, you can take the necessary steps to unfreeze your water pump effectively.
Safety Precautions
When dealing with a frozen water pump, it is crucial to prioritize your safety. Follow these safety precautions before attempting to unfreeze the pump:
- Ensure Power is Safely Disconnected: Before working on the water pump, make sure you shut off the power supply. This step is critical to avoid any electrical shocks or accidents.
- Use Protective Gear: Wear appropriate safety gear, such as gloves and goggles, to protect yourself from any potential hazards.
- Work in a Well-Ventilated Area: If you are using any heating devices, ensure that you are working in a well-ventilated area to avoid the buildup of harmful fumes.
- Follow Manufacturer’s Guidelines: Consult the manufacturer’s instructions or user manual for specific safety guidelines related to your water pump model.
By adhering to these safety precautions, you can minimize the risks associated with unfreezing a water pump and keep yourself protected throughout the process.
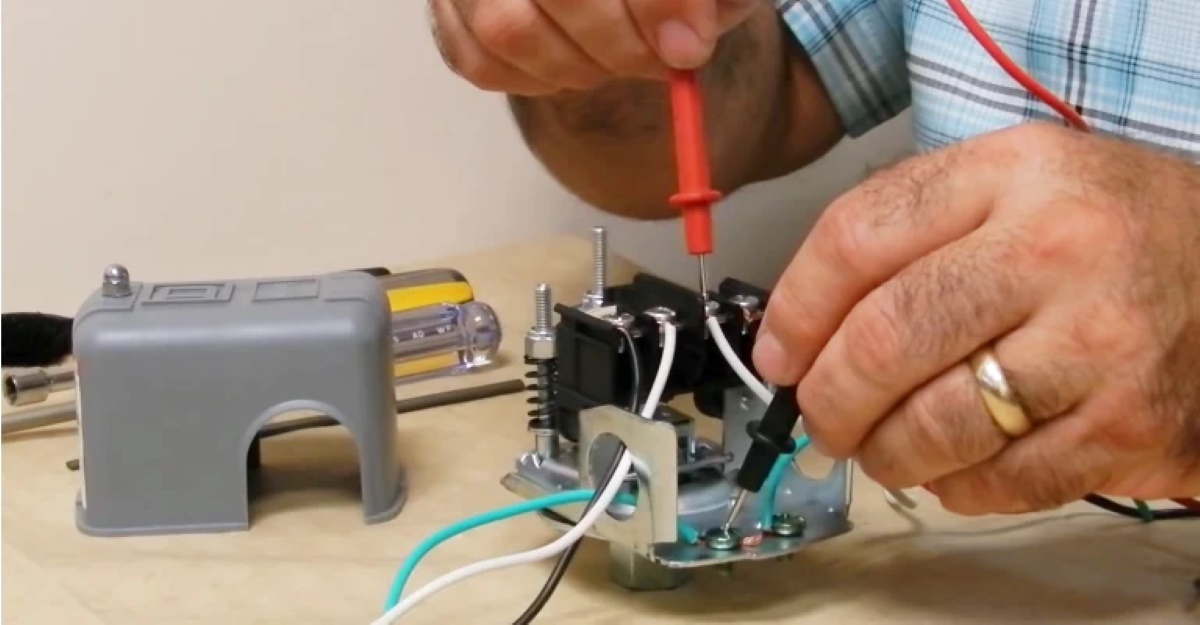
It is essential to disconnect the power supply to the water pump before attempting any unfreezing methods. This step prevents any accidental electrical contact while working on the pump. Locate the circuit breaker or switch that controls the power supply to the pump, and turn it off. It is advisable to tag or label the breaker or switch to avoid any confusion in the future.
Using protective gear is essential when dealing with frozen water pumps. Wear heavy-duty gloves to protect your hands from the cold and any sharp edges on the pump or surrounding components. Goggles or safety glasses will shield your eyes from any potential debris or splashes that may occur during the unfreezing process.
When applying heat to the frozen pump, it is crucial to work in a well-ventilated area to prevent the buildup of harmful fumes. If you are using any heating devices like a heat gun or hairdryer, ensure that there is proper air circulation. Open windows or doors or use fans to maintain adequate ventilation.
Lastly, consult the manufacturer’s guidelines or user manual for your specific water pump model. Different pumps may have unique instructions or safety precautions to follow. It is best to familiarize yourself with these guidelines before proceeding with the unfreezing process.
By following these safety precautions, you can safeguard yourself and ensure a safe and successful unfreezing process for your water pump.
Read more: How To Unfreeze Bathtub Drain
Step 1: Shutting Off Power
Before you begin the process of unfreezing your water pump, it is important to shut off the power supply to ensure your safety. Dealing with electricity and water can be hazardous, so taking this precautionary step is crucial.
To shut off the power to your water pump, locate the circuit breaker or switch that controls the pump’s electrical connection. This is typically found in the main electrical panel of your home or building. It may be labeled as “Water Pump,” “Pump,” or something similar.
Once you have located the correct circuit breaker or switch, flip it to the “Off” position. This will cut off the power supply to the pump, preventing any accidental electrical shocks or damage during the unfreezing process. As an additional safety measure, consider placing a lock or tag on the breaker or switch to prevent it from being turned back on inadvertently.
It is important to note that different water pump systems may have varying electrical configurations. Some may be directly wired to the circuit breaker, while others may have a specific shut-off switch near the pump. Consult the manufacturer’s instructions or user manual for your specific pump model to identify the correct method for shutting off the power.
By ensuring that the power supply is safely disconnected, you can proceed with the unfreezing process without any electrical hazards. Remember to exercise caution and always prioritize your safety when working with electrical equipment.
If your water pump is frozen, try using a hairdryer or heat lamp to gently warm the pump and thaw the ice. Avoid using boiling water, as this can damage the pump.
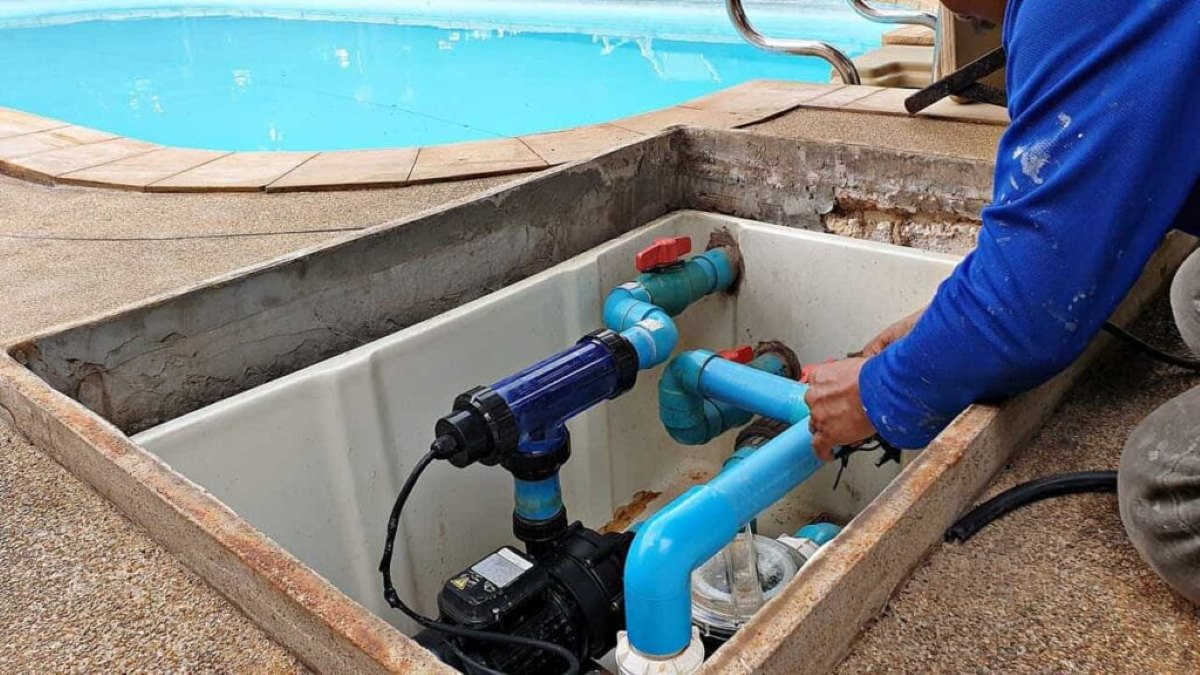
Step 2: Locating the Frozen Pump
After shutting off the power to your water pump, the next step is to locate the exact area where the pump has frozen. Identifying the frozen sections will allow you to focus your efforts on those specific areas during the unfreezing process.
Begin by visually inspecting the pump and the surrounding pipes for any signs of frost or ice buildup. Look for areas where the ice is visibly present or where there is a noticeable drop in water pressure. Common locations for frozen pumps include the inlet or outlet pipes, valves, or any exposed portions of the pump housing.
If the pump is located outdoors or in an unheated area, it is more susceptible to freezing. In such cases, the frozen sections may be readily apparent. However, if the pump is in an enclosed space or hidden behind insulation, you may need to use other methods to locate the frozen areas.
One method is to feel the pipes or pump housing with your hands. Frozen sections will feel cold to the touch and may have a layer of ice or frost on them. Pay attention to any areas that are noticeably colder than the rest. Another method is to use a non-contact infrared thermometer to identify temperature variations along the pipes and pump housing. This tool can help pinpoint the areas that are frozen.
If you are still having trouble locating the frozen pump, consider seeking advice from a professional or consulting the pump’s manufacturer for guidance. They may have specific recommendations or be able to provide additional assistance.
Once you have identified the frozen sections, you can proceed to the next step of applying heat to thaw the pump and restore its functionality.
Step 3: Applying Heat
Now that you have located the frozen areas of your water pump, it’s time to apply heat to thaw the ice and restore the flow of water. There are several methods you can use to effectively apply heat:
- Hot Water Soak: This method involves pouring hot water over the frozen areas. Use a bucket or container and fill it with hot water. Gently pour the hot water over the frozen sections of the pump and pipes. The heat from the water will gradually melt the ice and thaw the pump.
- Heat Gun or Hairdryer: If you have access to a heat gun or a hairdryer, you can use it to apply heat directly to the frozen areas. Set the heat gun or hairdryer to a moderate heat level and aim it at the frozen sections. Move the heat source evenly and slowly along the pipes and pump housing, ensuring not to concentrate the heat on one spot for too long.
- Heat Tape or Heating Cables: Heat tape or heating cables are designed specifically to prevent freezing in pipes and pumps. If you have heat tape or heating cables, wrap them around the frozen areas following the manufacturer’s instructions. These devices produce controlled heat to thaw the ice and maintain a consistent temperature.
Regardless of the method you choose, it’s important to be patient and allow the heat to gradually thaw the pump. Avoid using any open flames, as this can be dangerous and may damage the pump or surrounding materials.
While applying heat, periodically check the frozen areas to monitor the progress. Watch for signs of melting ice or an increase in water flow. Take caution not to touch any hot surfaces or expose yourself to steam or hot water during this process.
Remember to follow the safety precautions mentioned earlier, including working in a well-ventilated area and using protective gear like gloves and goggles.
Continue applying heat until you notice a significant improvement in the thawing process and the pump is nearing a completely unfrozen state.
In the next step, we will discuss how to check for thawing and verify the effectiveness of the heat application.
Step 4: Checking for Thawing
Once you have applied heat to the frozen areas of your water pump, it’s time to check for signs of thawing. This step will help you determine if the heat application has been effective in melting the ice and restoring the pump’s functionality.
Before checking for thawing, ensure that you have turned off the heat source and allowed sufficient time for the heat to penetrate the frozen sections. This will prevent any unwanted accidents or burns while examining the pump.
Start by inspecting the previously frozen areas for any visible signs of melting ice or frost. Look for water droplets forming or water trickling out of the pump or pipes. These are indications that the ice has begun to thaw, and water flow is being restored.
Next, turn on the power supply to the water pump and observe its operation. Does the pump make any humming or operating sounds? Can you hear the water flowing through the system? Listen for these audible cues as they confirm that the pump is functioning correctly once again.
If the pump remains silent and there is no water flow, it is possible that some ice is still obstructing the pump’s internal components. In such cases, you may need to repeat the heat application process or seek professional assistance to remove any remaining ice buildup.
It’s important to exercise caution when checking for thawing. The frozen areas may be hot or surrounded by hot water, so be mindful of the surface temperatures to avoid burns or injury. Use protective gear such as gloves and goggles to further ensure your safety during this step.
If you have successfully observed signs of thawing, you can proceed to the next step, which involves restarting the water pump.
However, if there are still indications of ice or lack of water flow, it may be necessary to repeat the heat application process or seek professional help. A plumber or water pump technician will have the expertise and specialized tools to address more complex situations.
By checking for thawing, you can assess the progress of the unfreezing process and take appropriate measures to fully restore your water pump’s functionality.
Read more: How To Lubricate A Water Pump
Step 5: Restarting the Pump
After confirming that the frozen areas have thawed and the water flow is restored, the next step is to safely restart your water pump. Restarting the pump will ensure that it is functioning properly and providing a consistent water supply.
Before restarting the pump, double-check that the power supply to the pump is still turned off. This precautionary measure will prevent any mishaps while performing the restart process.
Follow these steps to restart your water pump:
- Close any open valves or faucets: If you had opened any valves or faucets during the unfreezing process, make sure to close them before restarting the pump. This will prevent any airlocks or loss of water pressure.
- Turn on the power supply: Restore the power supply to the water pump by flipping the circuit breaker or switch to the “On” position.
- Monitor the pump’s operation: Listen for the familiar sound of the pump and observe its performance. Ensure that it is running smoothly without any unusual noises or vibrations.
- Check for water flow: Open a faucet or valve connected to the pump and verify that water is flowing consistently. This confirms that the pump is working correctly and delivering water as expected.
If you notice any abnormalities during the pump’s operation, such as strange noises, leaks, or low water pressure, it may indicate an underlying issue. In such cases, it is advisable to contact a professional plumber or water pump technician for further inspection and assistance.
It’s important to remember that restarting the pump does not mean the task is complete. Regularly monitor the pump’s performance in the hours and days following the restart to ensure that it continues to function properly and that the freeze-up issue has been fully resolved.
If the pump is still not operating correctly or if the freezing issue persists, it may be necessary to seek professional guidance to address any underlying problems or discuss additional preventive measures.
By following these steps, you can safely restart your water pump and enjoy a restored water supply.
Step 6: Preventing Future Freeze-Ups
Now that you have successfully unfrozen and restarted your water pump, it’s essential to take preventive measures to avoid future freeze-ups. By implementing these steps, you can protect your pump from freezing and ensure a continuous water supply throughout the colder months.
Here are some strategies to prevent future freeze-ups:
- Insulate your pump and pipes: Proper insulation is vital in protecting your water pump from freezing. Insulate any exposed sections of the pump and pipes with insulation sleeves or foam wraps. This will help retain heat and prevent cold air from reaching the pump.
- Seal gaps and cracks: Identify any gaps or cracks in the walls, floors, or ceilings near your pump or pipes. Seal them with caulk or weatherstripping to prevent cold drafts from reaching the pump.
- Keep the pump room heated: Ensure that the room or area where the pump is located is adequately heated. Install a heating source, such as a space heater or heat lamp, to maintain a consistent temperature above freezing.
- Drain water from outdoor pumps: If your water pump is located outdoors, it is crucial to drain any water from the system before the temperature drops below freezing. This will prevent the remaining water from freezing and damaging the pump or pipes.
- Use heat tapes or heating cables: Consider installing heat tapes or heating cables along the pipes and pump. These devices provide controlled heat to prevent freezing during colder temperatures.
- Monitor weather conditions: Stay informed about upcoming weather conditions, especially freezing temperatures or severe winter storms. Take precautionary measures, such as adding extra insulation or increasing heating in the pump area, during these times.
- Maintain regular pump maintenance: Schedule regular maintenance for your water pump to ensure it operates efficiently and identify any potential issues before they lead to freeze-ups. This may include checking for leaks, inspecting the pump’s components, and cleaning or replacing filters as needed.
By implementing these preventive measures, you can significantly reduce the risk of future freeze-ups and prolong the lifespan of your water pump. Regular monitoring and maintenance will help ensure that the pump remains in optimal condition throughout the year.
Remember to consult a professional plumber or water pump technician for specific recommendations and guidance based on your pump’s model and your unique circumstances.
By taking these proactive steps, you can enjoy a reliable water supply and avoid the inconvenience, potential damage, and costly repairs associated with frozen water pumps.
Conclusion
Dealing with a frozen water pump can be a frustrating and inconvenient experience, but by following the steps outlined in this article, you can effectively unfreeze your pump and restore its functionality. Remember, safety should always be a top priority when working with water pumps and electricity.
Understanding the causes and risks of freeze-ups is essential in preventing future incidents. By implementing preventive measures such as insulation, sealing gaps, and maintaining a heated pump room, you can protect your pump from freezing and ensure a continuous water supply.
In the event of a freeze-up, it’s crucial to shut off the power and locate the frozen areas before applying heat to thaw the pump. Regularly monitor the progress of the thawing process and check for signs of water flow to ensure the pump is functioning correctly.
Restarting the pump following a successful thaw is an important step, but remember to keep an eye on its performance in the days following to ensure that the issue has been fully resolved. If any abnormalities persist, don’t hesitate to seek professional assistance.
By taking these steps and maintaining regular pump maintenance, you can minimize the risk of freeze-ups, extend the longevity of your water pump, and enjoy a reliable water supply, even in the coldest months.
Remember, if you ever encounter difficulties or feel unsure about handling the situation yourself, it is always a good idea to consult a professional plumber or water pump technician who can provide expert guidance and assistance.
With the knowledge and information provided in this article, you are equipped with the necessary tools to unfreeze your water pump and take preventive measures to avoid future freeze-ups. Stay proactive, and your water pump will continue to provide you with a dependable water supply, no matter the weather conditions.
Frequently Asked Questions about How To Unfreeze Water Pump
Was this page helpful?
At Storables.com, we guarantee accurate and reliable information. Our content, validated by Expert Board Contributors, is crafted following stringent Editorial Policies. We're committed to providing you with well-researched, expert-backed insights for all your informational needs.


0 thoughts on “How To Unfreeze Water Pump”