Home>Articles>How Long To Cook Chicken Breast In Air Fryer At 400
Articles
How Long To Cook Chicken Breast In Air Fryer At 400
Modified: February 24, 2024
Discover how long it takes to cook tender chicken breasts in a 400-degree air fryer. Follow our articles for foolproof recipes and cooking tips.
(Many of the links in this article redirect to a specific reviewed product. Your purchase of these products through affiliate links helps to generate commission for Storables.com, at no extra cost. Learn more)
Introduction
Are you craving a juicy and flavorful chicken breast, but don’t want to spend hours in the kitchen? Look no further than your trusty air fryer. With its ability to cook food quickly and evenly, the air fryer has become a go-to appliance for many home cooks. In this article, we’ll explore how long it takes to cook chicken breast in an air fryer at 400 degrees Fahrenheit. So, grab your apron and let’s get cooking!
Key Takeaways:
- Enjoy quick and flavorful chicken breasts by cooking them in an air fryer at 400°F. Follow simple steps for perfectly cooked, juicy results every time. Experiment with seasonings for a personalized touch.
- Elevate your air fryer chicken breast game with marinating, proper seasoning, and cooking tips. Achieve tender, delicious results with minimal effort and impress your taste buds.
Preparing The Chicken Breast
Before we dive into the cooking process, it’s important to properly prepare the chicken breast for optimal results. Start by selecting fresh, boneless, skinless chicken breasts from your local grocery store or butcher. Make sure to remove any excess fat or connective tissue from the chicken breasts before cooking.
Next, you’ll want to rinse the chicken breasts under cold water and pat them dry with a paper towel. This helps to remove any potential bacteria and allows for better seasoning and browning during cooking. Once dry, place the chicken breasts on a clean cutting board.
At this point, you have a couple of options for further preparing the chicken breast. You can either leave them whole or, if you prefer, you can pound them to an even thickness. Pounding the chicken breasts helps to ensure even cooking and results in a more tender end product. To do this, place the chicken breast between two pieces of plastic wrap and gently pound with a meat mallet or the bottom of a heavy skillet until the chicken reaches a uniform thickness.
Now that your chicken breasts are prepped and ready to go, it’s time to move on to seasoning. This is where you can get creative and add your favorite flavors to enhance the taste of your chicken breast. Let’s explore some delicious seasoning options in the next section.
Seasoning Options
When it comes to seasoning your chicken breast, the possibilities are endless. You can stick to classic flavors or experiment with bold and unique combinations. Here are a few seasoning options to consider:
- Salt and Pepper: Keep it simple with a sprinkle of salt and pepper. This classic combination enhances the natural flavors of the chicken.
- Garlic and Herb: Create a savory and aromatic chicken breast by seasoning it with minced garlic, dried herbs like rosemary, thyme, and parsley.
- Cajun Spice: Give your chicken breast a hint of heat and depth of flavor with a Cajun spice blend. This seasoning typically includes paprika, cayenne pepper, garlic powder, onion powder, and other spices.
- Lemon Herb: Brighten up your chicken breast by squeezing fresh lemon juice over it and then seasoning with a combination of dried herbs like oregano, basil, and parsley.
- Taco Seasoning: Add a Tex-Mex twist to your chicken breast with a sprinkle of taco seasoning. This flavorful blend typically includes chili powder, cumin, garlic powder, onion powder, and other spices.
Remember to generously season both sides of the chicken breast to ensure a well-balanced flavor. Once you’ve chosen your seasoning, it’s time to move on to the cooking instructions.
Cooking Instructions
Now that your chicken breasts are prepared and seasoned, it’s time to fire up your air fryer and start cooking. Follow these simple steps to achieve perfectly cooked chicken breasts:
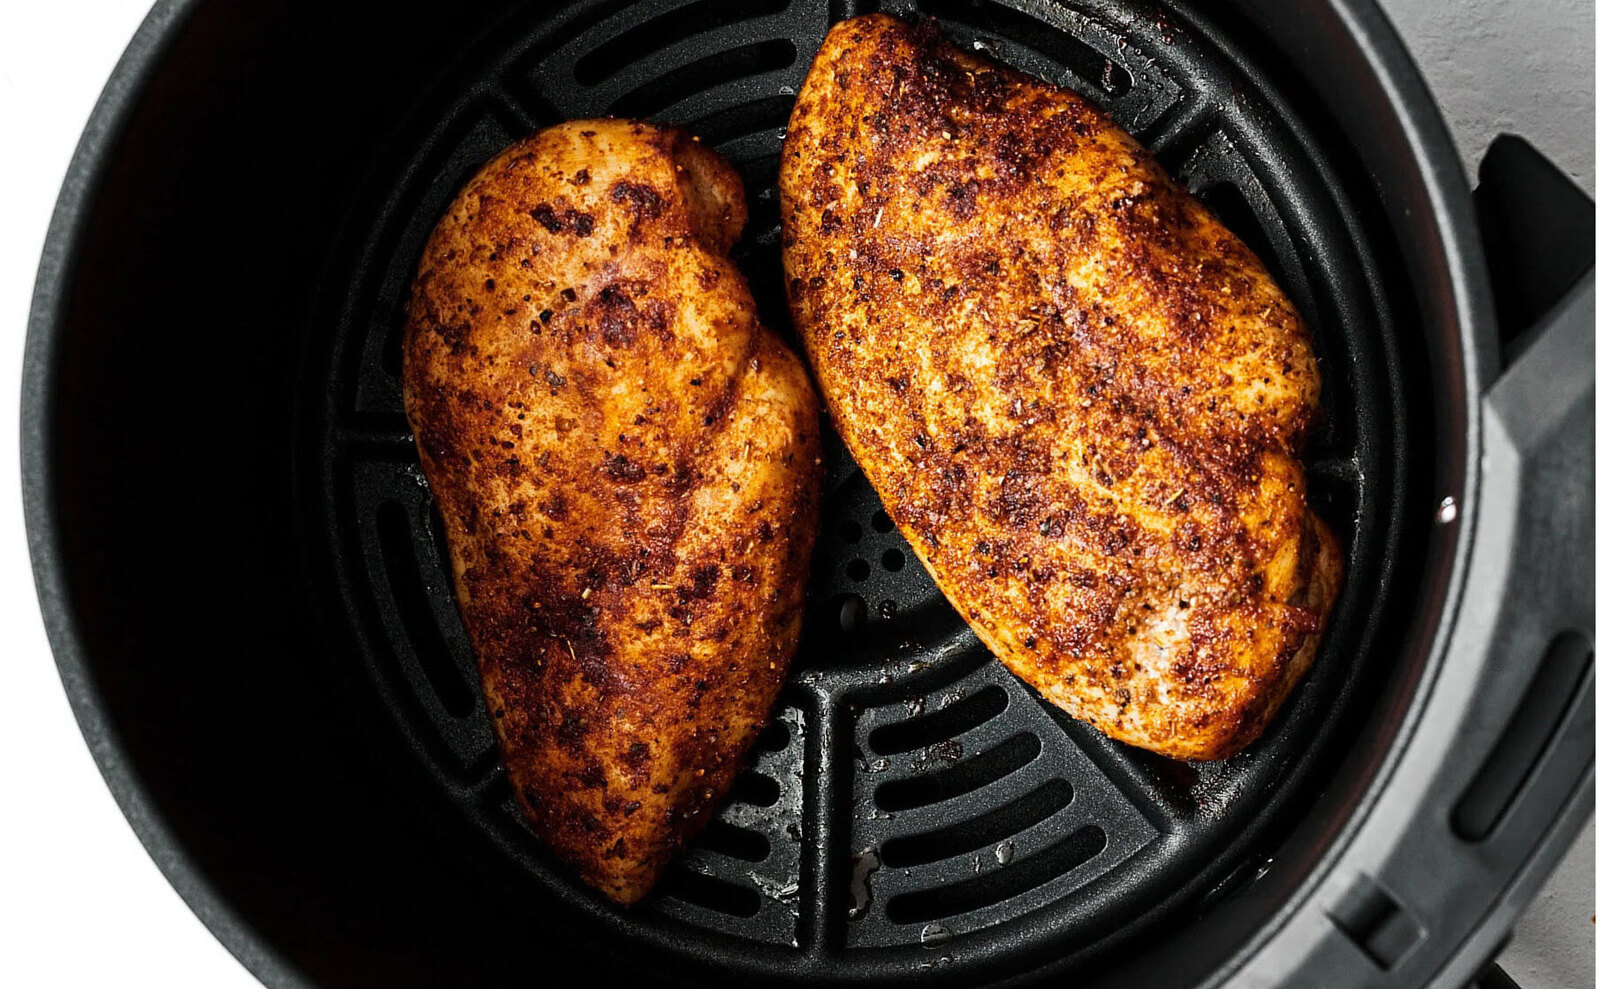
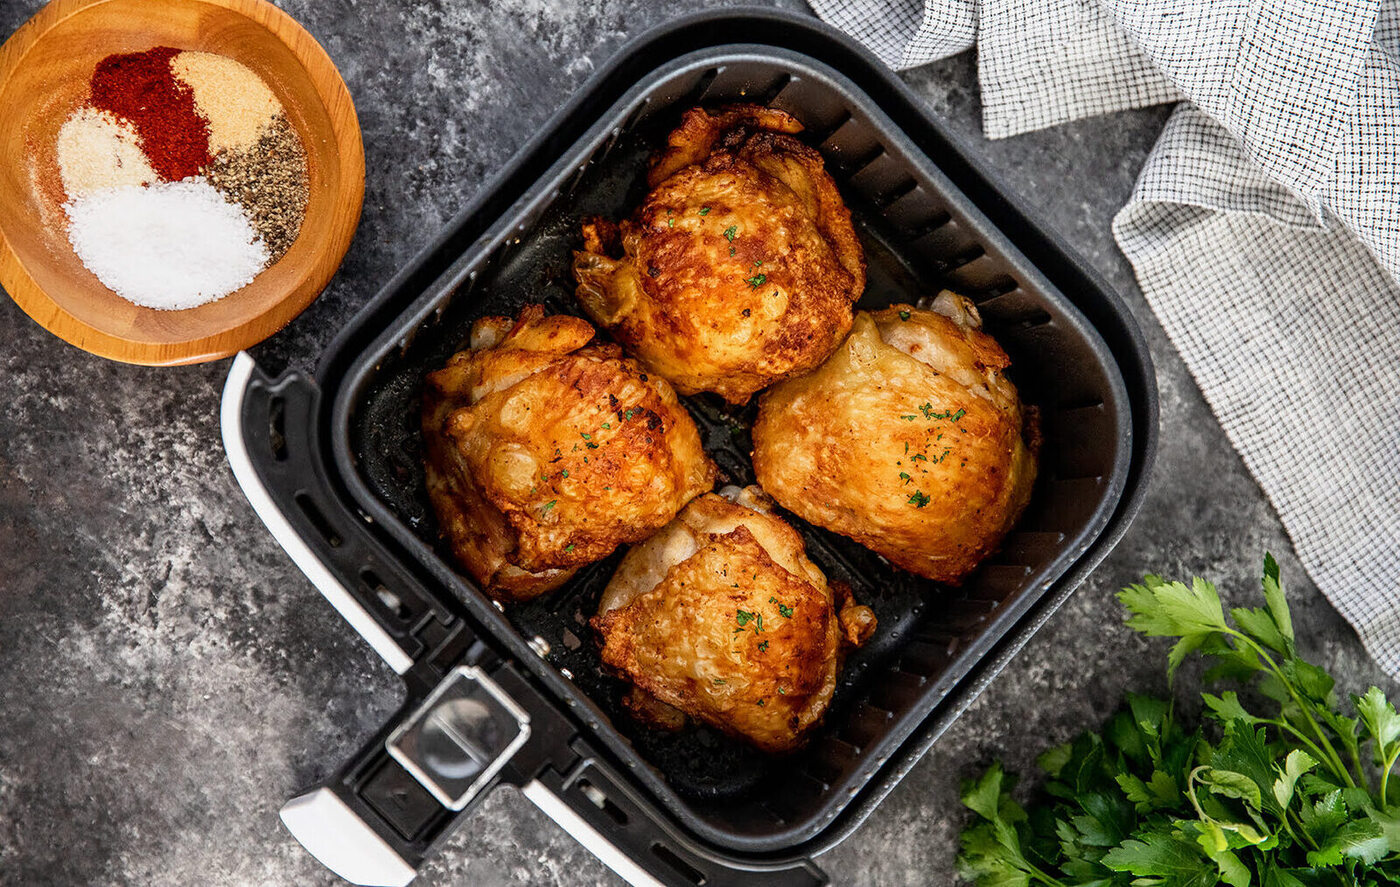
- Preheat the air fryer: Preheat your air fryer to 400 degrees Fahrenheit. This ensures that the chicken breasts cook evenly and develop a golden brown exterior.
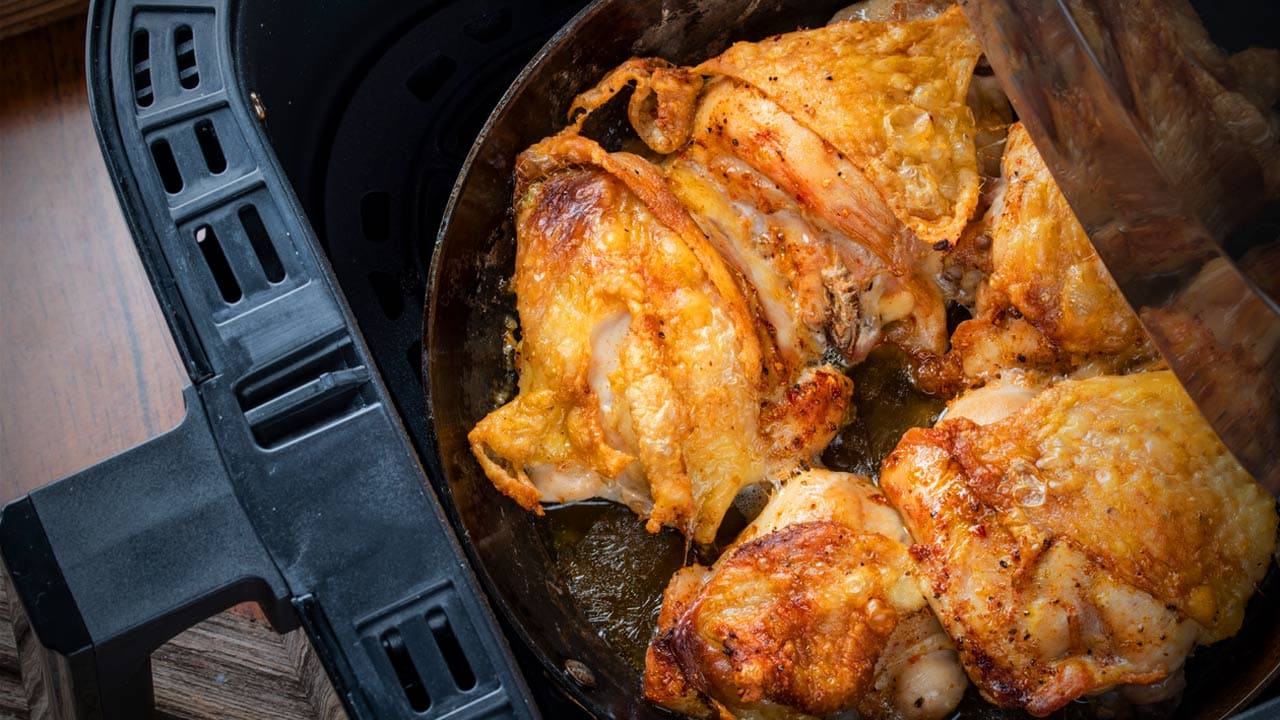
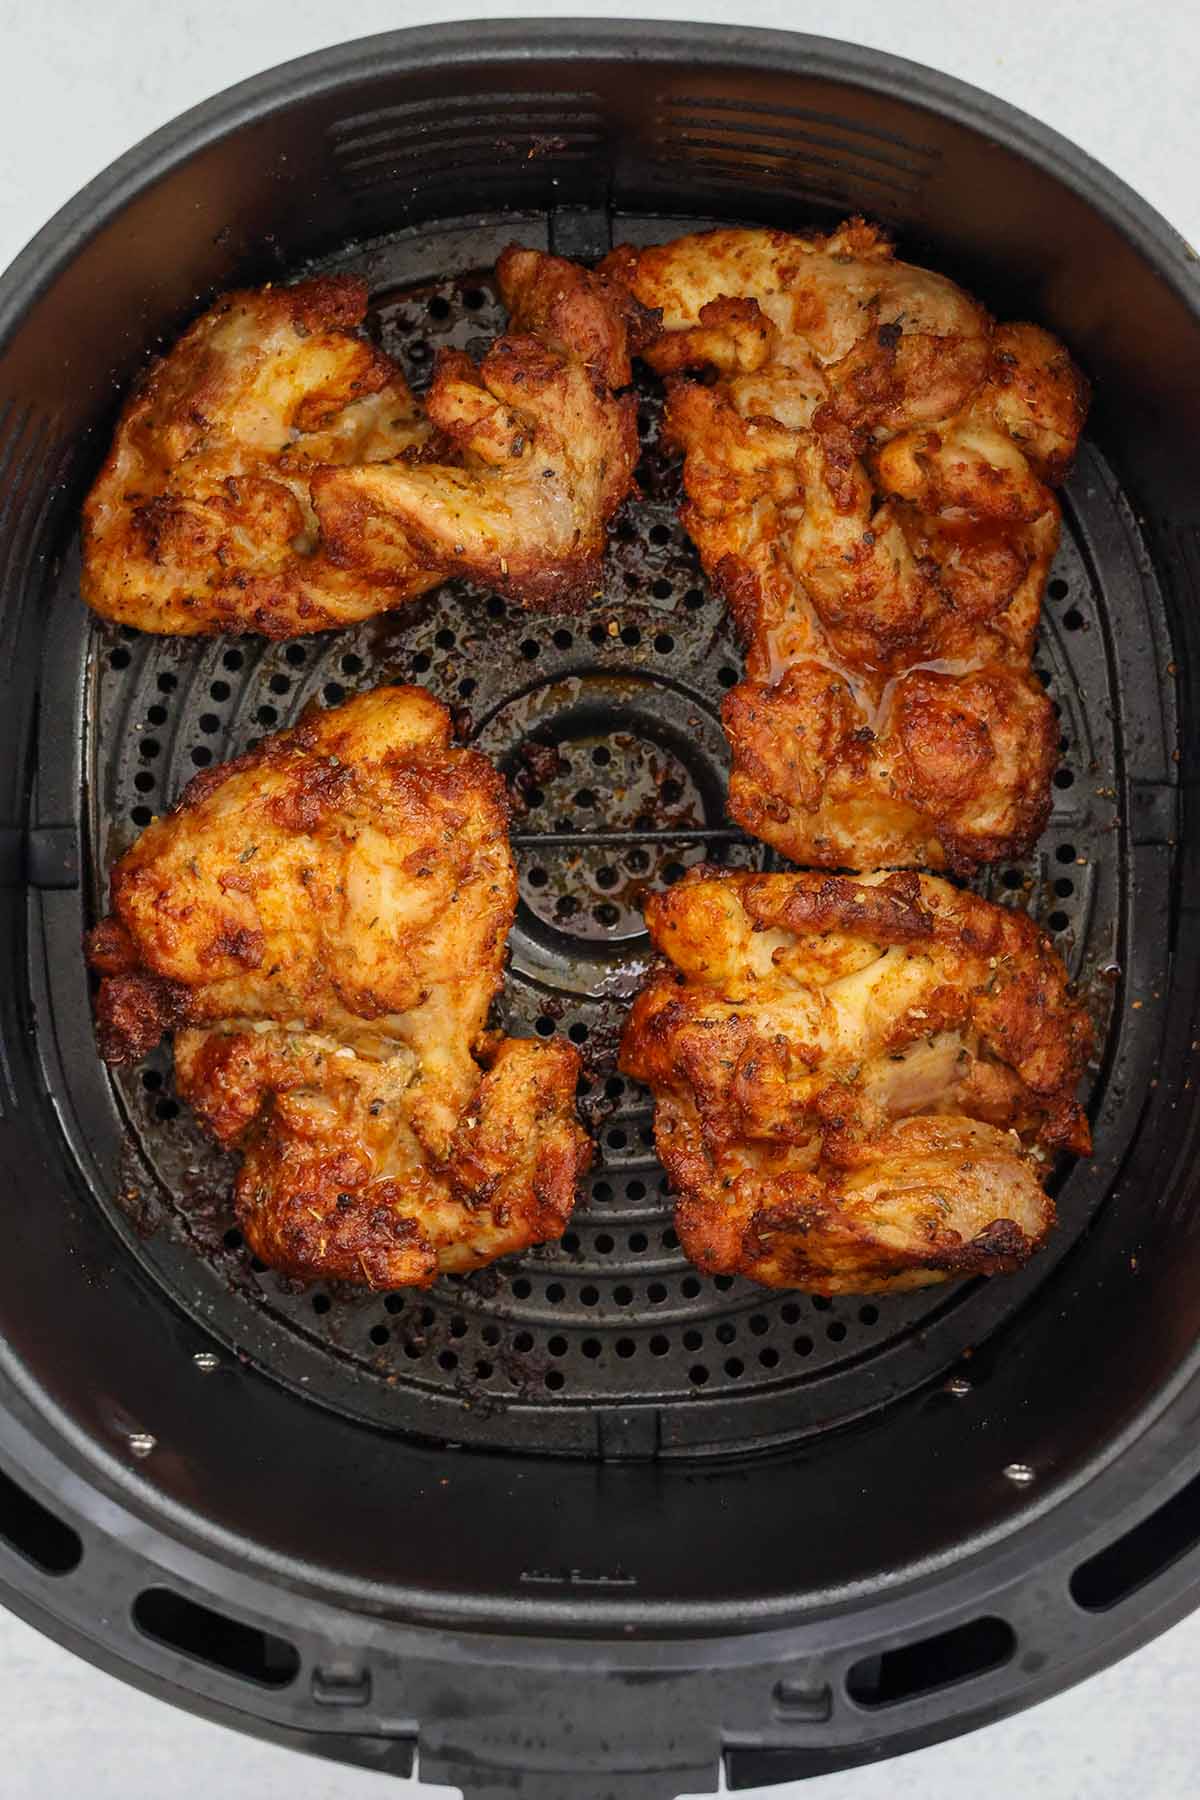
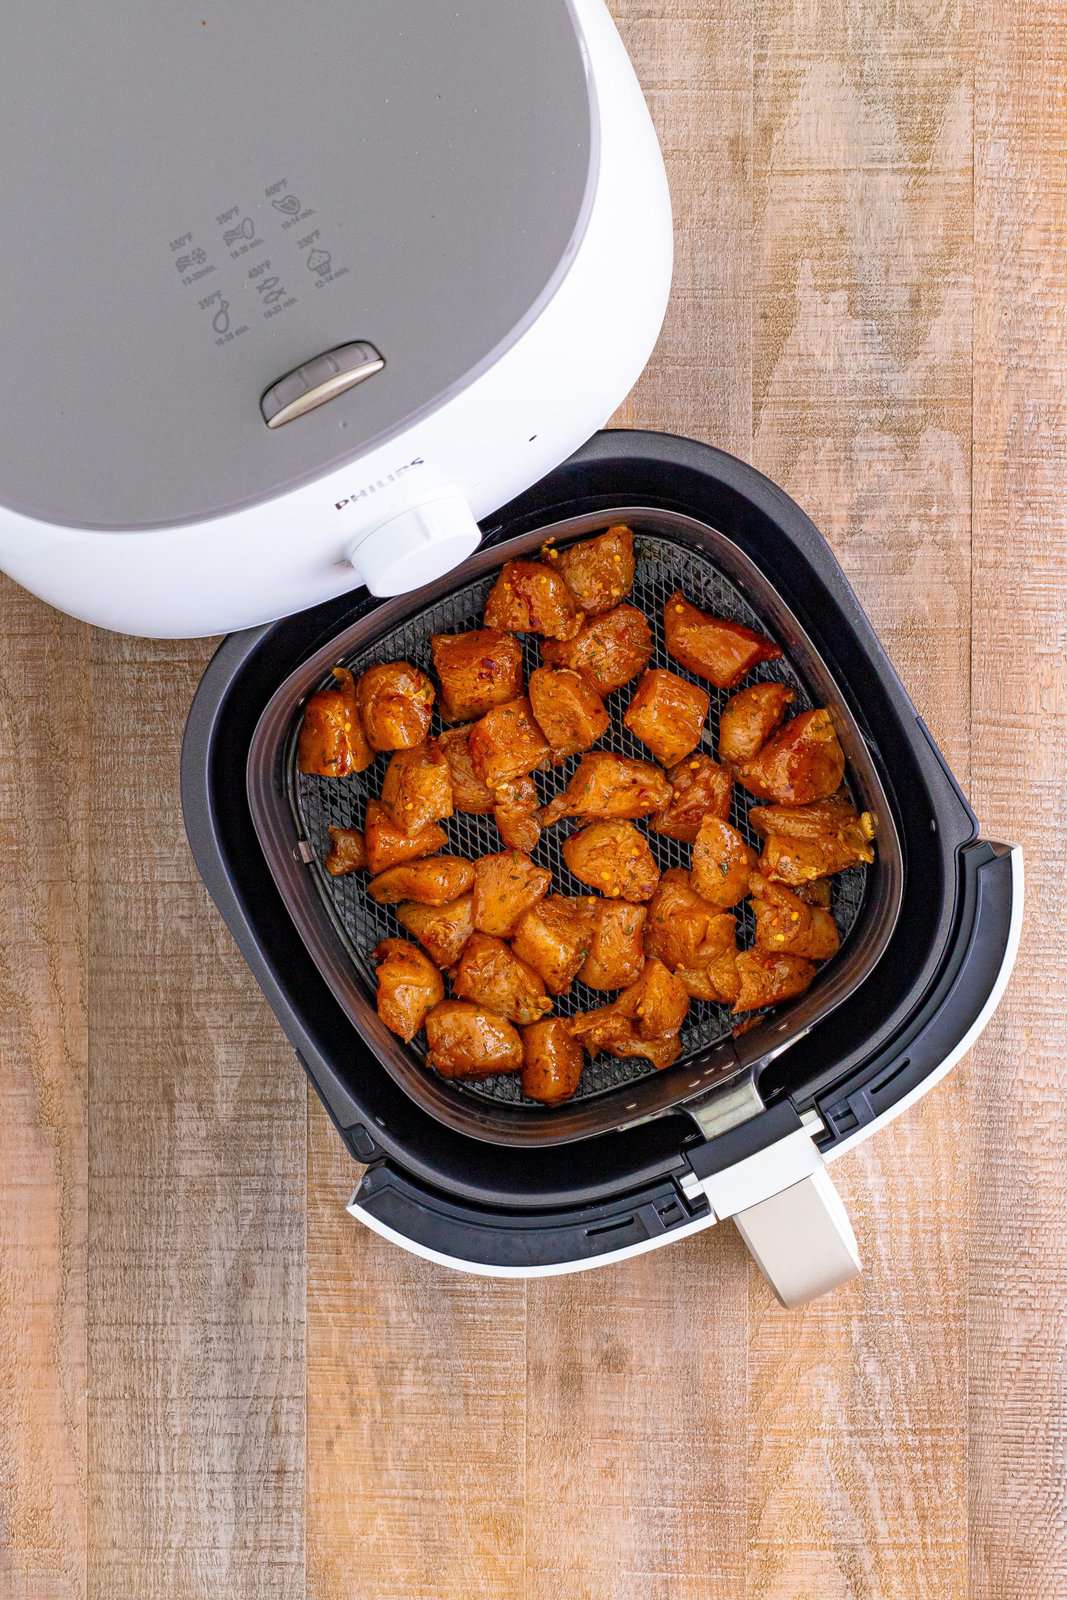
- Place the chicken breasts in the air fryer: Carefully place the seasoned chicken breasts in a single layer in the air fryer basket. Avoid overcrowding the basket to ensure proper air circulation.
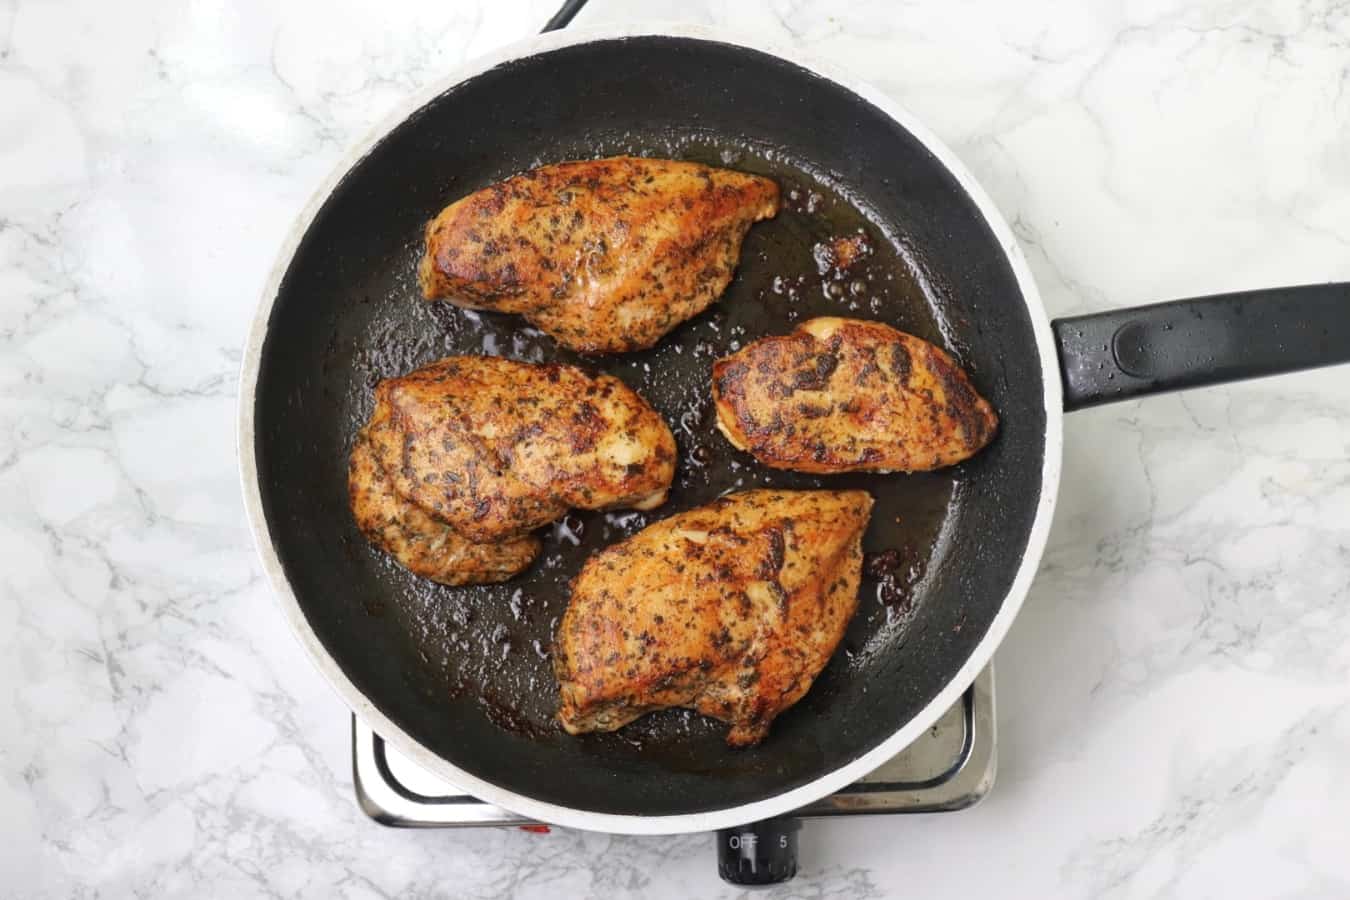
- Cook for 15-20 minutes: Set the timer for 15 minutes and let the chicken breasts cook. After 15 minutes, flip the chicken breasts using tongs or a spatula to ensure even cooking. Continue cooking for another 5-7 minutes or until the chicken reaches an internal temperature of 165 degrees Fahrenheit.
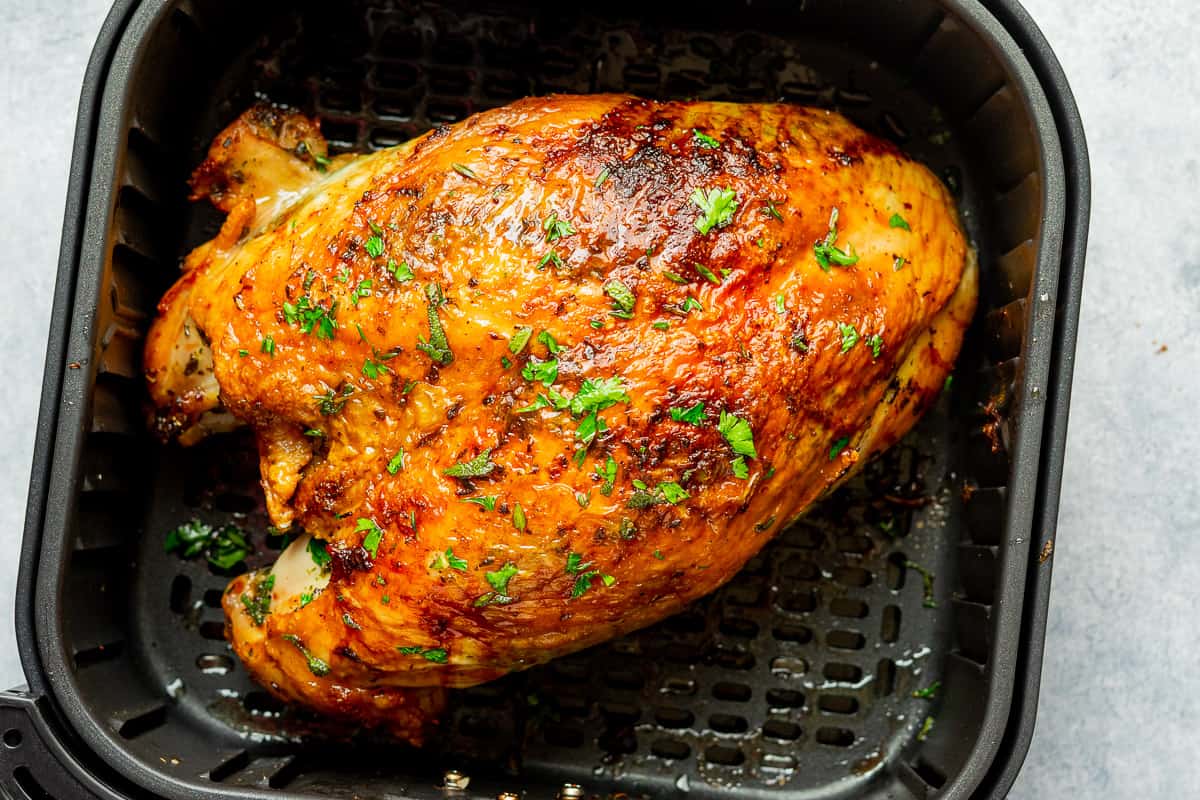
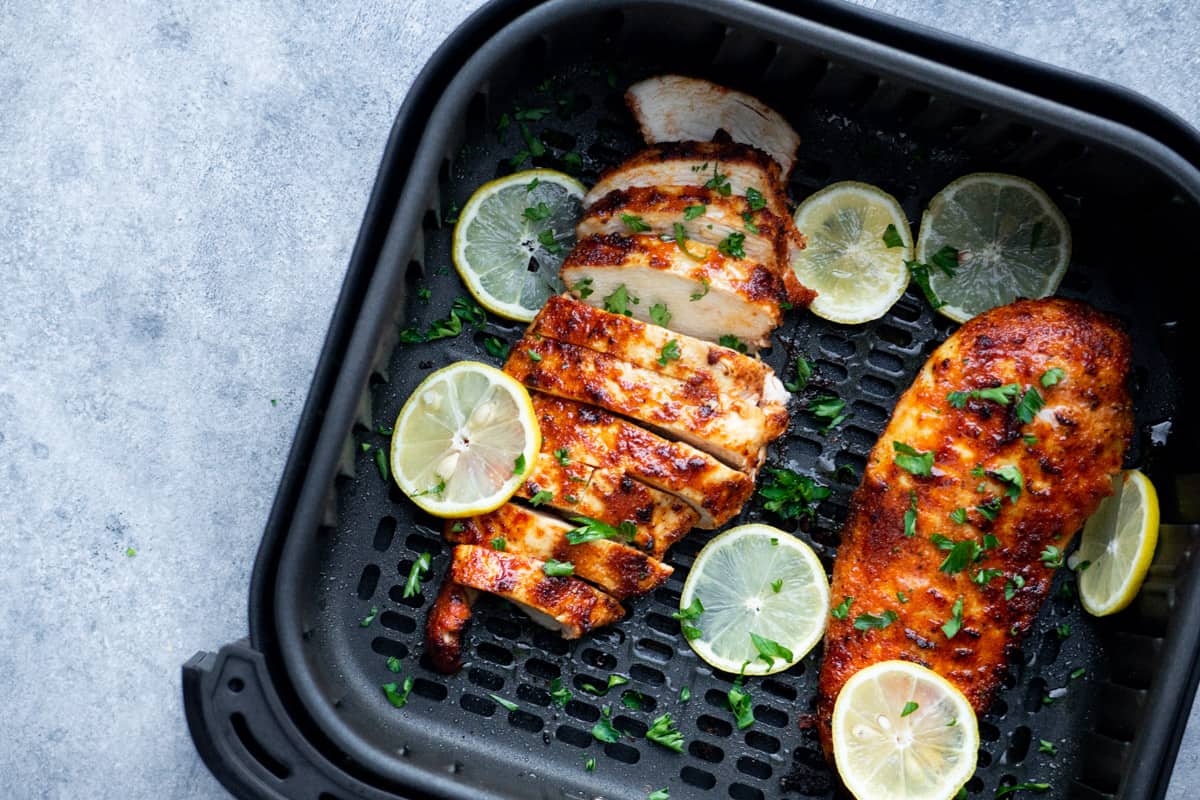
- Remove and let it rest: Once the chicken breasts are cooked, carefully remove them from the air fryer and place them on a cutting board or a plate. Let the chicken rest for a few minutes before slicing or serving. This allows the juices to redistribute and the chicken to become even more tender.
And that’s it! Your perfectly cooked chicken breasts are now ready to be enjoyed. But how do you know if they’re fully cooked? Let’s find out in the next section.
Preheat the air fryer to 400°F. Cook the chicken breast for 15-20 minutes, flipping halfway through. Use a meat thermometer to ensure it reaches an internal temperature of 165°F.
Checking for Doneness
Ensuring that your chicken breasts are cooked to perfection is essential for both taste and food safety. Here are a couple of ways to check if your chicken breasts are done:
- Internal temperature: The most accurate way to determine if your chicken breasts are fully cooked is by using a meat thermometer. Insert the thermometer into the thickest part of the chicken breast without touching the bone. The chicken is safe to eat when it reaches an internal temperature of 165 degrees Fahrenheit.
- Visual cues: If you don’t have a meat thermometer, you can rely on visual cues. Pierce the thickest part of the chicken breast with a fork or knife. If the juices run clear and there is no pinkness, it is likely cooked through. Additionally, if the chicken breast feels firm to the touch and the internal meat is white and opaque, it is a good indication of doneness.
Keep in mind that the cooking time can vary depending on the thickness of the chicken breasts. Thicker breasts may require a few extra minutes of cooking time, while thinner ones may cook quicker. It’s always best to rely on the internal temperature to ensure food safety.
Now that you’ve mastered the cooking process and checked for doneness, let’s dive into some additional tips and tricks to elevate your chicken breast cooking game.
Read more: How To Cook Chicken Breast In The Air Fryer
Tips and Tricks
Cooking chicken breast in an air fryer is relatively straightforward, but these tips and tricks will help you achieve the best results:
- Marinate the chicken: For extra flavor and juiciness, consider marinating the chicken breasts for a few hours or overnight. This allows the flavors to penetrate the meat and enhances the overall taste.
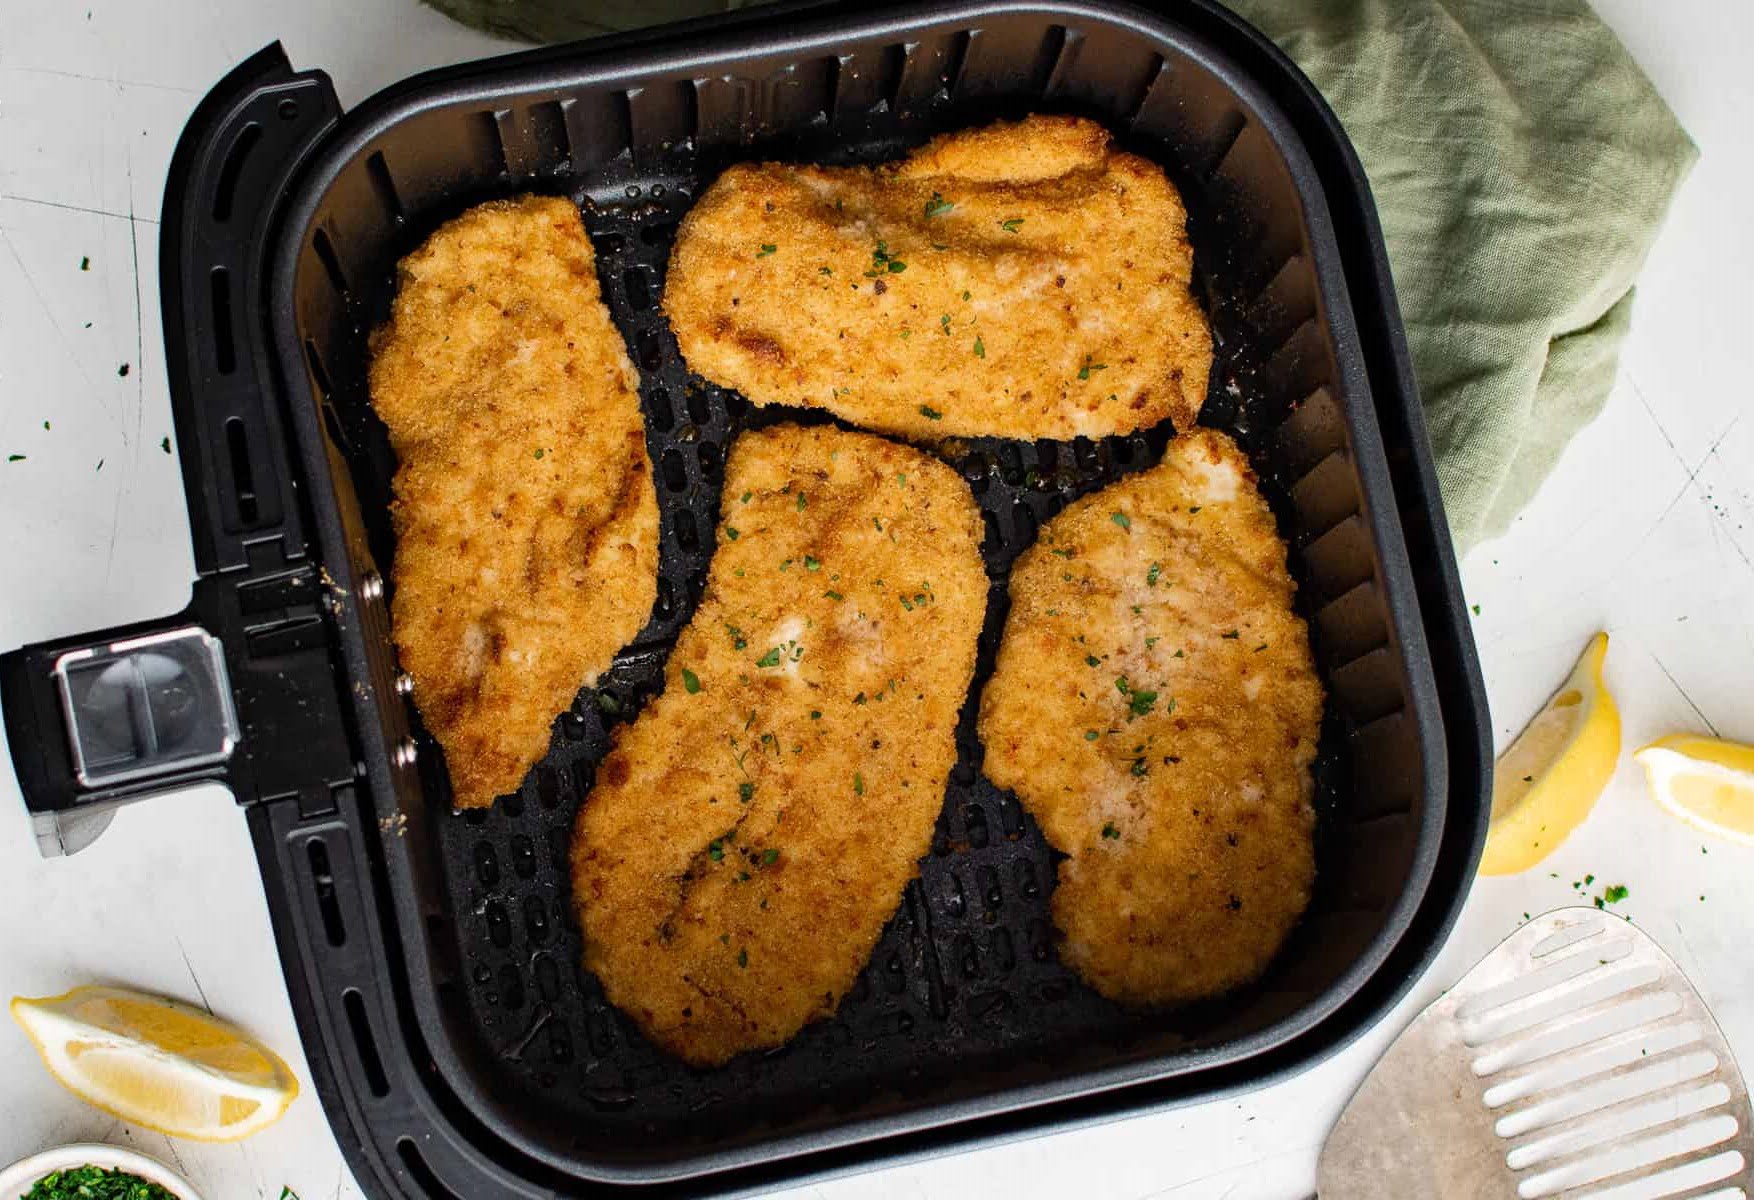
- Brush with oil: To help the chicken breasts brown and crisp up, lightly brush them with a little bit of oil before placing them in the air fryer. This promotes better browning and adds a delicious crunch.
- Avoid overcrowding: Ensure that there is enough space between the chicken breasts in the air fryer basket. Overcrowding can result in uneven cooking, so it’s best to cook them in batches if necessary.
- Flip halfway through: Flipping the chicken breasts halfway through the cooking process allows for even browning on both sides. Use tongs or a spatula to carefully flip the chicken and continue cooking until fully done.
- Rest before slicing: Letting the chicken breasts rest for a few minutes after cooking allows the juices to redistribute throughout the meat, resulting in a more tender and flavorful chicken breast.
These tips and tricks will help you achieve delicious and perfectly cooked chicken breasts every time you use your air fryer. So, let your culinary creativity soar and enjoy the amazing dishes you can create with this versatile appliance.
Conclusion
Cooking chicken breast in an air fryer at 400 degrees Fahrenheit is a quick and convenient way to enjoy a flavorful and tender meal. By following the simple steps outlined in this article, you can achieve perfectly cooked chicken breasts with minimal effort.
Remember to properly prepare and season your chicken breasts before placing them in the air fryer. Experiment with different seasonings and flavors to suit your taste preferences. Cook the chicken for the recommended time, ensuring it reaches an internal temperature of 165 degrees Fahrenheit for food safety.
With the help of a meat thermometer, you can easily determine the doneness of the chicken. If you don’t have one, rely on visual cues such as clear juices, no signs of pinkness, firmness, and white, opaque meat.
By implementing some tips and tricks, you can take your chicken breast cooking to the next level. Marinating the chicken, brushing it with oil, avoiding overcrowding, flipping halfway through, and letting it rest are all strategies to enhance the flavor, texture, and appearance of your chicken breasts.
So, the next time you’re craving a delicious and healthy chicken breast, turn to your air fryer. Enjoy the convenience, speed, and incredible results this versatile appliance has to offer. Whether you’re cooking for yourself or entertaining guests, cooking chicken breast in an air fryer is sure to impress.
Now, go ahead and unleash your culinary skills as you create mouthwatering chicken breast dishes in your air fryer!
Frequently Asked Questions about How Long To Cook Chicken Breast In Air Fryer At 400
Was this page helpful?
At Storables.com, we guarantee accurate and reliable information. Our content, validated by Expert Board Contributors, is crafted following stringent Editorial Policies. We're committed to providing you with well-researched, expert-backed insights for all your informational needs.
0 thoughts on “How Long To Cook Chicken Breast In Air Fryer At 400”