Articles
How Much Does It Cost To Skim Coat A Ceiling
Modified: December 7, 2023
Find out the average cost of skim coating a ceiling in this informative article. Get insights on materials, labor, and other factors that affect the pricing.
(Many of the links in this article redirect to a specific reviewed product. Your purchase of these products through affiliate links helps to generate commission for Storables.com, at no extra cost. Learn more)
Introduction
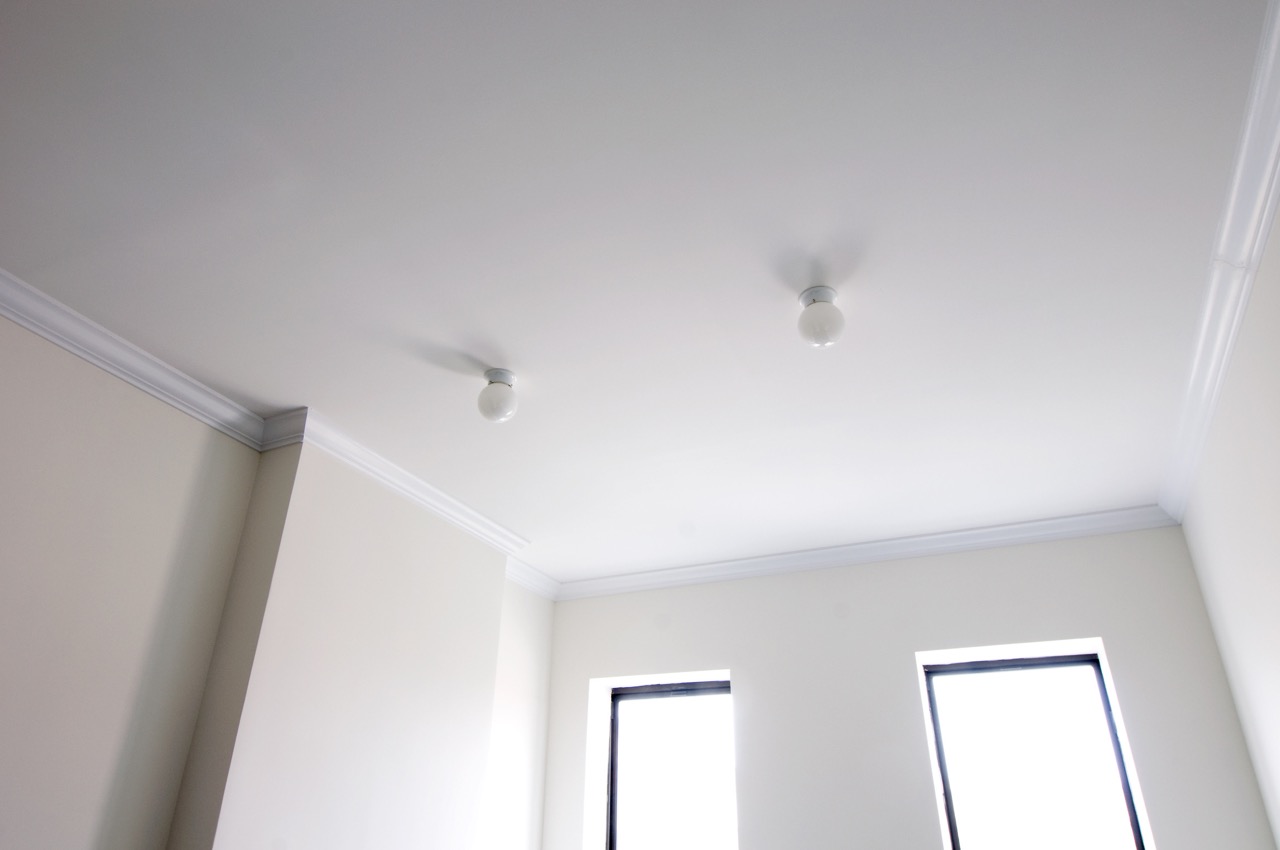
Welcome to our guide on how much it costs to skim coat a ceiling. If you’re looking to refresh the appearance of your ceiling, skim coating is a popular technique that can help you achieve a smooth and flawless finish. Whether you’re dealing with a ceiling with imperfections or damage, or simply want to update the look of your space, skim coating can provide a cost-effective solution.
Skim coating is a process that involves applying a thin layer of joint compound or plaster over the entire surface of the ceiling. This helps to smooth out any imperfections, such as cracks, dents, or uneven textures, creating a clean and uniform appearance. It’s a common practice in both residential and commercial settings to achieve a polished and modern look.
In this article, we will discuss the factors that can affect the cost of skim coating a ceiling, including materials, labor, and additional expenses. Whether you’re considering tackling the project yourself or hiring a professional, we will delve into the associated costs and potential savings. By the end, you’ll have a better understanding of what to expect when it comes to the price of skim coating your ceiling.
But before we dive into the nitty-gritty details, let’s take a closer look at what exactly skim coating entails and why it’s a preferred method for ceiling repairs and enhancements.
Key Takeaways:
- Skim coating a ceiling involves factors such as size, condition, materials, and labor costs. DIY can save money, but professional results may justify the higher cost.
- To save money on skim coating, research thoroughly, get multiple quotes, consider DIY for simpler projects, and balance cost savings with the desire for quality results.
Read more: How Much Does Gel Coat Repair Cost
What is skim coating?
Skim coating is a technique used to create a smooth and even surface on walls or ceilings. It involves applying a thin layer of joint compound or plaster over the existing surface to conceal imperfections, such as cracks, bumps, and uneven textures. The result is a seamless and flawless finish that provides a clean slate for paint or wallpaper.
Skim coating is often necessary when dealing with older or damaged surfaces that may have accumulated years of wear and tear. It can also be used to cover up previous textures or patterns, creating a blank canvas for a fresh look. Whether you’re renovating an older home or simply want to enhance the appearance of a space, skim coating can make a significant difference in the overall aesthetics.
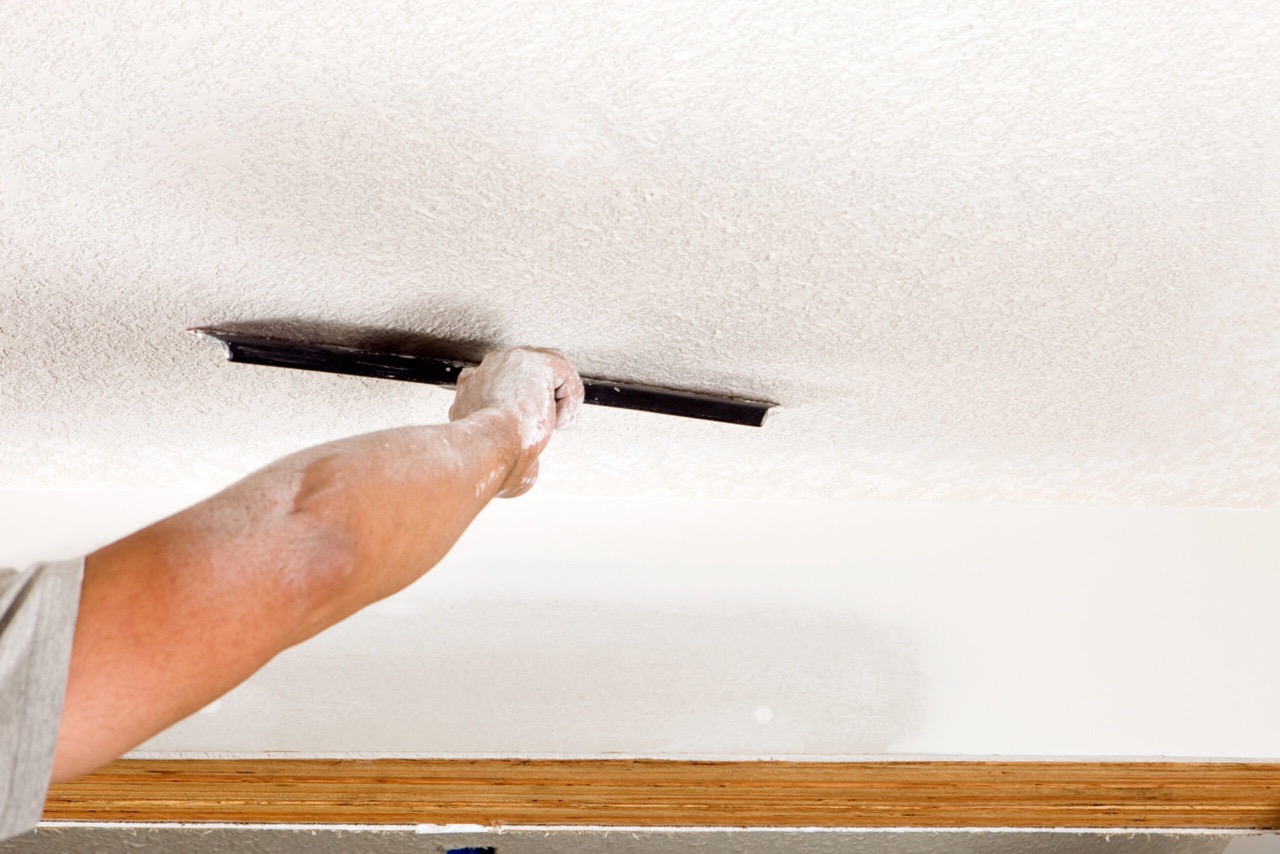
The process of skim coating typically involves several steps. First, the surface is thoroughly cleaned and any loose debris or flaking paint is removed. Next, a layer of joint compound is applied using a trowel or a drywall knife. The compound is spread thinly and evenly across the entire surface, covering any imperfections. Multiple coats may be necessary depending on the level of repair required.
Once the compound has dried, it is sanded down to achieve a smooth and seamless finish. This step is essential for ensuring that the surface is free from any bumps or ridges. After sanding, the surface is then ready for painting or any other finish of your choice.
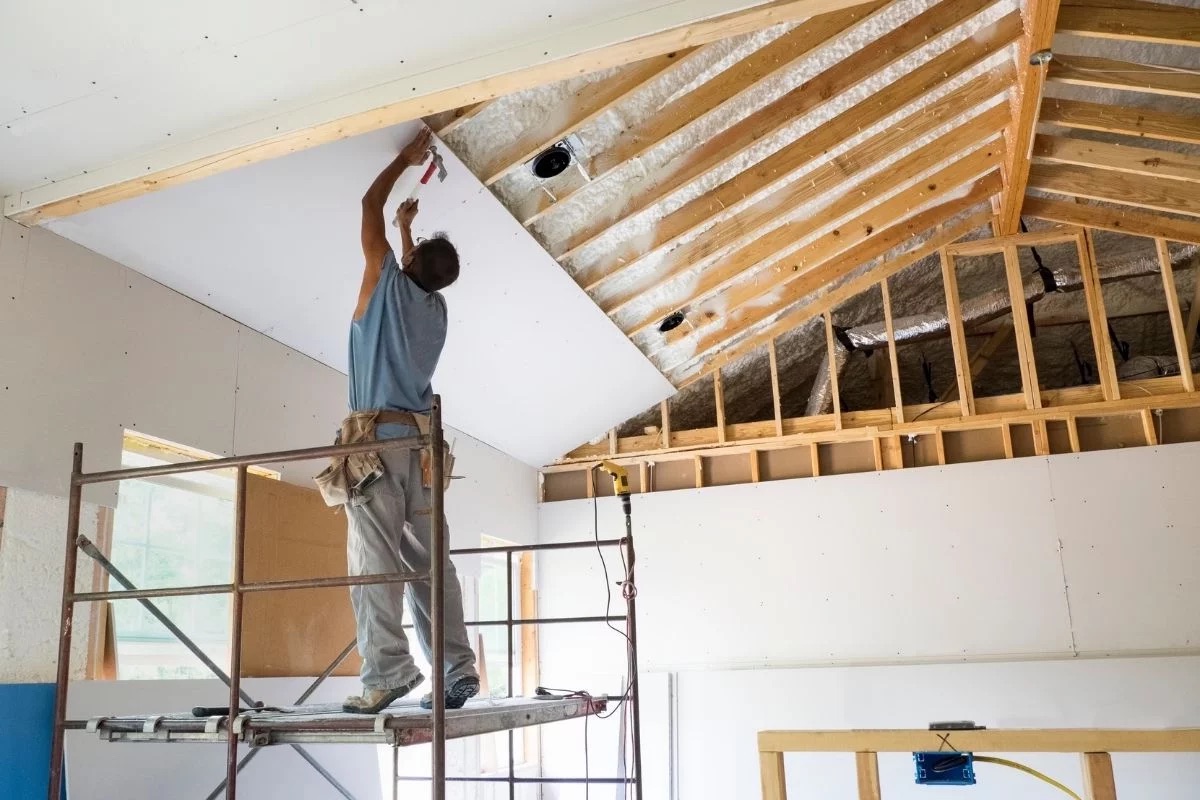
Skim coating is a highly skilled process that requires precision and attention to detail. It is important to hire a professional or have experience with drywall installation and repair if you choose to tackle the project yourself. Incorrect application or inadequate drying time can result in a subpar finish or even damage to the surface.
Now that you have a better understanding of what skim coating entails, let’s explore the various factors that can impact the cost of skim coating a ceiling.
Factors that affect the cost of skim coating a ceiling
When estimating the cost of skim coating a ceiling, there are several factors that can influence the overall price. Understanding these factors will help you get a clearer idea of what to expect and make more informed decisions regarding your project. Here are the key factors that can impact the cost of skim coating a ceiling:
- Size of the ceiling: The size of the ceiling is one of the most significant factors that affect the cost. Larger ceilings require more materials and labor, which can increase the overall expense. Contractors often charge by the square footage, so a larger ceiling will naturally result in a higher cost.
- Condition of the ceiling: The condition of the ceiling can also impact the cost. If the ceiling has significant damage, such as cracks, water stains, or uneven textures, it may require more extensive preparation and additional coats of skim coating. This can increase the labor and material costs. On the other hand, if the ceiling is in relatively good condition with minimal imperfections, the cost may be lower.
- Type of materials used: The type and quality of materials used for skim coating can also affect the cost. There are different types of joint compounds and plasters available, ranging from basic to high-end options. Higher-quality materials may come at a higher price point but can result in better durability and a smoother finish. Additionally, if you require specialty materials or additives for specific requirements, such as mold resistance or fire resistance, the cost may be higher.
- Accessibility of the ceiling: The accessibility of the ceiling can impact the labor cost. If the ceiling is easily accessible without any obstructions, the job can be completed more efficiently, reducing the labor time and cost. However, if the ceiling is located in a room with limited access, such as a small bathroom or a high-ceilinged area, it may require additional labor and equipment to reach and work on the surface, resulting in higher costs.
- Location and local labor rates: The location of your project can influence the labor rates. Labor costs can vary significantly from one region to another. Areas with higher living expenses or a higher demand for skilled labor may have higher hourly rates. It’s important to consider the local market when estimating the labor costs for skim coating a ceiling.
- Additional services or repairs: If your ceiling requires additional services or repairs, such as removing popcorn texture, repairing water damage, or addressing structural issues, these will add to the overall cost. It’s important to assess the condition of your ceiling and identify any additional repairs needed before beginning the skim coating process.
Considering these factors will give you a better understanding of why the cost of skim coating a ceiling can vary. It’s recommended to consult with professionals and obtain multiple quotes to get an accurate estimate based on your specific requirements and circumstances.
Next, let’s break down the cost of materials typically used in a skim coating project.
Cost breakdown of skim coating materials
When it comes to skim coating a ceiling, the cost of materials can vary depending on the type and quality of products you choose. Here is a breakdown of the typical materials involved in a skim coating project and their associated costs:
- Joint compound: Joint compound is the primary material used for skim coating ceilings. It comes in different formulas, including ready-mixed and powder form. Ready-mixed joint compound is convenient to use but may cost slightly more. On average, expect to pay around $15 to $25 for a standard 5-gallon bucket of joint compound.
- Plaster: Plaster is another option for skim coating, especially if you prefer a more traditional look or have specific requirements. Plaster is typically pricier than joint compound, with prices ranging from $20 to $40 for a 25-pound bag.
- Primer: While not always necessary, using a primer before skim coating can enhance adhesion and help achieve a better finish. The cost of primer varies depending on the brand and type but typically ranges from $20 to $50 for a gallon.
- Sanding materials: Sanding is an essential step in achieving a smooth finish. Sandpaper is needed to sand down the dried compound between coats and before painting. The cost of sandpaper varies depending on the grit and quantity, but a pack of assorted sandpaper can cost around $10 to $20.
- Tools and equipment: You’ll also need various tools and equipment to complete the skim coating process. This includes trowels, drywall knives, sanding blocks or poles, and a mixing paddle for preparing the joint compound. These tools can range in cost depending on the brand and quality, but expect to spend around $50 to $100 for a basic set of tools.
It’s important to consider factors such as the size of your project, the quality of materials you choose, and any additional supplies required for specific circumstances. Additionally, prices can vary depending on your location and the stores you purchase the materials from. Be sure to compare prices and shop around to find the best deals on the materials needed for your skim coating project.
Now that we’ve covered the cost breakdown of materials, let’s move on to discussing the labor costs involved in skim coating a ceiling.
Labor costs for skim coating a ceiling
When it comes to skim coating a ceiling, the labor costs can make up a significant portion of the overall expenses. The labor charges can vary depending on various factors such as the complexity of the project, the size of the ceiling, and the local labor rates. Here’s what you can expect when it comes to labor costs for skim coating a ceiling:
Hourly rates: Skilled labor, such as professional drywall contractors, typically charge on an hourly basis for skim coating projects. Hourly rates can vary widely depending on location and the expertise of the contractor. On average, you can expect to pay between $40 to $80 per hour for a skilled tradesperson to skim coat your ceiling.
Project duration: The duration of the project will also impact the labor costs. Skim coating a ceiling can take anywhere from a few hours to a couple of days, depending on the size and condition of the surface. Contractors will estimate the number of hours or days needed to complete the project, and this will be factored into the overall cost.
Complexity of the project: If your ceiling has extensive damage or requires multiple coats of skim coating, the complexity of the project will increase. This can result in higher labor costs as more time and effort are needed to achieve a smooth and flawless finish. Additionally, if there are obstacles, such as intricate architectural details or limited access to the ceiling, this can also add complexity and affect the labor charges.
Additional services: If you require additional services along with skim coating, such as removing popcorn texture, repairing cracks, or addressing water damage, these tasks will add to the overall labor costs. Contractors may charge separately for each additional service or provide a bundled estimate for the entire project, including all necessary repairs.
It’s important to obtain detailed quotes from multiple contractors and compare their labor rates, experience, and reputation before making a decision. This will help you find a skilled professional who can deliver quality results within your budget.
Keep in mind that labor costs are just one aspect of the overall expense of skim coating a ceiling. You’ll also need to consider the cost of materials, any additional services, and any other expenses that may arise during the project.
In the next section, we’ll explore additional costs to consider when skim coating a ceiling.
When budgeting for a skim coat ceiling project, consider the size of the area, the condition of the existing ceiling, and the cost of materials and labor. Get multiple quotes from contractors to compare prices.
Read more: How Much Does Ceiling Repair Cost
Additional costs to consider
When planning to skim coat a ceiling, there are additional costs to consider beyond the materials and labor. These expenses can arise depending on the specific requirements of your project and can impact the overall budget. Here are some additional costs to keep in mind:
- Preparation and cleanup: Before the skim coating process begins, it’s important to prepare the space by moving furniture, covering floors and belongings, and protecting walls and adjacent areas. This may require the use of drop cloths, plastic sheeting, or painter’s tape, which will incur additional costs. Similarly, after the project is complete, there may be cleanup expenses such as disposing of leftover materials and cleaning the area.
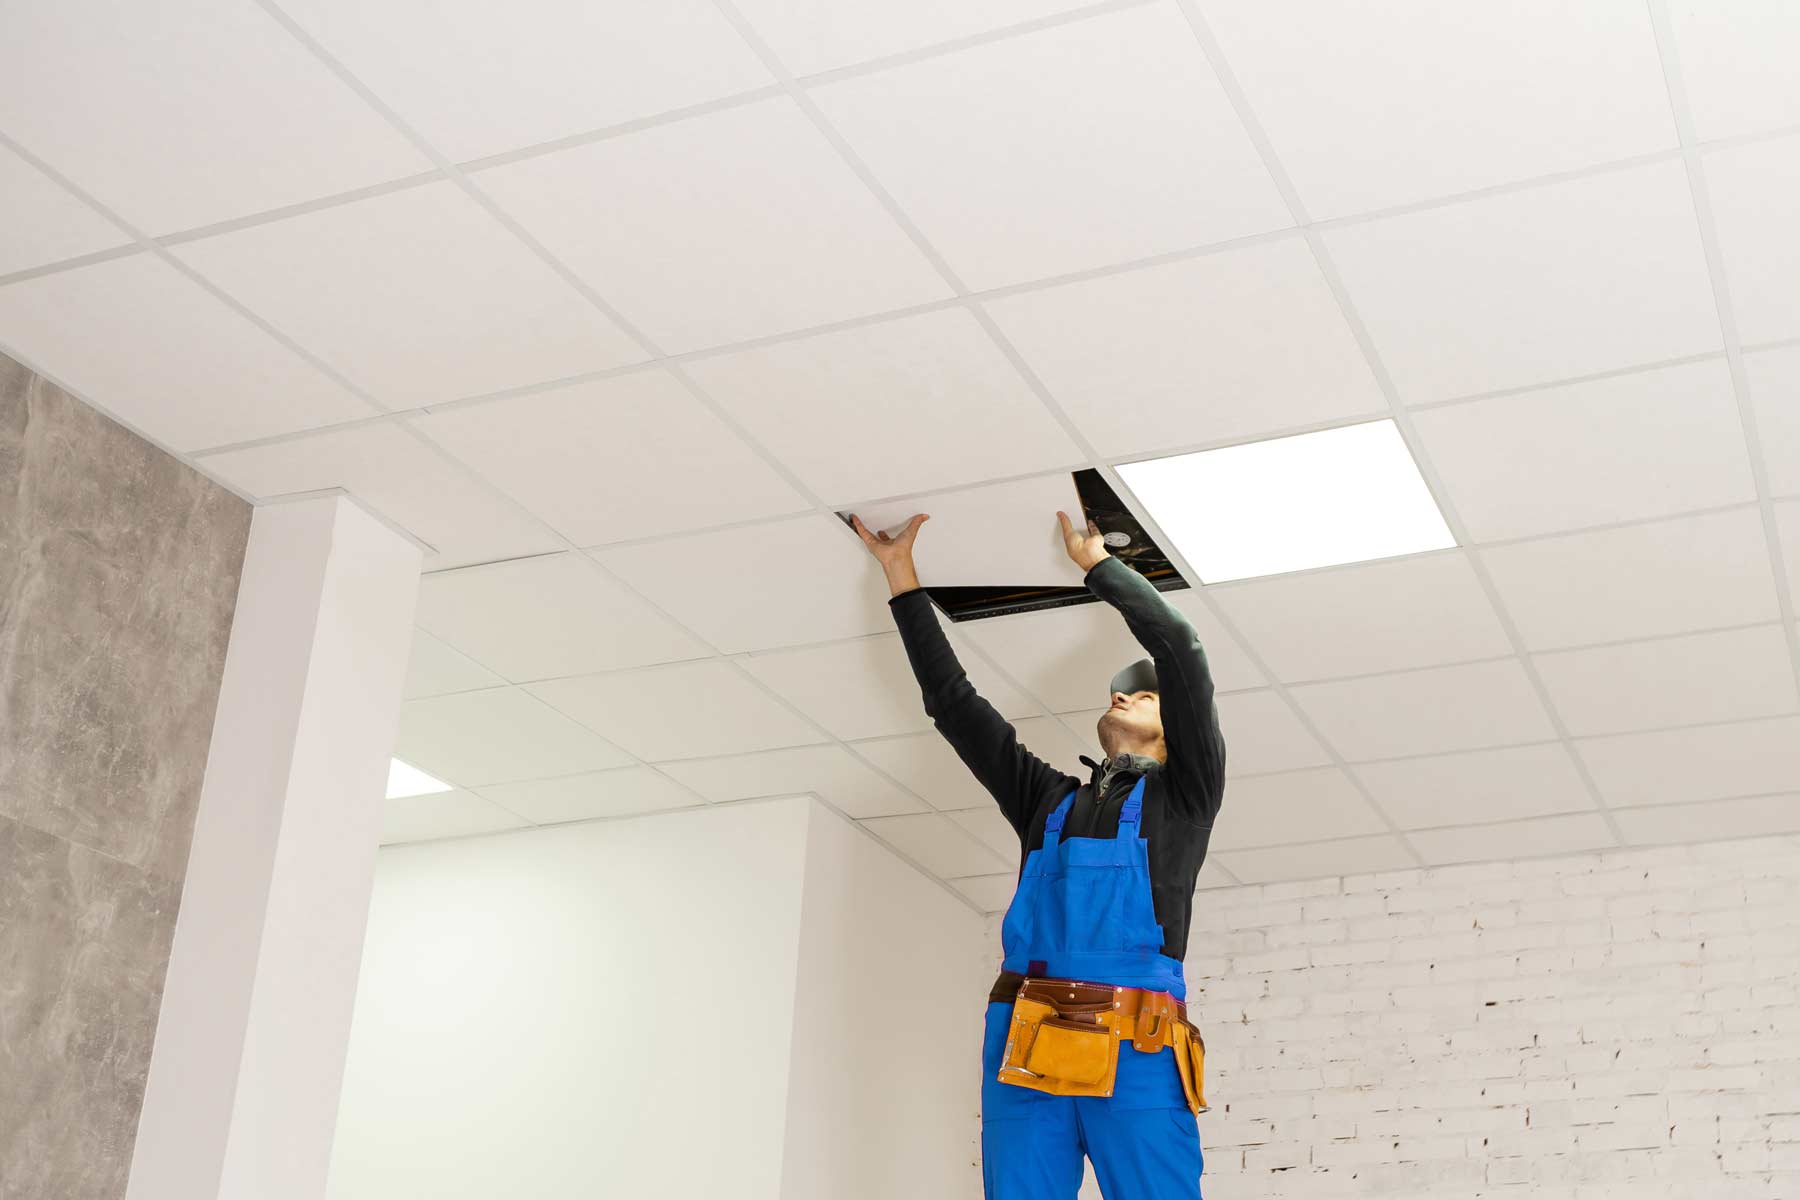
- Accessories and fixtures: Depending on the complexity of your project, you may need to remove and reinstall light fixtures, ceiling fans, or other ceiling-mounted accessories. This can involve additional labor or the need to hire an electrician, which will incur extra costs.
- Painting or finishing: Skim coating is typically performed as a preparation step before painting or applying a finish to the ceiling. If you plan to paint the ceiling yourself or hire a professional painter, it’s important to include the cost of paint and any additional supplies or labor associated with the final finishing step.
- Repairs or remediation: In some cases, skim coating a ceiling may reveal underlying issues, such as water damage, mold, or structural problems. If these issues need to be addressed, it can lead to additional costs for repairs or remediation. It’s important to budget for these potential expenses, especially in older buildings or areas prone to moisture problems.
- Permits and inspections: Depending on your location and the nature of the project, you may need to obtain permits or schedule inspections. This is common for larger or more involved renovation projects. Be sure to research local regulations and factor in any associated costs or fees.
- Professional consultations: If you are uncertain about the condition of your ceiling or the feasibility of skim coating, it’s recommended to seek professional consultations. Although this may come at an additional cost, it can provide valuable insights and save you from potential issues or unsatisfactory results.
By considering these additional costs, you can ensure that your budget accurately reflects the overall expenditure required for skim coating a ceiling. It’s always a good idea to have a contingency fund in case unexpected expenses arise during the project.
In the next section, we’ll explore the pros and cons of DIY skim coating versus hiring a professional.
DIY vs. hiring a professional for skim coating
When it comes to skim coating a ceiling, you have the option to either take on the project yourself or hire a professional contractor. Both approaches have their advantages and considerations. Let’s explore the pros and cons of each:
DIY Skim Coating:
Pros:
- Cost savings: One of the main advantages of DIY skim coating is the potential cost savings. By doing the work yourself, you can avoid labor charges and potentially save a significant amount of money.
- Flexibility and convenience: DIY projects allow you to work at your own pace and schedule, giving you the flexibility to complete the skim coating on your own time.
- Learning experience: Taking on a DIY project can be a great learning experience. Skim coating a ceiling allows you to gain hands-on experience and develop new skills that can be beneficial for future projects.
Cons:
- Skill and experience: Skim coating is a skilled process that requires precision and experience to achieve a professional finish. If you don’t have prior experience with drywall installation or repair, you may face challenges in achieving the desired results.
- Time and effort: Skim coating a ceiling can be a time-consuming and physically demanding task. It requires multiple steps, including prep work, application of joint compound, sanding, and cleanup. If you have a busy schedule or limited time, DIY skim coating may not be feasible.
- Potential for mistakes: Without adequate experience, there is a higher risk of making mistakes during the skim coating process. This can lead to a subpar finish, unsightly results, or even damage to the ceiling.
Hiring a Professional:
Pros:
- Professional results: Hiring a skilled contractor ensures that the skim coating is done to a professional standard, with a smooth and flawless finish.
- Time savings: Professionals have the experience and tools to complete the job efficiently, saving you time and allowing you to focus on other tasks or activities.
- Expertise and knowledge: Professional contractors have the expertise and knowledge to handle any challenges that may arise during the skim coating process. They can provide advice on materials, techniques, and any necessary repairs or adjustments.
Cons:
- Higher cost: Hiring a professional will involve labor costs, which can significantly increase the overall expense of skim coating a ceiling. However, it’s important to weigh the cost against the potential time and effort saved, as well as the quality of the results.
- Less flexibility: When working with a professional, you’ll need to coordinate schedules and work within the contractor’s timeline. This may require some flexibility and planning on your part.
Ultimately, the decision between DIY skim coating or hiring a professional depends on your skill level, available time, budget, and the desired outcome. If you have the necessary experience and confidence to tackle the project, DIY can be a cost-effective option. However, if you value professional results, time savings, and peace of mind, hiring a skilled contractor is the recommended choice.
In the next section, we’ll share some tips for saving money on skim coating a ceiling.
Tips for saving money on skim coating a ceiling
Skim coating a ceiling can be a cost-effective way to refresh the look of a space. If you’re looking to save money on your skim coating project, consider the following tips:
- Do thorough research: Before starting your project, take the time to research and gather as much information as possible. This includes understanding the skim coating process, materials needed, and potential challenges. The more informed you are, the better equipped you’ll be to make cost-effective decisions.
- Get multiple quotes: When hiring a professional for your skim coating project, obtain multiple quotes from different contractors. This will allow you to compare prices, evaluate the professionalism and expertise of each contractor, and find the best value for your budget.
- Consider DIY for simpler projects: If you have some experience with drywall installation and repair, consider tackling the skim coating project yourself for simpler ceilings with minimal imperfections. This can save you money on labor costs.
- Opt for basic materials: While high-quality materials may offer better durability and finish, consider opting for more basic options if your budget is a concern. Choose joint compound or plaster that meets your needs without unnecessary additional features that can drive up the cost.
- Reuse or repurpose existing materials: If you have leftover joint compound or other materials from previous projects, check if they can be used for your skim coating project. This can help reduce the overall material costs.
- Minimize waste: Plan your materials carefully to minimize waste. Measure the surface area accurately to purchase the correct amount of joint compound or plaster. Avoid applying excessively thick layers as it can result in more material consumption. Proper planning can help you save money by reducing unnecessary material wastage.
- Consider timing: Contractors may have lower rates during their off-peak season or when business is slow. If possible, schedule your project during these periods to potentially negotiate better rates.
- DIY preparation: Assist the contractor or perform some of the preparation work yourself to save on labor costs. This may include moving furniture, covering floors, or removing light fixtures and accessories before the contractor arrives.
- Ask about package deals: Some contractors may offer package deals that include additional services, such as painting or repairing minor damages, at a discounted rate. Inquire about these options and see if they align with your project requirements.
- Maintain a clean workspace: Help keep the work area clean and well-organized during the project. This can help minimize any unnecessary damages or delays, resulting in potential cost savings.
Remember, while it’s essential to save money, it’s equally important to prioritize quality and ensure that the job is done correctly. Skimping on materials or cutting corners may result in unsatisfactory results and potential additional expenses in the future.
By incorporating these money-saving tips into your skim coating project, you can achieve a refreshed ceiling without breaking the bank.
Before concluding, let’s summarize the key points we’ve covered in this guide.
Conclusion
Skim coating a ceiling is a popular technique to achieve a smooth and flawless finish, whether you’re looking to repair damage, update the appearance, or prepare the surface for painting or wallpaper. Understanding the factors that affect the cost of skim coating is crucial to budgeting effectively for your project.
The size and condition of the ceiling, type of materials used, accessibility, and location can all impact the overall cost. Additionally, there are materials, labor, and additional costs to consider when planning your skim coating project.
Deciding whether to tackle the project yourself or hire a professional depends on your skill level, available time, and budget. DIY skim coating can be cost-effective, but it requires the necessary experience and can be time-consuming. Hiring a professional ensures professional results but comes with labor costs.
To save money on your skim coating project, do thorough research, obtain multiple quotes, consider DIY for simpler projects, choose basic materials, and minimize waste. Other ways to save include timing your project during off-peak seasons and assisting with preparation work.
Remember, it’s essential to balance cost savings with the desire for quality results. Skim coating can significantly improve the appearance of your ceiling and the overall aesthetic of your space, so it’s worth investing in the right materials and expertise.
Whether you choose to take on the project yourself or hire a professional, skim coating a ceiling can transform your space into a polished and modern environment. By understanding the costs involved and making informed decisions, you can achieve a smooth and flawless finish that enhances the overall aesthetic of your home or commercial space.
We hope this guide has provided you with valuable insights and tips for navigating the cost factors associated with skim coating a ceiling. Good luck with your project!
Frequently Asked Questions about How Much Does It Cost To Skim Coat A Ceiling
Was this page helpful?
At Storables.com, we guarantee accurate and reliable information. Our content, validated by Expert Board Contributors, is crafted following stringent Editorial Policies. We're committed to providing you with well-researched, expert-backed insights for all your informational needs.

0 thoughts on “How Much Does It Cost To Skim Coat A Ceiling”