
Articles
How To Install A Drop Ceiling
Modified: December 7, 2023
Learn how to install a drop ceiling with our informative articles. Get step-by-step instructions and expert tips to transform your space.
(Many of the links in this article redirect to a specific reviewed product. Your purchase of these products through affiliate links helps to generate commission for Storables.com, at no extra cost. Learn more)
Introduction
Are you considering giving your space a fresh new look? Dropping the ceiling is a perfect way to transform the ambiance of a room while hiding unsightly wiring, pipes, or ductwork. Whether you’re renovating your home or updating your office, installing a drop ceiling can add style, functionality, and even acoustic benefits.
In this article, we will take you through the step-by-step process of dropping a ceiling. We’ll help you gather the necessary materials, measure and mark the ceiling, install the suspension system, cut and install the main tees, and attach the ceiling tiles. By the end, you’ll have the knowledge and confidence to create a stunning dropped ceiling that will elevate the look of any space.
Note: Before starting any renovation project, make sure to check your local building codes and obtain any required permits. Additionally, be sure to practice proper safety precautions such as wearing goggles, gloves, and any necessary safety equipment.
Now, let’s dive into the exciting world of dropped ceilings!
Key Takeaways:
- Elevate your space with a dropped ceiling, hiding unsightly wiring and adding style, functionality, and acoustic benefits. Follow the step-by-step process for a stunning transformation.
- Ensure a professional finish by paying attention to detail, accuracy, and levelness throughout the installation process. Add optional lighting fixtures for enhanced ambiance and functionality.
Read more: How To Install Drop Ceiling In The Basement
Step 1: Gather the necessary materials
Before you get started with dropping your ceiling, it’s essential to ensure that you have all the necessary materials on hand. This will help make the process smoother and more efficient. Here is a list of the materials you’ll need:
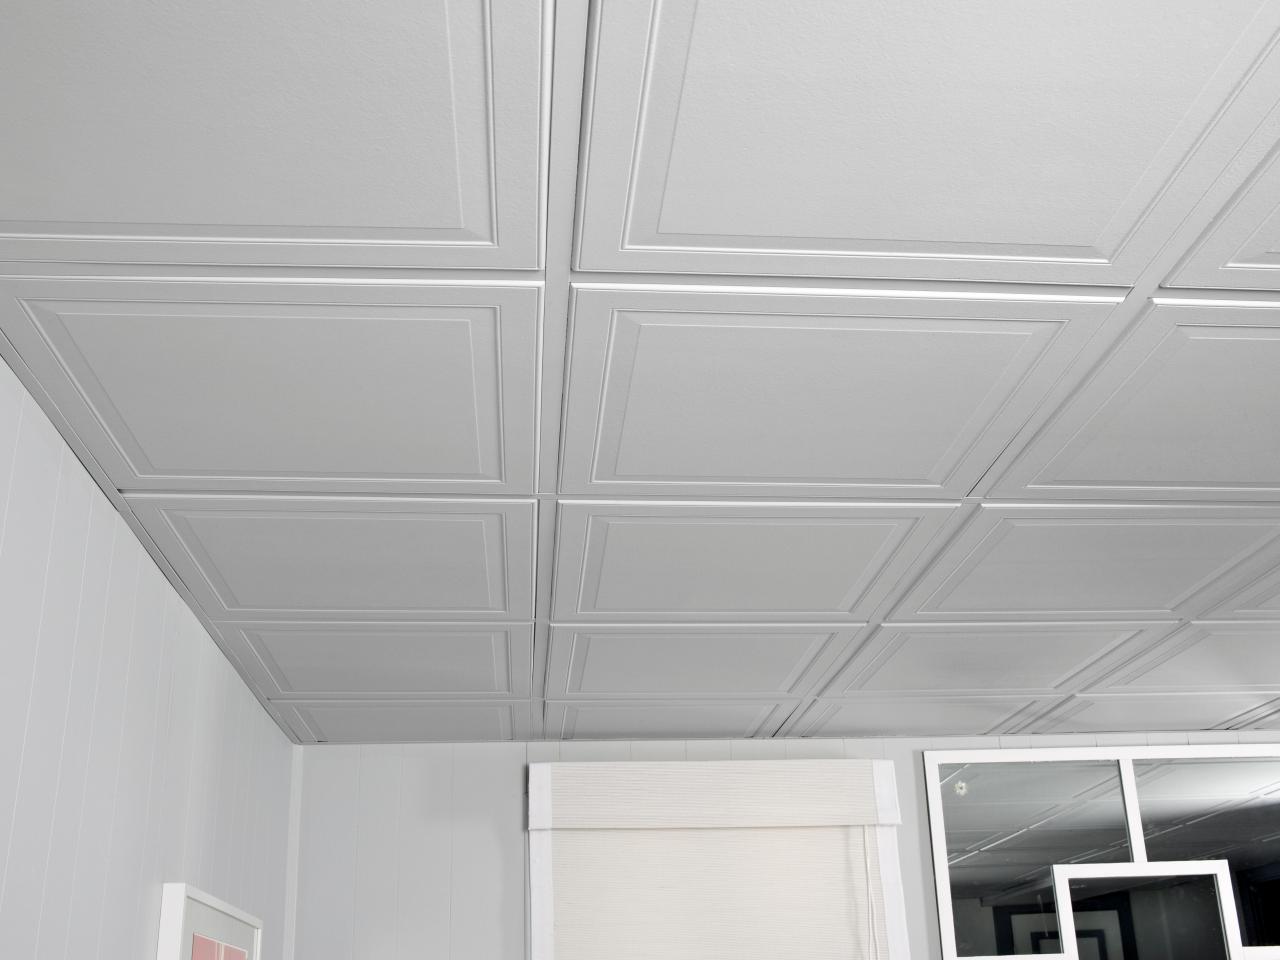
- Drop ceiling tiles: These come in a variety of materials and designs, such as mineral fiber, fiberglass, or PVC. Choose tiles that match your desired aesthetic and functional requirements.
- Suspension system: This includes the main runners (tees) and cross tees that will support the ceiling tiles. They are typically made of steel or aluminum.
- Wire hangers or wall angle brackets: These are used to suspend the ceiling system from the existing ceiling or walls.
- Level, measuring tape, and chalk line: These tools will help you ensure a straight and properly aligned installation.
- Screw gun or drill: Use this tool to attach the main tees and cross tees to the suspension system.
- Ceiling tile adhesive: This will help secure the ceiling tiles in place.
- Jigsaw or tile cutter: You’ll need these tools to cut ceiling tiles to fit around light fixtures or other obstructions.
- Safety equipment: Don’t forget to wear safety goggles, gloves, and a dust mask to protect yourself during the installation process.
Once you have all these materials ready, you can proceed to the next step, which involves measuring and marking the ceiling.
Step 2: Measure and mark the ceiling
Accurate measurements are crucial for a successful drop ceiling installation. Before you begin, ensure that you have a clear understanding of the dimensions of the room and the height at which you want to install the dropped ceiling.
To measure and mark the ceiling for installation:
- Start by measuring the length and width of the room using a measuring tape. Multiply these two dimensions to determine the overall square footage of the ceiling.
- Decide on the height at which you want to install the dropped ceiling. Keep in mind any obstructions, such as light fixtures or air vents.
- Use a level and a chalk line to mark the desired height around the perimeter of the room. This line will serve as a reference point for installing the suspension system.
- Next, measure and mark the location of any obstructions, such as light fixtures or air vents, on the chalk line. This will help you cut the ceiling tiles to fit properly around these obstructions.
- If you’re planning on adding recessed lighting fixtures, mark their locations on the ceiling as well.
By accurately measuring and marking the ceiling, you’ll ensure that the installation proceeds smoothly and that the dropped ceiling fits perfectly into the space. Once you’ve completed this step, you can move on to the next phase, which involves installing the suspension system.
Step 3: Install the suspension system
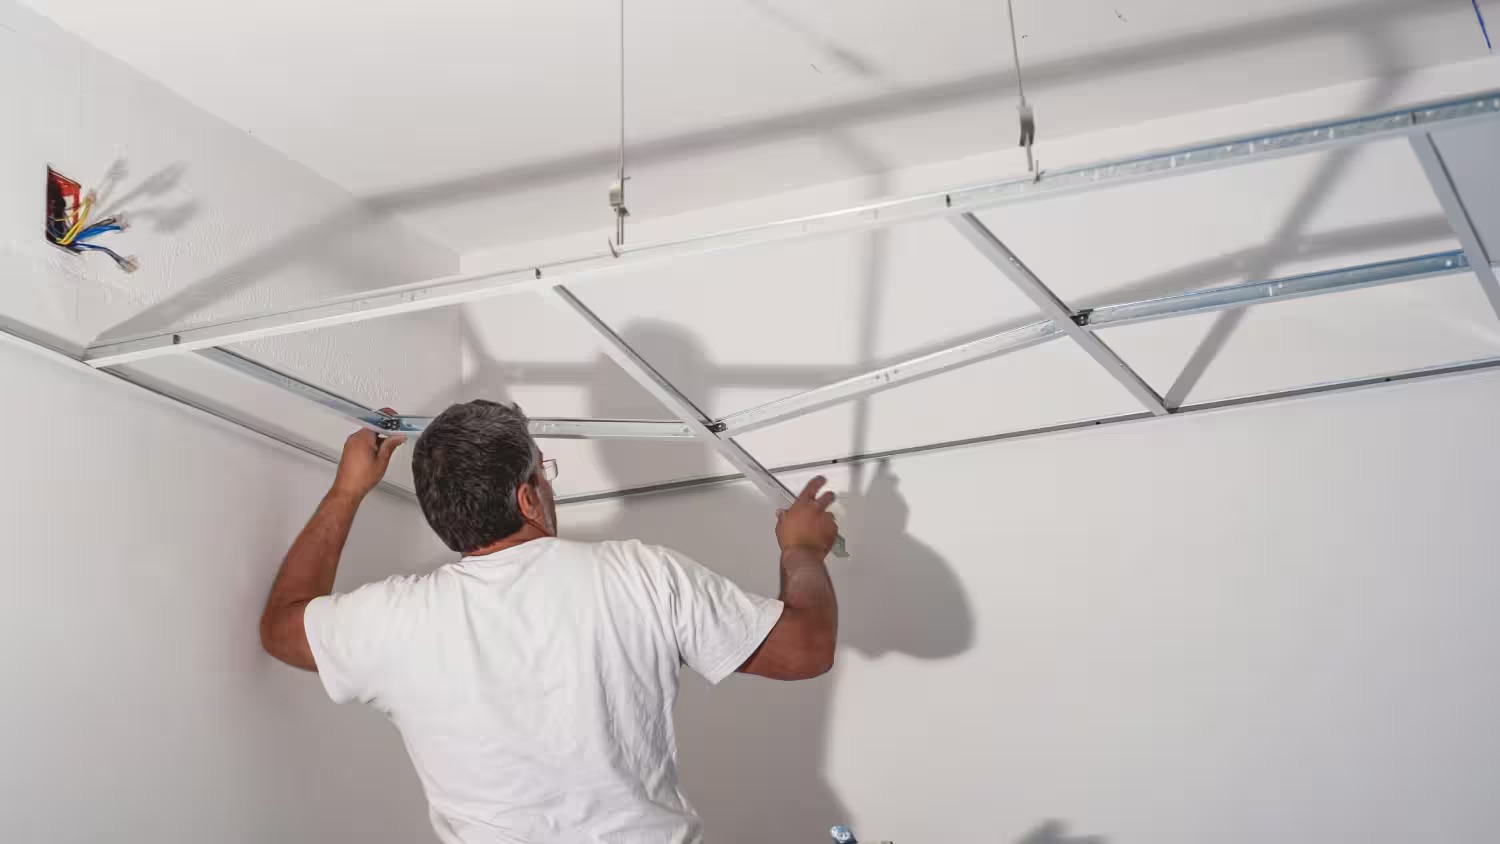
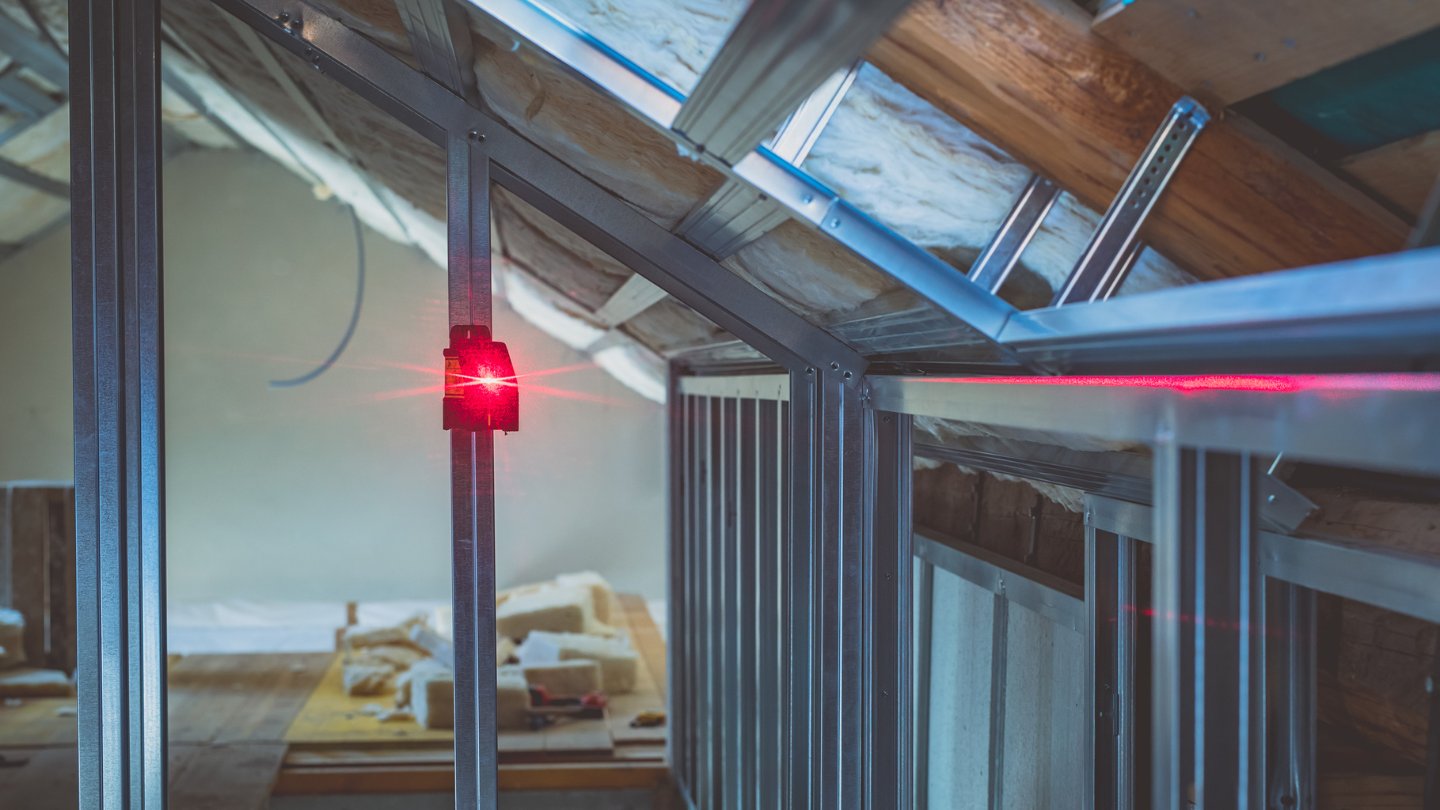
Installing the suspension system is a critical step in dropping the ceiling. The suspension system, which consists of the main runners (tees) and cross tees, provides support for the ceiling tiles. Here’s how you can install the suspension system:
- Start by determining the layout of the main runners (tees) and cross tees. The main runners should be installed perpendicular to the joists of the existing ceiling.
- Using wire hangers or wall angle brackets, attach the main runners to the existing ceiling or walls. Ensure that they are securely fastened and level.
- Measure the distance between the main runners and cut the cross tees to fit. These cross tees will be installed perpendicular to the main runners.
- Attach the cross tees to the main runners at regular intervals, following the manufacturer’s instructions.
- Continue installing the main runners and cross tees until the entire ceiling grid is complete.
- Double-check the alignment of the suspension system using a level and make any necessary adjustments.
It’s important to accurately install the suspension system, as it will determine the stability and levelness of the dropped ceiling. Take your time and ensure that each component is securely fastened and properly aligned.
With the suspension system in place, you’re now ready to move on to the next step, which involves cutting and installing the main tees.
Step 4: Cut and install the main tees
Now that you have the suspension system installed, it’s time to cut and install the main tees. The main tees are the long horizontal beams that run parallel to each other and provide the primary support for the dropped ceiling. Follow these steps to cut and install the main tees:
- Start by measuring the length required for the main tees. Cut them using a saw or tin snips, ensuring they fit snugly between the walls or the existing ceiling.
- Position the main tees onto the suspension system, ensuring that they align with the layout you’ve planned. Attach them securely using screws or clips, following the manufacturer’s instructions.
- Check the levelness of the main tees. Use a level and adjust any unevenness by loosening or tightening the screws as needed.
When cutting and installing the main tees, accuracy and levelness are key. A properly aligned and level suspension system will provide a solid foundation for the dropped ceiling and ensure a professional-looking installation.
Once you’ve completed this step, it’s time to move on to the next phase: installing the cross tees.
When dropping a ceiling, make sure to measure and plan carefully to ensure proper placement of the new ceiling and to avoid any potential issues with existing fixtures or utilities.
Read more: How To Install Can Lights In A Drop Ceiling
Step 5: Install the cross tees
With the main tees securely in place, it’s time to install the cross tees. These shorter horizontal beams will create the grid pattern that supports the ceiling tiles. Follow these steps to install the cross tees:
- Measure the distance between the installed main tees. Cut the cross tees using a saw or tin snips to fit between the main tees.
- Position the first cross tee perpendicular to the main tees, aligning it with the marked layout.
- Attach the cross tee to the main tees using screws or clips, following the manufacturer’s instructions.
- Continue installing the remaining cross tees at regular intervals, maintaining the desired grid pattern.
- Double-check the alignment and levelness of the cross tees. Use a level to ensure they are straight and adjust as necessary.
Properly installed cross tees are essential for creating a sturdy and visually appealing dropped ceiling. Take your time to ensure accurate measurements and secure attachments. This will ensure that the ceiling tiles fit properly and that the overall appearance of the dropped ceiling is professional.
Once you’ve completed the installation of the cross tees, it’s time to move on to the next step: attaching the ceiling tiles.
Step 6: Attach the ceiling tiles
With the suspension system and grid in place, it’s time to attach the ceiling tiles to create the finished dropped ceiling. Follow these steps to properly install the ceiling tiles:
- Start by placing the first ceiling tile in one corner of the grid. Push it up and slide it into position, ensuring that it fits securely.
- If necessary, trim the ceiling tiles to fit around any obstructions such as light fixtures or vents. Use a jigsaw or tile cutter to make precise cuts.
- Continue placing the remaining tiles, working from one side of the room to the other.
- Ensure that each tile is fully seated in the grid and level with the surrounding tiles.
- If using adhesive, apply a small amount to the back of each tile and press it firmly into place.
- Repeat this process until all the ceiling tiles have been installed.
Properly attached ceiling tiles will not only enhance the aesthetic appeal of the dropped ceiling but also provide sound absorption and insulation benefits. Take your time during installation to ensure a seamless and professional-looking finish.
Once all the ceiling tiles are in place, you can move on to the optional step of adding lighting fixtures to further enhance the functionality and ambiance of the room.
Step 7: Add lighting fixtures (optional)
If you want to enhance the lighting in your space, adding lighting fixtures to your dropped ceiling can be a great option. This step is optional but can have a significant impact on the overall ambiance and functionality of the room. Here’s how you can add lighting fixtures to your dropped ceiling:
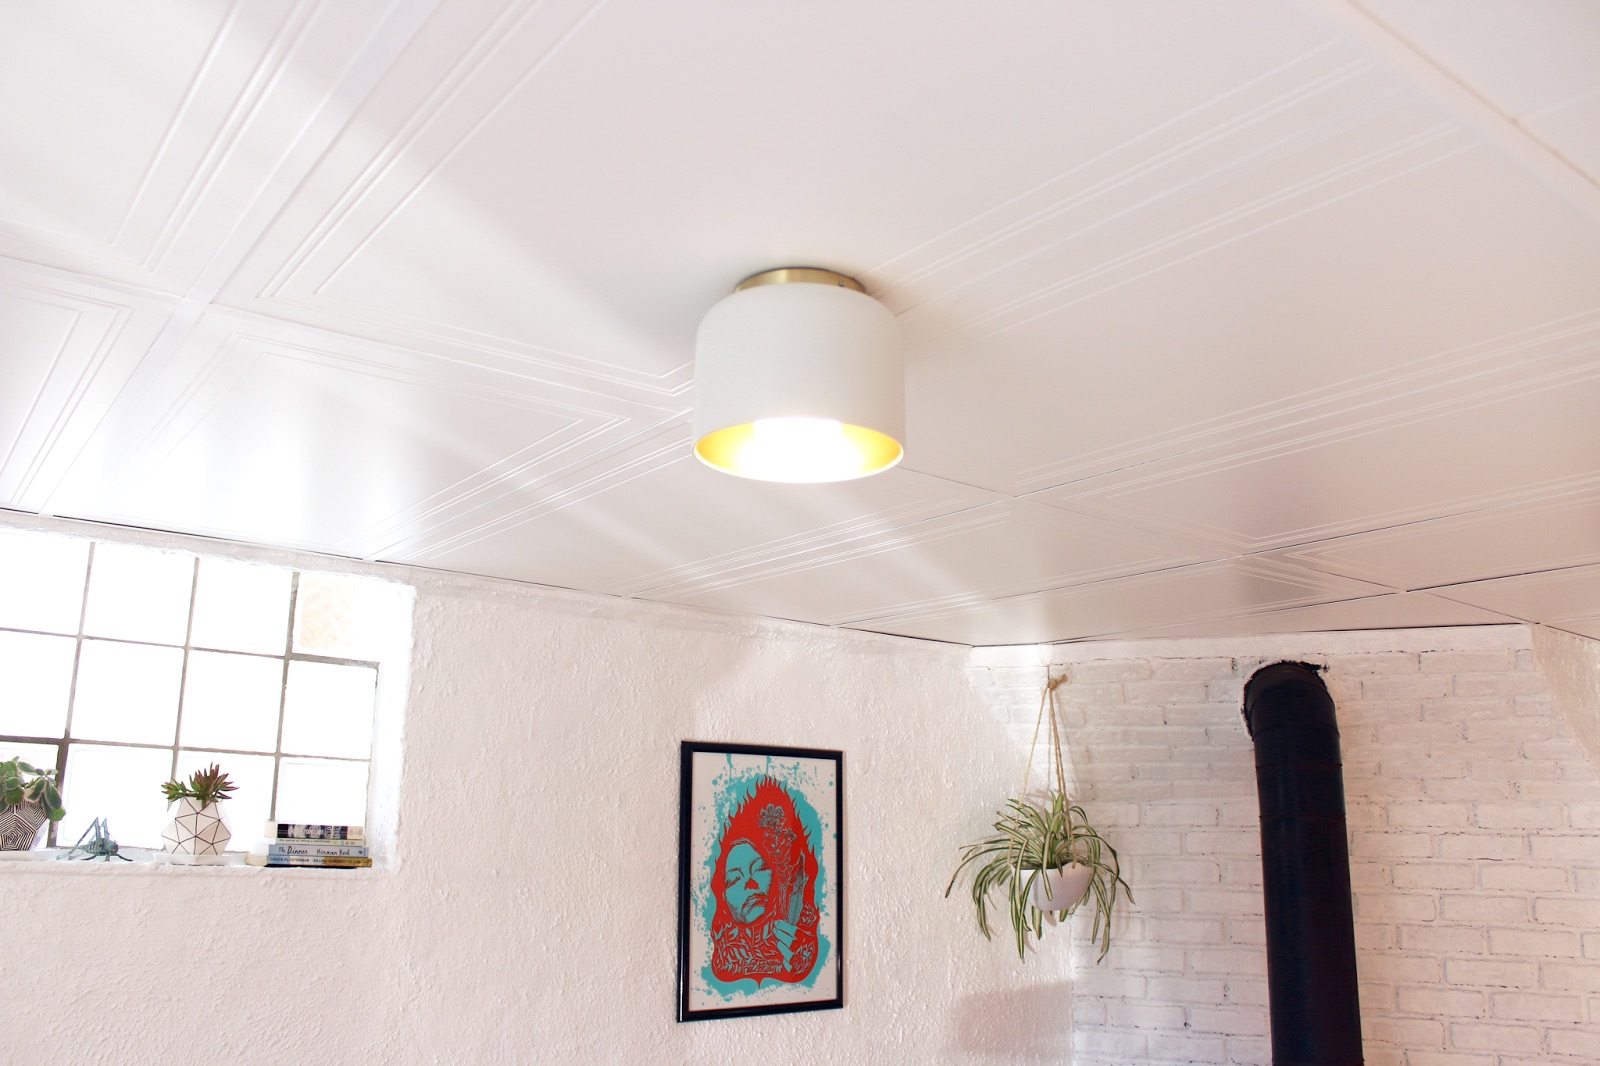
- Select the type of lighting fixture you want to install. This can include recessed lights, track lights, pendant lights, or any other suitable fixtures that fit your space and design preferences.
- Refer to the manufacturer’s installation instructions for your chosen lighting fixtures. Follow the recommended guidelines for placement and wiring.
- Mark the locations on the ceiling where you want to install the lighting fixtures. Ensure that these locations align with the layout of your dropped ceiling and avoid any obstructions such as main tees or ventilation ducts.
- Cut openings in the ceiling tiles to accommodate the lighting fixtures. Use a jigsaw or appropriate tools to make precise cuts, following the measurements and guidelines specified by the lighting fixture manufacturer.
- Install the lighting fixtures according to the manufacturer’s instructions. This may involve wiring the fixtures, securing them to the ceiling grid, and connecting them to the electrical source.
- Make sure to test the lighting fixtures to confirm they are functioning correctly before completing the installation.
Adding lighting fixtures to your dropped ceiling can have a dramatic effect on the overall aesthetic and functionality of the space. It’s essential to follow safety guidelines and consult with a professional electrician if necessary, to ensure proper installation and wiring.
Once you’ve added the desired lighting fixtures, you’re almost done. It’s time for the final step, which involves adding the finishing touches and completing the clean-up process.
Step 8: Finishing touches and clean-up
Congratulations, you’re in the final stage of dropping your ceiling! Step 8 involves adding the finishing touches and completing the clean-up process to ensure a polished and professional-looking result. Here’s what you need to do:
- Inspect the entire dropped ceiling for any loose tiles, misalignments, or gaps. Adjust and secure any tiles or components that may need attention.
- Use a damp cloth or sponge to clean the surface of the ceiling tiles, removing any dust or debris that may have accumulated during the installation process.
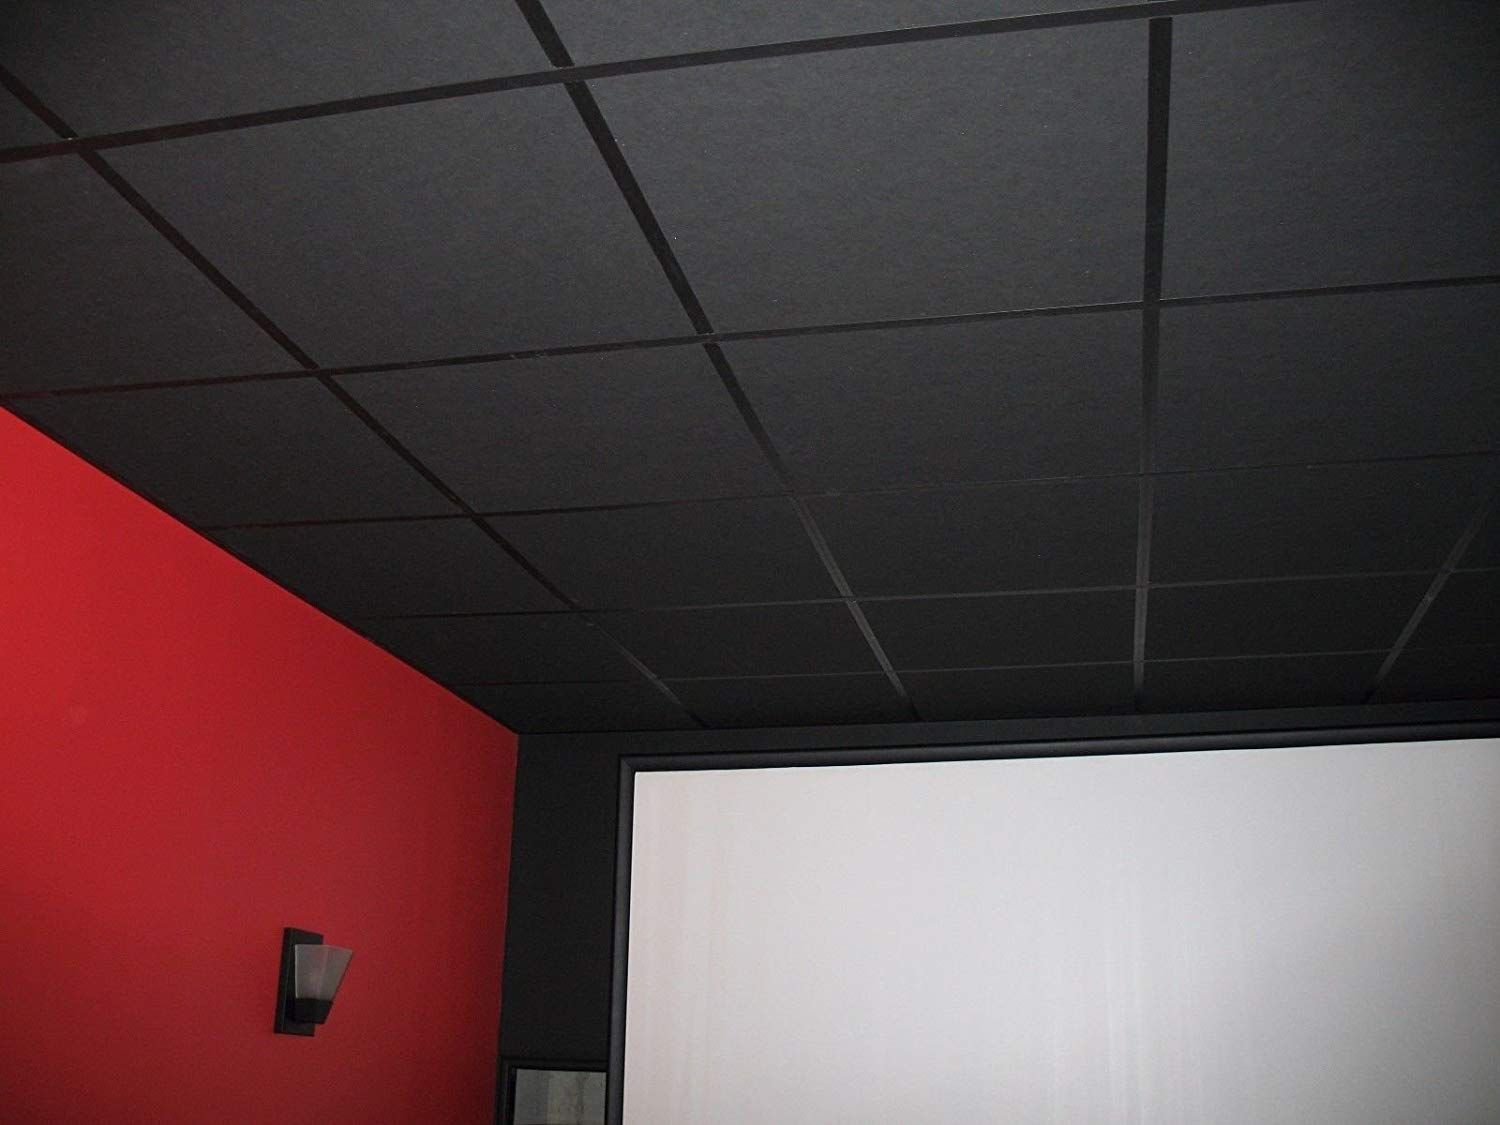
- If your ceiling tiles are paintable, you can consider painting them to further customize the look of your dropped ceiling. Follow the manufacturer’s recommendations for paint type and application.
- Once you’re satisfied with the appearance of your dropped ceiling, tidy up the area by removing any installation debris, tools, or equipment. Dispose of them properly or store them for future use.
- Inspect the surroundings to ensure that no damage has occurred during the installation process. Repair any minor damages, such as scratches or scuffs, as needed.
By paying attention to these finishing touches and performing a thorough clean-up, you’ll complete your dropped ceiling installation with a professional finish. Take a step back and admire the transformation you’ve achieved in your space!
As a final note, remember to follow any specific care or maintenance instructions provided by the manufacturers of your dropped ceiling materials and lighting fixtures. Proper maintenance will help ensure that your dropped ceiling remains in top condition for years to come.
Congratulations again on successfully dropping your ceiling! Enjoy your newly transformed space.
Read more: What Is A Drop Ceiling
Conclusion
Installing a dropped ceiling can be a rewarding project that adds style, functionality, and a fresh new look to any space. By following the step-by-step process outlined in this article, you now have the knowledge and confidence to transform your ceiling into a focal point that enhances the ambiance of your room.
Starting with gathering the necessary materials, measuring and marking the ceiling, installing the suspension system, cutting and installing the main tees, and then the cross tees, you’ve built a solid foundation for your dropped ceiling. Attaching the ceiling tiles and adding optional lighting fixtures further enhance the aesthetics and functionality of your new ceiling.
Throughout the process, it’s crucial to maintain accuracy, levelness, and attention to detail. Taking your time and following manufacturer instructions will ultimately lead to a polished and professional-looking dropped ceiling.
Remember, proper maintenance and care are essential to keep your dropped ceiling looking its best. Regular cleaning, addressing any damages promptly, and following manufacturer recommendations for care and maintenance will ensure the longevity of your dropped ceiling.
So, whether you’re renovating a home, updating an office space, or giving a room a much-needed facelift, dropping the ceiling can have a significant impact. Embrace your creativity, let your style shine through, and enjoy the transformation that a dropped ceiling brings to your space.
Now, it’s time to roll up your sleeves, gather the materials, and get started on creating the dropped ceiling of your dreams!
Frequently Asked Questions about How To Install A Drop Ceiling
Was this page helpful?
At Storables.com, we guarantee accurate and reliable information. Our content, validated by Expert Board Contributors, is crafted following stringent Editorial Policies. We're committed to providing you with well-researched, expert-backed insights for all your informational needs.





0 thoughts on “How To Install A Drop Ceiling”