
Articles
How Many Coats Of Paint On Ceiling
Modified: January 5, 2024
Learn how many coats of paint you need for your ceiling with our helpful articles. We provide expert advice and tips to achieve a smooth and flawless finish.
(Many of the links in this article redirect to a specific reviewed product. Your purchase of these products through affiliate links helps to generate commission for Storables.com, at no extra cost. Learn more)
Introduction
When it comes to painting a ceiling, one of the common questions that arise is how many coats of paint are needed for a perfect finish. The answer to this question is not as simple as one might think, as it depends on several factors that need to be taken into consideration. In this article, we will explore the factors that determine the number of coats needed, the importance of using a primer, tips for applying multiple coats, and more.
Before diving into the specifics, it’s important to understand that the number of coats required for a ceiling can vary based on individual preferences, the condition of the surface, and the type of paint being used. While some may achieve satisfactory results with one or two coats, others may find that three or more coats are necessary for a flawless and long-lasting finish.
Factors such as the color and sheen of the paint, the texture of the ceiling, and the presence of any stains or imperfections also play a role in determining the number of coats needed. Darker colors, for instance, may require additional coats to achieve full coverage and prevent any underlying stains from showing through.
In addition to the color and texture of the paint, the condition of the ceiling is equally important. A ceiling with existing damage or imperfections, such as cracks or water stains, may require extra coats to ensure proper coverage and a seamless finish. It’s essential to thoroughly examine and prepare the surface before applying any paint to achieve the best results.
Now that we have discussed some of the factors that determine the number of coats needed, let’s explore the importance of using a primer.
Key Takeaways:
- Achieving a flawless ceiling paint finish depends on factors like paint type, color, texture, and personal preference. Using a primer is crucial for adhesion, coverage, and color consistency, while applying thin, even coats and inspecting under good lighting ensures a professional result.
- Painting a ceiling is an art that requires patience, attention to detail, and the right techniques. Factors like coverage, color consistency, opacity, smoothness, and personal preference should guide the decision-making process for applying multiple coats.
Read more: How Many Coats Of Paint On Interior Walls
Factors to Consider
When deciding how many coats of paint to apply on a ceiling, there are several important factors to consider. These factors can greatly affect the overall outcome and longevity of the paint job. Let’s take a closer look at some of these factors.
- Type of Paint: The type of paint being used is a significant factor to consider. Different types of paint have different levels of coverage and opacity. For example, a high-quality, highly pigmented paint may require fewer coats compared to a lower quality or less opaque paint.
- Ceiling Color: The color of the ceiling can also influence the number of coats needed. Lighter colors tend to require fewer coats for full coverage, while darker colors may require more coats to achieve the desired result. It’s essential to factor in the color when determining the number of coats.
- Ceiling Texture: The texture of the ceiling can affect how evenly the paint is applied and how well it adheres to the surface. If the ceiling has a rough or textured finish, it may require more coats to ensure proper coverage and a smooth appearance.
- Existing Stains or Imperfections: If the ceiling has any stains, discolorations, or imperfections, it may require additional coats for proper coverage. Stains, water damage, or previous paint jobs that have not been properly prepared can affect how many coats are needed to achieve a flawless finish.
- Personal Preference: Personal preference also plays a role in determining the number of coats. Some individuals may be satisfied with a single coat, while others may prefer multiple coats for a more solid and uniform appearance.
Considering these factors can help you make an informed decision on how many coats of paint to apply on your ceiling. However, it’s important to note that each situation is unique, and it may be necessary to adjust the number of coats based on your specific circumstances and desired outcome.
Now that we understand the factors to consider, let’s move on to the importance of using a primer before painting the ceiling.
The Importance of Primer
Before embarking on a painting project, it’s crucial to understand the importance of using a primer, especially when it comes to painting a ceiling. A primer acts as a preparatory layer between the surface and the paint, providing several key benefits that contribute to a successful paint job.
Firstly, a primer helps improve the adhesion of the paint to the surface. Ceilings can be challenging to paint due to their vertical orientation, which can cause the paint to drip or sag. A primer creates a smooth and even surface for the paint to adhere to, allowing for better coverage and a more uniform finish. It also helps prevent the paint from peeling or flaking over time.
Additionally, a primer helps to seal the surface and prevent stains or discoloration from bleeding through the layers of paint. This is especially important when dealing with water stains, smoke damage, or other types of surface imperfections. By applying a primer, you can effectively block these stains and ensure that they don’t affect the final appearance of your ceiling.
Furthermore, using a primer can help reduce the number of coats of paint needed. Primers are typically formulated to have better coverage and opacity than regular paint. By applying a primer, you can achieve better color saturation and hide any underlying stains or imperfections with fewer coats of paint, ultimately saving you time and effort.
Lastly, a primer can also help with color consistency and durability. It provides a neutral base for the paint, ensuring that the intended color is accurately represented. It also helps the paint adhere better to the surface, enhancing its durability and longevity.
Overall, using a primer before painting your ceiling is a crucial step in achieving a professional-looking and long-lasting finish. It helps improve paint adhesion, seals the surface, reduces the number of coats required, and enhances color consistency and durability.
Now that we understand the importance of using a primer, let’s move on to the process of applying the first coat of paint on the ceiling.
Applying the First Coat
Once you have determined the number of coats required and have prepared the ceiling by using a primer, it’s time to apply the first coat of paint. This initial coat sets the foundation for the rest of the painting process, so it’s essential to approach it carefully and attentively.
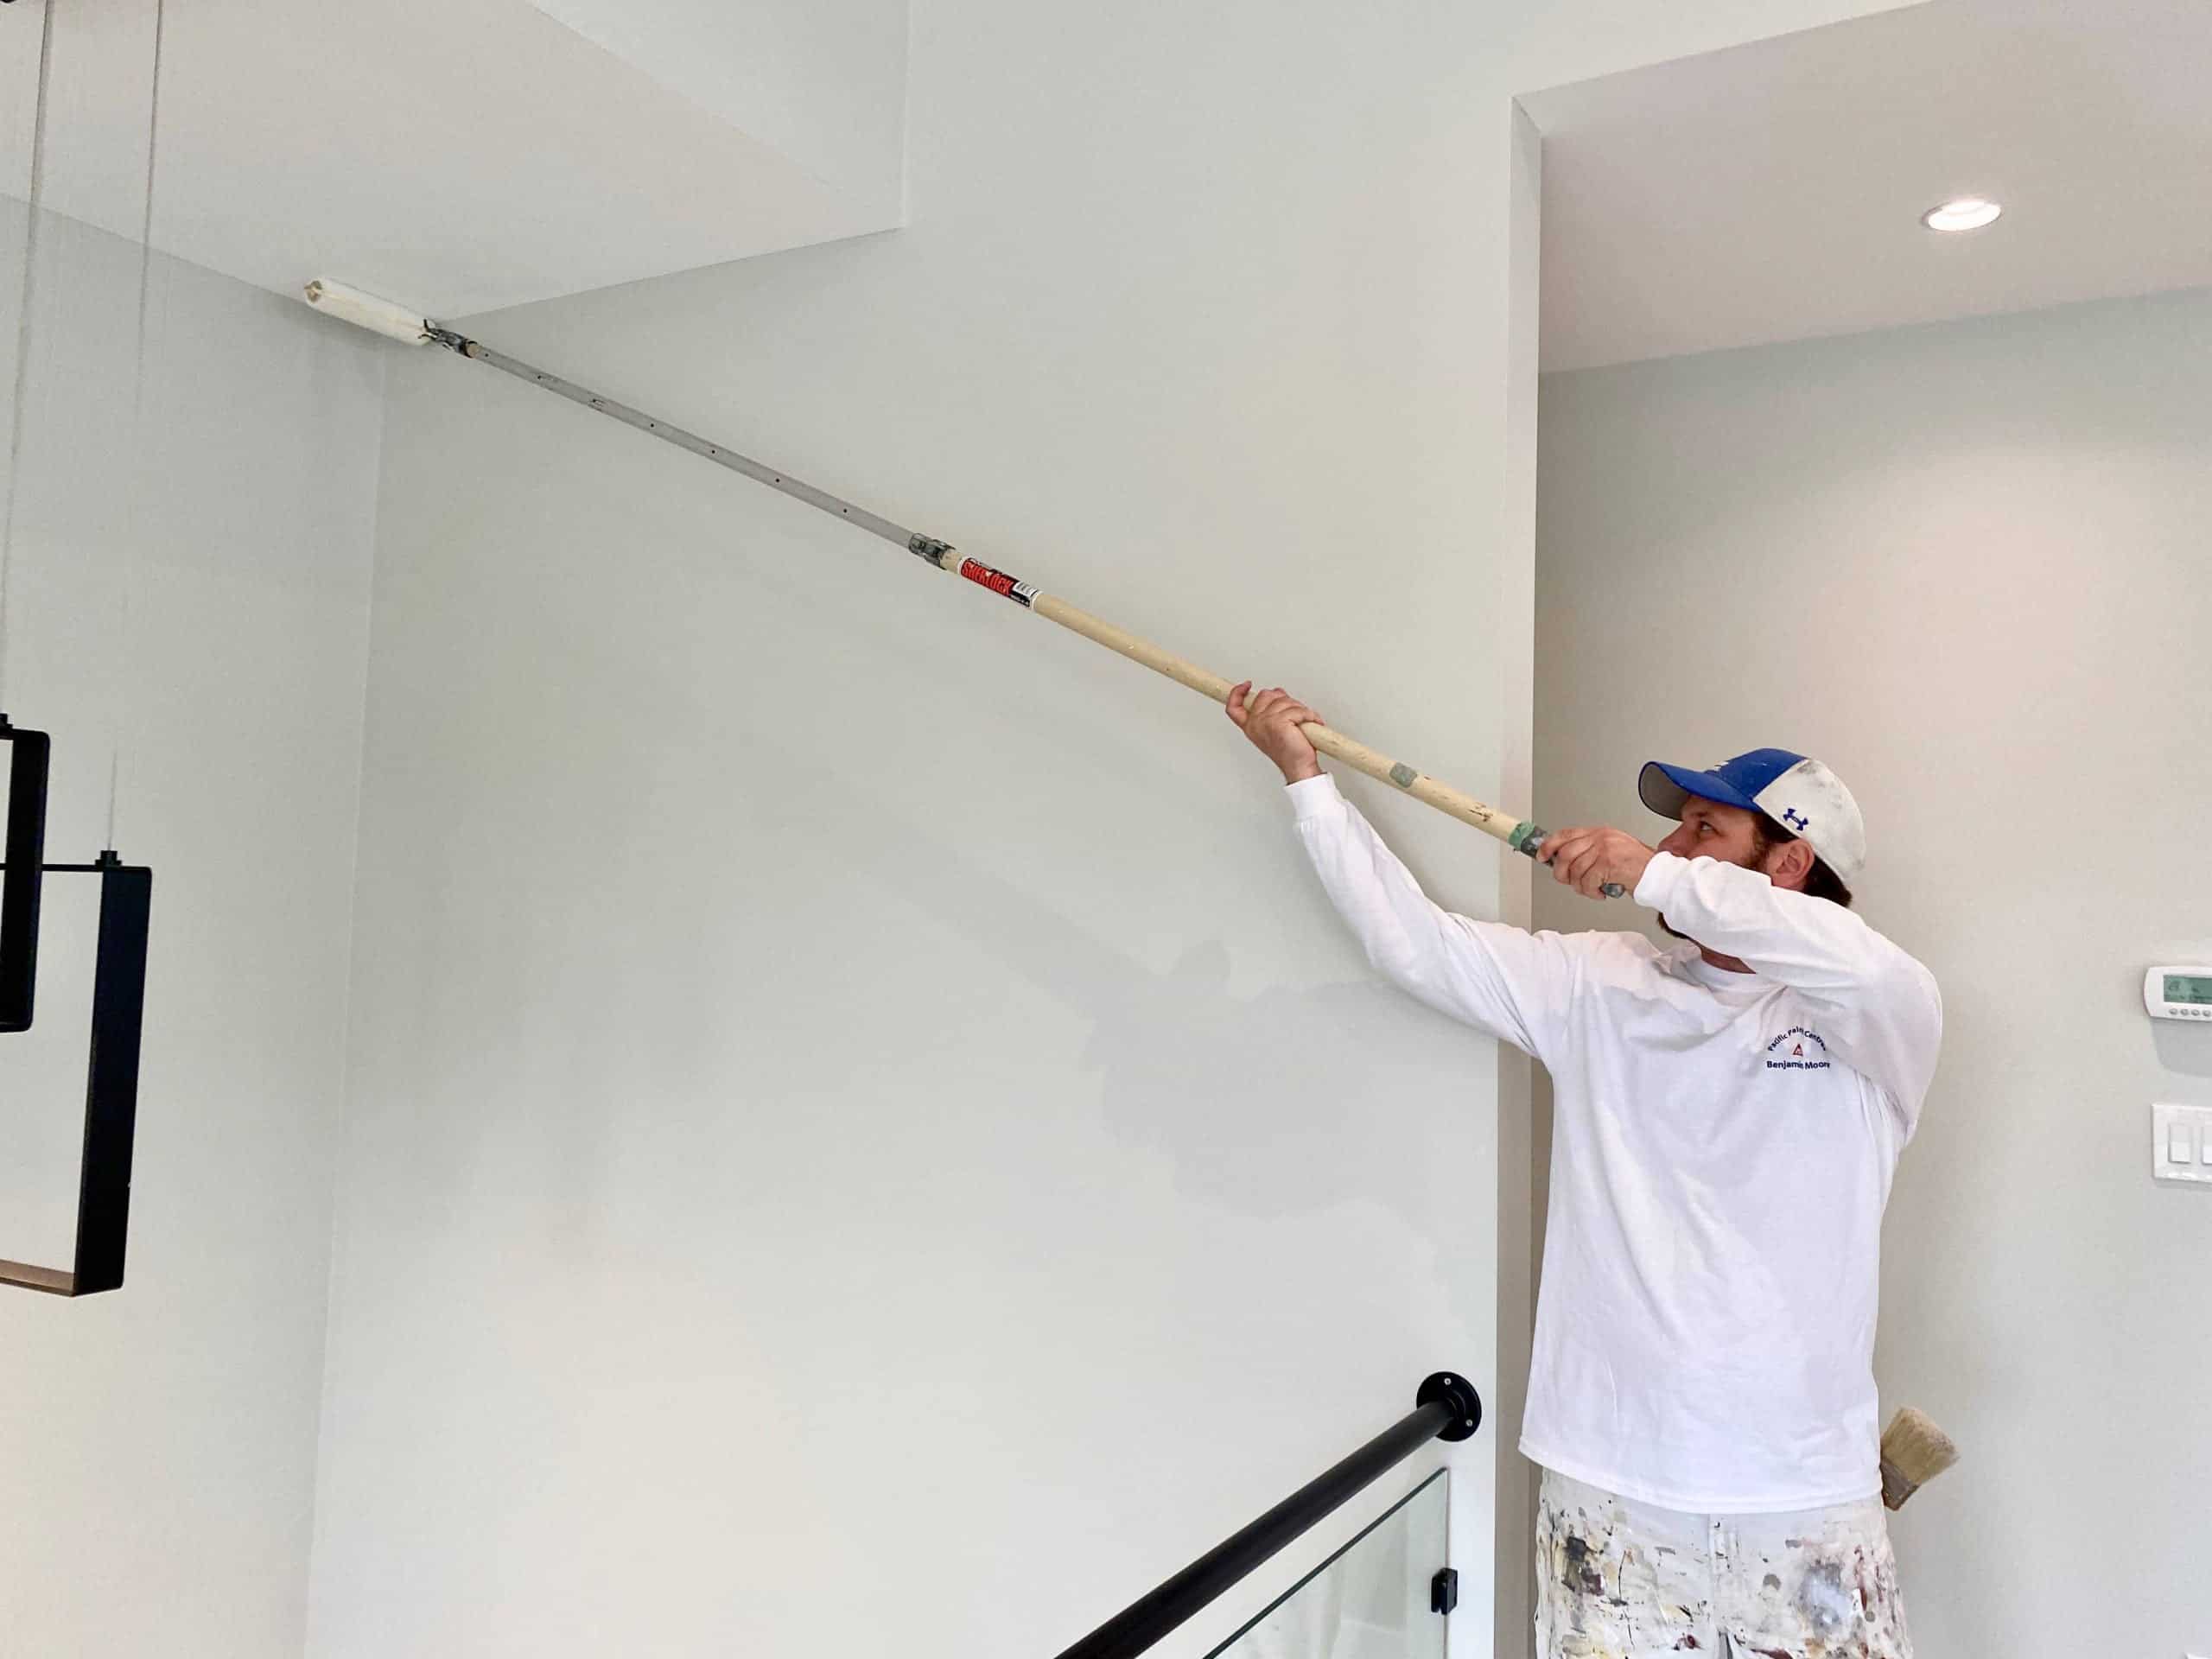
Before you begin, gather all the necessary painting supplies, including a roller, paint tray, extension pole (if needed), and drop cloths to protect the surrounding areas. Make sure the room is well-ventilated and adequately lit for optimal painting conditions.
Here is a step-by-step guide to help you apply the first coat of paint on your ceiling:
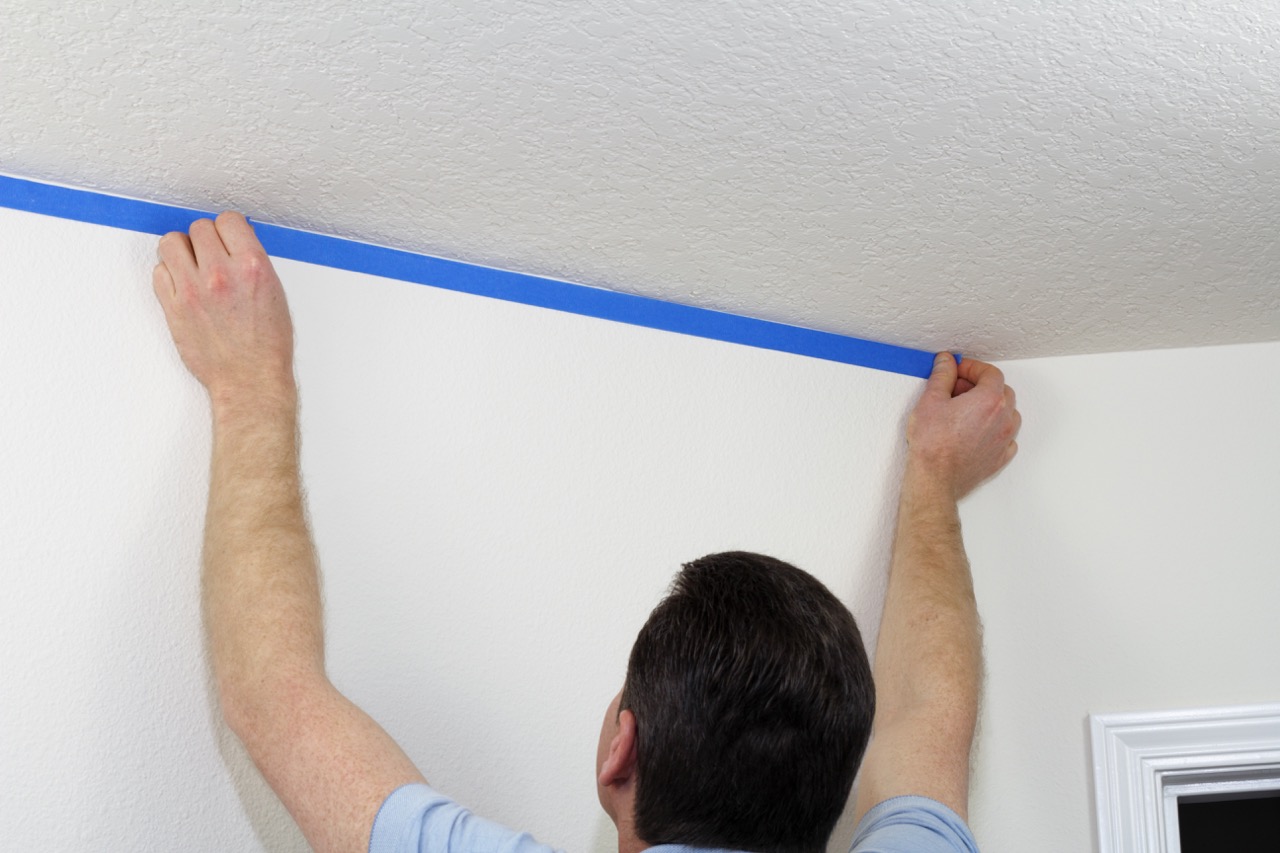
- Cut in the Edges: Start by using a brush to cut in the edges of the ceiling, working along the corners, edges, and around any fixtures or ceiling-mounted items. This will help create clean lines and prevent the paint from spreading onto adjacent surfaces.
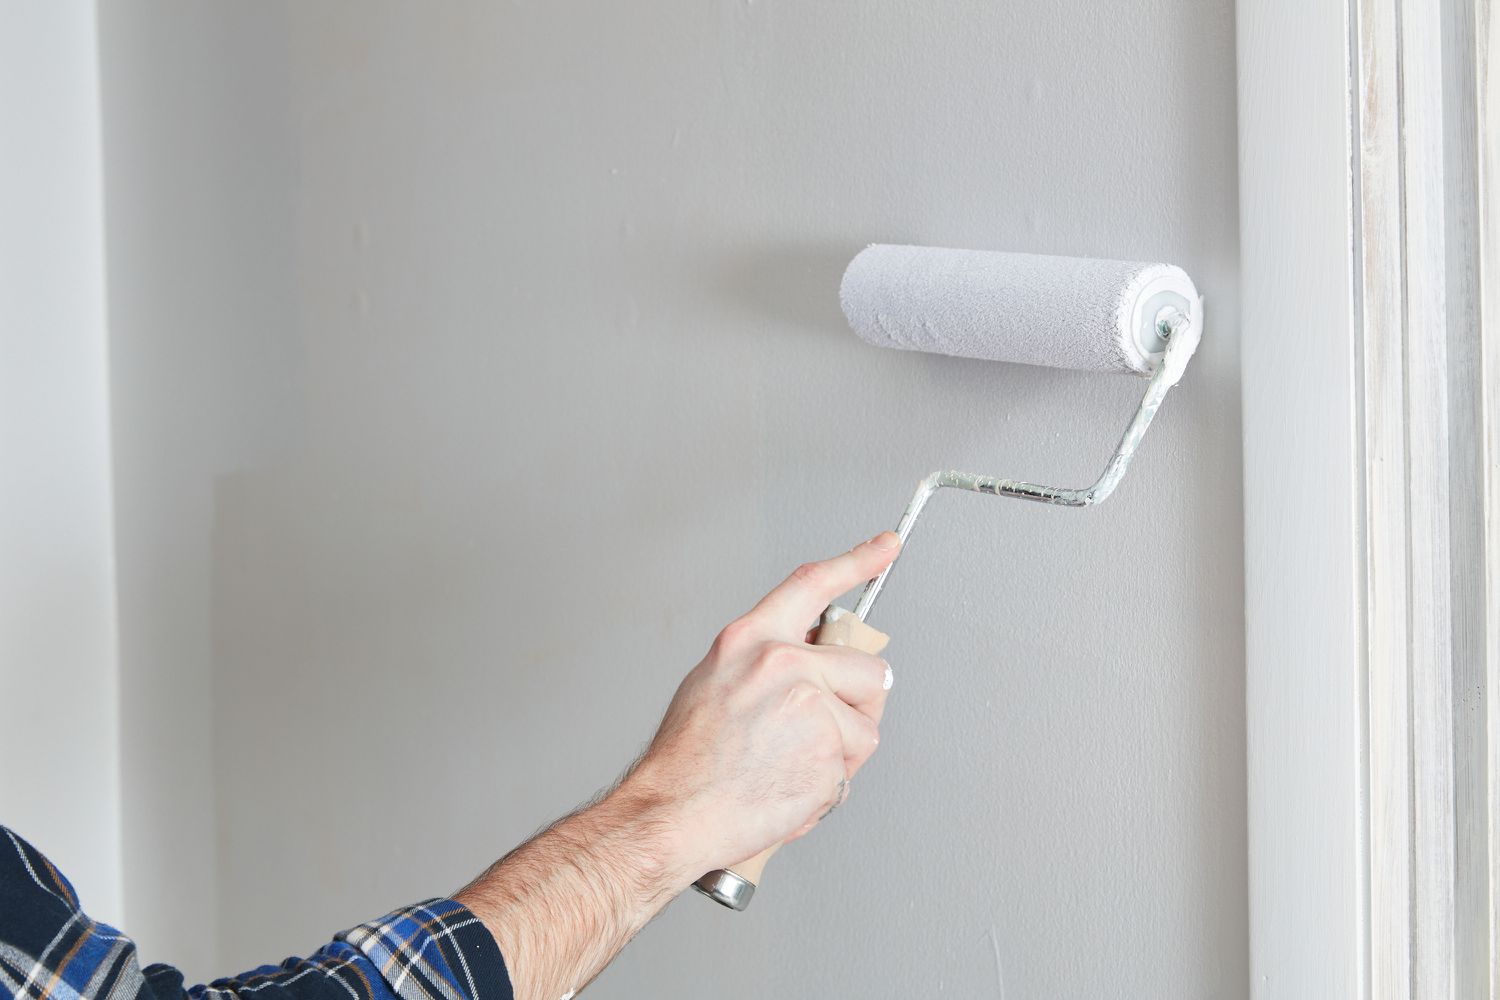
- Roll the Ceiling: Once you have cut in the edges, load the roller with paint from the tray. Begin by rolling the paint onto the ceiling in systematic sections, working in small 4×4-foot squares or rectangles. Use smooth and even strokes to apply an even layer of paint. Avoid applying excessive pressure, as it can lead to drips and uneven coverage.
- Overlap the Sections: As you move across the ceiling, make sure to slightly overlap the sections you have already painted. This will help blend the paint and create a seamless finish. Be mindful of maintaining a consistent amount of paint on the roller to ensure an even application.
- Work in Controlled Lighting: While painting, periodically inspect the ceiling from different angles and under various lighting conditions to identify any missed spots or uneven coverage. Adjust your painting technique as needed to ensure consistent coverage throughout.
- Allow for Drying Time: After applying the first coat, allow sufficient time for it to dry completely according to the manufacturer’s instructions. The drying time can vary depending on the type of paint and environmental conditions.
It’s essential to remember that the first coat may not provide full coverage, especially if you are using a lighter color over a darker surface. Multiple coats may be necessary to achieve the desired level of coverage and opacity.
Now that you have applied the first coat, it’s time to assess whether additional coats are needed. Let’s explore how to determine the need for additional coats in the next section.
When painting a ceiling, it is generally recommended to apply two coats of paint for even coverage and a professional finish. Be sure to allow the first coat to dry completely before applying the second coat.
Determining the Need for Additional Coats
After applying the first coat of paint on your ceiling, it’s essential to evaluate whether additional coats are required to achieve the desired result. Determining the need for additional coats involves assessing the coverage, color consistency, and overall appearance of the painted surface.
Here are a few factors to consider when determining the need for additional coats:
- Coverage: Take a close look at the painted surface and assess the level of coverage achieved with the first coat. If you can see any underlying surface or if there are areas where the paint appears thin or uneven, it may be necessary to apply another coat for better coverage.
- Color Consistency: Check the color consistency of the painted surface. If you notice any variations in shade or if the color appears patchy or streaky, additional coats may be necessary to achieve a more uniform and consistent color tone.
- Opacity: Consider the opacity of the paint. If you are using a lighter color over a darker surface, multiple coats may be needed to achieve full opacity and prevent any underlying stains or colors from showing through.
- Smoothness: Assess the smoothness of the painted surface. If there are any visible brush or roller marks, drips, or texture inconsistencies, additional coats can help create a smoother and more even finish.
- Personal Preference: Ultimately, personal preference plays a role in determining the need for additional coats. If you are not satisfied with the current appearance or if you desire a more solid and uniform finish, applying another coat or two can help achieve the desired result.
When deciding whether to apply additional coats, it’s important to allow sufficient drying time between coats, as mentioned in the manufacturer’s instructions. Rushing the process and applying new coats too quickly can result in improper adhesion, streakiness, or damage to the underlying layers.
By carefully evaluating the coverage, color consistency, opacity, smoothness, and personal preference, you can determine whether additional coats of paint are necessary to achieve the desired outcome.
Now that we have discussed the factors for determining the need for additional coats, let’s move on to some helpful tips for applying multiple coats of paint on a ceiling.
Read more: How Many Coats Of Polyurethane On Floor
Tips for Applying Multiple Coats
When it comes to applying multiple coats of paint on a ceiling, there are several tips and techniques that can help you achieve a smooth and professional-looking finish. Here are some helpful tips to keep in mind:
- Sand Between Coats: After each coat of paint has dried, lightly sand the surface using fine-grit sandpaper. This helps smooth out any imperfections, such as brush or roller marks, and prepares the surface for the next coat.
- Use High-Quality Tools: Invest in high-quality paint brushes, rollers, and extension poles to ensure smooth and even application. Quality tools can make a significant difference in the overall outcome of your paint job.
- Apply Thin Coats: When applying multiple coats, it’s best to apply thin and even layers of paint. Avoid overloading the roller or brush with paint, as this can lead to drips, uneven coverage, and a longer drying time.
- Allow Adequate Drying Time: Be patient and allow each coat of paint to dry completely before applying the next one. This will help prevent smudging or lifting of the underlying layers and ensure proper adhesion of the subsequent coats.
- Blend Edges: To create a seamless and uniform finish, carefully blend the edges of each new coat with the adjacent areas. Feather the paint strokes to achieve a smooth transition between coats.
- Work with Good Lighting: Adequate lighting is crucial when applying multiple coats. It helps you identify any missed spots, streaks, or texture inconsistencies. Natural light or bright LED lighting is ideal for accurate color representation and even coverage.
- Inspect and Touch Up: Once you have applied all the necessary coats, inspect the painted surface under different lighting conditions. Look for any missed spots or areas that need touch-ups. Use a small brush to carefully touch up those areas and achieve a flawless finish.
- Clean Up Properly: After you have completed the painting process, make sure to properly clean your brushes, rollers, and other tools. Follow the manufacturer’s instructions for cleaning and storage to ensure their longevity.
By following these tips and techniques, you can ensure a smoother application, better coverage, and a more professional-looking final result when applying multiple coats of paint on your ceiling.
Now that we have covered the tips for applying multiple coats, let’s wrap up the article.
Conclusion
Painting a ceiling involves several considerations, including the number of coats required to achieve a flawless finish. While the number of coats can vary depending on factors such as paint type, ceiling color, texture, existing stains or imperfections, and personal preference, it’s important to approach each painting project with care and attention to detail.
The use of a primer is crucial in ensuring proper adhesion, coverage, and color consistency. It creates a smooth surface, seals any stains or imperfections, and reduces the number of coats required. Applying the first coat of paint requires careful cutting in and rolling techniques to achieve an even and uniform application.
After assessing the coverage, color consistency, and overall appearance of the first coat, you can determine whether additional coats are necessary. Factors like coverage, color consistency, opacity, smoothness, and personal preference should guide this decision-making process.
When applying multiple coats, follow tips such as sanding between coats, using high-quality tools, applying thin coats, allowing adequate drying time, blending edges, and working with good lighting. Don’t forget to inspect and touch up any missed spots before cleaning up your painting materials.
Remember, painting a ceiling is an art that requires patience, attention to detail, and the right techniques. By following these guidelines and considering the specific needs of your project, you can achieve a beautiful and long-lasting finish on your ceiling.
So, go ahead and transform your ceiling with a fresh coat of paint, and enjoy the refreshed look and ambiance it brings to your space.
Frequently Asked Questions about How Many Coats Of Paint On Ceiling
Was this page helpful?
At Storables.com, we guarantee accurate and reliable information. Our content, validated by Expert Board Contributors, is crafted following stringent Editorial Policies. We're committed to providing you with well-researched, expert-backed insights for all your informational needs.




0 thoughts on “How Many Coats Of Paint On Ceiling”