
Articles
How Much Does It Cost To Texture A Ceiling
Modified: May 6, 2024
Find out the average cost to texture a ceiling in this comprehensive article. Get tips, advice, and estimates for your next home improvement project.
(Many of the links in this article redirect to a specific reviewed product. Your purchase of these products through affiliate links helps to generate commission for Storables.com, at no extra cost. Learn more)
Introduction
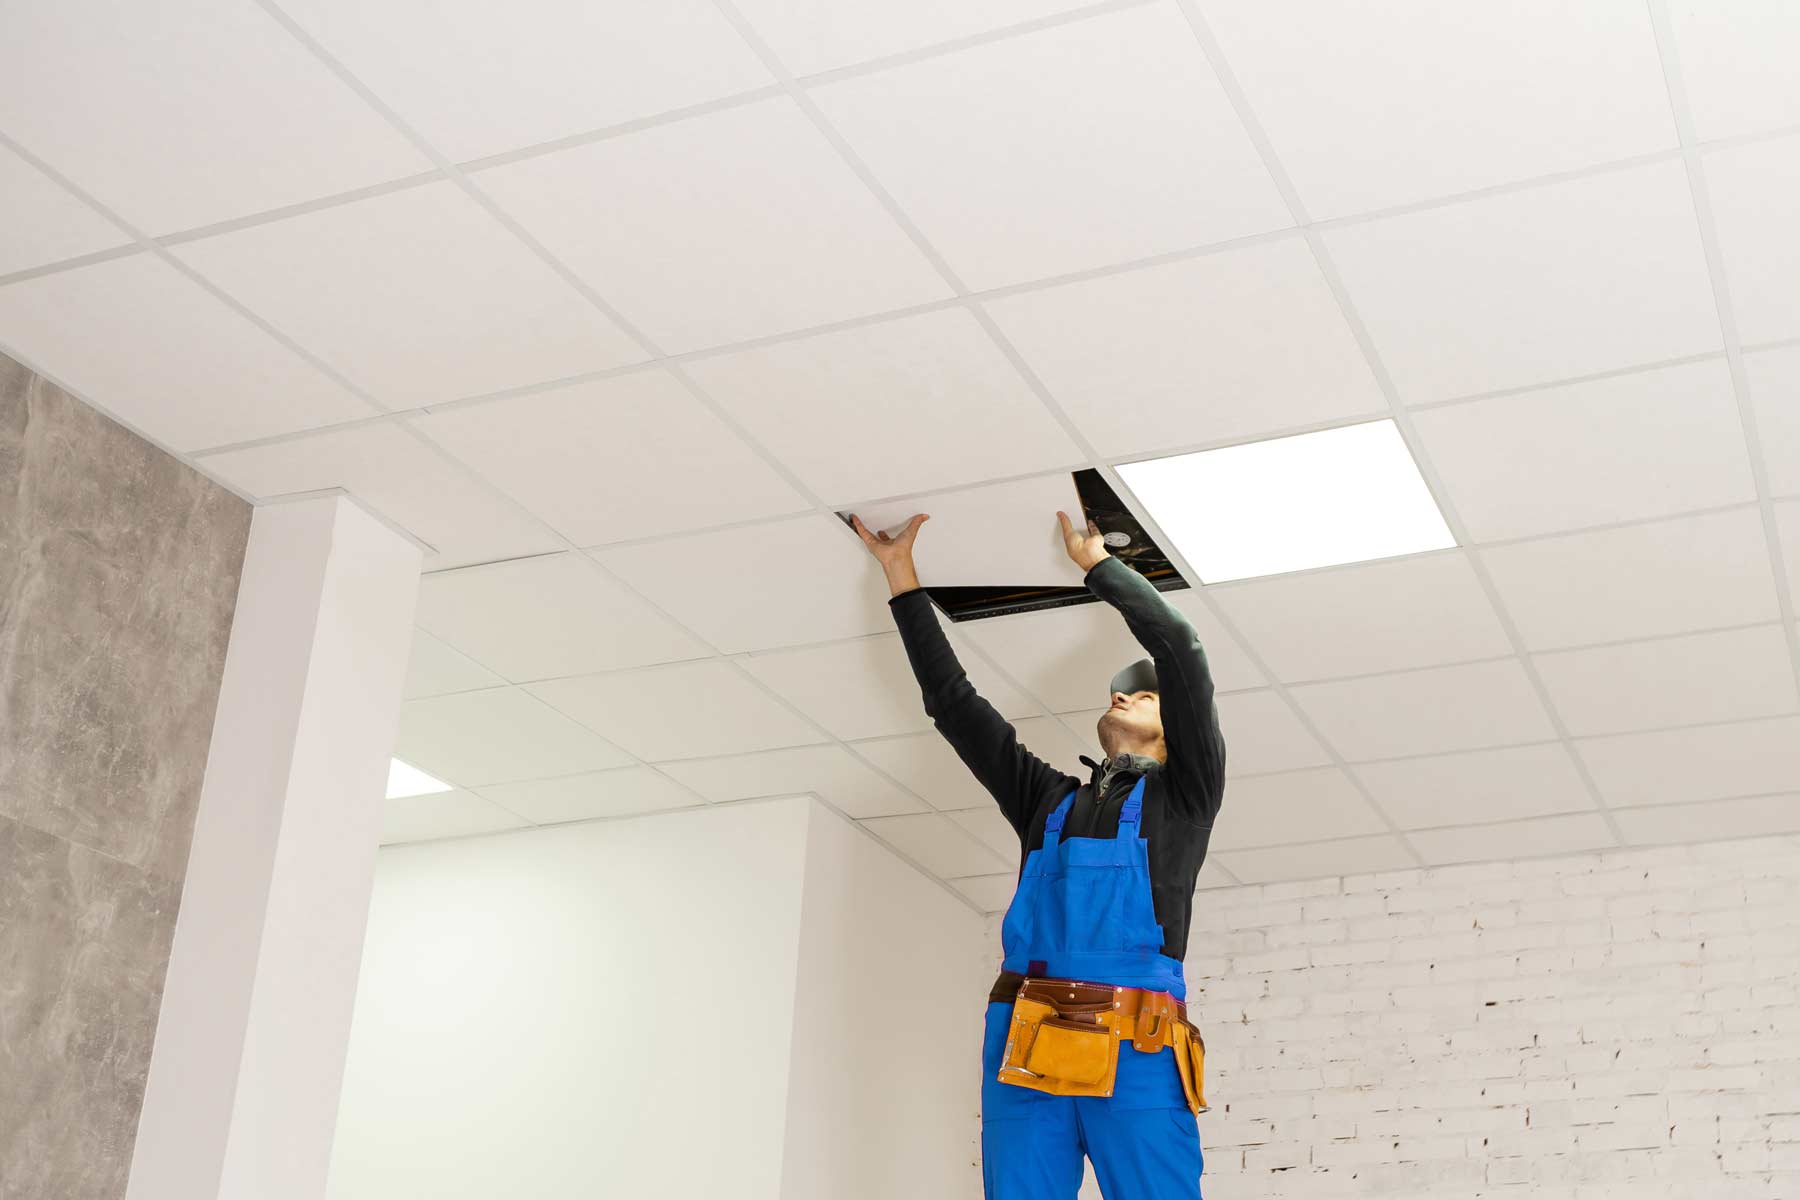
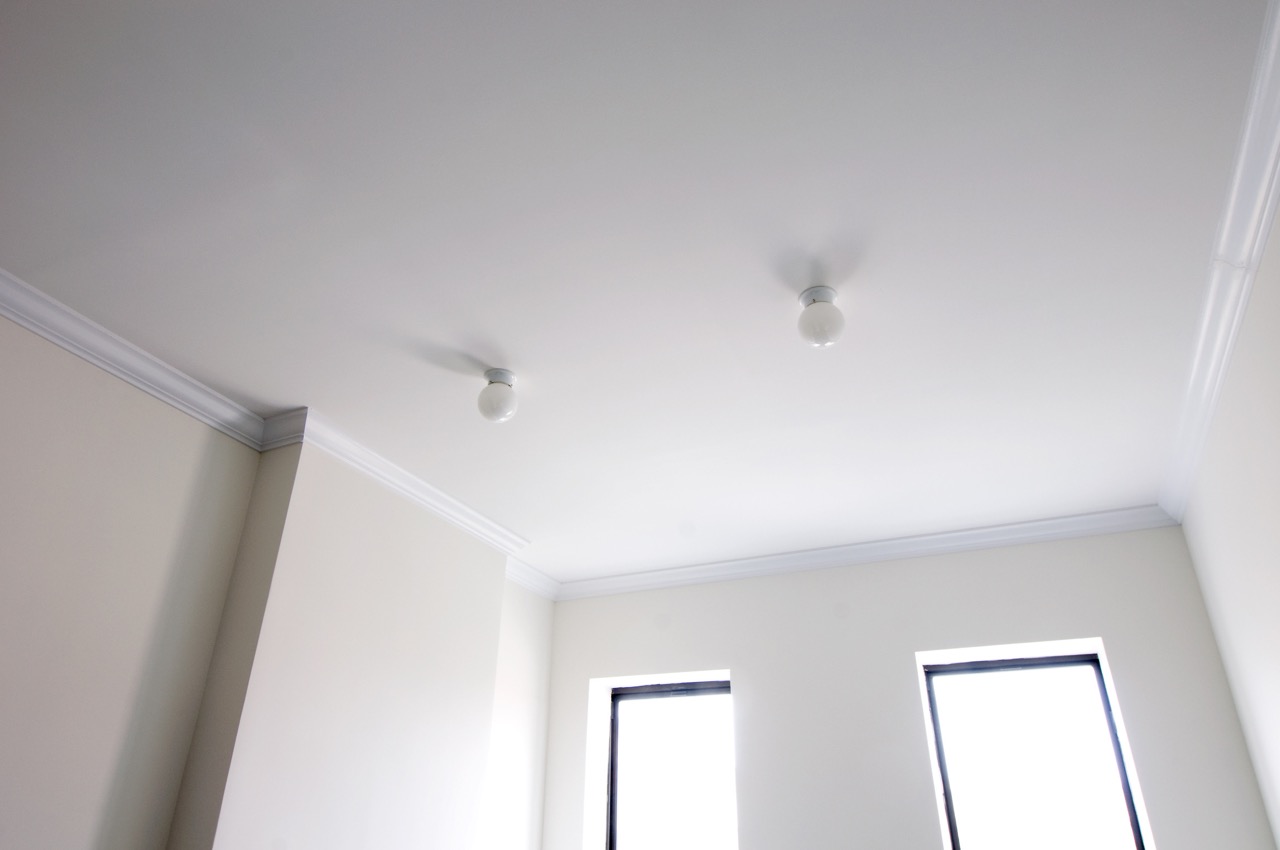
Textured ceilings can add visual interest and depth to a room, giving it a unique and stylish look. Whether you’re renovating your home or just looking to refresh the appearance of a space, texturing the ceiling can make a significant difference. However, before embarking on a project like this, it’s important to understand the cost involved.
The cost of texturing a ceiling can vary depending on various factors, such as the type of texture you choose, the size of the area to be textured, the condition of the existing ceiling, and whether you decide to hire a professional or tackle the job yourself. In this article, we’ll explore these factors and provide you with an overview of the average cost of different ceiling textures.
It’s always helpful to have an idea of the cost involved before starting any home improvement project. By understanding the cost factors and different options available, you can make an informed decision that suits your budget and desired outcome. So, let’s dive into the factors that affect the cost of texturing ceilings.
Key Takeaways:
- Texturing a ceiling can add depth and character to a room, but costs vary based on factors like size, texture type, and location. Consider DIY or professional services for a high-quality finish within budget.
- When planning a ceiling texturing project, factor in additional costs like repairs, painting, permits, and professional services. Consider cost-effective tips and various texture options to achieve a visually appealing result while staying within budget.
Read more: How Much Does Ceiling Repair Cost
Factors Affecting the Cost of Texturing Ceilings
Several factors come into play when determining the cost of texturing a ceiling. These factors can significantly impact the final price you’ll pay for the project. Let’s take a closer look at the key factors affecting the cost:
- Size of the Area: The size of the area to be textured is one of the primary factors that influence the cost. It’s evident that a larger area will require more materials and time to complete, resulting in a higher overall cost. Conversely, smaller areas will be less expensive to texture.
- Type of Texture: The type of texture you choose for your ceiling can also affect the cost. There are various texture options available, such as popcorn, knockdown, swirl, and stucco. Each texture requires different materials and techniques, which can influence the cost. Some textures may require more labor-intensive work, resulting in higher prices.
- Condition of the Ceiling: The condition of your existing ceiling can impact the cost of texturing. If your ceiling requires repairs or preparation work before the texture can be applied, such as patching up holes or removing old texture, this will add to the overall cost. It’s essential to thoroughly assess the condition of the ceiling before starting the texturing process.
- Complexity of the Design: The complexity of the texture design you want can also affect the cost. Intricate or custom designs may require more skill, time, and effort to achieve, which can result in higher costs. Simple designs, such as a basic popcorn texture, are generally more affordable.
- Accessibility: The accessibility of the ceiling can impact the cost of texturing. If the ceiling is difficult to reach or requires specialized equipment, such as scaffolding or ladders, the cost may be higher. Accessibility issues can increase the labor and time needed to complete the project.
- Location: The cost of texturing ceilings can also vary depending on your geographic location. Labor and material costs can differ from one region to another. It’s a good idea to research local pricing trends to get a better understanding of what to expect in your area.
By considering these factors, you can get a clearer picture of the potential cost involved in texturing your ceiling. Remember to take into account your specific requirements and consult with professionals for accurate estimates.
Different Types of Ceiling Textures
When it comes to texturing your ceiling, there are various options available, each with its own unique look and feel. Here are some of the most popular types of ceiling textures:
- Popcorn Texture: Popcorn texture, also known as acoustic or cottage cheese texture, was a popular choice in the past. It has a bumpy, textured surface that can help to hide imperfections. However, in recent years, popcorn texture has fallen out of favor due to its dated appearance.
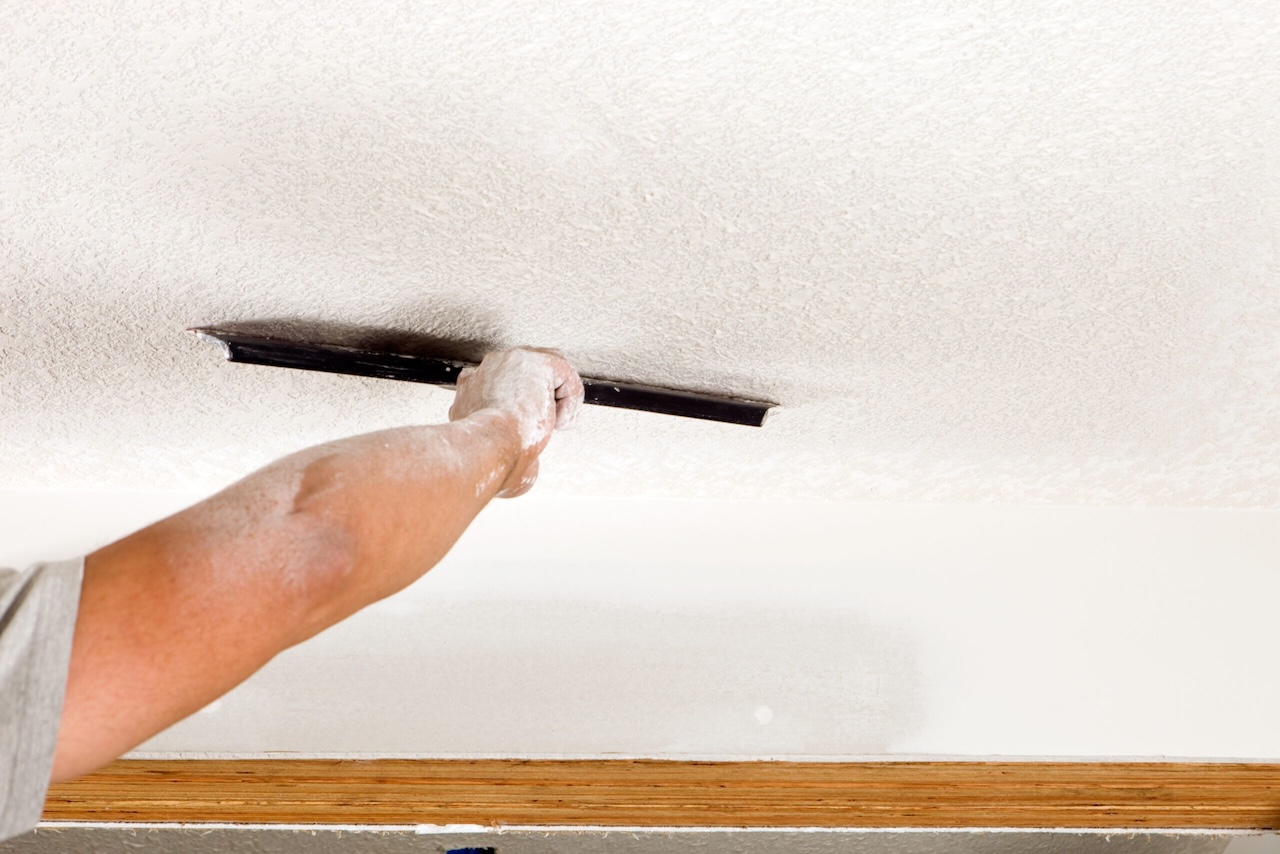
- Knockdown Texture: Knockdown texture is a popular choice for homeowners looking for a modern and subtle textured finish. It involves spraying joint compound onto the ceiling and then using a trowel to flatten the peaks, creating a textured, mottled effect. This texture provides a visually appealing look while still being relatively easy to clean and maintain.
- Swirl Texture: Swirl texture is a more decorative option that adds elegance and visual interest to a ceiling. It features swirling patterns created using a brush or trowel. The swirls can be tight and uniform or looser for a more artistic, free-flowing look.
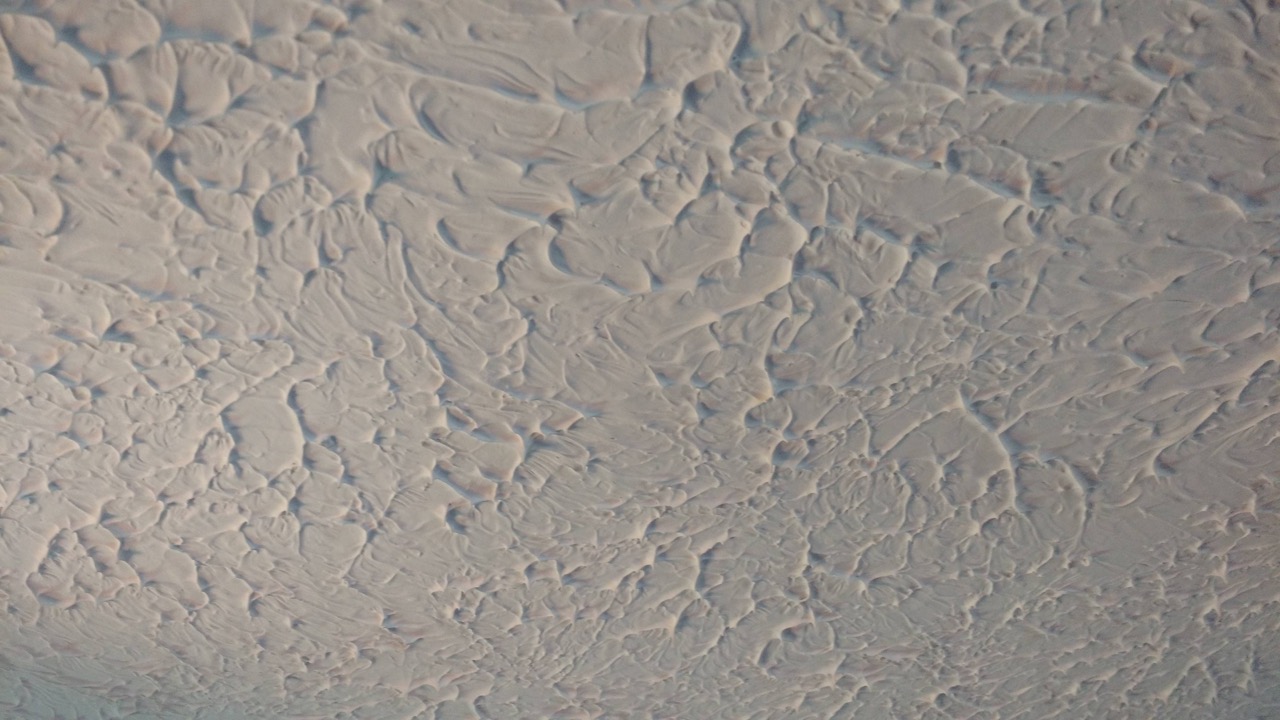
- Stomp Texture: Stomp texture, also known as “slap brush” or “crows-foot” texture, is characterized by its rough, textured appearance. It is achieved by using a brush or stomping brush to create a pattern resembling the texture of dried mud. Stomp texture can add depth and a rustic feel to a room.
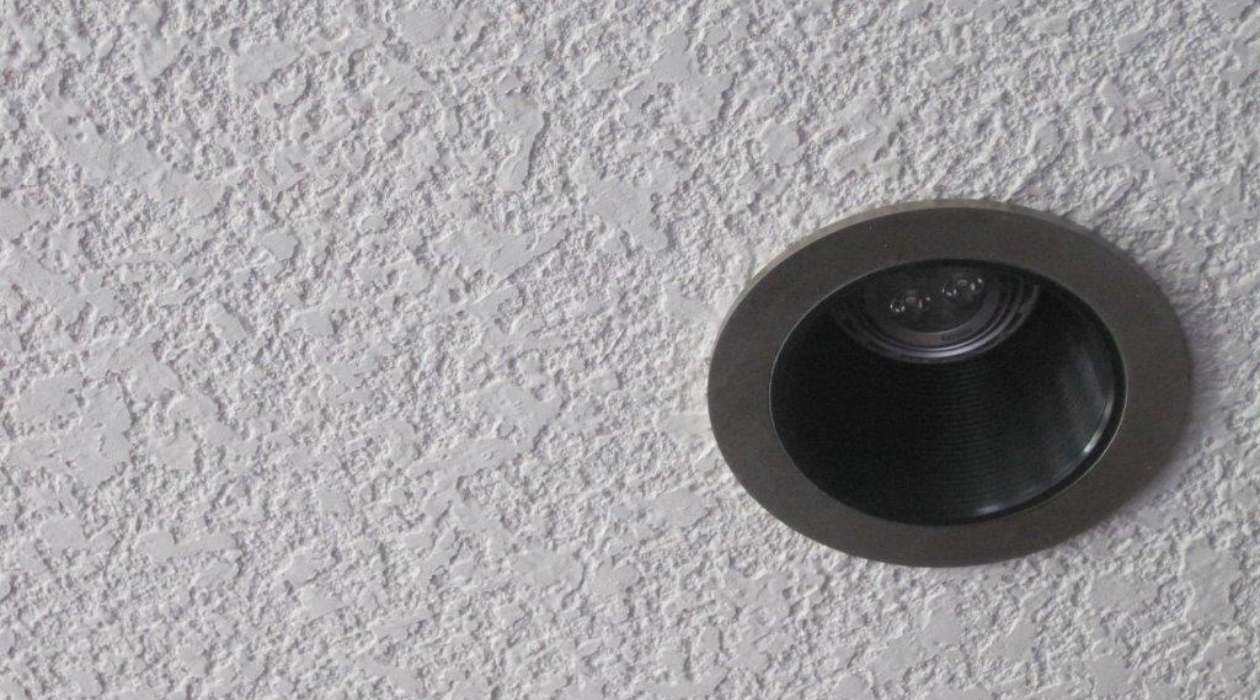
- Orange Peel Texture: Orange peel texture gets its name from the resemblance it has to the skin of an orange. It has a slightly bumpy texture that provides a subtle, elegant look. This texture is achieved by spraying a mixture of joint compound and water onto the ceiling, creating small bumps that mimic the texture of an orange peel.
These are just a few examples of the many types of ceiling textures available. Each texture option can bring a unique aesthetic to your space. When deciding on the right texture for your ceiling, consider the overall style of the room and your personal preferences.
It’s worth noting that some textures, such as popcorn texture, may need to be removed before applying a new texture. This additional step can increase the overall cost of the project. Consulting with a professional can help you choose the best texture for your ceiling while considering your budget and desired outcome.
Average Cost of Different Ceiling Textures
The cost of texturing a ceiling can vary depending on the type of texture you choose and the size of the area to be textured. While the prices can vary significantly, here is an estimate of the average cost for different ceiling textures:
- Popcorn Texture: The average cost for popcorn texture ranges from $1 to $3 per square foot. However, keep in mind that popcorn texture is less popular nowadays, and many homeowners choose to remove it due to its outdated appearance or potential health concerns.
- Knockdown Texture: The average cost for knockdown texture is typically around $2 to $6 per square foot. The price may vary depending on factors such as the complexity of the texture design and the condition of the ceiling.
- Swirl Texture: Swirl texture can cost between $3 and $8 per square foot, depending on the intricacy of the swirl design and the accessibility of the ceiling. Additional customization or artistic elements can increase the overall cost.
- Stomp Texture: The average cost for stomp texture is around $2 to $5 per square foot. The price can vary depending on factors such as the size of the area, the complexity of the texture, and any additional preparation or repair work required.
- Orange Peel Texture: The average cost for orange peel texture ranges from $2 to $6 per square foot. Factors such as the size of the area and the desired consistency of the texture can impact the overall cost.
It’s important to note that these are average cost ranges and can vary depending on factors such as your location, the contractor you hire, and any additional services required. It’s always a good idea to obtain quotes from multiple contractors to compare prices and ensure you’re getting a fair price for the desired texture.
Remember, these estimates do not include the cost of any necessary repairs or preparation work. If your ceiling requires patching, smoothing, or removal of existing texture, these additional services will increase the overall cost of the project.
By understanding the average cost range for different ceiling textures, you can better plan and budget for your project. It’s recommended to consult with professionals to get accurate estimates based on your specific requirements and the condition of your ceiling.
Consider the size of the ceiling and the type of texture you want. On average, the cost can range from $1.50 to $3.00 per square foot for professional installation. DIY options are also available for a lower cost.
Additional Costs to Consider
When budgeting for your ceiling texturing project, it’s important to take into account any additional costs that may arise. Here are some additional expenses to consider:
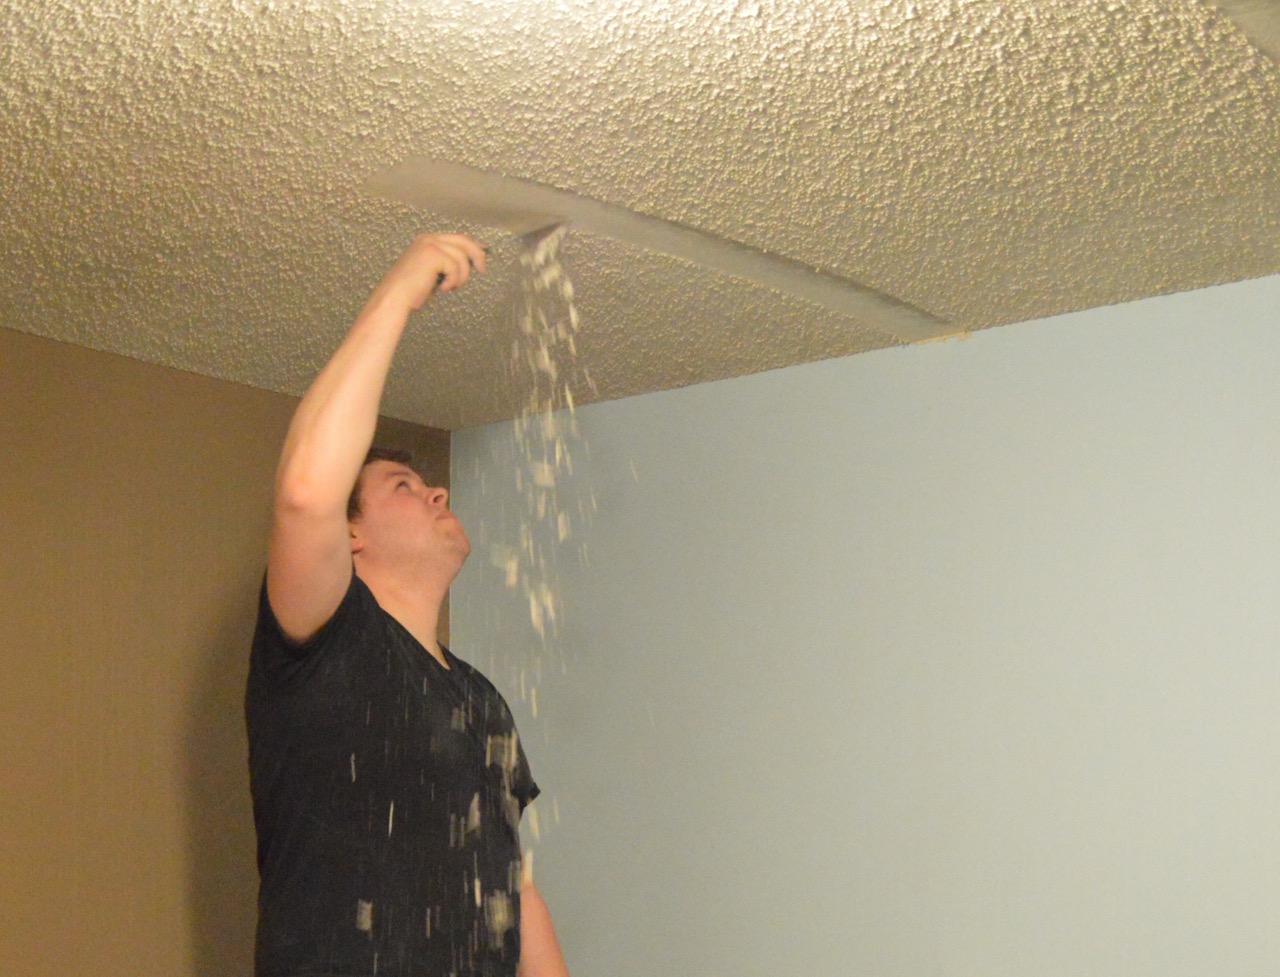
- Repairs and Preparations: If your ceiling requires repairs or preparation work before the texturing can be applied, such as patching holes or removing old texture, this will incur additional costs. It’s essential to assess the condition of your ceiling and address any necessary repairs before proceeding with the texturing process.
- Painting: After the texturing is done, you may want to paint the ceiling to further enhance its appearance. Painting costs will vary depending on factors such as the size of the area, the complexity of the design, and the type of paint you choose. It’s important to include painting costs in your budget if you plan on having a painted ceiling.
- Permits and Permissions: Depending on your local regulations, you may need to obtain permits or permissions before starting any ceiling texturing project. Be sure to check with your local authorities to determine if any permits or permissions are required and factor in the associated costs.
- Professional Services: Hiring a professional contractor to texture your ceiling will incur additional costs. The cost of professional services will depend on various factors, including the size of the area, the complexity of the texture, and the contractor’s rates. Obtaining multiple quotes from reputable contractors will help you determine the average price range for your project.
- Cleanup and Disposal: Once the texturing project is complete, there may be a need for cleanup and disposal of any debris or leftover materials. This may involve renting a dumpster or hiring a disposal service. Be sure to include these costs in your budget to ensure a smooth and hassle-free completion of the project.
By considering these additional costs, you can avoid budget surprises and have a more accurate understanding of the total investment required for your ceiling texturing project. It’s always recommended to consult with professionals and obtain detailed quotes that include any potential additional expenses.
Remember, it’s essential to balance cost considerations with the quality of work and desired outcome. Investing in professional services and quality materials can ensure a beautiful, long-lasting ceiling texture that adds value to your home.
Read more: How Much Does It Cost To Replace Ceiling
DIY vs. Hiring a Professional
One of the crucial decisions you’ll have to make when planning your ceiling texturing project is whether to do it yourself (DIY) or hire a professional. Both options have their advantages and considerations, and it’s essential to weigh them before making a decision. Let’s compare DIY and hiring a professional:
DIY:
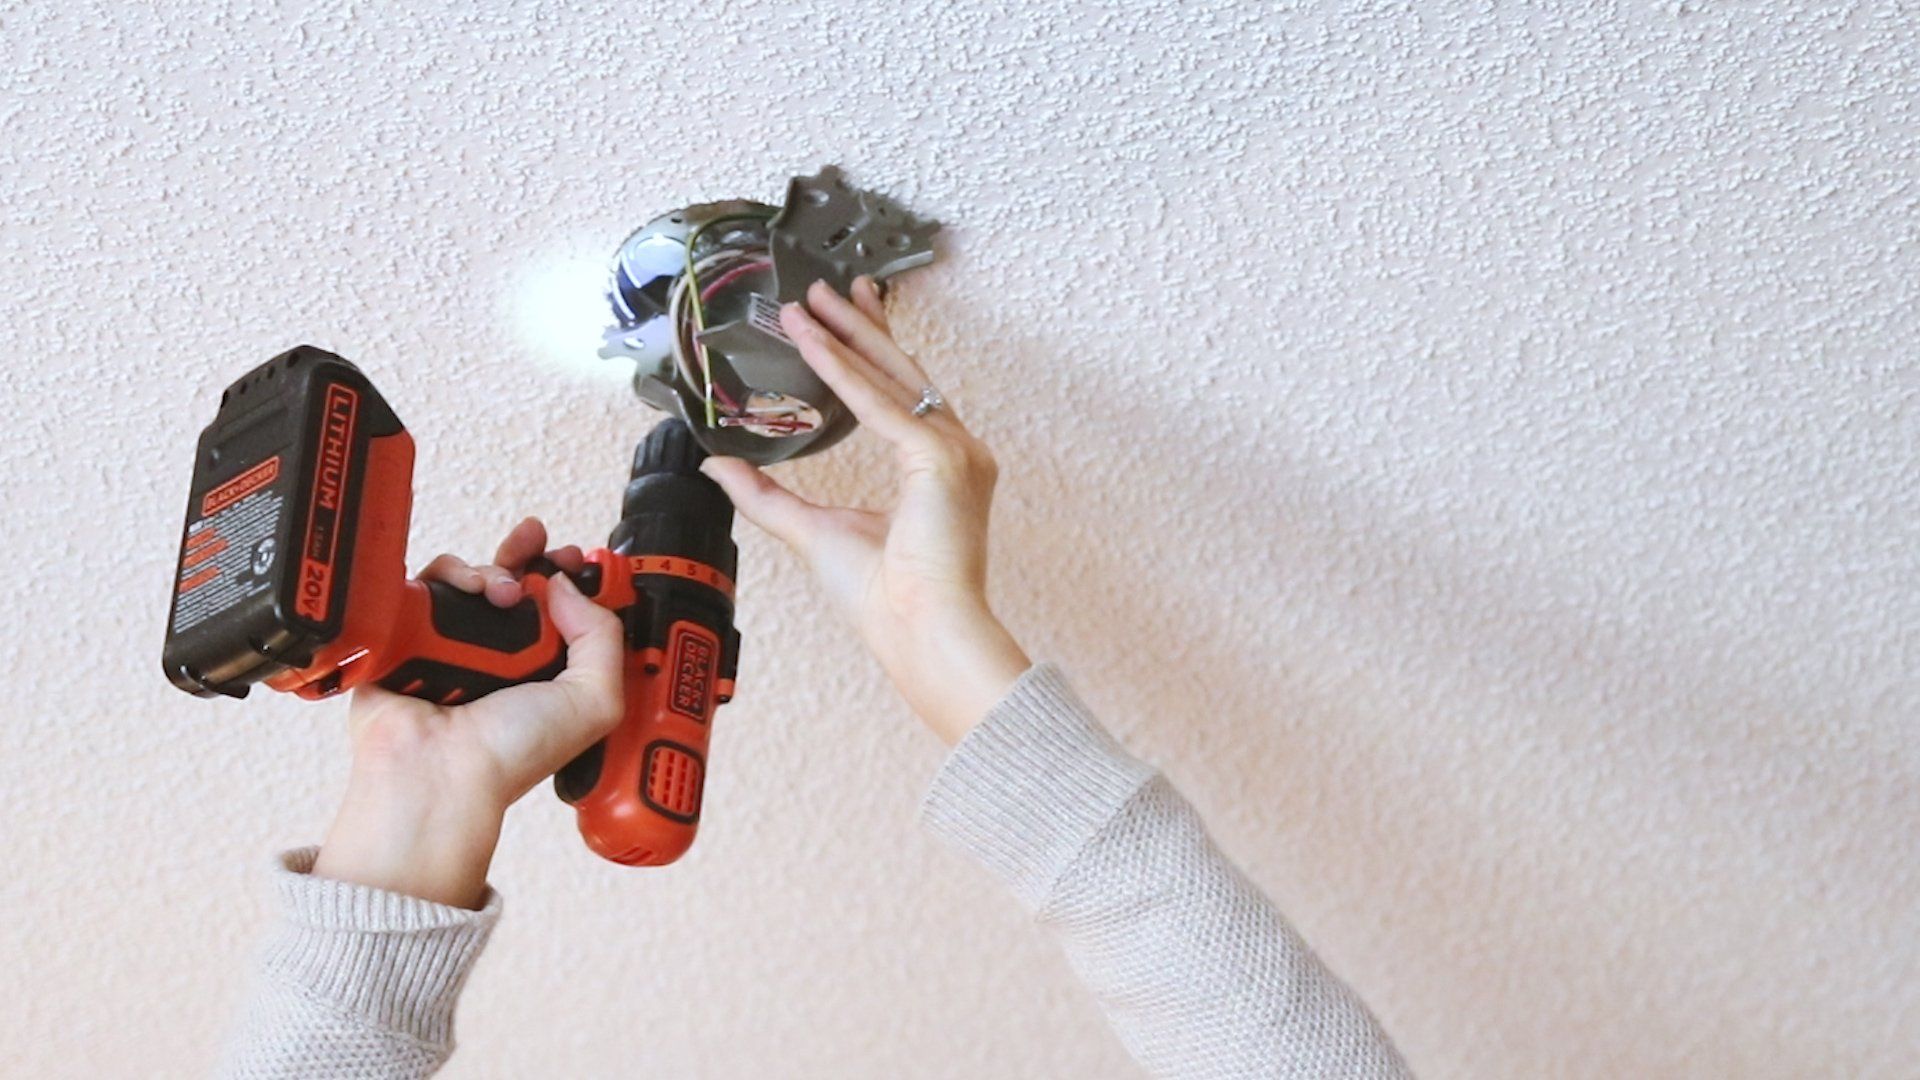
Opting for a DIY approach can save you money on labor costs. If you have experience with home improvement projects, are comfortable working at heights, and have the necessary tools and materials, texturing your ceiling yourself may be a viable option. DIY also allows you to have full control over the process and timeline.
However, there are several aspects to consider. Ceiling texturing can be physically demanding and time-consuming. It requires proper preparation, application, and cleanup, all of which can be challenging for inexperienced individuals. Achieving a professional-looking finish may also require practice and skill. Additionally, if any mistakes or issues arise during the process, it can be more costly and time-consuming to fix them.
Hiring a Professional:
Hiring a professional contractor for your ceiling texturing project offers several benefits. Experienced professionals have the necessary skills, knowledge, and tools to deliver high-quality results efficiently. They are familiar with various texture techniques and can provide expert advice on the best option for your specific needs. Professionals also have access to a wide range of materials and can ensure proper preparation and application.
Furthermore, hiring a professional saves you time and effort. They can complete the project quickly and efficiently, ensuring minimal disruption to your daily routine. Professionals are also equipped with the right safety equipment and practices, reducing the risk of accidents or injuries during the project.
However, hiring a professional does come with a higher cost. Labor charges, materials, and additional services may add to the overall expense. It’s crucial to obtain multiple quotes, check reviews, and research the reputation of contractors to ensure you hire a reputable professional who can deliver the desired results within your budget.
Choosing the Right Option:
When deciding between DIY and hiring a professional, consider your skill level, available time, and budget. If you feel confident in your abilities, have the necessary tools, and can dedicate the time and effort required, DIY may be a feasible option. However, if you lack experience, prefer a high-quality finish, or have a complex project, hiring a professional is worth considering.
Ultimately, it’s important to prioritize the quality of the final result and the satisfaction of a job well done. Consulting with professionals, reviewing project requirements, and assessing your capabilities will help you make an informed decision that aligns with your goals and resources.
Tips for Cost-effective Ceiling Texturing
If you’re looking to texture your ceiling while keeping costs under control, there are several tips and strategies you can follow to make the project more cost-effective. Here are some helpful tips:
- Plan and Prepare: Before starting the project, carefully plan and assess the condition of your ceiling. Address any repairs or preparation work needed to avoid additional costs later on.
- Choose a Simple Texture: Opt for a simpler texture design that is easier to achieve and requires fewer materials. Basic textures like knockdown or orange peel can be cost-effective options that still add visual interest to your ceiling.
- Compare Quotes: Obtain quotes from multiple contractors to compare prices and services. This will help you find a reputable contractor who offers a fair price for the desired texture.
- Consider DIY: If you have the necessary skills and tools, consider tackling the project yourself. DIY can save you labor costs, but be sure to assess your abilities and be prepared for the physical demands of the task.
- Bulk Purchases: If you decide to DIY, buy materials in bulk to save on costs. Buying in larger quantities can often result in discounts or lower prices per unit.
- Reuse Existing Materials: If your existing ceiling texture is in good condition, consider reusing it by applying a fresh coat of paint. This can save on the cost of purchasing new materials and speed up the process.
- Control Waste: Minimize waste by accurately measuring and estimating the amount of materials you’ll need. This will prevent over-purchasing and wastage, saving you money in the long run.
- Limit Scope: Focus on texturing specific areas of the ceiling rather than the entire space. This can help reduce the overall cost while still achieving a visually appealing result.
- Proper Maintenance: Once the texturing is complete, take proper care of your textured ceiling to avoid damage or the need for costly repairs in the future. Regular cleaning and prompt addressing of any issues can help extend the lifespan of the texture.
By following these cost-effective tips, you can achieve a beautifully textured ceiling without breaking the bank. Remember to balance your budget considerations with the quality and outcome you desire. If you’re unsure about any aspect of the project, don’t hesitate to consult with professionals for advice and guidance.
Conclusion
Texturing your ceiling can transform the look and feel of a room, adding depth and character to your space. However, it’s crucial to understand the cost implications associated with ceiling texturing to plan and budget accordingly.
Factors such as the size of the area, the type of texture, the condition of the ceiling, and your geographic location can influence the overall cost of the project. By carefully considering these factors, you can get a clearer idea of the potential expenses involved.
There are various types of ceiling textures to choose from, each offering a unique aesthetic. Popcorn texture, knockdown texture, swirl texture, stomp texture, and orange peel texture are just a few examples. It’s important to select a texture that complements your overall design vision while considering the costs associated with each option.
In addition to the primary cost factors, there are other considerations to keep in mind, such as repairs and preparations, painting, permits, and professional services. Factoring in these additional costs will give you a more accurate estimate of the overall project investment.
Deciding whether to undertake the ceiling texturing project yourself or hire a professional depends on various factors, including your skill level, available time, and budget. While DIY can save you money on labor costs, hiring a professional ensures a high-quality finish and saves you time and effort.
To make your ceiling texturing project more cost-effective, consider planning and preparing in advance, choosing a simpler texture, obtaining multiple quotes, considering DIY if you have the necessary skills, and controlling waste. These strategies can help you achieve your desired textured ceiling while keeping costs under control.
In conclusion, a textured ceiling can have a significant impact on the overall aesthetics of a room. By understanding the cost factors, exploring various textures, and implementing cost-effective strategies, you can successfully embark on your ceiling texturing project and create a visually appealing space that reflects your style and personality.
Curious about managing home improvement budgets more effectively? Diving deeper into understanding construction costs can provide valuable insights for your next project. If you're more of a hands-on person, mastering DIY home projects could save you not only money but also add a personal touch to your dwelling. Both resources offer practical guidance that'll make any homeowner feel like a pro.
Frequently Asked Questions about How Much Does It Cost To Texture A Ceiling
Was this page helpful?
At Storables.com, we guarantee accurate and reliable information. Our content, validated by Expert Board Contributors, is crafted following stringent Editorial Policies. We're committed to providing you with well-researched, expert-backed insights for all your informational needs.

0 thoughts on “How Much Does It Cost To Texture A Ceiling”