

Articles
How Often To Change A Swiffer Duster
Modified: May 6, 2024
Discover how often you should change a Swiffer duster with our informative articles. Keep your home clean and dust-free!
(Many of the links in this article redirect to a specific reviewed product. Your purchase of these products through affiliate links helps to generate commission for Storables.com, at no extra cost. Learn more)
Introduction
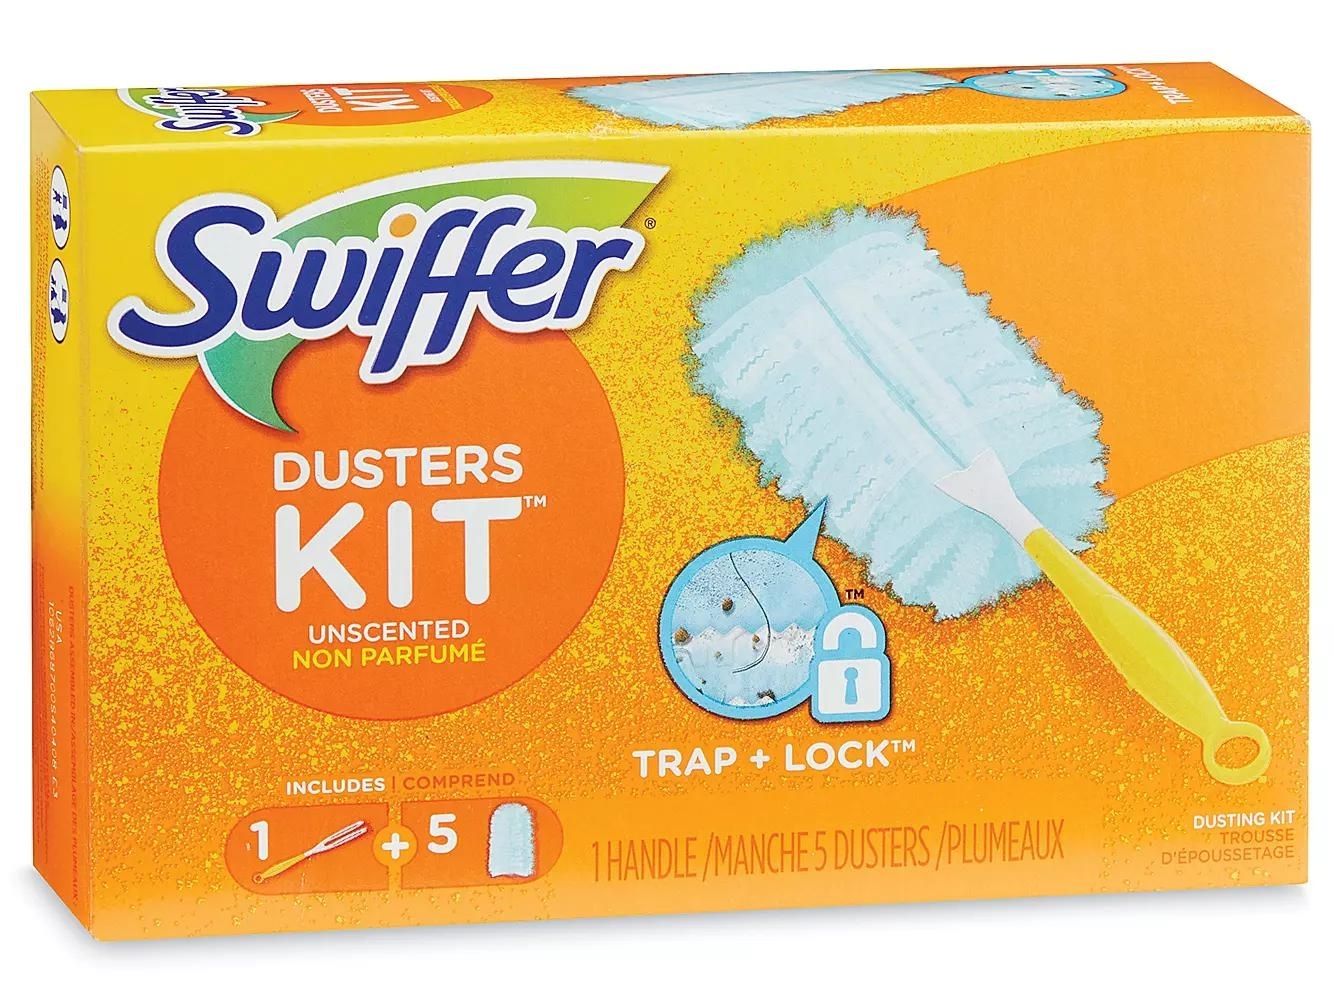
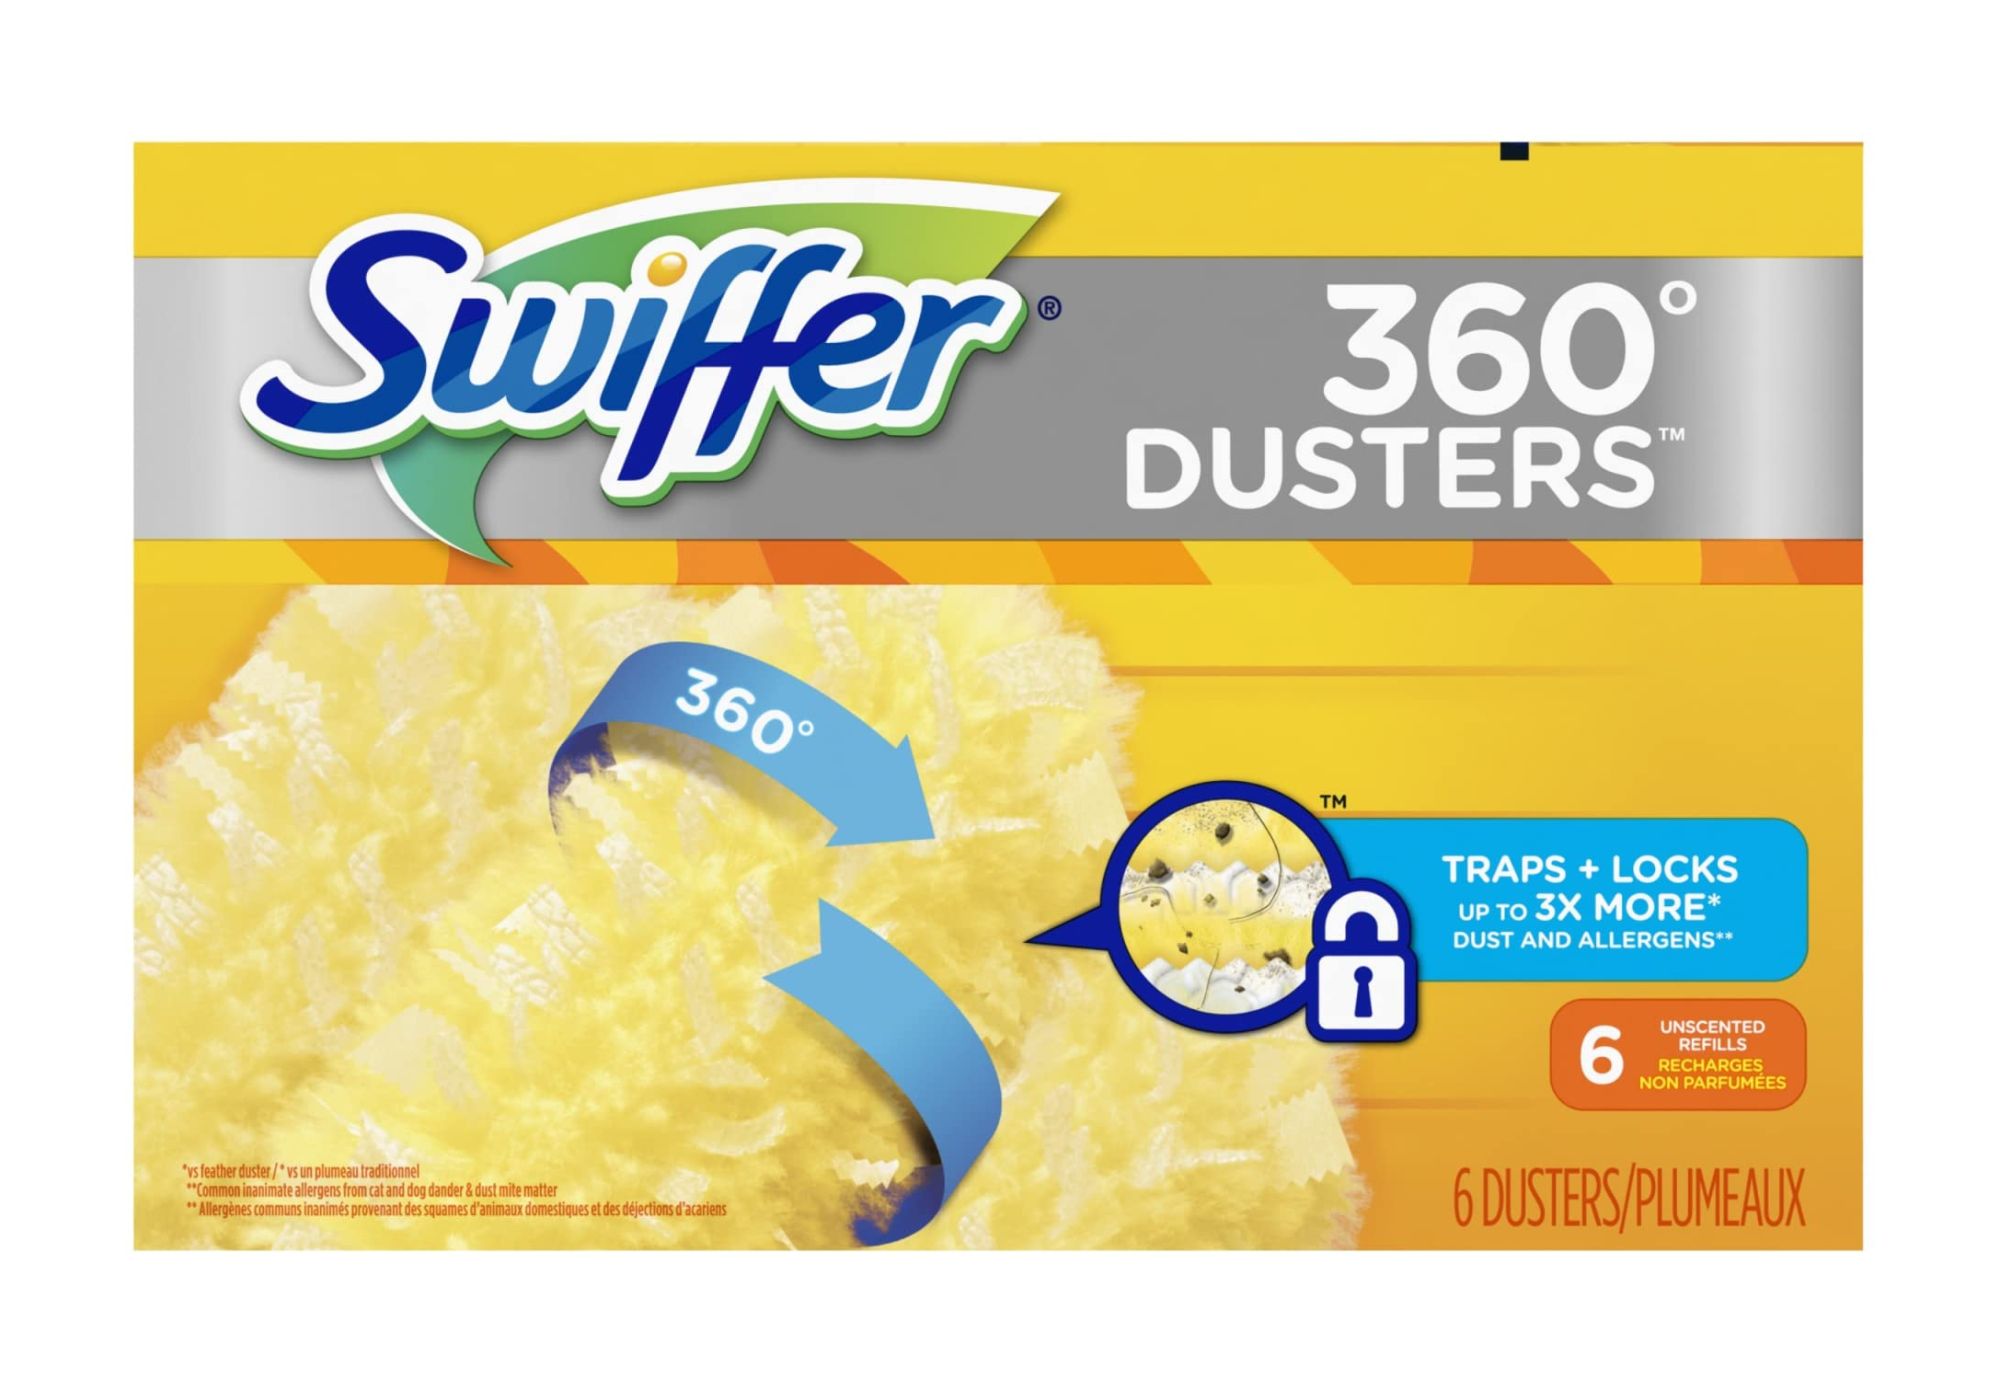
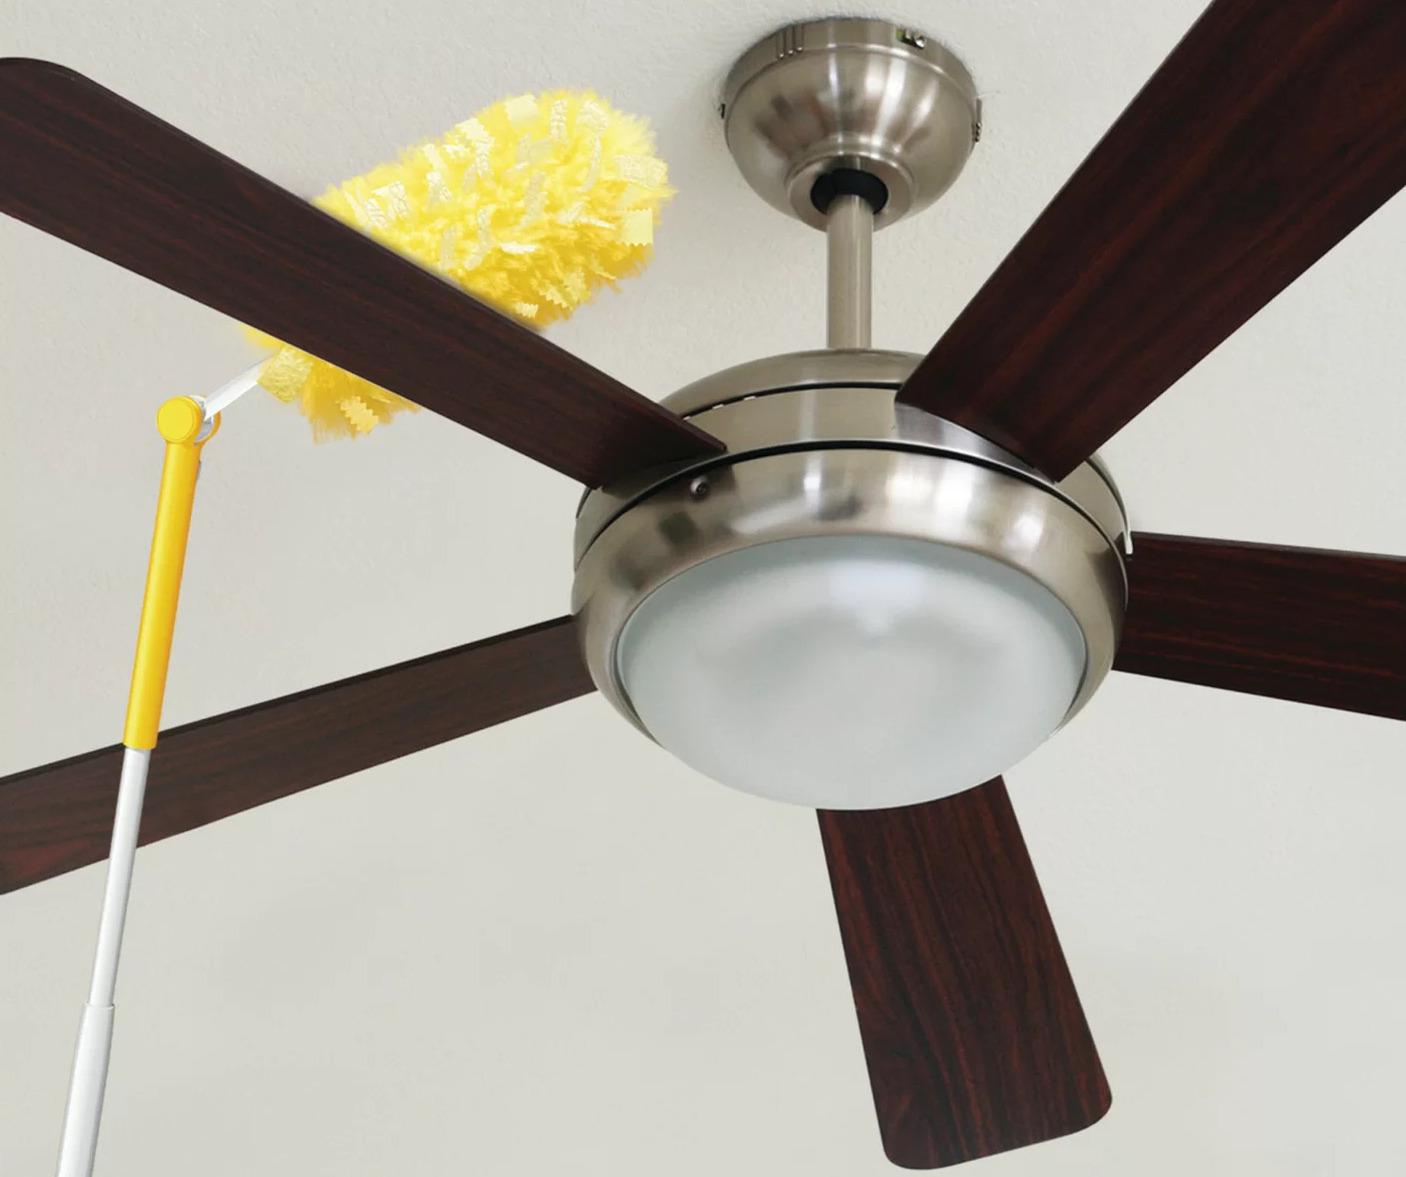
Keeping our homes clean and dust-free is an ongoing task, and having the right tools can make all the difference. One popular tool for dusting is the Swiffer Duster. With its electrostatic properties and specially designed fibers, it efficiently attracts and traps dust particles. However, like any cleaning tool, a Swiffer Duster needs to be maintained and replaced regularly to ensure optimal performance.
In this article, we will explore the factors to consider when determining how often to change a Swiffer Duster. While there are general guidelines to follow, it’s important to take into account various factors such as the type of surface, frequency of use, and environmental conditions.
By understanding these factors and implementing proper maintenance techniques, you can maximize the lifespan of your Swiffer Duster, saving you time and money in the long run.
So, let’s dive in and discover how to keep your Swiffer Duster working at its best!
Key Takeaways:
- Regularly assess the condition of your Swiffer Duster based on factors like surface type, usage frequency, and environmental conditions to determine when it needs replacement for optimal cleaning results.
- Incorporate tips for extending the lifespan of your Swiffer Duster, such as shaking it out after each use and storing it properly, to maximize its effectiveness and longevity, ensuring a clean and dust-free home.
Read more: How To Clean A Swiffer Duster
Factors to Consider
When determining how often to change your Swiffer Duster, there are several factors to consider. While there is no one-size-fits-all answer, understanding these factors will help you make an informed decision.
Type of Surface: The type of surface you are dusting plays a role in how quickly your Swiffer Duster becomes saturated with dust. Surfaces that accumulate dust more frequently, such as high-traffic areas or areas with pets, may require more frequent duster changes. Additionally, rougher surfaces may cause the fibers of the duster to wear down faster.
Frequency Based on Usage: The frequency at which you use your Swiffer Duster also impacts how often it needs to be changed. If you dust regularly, you may need to change the duster more frequently compared to someone who dusts less often.
Environmental Factors: Environmental conditions can affect the lifespan of your Swiffer Duster. If you live in a particularly dusty environment or if you have specific environmental factors like construction or renovations nearby, your duster may become saturated with dust more quickly.
Signs that a Swiffer Duster Needs to be Changed: Pay attention to the condition of your Swiffer Duster to determine if it needs to be replaced. If the duster becomes excessively dirty, loses its effectiveness, or begins to shed fibers, it is a clear sign that it’s time for a new one.
By taking these factors into account, you can better assess when it’s time to change your Swiffer Duster and ensure that you are maintaining a clean and effective tool for dusting.
General Guidelines
While there are various factors that influence how often a Swiffer Duster should be changed, here are some general guidelines to keep in mind:
1. Follow the manufacturer’s instructions: The manufacturer of the Swiffer Duster may provide specific guidelines on how frequently to change the duster. Check the packaging or the manufacturer’s website for this information.
2. Consider the recommended usage: Some Swiffer Duster models are designed for single-use only, while others may be reusable for a certain number of times. Take note of the recommended usage instructions to determine when it’s time for a replacement.
3. Regularly assess the condition: Pay attention to the condition of the duster. If it is visibly dirty, no longer traps dust effectively, or if the fibers are damaged or falling off, it’s a good indication that a replacement is necessary.
4. Change after extensive use: If you have been dusting large surfaces, multiple rooms, or if you’ve been dealing with excessive dust accumulation, it’s advisable to change the duster more frequently to maintain its effectiveness.
5. Observe allergy or health concerns: If you or someone in your household has allergies or respiratory issues, it may be necessary to change the duster more frequently to reduce the spread of dust and allergens in the home.
These guidelines serve as a starting point, but it’s important to remember that everyone’s cleaning needs and circumstances are different. Monitoring the condition and performance of your Swiffer Duster will help you determine the best time to replace it for optimal cleaning results.
Type of Surface
The type of surface you are dusting plays a significant role in how often you should change your Swiffer Duster. Different surfaces have varying levels of dust accumulation, which can impact the lifespan and effectiveness of the duster.
1. Smooth Surfaces: Smooth surfaces, such as glass, countertops, or electronics, tend to accumulate less dust compared to other surfaces. Since the dust particles have fewer nooks and crannies to settle into, the duster may need to be changed less frequently when dusting these surfaces.
2. Textured Surfaces: Textured surfaces, like wood furniture, textured walls, or fabric upholstery, tend to accumulate more dust. The nooks and crannies on these surfaces provide ample space for dust particles to settle and cling to. As a result, the duster may become saturated with dust more quickly, and you may need to change it more frequently.
3. High-Traffic Areas: Areas with high foot traffic, such as entryways, hallways, or living rooms, tend to accumulate dust more rapidly. This is due to the constant movement of people stirring up dust particles and debris. It’s advisable to change the duster more frequently when dusting these areas to maintain optimal dusting performance.
4. Pet-Exposed Areas: If you have pets in your home, you may notice that certain areas, like pet beds, carpets, or upholstery, collect more pet hair and dust. The duster may become saturated more quickly when cleaning these areas, so consider changing it more frequently to effectively trap the pet hair and maintain cleanliness.
By understanding the different surfaces in your home and their dust accumulation tendencies, you can adapt your cleaning routine and make more informed decisions about when to change your Swiffer Duster. Remember that regular maintenance and awareness of the condition of the duster are crucial for optimal cleaning results.
Frequency Based on Usage
How often you use your Swiffer Duster will directly impact how frequently you should change it. The more frequently you use the duster, the more often it will become saturated with dust and lose its effectiveness. Here are some considerations regarding usage frequency:
1. Regular Dusting Routine: If you have a regular dusting routine and incorporate the Swiffer Duster into your cleaning regimen on a consistent basis, you may need to change it more frequently. Dusting regularly helps maintain cleanliness and prevent dust build-up, but it also means your duster will accumulate dust faster.
2. Occasional Dusting: If you only use your Swiffer Duster occasionally or for spot cleaning, it may last longer between replacements. However, keep in mind that even infrequent use can lead to dust saturation over time.
3. Large Surfaces: If you use your Swiffer Duster to tackle larger surfaces, such as expansive countertops or expansive furniture, it may become saturated more quickly. The larger the area you are dusting, the more dust the duster will come into contact with, which may require more frequent replacements.
4. Cleaning Frequency: Consider how often you clean your home overall. If you are diligent about regular cleaning, including dusting, you may need to change your Swiffer Duster more frequently to maintain effective dust removal.
5. Personal Preference: Ultimately, the frequency of changing your Swiffer Duster depends on your personal preference for cleanliness. Some people may prefer to change it more frequently for a consistently clean surface, while others may be comfortable using it for a longer duration before replacing.
Observing the frequency of your usage and evaluating how quickly the duster becomes dirty and less effective will help you determine when it’s time for a replacement. Remember, it’s better to err on the side of caution and change the duster more frequently for optimal dusting performance.
It is recommended to change a Swiffer duster when it becomes visibly dirty or loses its effectiveness. This typically occurs after several uses, but can vary depending on the amount of dust and debris being collected.
Read more: How To Put A Swiffer Duster On
Environmental Factors
Environmental conditions can have a significant impact on the lifespan of your Swiffer Duster. Understanding these factors will help you determine how often you should change the duster for optimal cleaning results. Here are some key environmental factors to consider:
1. Dust Level: The amount of dust in your environment will directly affect how quickly the duster becomes saturated. If you live in an area with higher dust levels or if you have specific circumstances that lead to increased dust accumulation, such as nearby construction or renovations, you may need to change the duster more frequently.
2. Allergens and Sensitivities: If you or someone in your household has allergies or sensitivities to dust, it’s important to take extra precautions. Changing the duster more often can help reduce the spread of allergens and maintain a cleaner indoor environment.
3. Seasonal Changes: The change of seasons can affect the dust levels in your home. During periods of heavy pollen or when doors and windows are frequently opened, there may be an increase in dust. Consider adjusting your duster replacement frequency during these seasonal changes to keep your home dust-free.
4. Indoor Air Quality: Factors such as indoor air pollution, smoking, or pet dander can contribute to increased dust accumulation. If you have poor indoor air quality or specific air contaminants, you may need to change the duster more frequently to maintain a cleaner living environment.
5. Humidity and Moisture: High humidity and moisture can affect the performance of the duster. Moisture can cause the duster to clump together and lose its effectiveness. In areas with high humidity or if you use the duster in damp spaces, consider replacing it more frequently.
By considering these environmental factors, you can better assess how quickly your Swiffer Duster becomes saturated with dust and adjust your duster replacement frequency accordingly. Regularly monitoring the condition of the duster and making proactive changes will help you maintain a clean and dust-free home.
Signs that a Swiffer Duster Needs to be Changed
While there are general guidelines for when to change a Swiffer Duster, it’s essential to pay attention to specific signs that indicate it needs to be replaced. Ignoring these signs can lead to ineffective dusting and unsatisfactory cleaning results. Here are some common signs that a Swiffer Duster needs to be changed:
1. Excessive Dirt or Dust Build-up: If the duster becomes overly dirty or covered in dust, it’s a clear sign that it’s time for a replacement. A dirty duster will not effectively attract and trap dust particles, compromising its cleaning performance.
2. Loss of Effectiveness: If you notice that the duster is no longer picking up dust as efficiently as before, it may be time for a change. As the fibers wear down over time or become saturated with dust, the duster’s ability to attract and trap dust diminishes.
3. Fiber Shedding: If you notice that the duster is shedding fibers or leaving behind lint or residue on surfaces, it’s a sign that it needs to be replaced. The shedding fibers can spread dust and lead to unsightly streaks or marks on the surfaces you are dusting.
4. Unpleasant Odor: Over time, the duster can accumulate unpleasant odors, especially if it comes into contact with pet hair or other odor-causing substances. If your Swiffer Duster starts to emit an unpleasant smell, it’s a good indication that it’s time for a fresh one.
5. Physical Damage: Inspect the duster for any signs of physical damage, such as ripped or torn fibers. Damaged fibers will not effectively attract and trap dust, compromising the duster’s performance.
6. Reaching the Manufacturer’s Recommended Usage: Some Swiffer Duster models have a recommended number of uses before replacement. If you have reached the manufacturer’s recommended usage limit, it’s a clear indication that it’s time for a new duster.
By being mindful of these signs and regularly assessing the condition of your Swiffer Duster, you can ensure that you are using an effective and efficient tool for dusting and maintaining cleanliness in your home.
Tips for Extending the Lifespan of a Swiffer Duster
To make the most out of your Swiffer Duster and extend its lifespan, there are several practices you can incorporate into your cleaning routine. By implementing these tips, you can maximize the effectiveness and longevity of your duster:
1. Shake Out the Duster: After each use, give the duster a gentle shake outside to remove loose dust and debris. This helps prevent excessive build-up and prolongs the life of the duster.
2. Spot Clean: Instead of using the duster for cleaning heavily soiled or sticky surfaces, opt for spot cleaning with a damp cloth or appropriate cleaning solution. Directly subjecting the duster to overly dirty areas can compromise its performance and longevity.
3. Store Properly: Store your Swiffer Duster in a clean and dry location when not in use. Avoid placing it in areas with excessive moisture or where it can come into contact with dirt and debris. Storing it properly helps maintain its cleanliness and prevents unnecessary wear and tear.
4. Avoid Excessive Force: When using the duster, avoid applying excessive force or pressing down too hard on surfaces. Gentle and light strokes are sufficient for efficient dusting and minimize unnecessary strain on the duster.
5. Consider Reusable Alternatives: If you prefer a more eco-friendly option, consider reusable microfiber dusters or washable duster covers. These alternatives allow you to clean and reuse the same duster multiple times before needing a replacement.
6. Keep Pets Away: If you have pets, try to keep them away from the duster when not in use. Pets may be tempted to play with or chew on the duster, leading to damage and decreased effectiveness.
7. Regularly Inspect for Damage: Take the time to inspect the duster regularly for any signs of damage or wear and tear. If you notice ripped or torn fibers, it’s best to replace the duster to maintain its dust-trapping capabilities.
8. Follow Cleaning Instructions: If you are using a reusable or washable duster, make sure to follow the manufacturer’s cleaning instructions. Improper washing or drying methods can cause damage to the duster, reducing its longevity.
By incorporating these tips into your cleaning routine, you can keep your Swiffer Duster performing effectively and extend its lifespan. Remember that proper care and maintenance are essential for getting the most out of your cleaning tools.
Conclusion
When it comes to keeping our homes clean and free from dust, the Swiffer Duster is a popular choice. However, to ensure its optimal performance, it’s essential to know how often to change it. While there are general guidelines to follow, the frequency of changing a Swiffer Duster depends on various factors.
Factors such as the type of surface, frequency of usage, environmental conditions, and signs of wear and tear all play a role in determining when to replace a Swiffer Duster. By paying attention to these factors and taking proactive measures, you can maintain a clean and dust-free home.
Additionally, implementing tips for extending the lifespan of your Swiffer Duster, such as shaking out the duster after each use, storing it properly, and avoiding excessive force, can help maximize its longevity. Consider reusable alternatives or washable duster covers to reduce waste and make your cleaning routine more sustainable.
Ultimately, the cleanliness and effectiveness of your Swiffer Duster rely on your attention to its condition and performance. Regular inspection and being mindful of signs that indicate the need for replacement are crucial for optimal cleaning results.
Remember that each home and individual’s cleaning needs are different. It’s important to adapt and adjust your approach based on the unique factors in your environment. By doing so, you can ensure that your Swiffer Duster is working at its best, providing you with a clean and dust-free living space.
So, next time you reach for your Swiffer Duster, keep these factors and tips in mind to make the most out of your cleaning routine. With the right care and attention, your Swiffer Duster will serve as a reliable tool for keeping your home sparkling clean!
Curious about keeping every corner of your home spotless? Once you've mastered the Swiffer duster's replacement, why not tackle bigger projects? Dive into our guide on effective refrigerator maintenance, offering smart methods to ensure every nook and cranny shines. Or, if your oven's cleanliness leaves much to be desired, check out our brilliant tricks for a flawless oven. Both resources provide practical advice, ensuring your home not only looks great but feels welcoming too!
Frequently Asked Questions about How Often To Change A Swiffer Duster
Was this page helpful?
At Storables.com, we guarantee accurate and reliable information. Our content, validated by Expert Board Contributors, is crafted following stringent Editorial Policies. We're committed to providing you with well-researched, expert-backed insights for all your informational needs.




0 thoughts on “How Often To Change A Swiffer Duster”