Home>Home Security and Surveillance>How To Install Motion Detector Flood Lights
Home Security and Surveillance
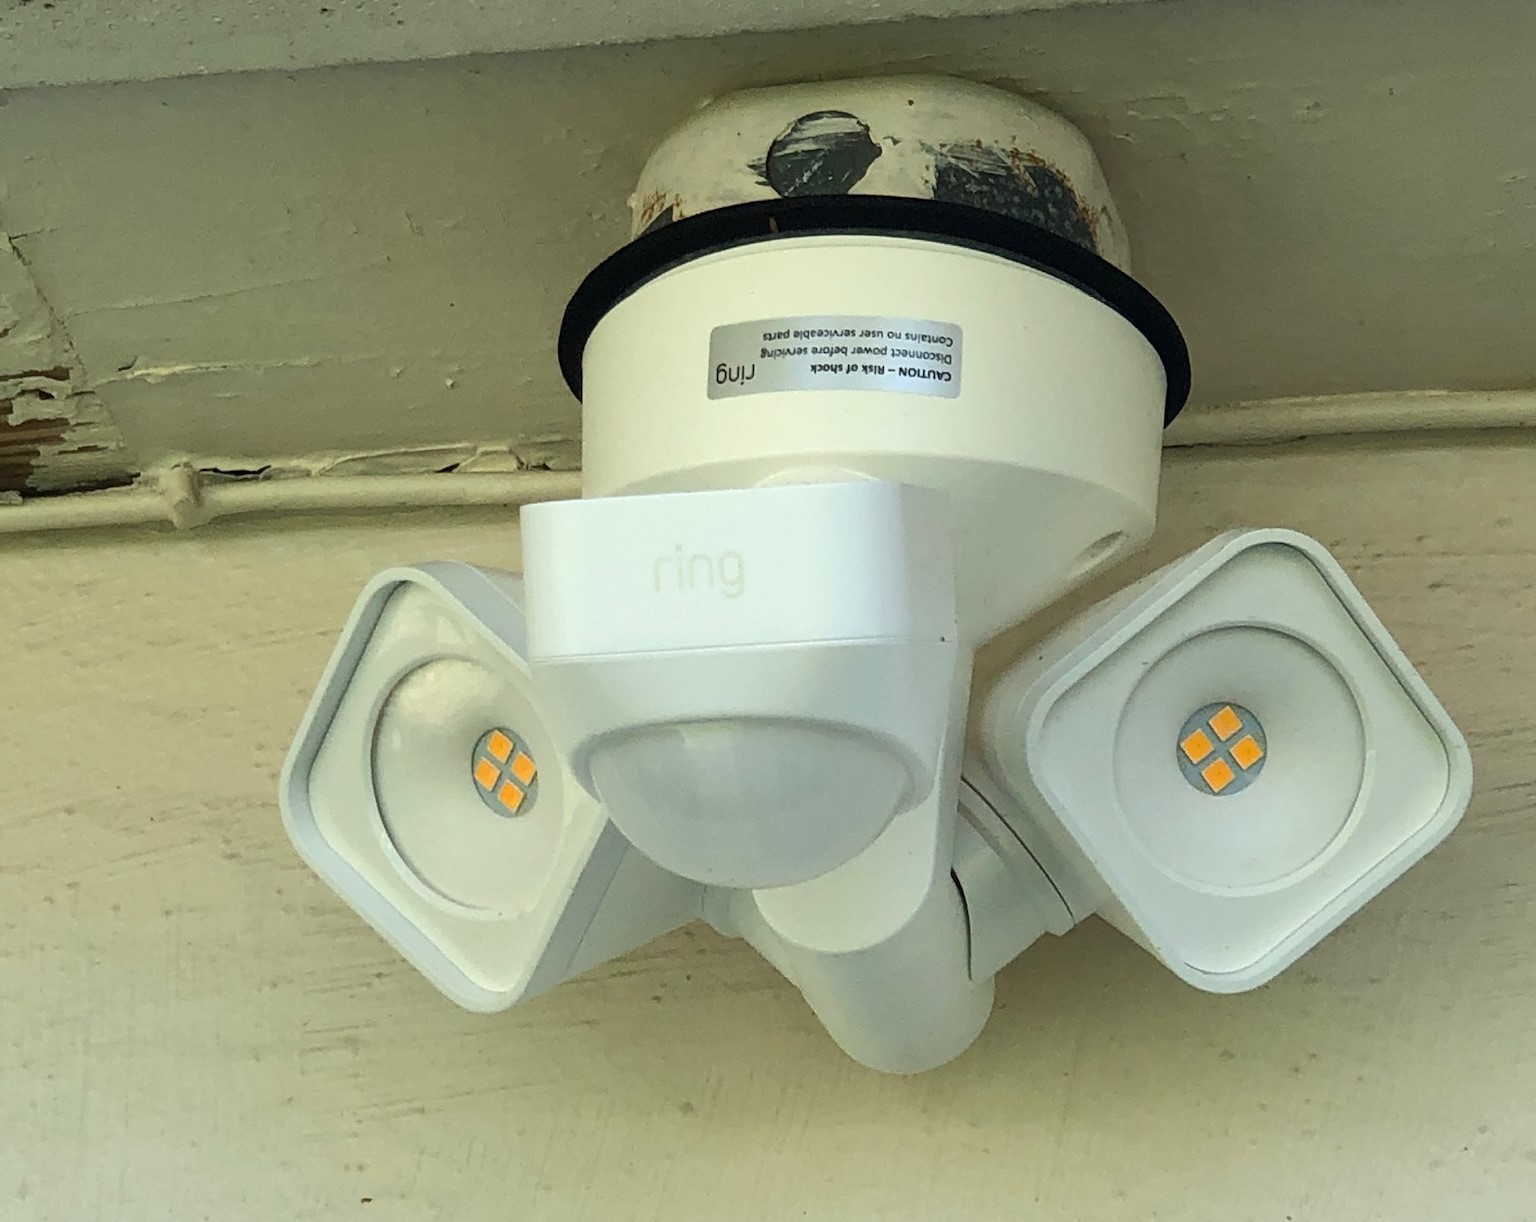
How To Install Motion Detector Flood Lights
Modified: October 20, 2024
Learn how to install motion detector flood lights for enhanced home security and surveillance. Step-by-step guide to ensure a safe and effective installation.
(Many of the links in this article redirect to a specific reviewed product. Your purchase of these products through affiliate links helps to generate commission for Storables.com, at no extra cost. Learn more)
Introduction
Welcome to our comprehensive guide on how to install motion detector flood lights. Whether you are looking to increase the security of your property or enhance the visibility around your home, motion detector flood lights can be a valuable addition. These lights are designed to automatically turn on when they detect motion, providing a bright and illuminating light source that can deter intruders and improve safety.
Installing motion detector flood lights may seem like a daunting task, but with the right tools and knowledge, you can easily accomplish this project on your own. In this article, we will walk you through the step-by-step process of installing motion detector flood lights, ensuring that you have the necessary information to make the installation process smooth and successful.
Before we dive into the installation process, let’s quickly go over the tools and equipment you’ll need:
- Screwdriver
- Wire cutters/strippers
- Electrical tape
- Drill
- Wire nuts
- Mounting screws
Now that you have an overview of the tools needed, let’s move on to the step-by-step installation process. Remember to always turn off the power supply before working with any electrical components, and if you are not comfortable working with electricity, it’s best to hire a professional electrician.
Key Takeaways:
- Installing motion detector flood lights is a DIY project that enhances home security. Prioritize safety, gather tools, choose the right location, and adjust angles for optimal performance.
- Testing and securing the flood lights are crucial steps. Adjust sensitivity and range if needed, and ensure proper wiring organization for safety and aesthetics. Enjoy the added security and convenience!
Read more: How To Install Outdoor Flood Lights
Step 1: Gather the Necessary Tools and Equipment
Before you begin the installation process, it is important to gather all the necessary tools and equipment. This will ensure that you have everything you need readily available, making the installation process smoother and more efficient.
Here is a list of the tools and equipment you will need:
- Screwdriver: You will need a screwdriver to loosen and tighten screws during the installation process.
- Wire cutters/strippers: These tools will be necessary for cutting and stripping the wires, ensuring a clean and secure connection.
- Electrical tape: Electrical tape is used to insulate and protect the wires, preventing any potential electrical hazards.
- Drill: If you are mounting the flood lights on a wall or any other surface, a drill will be needed to create the necessary holes.
- Wire nuts: Wire nuts are used to securely connect and twist the wires together, ensuring a reliable electrical connection.
- Mounting screws: These screws are used to securely attach the flood lights to the mounting surface.
By having these tools and equipment prepared beforehand, you can tackle the installation process with confidence.
Additionally, it is important to ensure that you have purchased the necessary components for the motion detector flood lights. This includes the light fixtures themselves, as well as any required motion sensors and wiring.
Before making any purchases, consider the specific requirements of your installation. This includes the area you want to cover with the flood lights and the range and sensitivity you desire for the motion detection. Make sure the chosen flood lights and sensors align with your needs and preferences.
With all the tools and equipment gathered, you are ready to move on to the next step – choosing the right location for your motion detector flood lights.
Step 2: Choose the Right Location
Choosing the right location for your motion detector flood lights is crucial to ensure optimal performance and effectiveness. Here are some factors to consider when selecting the location:
1. Coverage Area: Determine the areas you want to illuminate with the flood lights. This can include entrances, driveways, or any other high-traffic areas around your property. Take note of any dark spots that could benefit from additional lighting.
2. Height and Angle: Consider the height at which you will mount the flood lights. Mounting them too high may lead to insufficient coverage, while mounting them too low could create unwanted shadows. Aim for a height that allows the light to spread evenly across the desired area.
3. Power Source Accessibility: Ensure that the chosen location is easily accessible to the power source. If necessary, you may need to install additional wiring to reach the desired spot.
4. Obstructions: Take note of any obstructions that may impede the effectiveness of the motion detection. This can include tree branches, roof overhangs, or other objects that could trigger false detections. Clear any potential obstacles to maximize the accuracy of the motion sensor.
5. Weather Resistance: Consider the exposure of the chosen location to harsh weather conditions. Ensure that the flood lights you choose are designed for outdoor use and are resistant to water, dust, and other elements.
Once you have assessed these factors, it’s time to physically inspect the areas you have identified. Take note of any existing light fixtures or electrical outlets that you can utilize. If you need to install the flood lights on a wall or other surfaces, make sure they are structurally sound and capable of supporting the weight of the light fixtures.
It’s also important to consider the aesthetic aspect of the installation. While functionality is paramount, take into account how the flood lights will look in the chosen location. Opt for a design that blends well with the overall aesthetics of your home.
By carefully choosing the right location for your motion detector flood lights, you can ensure maximum coverage and effectiveness in enhancing the security and visibility around your property. Once you have determined the location, you can move on to the next step – determining the mounting height.
Step 3: Determine the Mounting Height
The mounting height of your motion detector flood lights plays a critical role in their effectiveness. Installing the lights at the correct height ensures maximum coverage and optimal detection capabilities. Here are some factors to consider when determining the mounting height:
1. Coverage Area: Consider the area you want the flood lights to illuminate. The height at which you install them will affect the range and spread of the light. For larger areas, you may need to mount the lights at a higher height to achieve sufficient coverage.
2. Detection Range: Each motion detector flood light has a specified detection range. Ensure that the height at which you install the lights aligns with the recommended detection range for your specific model. This will enable the motion sensor to accurately detect motion within the desired range.
3. Security vs. Accessibility: The mounting height should strike a balance between security and accessibility. Mounting the lights too low can make them vulnerable to vandalism or tampering, while mounting them too high might hinder maintenance or bulb replacement. Find a height that provides adequate security without compromising accessibility.
4. Angle and Shadows: Consider the angle at which the flood lights will be mounted. Mounting them at a slight downward angle can help reduce shadows and provide a more even distribution of light. This is particularly important for areas where security and visibility are crucial.
5. Local Regulations: Familiarize yourself with any local regulations or guidelines regarding the mounting height of outdoor lighting fixtures. Some municipalities may have specific requirements or restrictions that you need to adhere to.
When determining the mounting height, it can be helpful to use a ladder or have someone assist you. Temporarily position the flood light at different heights and angles to assess the coverage and illumination. Take into account any obstacles or obstructions like trees or walls that may affect the light distribution.
Once you have determined the ideal mounting height, mark the position where the lights will be mounted. This will serve as a guide during the installation process. Remember to ensure that the chosen location is structurally secure and capable of supporting the weight of the flood lights.
With the mounting height determined, you are ready to move on to the next step – preparing the mounting surface.
Step 4: Prepare the Mounting Surface
Before you can install your motion detector flood lights, it is important to properly prepare the mounting surface. This will ensure a secure and stable installation. Here are the steps to prepare the mounting surface:
1. Clean the Surface: Begin by cleaning the area where you will be mounting the flood lights. Remove any dirt, debris, or loose materials from the surface. This will help ensure a strong and lasting attachment.
2. Mark the Mounting Holes: Place the flood light fixture against the mounting surface at the designated height. Use a pencil or marker to mark the locations of the mounting holes on the surface. Double-check the alignment and symmetry of the marks before moving on.
3. Drill Pilot Holes: Once you have marked the mounting hole locations, use a drill with the appropriate size bit to create pilot holes. Pilot holes help guide the screws and prevent the mounting surface from splintering or cracking during installation.
4. Secure the Mounting Bracket: If your flood light fixture includes a mounting bracket, attach it to the mounting surface using the provided screws. Make sure the bracket is level and securely fastened to provide a stable base for the flood lights.
5. Waterproofing (If Required): If the mounting surface is exposed to the elements, such as an exterior wall, consider adding a layer of waterproof sealant or caulking around the edges of the mounting holes. This helps to prevent water and moisture from seeping into the wall and potentially causing damage.
By taking the time to properly prepare the mounting surface, you are ensuring that the flood lights will be securely attached and able to withstand various weather conditions. This step sets the stage for a successful installation. Once the mounting surface is ready, you can move on to assembling the light fixture in the next step.
Step 5: Assemble the Light Fixture
With the mounting surface prepared, it’s time to assemble the light fixture of your motion detector flood lights. Follow these steps to ensure a proper assembly:
1. Read the Instructions: Begin by carefully reading the manufacturer’s instructions that came with your motion detector flood lights. Familiarize yourself with the specific assembly steps and any special considerations.
2. Disconnect Power Supply: Before working with any electrical components, ensure that the power supply to the area is turned off at the breaker panel. This will prevent any accidental electric shock or damage to the wires during the assembly process.
3. Remove the Fixture Housing: If your flood light fixture has a removable housing, gently unscrew or remove the housing to expose the inner components. Set aside the housing in a safe place to avoid any damage.
4. Install the Bulb(s): If your flood light fixture requires bulbs, carefully insert them into their designated sockets. Follow any specific instructions regarding bulb type, wattage, or compatibility as provided by the manufacturer.
5. Connect the Wires: Examine the wiring within the light fixture. Typically, the fixture will have three wires – black (hot), white (neutral), and green or bare copper (ground). Follow the manufacturer’s instructions to connect the corresponding wires from the fixture to the house wiring. Use wire nuts to securely connect the wires, ensuring a tight and stable connection.
6. Insulate the Connections: Once the wires are connected, use electrical tape to wrap around the wire nut connections. This adds an extra layer of insulation, providing additional protection against moisture and potential electrical hazards.
7. Replace the Fixture Housing: If you removed the housing in step 3, securely reattach it to the light fixture. Make sure it is properly aligned and tightened to protect the internal components from dust, moisture, and other elements.
8. Verify the Assembly: Before proceeding, double-check all the connections, ensuring that they are secure and properly insulated. This will help prevent any electrical issues or malfunctions once the flood lights are fully installed.
By properly assembling the light fixture, you are ensuring the functionality and safety of your motion detector flood lights. With the assembly complete, you can proceed to the next step – connecting the wires.
Step 6: Connect the Wires
Connecting the wires is a crucial step in the installation process of your motion detector flood lights. Properly connecting the wires ensures a safe and reliable electrical connection. Follow these steps to connect the wires:
1. Turn Off the Power: Before working with any electrical components, ensure that the power supply to the area where you will be installing the flood lights is turned off at the breaker panel. This is essential for your safety and to prevent any electrical accidents or damage.
2. Expose the House Wiring: Locate the electrical junction box or wiring at the mounting surface. Carefully remove the cover or plate to expose the house wiring. You should see three wires – black (hot), white (neutral), and green or bare copper (ground).
3. Strip the Wires: Use wire cutters or strippers to remove a small section of insulation from the end of each wire – both from the house wiring and the wires of your motion detector flood lights. This will expose the bare conductors for a proper connection.
4. Connect the Wires: Follow the color-coded wiring instructions provided by the manufacturer of your flood lights. Typically, you will connect the black wire from the light fixture to the black (hot) wire from the house wiring, the white wire to the white (neutral) wire, and the green or bare copper wire to the ground wire. Securely twist the wires together and cover each connection with a wire nut.
5. Insulate the Connections: Once the connections are made, wrap each wire nut with electrical tape. This helps to provide additional protection and insulation, preventing any potential electrical hazards and minimizing the risk of wire nut connections coming loose over time.
6. Double-Check the Connections: Before proceeding, double-check all the wire connections to ensure they are secure and properly insulated. Inspect for any exposed wires or loose connections, and make any necessary adjustments or corrections.
7. Secure the Wiring: To keep the wires organized and secure, use electrical tape or zip ties to bundle them together neatly. This will help prevent any tangles or potential damage from loose wires hanging during the installation process.
By properly connecting the wires, you are establishing a safe and reliable electrical connection for your motion detector flood lights. With the wires connected, you can move on to the next step, which is mounting the flood lights.
Before installing motion detector flood lights, make sure to turn off the power at the breaker box to avoid any electrical accidents. Always follow the manufacturer’s instructions for proper installation.
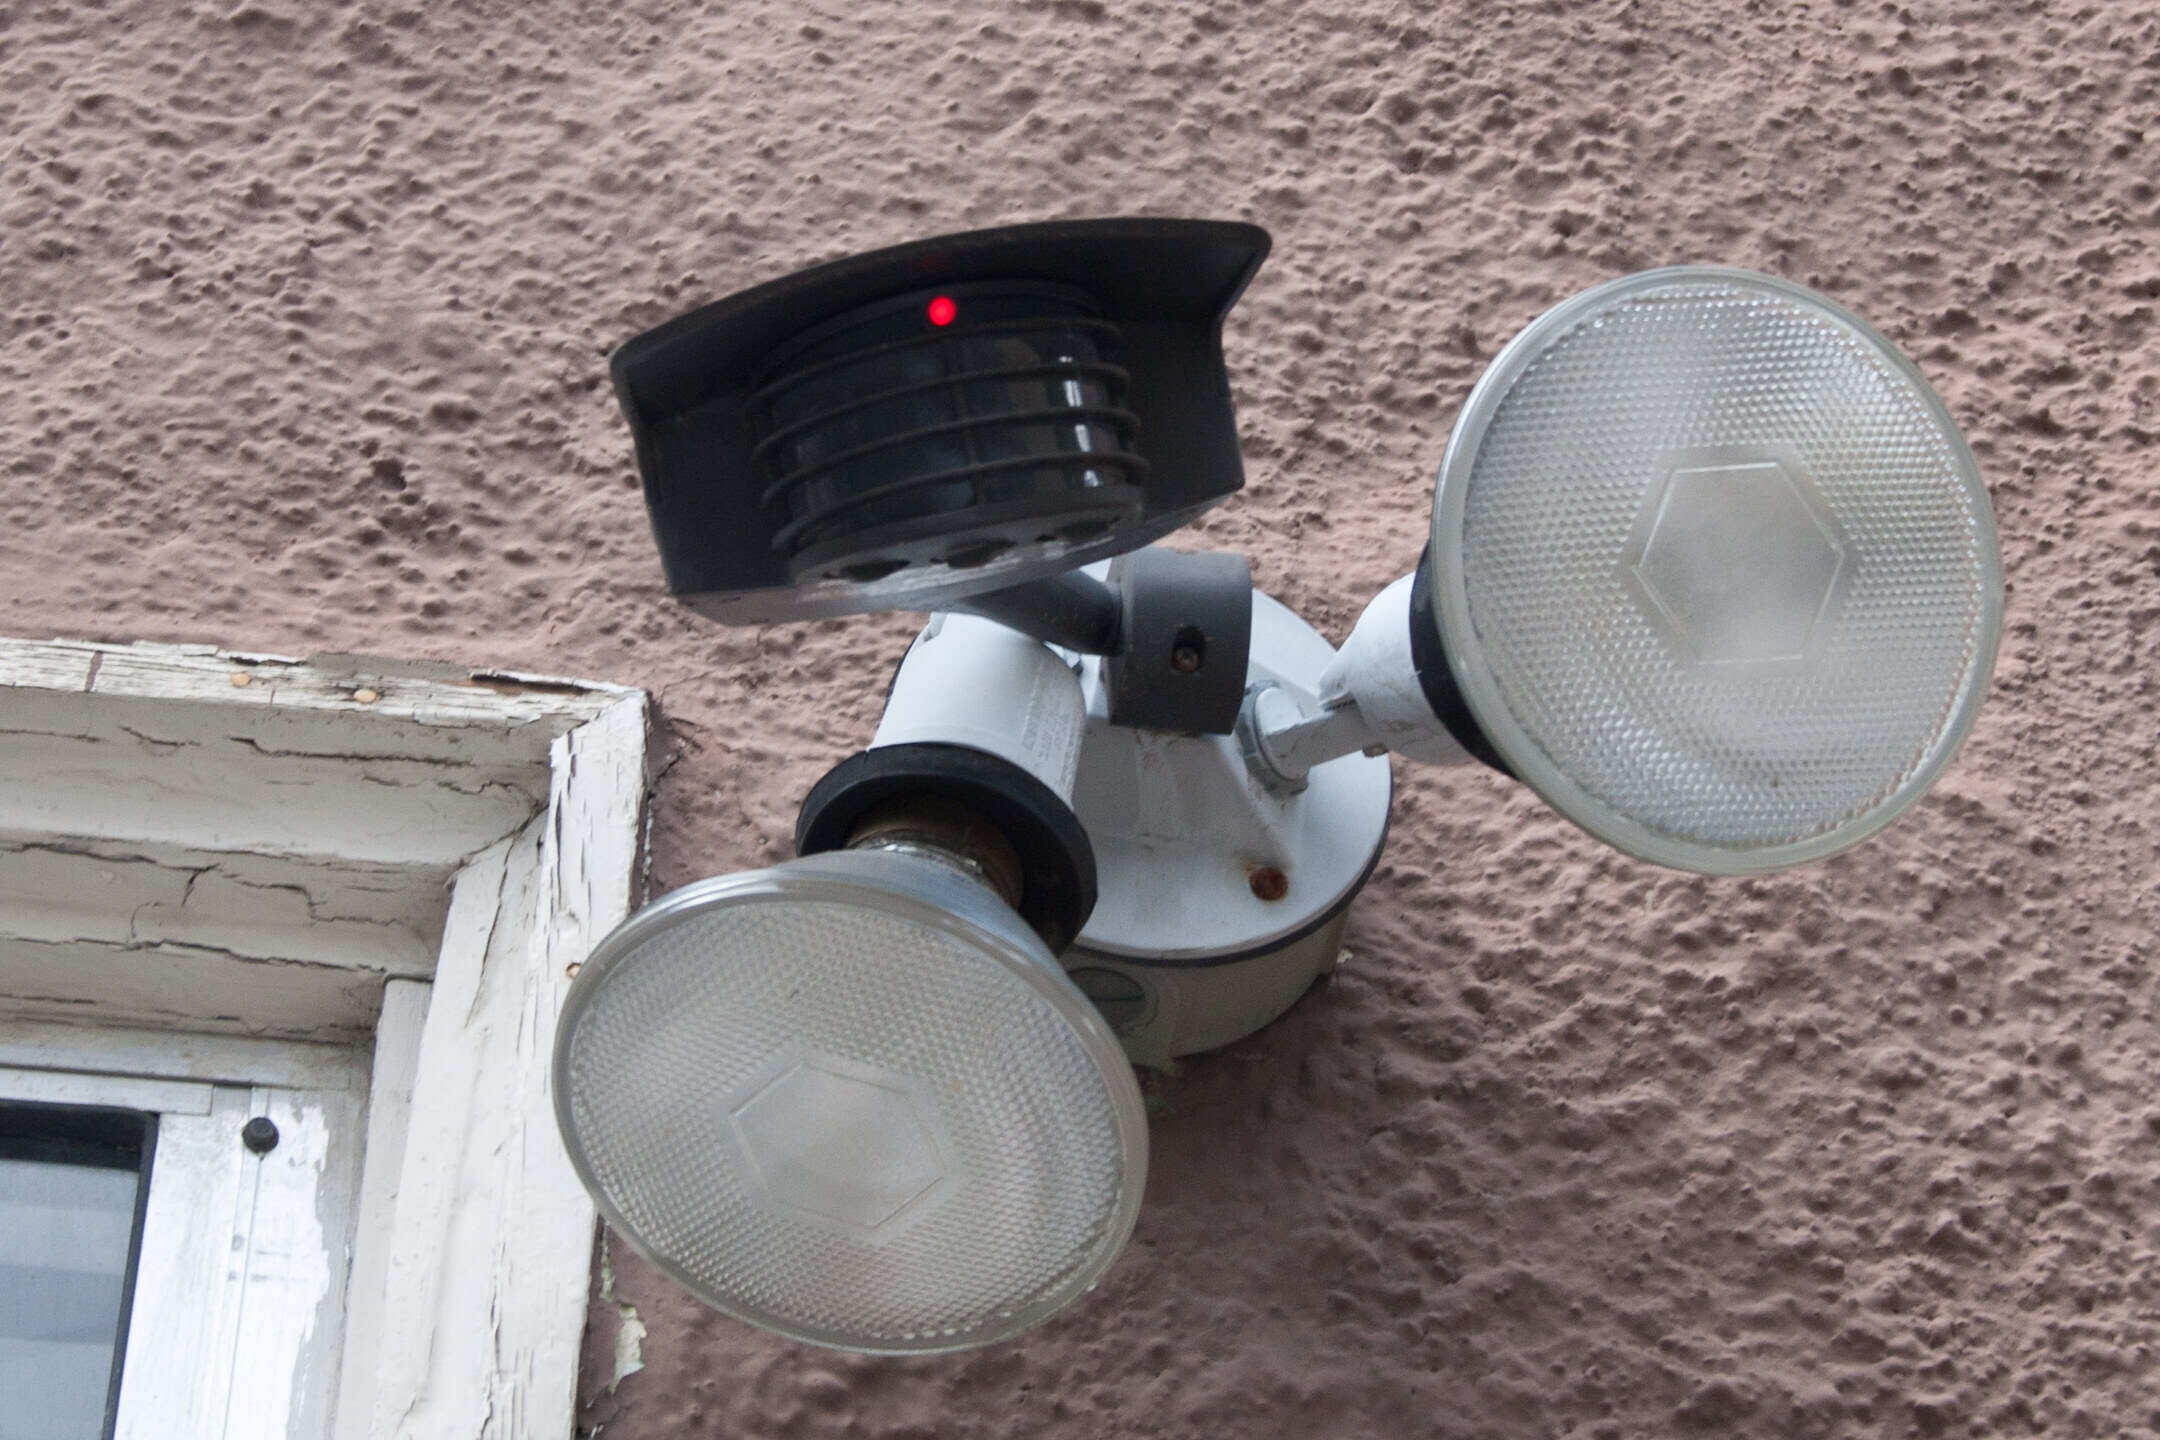
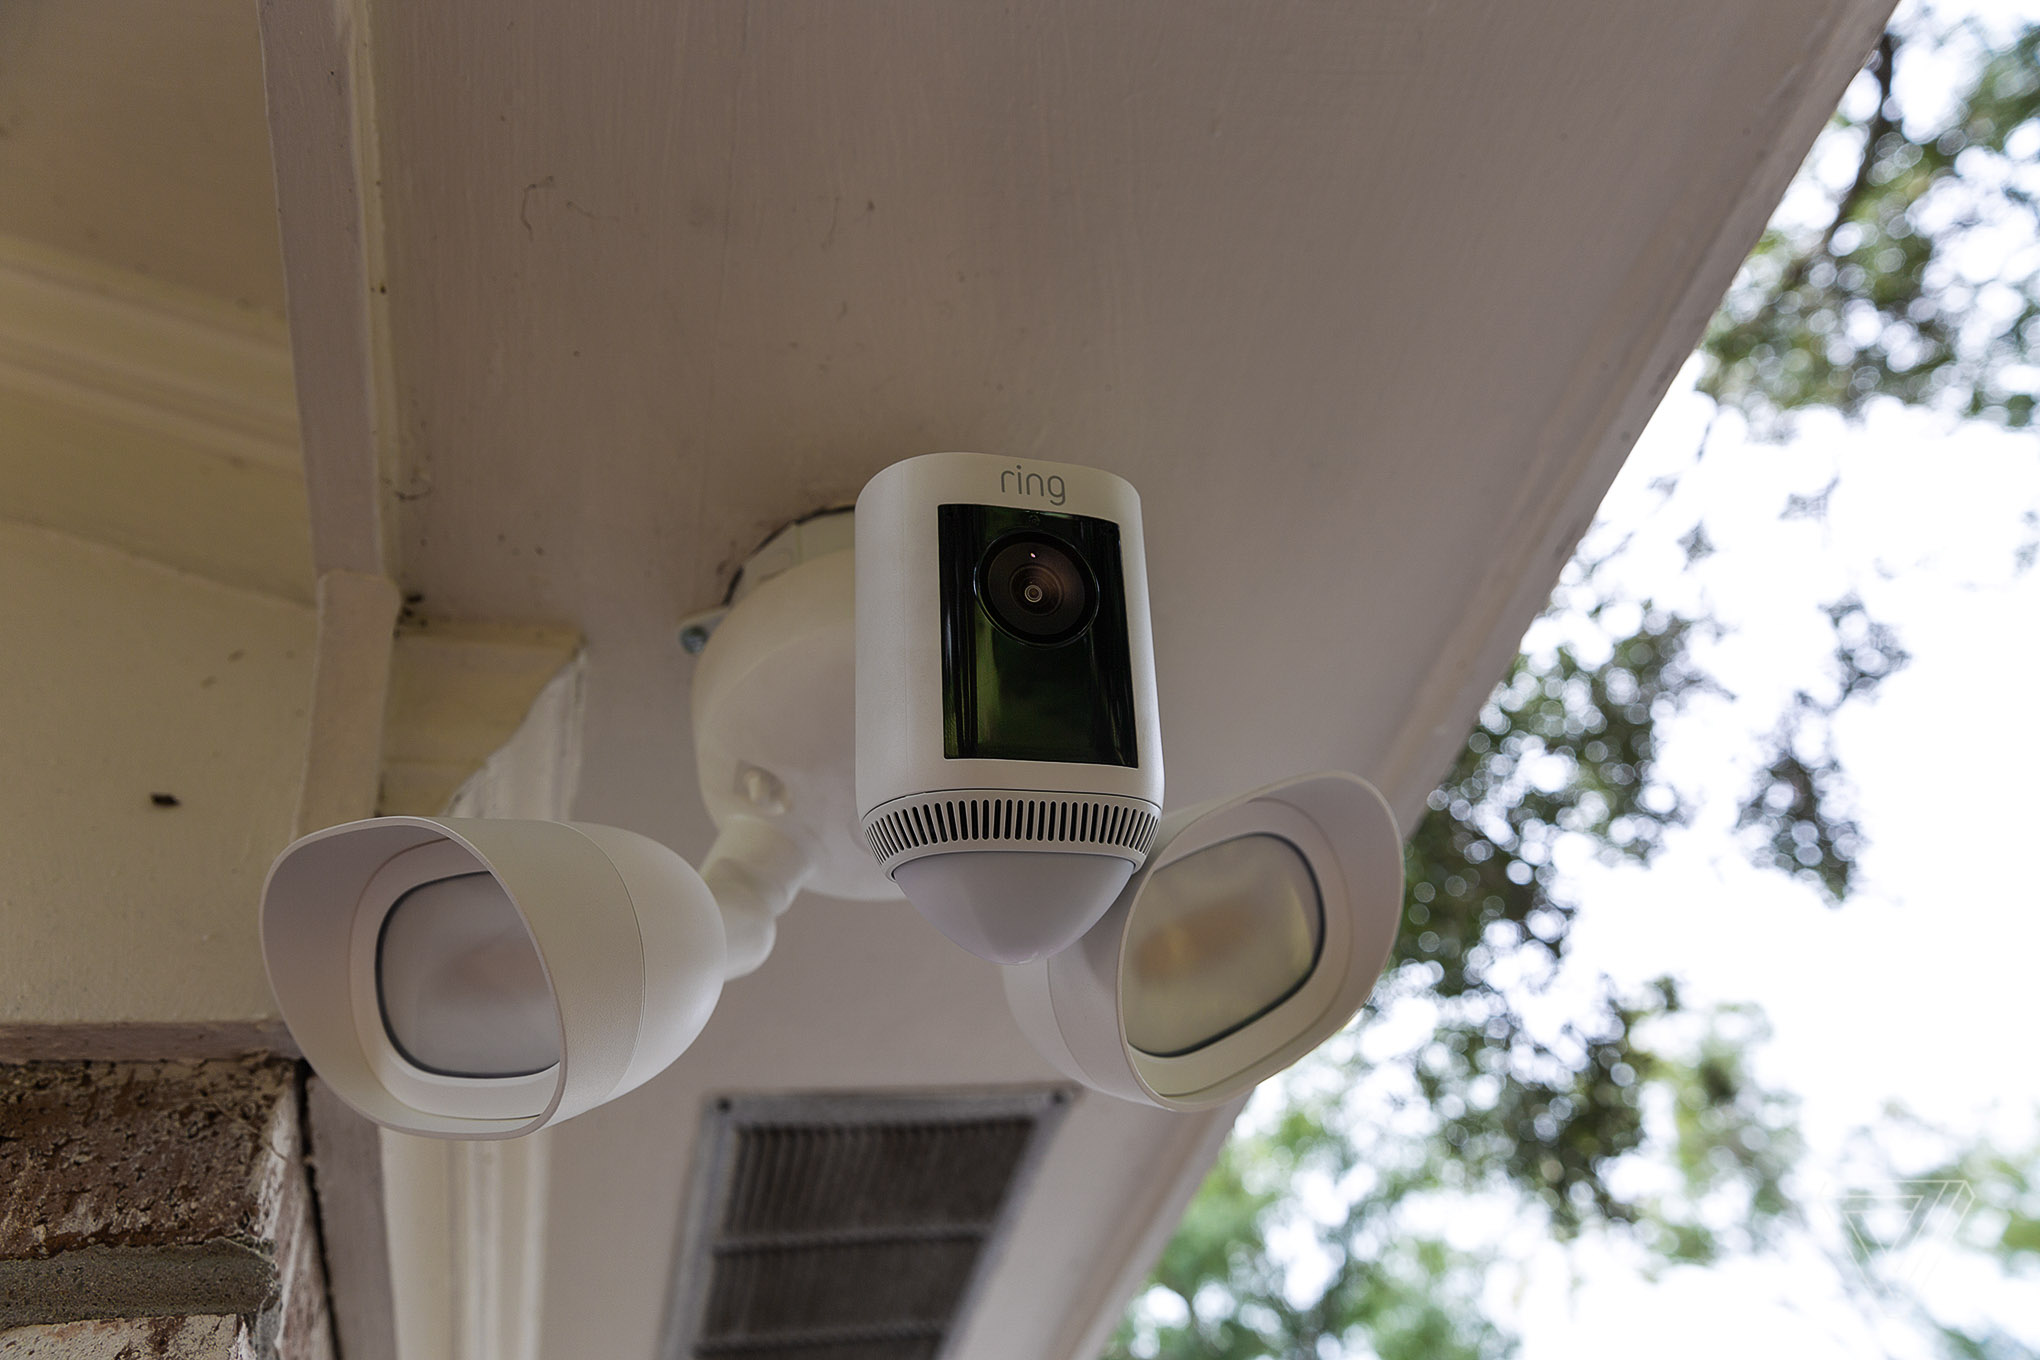
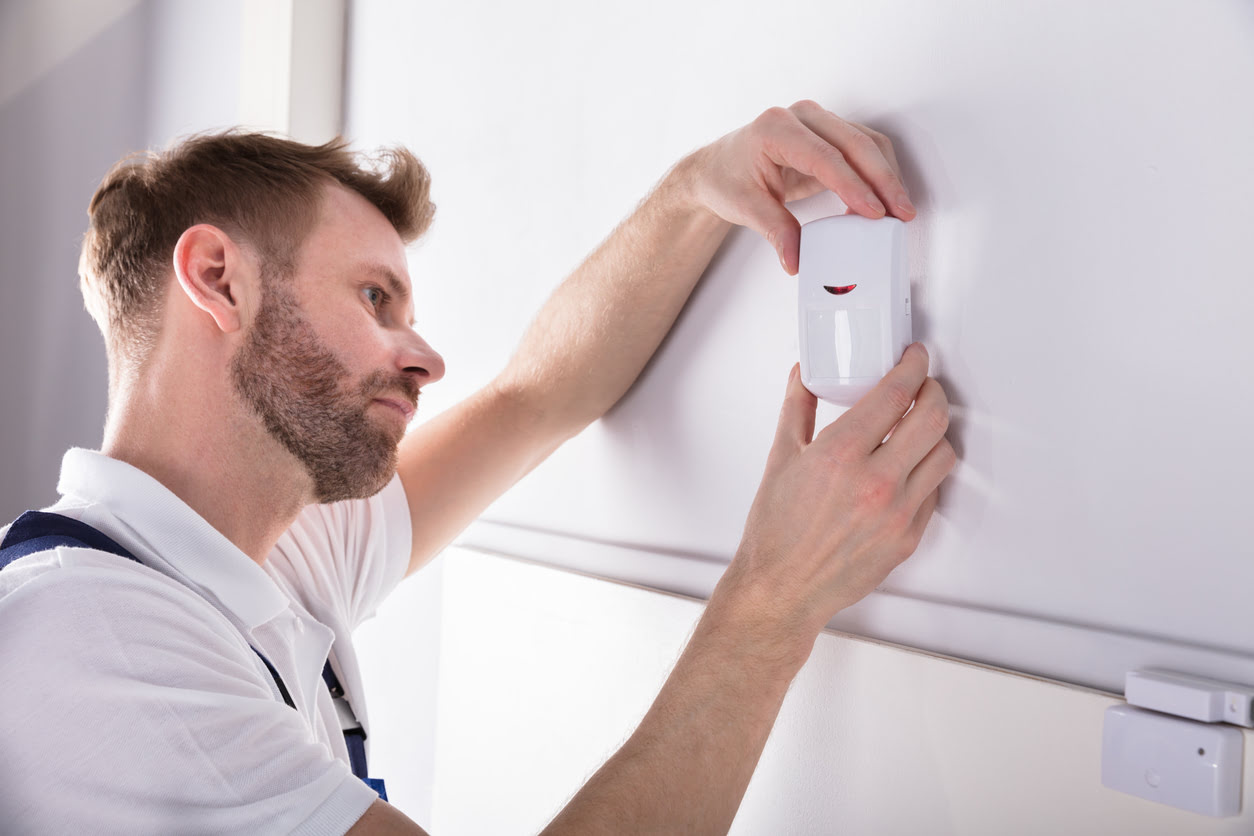
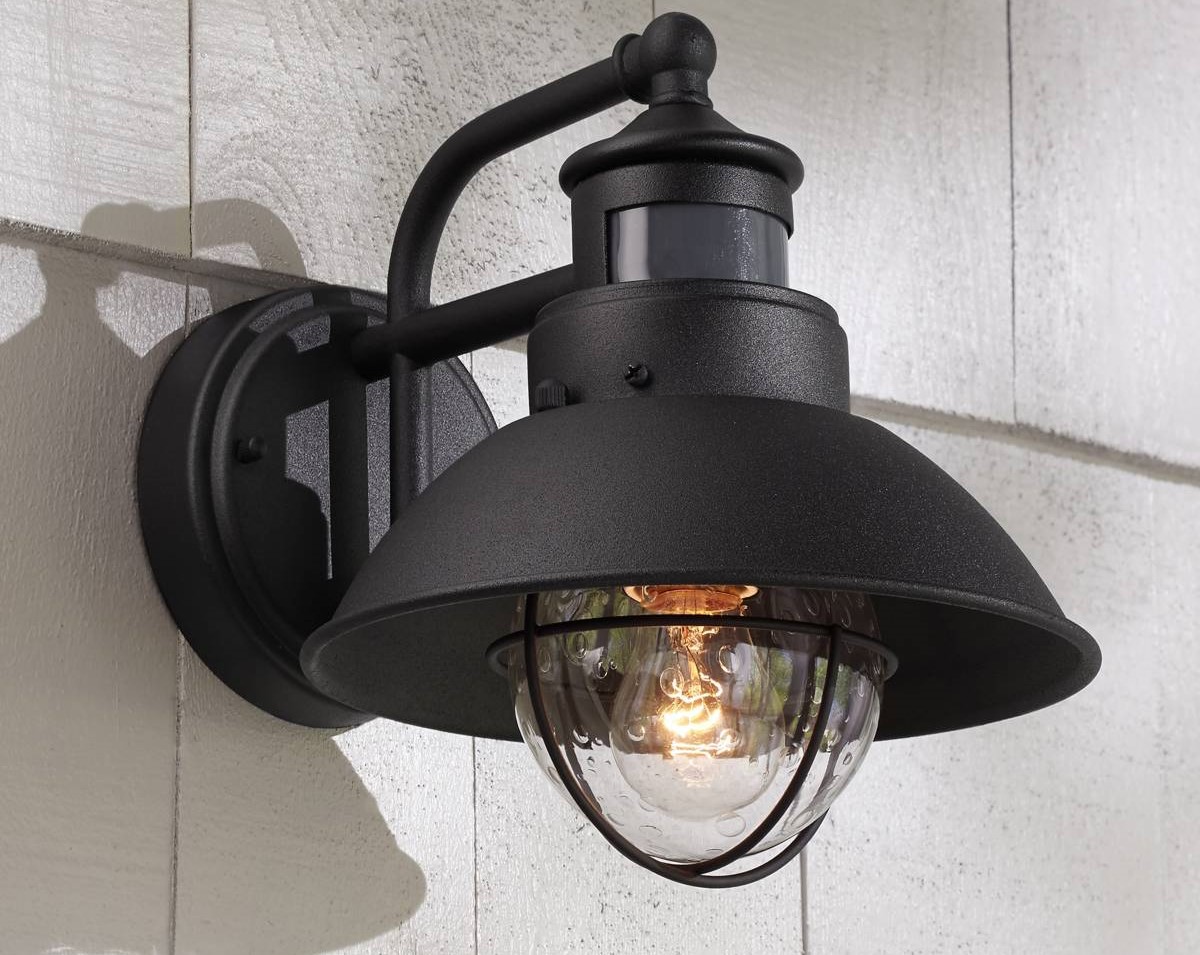
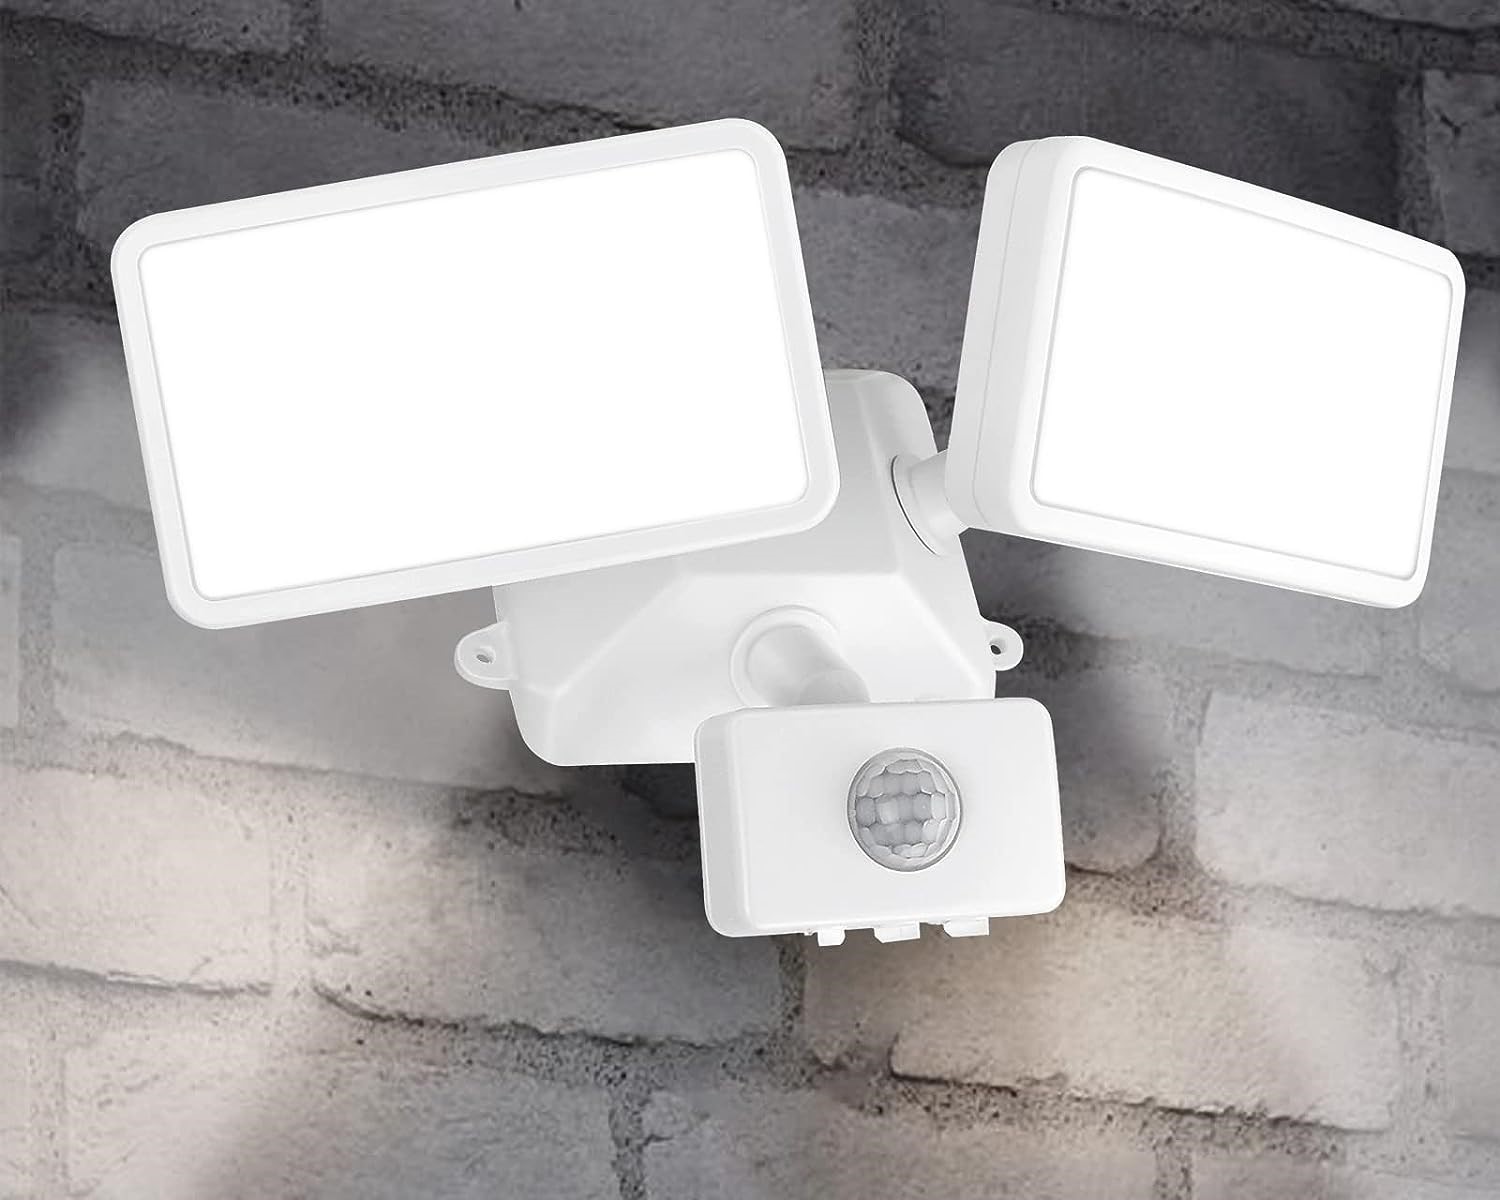
Step 7: Mount the Flood Light
Now that the wiring is connected, it’s time to mount the motion detector flood light onto the prepared surface. Follow these steps to securely mount your flood light:
1. Position the Flood Light: Hold the light fixture against the mounting surface, aligning the mounting holes with the pilot holes you drilled earlier. Ensure that the light is level and straight before proceeding.
2. Insert Mounting Screws: Insert the mounting screws through the mounting holes of the light fixture and into the pilot holes in the mounting surface. Use a screwdriver to tighten the screws securely, but take care not to overtighten, as this could damage the fixture or mounting surface.
3. Adjust the Light Angle: Most motion detector flood lights feature an adjustable angle function. Adjust the light fixture to the desired angle and direction, ensuring that it covers the desired area effectively. Tighten any screws or locking mechanisms to secure the light in place.
4. Test the Fixture: Before finalizing the mounting, turn the power supply back on at the breaker panel. Test the flood light to ensure that it turns on and functions properly. Walk within the motion detection range to confirm that the light activates as expected.
5. Secure the Fixture: Once you have confirmed that the flood light is functioning properly, securely tighten the mounting screws to secure the fixture in place. Ensure that the light is stable and fixed to the mounting surface.
6. Repeat for Multiple Lights (If Applicable): If you are installing multiple motion detector flood lights, repeat the above steps for each light. Ensure proper spacing between lights and adjust the angle and direction of each light to provide optimal coverage.
By following these steps, you will be able to securely mount your motion detector flood lights. The mounting process is an important step in ensuring the effectiveness and functionality of your outdoor lighting system. With the flood lights properly mounted, you can proceed to the next step, which is adjusting the light and detector angle.
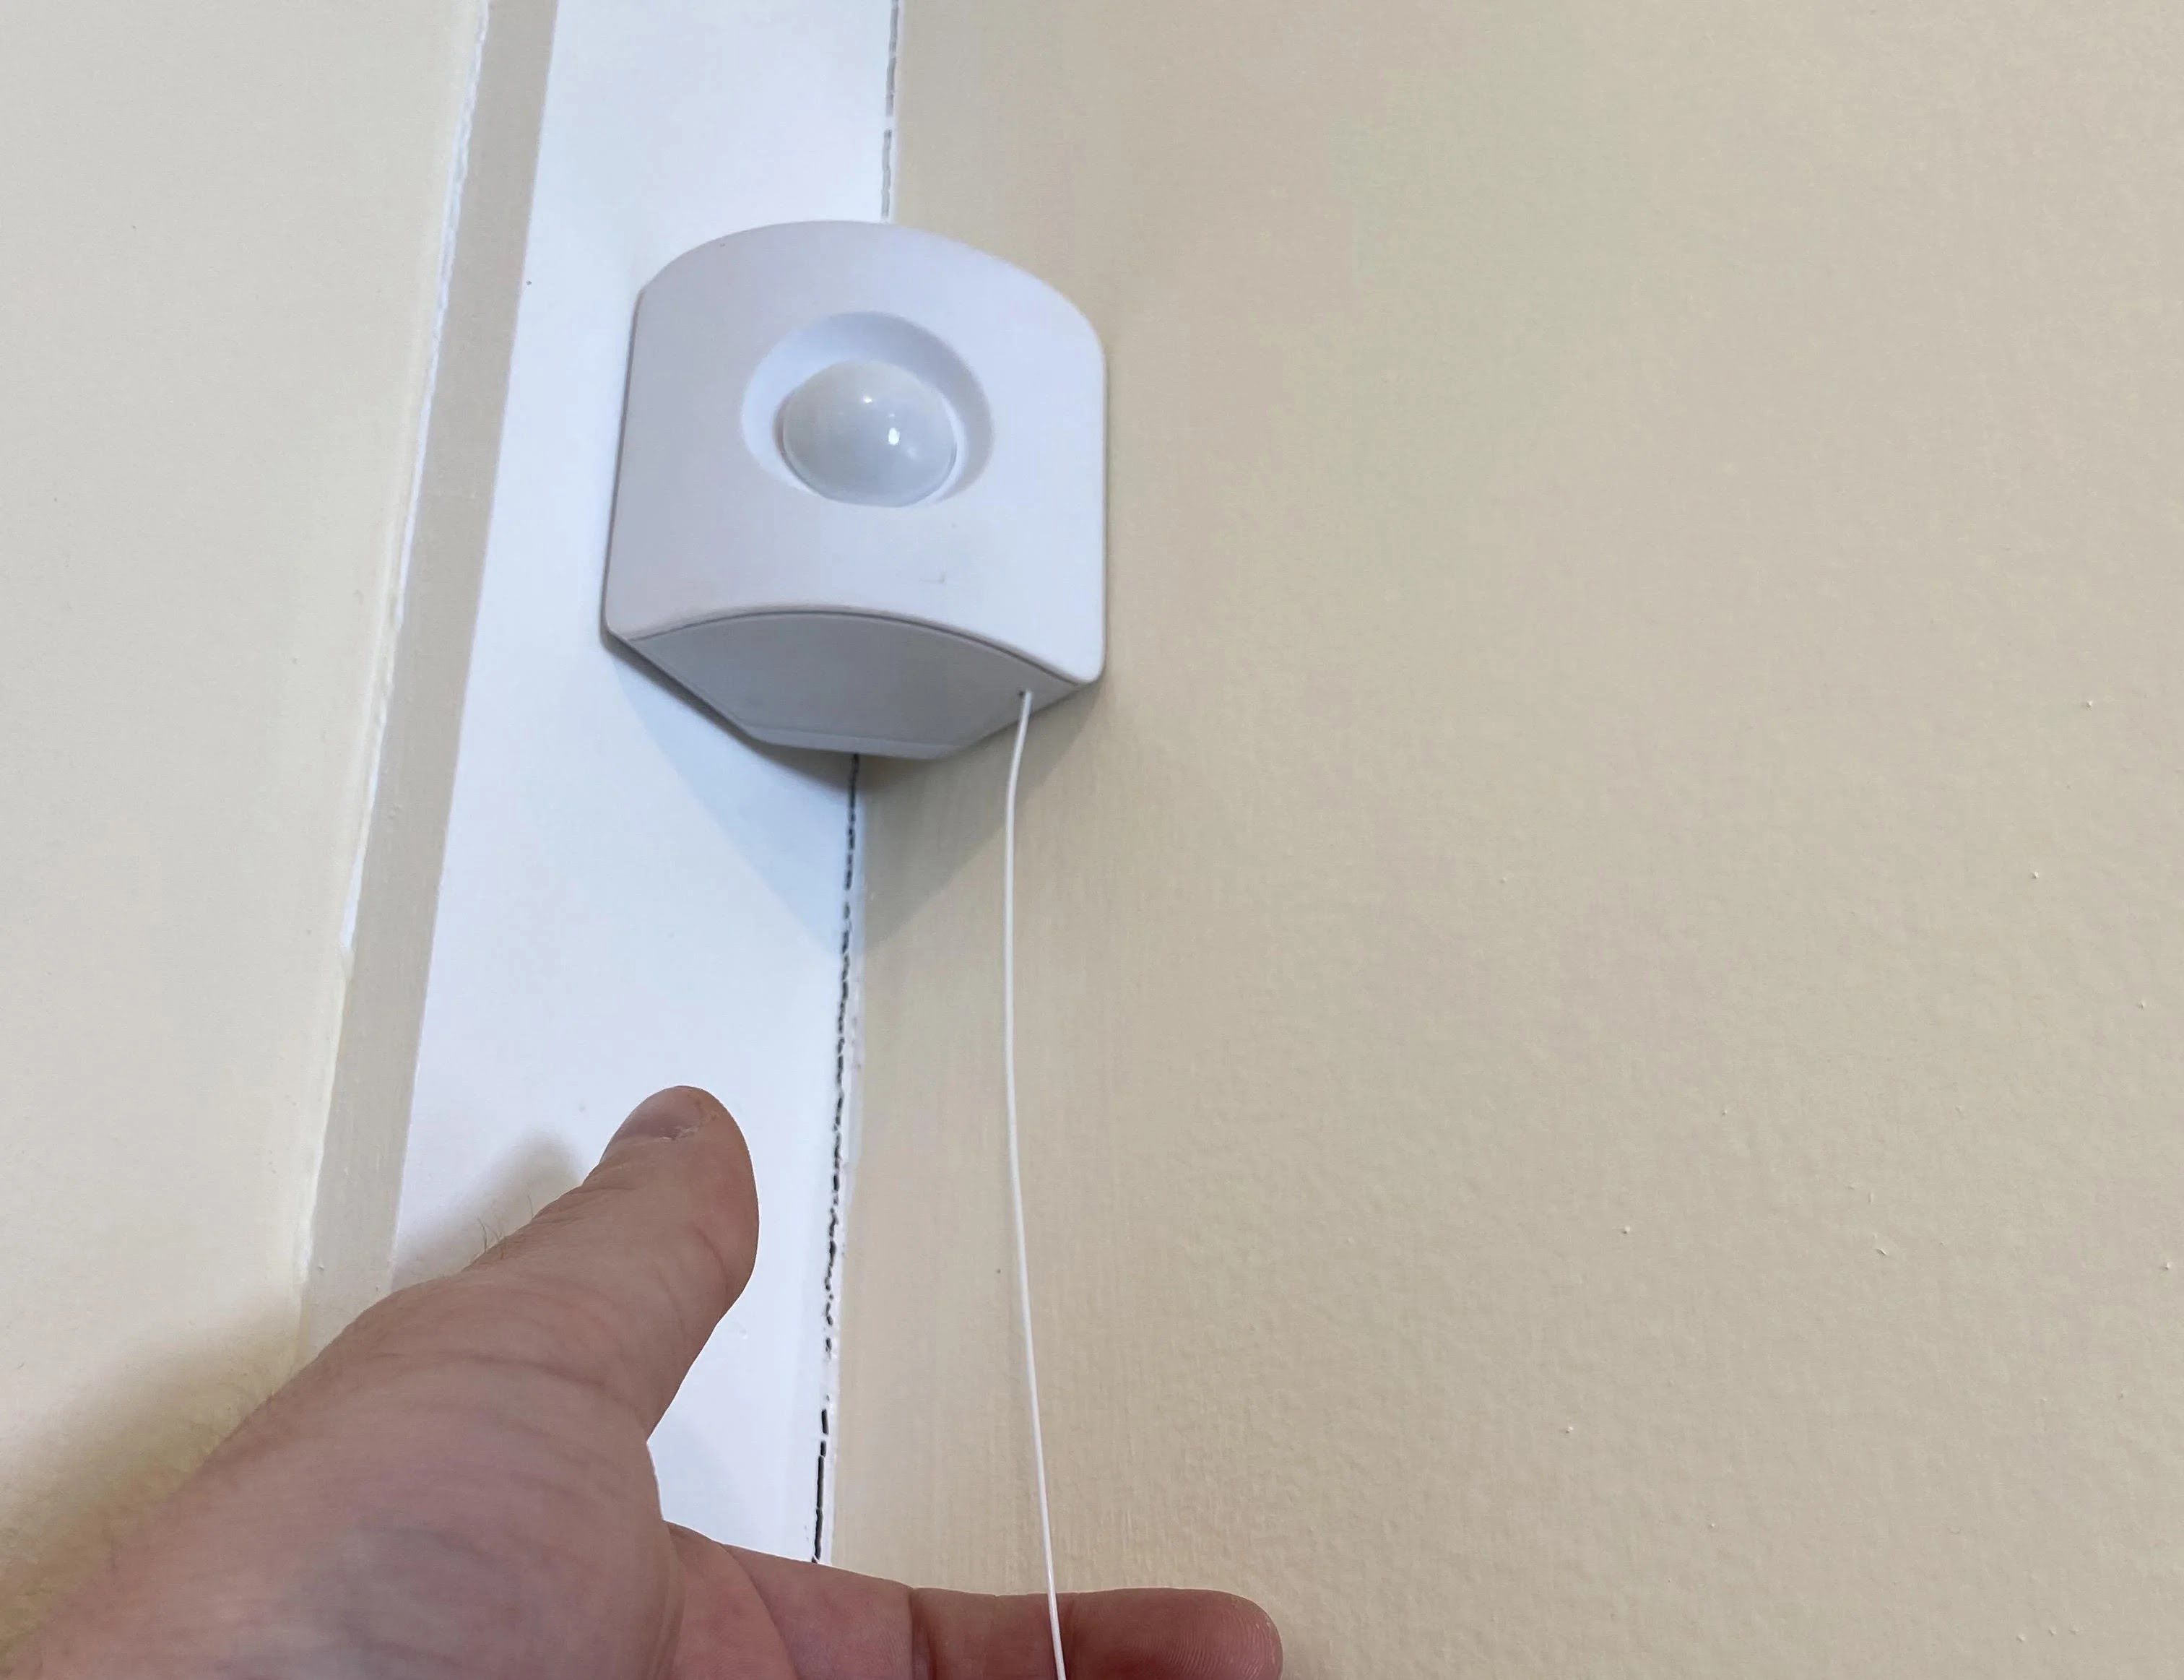
Step 8: Adjust the Light and Detector Angle
After mounting the flood light, it’s important to adjust both the light and detector angle to ensure optimal performance of your motion detector flood lights. Follow these steps to adjust the angles:
1. Light Angle Adjustment: Begin by adjusting the light fixture angle to provide the desired direction and coverage. This can be done by loosening any screws or locking mechanisms that hold the light in place. Tilt the light up, down, left, or right to adjust its angle. Take into consideration the areas you want to illuminate and ensure that the light is directed appropriately.
2. Detector Angle Adjustment: The motion detector component of the flood light also needs to be properly aligned. The detector angle determines the range and sensitivity of the motion detection. Locate the adjustment knobs or screws on the detector. These can often be found on the bottom or sides of the fixture. Use these adjustment points to fine-tune the detector angle. Experiment and test different angles to achieve the desired coverage and sensitivity.
3. Test the Motion Detection: Once you have adjusted the light and detector angles, it’s essential to test the motion detection functionality. Walk within the detection range of the flood light to ensure that it accurately detects motion and activates the light. Make any necessary adjustments to the angles if needed.
4. Repeat for Multiple Lights (If Applicable): If you have installed multiple motion detector flood lights, repeat the above steps for each light. Adjust the angles of each light individually to ensure proper coverage and coordination between the lights.
5. Secure the Adjusted Positions: Once you are satisfied with the light and detector angles, securely tighten any screws or locking mechanisms to hold the adjusted positions. This will ensure that the angles remain consistent and the lights function effectively as intended.
By taking the time to properly adjust the light and detector angles, you can maximize the performance and effectiveness of your motion detector flood lights. With the angles adjusted, you are ready to move on to testing the motion sensor in the next step.
Step 9: Test the Motion Sensor
After adjusting the angles of your motion detector flood lights, it’s important to test the motion sensor to ensure that it is functioning properly. Here are the steps to test the motion sensor:
1. Clear the Detection Area: Make sure the area in front of the motion sensor is clear of any obstructions, such as trees, tall shrubs, or other objects that could interfere with the detection. Clear any debris or dirt that may have accumulated around the sensor area.
2. Set the Sensitivity Level: Some motion detector flood lights allow you to adjust the sensitivity level. If this is the case, refer to the manufacturer’s instructions to set the desired sensitivity level. This will determine how easily the sensor will be triggered by motion.
3. Activate the Motion Sensor: To test the motion sensor, walk within the specified detection range of the flood light. The light should turn on promptly, indicating that the sensor has detected your movement.
4. Observe the Duration: Take note of how long the light remains on after the motion has stopped. Some motion detectors come with adjustable timers that determine how long the light stays illuminated. Adjust the timer setting, if necessary, to meet your preferences.
5. Test Different Angles: Walk around the detection area from different angles to ensure that the motion sensor effectively detects motion from all directions. If needed, make additional adjustments to the angles or sensitivity settings to improve the sensor’s performance.
6. Repeat for Multiple Motion Sensors (If Applicable): If you have installed multiple motion detector flood lights with individual sensors, repeat the testing process for each sensor separately to verify their functionality.
7. Fine-Tune as Needed: If you notice any issues during testing, such as delayed activation or false triggering, make adjustments to the sensitivity level, detection range, or angle as necessary. Refer to the manufacturer’s instructions for specific troubleshooting guidance.
By testing the motion sensor, you can ensure that it reliably detects motion and activates the flood light as intended. This step is crucial to ensuring the overall performance and effectiveness of your home security system. With the motion sensor successfully tested, you can now move on to adjusting the sensitivity and range, which is an optional step in the installation process.
Step 10: Adjust the Sensitivity and Range (Optional)
Adjusting the sensitivity and range of your motion detector flood lights allows you to fine-tune their performance to your specific needs. While this step is optional, it can help optimize the functionality and reduce false detections. Here’s how you can adjust the sensitivity and range:
1. Access the Settings: Refer to the manufacturer’s instructions to determine how to access the settings for adjusting the sensitivity and range. This may involve using switches, dials, or digital controls located on the light fixture or motion sensor components.
2. Sensitivity Adjustment: Adjusting the sensitivity determines how easily the motion sensor will be triggered by movement. Higher sensitivity settings make the sensor more responsive, while lower sensitivity settings make it less sensitive. Keep in mind that higher sensitivity may increase the chances of false detections, such as triggered by small animals or moving branches. Find the sensitivity level that balances reliable detection with minimal false activations.
3. Range Adjustment: Some motion detector flood lights allow you to adjust the detection range. This controls how far the sensor can detect motion. Increase the range for larger areas or decrease it for smaller, more defined areas. Adjust the range to cover the desired area without extending it unnecessarily.
4. Test and Fine-Tune: After making adjustments to the sensitivity and range, perform a series of tests to ensure the motion sensor functions as intended. Walk within the detection area from different distances and angles to evaluate the sensor’s performance. Make further adjustments, if needed, until you are satisfied with the detection accuracy.
5. Document the Settings: Once you have found the optimal sensitivity and range settings, document them for future reference. This can be helpful in case you need to restore or adjust the settings later, or to share with others who may interact with the motion detector flood lights.
Remember that every environment is unique, and the optimal sensitivity and range settings may vary based on factors such as the specific location, surrounding landscape, and potential sources of interference. Regularly test and reassess the settings to ensure continued optimal performance.
Adjusting the sensitivity and range is an optional step that can help personalize the performance of your motion detector flood lights. With these adjustments in place, you can enjoy reliable motion detection and enhanced security around your property.
Step 11: Secure the Wiring
Securing the wiring of your motion detector flood lights is an essential step to ensure safety and longevity of the installation. Properly securing the wiring protects it from damage, prevents accidental disconnections, and maintains a neat and tidy appearance. Follow these steps to securely fasten the wiring:
1. Organize the Wires: Take the time to organize and bundle the wires together. Use electrical tape or zip ties to gather the wires neatly. This not only makes it easier to work with but also prevents tangling and potential hazards.
2. Attach the Wiring to the Surface: Using wire clips or adhesive cable mounts, secure the wiring along the mounting surface. These clips or mounts can be easily attached to the surface using screws, adhesive backing, or cable ties. Make sure to space the clips or mounts evenly along the wire’s path to provide consistent support.
3. Avoid Pinching or Abrasion: Ensure that the wiring is not pinched or exposed to sharp edges or abrasive surfaces during the installation. This helps prevent damage to the insulation and protects the integrity of the wires.
4. Protect the Connections: To shield the wire connections from exposure to the elements, electrical tape can be used to wrap around each individual wire nut. This provides an added layer of protection against moisture, dust, and other potential environmental factors that can lead to corrosion or electrical issues.
5. Insulate Exposed Wires: Any exposed wires that are not part of a connection should also be insulated with electrical tape. This protects the exposed sections from accidental contact and potential short circuits.
6. Conceal Unsightly Wires: If desired, conceal the visible wiring by using cable conduits or channels. These can be mounted to the wall or surface and provide a clean, finished appearance while protecting the wires from accidental damage.
7. Verify Secure Connections: Double-check that all wire connections are securely fastened and that none of the wiring is loose or hanging. Gently tug on each wire to ensure it is stable and properly anchored to the mounting surface.
By taking the time to secure the wiring, you ensure the reliability and durability of your motion detector flood lights. Securing the wiring not only prevents potential hazards but also helps maintain a professional and aesthetically pleasing installation. With the wiring secure, you can move on to the final step of testing the flood lights again.
Step 12: Test the Flood Light Again
After completing the installation and securing the wiring of your motion detector flood lights, it’s essential to conduct a final test to ensure everything is functioning properly. By testing the flood lights again, you can confirm that all components are working as intended. Follow these steps to conduct a final test:
1. Turn on the Power: Ensure that the power supply to the flood lights is turned on at the breaker panel. This will provide the necessary electricity for the lights to function.
2. Activate the Motion Sensor: Move within the detection range of the flood lights to trigger the motion sensor. It should promptly detect your movement and activate the lights. Observe whether the lights turn on and illuminate the designated area as expected.
3. Check for Proper Operation: Assess the flood lights for any issues or irregularities. Verify that the lights remain on for the duration set by the timer and turn off automatically once motion is no longer detected. Monitor the performance of the motion sensor to ensure reliable detection and activation.
4. Evaluate the Light Output: Observe the brightness and coverage of the lights. Ensure that they effectively illuminate the desired areas without leaving any significant dark spots. Adjust the light angle or range, if necessary, to improve the overall coverage and visibility.
5. Test Different Scenarios: Perform additional tests by simulating various scenarios, such as walking from different directions, at different distances, and at different speeds to gauge the flood lights’ responsiveness. Verify that the lights consistently activate and adequately light up the area in all tested scenarios.
6. Address Any issues: If you encounter any issues during the final test, troubleshoot accordingly. Check the connections, adjust the sensitivity or range settings, or inspect the wiring for any loose connections. Refer to the manufacturer’s instructions or consult a professional if needed.
By testing the flood lights again, you can ensure that they are working optimally and providing the expected security and visibility enhancements. Conducting a final test gives you the confidence and peace of mind that your motion detector flood lights are ready to fulfill their intended purpose.
Congratulations! With the final test complete, you have successfully installed and tested your motion detector flood lights. Now you can sit back and enjoy the enhanced security and convenience they provide to your home.
Read more: How To Install Xfinity Motion Detector
Conclusion
Installing motion detector flood lights is a valuable investment that can enhance the security and visibility of your property. With the complete guide we have provided, you now have the knowledge and steps to confidently install these lights on your own. By following the step-by-step instructions, from gathering the necessary tools to testing the flood lights, you can ensure a successful installation.
Throughout the installation process, it is important to prioritize safety and adhere to proper electrical procedures. Always turn off the power supply before working with any electrical components, and if you are unsure or uncomfortable with any steps, consult a professional electrician for assistance.
Remember to consider factors such as the coverage area, mounting height, and proper wiring organization to maximize the effectiveness of your motion detector flood lights. Adjusting the light and detector angles, as well as fine-tuning the sensitivity and range, will allow you to customize the performance of the flood lights to best suit your needs.
Once the flood lights are installed and tested, ensure that the wiring is secure and organized for safety and aesthetics. Document any important settings or adjustments made during the installation process for future reference.
With your motion detector flood lights successfully installed, you can experience the benefits of increased security, improved visibility, and peace of mind. Whether deterring potential intruders or providing better illumination for nighttime activities, these lights offer a valuable upgrade to your home.
Remember to regularly maintain and test the flood lights to ensure they continue to operate smoothly and effectively. Clean the lights and surrounding areas periodically to maintain optimum performance and longevity.
We hope that this comprehensive installation guide has been helpful in guiding you through the process of installing motion detector flood lights. Enjoy the added security and convenience that these lights bring to your home, and rest easy knowing that you have taken an important step in safeguarding your property.
Frequently Asked Questions about How To Install Motion Detector Flood Lights
Was this page helpful?
At Storables.com, we guarantee accurate and reliable information. Our content, validated by Expert Board Contributors, is crafted following stringent Editorial Policies. We're committed to providing you with well-researched, expert-backed insights for all your informational needs.