Articles
How To Attach Swiffer Heavy Duty Duster
Modified: August 16, 2024
Learn how to attach Swiffer Heavy Duty Duster with our informative articles. Discover the best techniques and tips for a thorough and efficient cleaning experience.
(Many of the links in this article redirect to a specific reviewed product. Your purchase of these products through affiliate links helps to generate commission for Storables.com, at no extra cost. Learn more)
Introduction
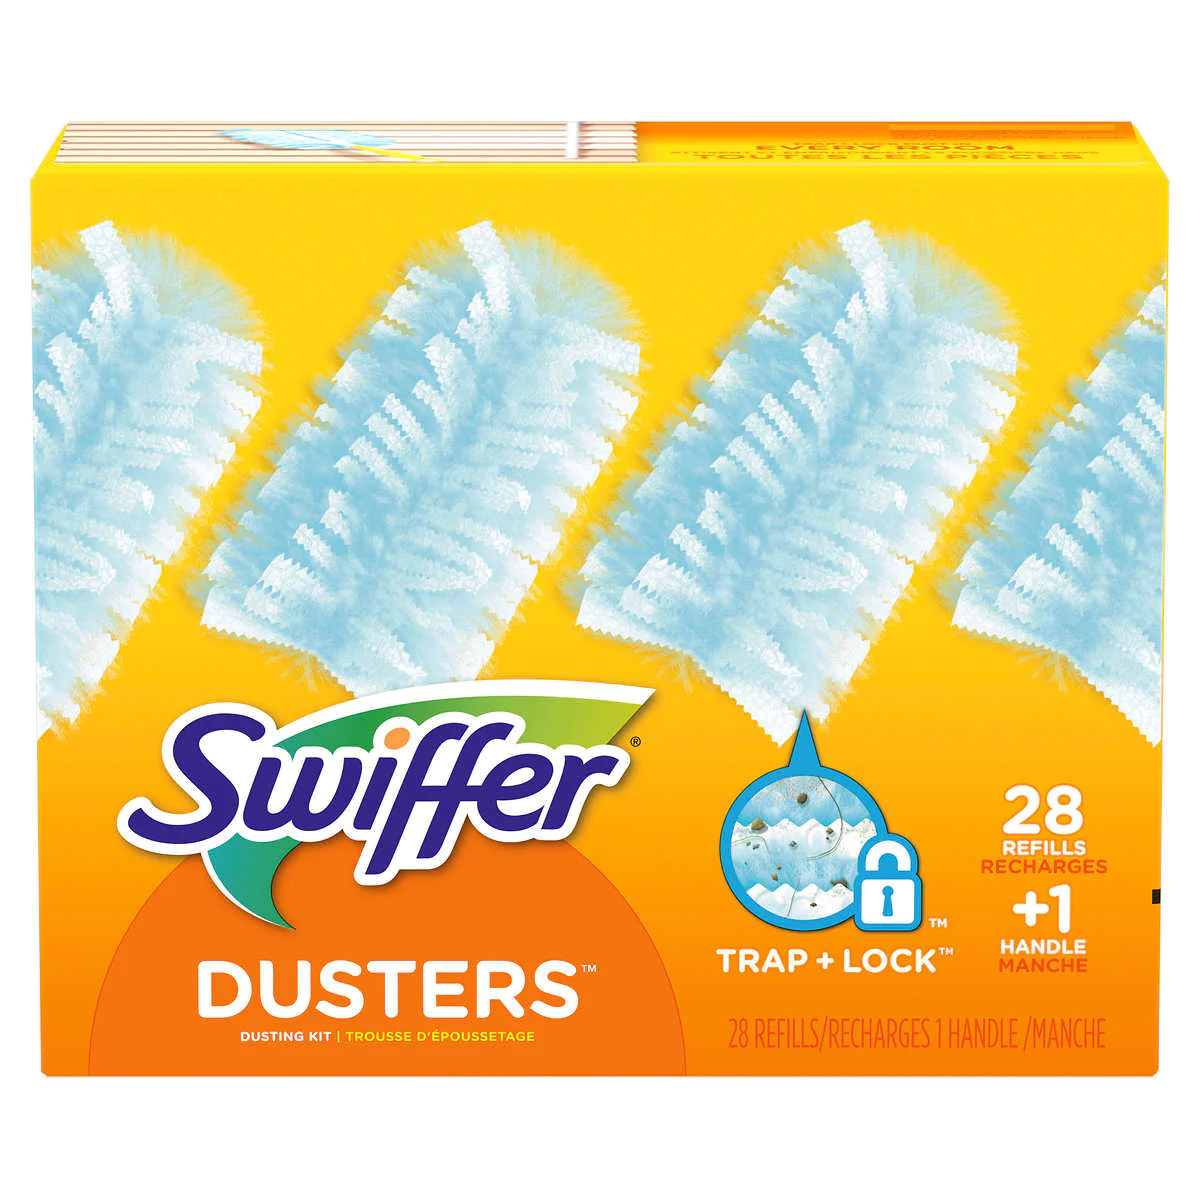
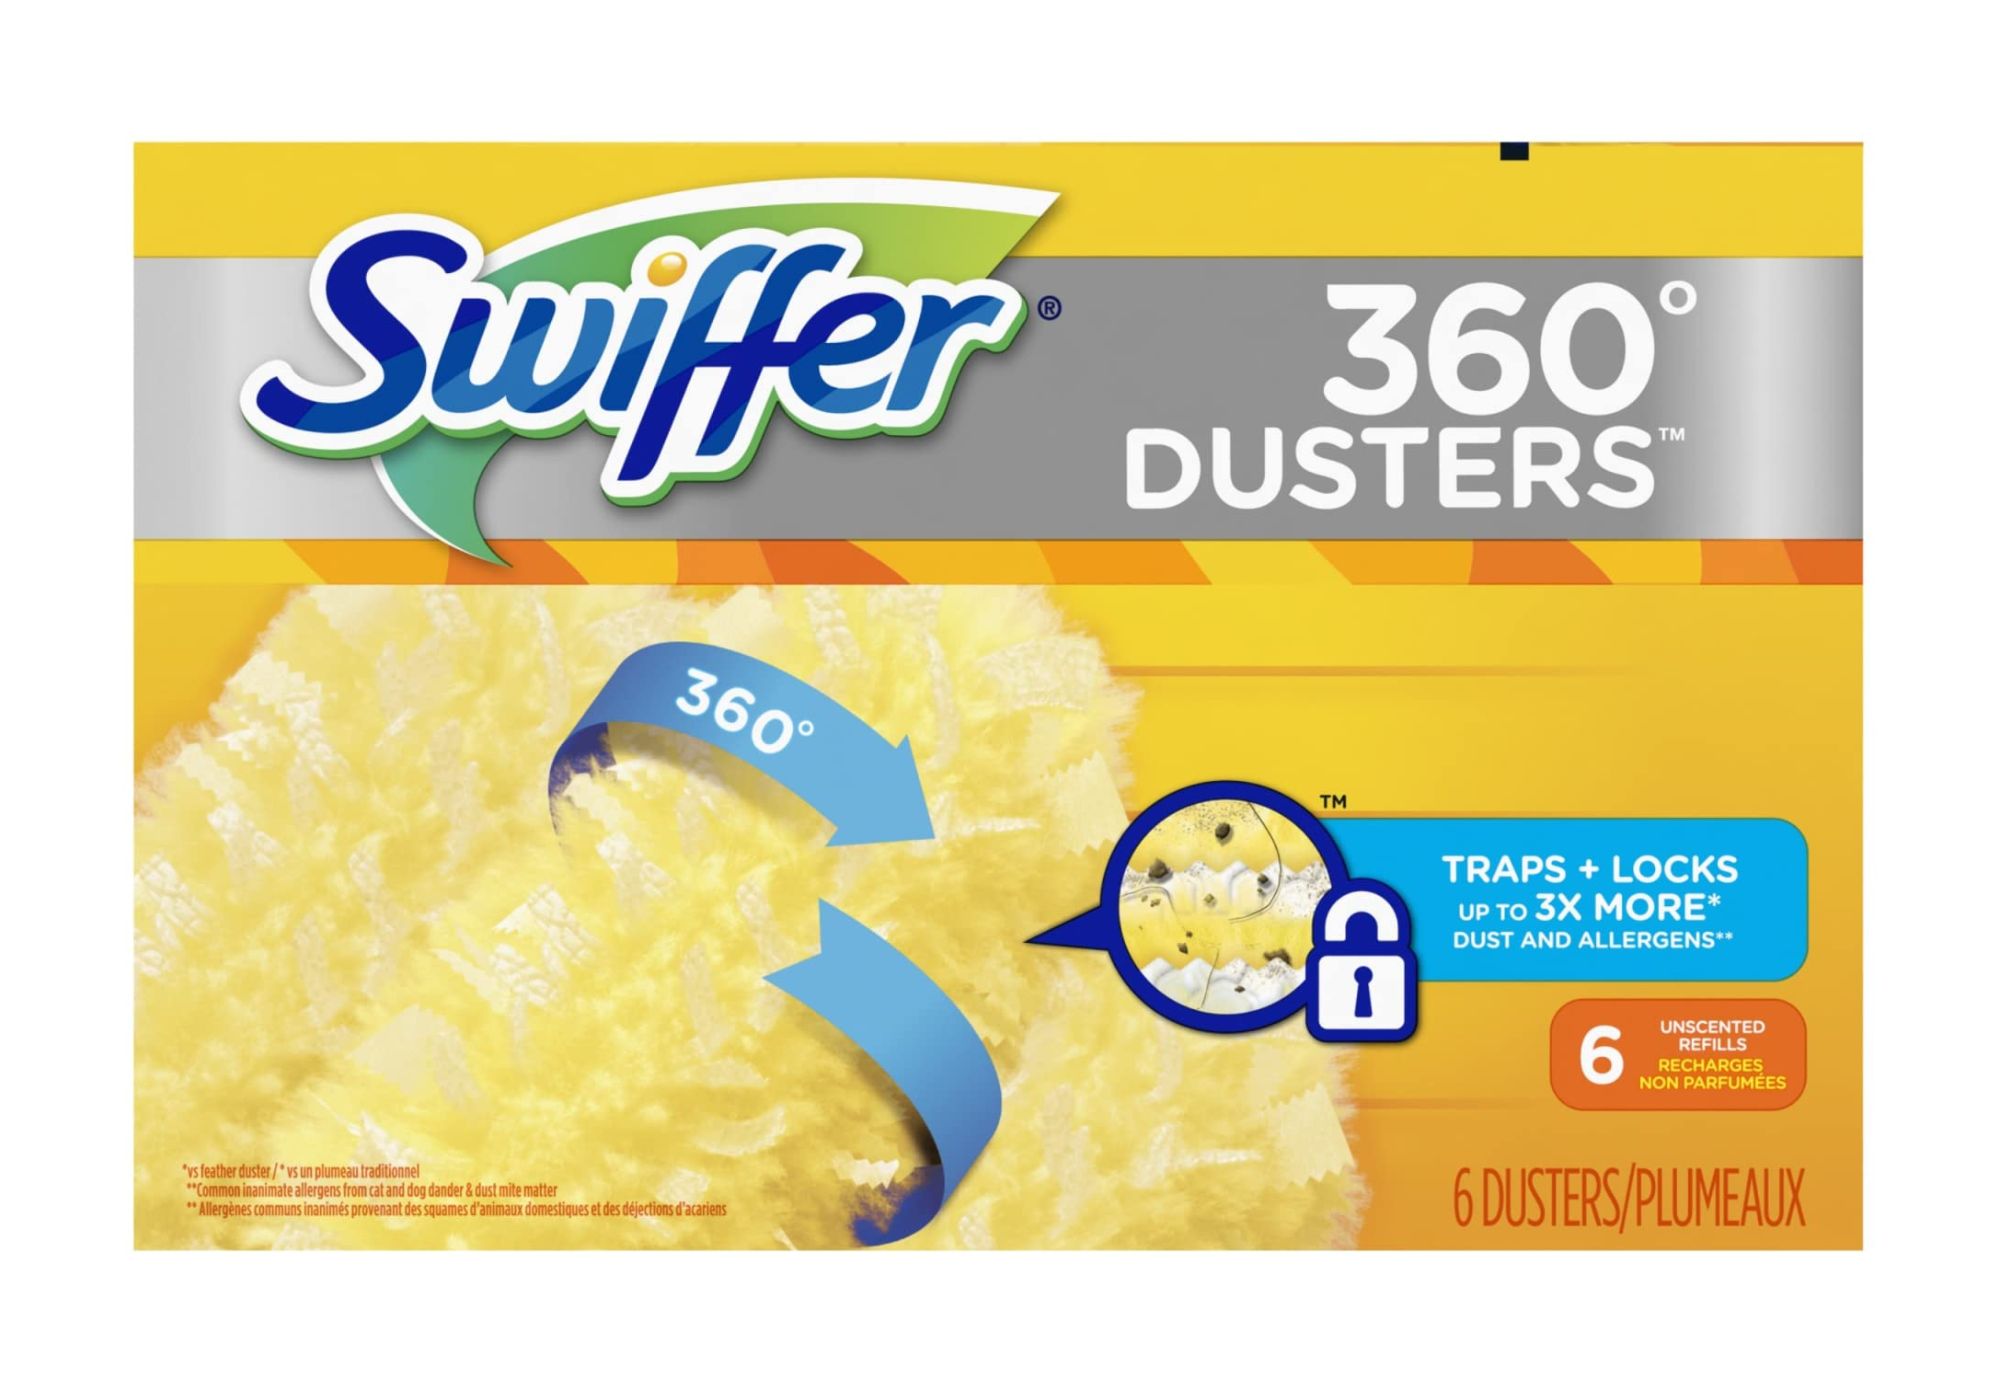
Welcome to our guide on how to attach a Swiffer Heavy Duty Duster. Swiffer Dusters are a popular cleaning tool known for their ability to effectively trap and lock dust, allergens, and other household particles. The Swiffer Heavy Duty Duster is designed specifically for tackling those tough cleaning jobs, making it an essential addition to your cleaning arsenal.
Attaching the Swiffer Heavy Duty Duster is a simple process that requires a few easy steps. By following this guide, you’ll be able to quickly and effortlessly prepare your duster for use and start tackling those dusty surfaces in no time. So, let’s get started on attaching the Swiffer Heavy Duty Duster to its handle.
Key Takeaways:
- Easily attach the Swiffer Heavy Duty Duster by following simple steps and ensure optimal cleaning efficiency by adjusting its position. Enjoy hassle-free and effective cleaning with this essential household tool.
- Embrace the convenience and effectiveness of the Swiffer Heavy Duty Duster as it effortlessly traps and locks dust, allergens, and debris. Keep your home clean and refreshed with this innovative cleaning solution.
Read more: How To Clean A Swiffer Duster
Step 1: Gather the necessary materials
Before you begin attaching the Swiffer Heavy Duty Duster, it’s essential to gather all the necessary materials. Having everything prepared beforehand will make the process smoother and more efficient. Here’s a list of what you’ll need:
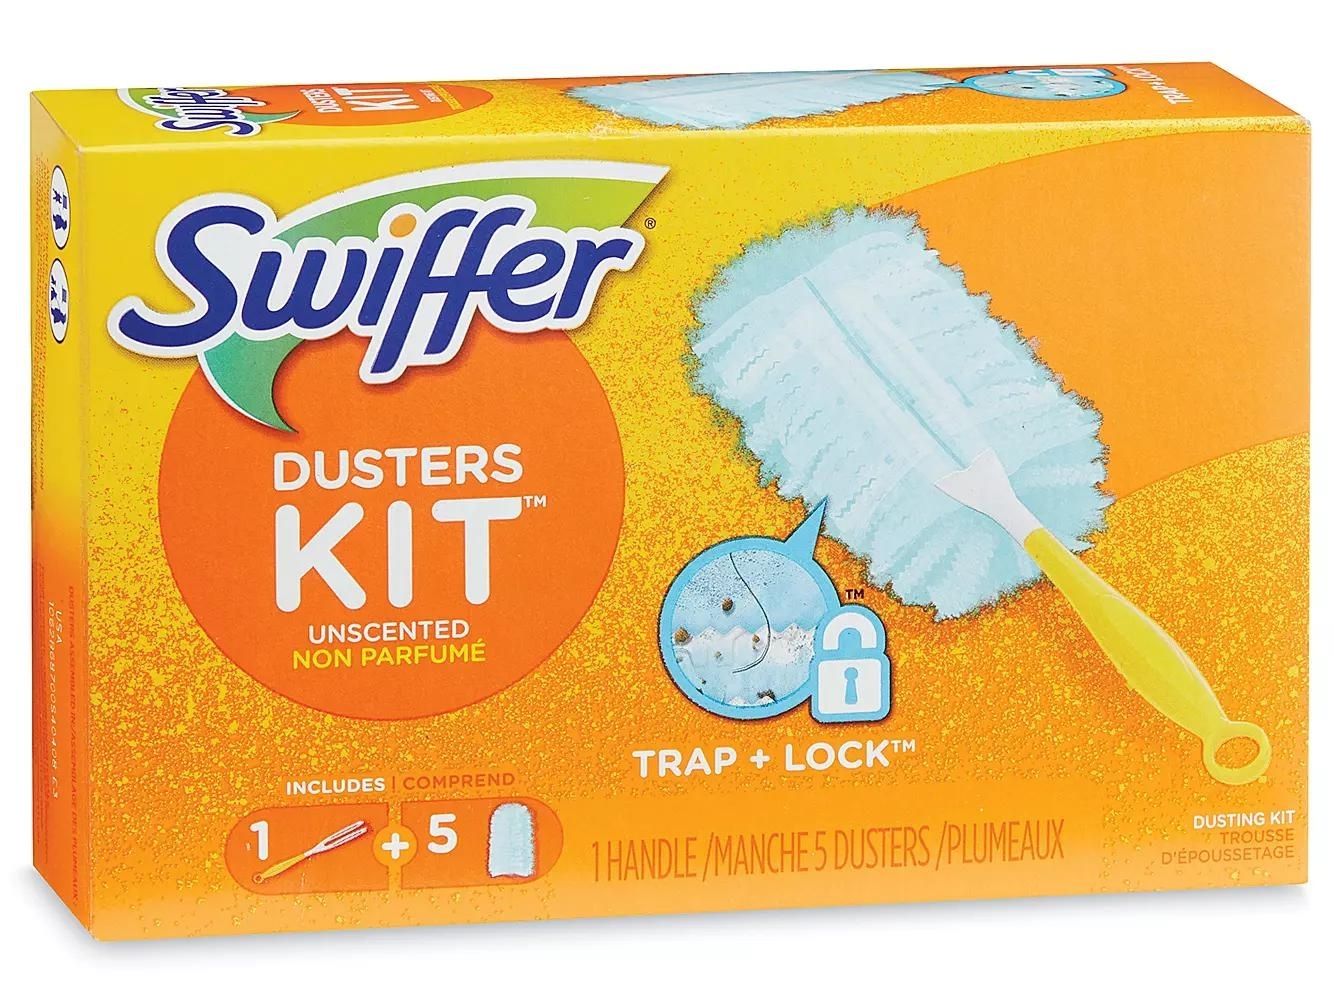
- A Swiffer Heavy Duty Duster
- A Swiffer Heavy Duty Duster handle
- A clean and dry surface to work on
Make sure you have all these items readily available. Double-check that your Swiffer Heavy Duty Duster and handle are in good condition and free from any damage, ensuring optimal performance during the cleaning process.
Once you have gathered everything you need, you’re ready to move on to the next step: preparing the Swiffer Heavy Duty Duster.
Step 2: Prepare the Swiffer Heavy Duty Duster
Before attaching the Swiffer Heavy Duty Duster to its handle, it’s important to ensure that the duster is properly prepared. This step will help maximize the effectiveness of the duster when it comes to trapping and locking dust.
To prepare the Swiffer Heavy Duty Duster, follow these simple steps:
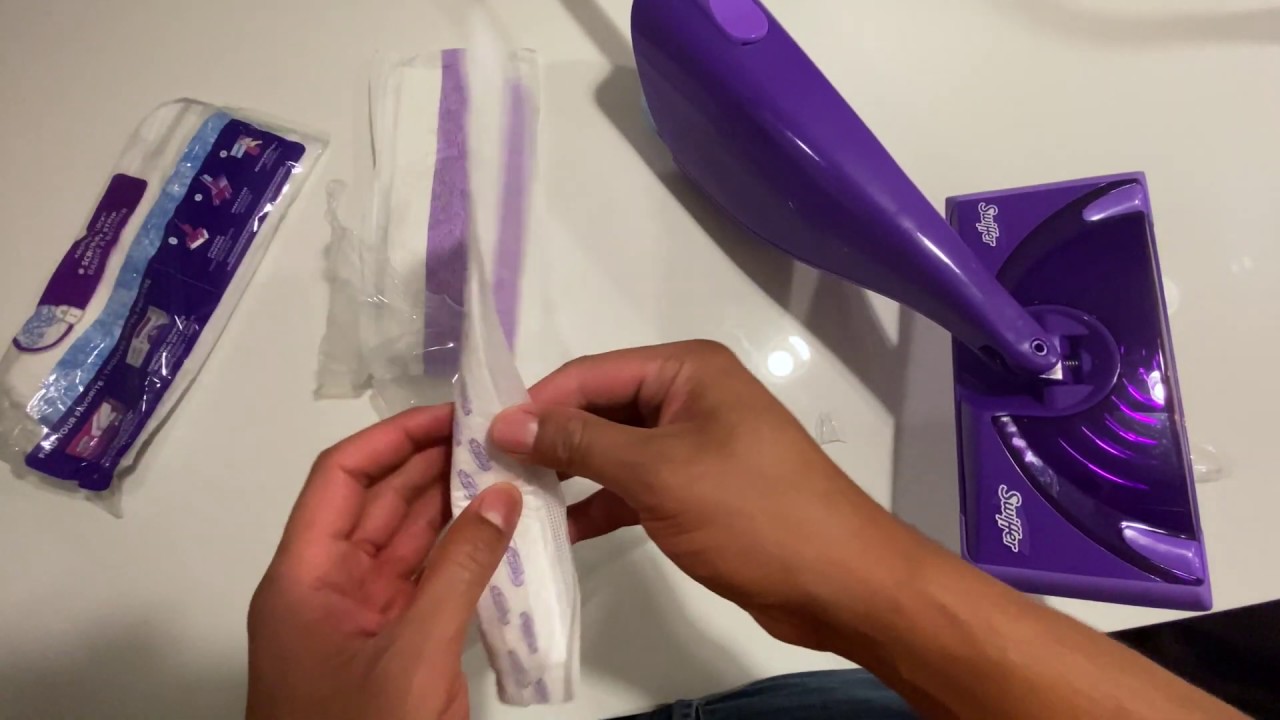
- Remove the Swiffer Heavy Duty Duster from its packaging, being careful not to damage the duster or its fibers.
- Gently fluff the duster by shaking it in the air a few times. This will loosen up the fibers and help in capturing dust more effectively.
- Inspect the duster to ensure there are no visible defects or damages. If you notice any tears or significant flaws, it’s best to discard the duster and use a new one.
By properly preparing the Swiffer Heavy Duty Duster, you are ensuring its optimal performance during the cleaning process. With your duster ready, it’s time to move on to the next step: attaching the duster to the handle.
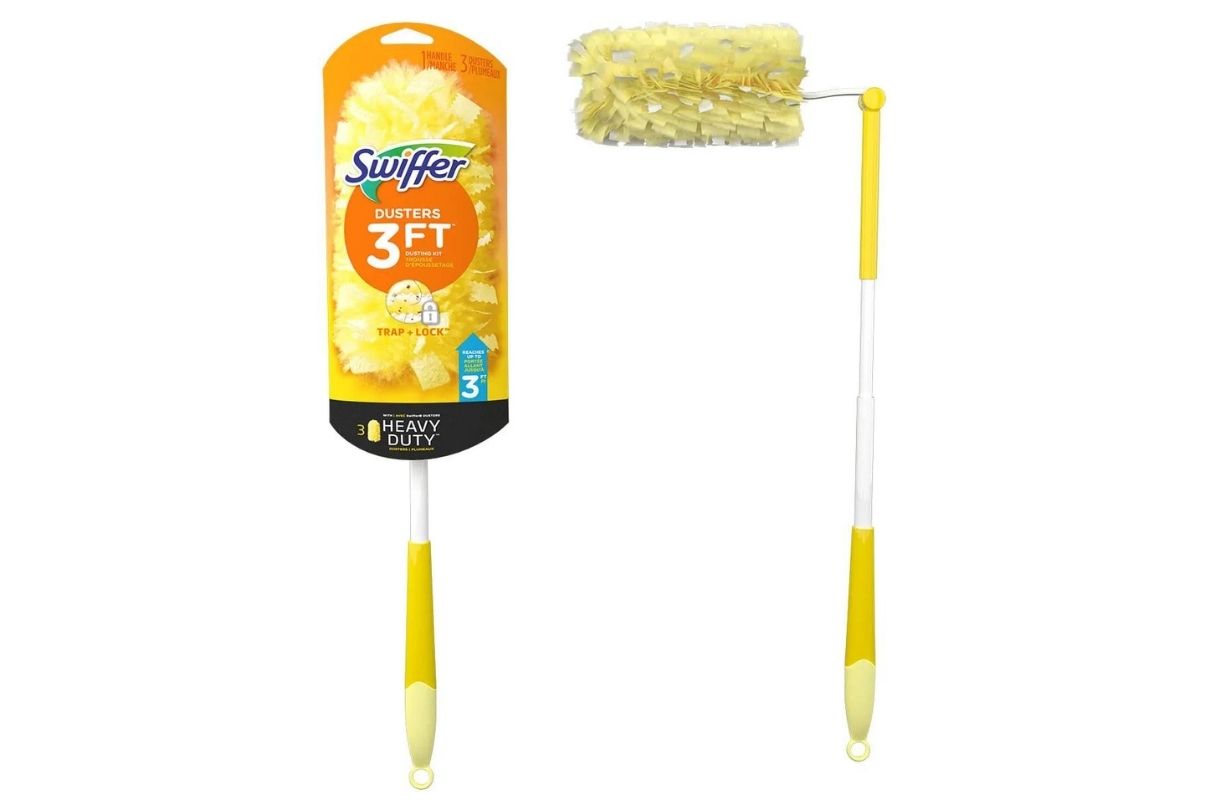
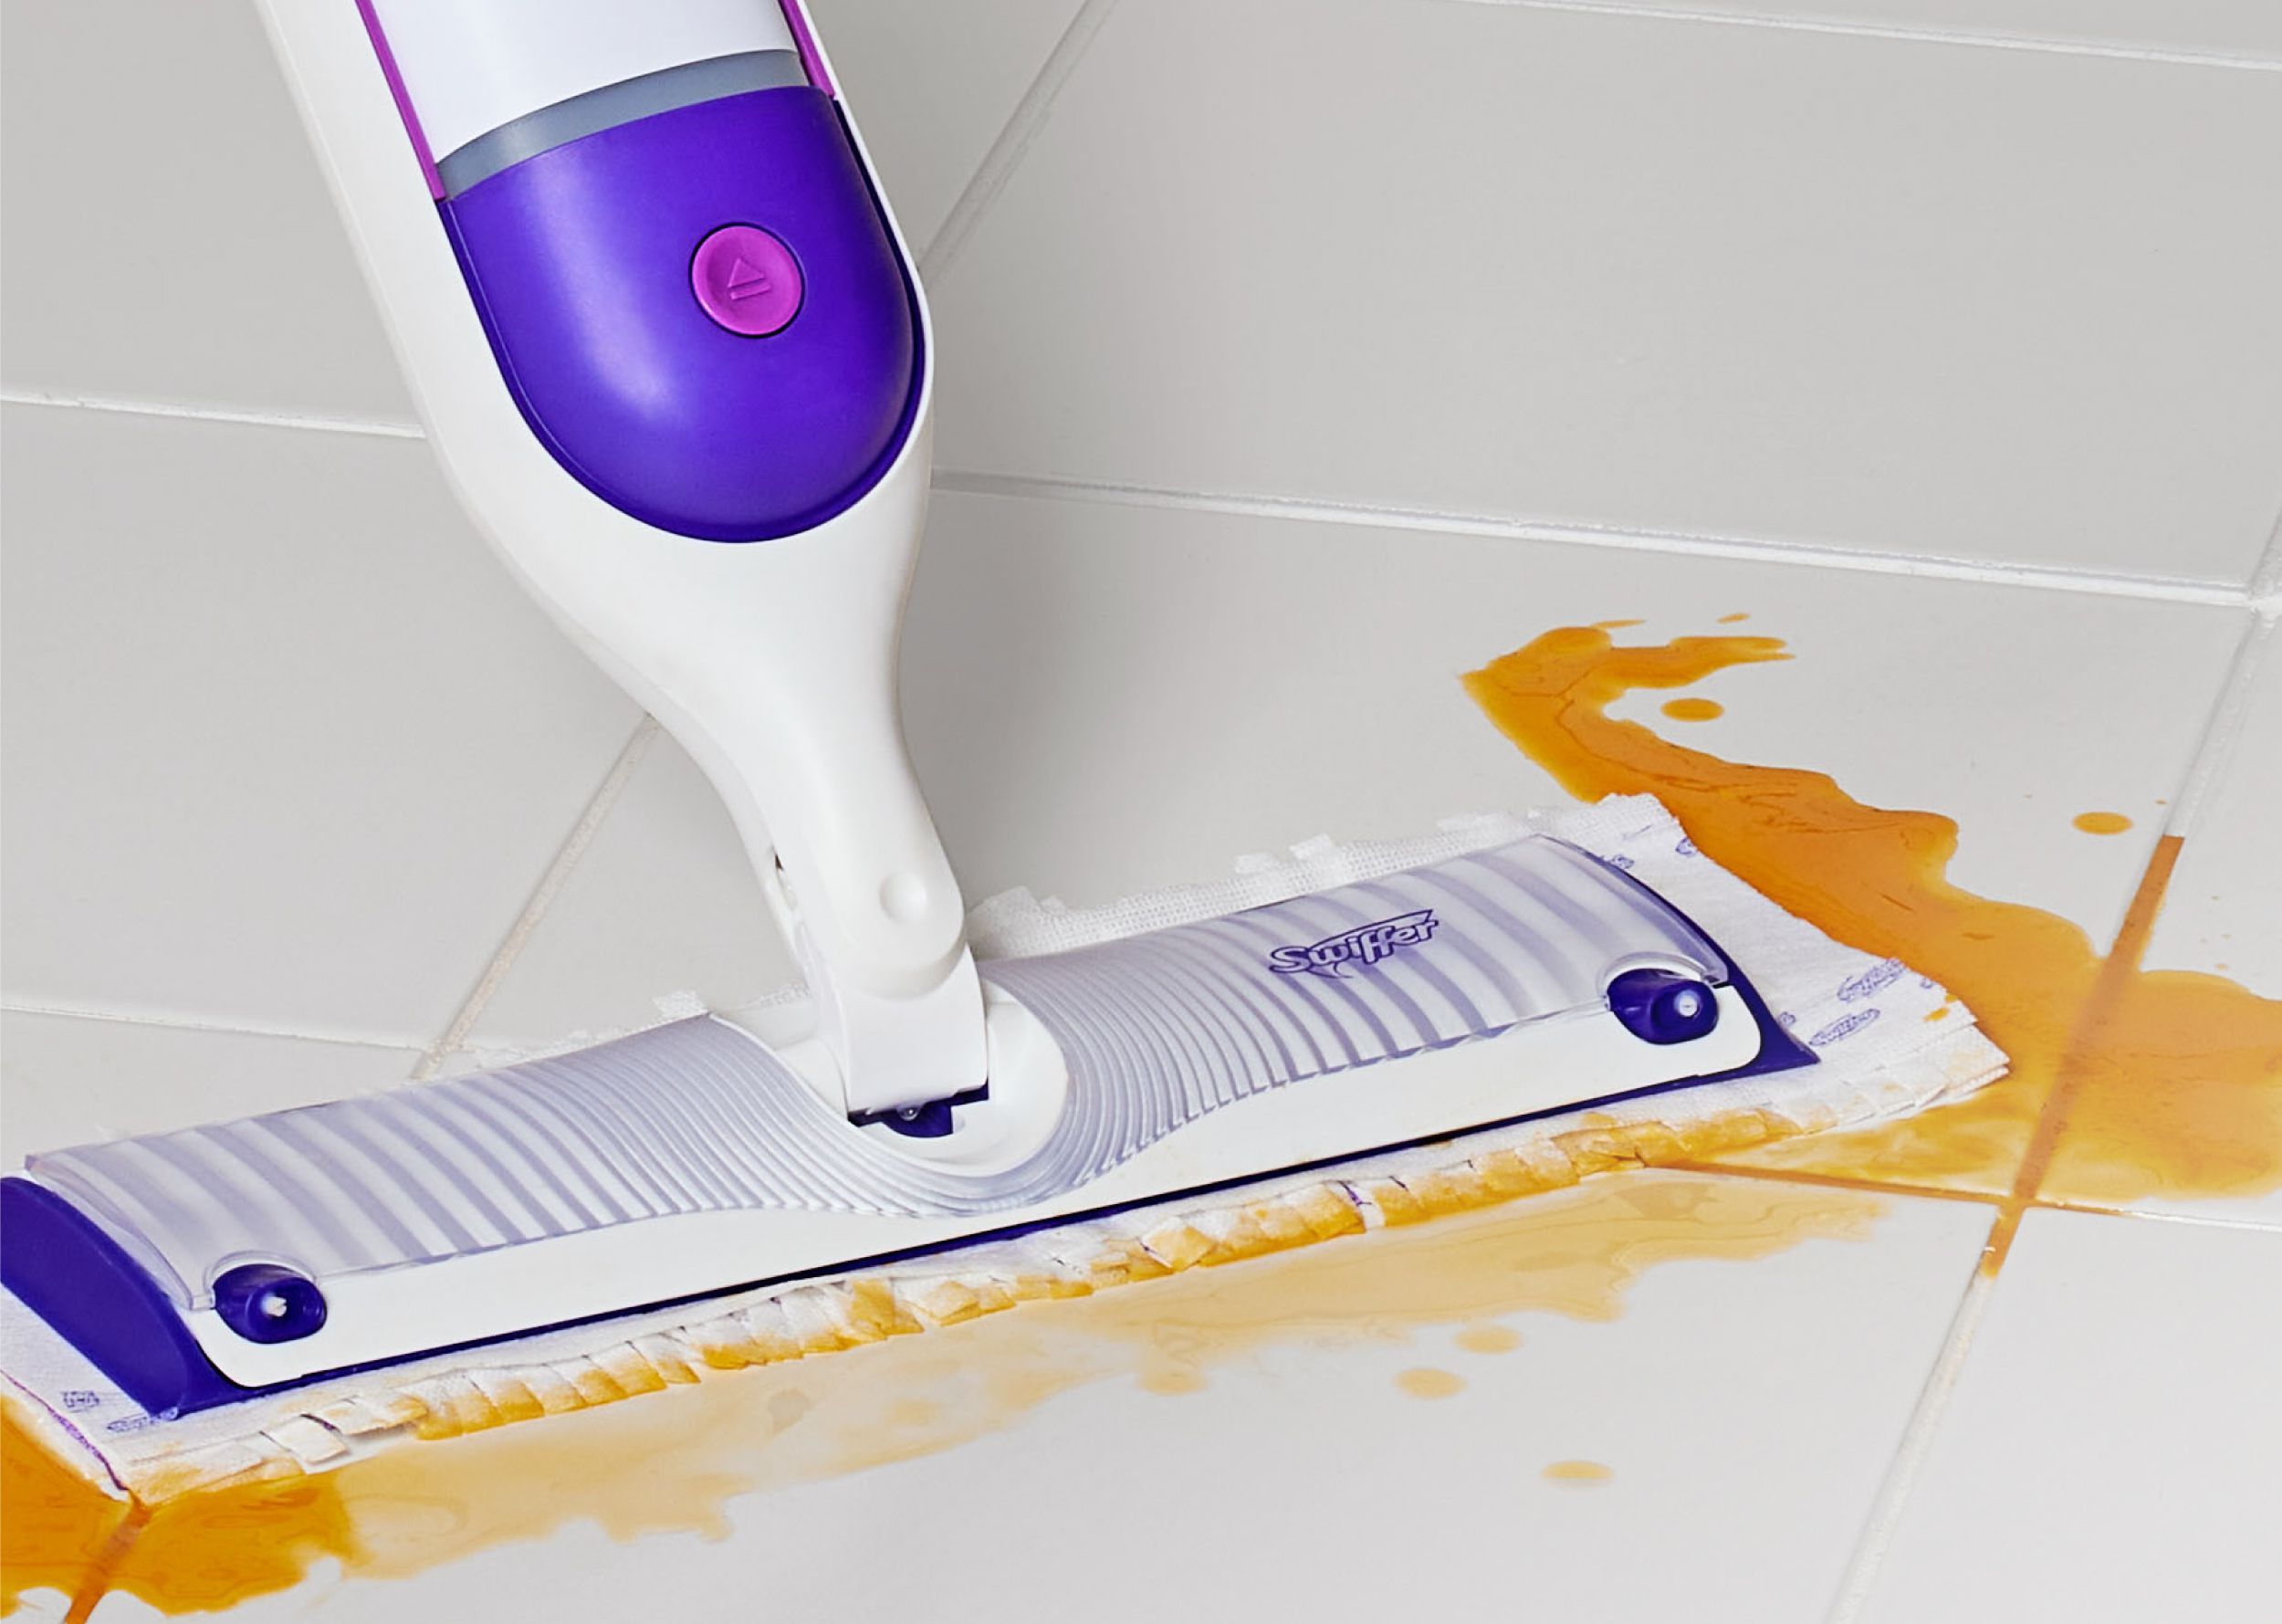
Step 3: Attach the duster to the handle
Attaching the Swiffer Heavy Duty Duster to its handle is a straightforward process. Follow these steps to secure the duster in place:
- Take the Swiffer Heavy Duty Duster handle in one hand.
- Hold the duster with your other hand, positioning its open end over the attachment end of the handle.
- Align the notches or tabs on the duster with the corresponding slots or grooves on the handle.
- Gently push the duster onto the handle, applying even pressure until it fits snugly in place.
- Give it a gentle tug to ensure it is securely attached to the handle. If it feels loose, repeat the previous steps to ensure a proper fit.
It’s important to ensure that the duster is fully attached to the handle to prevent it from detaching during use. Proper attachment guarantees a seamless cleaning experience without any interruptions. Once you have successfully attached the duster to the handle, it’s time to move on to the next step: adjusting the duster position if necessary.
When attaching a Swiffer Heavy Duty Duster, make sure to firmly press the duster onto the handle until it clicks into place. This will ensure a secure attachment for effective dusting.
Step 4: Adjust the duster position if necessary
After attaching the Swiffer Heavy Duty Duster to its handle, you may find it necessary to adjust the position of the duster for optimal cleaning efficiency. Proper positioning ensures that the duster’s fibers make maximum contact with the surfaces you are cleaning.
To adjust the position of the duster, follow these simple steps:
- Grip the handle of the Swiffer Heavy Duty Duster firmly.
- Rotate your wrist and forearm to change the angle of the duster.
- Experiment with different angles until you find the one that allows the duster to easily reach the desired cleaning area.
- Ensure that the duster’s fibers are facing the area you want to clean for optimal dust and debris collection.
By adjusting the position of the duster, you can better reach corners, crevices, and other hard-to-reach areas, ensuring a thorough and efficient clean. Take a moment to make any necessary adjustments before moving on to the next step: securing the duster in place.
Read more: How To Put A Swiffer Duster On
Step 5: Secure the duster in place
Securing the Swiffer Heavy Duty Duster in place is crucial to prevent it from detaching during the cleaning process. A secure attachment ensures a hassle-free cleaning experience without any interruptions or reattachments. Follow these steps to secure the duster in place:
- Once you have adjusted the duster to the desired position, hold the handle firmly with one hand.
- With your other hand, ensure that the duster is securely attached by giving it a gentle tug.
- If you feel any looseness or movement, repeat step 3 to ensure a proper fit.
- Once you are confident that the duster is secure, you are prepared to start cleaning.
It’s important to take a moment to ensure that the duster is securely attached to the handle before beginning your cleaning routine. A secure attachment will provide peace of mind as you work your way through dusty surfaces. With the duster properly secured, you’re ready to move on to the final step: using the Swiffer Heavy Duty Duster to clean.
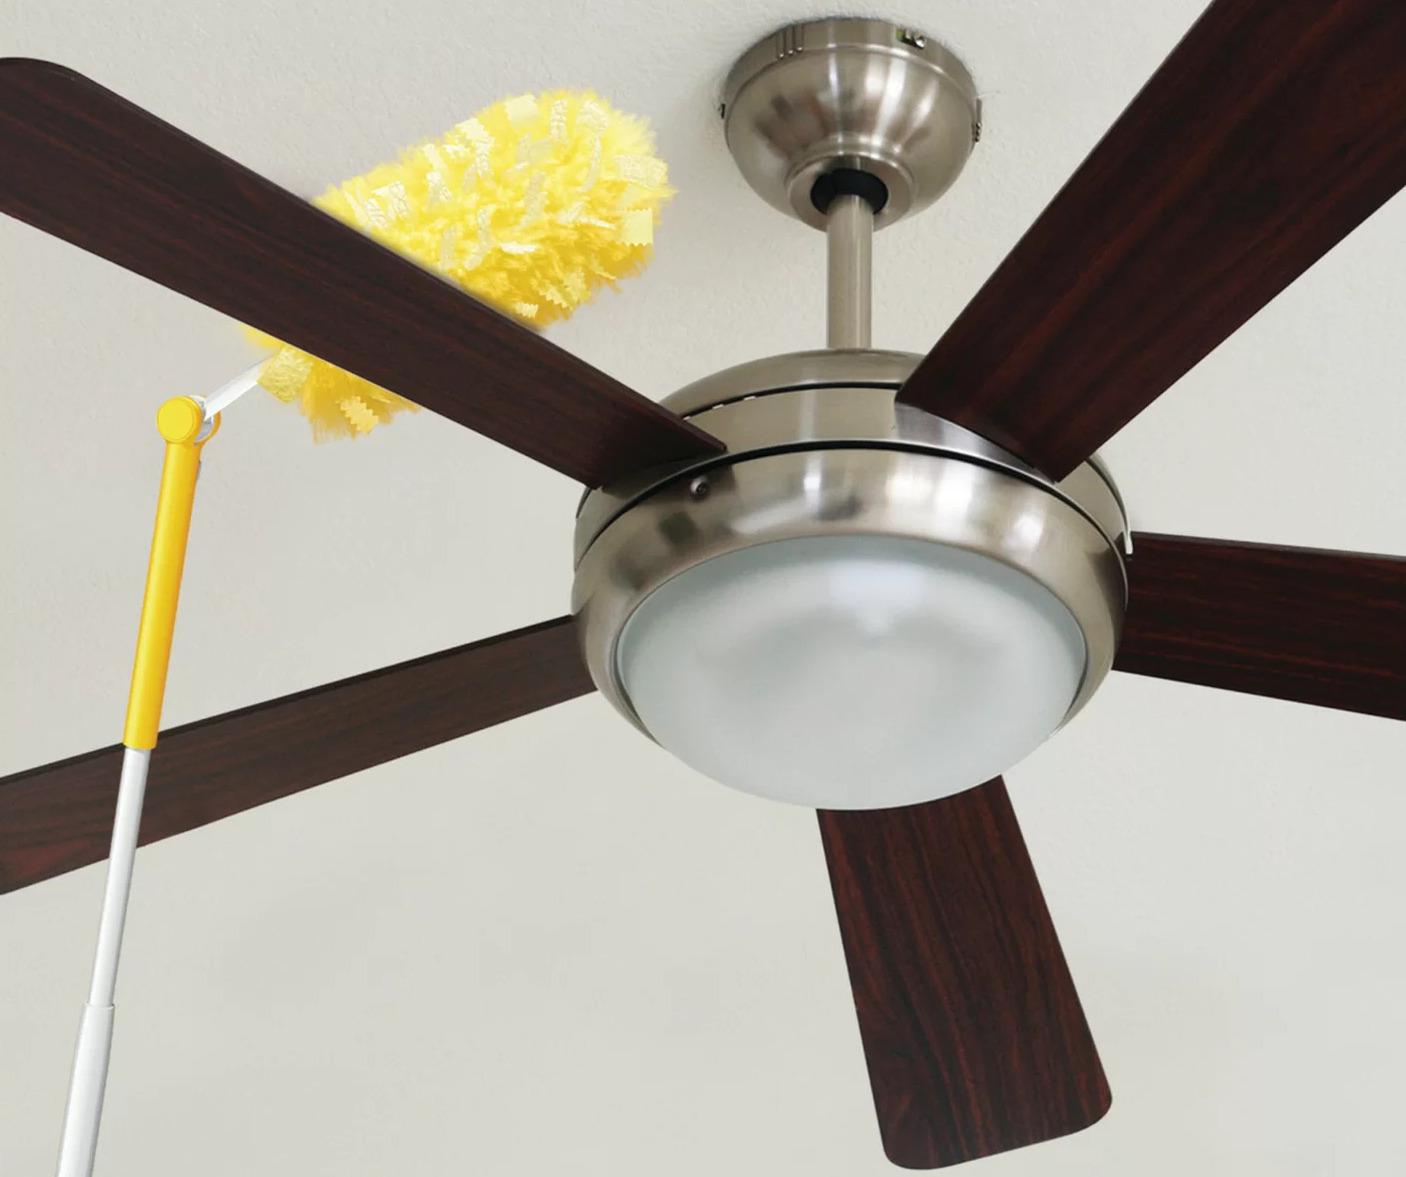
Step 6: Start cleaning with the Swiffer Heavy Duty Duster
Now that you have successfully attached and secured the Swiffer Heavy Duty Duster to its handle, it’s time to put it to use and start cleaning those dusty surfaces. Follow these steps to effectively clean using the Swiffer Heavy Duty Duster:
- Hold the handle of the Swiffer Heavy Duty Duster firmly in your hand.
- Position the duster’s fibers over the surface you wish to clean.
- Begin gently sweeping the duster across the surface, allowing the fibers to capture and lock in dust and debris.
- Continue cleaning in a systematic manner, moving from one area to another, until the entire surface is dust-free.
- As the duster becomes dirty or saturated with dust, consider replacing it with a fresh one for optimal cleaning performance.
- Dispose of used dusters properly, following local waste disposal guidelines.
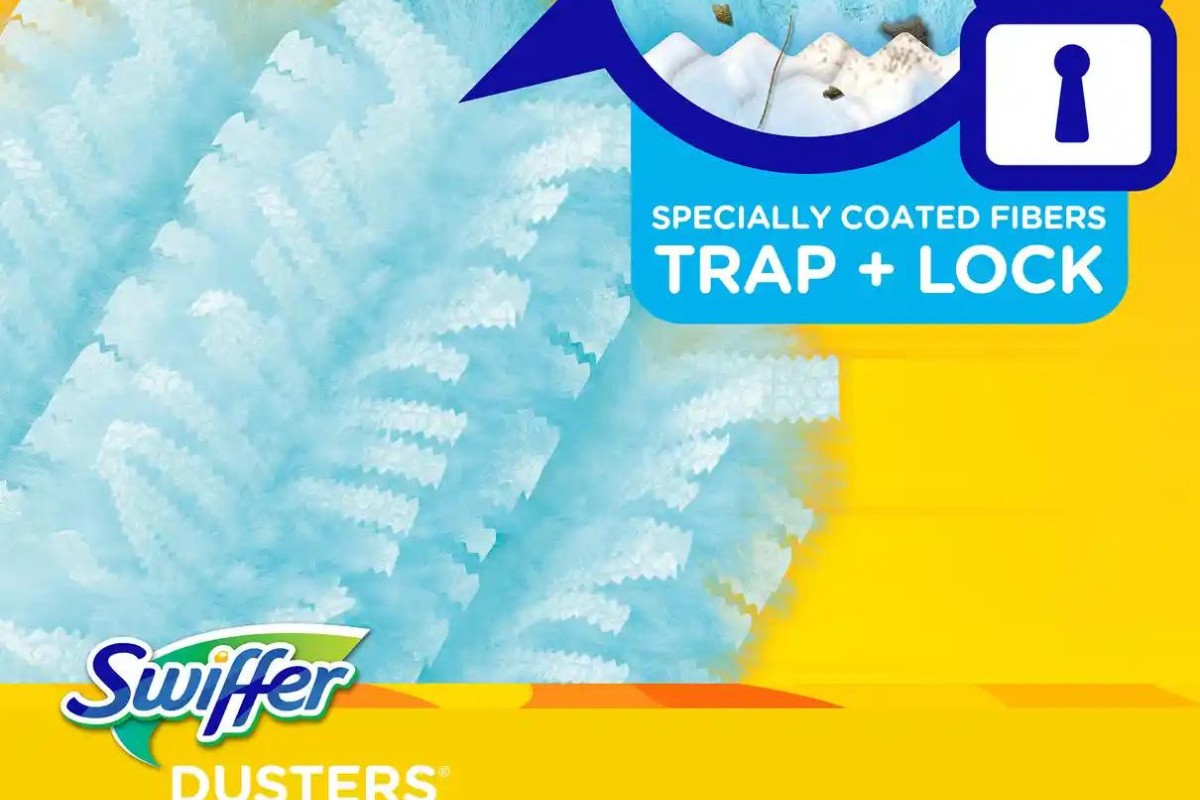
The Swiffer Heavy Duty Duster’s innovative technology and specially designed fibers make it highly efficient in capturing and trapping dust, allergens, and other particles. Use gentle sweeping motions to ensure the fibers adequately collect debris without damaging delicate surfaces.
With each stroke, you’ll notice how the duster effectively grabs and locks in dust, leaving your surfaces clean and refreshed. Enjoy the convenience and effectiveness of the Swiffer Heavy Duty Duster as you effortlessly clean various areas of your home.
Remember to regularly check the duster’s condition and replace it when necessary to maintain its cleaning efficiency. By following these steps, you can keep your home dust-free with ease.
Conclusion
Congratulations! You have now learned how to attach a Swiffer Heavy Duty Duster to its handle and effectively use it to clean your home. By following the simple steps outlined in this guide, you can ensure a hassle-free and efficient cleaning experience.
Remember to gather all the necessary materials before starting, including the Swiffer Heavy Duty Duster and handle. Properly prepare the duster by fluffing it and checking for any damage. Attach the duster to the handle, making sure it is securely in place. Adjust the position of the duster if needed to optimize its cleaning performance.
Securing the duster in place is crucial to prevent it from detaching during cleaning, so make sure it is firmly attached to the handle before proceeding. Finally, embrace the convenience and effectiveness of the Swiffer Heavy Duty Duster as you sweep away dust and debris from different surfaces in your home.
Remember to replace the duster as needed and dispose of used dusters appropriately. Keeping a clean and dust-free environment is essential for maintaining a healthy home.
Now that you have the knowledge and skills to attach and use the Swiffer Heavy Duty Duster, you can confidently tackle those tough cleaning challenges. Enjoy the convenience and efficiency that this cleaning tool brings to your household chores.
Thank you for reading our guide, and happy cleaning!
Frequently Asked Questions about How To Attach Swiffer Heavy Duty Duster
Was this page helpful?
At Storables.com, we guarantee accurate and reliable information. Our content, validated by Expert Board Contributors, is crafted following stringent Editorial Policies. We're committed to providing you with well-researched, expert-backed insights for all your informational needs.


0 thoughts on “How To Attach Swiffer Heavy Duty Duster”