Articles
How To Clean A Swiffer Duster
Modified: August 22, 2024
Learn the best way to clean your Swiffer duster with these helpful articles. Keep your duster in top shape with our easy step-by-step guide.
(Many of the links in this article redirect to a specific reviewed product. Your purchase of these products through affiliate links helps to generate commission for Storables.com, at no extra cost. Learn more)
Introduction
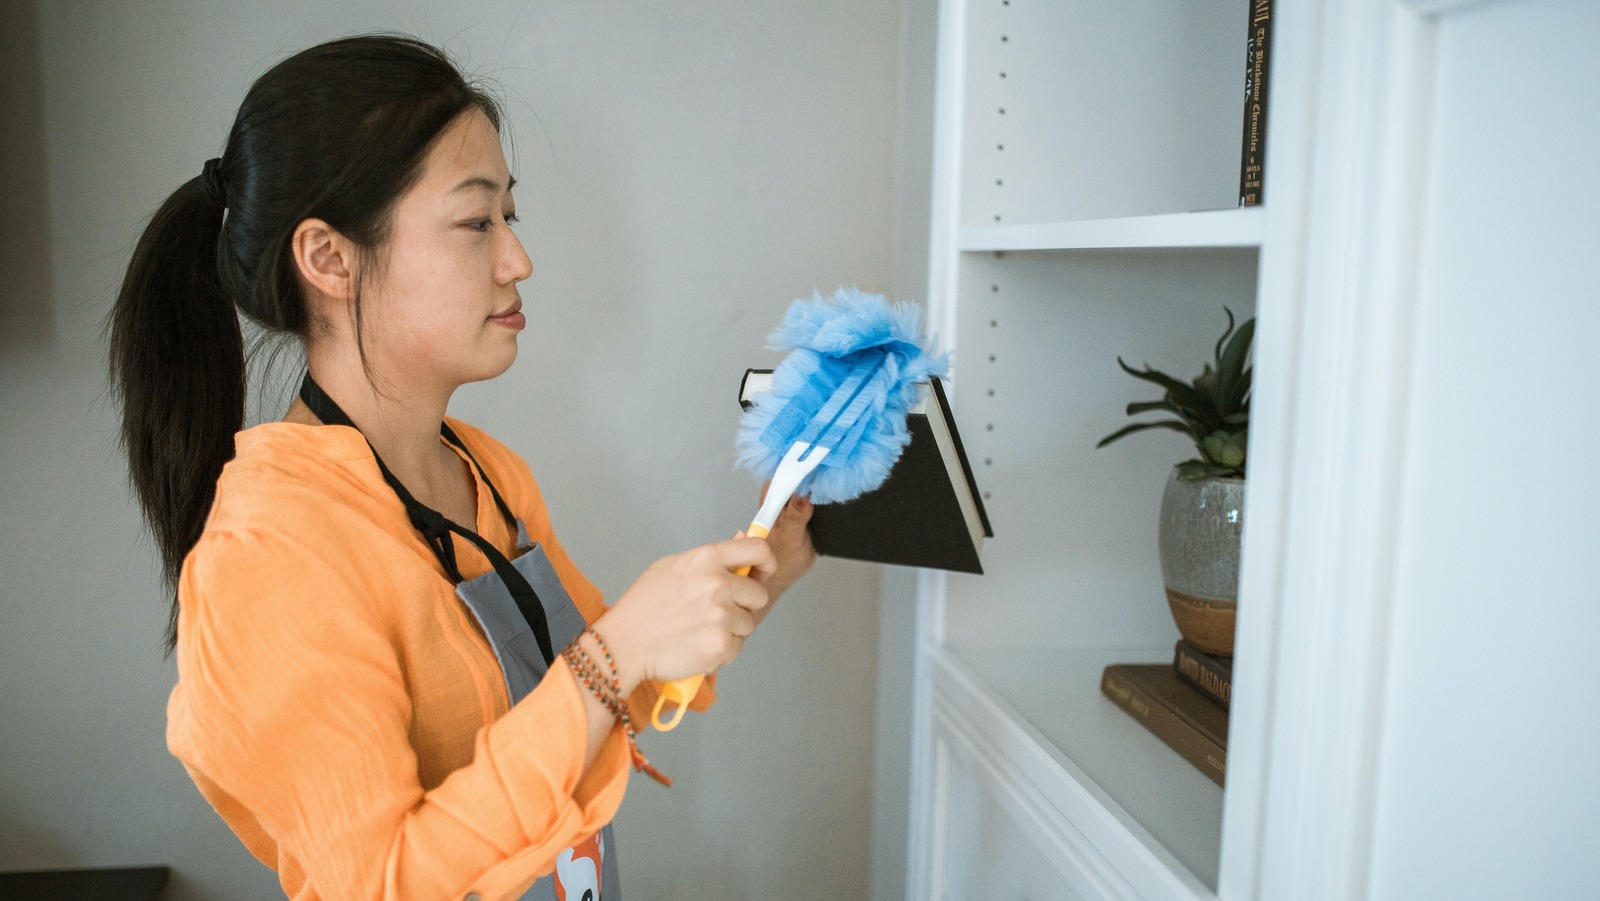
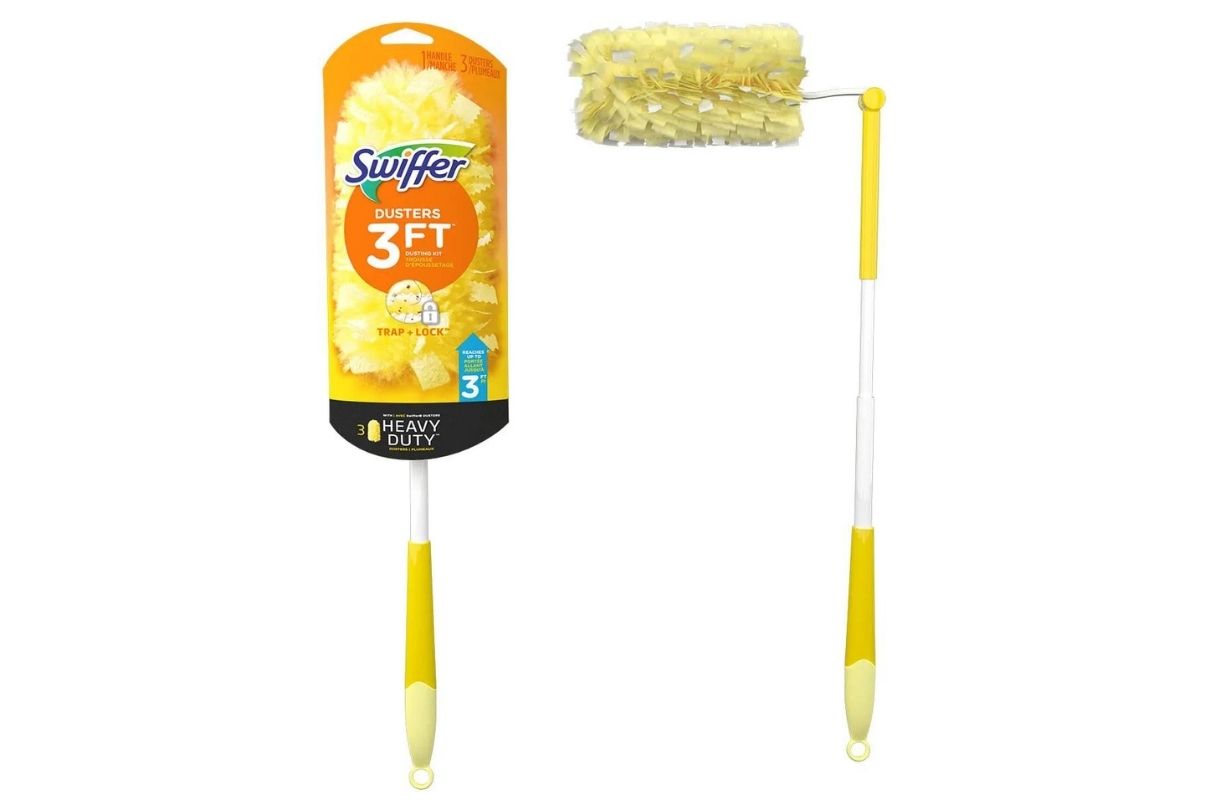
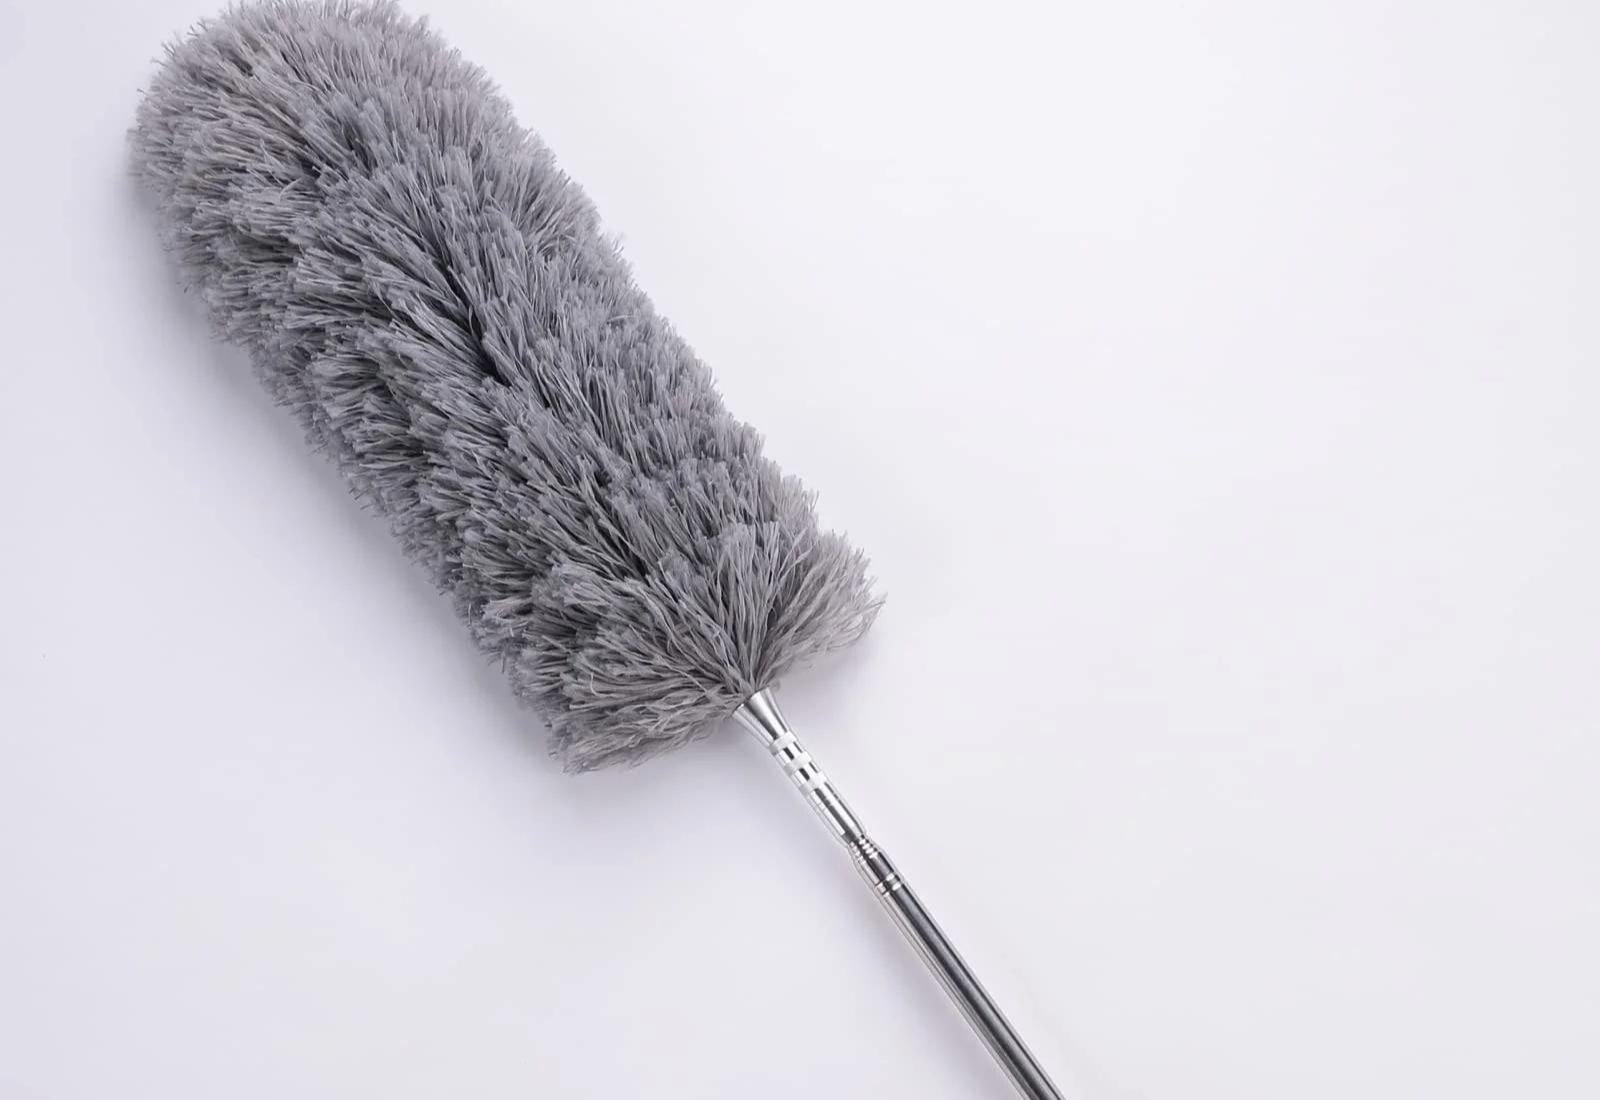
The Swiffer Duster is a convenient and efficient cleaning tool that helps remove dust and dirt from various surfaces. With its disposable duster heads, it provides a hassle-free cleaning experience. However, after multiple uses, the duster head may become clogged with dust and lose its effectiveness. To ensure optimal performance, it’s important to clean and maintain your Swiffer Duster regularly.
In this article, we will guide you through a step-by-step process on how to clean a Swiffer Duster effectively. By following these simple steps, you can extend the lifespan of your duster and achieve better cleaning results. So let’s dive in and learn how to keep your Swiffer Duster in top-notch condition!
Key Takeaways:
- Keep your Swiffer Duster in top-notch condition by regularly cleaning and maintaining it. Follow the simple steps to remove dust, clean the duster head, and ensure optimal performance for a pristine living environment.
- Properly store your Swiffer Duster to prolong its lifespan and maintain cleanliness. Detach, clean, dry, and store the duster head in a clean, dry place to ensure it’s ready for the next cleaning session.
Read more: How To Put A Swiffer Duster On
Step 1: Gather Cleaning Supplies
Before you begin cleaning your Swiffer Duster, it’s essential to gather the necessary cleaning supplies. Here’s what you’ll need:
- A clean, dry cloth
- A garbage can or trash bag
- A sink or basin filled with warm water
- Mild dish soap or a gentle cleaning solution
Having these supplies on hand will ensure that you have everything you need to thoroughly clean your Swiffer Duster.
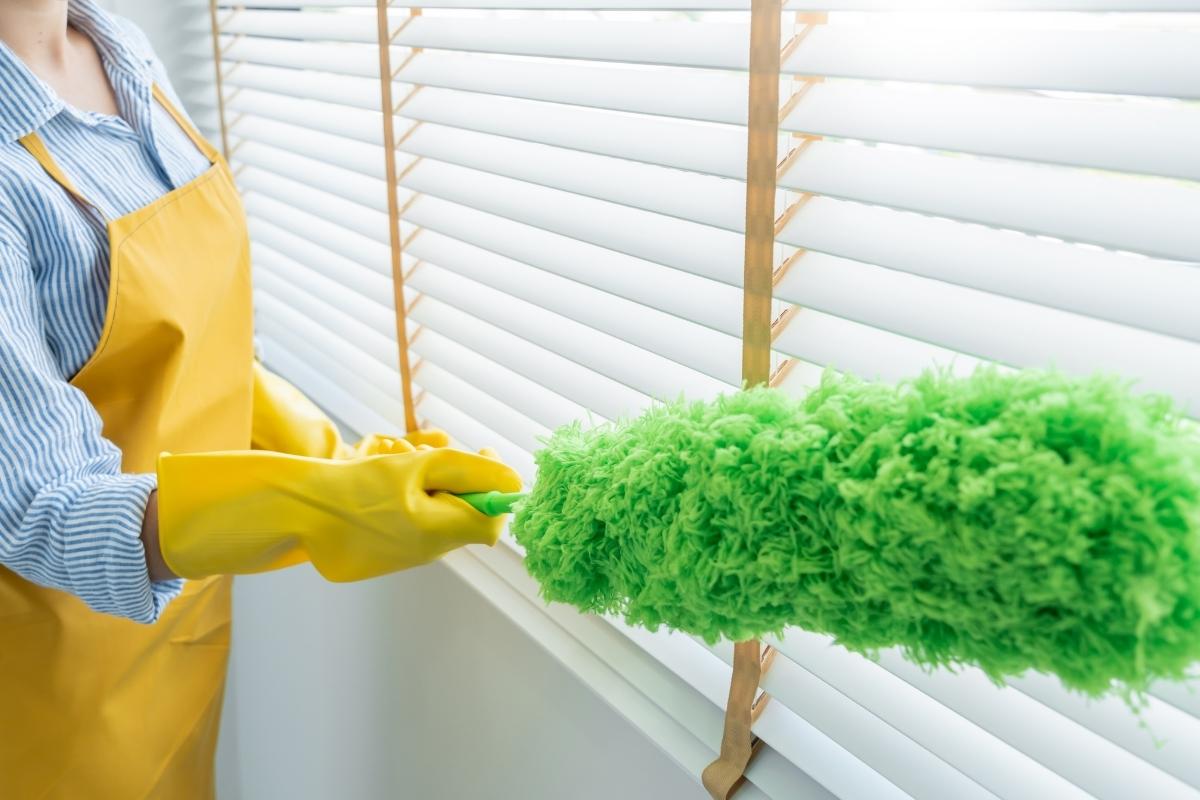
Step 2: Remove and Shake off Excess Dust
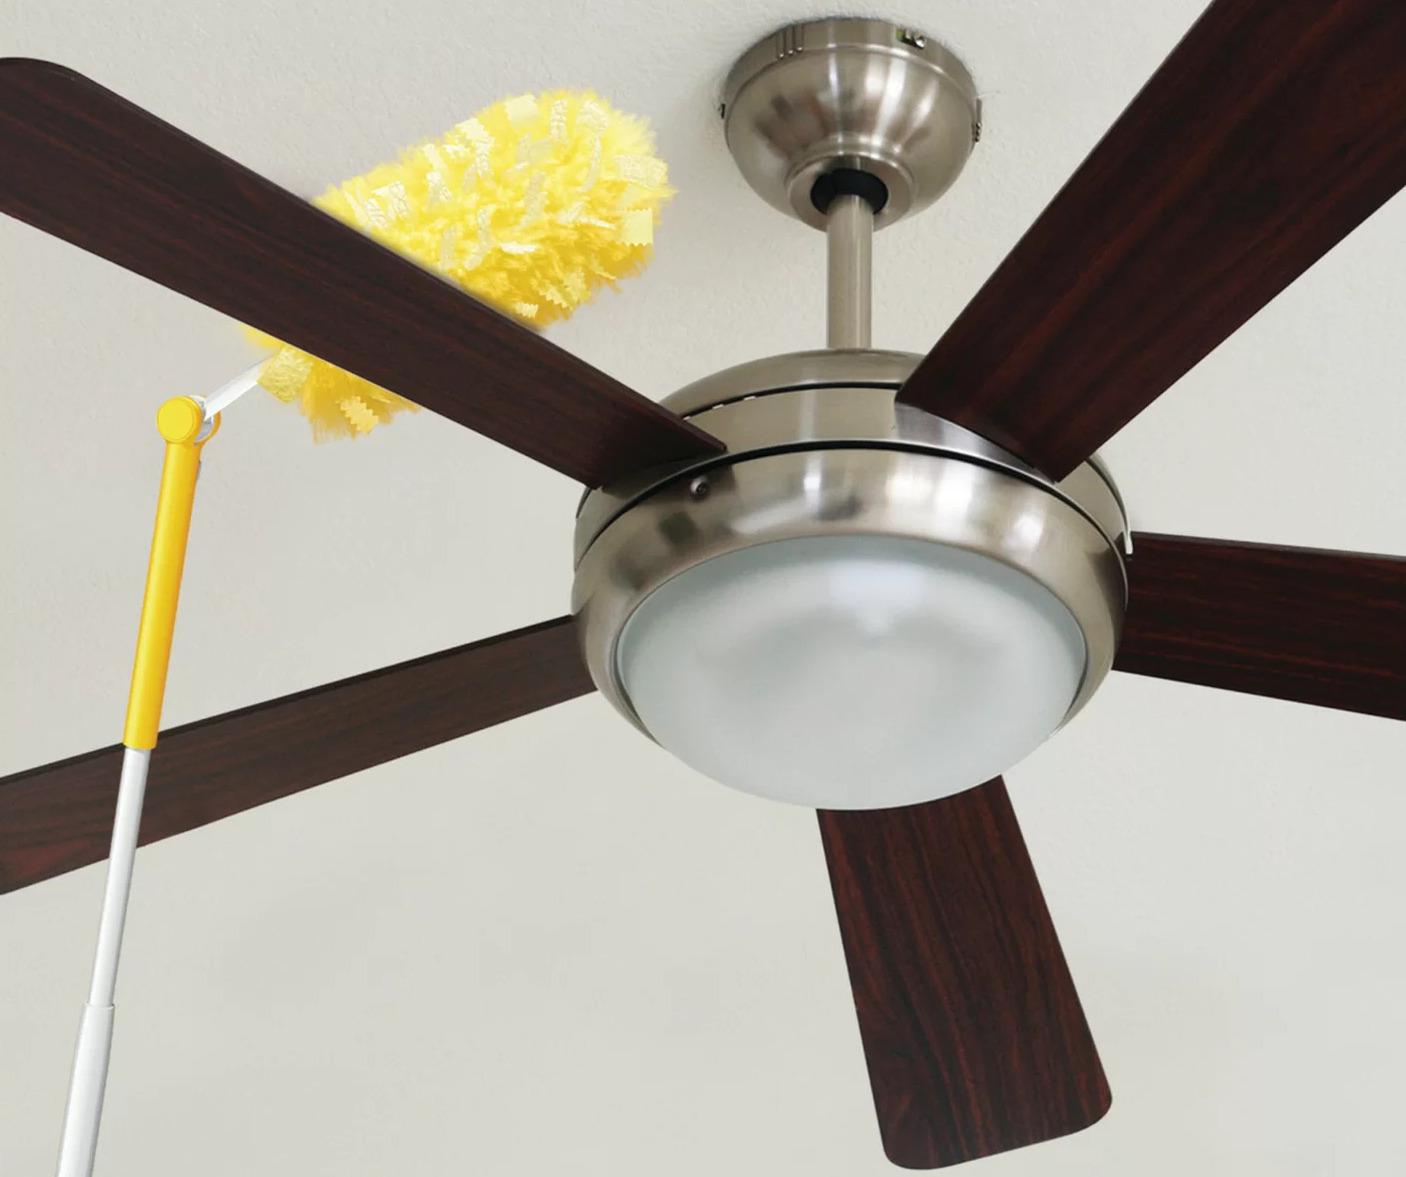
To start the cleaning process, you’ll first need to remove the duster head from the Swiffer handle. Simply grasp the duster head firmly and pull it off the handle. Be gentle to avoid damaging the duster or handle.
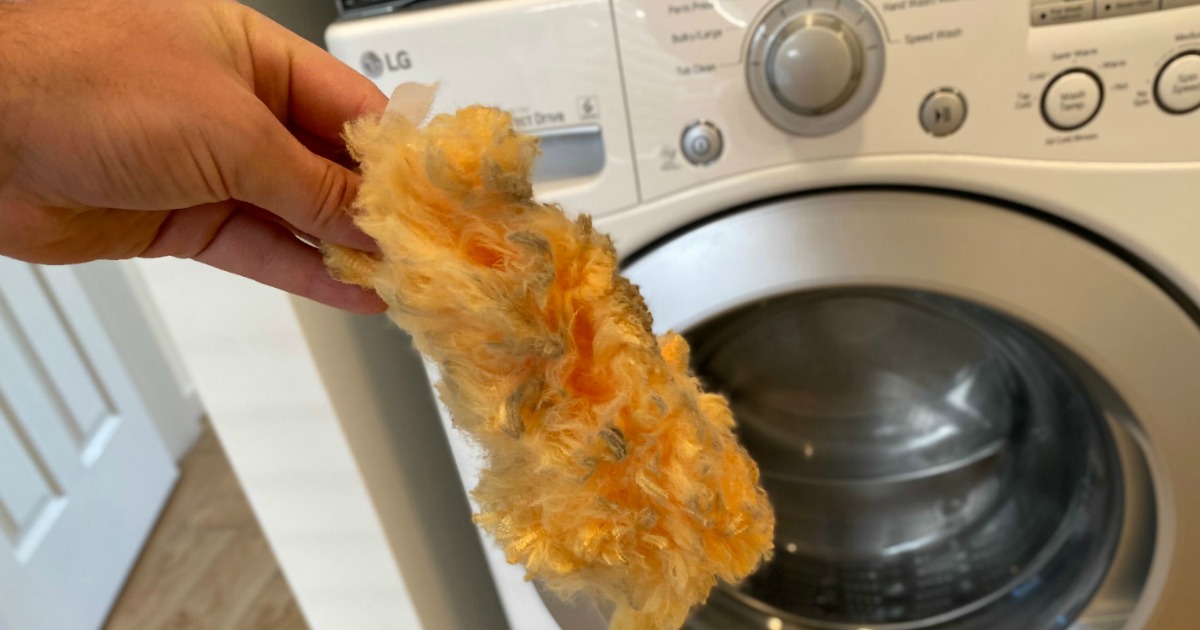
Once you’ve removed the duster head, take it to a well-ventilated area or outdoors. Holding the duster head over a garbage can or trash bag, give it a good shake to remove any loose dust and debris. This step will help eliminate the bulk of the dirt and prepare the duster head for a more thorough cleaning.
If you notice that the duster head is excessively dirty or clumped with dust, you can use a soft brush or your hands to lightly brush off the remaining debris. However, be careful not to apply too much pressure to avoid damaging the duster fibers.
By removing the excess dust and debris, you’ll ensure that the cleaning process is more effective and prevent any clogging or build-up on the duster head.
Step 3: Clean the Duster Head
Once you have removed the excess dust from the duster head, it’s time to give it a thorough cleaning. Follow these steps to clean the duster head:
- Fill a sink or basin with warm water.
- Add a small amount of mild dish soap or a gentle cleaning solution to the water. Mix well to create a soapy solution.
- Submerge the duster head into the soapy water and gently agitate it. Make sure that the entire duster head is immersed in the water to ensure thorough cleaning.
- Use your fingers to massage the duster head, focusing on the areas where dust and dirt tend to accumulate. Gently squeeze and release the duster head to help loosen the dirt trapped within the fibers.
- Continue massaging and squeezing the duster head for a few minutes to ensure that all the dirt particles are removed.
During the cleaning process, you may notice that the water becomes dirty. This is a good sign, as it means that the duster head is releasing the trapped dirt. You may need to change the soapy water and repeat the process if the duster head is particularly dirty.
Once you’re satisfied with the cleaning, rinse the duster head thoroughly under running water. Make sure to remove all traces of soap from the duster head.
Remember, it’s important to be gentle when cleaning the duster head to avoid damaging the fibers. Avoid twisting or pulling on the duster head too forcefully, as this can cause them to fray or come loose.
Step 4: Wash or Replace the Duster Head
After cleaning the duster head, you have two options: washing or replacing it. The choice depends on the condition of the duster head and personal preference.
If the duster head is still in good condition and the fibers are intact, you can choose to wash it and reuse it. Washing the duster head will help remove any remaining dirt and ensure it is fresh and ready for future use.
To wash the duster head:
- Gently squeeze out any excess water from the duster head.
- Fill a clean sink or basin with warm water.
- Submerge the duster head in the water and swish it around to rinse off any remaining soap residue.
- Repeat the rinsing process until the water runs clear and there are no more visible traces of dirt or soap.
- Squeeze out the excess water from the duster head, being careful not to twist or wring it.
Once you have washed the duster head, it’s essential to let it dry completely before reusing it. Place the duster head in a well-ventilated area or outdoors to air dry. Make sure it is completely dry to prevent the growth of mold or mildew.
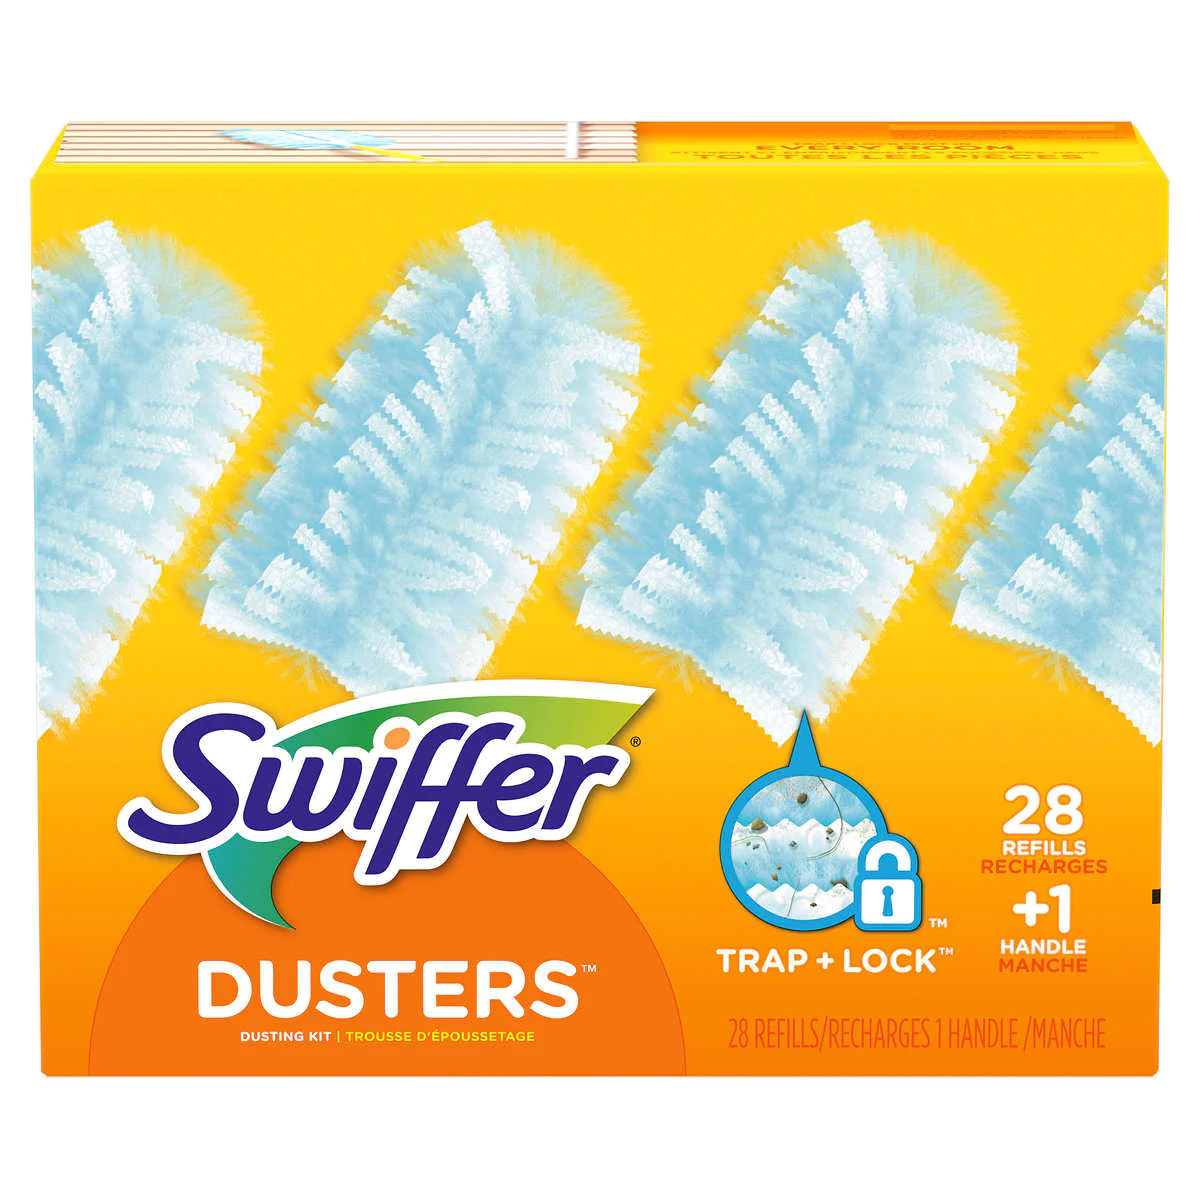
However, if the duster head is heavily soiled, damaged, or the fibers have become frayed, it may be time to replace it with a new one. Swiffer duster heads are readily available for purchase at most stores or online retailers.
Replacing the duster head ensures that you have an effective cleaning tool without the risk of spreading dirt or dust from an old, worn-out duster head. It’s always a good idea to have replacement duster heads on hand to maintain cleanliness in your home.
To clean a Swiffer duster, simply remove the duster head and shake it out to remove dust and debris. You can also hand wash the duster head with mild soap and water, then allow it to air dry before reattaching.
Step 5: Let the Duster Head Dry
After washing the duster head or replacing it with a new one, it’s important to allow it to dry completely before reassembling the Swiffer Duster.
To ensure proper drying, follow these steps:
- Find a clean, dry surface or hang the duster head using a clothespin or hanger.
- Place the duster head in a well-ventilated area or near a fan. This will help promote faster drying and prevent the growth of mold or mildew.
- Avoid exposing the duster head to direct sunlight, as this can damage the fibers over time.
- Allow the duster head to air dry completely. The drying time may vary depending on the humidity level in your area, but it typically takes a few hours.
- Ensure that the duster head is completely dry to prevent any moisture from being transferred to your surfaces during cleaning.
It’s important to note that using a wet or damp duster head can hinder its effectiveness and may cause streaks or smudges on your surfaces.
By allowing the duster head to dry thoroughly, you can ensure that it’s ready for use and will provide optimal cleaning performance.
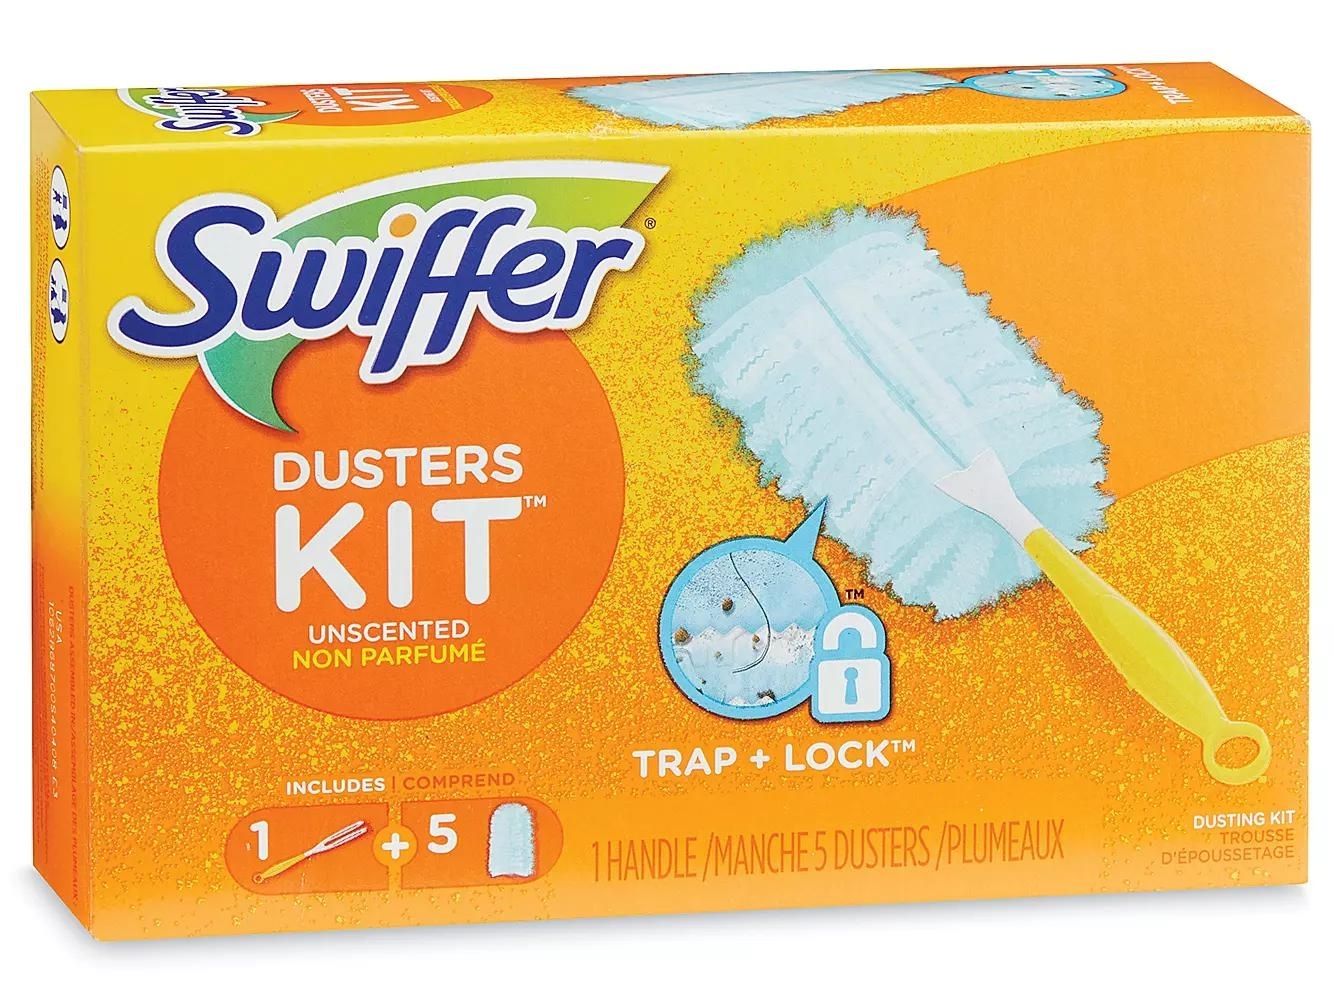
Step 6: Reassemble the Swiffer Duster
Once the duster head is completely dry, it’s time to reassemble your Swiffer Duster. Follow these simple steps to ensure proper reassembly:
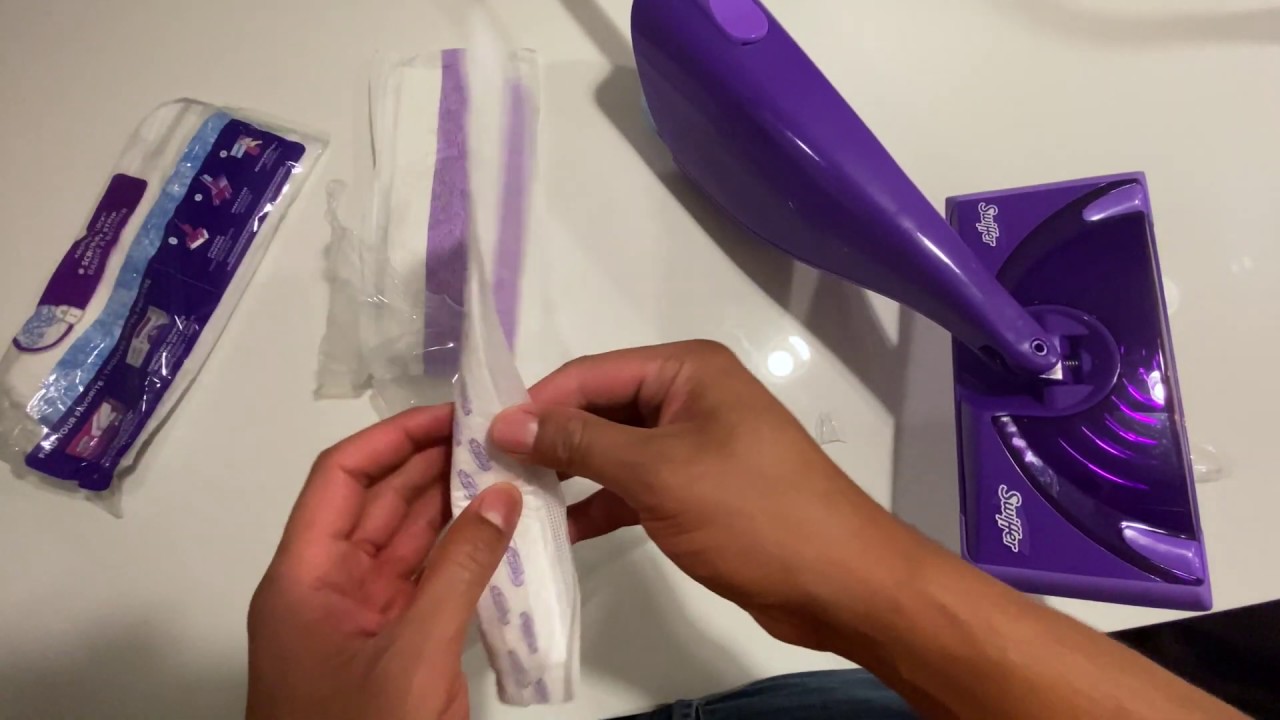
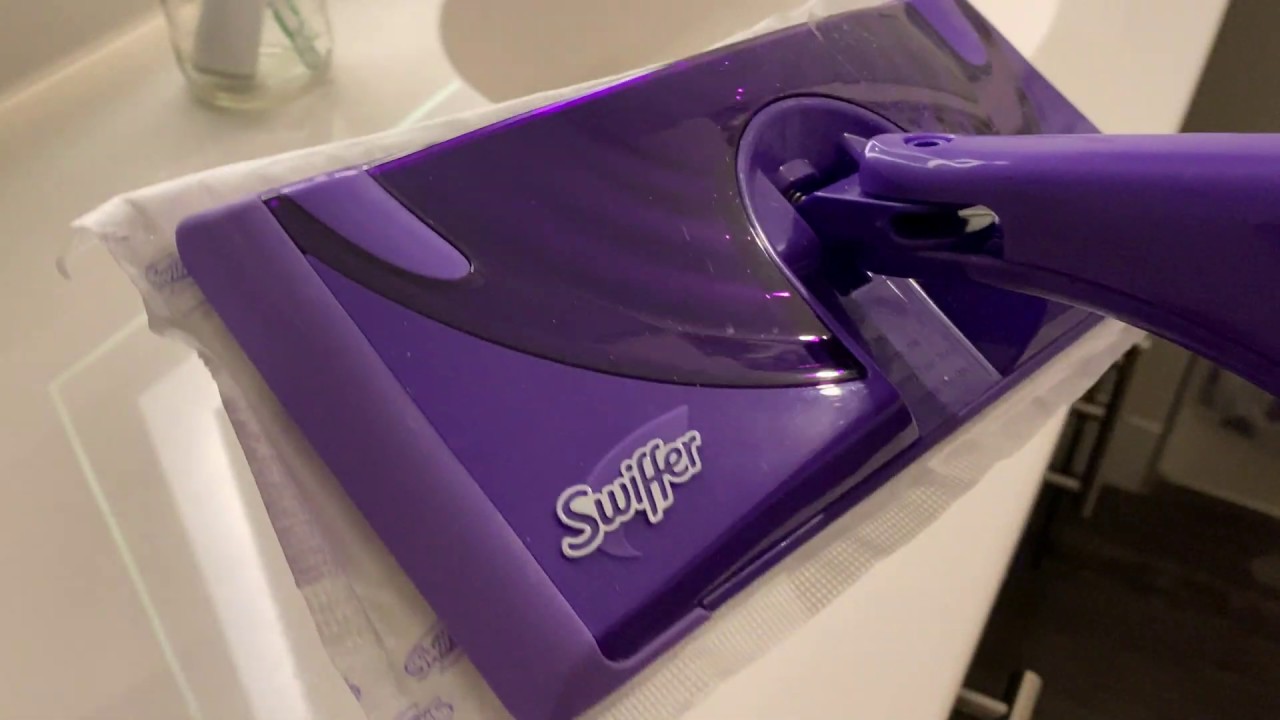
- Take the clean and dry duster head and position it on the Swiffer handle.
- Align the holes on the duster head with the tabs on the handle.
- Apply gentle pressure and push the duster head onto the handle until it fits snugly in place.
Ensure that the duster head is securely attached to the handle to prevent it from falling off during use.
Double-check to make sure that the duster head is aligned correctly and securely attached before moving on to the next step.
Congratulations! You have successfully reassembled your Swiffer Duster and it’s now ready for use.
Before you start dusting, remember to take a moment to appreciate your clean and fresh duster head. It’s always satisfying to have a clean and effective cleaning tool at your disposal.
Now you’re ready to tackle those dusty surfaces and ensure a dust-free and sparkling clean home!
Step 7: Store Properly
Proper storage of your Swiffer Duster is essential to maintain its cleanliness and prolong its lifespan. Follow these tips to ensure that your Swiffer Duster stays in good condition:
- After each use, detach the duster head from the handle and shake off any loose dust or debris.
- Store the duster head in a clean, dry place away from direct sunlight and humidity.
- Avoid storing the duster head in a tightly enclosed space as it may trap moisture and cause mold or mildew growth.
- If you prefer to keep the duster head attached to the handle, make sure to store the Swiffer Duster in an upright position to prevent the duster head from getting squashed or deformed.
- Consider using a storage container or a resealable bag to protect the duster head from dust when not in use.
- Regularly check the condition of the duster head and replace it as needed to ensure optimal cleaning performance.
By following these storage tips, you can keep your Swiffer Duster clean, dry, and ready for the next cleaning session.
Remember, a well-maintained Swiffer Duster will provide you with effective and efficient dusting and cleaning, making your household chores a breeze.
Now that you have learned how to clean and maintain your Swiffer Duster, you can enjoy a dust-free environment and a tidy home!
Conclusion
Cleaning a Swiffer Duster doesn’t have to be a daunting task. By following these simple steps and incorporating them into your regular cleaning routine, you can keep your Swiffer Duster in top-notch condition and ensure optimal cleaning performance.
The process begins with gathering the necessary cleaning supplies and removing any excess dust from the duster head. From there, you can clean the duster head using a soapy solution and gentle agitation. Afterward, you have the option to wash the duster head or replace it with a new one. Once the duster head is clean, allowing it to dry completely is crucial to prevent any moisture-related issues.
After the duster head is dry, you can reassemble your Swiffer Duster and store it properly to keep it clean and ready for future use. With these maintenance steps in place, your Swiffer Duster will continue to efficiently remove dust and dirt from your surfaces, providing you with a pristine living environment.
Remember, regular cleaning and proper maintenance of your cleaning tools not only improve their performance but also extend their lifespan. So, take the time to clean your Swiffer Duster regularly and enjoy the benefits of a cleaner and healthier home.
Now that you have the knowledge and tools to clean your Swiffer Duster effectively, it’s time to put these steps into action. Say goodbye to dusty surfaces and hello to a fresh and clean living space!
Frequently Asked Questions about How To Clean A Swiffer Duster
Was this page helpful?
At Storables.com, we guarantee accurate and reliable information. Our content, validated by Expert Board Contributors, is crafted following stringent Editorial Policies. We're committed to providing you with well-researched, expert-backed insights for all your informational needs.

0 thoughts on “How To Clean A Swiffer Duster”