Articles
How To Install Swiffer Duster Pads
Modified: November 1, 2024
Learn how to install Swiffer duster pads with our helpful articles. Keep your home clean and dust-free with these easy-to-follow instructions.
(Many of the links in this article redirect to a specific reviewed product. Your purchase of these products through affiliate links helps to generate commission for Storables.com, at no extra cost. Learn more)
Introduction
Welcome to our comprehensive guide on how to install Swiffer Duster pads! Swiffer Dusters are a popular cleaning tool known for their ability to attract and trap dust and allergens with their fluffy fibers. Whether you are a homeowner preparing for a deep cleaning session or a professional cleaner looking for efficient ways to tackle dust, Swiffer Dusters are a convenient choice. In this article, we will walk you through the step-by-step process of installing Swiffer Duster pads, ensuring that you can achieve the best cleaning results possible.
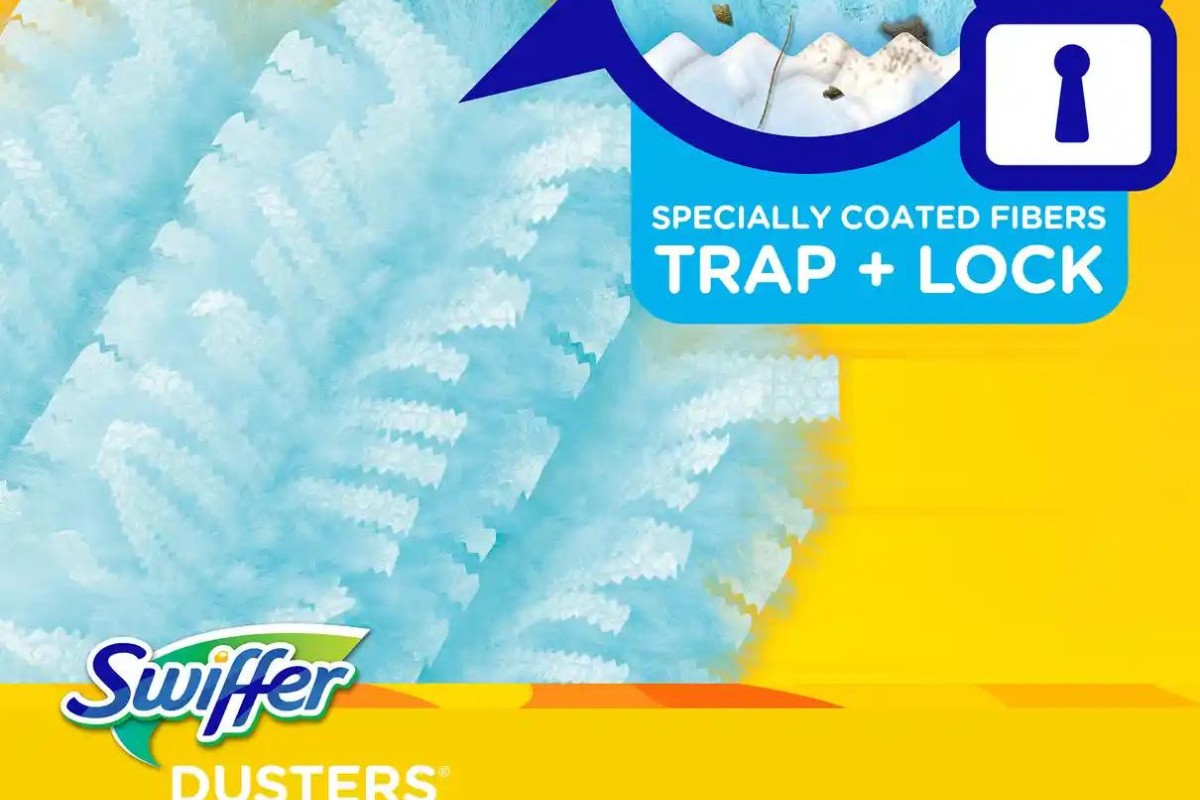
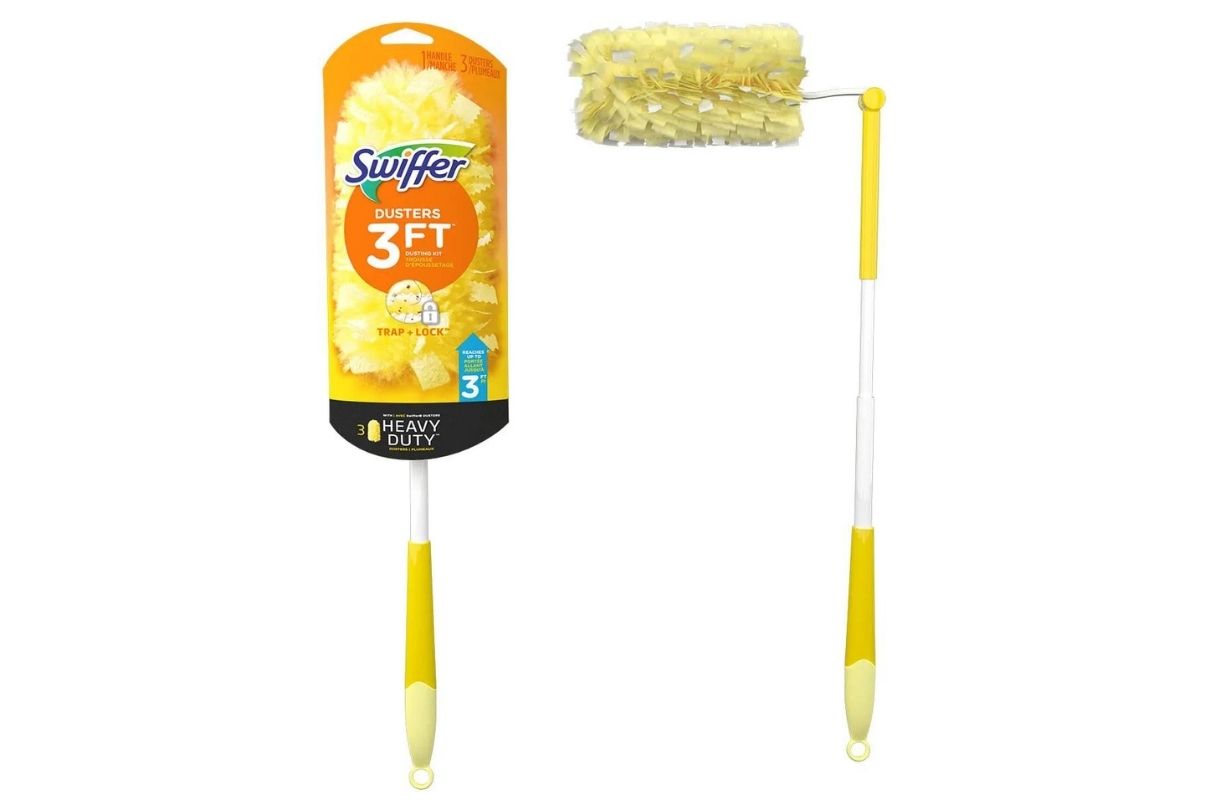
Before we get started, it is important to note that Swiffer Dusters consist of two main components: the handle and the replaceable duster pad. The handle is designed to provide a comfortable grip and allow for easy maneuverability, while the pad is the part that traps and holds onto the dust. Swiffer Duster pads are made with specially formulated fibers that create an electrostatic charge, attracting and locking in the dust particles, making them highly effective at keeping your home clean.
In the following sections, we will guide you through each step of the installation process, from gathering the necessary tools to disposing of used pads. By the end of this article, you will have all the knowledge you need to confidently install Swiffer Duster pads and make your cleaning routine more efficient.
Key Takeaways:
- Keep your Swiffer Duster handle clean and ensure pad compatibility for optimal performance. Effortlessly attach the pad and dust with controlled pressure for efficient cleaning results.
- Dispose of used Swiffer Duster pads responsibly to maintain cleanliness and hygiene. Embrace the convenience of Swiffer Dusters for a dust-free environment with minimal effort.
Read more: How To Clean A Swiffer Duster
Step 1: Gather the necessary tools
Before you start installing a Swiffer Duster pad, it is important to gather all the tools you will need. Thankfully, the process is quite straightforward, and you probably already have most of these items in your cleaning arsenal. Here is a list of the tools you will need:
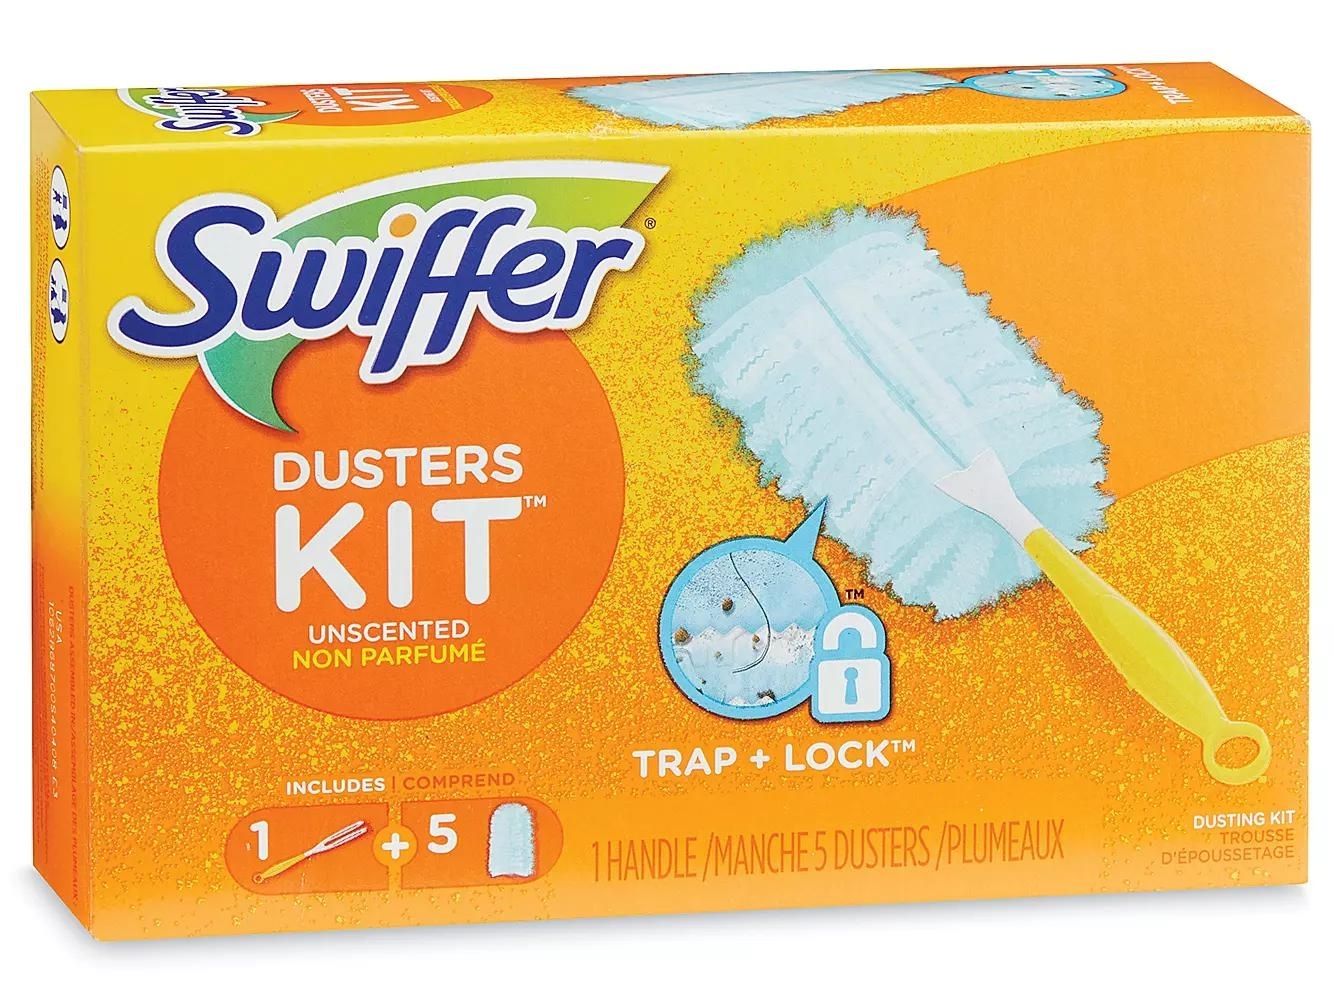
- Swiffer Duster: Make sure you have the Swiffer Duster handle, which can be purchased separately or as part of a starter kit.
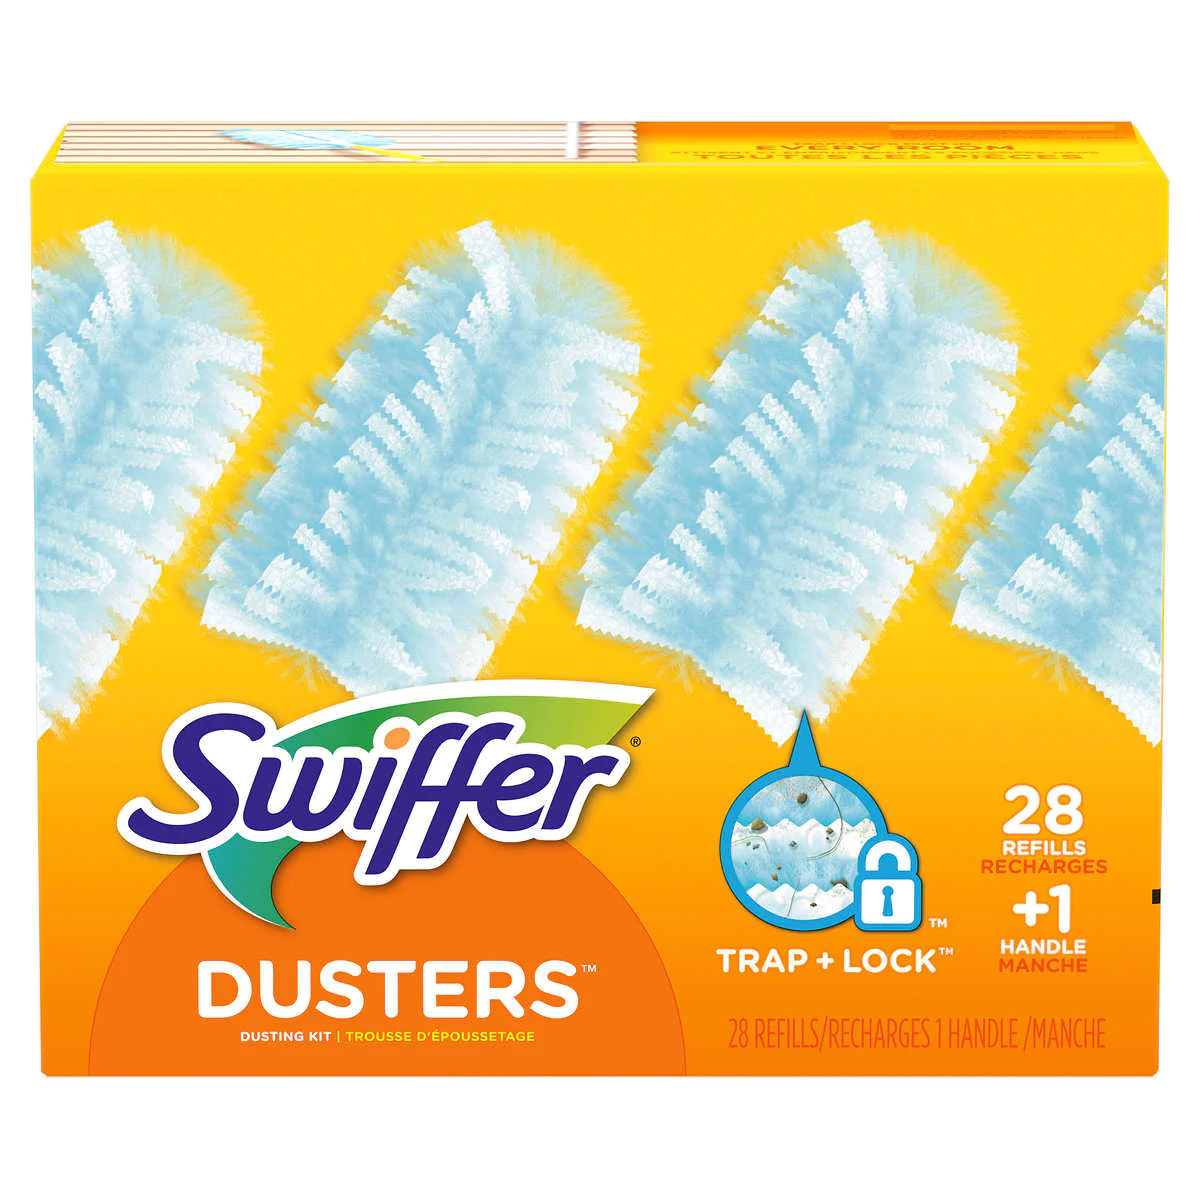
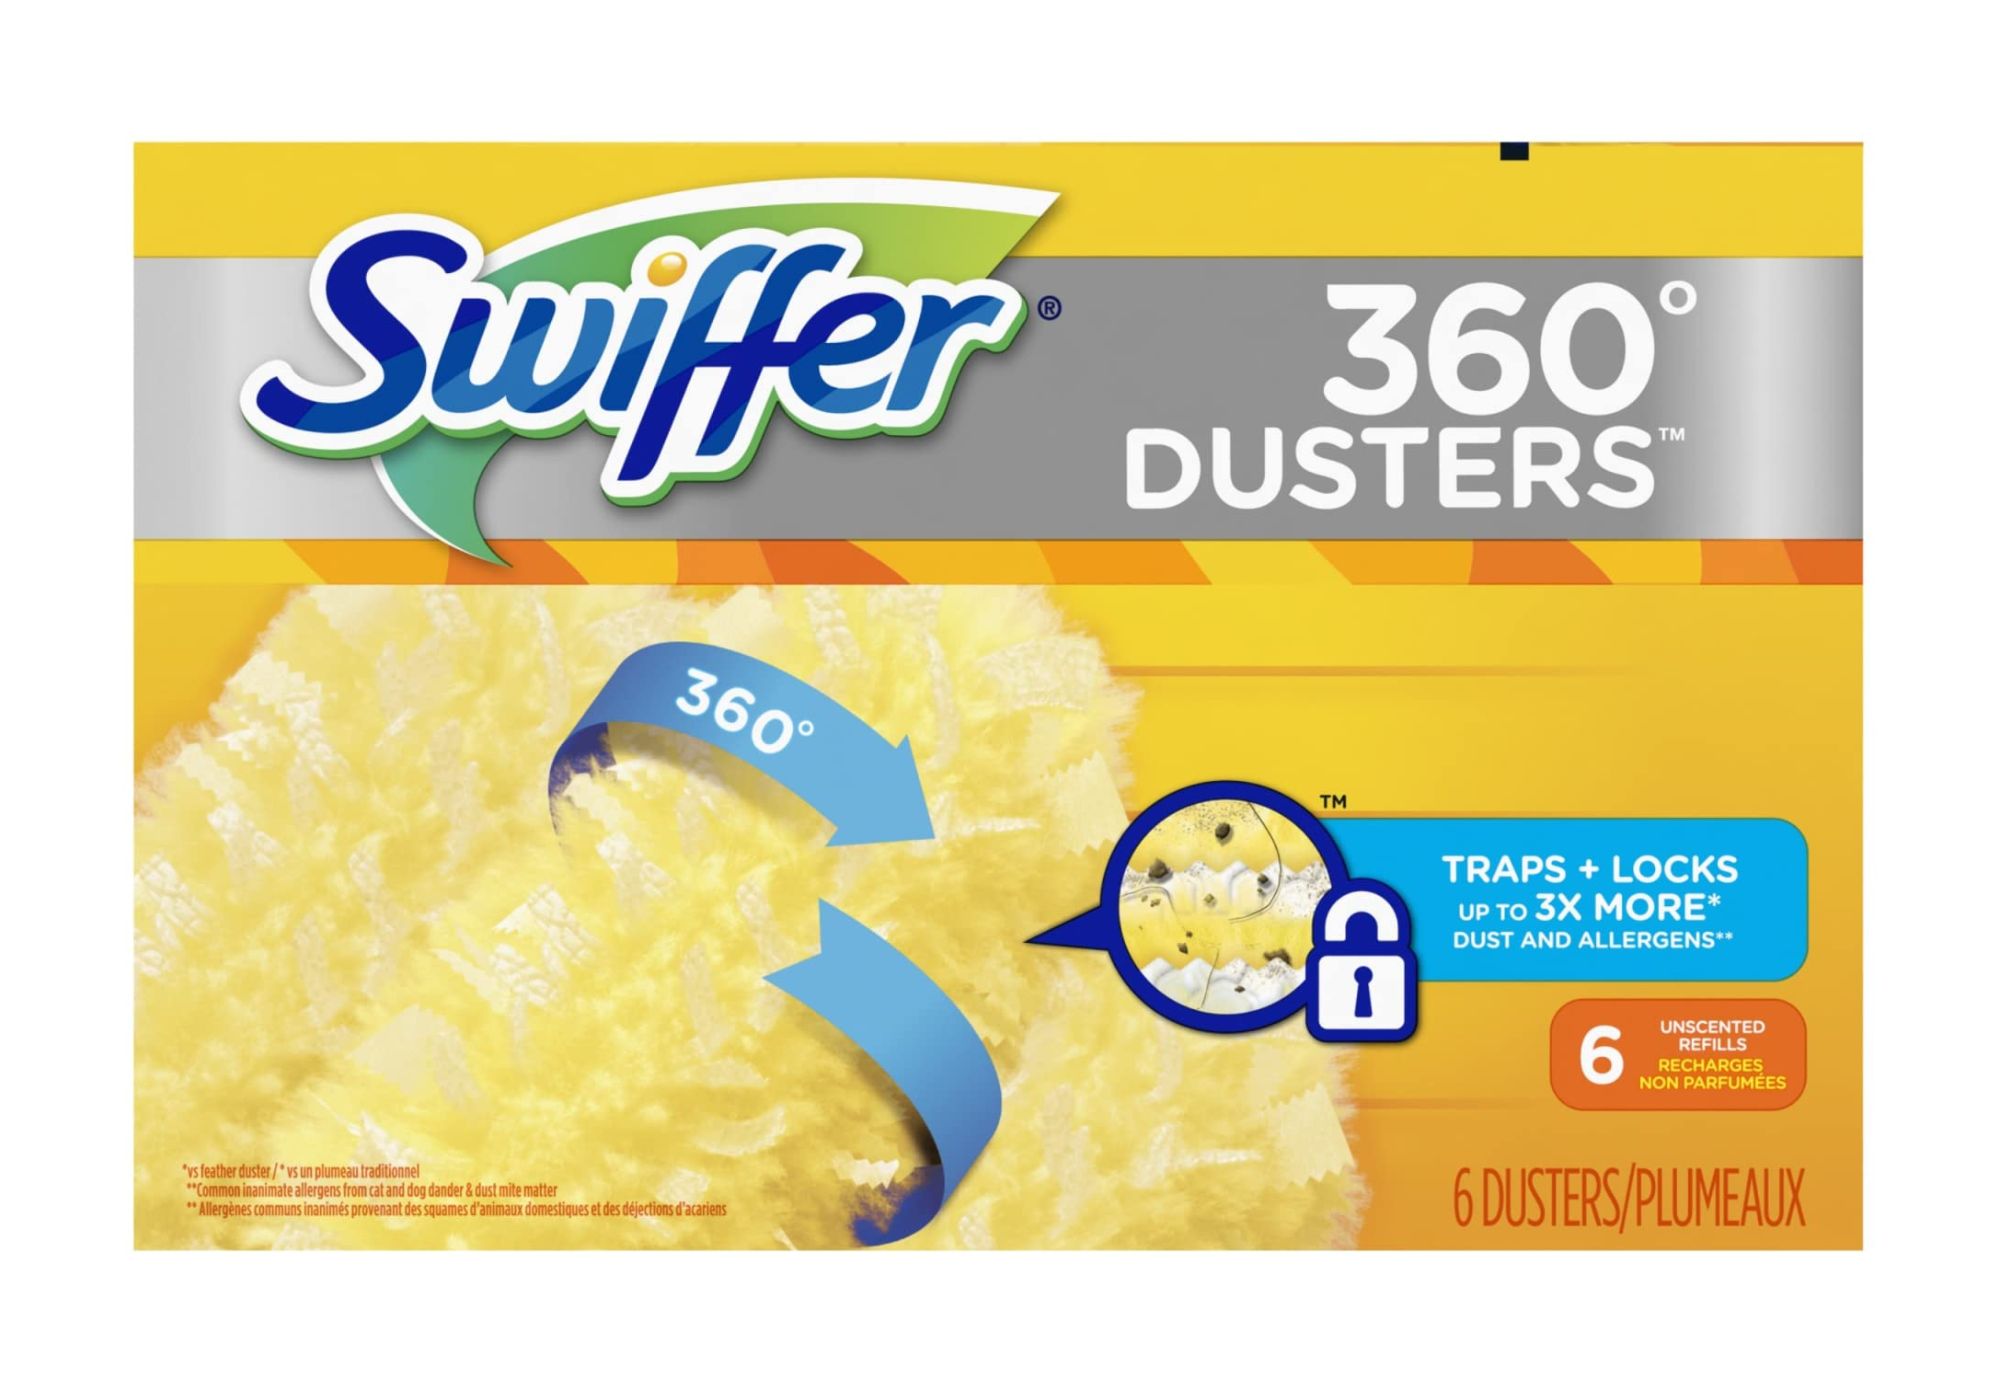
- Duster pad: Ensure you have a new, undamaged Swiffer Duster pad ready for installation. These pads are disposable and can be purchased in packs.
- Clean surface: It is advisable to work on a clean and clear surface to prevent any dust or debris from getting stuck on the pad during installation.
By having these tools on hand, you will be prepared to seamlessly proceed to the next steps and successfully install your Swiffer Duster pad. Double-check to ensure that you have everything before moving forward.
Step 2: Prepare the Swiffer Duster
Once you have gathered all the necessary tools, it is time to prepare the Swiffer Duster for pad installation. This step ensures that the handle is clean and ready for use. Here’s how you can prepare the Swiffer Duster:
- Inspect the handle: Take a quick look at the Swiffer Duster handle to ensure that it is free from any dirt or debris. If you notice any dust or residue, wipe it off with a clean cloth or give it a gentle rinse with water. Let it dry completely before moving on.
- Check for compatibility: Make sure that the Swiffer Duster pad you have chosen is compatible with your Swiffer Duster handle. There are different models and variations available, so it’s important to check the packaging or product specifications to confirm compatibility.
By following these two simple steps, you can guarantee that your Swiffer Duster handle is clean and ready for the pad installation process. Taking the time to prepare the Swiffer Duster ensures optimal performance and a more effective cleaning experience.
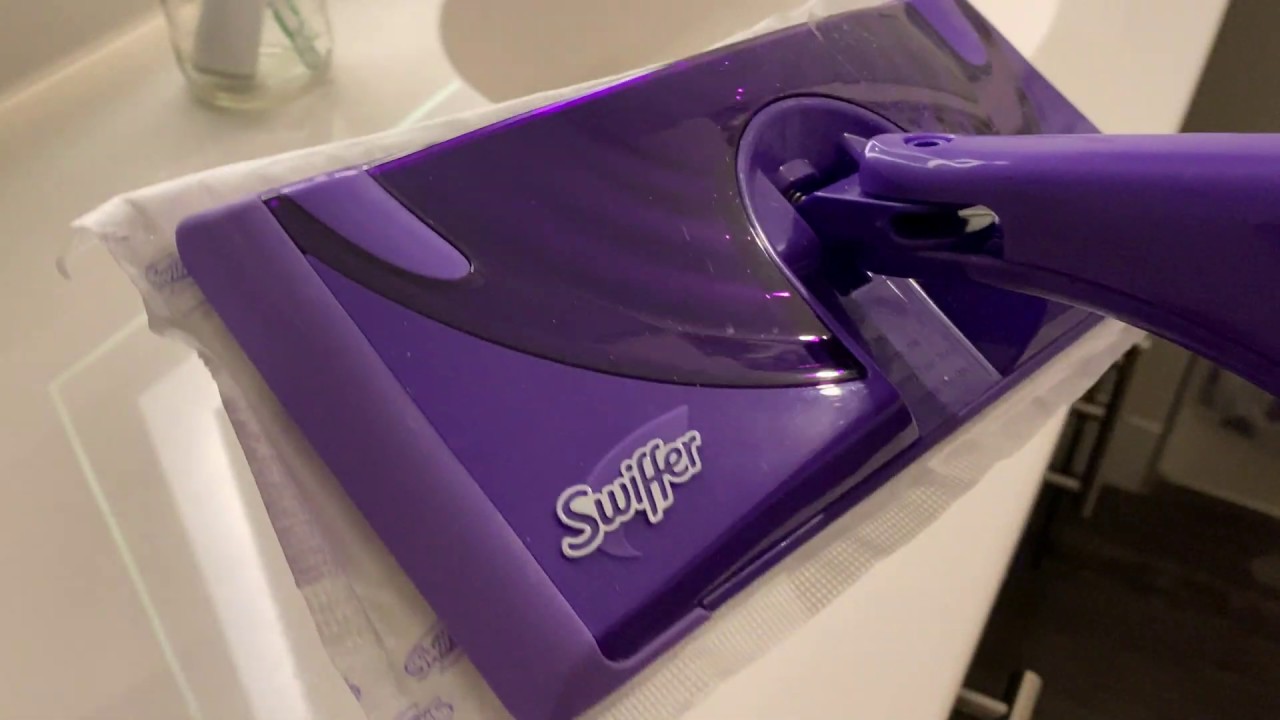
Step 3: Attach the Swiffer Duster pad
With the Swiffer Duster prepared, you are now ready to attach the Swiffer Duster pad. This step is crucial as it ensures that the pad is securely fastened to the handle and ready to collect dust effectively. Follow these instructions to properly attach the Swiffer Duster pad:
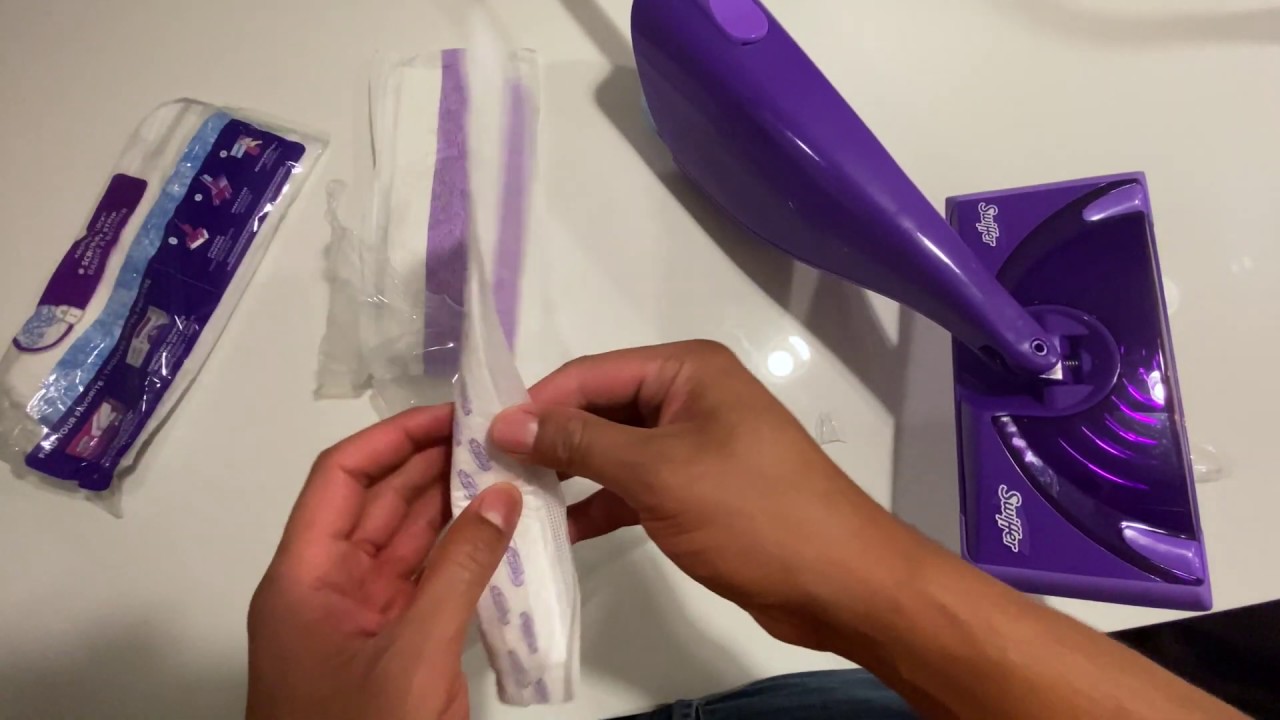
- Remove the pad from the packaging: Start by opening the packaging of the Swiffer Duster pad. Carefully remove the pad from its wrapper, being mindful not to tear or damage it.
- Locate the attachment slots: Take a look at the end of the Swiffer Duster handle. You will notice two small slots or tabs designed to hold the pad in place. These attachment slots are usually located at the bottom of the handle.
- Align the pad with the slots: Hold the Swiffer Duster pad with the fluffy side facing down. Align the pad’s two corners or tabs with the attachment slots on the handle, ensuring they fit snugly into place.
- Press down firmly: Once the pad is aligned with the attachment slots, press down firmly on the pad to secure it to the handle. Apply even pressure to ensure that the pad is securely fastened and won’t come loose during use.
By following these easy steps, you can securely attach the Swiffer Duster pad to the handle, preparing it for efficient dusting. It is essential to double-check that the pad is firmly attached before moving on to the next step.
Before installing Swiffer Duster pads, make sure to remove any old pad and attach the new pad securely to the Swiffer handle. Ensure the pad is evenly spread out and ready for use.
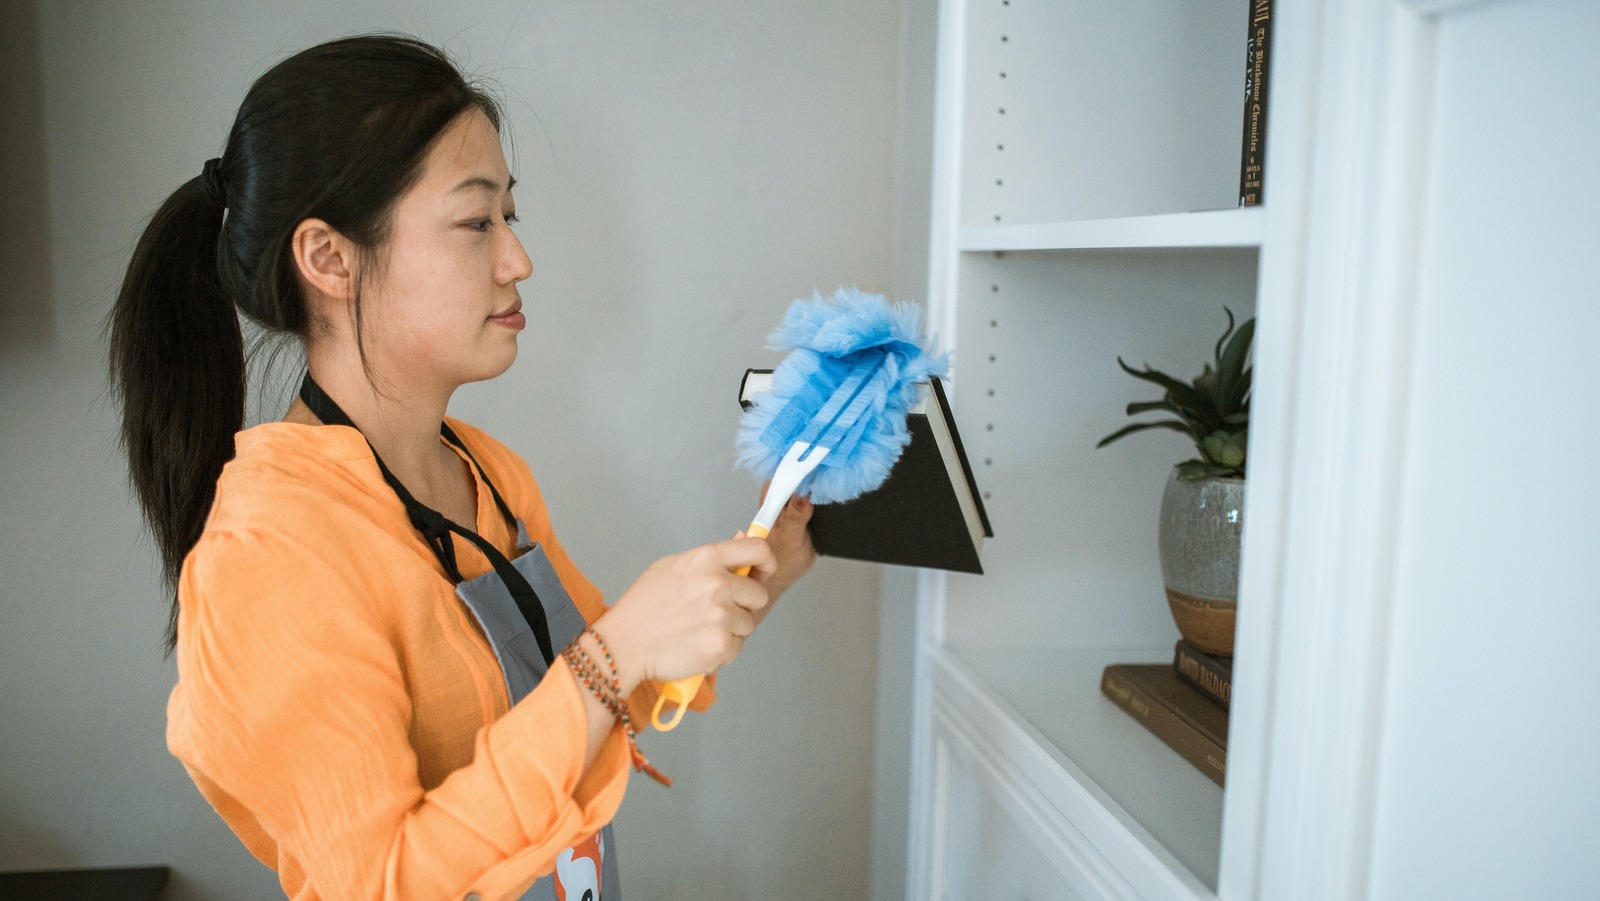
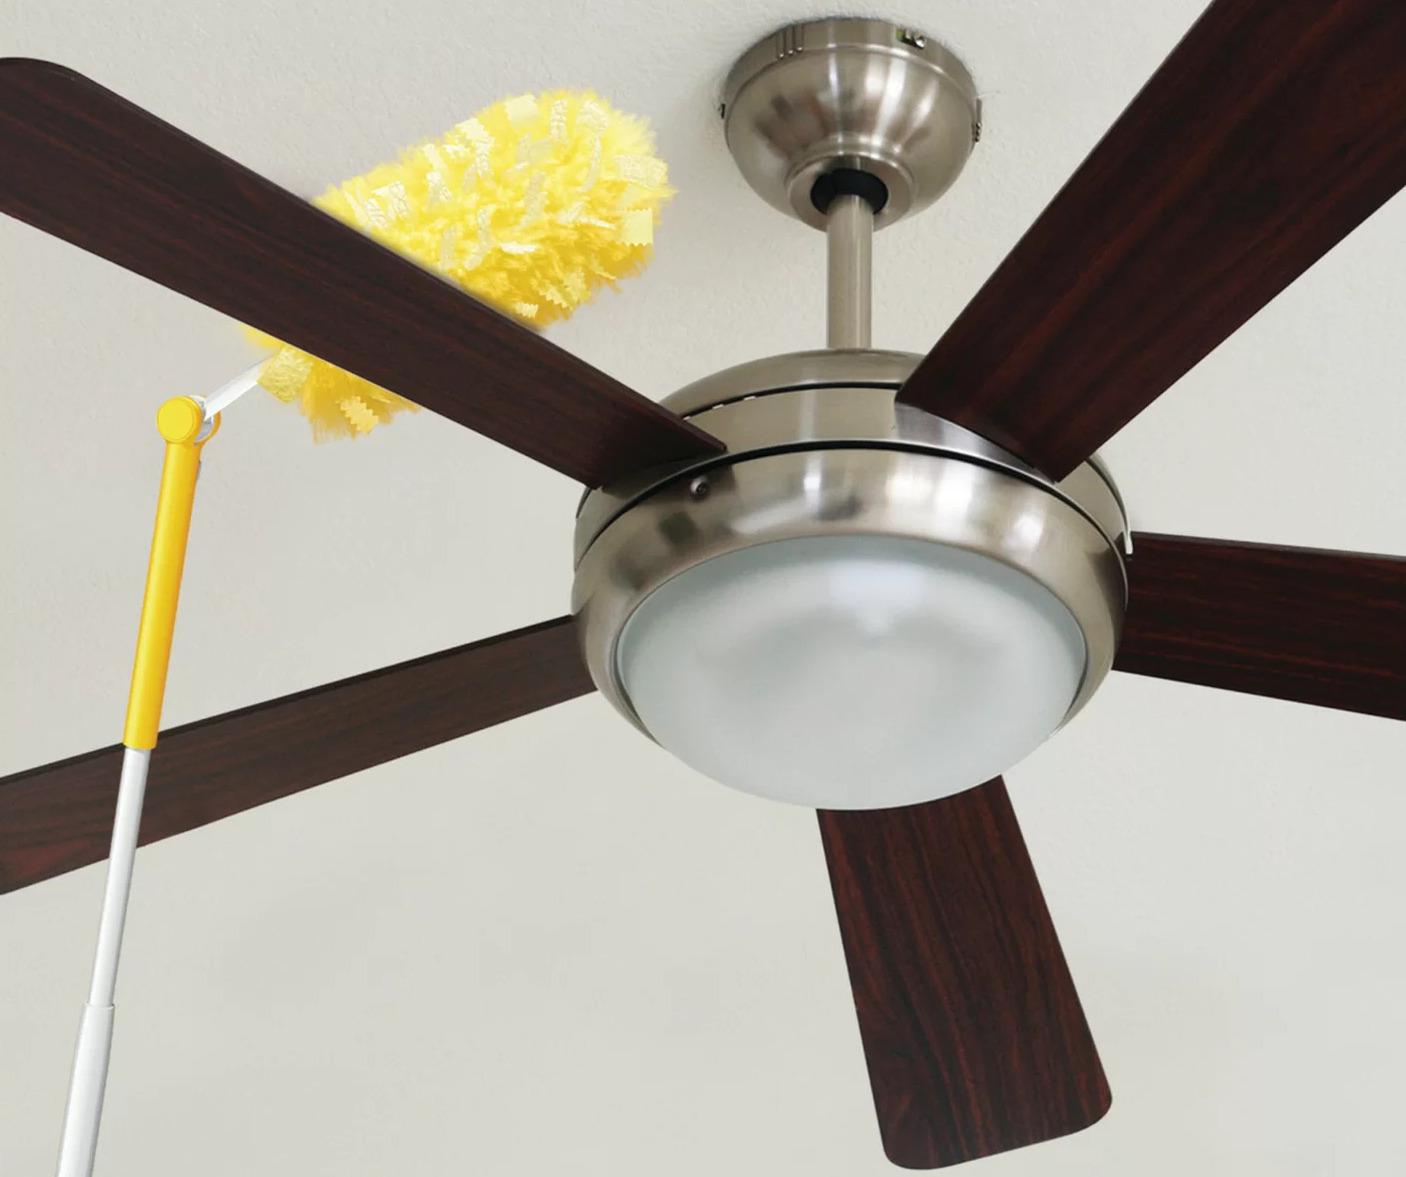
Step 4: Start dusting with the Swiffer Duster
Now that you have successfully attached the Swiffer Duster pad, it’s time to put it to good use and start dusting! The Swiffer Duster’s unique fluffy fibers and electrostatic charge make it an excellent tool for capturing and trapping dust and allergens. Follow these steps to effectively dust your desired surface:
- Select your target area: Choose the area or surface you wish to dust. Whether it’s furniture, shelves, or fixtures, make sure to focus on one area at a time for more efficient cleaning.
- Hold the handle correctly: With the Swiffer Duster in hand, hold the handle firmly and maintain a comfortable grip. This will allow you to maneuver the duster easily and reach different corners and surfaces.
- Gently swipe the duster: Position the Swiffer Duster’s pad against the surface you want to clean, and with a gentle sweeping motion, swipe the duster in one direction. You can use straight or circular motions, depending on the shape of the surface being dusted.
- Apply controlled pressure: While dusting, apply moderate pressure to ensure the fibers come into contact with the dust and effectively trap it. However, avoid pressing too hard, as it may cause the pad to detach from the handle or damage delicate surfaces.
- Continue dusting: Repeat the sweeping motion on the target area until you feel satisfied with the results. As you move from one area to another, be sure to check the pad regularly and replace it if it becomes excessively dirty or filled with dust.
Remember, using the Swiffer Duster is efficient and effortless, thanks to its innovative design. Utilize its flexibility to reach high surfaces, intricate corners, and other hard-to-reach areas. The electrostatic charge will help attract and lock in dust particles, resulting in a cleaner and healthier environment.
Now that you are familiar with the proper dusting technique, you can confidently use the Swiffer Duster to maintain a dust-free home or workplace.
Read more: How To Put A Swiffer Duster On
Step 5: Dispose of used Swiffer Duster pad
After you’ve finished dusting with the Swiffer Duster, it’s essential to properly dispose of the used pad. This step ensures that you maintain cleanliness and hygiene while minimizing the spread of dust and allergens. Follow these instructions to safely and responsibly dispose of the used Swiffer Duster pad:
- Detach the pad from the handle: Start by detaching the used pad from the Swiffer Duster handle. Firmly hold the handle and pull the pad away from the attachment slots.
- Secure the used pad: To prevent any residue or dust from spreading, fold the used pad in half with the dirty side inward. This helps contain the dust particles and keeps your surroundings clean.
- Dispose of the pad: Place the folded pad inside a waste bag or trash bin. Alternatively, you can also seal it in a disposable plastic bag for added protection. Remember to follow your local waste disposal guidelines or regulations for proper disposal.
By following these simple steps, you can ensure that the used Swiffer Duster pad is safely contained and properly disposed of. This helps maintain a hygienic cleaning process and keeps your living space free from dust and allergens.
It is important to note that Swiffer Duster pads are disposable and not intended for reuse. Once the pad has become heavily soiled or filled with dust, it is recommended to replace it with a new one to maintain optimal cleaning performance.
Conclusion
Congratulations! You have successfully learned how to install Swiffer Duster pads and make your cleaning routine more efficient. By following the step-by-step process outlined in this guide, you can confidently attach the pad to the handle, start dusting effectively, and dispose of used pads responsibly.
The Swiffer Duster is a reliable tool that helps you keep your home or workspace free from dust and allergens. Its specially formulated fibers and electrostatic charge make it highly effective in trapping and locking in dust particles, offering a thorough cleaning experience.
Remember to gather the necessary tools before starting, prepare the Swiffer Duster handle, and securely attach the pad. Once attached, you can effortlessly dust various surfaces, utilizing gentle sweeping motions and controlled pressure. Be sure to replace the pad when it becomes dirty or filled with dust for optimal performance.
When you have finished dusting, dispose of the used Swiffer Duster pad responsibly. Fold the pad to contain dust and allergens, and follow your local waste disposal guidelines for proper disposal.
By incorporating the Swiffer Duster into your cleaning routine, you can maintain a clean and healthy environment with minimal effort. So go ahead, grab your Swiffer Duster, and say goodbye to dust and allergens.
Happy cleaning!
Frequently Asked Questions about How To Install Swiffer Duster Pads
Was this page helpful?
At Storables.com, we guarantee accurate and reliable information. Our content, validated by Expert Board Contributors, is crafted following stringent Editorial Policies. We're committed to providing you with well-researched, expert-backed insights for all your informational needs.


0 thoughts on “How To Install Swiffer Duster Pads”