
Articles
How To Add Vanity Lights To A Mirror
Modified: October 20, 2024
Learn how to enhance your mirror by adding stunning vanity lights in this informative article. Transform your space with these simple DIY steps.
(Many of the links in this article redirect to a specific reviewed product. Your purchase of these products through affiliate links helps to generate commission for Storables.com, at no extra cost. Learn more)
Introduction
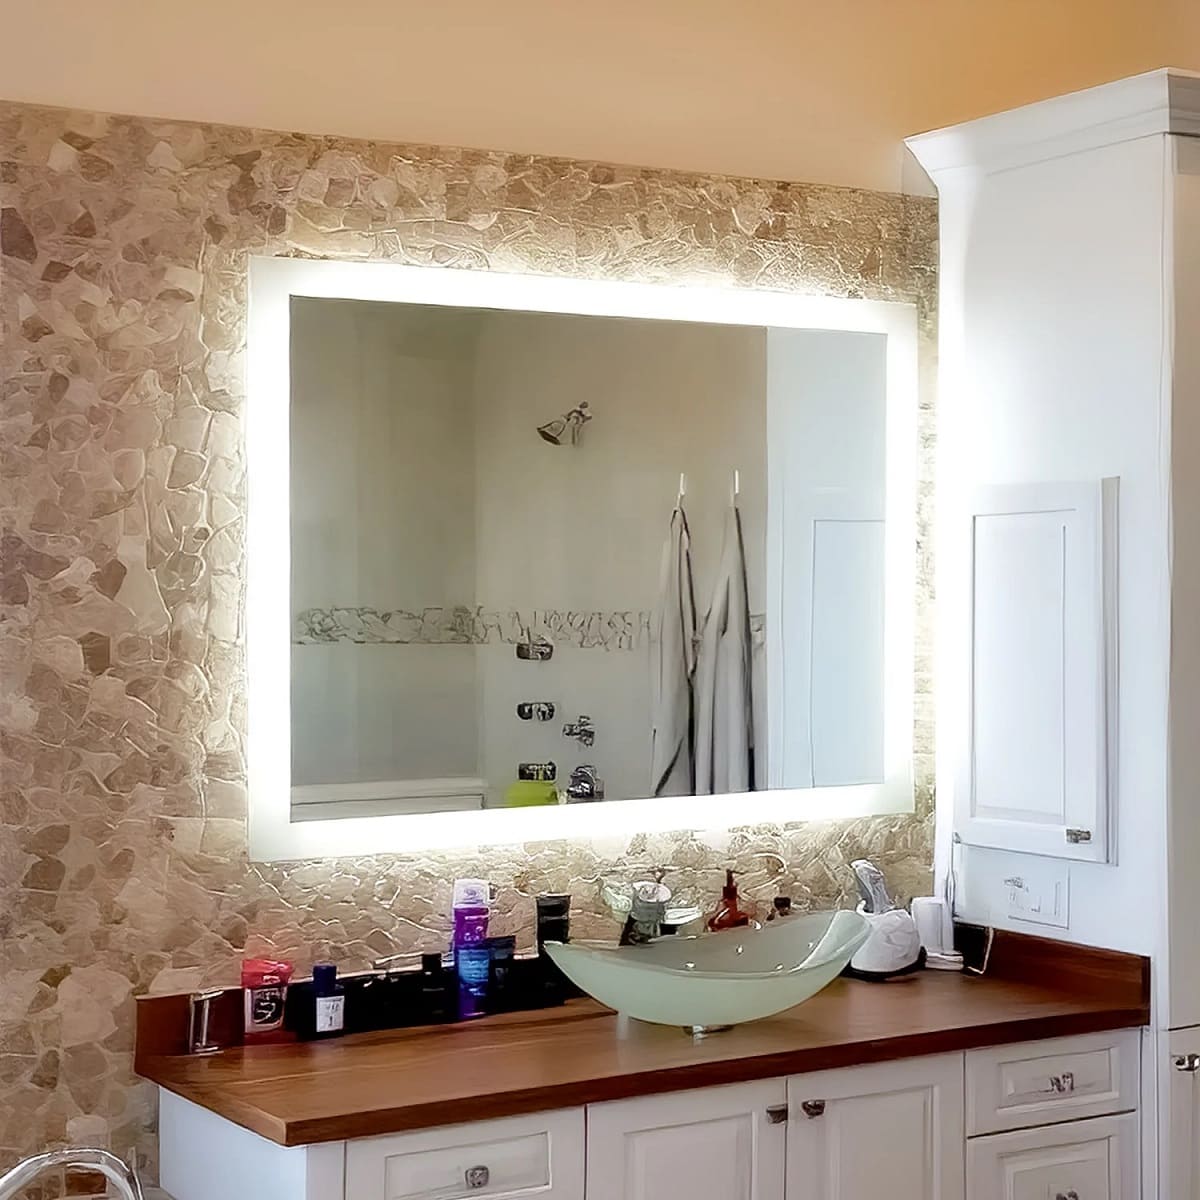
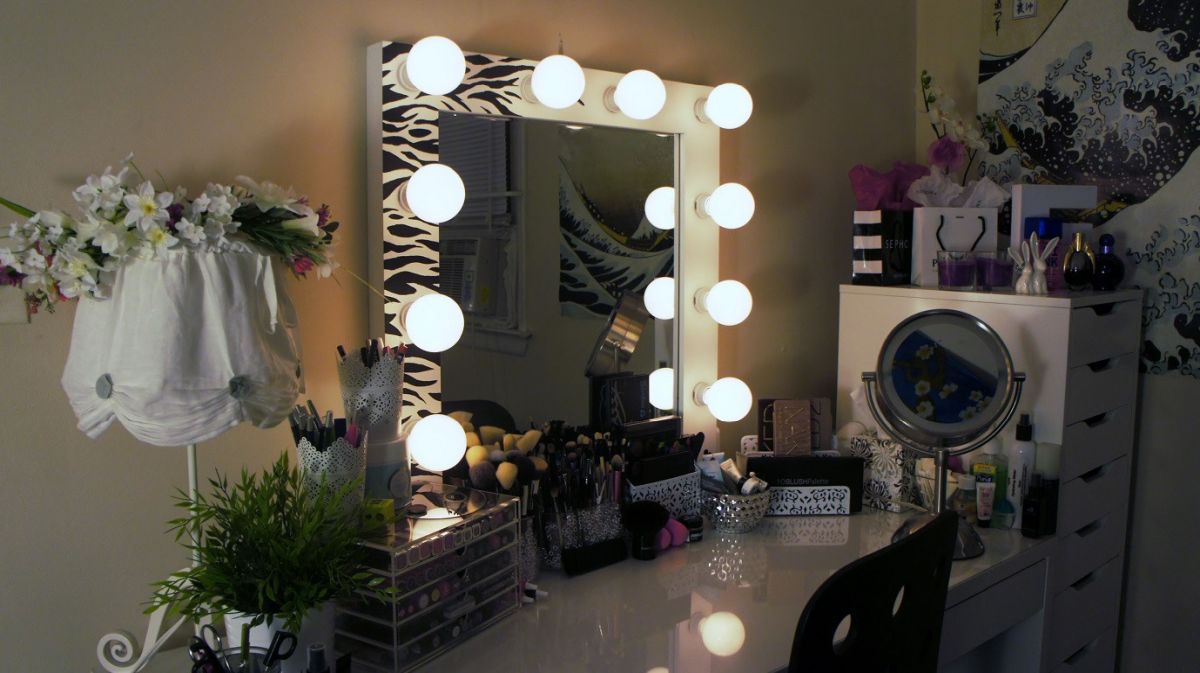
Adding vanity lights to a mirror is a fantastic way to enhance the aesthetics and functionality of any bathroom or dressing area. Not only does it provide ample lighting for getting ready, but it also adds a touch of elegance and style to the space. Whether you’re a makeup enthusiast or simply enjoy having well-lit surroundings, installing vanity lights on a mirror is a project that can be easily accomplished with a few simple steps.
In this article, we will guide you through the process of adding vanity lights to a mirror, from gathering the necessary materials to the final installation. By following these steps, you’ll be able to transform your mirror into a well-lit and stunning focal point in your room.
Before we begin, it’s important to note that electrical work should always be carried out by a licensed professional. If you don’t have experience with electrical installations, it’s recommended to seek professional assistance to ensure your safety and the proper functioning of the lights.
Key Takeaways:
- Elevate your bathroom or dressing area with stunning vanity lights that provide ample illumination and add a touch of elegance to your space. Follow the step-by-step guide for a seamless and visually appealing installation.
- Prioritize safety and quality by seeking professional assistance for electrical work. Enjoy the beautiful ambiance and practicality of well-lit surroundings, and share the joy of a beautifully lit mirror with others.
Read more: Where To Buy A Vanity Mirror With Lights
Step 1: Gather the necessary materials
Before you can start adding vanity lights to your mirror, it’s essential to gather all the materials you’ll need for the project. Here are the items you should have on hand:
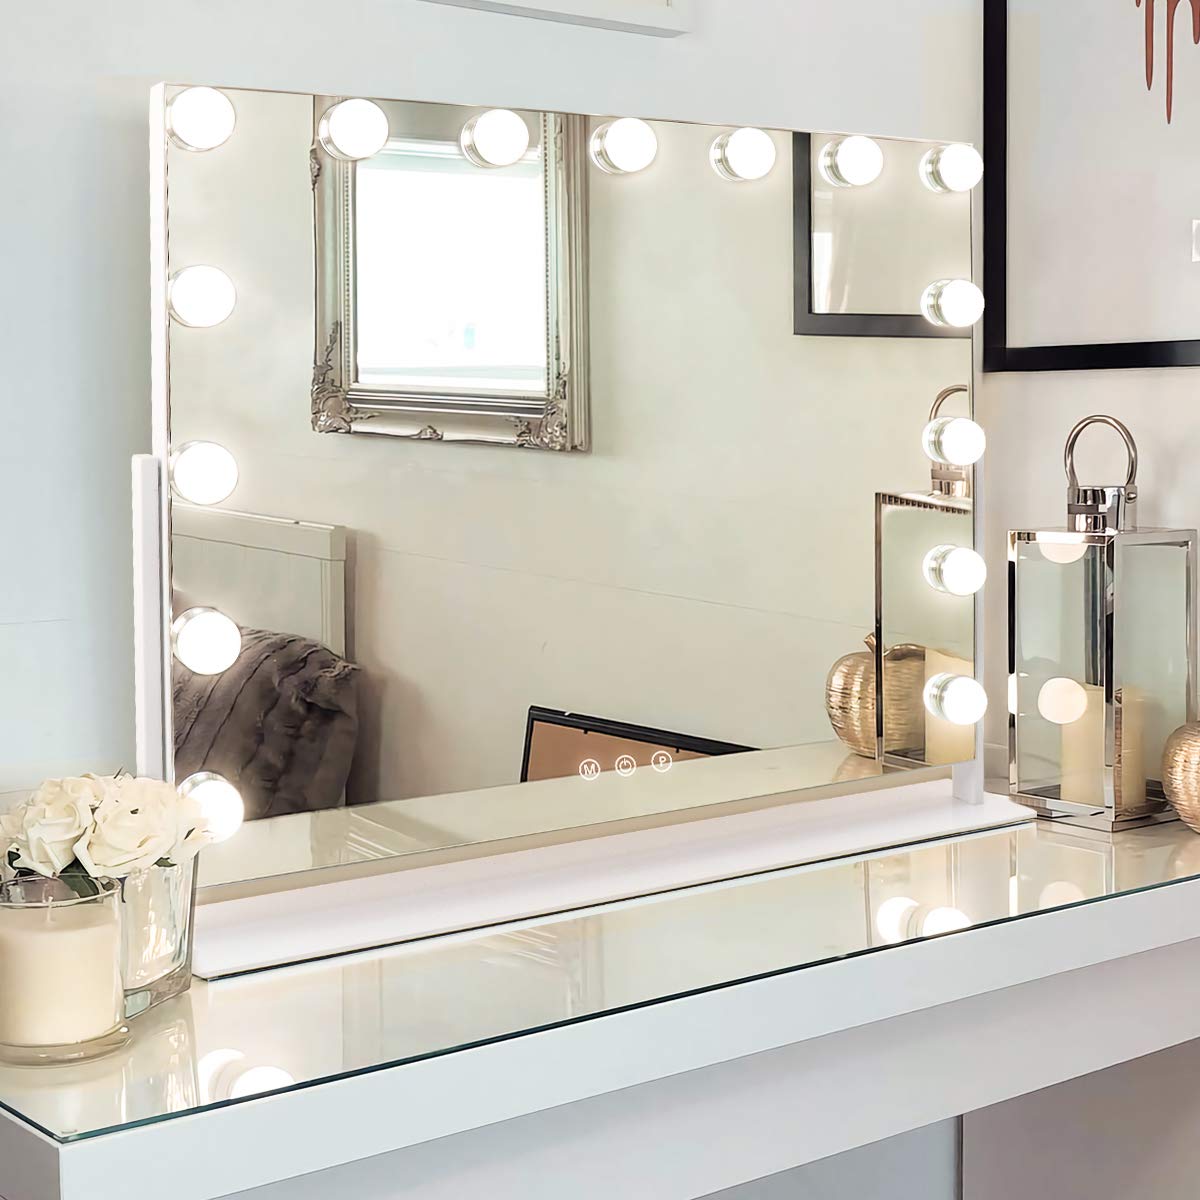
- Vanity lights: Choose lights that fit your aesthetic preferences and complement the overall design of your space. LED lights are a popular choice due to their energy efficiency and long lifespan.
- Mirror: Select a mirror that is suitable for mounting vanity lights. It should have a flat and solid surface where the lights can be attached securely.
- Mounting brackets: These brackets will be used to secure the vanity lights to the mirror. Make sure they are compatible with the lights you have chosen.
- Screws and anchors: Depending on the type of mirror and wall, you may need screws and anchors to ensure a sturdy installation.
- Electrical wiring and connectors: You’ll need wiring and connectors to connect the vanity lights to a power source. It’s crucial to use the appropriate wiring and connectors for electrical safety.
- Wire cutters and strippers: These tools will be necessary for cutting and stripping the wires during the installation process.
- Electrical tape: Use electrical tape to secure and insulate the wires, ensuring there are no exposed connections.
- Drill and drill bits: A drill will be needed to create holes for mounting brackets and screws.
- Screwdriver: A screwdriver is necessary for attaching the vanity lights and securing any screws or brackets.
Once you have gathered all the necessary materials, you will be ready to move on to the next step: measuring and marking the mirror.
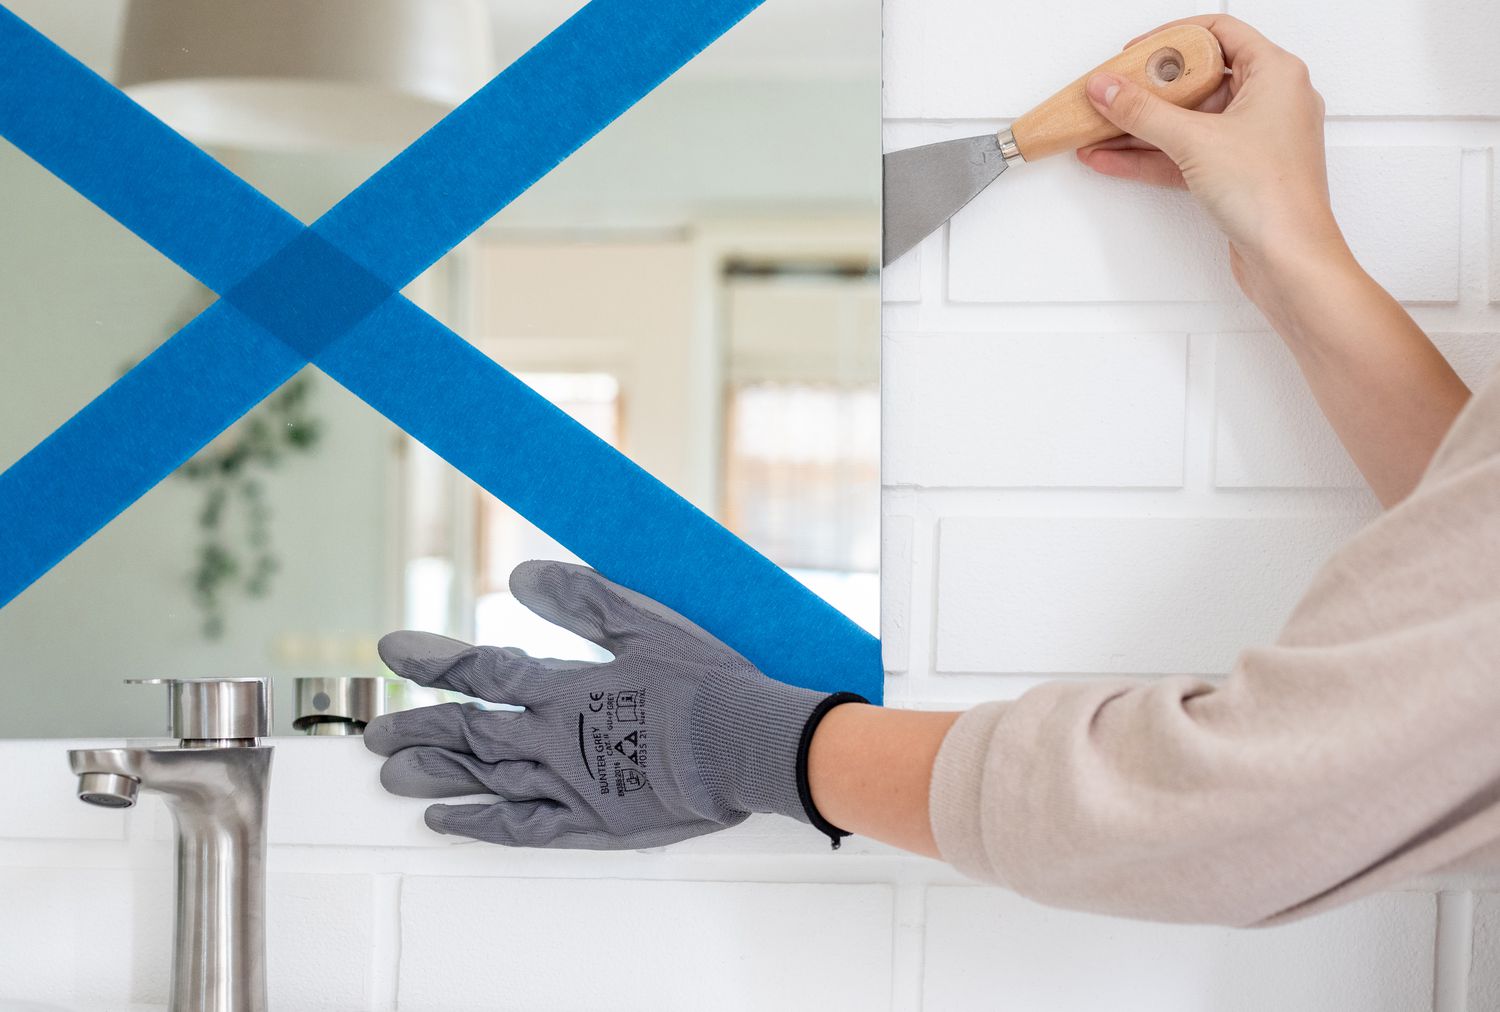
Step 2: Measure and mark the mirror
Before you can begin installing the vanity lights, it’s crucial to measure and mark the mirror to ensure proper placement and alignment. Follow these steps to accurately measure and mark the mirror:
- Start by determining the desired height at which you want the vanity lights to be positioned. This will depend on personal preference and the height of the individuals who will be using the mirror most frequently. A general rule of thumb is to place the lights at eye level to avoid shadows on the face.
- Measure the width of the mirror and divide it equally into sections to determine the placement of the vanity lights. For example, if you have a 36-inch mirror and want to install three vanity lights, divide 36 by 3 to get 12. This means each light should be positioned 12 inches apart.
- Using a measuring tape and a pencil, mark the desired height and the measurements from the previous step on the mirror’s surface. Make sure the marks are evenly spaced and aligned with the center of the mirror if you want a symmetrical look.
- Double-check the measurements and marks to ensure accuracy before proceeding to the next step.
Once you have measured and marked the mirror, you will be ready to move on to preparing the lights for installation.
Step 3: Preparing the lights
Now that you have measured and marked the mirror for the vanity lights, it’s time to prepare the lights themselves for installation. Follow these steps to get the lights ready:
- First, unpack the vanity lights and carefully inspect them for any damage or defects. Ensure that all parts and components are present.
- Depending on the type of vanity lights you have chosen, you may need to assemble them according to the manufacturer’s instructions. This may involve attaching mounting brackets, securing bulbs, or connecting different components together.
- If necessary, adjust the positioning of the bulbs or the direction of the light. Some vanity lights offer adjustable features to allow for customization.
- Check the wiring of the lights to ensure there are no loose connections or exposed wires. If you notice any issues, follow the manufacturer’s instructions to correct them or consult a professional.
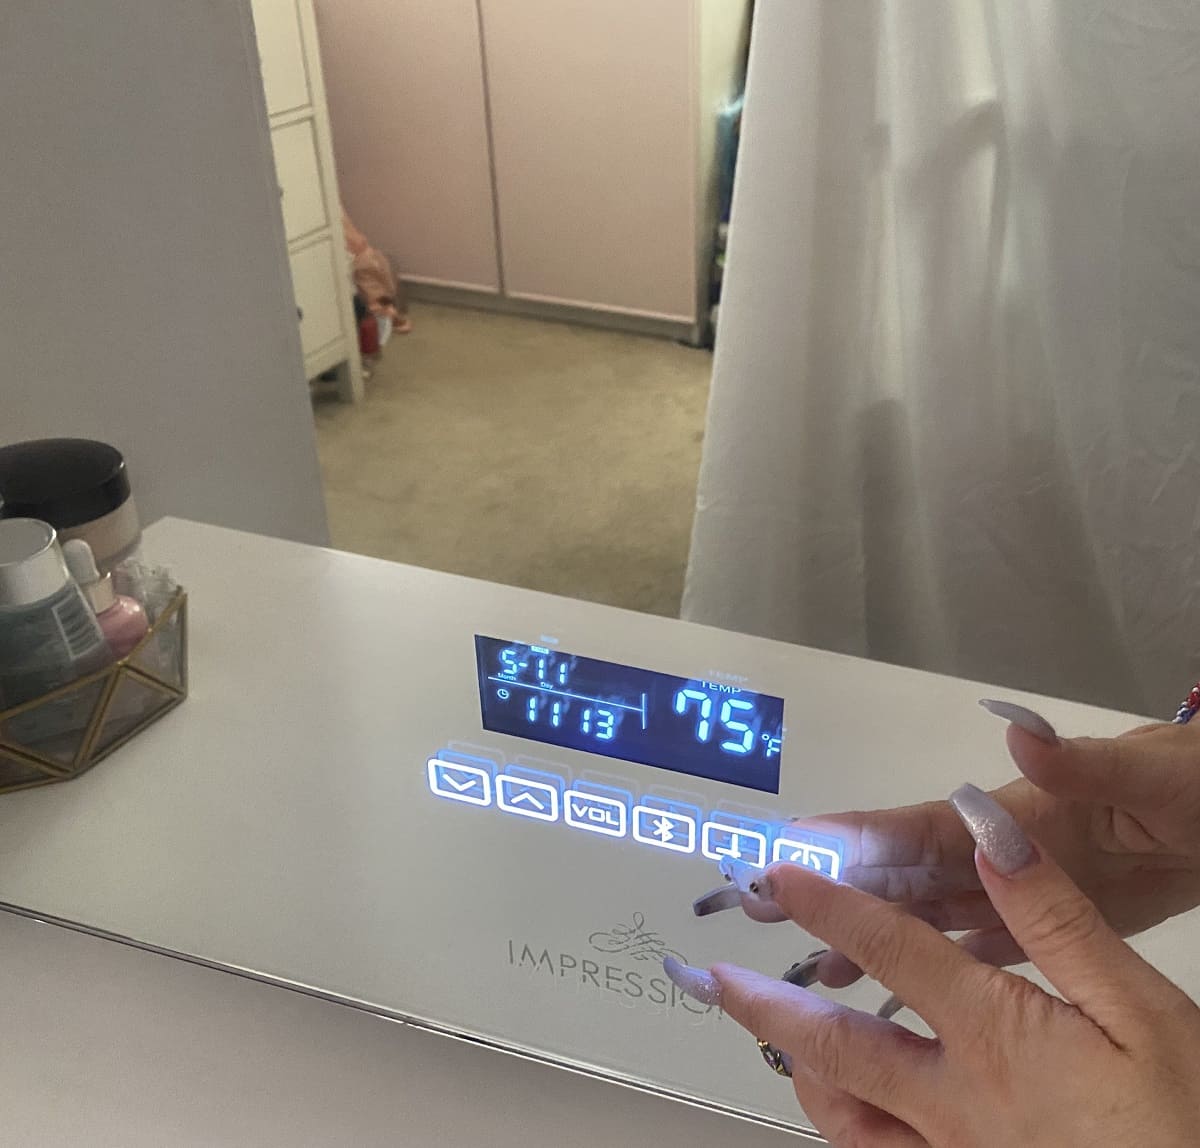
- Take a moment to familiarize yourself with the switch or dimmer controls of the vanity lights, especially if they come with adjustable settings. This will allow you to make adjustments to the lighting according to your preferences.
By properly preparing the vanity lights, you not only ensure that they are ready for installation but also make the installation process smoother and more efficient. With the lights prepared, you can now move on to the next step: attaching the lights to the mirror.
Step 4: Attach the lights to the mirror
With the vanity lights prepared, it’s time to attach them to the mirror. Follow these steps to securely install the lights:
- Place the vanity lights on the marked spots on the mirror, ensuring that they are aligned with the height and spacing you determined in Step 2. Use the pencil marks as a guide.
- Using a drill and the appropriate drill bit, create pilot holes on the mirror where you will be attaching the lights. The size of the pilot holes should match the screws or mounting brackets provided with the vanity lights.
- If your vanity lights come with mounting brackets, attach them to the mirror using the screws provided. Make sure they are positioned securely and level with the surface of the mirror.
- Place the vanity lights onto the mounting brackets or directly onto the mirror, depending on the design of the lights. Follow the manufacturer’s instructions for proper attachment.
- Double-check the positioning and alignment of the lights before moving on to the next step.
By securely attaching the vanity lights to the mirror, you ensure their stability and prevent any potential accidents or damage. Once the lights are securely in place, you can move on to the next step: connecting the lights to a power source.
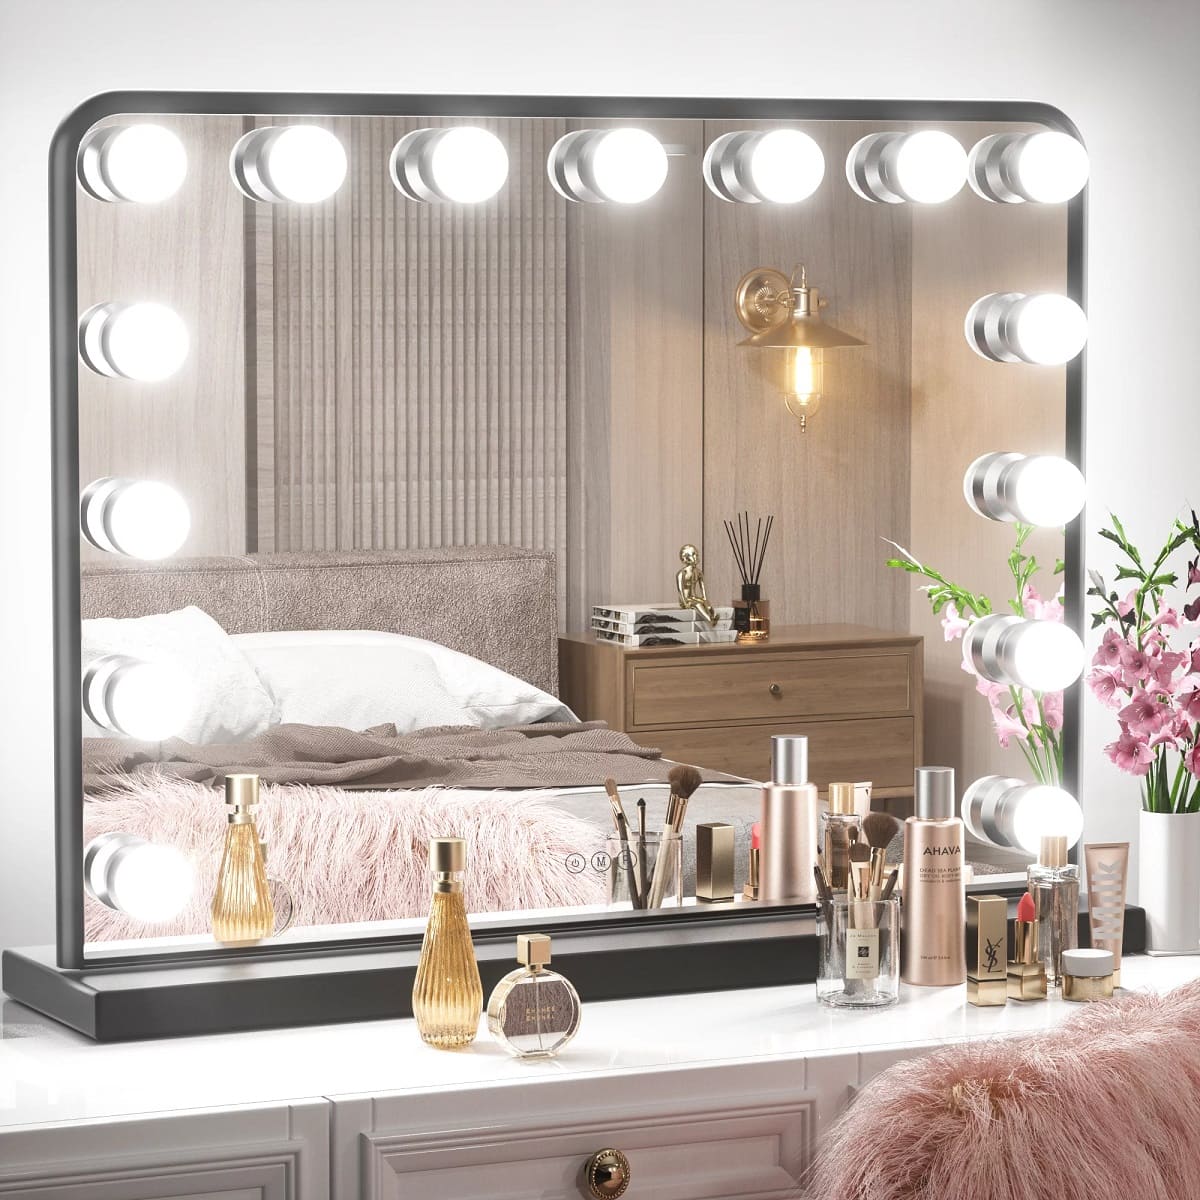
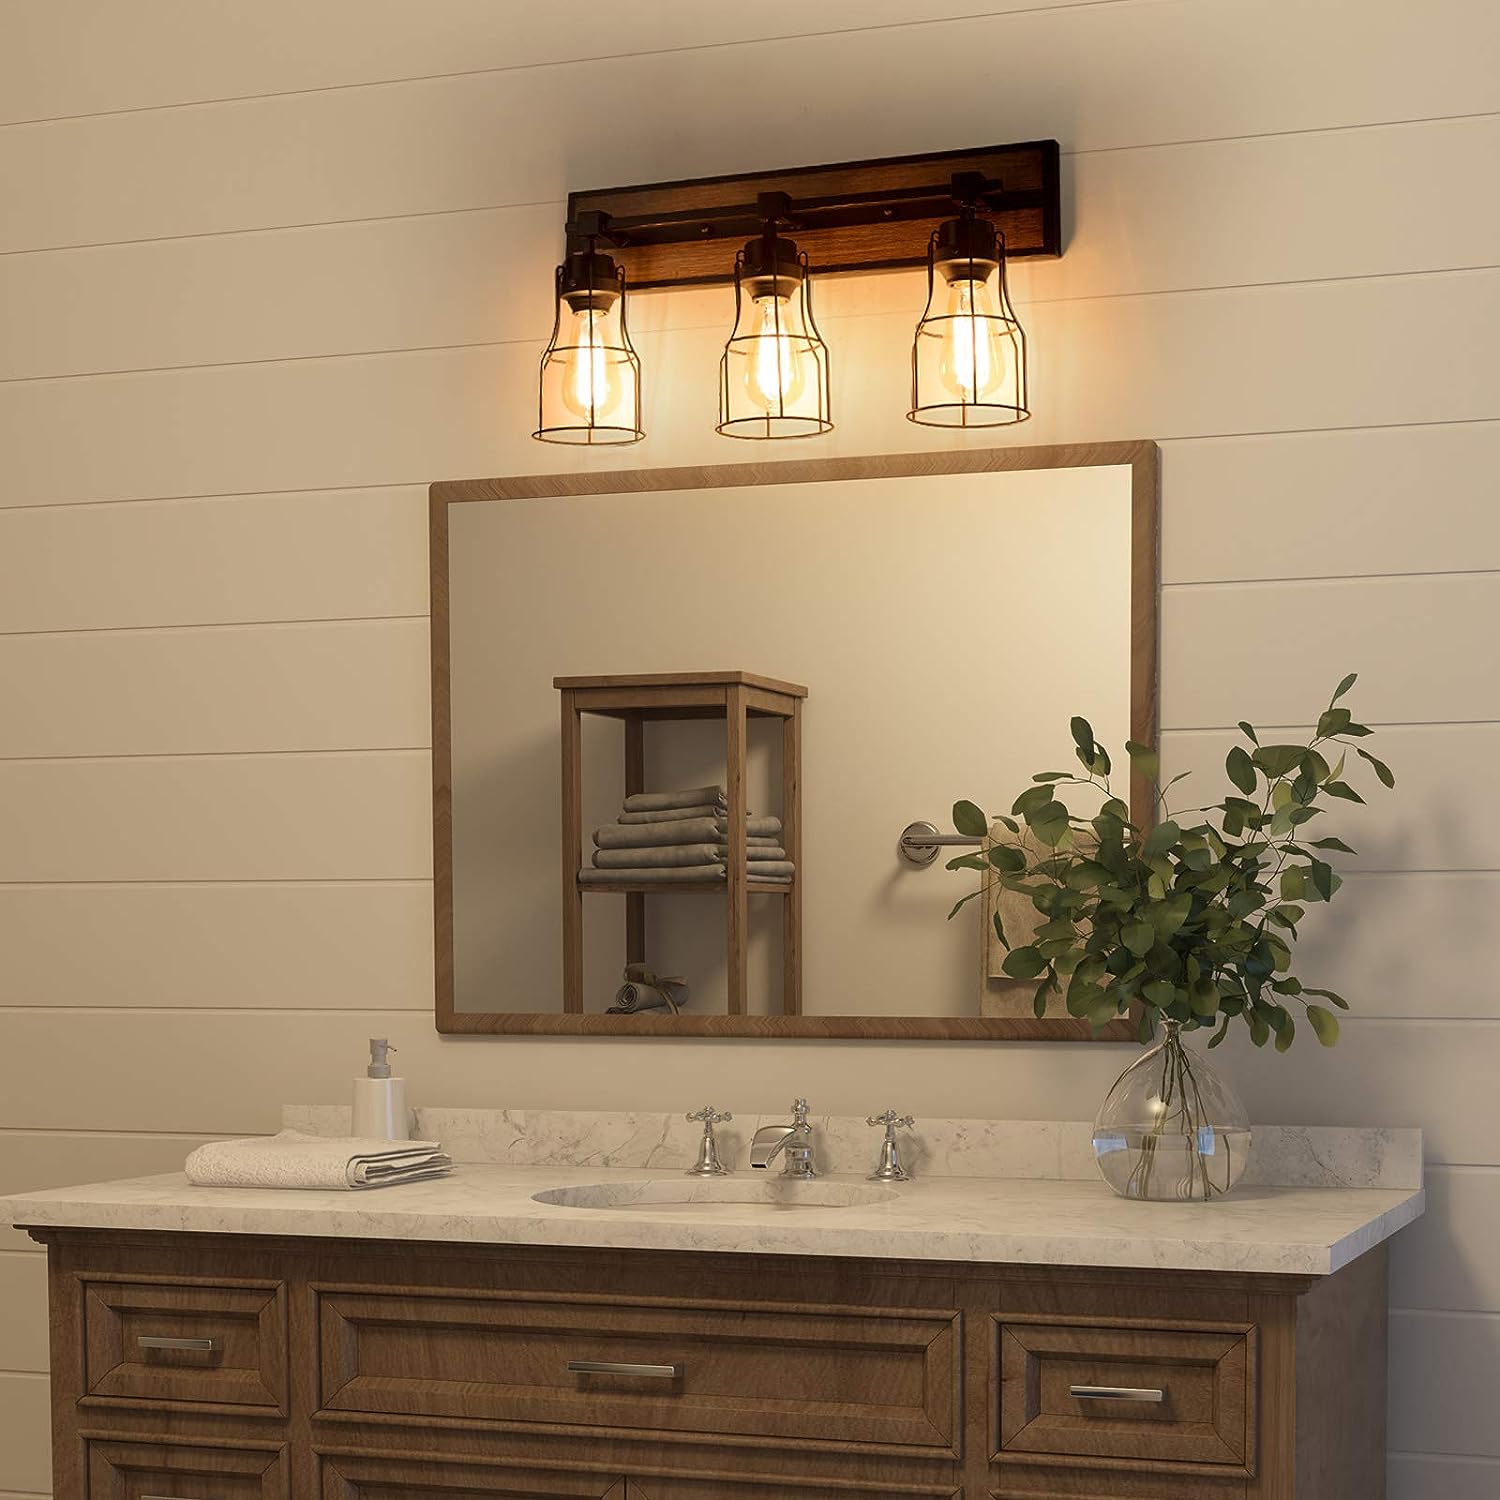
When adding vanity lights to a mirror, make sure to measure the width of the mirror and choose lights that are at least 75-80% of the mirror’s width for balanced illumination.
Read also: 12 Best Vanity Lights For Mirror for 2025
Step 5: Connect the lights to a power source
After successfully attaching the vanity lights to the mirror, the next step is to connect them to a power source. Follow these steps to safely connect the lights:
- Identify the nearest power source that you can use for the vanity lights. This could be an existing electrical outlet or a nearby switch.
- Turn off the power supply to the area where you will be working. This can be done by flipping the corresponding circuit breaker or switching off the main power source for the room.
- Depending on the electrical setup, you may need to run a new wire from the power source to the location of the vanity lights. This step requires careful planning and might require the assistance of a licensed electrician.
- Strip the ends of the wires that will be connecting the vanity lights to the power source. Use wire strippers to remove about 1/2 inch of insulation from the ends of the wires.
- Connect the stripped ends of the wires from the vanity lights to the corresponding wires from the power source. Use wire connectors or electrical tape to secure the connections.
- Once the connections are secure, carefully tuck the wires behind the mirror and ensure that they are hidden from view. Use wire clips or adhesive hooks to secure the wires along the wall or along the mirror’s frame.
- Turn on the power supply and test the vanity lights to ensure they are functioning properly. If needed, adjust the switch or dimmer controls to achieve your desired level of brightness.
By properly connecting the vanity lights to a power source, you can ensure their safe operation and convenient control. With the lights successfully connected, you can move on to the next step: testing the vanity lights.
Step 6: Test the vanity lights
Once you have connected the vanity lights to a power source, it’s crucial to test them to ensure they are functioning properly. Follow these steps to test the vanity lights:
- Turn on the power supply to the area where the vanity lights are connected. This can be done by flipping the corresponding circuit breaker or switching on the main power source for the room.
- Locate the switch or dimmer controls for the vanity lights. Depending on the design, this could be a wall switch, a dimmer switch, or a switch integrated into the lights themselves.
- Gradually increase the brightness of the lights by adjusting the switch or dimmer controls. Observe the vanity lights to ensure that all bulbs are lighting up evenly and that there are no flickering or issues with the illumination.
- If you notice any issues with the lights, such as uneven brightness or flickering, double-check the connections and wiring to ensure they are secure. If the problem persists, consult a licensed electrician for further assistance.
- Take a moment to appreciate the newly installed vanity lights and assess their functionality and appearance. Make any necessary adjustments to the positioning or alignment of the lights if desired.
By thoroughly testing the vanity lights, you can catch any potential issues early on and ensure they are operating as expected. With the lights successfully tested, you can move on to the next step: securing the wires and hiding them.
Step 7: Secure the wires and hide them
After testing the vanity lights and ensuring they are functioning properly, the next step is to secure the wires and hide them for a clean and polished appearance. Follow these steps to secure and hide the wires:
- Start by carefully inspecting the wires to ensure there are no loose connections or exposed areas. If you notice any issues, recheck the connections and make any necessary adjustments.
- Use wire clips, adhesive hooks, or cable management solutions to secure the wires along the wall or behind the mirror. These accessories will help keep the wires organized and prevent them from being easily visible.
- If the vanity lights are attached to a mirror with a frame, you can carefully tuck the wires behind the frame to hide them from view. Be cautious not to bend or damage the wires during this process.
- For wall-mounted mirrors without frames, you can run the wires along the wall and conceal them with wire covers or paintable cord channels. These options will give a neat and seamless look to the installation.
- Carefully guide the wires to the nearest electrical outlet or switch, ensuring they are neatly arranged and not tangled. Use additional wire clips or adhesive hooks along the way, if needed.
- Test the flexibility of the wires to make sure they are not pulling or straining the vanity lights. Adjust their position and tension as necessary for a clean and well-organized appearance.
By properly securing and hiding the wires, you create a visually appealing installation that does not detract from the overall aesthetics of the vanity lights and mirror. With the wires securely in place, you can move on to the final step: enjoying your new vanity lights.
Step 8: Enjoy your new vanity lights
Congratulations! You have successfully added vanity lights to your mirror. Now it’s time to sit back, relax, and enjoy the beautiful ambiance and functionality they bring to your space. Here are a few final steps to fully enjoy your new vanity lights:
- Take a moment to admire the transformation of your mirror. Notice how the vanity lights enhance the overall look and feel of the room, providing an inviting and well-lit environment.
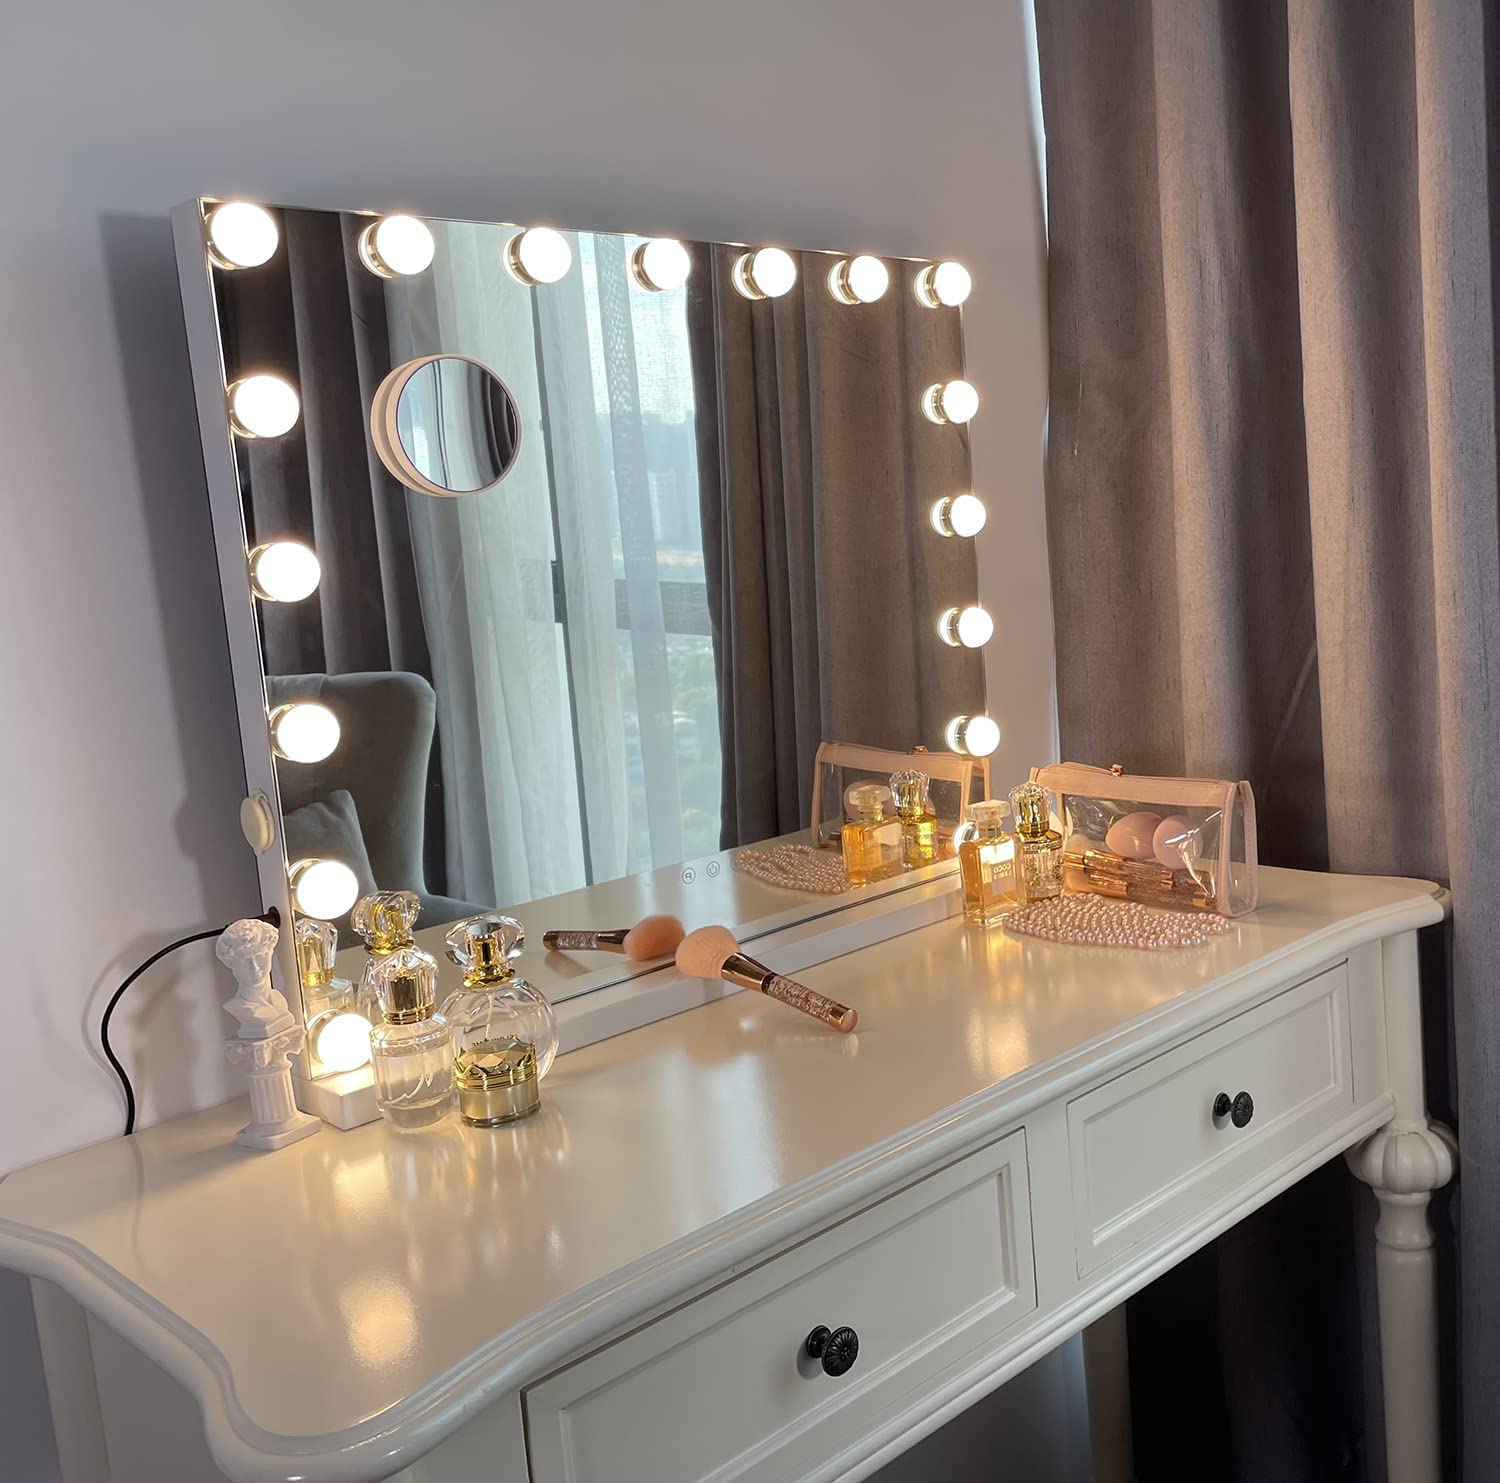
- Experiment with different settings and adjust the brightness of the lights to create the desired atmosphere for various activities, such as applying makeup, grooming, or getting ready for the day ahead.
- Appreciate the practicality of having ample lighting while eliminating any shadows or uneven illumination that may have been present before.
- Continue to maintain and care for your vanity lights by cleaning the bulbs and fixtures regularly. This will help ensure their longevity and optimal performance.
- Share your new vanity lights with others and let them experience the difference it makes in your space. It’s a great conversation starter and can even inspire others to undertake a similar project.
- Remember to use caution when working with electrical components. If you ever need to make adjustments or repairs, it’s best to consult a licensed electrician to ensure safety and proper functionality.
By following these steps, you have successfully added vanity lights to your mirror, elevating the style and functionality of your space. Enjoy the enhanced lighting and the beautiful ambiance it creates as you go about your daily routine.
Thank you for taking the time to read this article. We hope it has been informative and helpful in guiding you through the process of adding vanity lights to your mirror. May your new vanity lights bring you joy and illumination for years to come!
Read also: 15 Best Lighted Vanity Mirror for 2025
Conclusion
Adding vanity lights to a mirror is a straightforward and rewarding project that can transform the look and functionality of any bathroom or dressing area. Not only do vanity lights provide ample illumination for daily routines, but they also lend a touch of elegance and style to the space. By following the step-by-step guide outlined in this article, you can successfully install vanity lights and create a stunning focal point in your room.
Throughout this process, it’s important to prioritize safety and quality. If you are unfamiliar with electrical work, seek the assistance of a licensed professional to ensure a safe and reliable installation. Additionally, be sure to choose high-quality vanity lights and materials that align with your aesthetic preferences and overall design scheme.
From gathering the necessary materials to securing the wires and hiding them, each step contributes to a seamless and visually appealing installation. Take the time to measure and mark the mirror accurately, prepare the lights with care, and attach them securely. Connect the lights to a reliable power source, test their functionality, and then secure and hide the wires for a clean and polished look.
Once everything is in place, it’s finally time to enjoy your new vanity lights. Bask in the beautiful ambiance they provide, adjust the brightness to suit your needs, and appreciate the practicality they bring to your daily routine. Invite others to experience the difference and share with them the joy of a beautifully lit mirror.
Remember to maintain and care for your vanity lights by regularly cleaning the bulbs and fixtures. This will ensure their longevity and optimal performance over time.
Thank you for reading this comprehensive guide on adding vanity lights to a mirror. We hope it has been informative and inspiring, empowering you to embark on this exciting DIY project. Enjoy the incredible transformation and the enhanced aesthetics that vanity lights bring to your space for years to come!
Frequently Asked Questions about How To Add Vanity Lights To A Mirror
Was this page helpful?
At Storables.com, we guarantee accurate and reliable information. Our content, validated by Expert Board Contributors, is crafted following stringent Editorial Policies. We're committed to providing you with well-researched, expert-backed insights for all your informational needs.


0 thoughts on “How To Add Vanity Lights To A Mirror”