Articles
How To Make Vanity Mirror
Modified: October 20, 2024
Learn how to make a beautiful vanity mirror with these step-by-step articles. Transform your space with this DIY project and enhance your beauty routine.
(Many of the links in this article redirect to a specific reviewed product. Your purchase of these products through affiliate links helps to generate commission for Storables.com, at no extra cost. Learn more)
Introduction
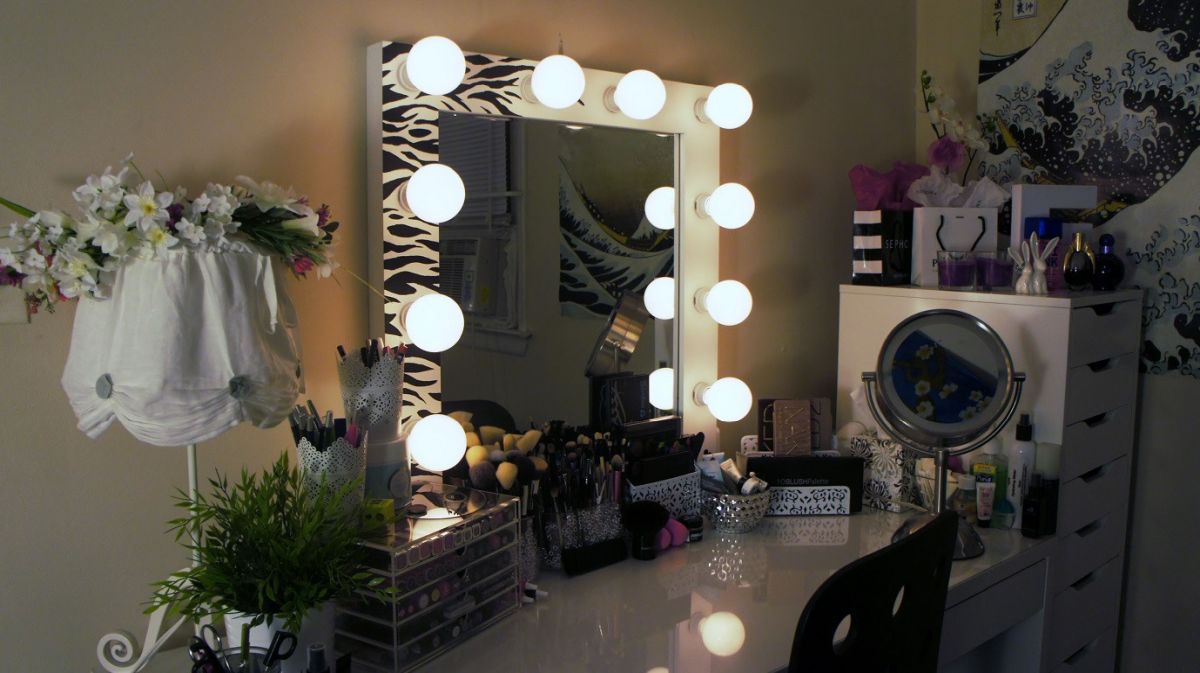
Having a vanity mirror in your home can elevate your everyday beauty routine to a whole new level. Not only does it provide the perfect lighting for flawless makeup application, but it also adds a touch of elegance and sophistication to any space. While there are plenty of vanity mirrors available for purchase, making your own can be a fun and rewarding project that allows you to customize it to your exact preferences.
In this article, we will guide you through the step-by-step process of creating your own vanity mirror. We’ll cover everything from gathering the materials to putting on the finishing touches. So, if you’re ready to add a stunning focal point to your bedroom or dressing area, let’s get started!
Key Takeaways:
- Elevate your beauty routine and space by creating a customized vanity mirror. Gather materials, build a sturdy frame, install lighting, and add personal touches for a stunning and functional centerpiece.
- Enjoy the satisfaction of crafting your own vanity mirror, tailored to your style. Securely mount the mirror, add decorative elements, and bask in the personalized elegance of your creation.
Read more: What Is A Vanity Mirror
Step 1: Gather the Materials
Before you begin building your vanity mirror, you’ll need to gather all the necessary materials. Here’s a list of items you’ll need:
- A mirror: Choose a size and shape that suits your preference and fits the space where you plan to install the vanity mirror.
- Wood or MDF (Medium-Density Fiberboard): This will be used to build the frame of the mirror.
- Screws or nails: Depending on the type of wood you’re using, choose the appropriate fasteners to secure the frame.
- Wood glue: This will help strengthen the joints of the frame.
- Paint or stain: Select a color or finish that matches your desired aesthetic.
- Lighting: You can choose between LED light bulbs or light strips, depending on your preference.
- Electrical wiring: If you’re using LED light bulbs, ensure you have the necessary wiring and connectors to connect them.
- Switch or dimmer: This will allow you to control the brightness of the vanity mirror’s lighting.
- Power source: Make sure you have access to a nearby power outlet or consider using a battery-operated lighting system.
- Decorative accents: Consider adding additional elements like trim, molding, or decorative knobs to enhance the look of your vanity mirror.
Once you have gathered all the materials, make sure you have the necessary tools as well. These may include a measuring tape, saw, drill, screwdriver, sandpaper, and a level. Having these tools on hand will make the construction process much smoother.
Now that you have everything ready, you can move on to the next step of preparing the mirror for construction.
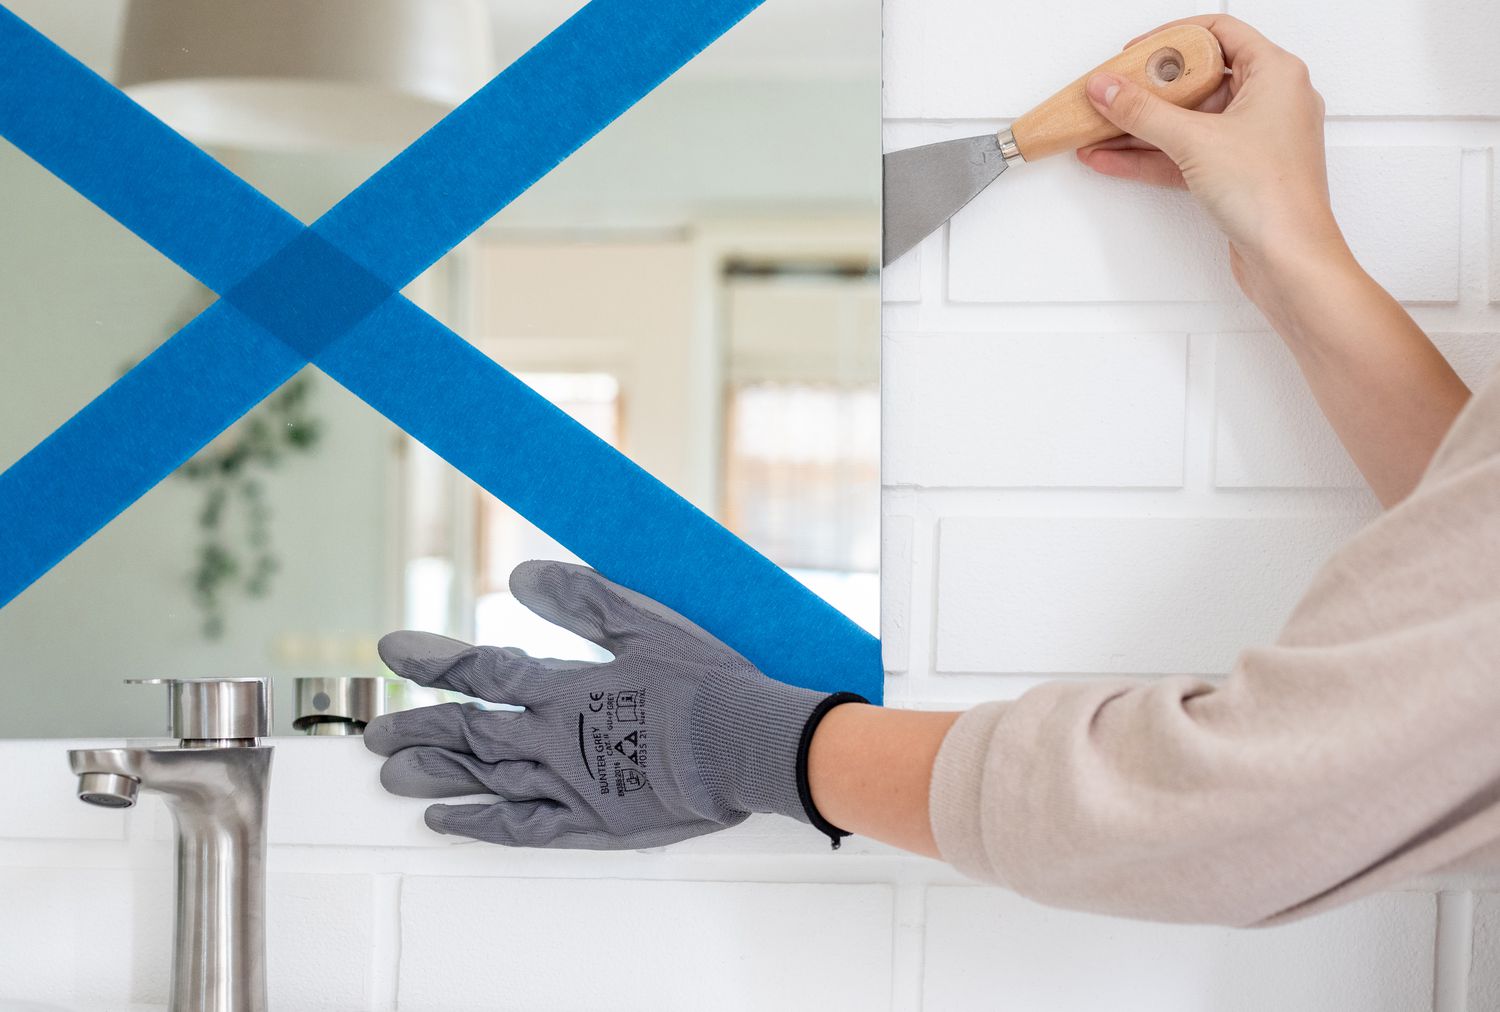
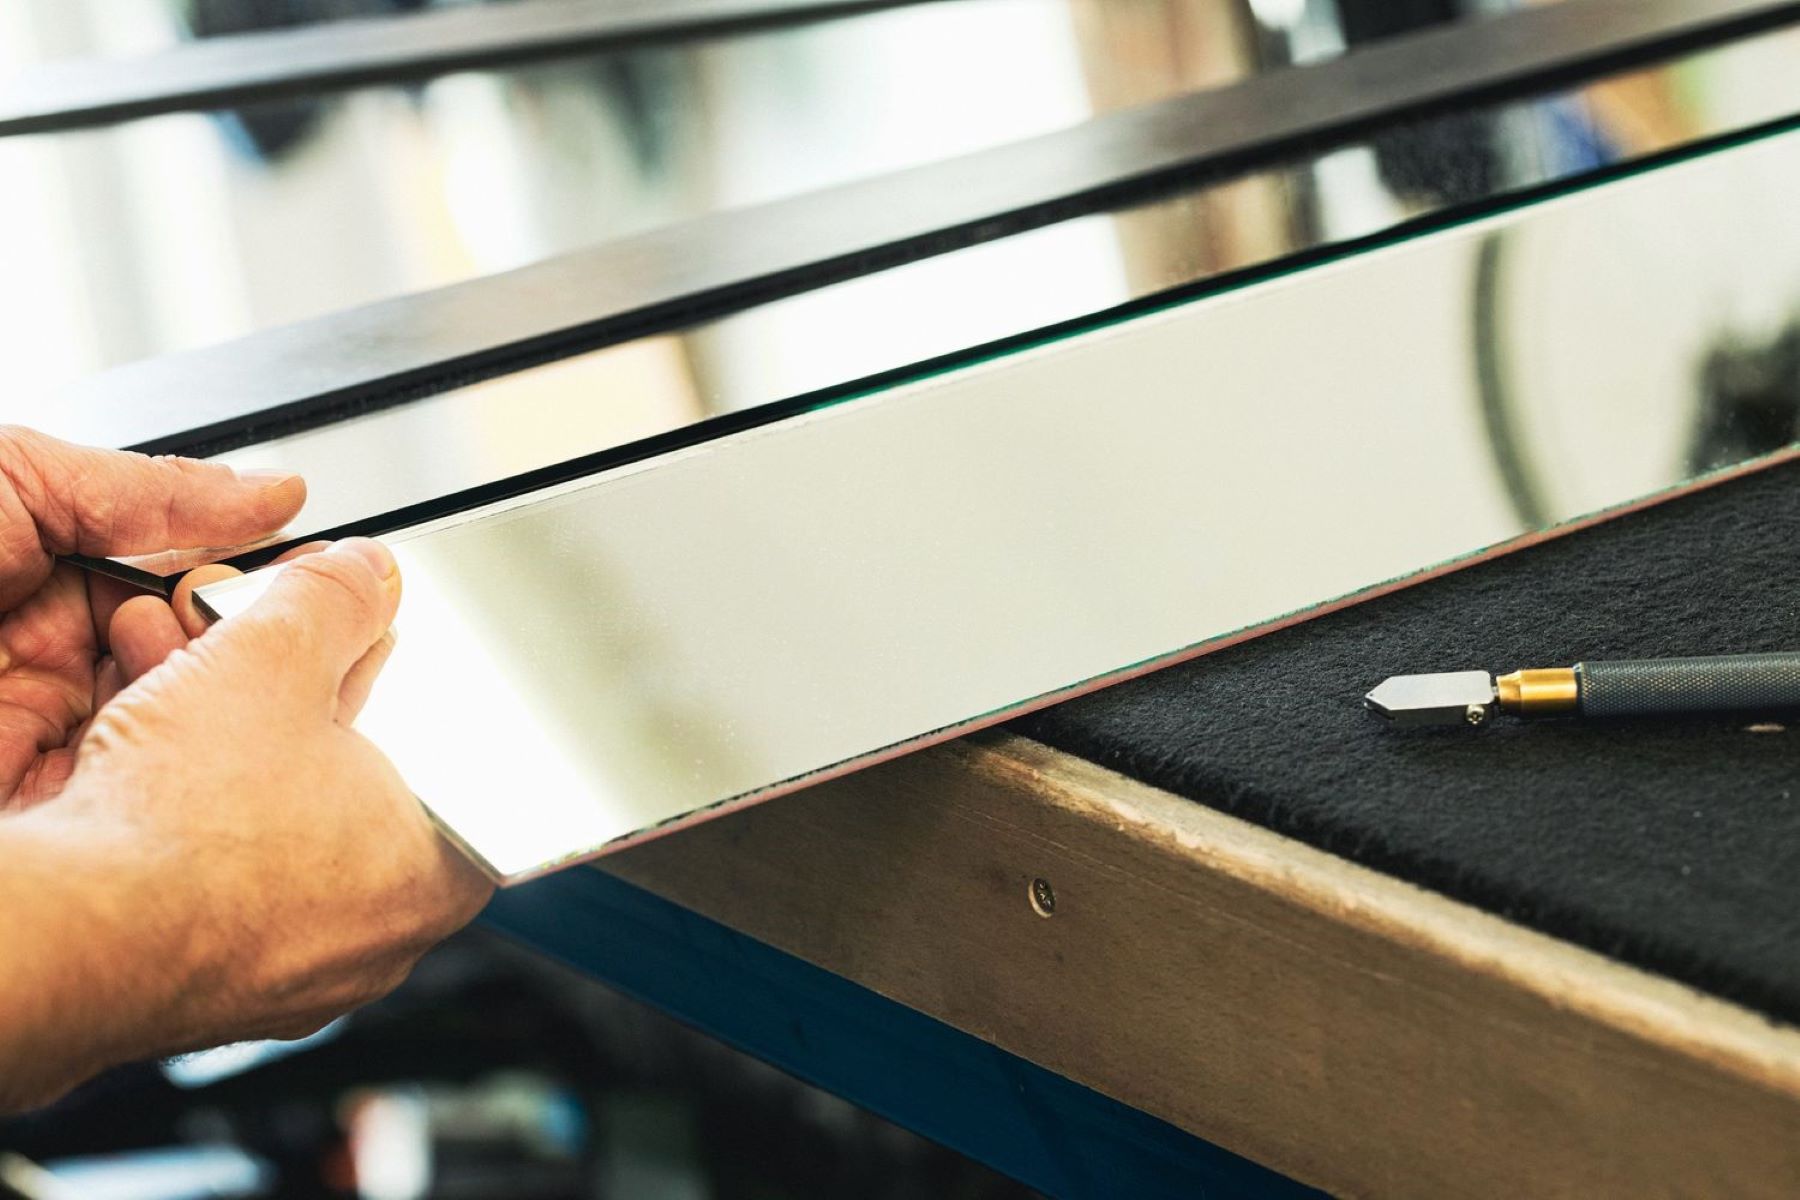
Step 2: Prepare the Mirror
Now that you have gathered all the materials, it’s time to prepare the mirror for the construction process. Here’s what you need to do:
- Measure and mark the area where the mirror will be placed: Use a measuring tape and pencil to determine the exact dimensions of the space where the vanity mirror will be mounted. Mark the boundaries so that you have a clear reference point during the construction process.
- Clean the mirror: Before working on the mirror, ensure it’s clean and free of any dust or smudges. Use a glass cleaner and a soft cloth to wipe both sides of the mirror, achieving a clear and pristine surface.
- Protect the mirror edges: To prevent any accidental damage during the construction, you can use painter’s tape to protect the edges of the mirror. Apply the tape along all four sides, ensuring it covers the entire edge of the mirror. This will act as a buffer and safeguard against scratches or chipping.
Once you have completed these steps, the mirror is ready for the construction phase. By preparing the mirror properly, you will ensure that it remains in perfect condition throughout the entire process.
Step 3: Build the Frame
With the mirror prepared, it’s time to move on to building the frame. Follow these steps to create a sturdy and stylish frame for your vanity mirror:
- Measure and cut the wood: Using the measurements you took earlier, mark the dimensions on the wood or MDF. Use a saw to cut the pieces according to your desired frame size. Remember to account for the thickness of the wood when determining the dimensions.
- Assemble the frame: Lay out the cut pieces of wood on a flat surface. Apply wood glue to the joints and carefully join the pieces together. Ensure that the corners are square and aligned. Once the glue is applied, you can reinforce the joints with screws or nails for added stability.
- Sand and smooth the frame: Use sandpaper to smooth out any rough edges or imperfections in the frame. Pay attention to the corners and edges, ensuring that they are even and smooth to create a polished finish.
- Apply paint or stain: Now it’s time to add color to your frame. Choose a paint or stain that matches your personal style. Apply the paint or stain evenly, following the manufacturer’s instructions. Allow the frame to dry completely before moving on to the next step.
Building the frame is a crucial step in creating a durable and attractive vanity mirror. Take your time to ensure that the frame is solid and well-crafted, as it will serve as the foundation for the rest of the construction process.
Step 4: Attach the Mirror to the Frame
Now that you have built the frame for your vanity mirror, it’s time to securely attach the mirror to it. Follow these steps to ensure a strong and stable connection:
- Apply adhesive: Start by applying a thin, even layer of adhesive to the backside of the frame. Use an adhesive suitable for glass or mirrors, ensuring it is specifically designed to provide a strong and long-lasting bond.
- Position the mirror: Carefully place the mirror onto the adhesive-coated frame, making sure it is centered and aligned correctly. Press down gently to allow the mirror to adhere to the frame. Double-check that the mirror is level and straight.
- Secure the mirror: To further ensure the mirror’s stability, use mirror clips or brackets to secure it to the frame. Place the clips or brackets along the edges of the mirror and attach them firmly to the frame using screws or nails. Make sure to distribute the clips evenly for balanced support.
- Check for alignment: Once the mirror is secured to the frame, step back and check for any misalignment or unevenness. Adjust as necessary to achieve a perfectly aligned and level mirror.
Attaching the mirror to the frame is a crucial step, as it ensures that the mirror remains securely in place. By using a strong adhesive and properly securing the mirror with clips or brackets, you can prevent any future issues and enjoy a sturdy and well-mounted vanity mirror.
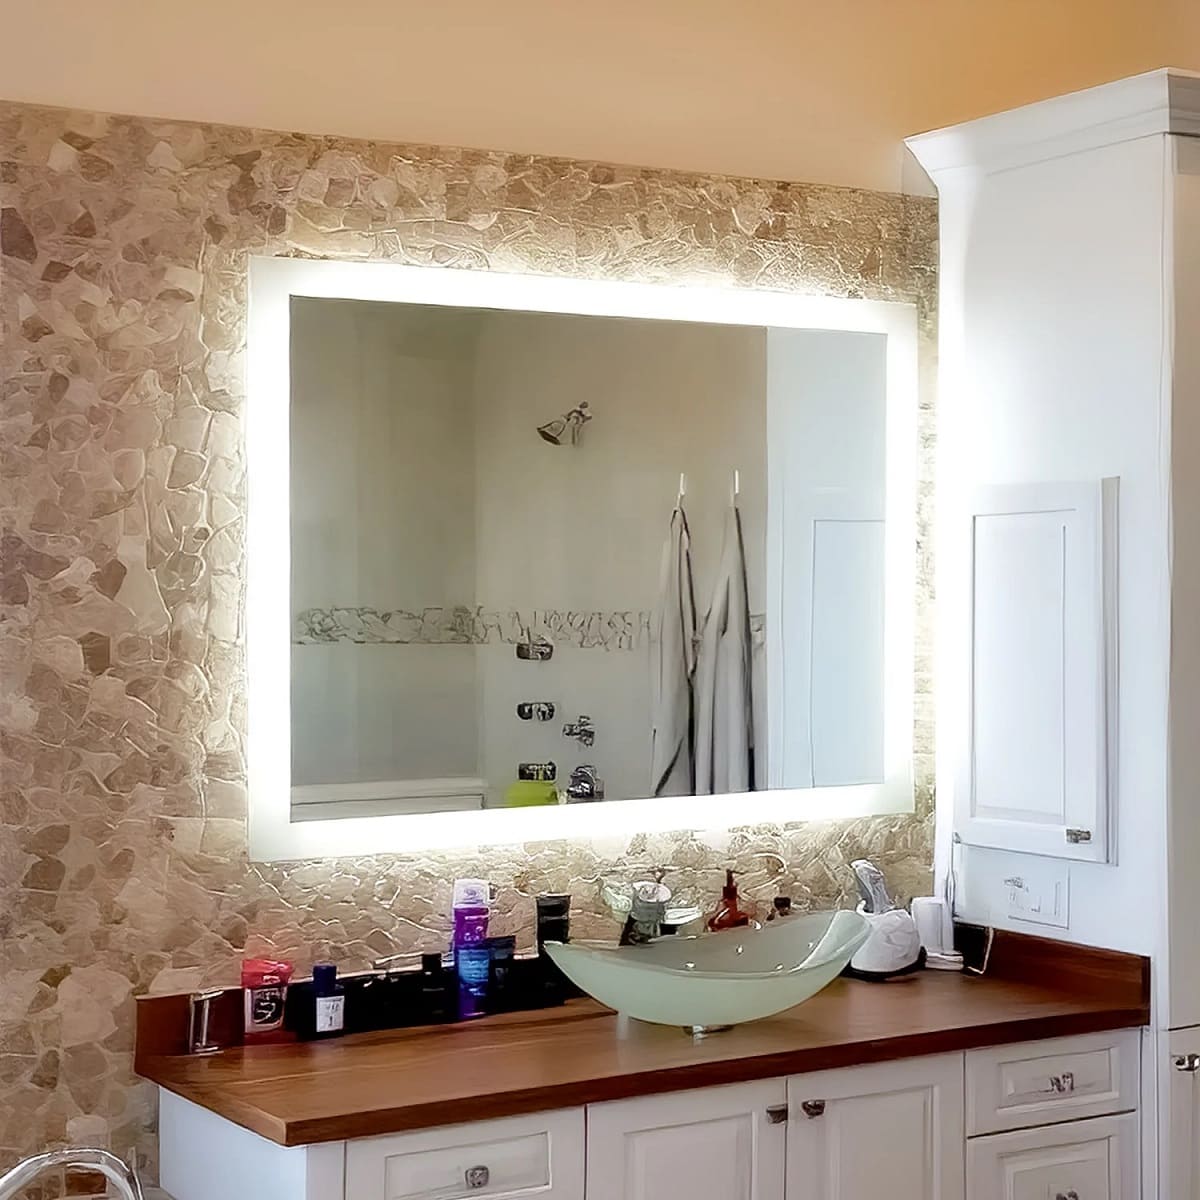
When making a vanity mirror, ensure that the lighting is evenly distributed to avoid shadows. Use LED strip lights for a bright and even illumination.
Read more: How To Install Vanity Mirror
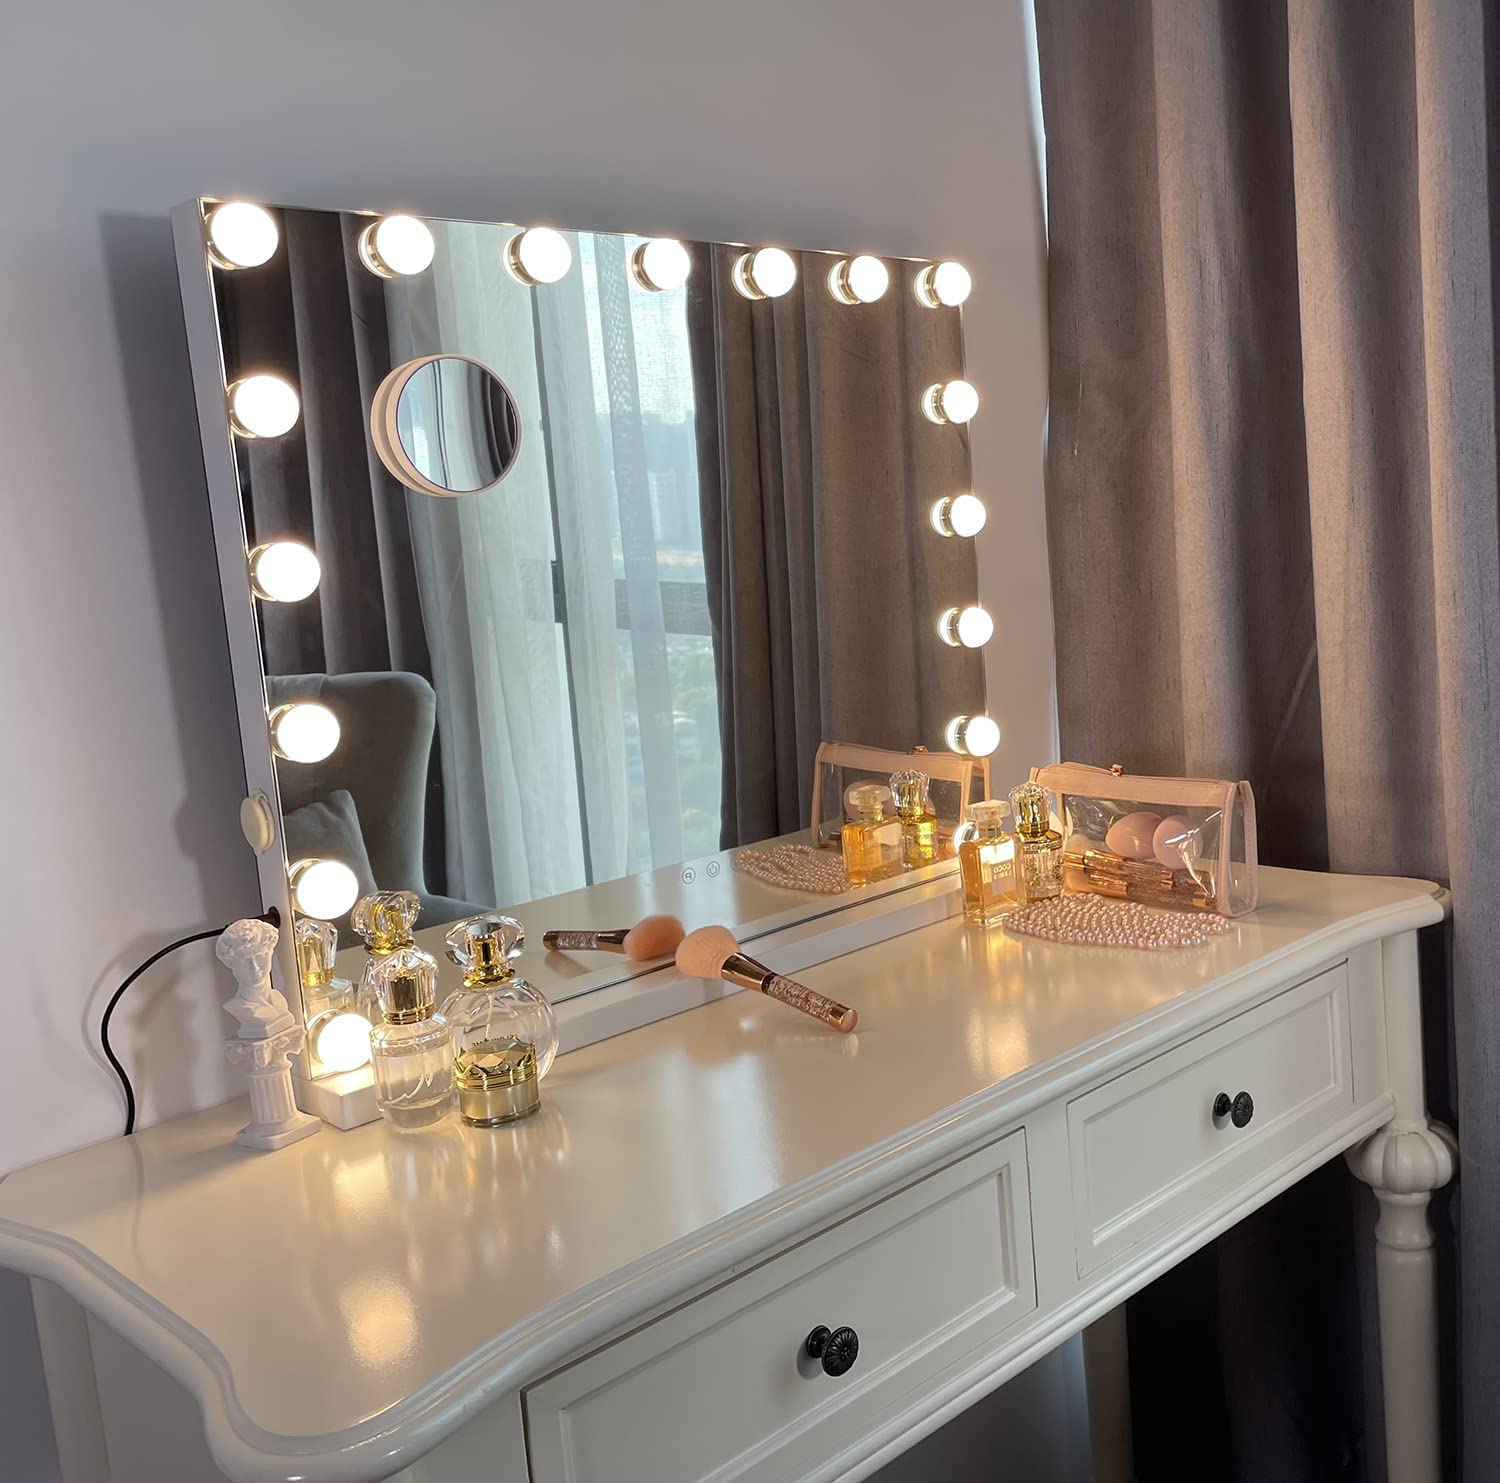
Step 5: Install the Lighting
Proper lighting is essential for a functional and aesthetically pleasing vanity mirror. Follow these steps to install the lighting:
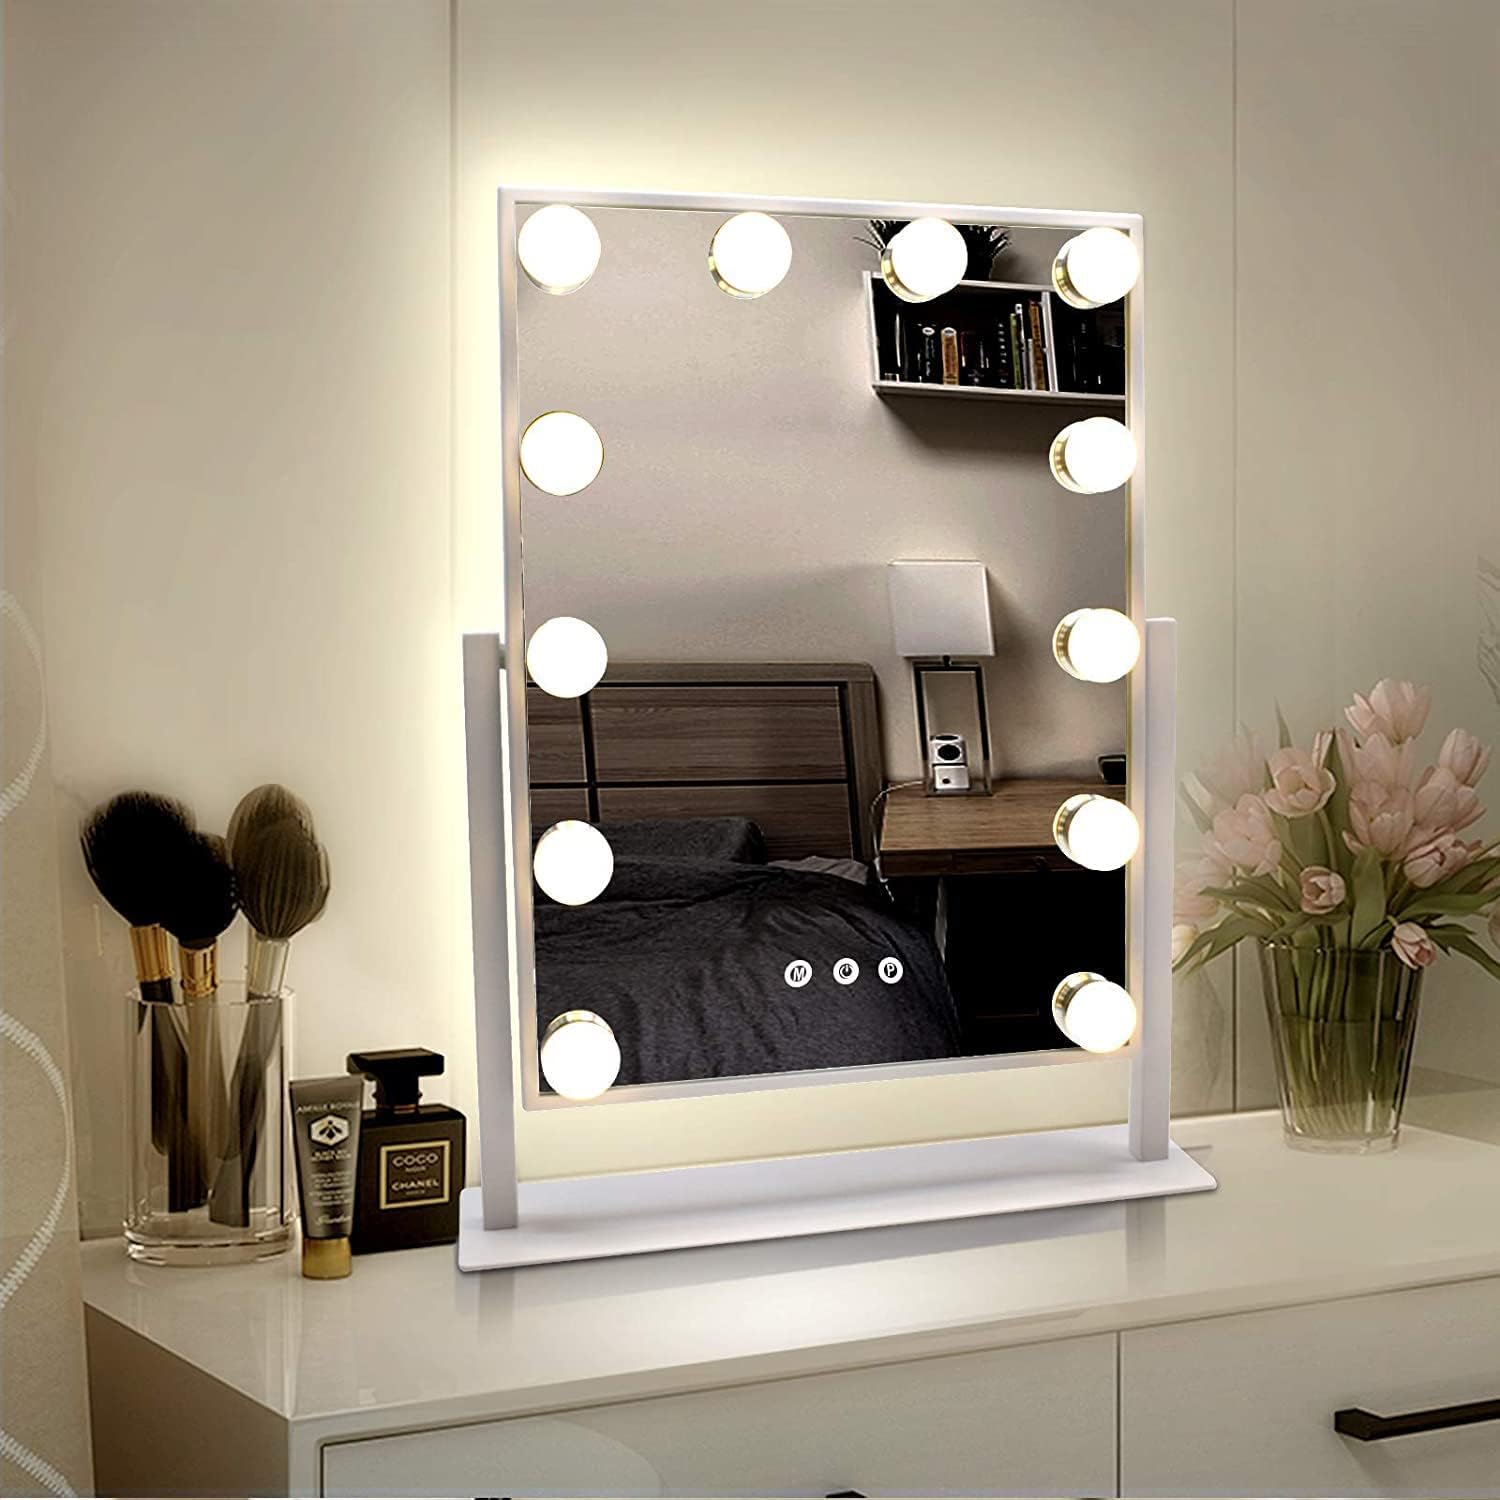
- Determine the lighting placement: Decide whether you want the lighting to be above the mirror, on the sides, or a combination of both. Consider factors such as the size of the mirror and the available space for mounting the lights.
- Mount the light fixtures: Depending on your chosen lighting placement, use screws or adhesive to attach the light fixtures to the frame or wall. Make sure to follow the manufacturer’s instructions for proper installation.
- Wire the lights: If you’re using LED light bulbs, you’ll need to wire them to a power source. Carefully follow the wiring instructions provided with the light fixtures. If you’re not experienced with electrical work, it’s advisable to consult a professional to ensure safe and correct installation.
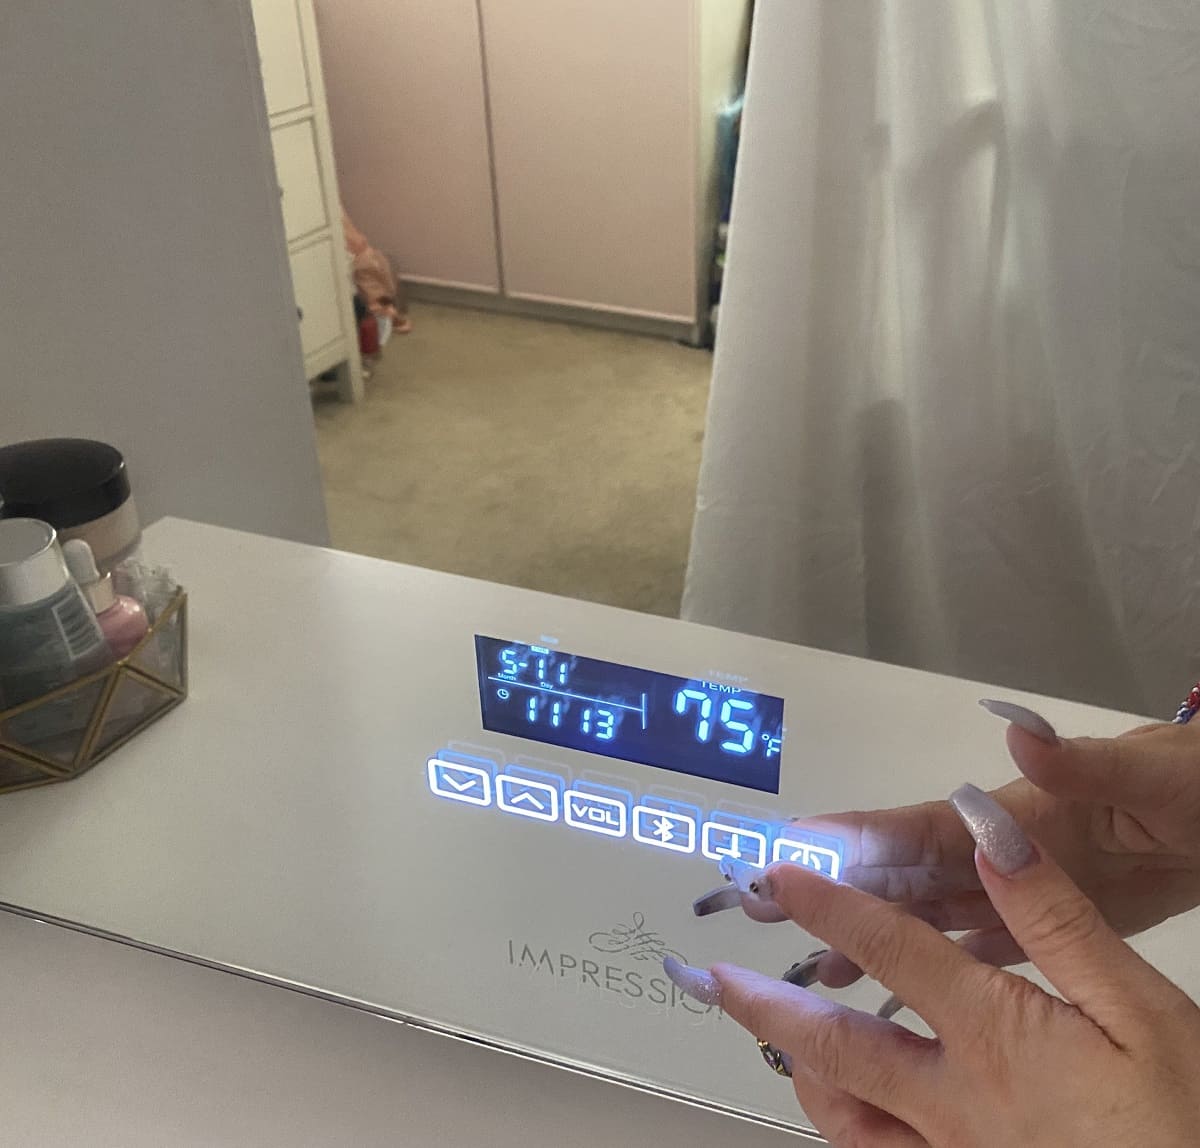
- Install the switch or dimmer: Depending on your preference, you can install a switch or dimmer to control the lighting. This will allow you to adjust the brightness according to your needs. The switch or dimmer can be installed near the vanity mirror or in a convenient location within reach.
- Test the lighting: Before finalizing the installation, test the lighting to ensure that all the bulbs are working properly. Adjust the brightness level if using a dimmer switch to find the perfect lighting for your needs. Make any necessary adjustments or replacements before proceeding.
Installing the lighting is a crucial step in creating a functional vanity mirror. By carefully planning the placement, proper wiring, and testing the lighting, you can achieve the desired illumination for flawless grooming and makeup application.
Step 6: Mount the Vanity Mirror
With the frame assembled, the mirror attached, and the lighting installed, it’s time to mount your vanity mirror securely onto the wall. Follow these steps to ensure a safe and stable mounting:
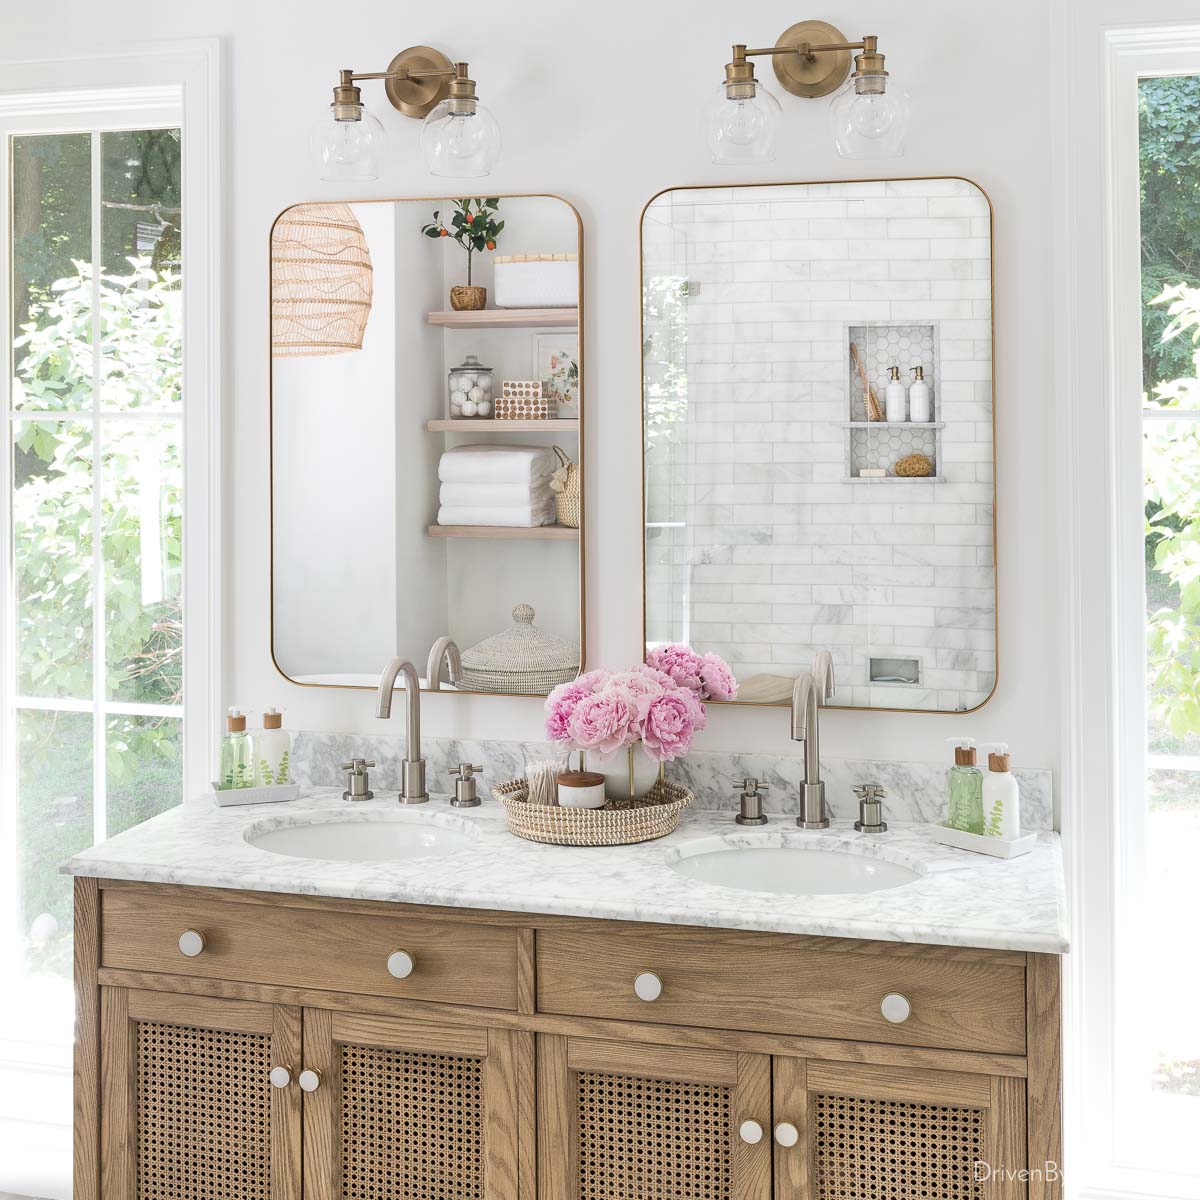
- Locate the studs: Use a stud finder to locate the studs in the wall where you plan to mount the vanity mirror. Mark the locations of the studs using a pencil.
- Position the mirror: Hold the vanity mirror up against the wall, aligning it with the desired height and positioning. Use a level to make sure the mirror is straight and properly aligned.
- Mark the mounting points: Once you’re satisfied with the position of the mirror, use a pencil to mark the locations where the mirror frame will be attached to the wall.
- Attach the mirror to the wall: Depending on the weight and size of the mirror, you may need to use heavy-duty screws or wall anchors to secure it to the studs. Drill pilot holes into the marked points, and then carefully attach the mirror frame to the wall using screws or anchors. Ensure the mirror is level and securely mounted.
Mounting the vanity mirror properly is essential to prevent it from falling or becoming unstable. By securing it to the wall studs using appropriate hardware, you can enjoy a sturdy and safe mirror that will enhance your beauty routine.
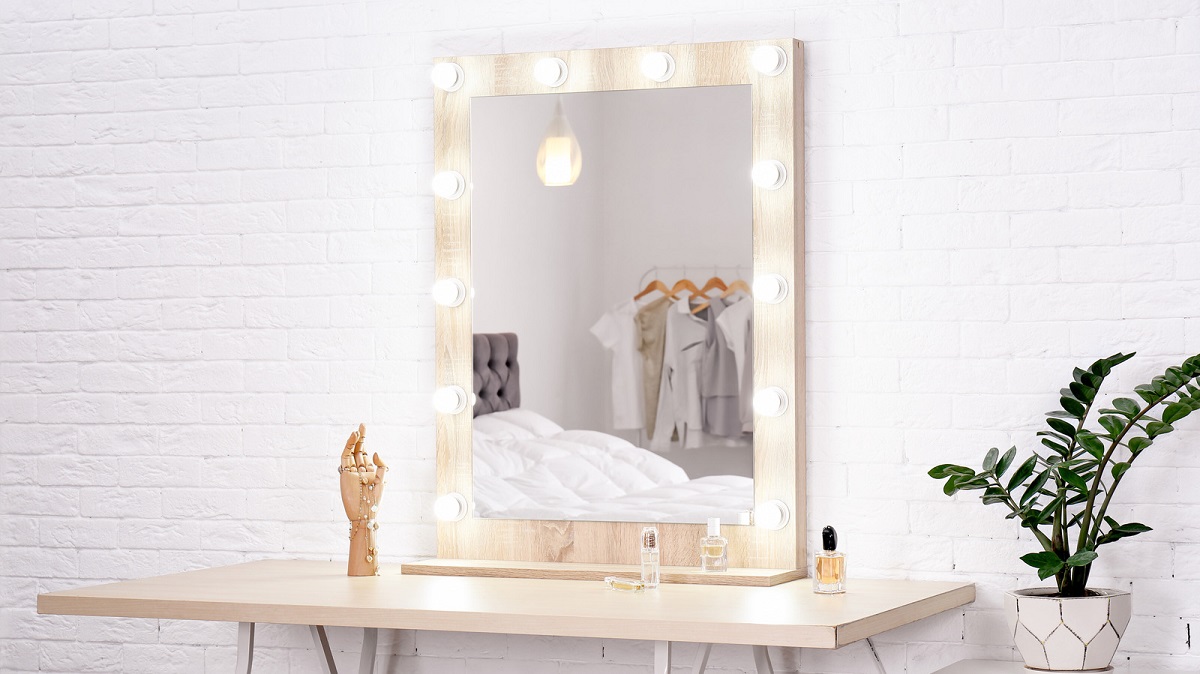
Step 7: Final Touches and Decorations
With the vanity mirror securely mounted, it’s time to add the final touches and decorations that will elevate its visual appeal and make it truly unique. Here’s what you can do:
- Add trim or molding: Enhance the frame of the vanity mirror by adding decorative trim or molding. This will give it a more finished and polished look. Measure and cut the trim pieces to fit the dimensions of the frame, then attach them using adhesive or small nails.
- Paint or stain the frame: If you haven’t already done so, you can now paint or stain the frame to achieve your desired finish. Consider matching the frame color with the overall aesthetic of your space or opt for a contrasting color to make the mirror stand out.
- Add decorative knobs or pulls: For an extra touch of elegance, consider adding decorative knobs or pulls to the sides or corners of the vanity mirror frame. Choose designs that complement the style of your room and provide a functional and decorative element.
- Accessorize with lights around the mirror: If you want to add more lighting or create a glamorous ambiance, you can place additional LED strip lights or battery-powered fairy lights around the mirror. This can provide a beautiful glow and create a stunning focal point in the room.
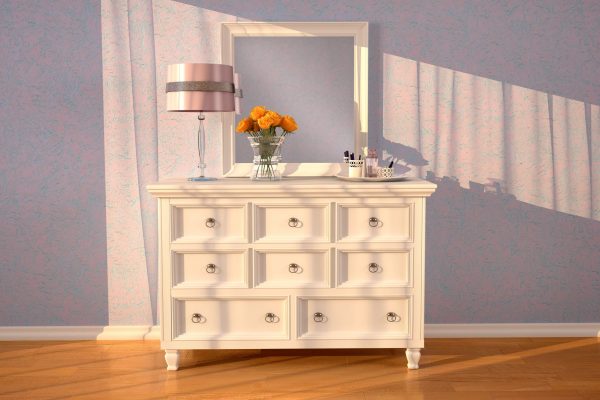
- Personalize with accessories: Complete the look of your vanity mirror by adding your personal touch with accessories. You can add a small tray to hold your makeup brushes and products, a stylish chair or stool for seating, or decorative items that reflect your unique taste and style.
By incorporating these final touches and decorations, you can transform your vanity mirror into a stylish and functional centerpiece in your space. Take the time to carefully select the elements that resonate with your personal style and create a beautiful, customized vanity mirror that you’ll enjoy for years to come.
Conclusion
Congratulations! You’ve successfully created your own vanity mirror through a step-by-step process. By gathering the necessary materials, preparing and attaching the mirror to a well-built frame, installing suitable lighting, and mounting it securely to the wall, you’ve accomplished the construction phase. Adding final touches and decorations has added a personalized and stylish flair to your vanity mirror.
Not only does your vanity mirror provide the perfect lighting for your beauty routine, but it also serves as a beautiful and functional addition to your space. The customization options allow you to tailor the mirror to your desired aesthetic and make it a unique reflection of your personality.
Remember to maintain and clean your vanity mirror regularly to keep it in pristine condition. Wipe the mirror surface using a non-abrasive cloth and a mild glass cleaner to ensure a clear and smudge-free reflection.
Now, enjoy the benefits of having a stunning vanity mirror as you perfect your makeup, style your hair, or simply admire your own reflection. Happy grooming and beautifying!
Frequently Asked Questions about How To Make Vanity Mirror
Was this page helpful?
At Storables.com, we guarantee accurate and reliable information. Our content, validated by Expert Board Contributors, is crafted following stringent Editorial Policies. We're committed to providing you with well-researched, expert-backed insights for all your informational needs.

0 thoughts on “How To Make Vanity Mirror”