Articles
How To Replace Vanity Lights
Modified: October 20, 2024
Learn how to easily replace vanity lights with step-by-step instructions and helpful tips. Read our informative articles for expert guidance on this DIY project.
(Many of the links in this article redirect to a specific reviewed product. Your purchase of these products through affiliate links helps to generate commission for Storables.com, at no extra cost. Learn more)
Introduction
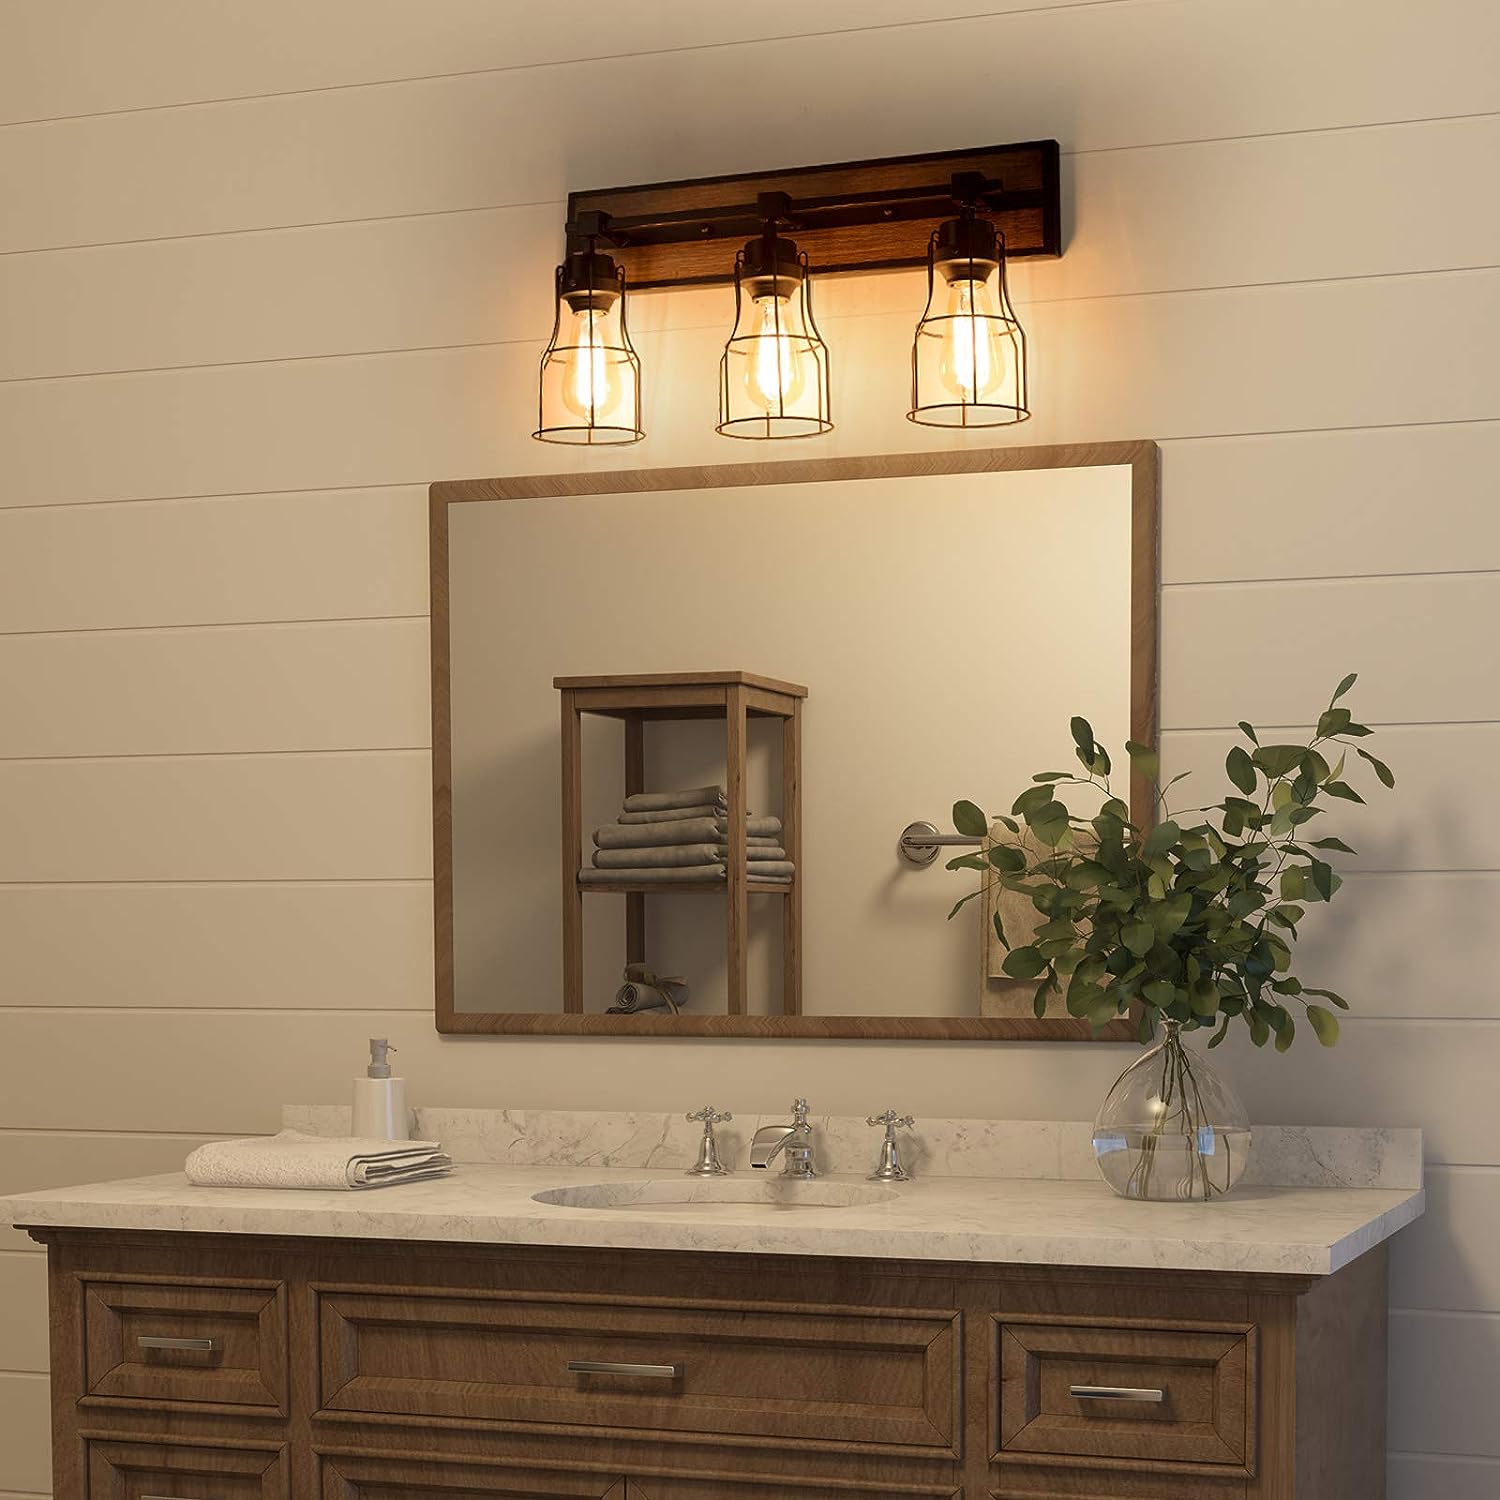
When it comes to upgrading and improving the aesthetics of your bathroom, one simple yet impactful change you can make is replacing your vanity lights. Vanity lights not only provide essential illumination for your daily grooming routine, but they also add a touch of style and sophistication to your bathroom decor.
Replacing vanity lights may seem like a daunting task, but with the right guidance and a few basic tools, you can easily accomplish the job on your own. In this article, we will walk you through the step-by-step process of how to replace vanity lights, ensuring you can achieve a professional and safe installation.
Please keep in mind that working with electrical components carries inherent risks. If you are not comfortable working with electricity, it is highly recommended to hire a licensed electrician to perform the installation. Safety should always be your top priority.
Before we begin, gather all the necessary tools and materials. This will help streamline the process and ensure you have everything you need on hand:
- Screwdriver (both Phillips and flathead)
- Wire nuts
- Electrical tape
- Wire cutter/stripper
- Voltage tester
- New vanity light fixtures
- Mounting hardware
Now, let’s dive into the step-by-step process of replacing vanity lights!
Key Takeaways:
- Upgrade your bathroom with a DIY vanity light replacement, enhancing both style and functionality. Prioritize safety, follow the step-by-step guide, and enjoy the improved ambiance of a well-lit space.
- Ensure a successful vanity light replacement by following safety precautions, gathering necessary tools, disconnecting and connecting wiring, and testing the new fixtures. Enjoy a refreshed bathroom with enhanced lighting and aesthetics.
Read more: What Is A Vanity Light
Safety Precautions
Before you begin the process of replacing vanity lights, it’s crucial to prioritize safety. Working with electricity can be hazardous, so taking the necessary precautions is essential to avoid any accidents or injuries. Here are some safety measures to keep in mind:
- Turn off the power: Before you start working on the vanity lights, ensure that the power to the electrical circuit is turned off. Locate the circuit breaker or fuse box and switch off the corresponding breaker or remove the fuse. Use a voltage tester to confirm that there is no live electricity.
- Use proper tools: Make sure to use insulated tools, such as a screwdriver with an insulated handle. This helps prevent any electrical shocks while working with wiring.
- Wear protective gear: It is essential to protect yourself during the installation process. Consider wearing safety glasses to shield your eyes from any debris or particles. Additionally, wearing gloves can provide an added layer of protection.
- Work in a well-lit area: Ensure that your workspace is well-lit so that you can see what you’re doing. Good lighting will help you identify and connect the correct wires and components.
- Avoid touching bare wires: Never touch exposed wires with your bare hands. Always use wire nuts to secure connections and prevent any accidental electrical contact.
- Read manufacturer’s instructions: Each vanity light may have specific installation instructions. Take the time to read and understand them thoroughly before beginning the installation process.
- Ask for assistance if needed: If you feel uncertain or uncomfortable at any point during the process, do not hesitate to ask for help from a licensed electrician or a knowledgeable friend.
By following these safety precautions, you will ensure a smooth and incident-free installation process. Remember, it is better to prioritize safety over expediency. Let’s move on to the next steps of replacing your vanity lights!
Tools and Materials Needed
Before you start replacing your vanity lights, it’s essential to gather all the necessary tools and materials. Having everything prepared beforehand will make the installation process much smoother. Here’s a list of the tools and materials you will need:
Tools:
- Screwdriver (both Phillips and flathead): These will be used to remove the screws holding the old light fixtures in place.
- Wire nuts: Wire nuts are essential for connecting and securing the electrical wires together.
- Electrical tape: This will help insulate the wire connections and provide added protection.
- Wire cutter/stripper: A wire cutter/stripper is necessary to trim and strip the insulation off the electrical wires.
- Voltage tester: This tool will help you determine if there is any electrical current present, ensuring your safety before starting any work.
Materials:
- New vanity light fixtures: Choose new vanity light fixtures that match your bathroom’s style and meet your lighting needs.
- Mounting hardware: Check if your new vanity lights come with mounting hardware, such as screws and brackets. If not, you may need to purchase them separately.
Gathering these tools and materials beforehand will save you time and frustration during the installation process. Make sure you have everything on hand before proceeding. If you are missing any items, take the time to acquire them before starting the project.
Now that you have all the necessary tools and materials, you’re ready to begin replacing your vanity lights. Let’s move on to the step-by-step process!
Read more: How To Replace Pedestal Sink With Vanity
Step 1: Turn Off the Power
Before you begin working on your vanity lights, it’s crucial to turn off the power to the electrical circuit. This step is essential to ensure your safety and prevent any electrical accidents. Here’s how you can turn off the power:
- Locate the electrical panel or circuit breaker box in your home. It is usually located in the basement, garage, or utility room.
- Open the electrical panel cover by removing the screws or unlatching the latches, depending on the type of panel.
- Look for the breaker that controls the circuit for your bathroom lights. Often, there will be labels indicating which breaker corresponds to which area of the house.
- Switch off the breaker for the bathroom lights by pushing it to the “Off” position. You may also need to remove the corresponding fuse if you have a fuse box.
- Double-check that the power is truly off by using a voltage tester. Verify that there is no electrical current running through the wires.
Once you have confirmed that the power is off, you can begin working on replacing your vanity lights safely. Remember, never skip this step or take it lightly. Working with live wires can lead to severe injuries or even death.
If you are unsure about which breaker controls the bathroom lights or if you have any doubts about the power being completely off, it is recommended to consult a licensed electrician for assistance. They have the expertise to accurately identify and shut off the correct circuit.
Now that you have turned off the power, you can proceed with removing the old light fixtures. Let’s move on to the next step!
Step 2: Remove the Old Light Fixtures
Now that you have turned off the power and ensured your safety, it’s time to remove the old light fixtures. Follow these steps to successfully remove the existing vanity lights:
- Inspect the current light fixtures and determine the method of attachment. Most vanity lights are attached to the wall with screws or brackets.
- Using a screwdriver, carefully remove the screws that secure the light fixtures to the wall. Be sure to keep track of the screws so that they don’t get misplaced.
- Once the screws are removed, gently pull the old light fixtures away from the wall. Be cautious as you handle the fixtures, as they may still have electrical connections.
- If the fixtures are connected to electrical wires, carefully disconnect them by unscrewing the wire nuts holding the wires together. You may need to use wire cutters or strippers to remove any electrical tape or wire insulation.
- After disconnecting the wires, set the old vanity lights aside or place them in a safe spot to dispose of later.
Be mindful of any potential damage to your bathroom walls during the removal process. If the old fixtures have been installed for a long time, there may be residual caulking or adhesive that can damage the paint or wallpaper. Take extra care when detaching the fixtures from the wall surface.
With the old light fixtures successfully removed, you are now ready to proceed with the next step: disconnecting the wiring. This step will ensure a smooth transition to the new vanity lights. Let’s move on!
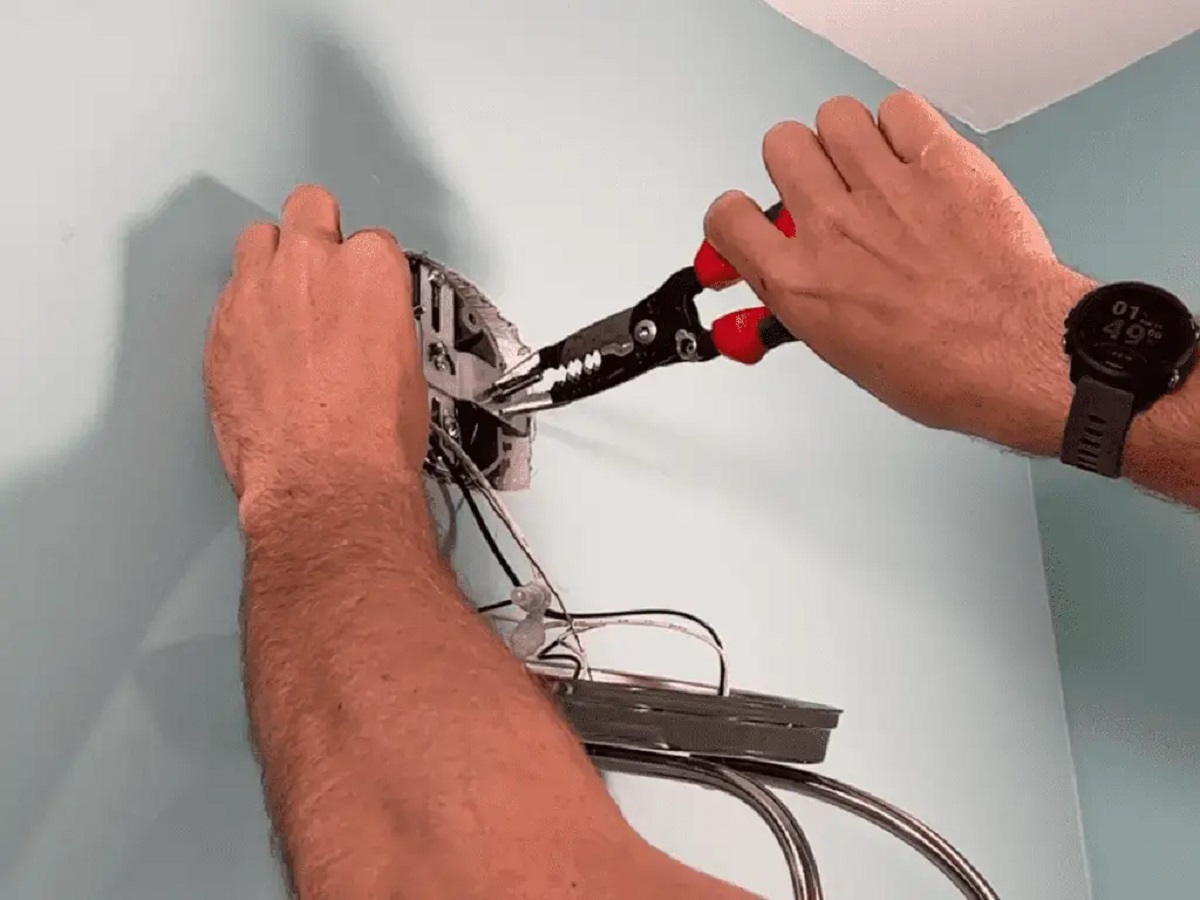
Step 3: Disconnect the Wiring
After removing the old light fixtures, the next step is to disconnect the wiring. This process involves safely disconnecting the electrical connections from the previous fixtures. Follow these steps to disconnect the wiring:
- Start by inspecting the wiring connections. You will typically see a set of black (hot) wires, white (neutral) wires, and green or copper (ground) wires.
- Using a screwdriver, loosen the wire nuts that are connecting the black wires together. Once loose, pull the wires apart to disconnect them.
- Repeat this process for the white wires, unscrewing the wire nuts and separating the connections.
- If there is a ground wire with a green or copper color, disconnect it by removing the wire nut and separating the connection.
- Once all the connections are disconnected, carefully tuck the wires back into the wall box to ensure they are out of the way for the next step.
During this process, it’s important to exercise caution and avoid touching any exposed wires with your bare hands. Always use insulated tools and wear protective gloves to prevent any electrical shocks.
If you find any damaged or frayed wires during the inspection, it’s advisable to consult a licensed electrician for further assistance. They will be able to assess the situation and make the necessary repairs to ensure the safety of your electrical system.
Now that you have successfully disconnected the wiring, you can move on to preparing the new vanity lights for installation. This step will ensure a seamless transition to the updated fixtures. Let’s proceed to the next step!
Step 4: Prepare the New Vanity Lights
With the old vanity lights removed and the wiring safely disconnected, it’s time to prepare the new vanity lights for installation. This step involves making some preparations to ensure a smooth and successful installation. Here’s what you need to do:
- Unpack the new vanity lights and inspect them for any visible damages or missing parts. If you notice any issues, contact the manufacturer or supplier to resolve them before proceeding.
- Read the manufacturer’s instructions carefully. Each vanity light may have specific installation requirements, so it’s important to familiarize yourself with the instructions provided.
- If the new vanity lights require assembly, follow the provided instructions to assemble the fixtures before installation. This may involve attaching mounting brackets, installing lightbulbs, or other necessary components.
- Double-check that you have all the necessary mounting hardware for the new fixtures. This includes screws, brackets, or any other hardware required for installation. If any components are missing, contact the manufacturer or purchase them separately.
While preparing the new vanity lights, take note of any specific considerations, such as the direction or orientation of the fixtures. Some vanity lights may need to be installed with a particular side facing up or down for optimal lighting and aesthetics.
It’s essential to follow the manufacturer’s instructions for both safety and optimal performance. If you have any questions or concerns during the preparation process, reach out to the manufacturer or consult a professional for guidance.
Now that you have prepared the new vanity lights, you are ready to move on to the next step: connecting the wiring of the new lights. This will bring you closer to completing the installation. Let’s proceed!
When replacing vanity lights, always turn off the power at the circuit breaker before starting. This will ensure your safety while working with electrical components.
Read more: How High Should A Vanity Light Be
Step 5: Connect the Wiring of the New Lights
Now that you have prepared the new vanity lights, it’s time to connect the wiring. This step involves safely connecting the electrical wires of the new fixtures to the existing electrical system. Follow these steps to properly connect the wiring:
- Start by identifying the black (hot) wires. These are typically the wires that carry the power supply.
- Take one of the black wires from the new vanity light and twist it together with the corresponding black wire from the electrical box. Use a wire nut to secure the connection. Make sure the connection is tight and there are no exposed wires.
- Repeat this process with the remaining black wires, connecting each one to its corresponding wire from the electrical box.
- Next, identify the white (neutral) wires. These are usually the wires that do not carry electrical current.
- Connect the white wire from the new vanity light to the corresponding white wire from the electrical box using a wire nut. Again, ensure the connection is secure and well-insulated.
- If your vanity light fixture has a ground wire (green or copper), connect it to the ground wire from the electrical box using a wire nut. If there isn’t a separate ground wire, you can use a wire nut to connect the metal part of the fixture directly to the ground wire.
As you connect the wiring, double-check that each connection is secure and properly insulated. Ensure there are no loose wires or exposed connections that could pose a hazard. Use electrical tape to further secure the wire nuts and provide added protection.
If you are unsure about any aspect of the wiring connections or have any doubts about your electrical knowledge, it’s advisable to seek assistance from a licensed electrician. They can ensure the proper and safe installation of the new vanity lights.
Now that the wiring is connected, you can move on to attaching the new light fixtures to complete the installation. Let’s proceed to the next step!
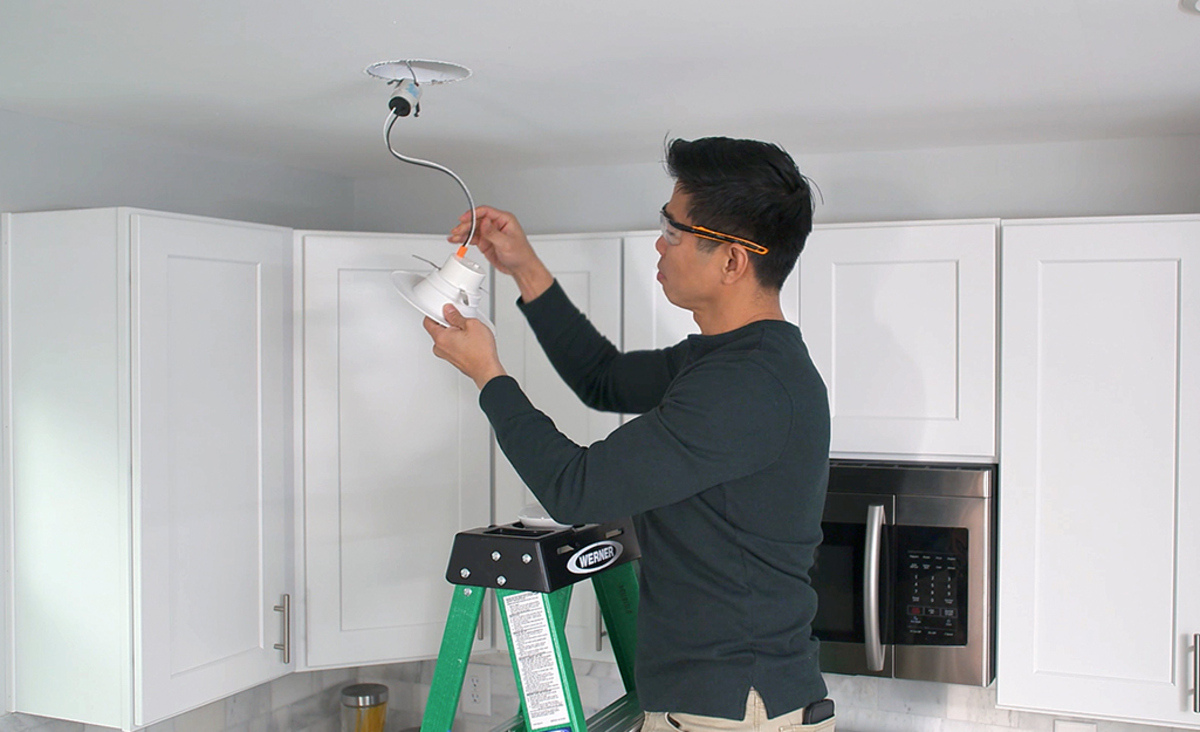
Step 6: Attach the New Light Fixtures
With the wiring properly connected, it’s time to attach the new vanity light fixtures. This step involves securely mounting the fixtures to the wall and ensuring they are aligned correctly. Follow these steps to successfully attach the new light fixtures:
- Position the new vanity light fixtures over the electrical box, aligning them with the mounting holes or brackets.
- Insert the screws provided with the fixtures through the mounting holes or brackets and into the wall. Use a screwdriver to tighten the screws, ensuring the fixtures are securely attached.
- Double-check that the fixtures are level and aligned correctly. Adjust the position if necessary before fully tightening the screws.
- If the fixtures have a decorative cover plate or trim, attach them according to the manufacturer’s instructions. This can add a final touch and enhance the aesthetics of the vanity lights.
As you attach the new vanity light fixtures, be mindful of not overtightening the screws, as this can damage the fixtures or the wall. Use a steady and controlled force to tighten them securely without causing any harm.
Once the fixtures are securely attached and aligned, step back and visually inspect them to ensure they are symmetrical and in line with your desired aesthetic. Make any necessary adjustments before moving on to the next step.
With the new light fixtures successfully attached, you are almost done with the installation process. The next step is to test the lights to ensure they function properly. Let’s move on to the next step!
Step 7: Test the Lights
After attaching the new vanity light fixtures, it’s important to test them to ensure they are functioning properly. Testing the lights will allow you to identify any potential issues or malfunctions before completing the installation. Follow these steps to test the lights:
- Turn the power back on by returning to the electrical panel or circuit breaker box.
- Switch on the breaker or reinsert the fuse that controls the circuit for the bathroom lights.
- Return to the bathroom and flip the light switch associated with the vanity lights to the “on” position.
- Observe the new vanity lights to ensure they turn on and emit a sufficient amount of light. Pay attention to any flickering, dimness, or other abnormalities.
- If the lights fail to turn on or exhibit any issues, switch them off immediately and turn off the power at the breaker or fuse box.
If you encounter any problems during the testing phase, it is advisable to consult a licensed electrician to diagnose and resolve the issue. They can provide the necessary expertise to troubleshoot electrical problems and ensure the lights are functioning correctly.
It’s important to remember that even if the lights appear to be working fine, it’s always a good idea to be cautious and observant. Monitor the lights for a few minutes to ensure they remain stable and don’t exhibit any abnormalities.
Once you have tested the new vanity lights and confirmed their functionality, you can proceed to the final step of the installation process: cleaning up and disposing of the old fixtures. Let’s move on!
Step 8: Clean up and Dispose of Old Fixtures
Congratulations! You’re in the final step of replacing your vanity lights. Now that the new fixtures are installed and functioning, it’s important to clean up the workspace and properly dispose of the old fixtures. Follow these steps to complete the process:
- Gather any debris or remnants from the installation. Wipe down the area around the vanity lights to remove any dust, loose screws, or other materials.
- Dispose of the old light fixtures responsibly. If they are still in usable condition, consider donating them to a local charity or community organization.
- If there are any broken or damaged parts, dispose of them in accordance with local waste disposal regulations. Check with your local government or waste management services for guidance on proper disposal methods.
- Double-check that all tools and materials are accounted for and properly stored. Return any unused or leftover items to their designated storage areas.
- Inspect the installed vanity lights one final time to ensure they are secure and aligned correctly. Make any necessary adjustments if needed.
By cleaning up and disposing of the old fixtures properly, you contribute to a clean and organized bathroom space. It also helps maintain the overall safety and aesthetics of your home.
Now that you have completed the installation and clean-up process, take a moment to appreciate your newly replaced vanity lights. Enjoy the improved lighting and enhanced ambiance they bring to your bathroom!
Before you wrap up, make sure to turn off the power at the breaker or fuse box if you haven’t already done so. This ensures your safety when working with electrical components in the future.
With the installation complete, congratulations on your successful replacement of the vanity lights! You have not only improved the functionality of your bathroom but also added a fresh touch to its overall design.
Thank you for following this step-by-step guide. If you have any further questions or need additional assistance, don’t hesitate to consult a licensed electrician or reach out for professional support.
Happy lighting!
Read more: What Size Vanity Light For A 30-Inch Vanity
Conclusion
Replacing vanity lights can have a significant impact on the aesthetics and functionality of your bathroom. By following the step-by-step guide outlined in this article, you have learned how to replace vanity lights safely and effectively. Here’s a recap of the key steps:
- Turn off the power to the electrical circuit for safety.
- Remove the old light fixtures by disconnecting the wiring and unscrewing them from the wall.
- Prepare the new vanity lights by unpacking, assessing any assembly requirements, and ensuring you have all the necessary mounting hardware.
- Connect the wiring of the new lights, making secure and insulated connections.
- Attach the new light fixtures to the wall, ensuring they are level and aligned correctly.
- Test the lights to ensure they function properly and address any issues if they arise.
- Clean up the workspace and dispose of the old fixtures responsibly.
Throughout the process, it’s crucial to prioritize safety and consult a licensed electrician if you have any doubts or concerns about working with electricity.
Not only will replacing vanity lights enhance the visual appeal of your bathroom, but it will also provide improved illumination for your daily grooming routine. The new fixtures can create a more pleasant and inviting atmosphere, increasing the overall comfort of the space.
Remember, proper planning and preparation, as well as attention to detail during the installation, will contribute to a successful outcome. Take your time, follow the instructions, and seek professional assistance if needed.
Now that you have completed the replacement process, take a moment to admire your new vanity lights and enjoy the enhanced ambience they bring to your bathroom. Bask in the pleasure of a well-lit and beautifully designed space!
Thank you for reading this comprehensive guide on how to replace vanity lights. We hope you found it informative and helpful in your DIY journey. Should you have any further questions or need assistance, reach out to experts in the field to ensure a safe and satisfactory lighting upgrade.
Frequently Asked Questions about How To Replace Vanity Lights
Was this page helpful?
At Storables.com, we guarantee accurate and reliable information. Our content, validated by Expert Board Contributors, is crafted following stringent Editorial Policies. We're committed to providing you with well-researched, expert-backed insights for all your informational needs.


0 thoughts on “How To Replace Vanity Lights”