Articles
How To Install Vanity Over Plumbing
Modified: October 31, 2024
Learn how to install a vanity over plumbing with our comprehensive articles. Get step-by-step instructions and expert tips to complete your bathroom renovation project.
(Many of the links in this article redirect to a specific reviewed product. Your purchase of these products through affiliate links helps to generate commission for Storables.com, at no extra cost. Learn more)
Introduction
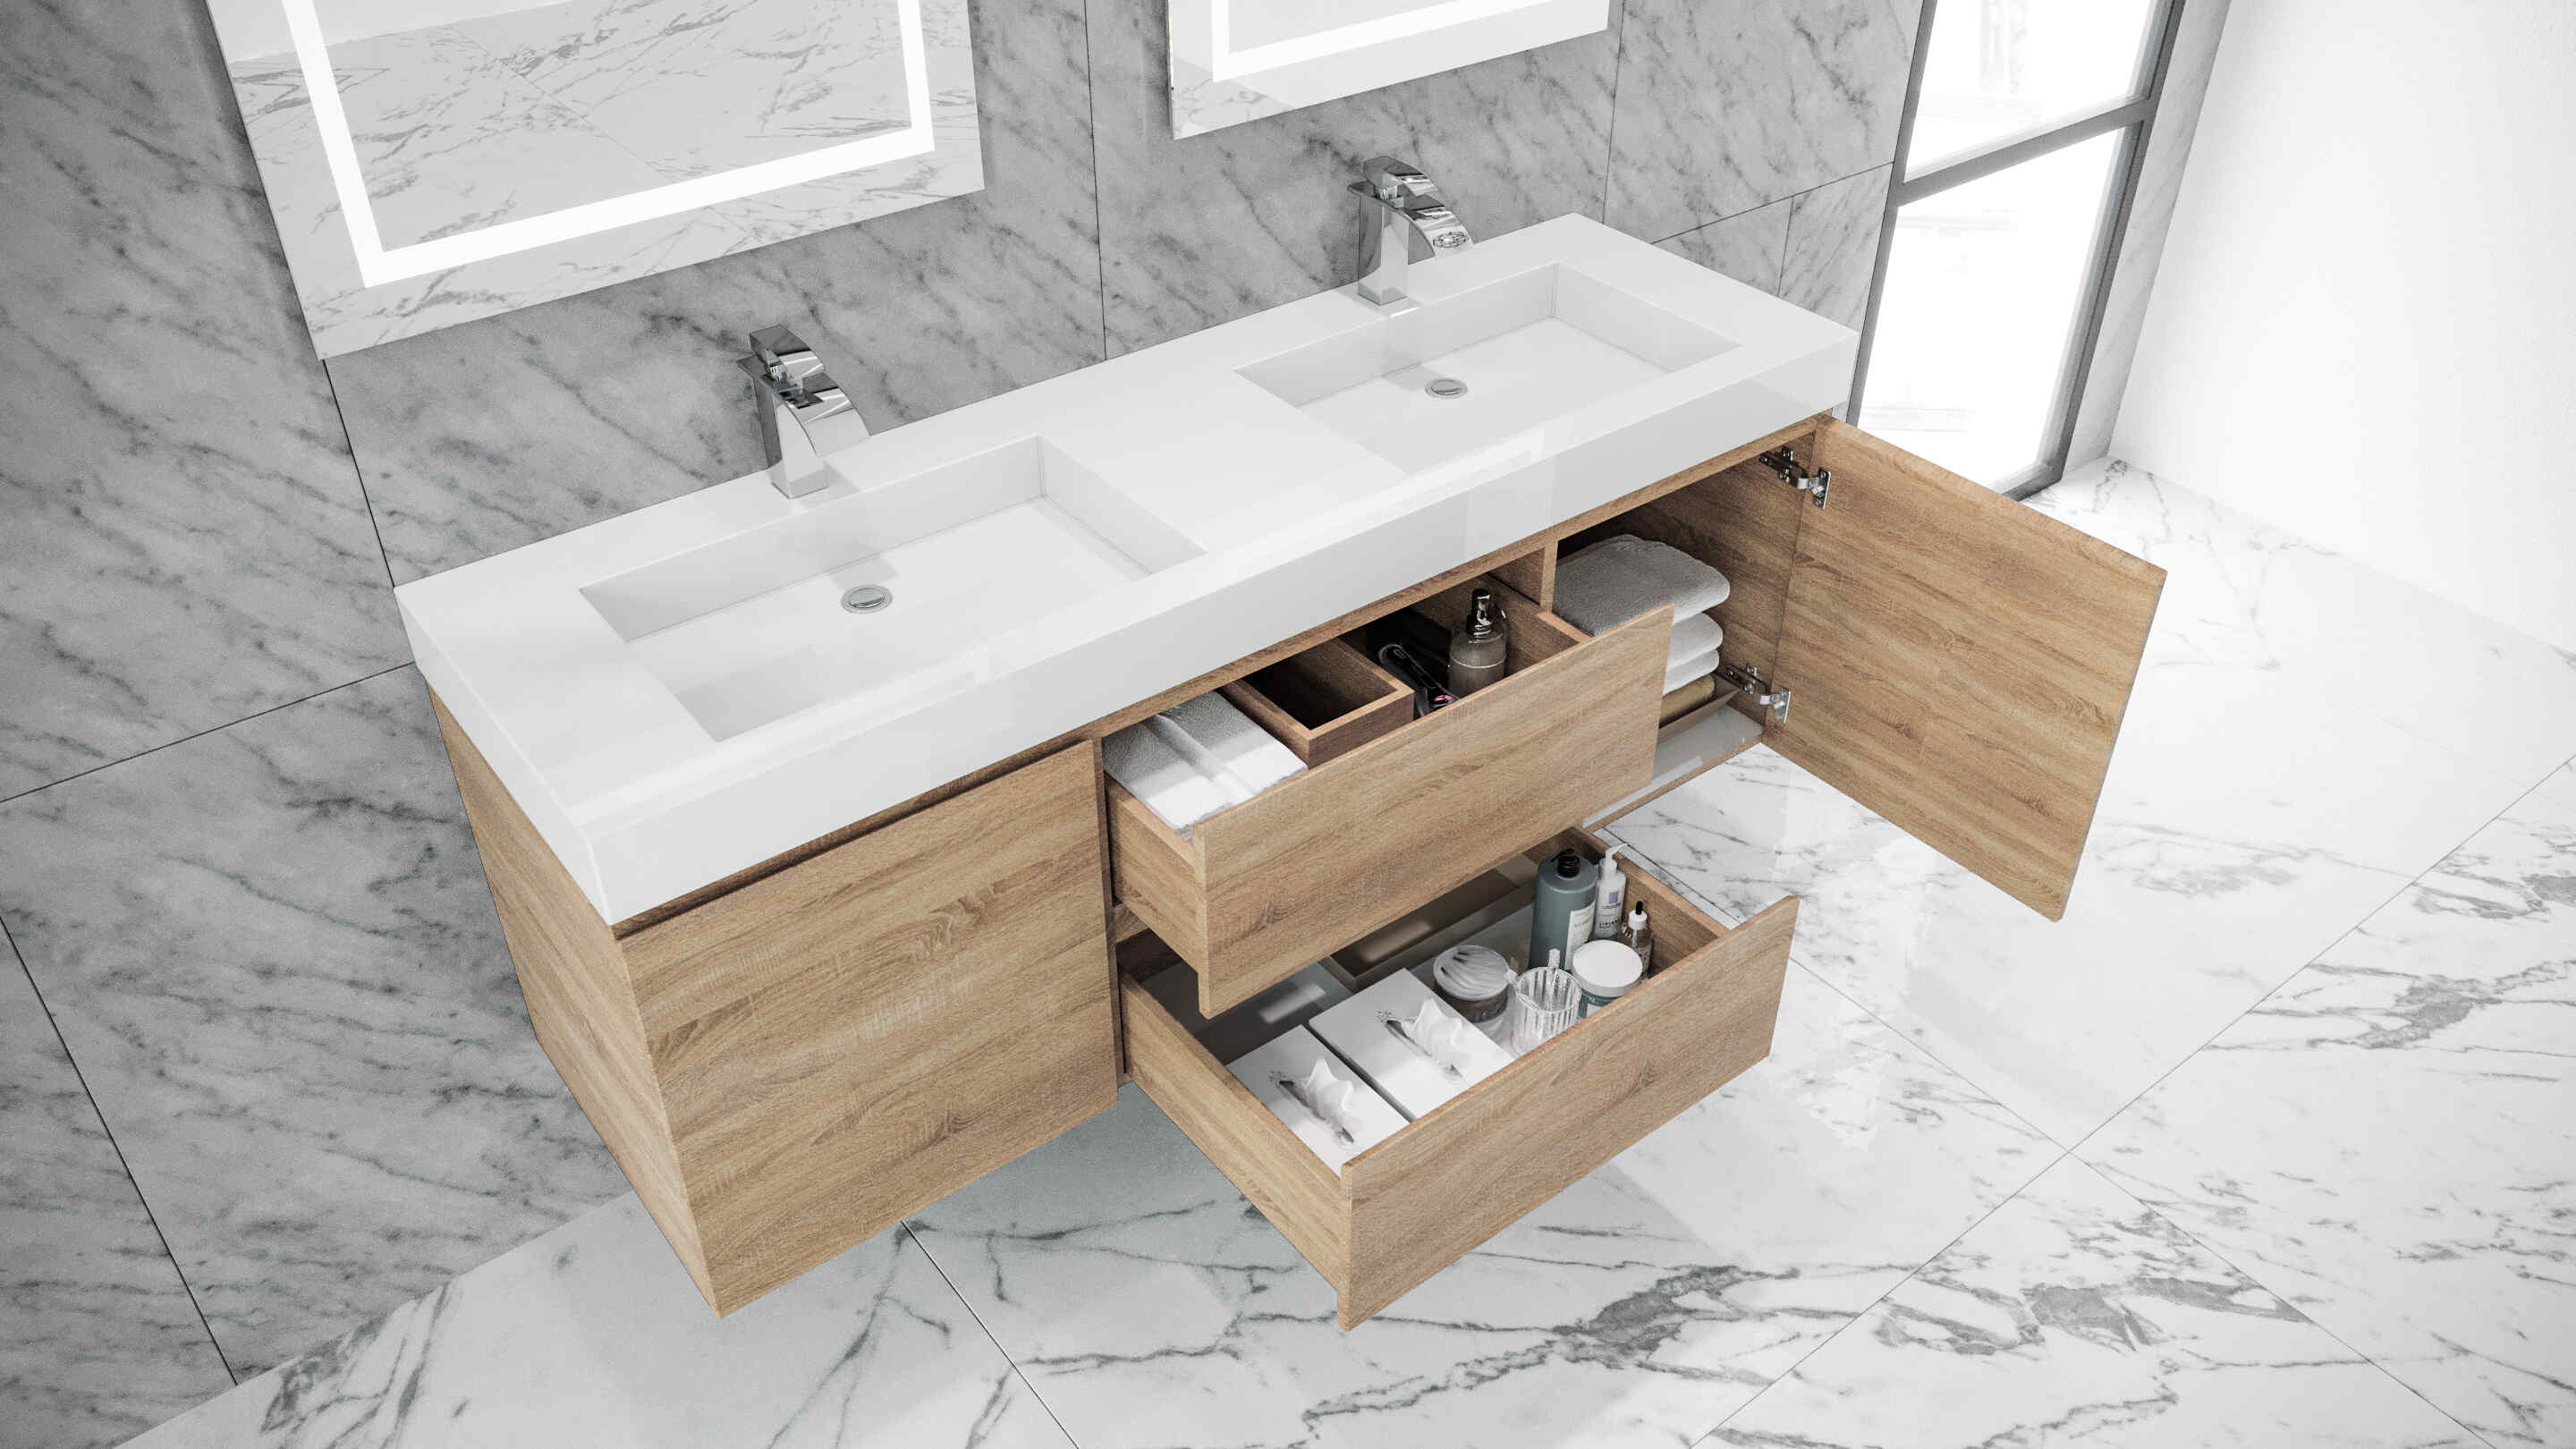
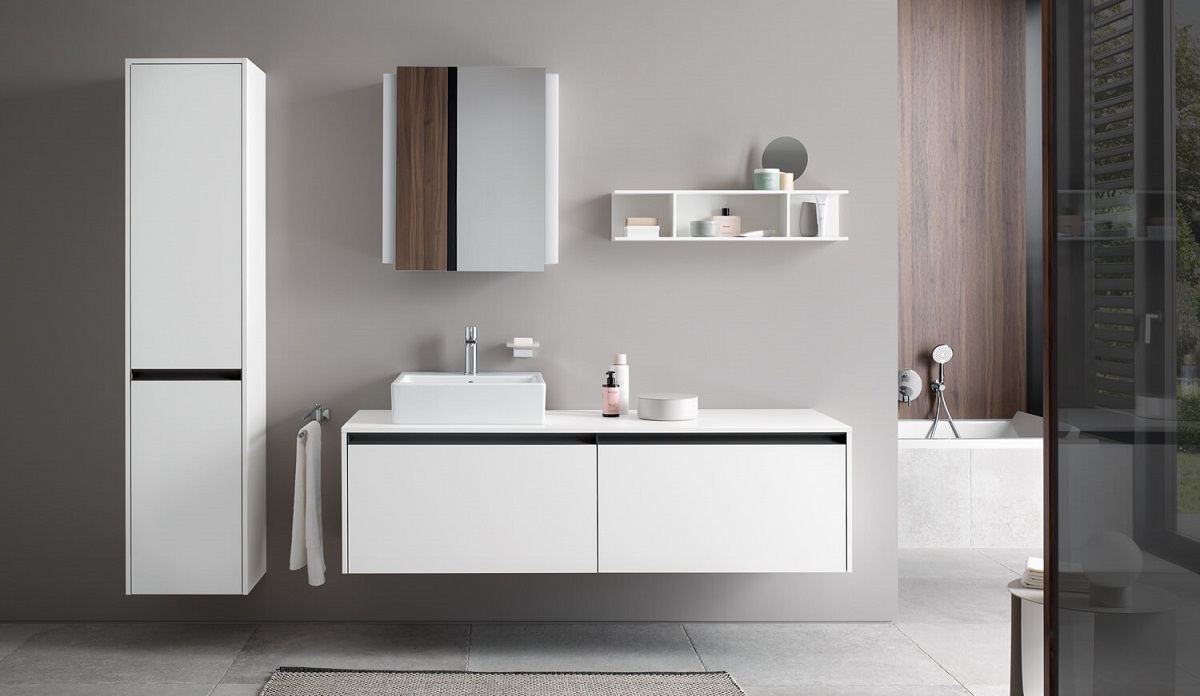
Installing a vanity over plumbing can be a daunting task, but with a little bit of planning and some handy tips, you can easily tackle this project. Whether you’re renovating your bathroom or replacing an old vanity, this step-by-step guide will walk you through the process and ensure a successful installation.
A vanity is not only a functional piece of furniture in the bathroom, but it also adds style and character to the space. By installing a new vanity over plumbing, you can update the look of your bathroom and create a more organized and aesthetically pleasing environment.
Before you dive into the installation process, it’s important to gather all the necessary tools and materials. This will include a new vanity, a wrench, screwdriver, measuring tape, level, silicone sealant, plumber’s tape, and any other items specific to your plumbing configuration.
It’s also crucial to remember that safety should always be a priority when working with plumbing. Make sure you have protective eyewear, gloves, and other safety gear on hand. If you’re unsure about any part of the installation, don’t hesitate to consult with a professional plumber.
Now that you’re prepared, let’s get started with the first step: preparing the area for the new vanity installation.
Key Takeaways:
- Proper preparation is essential for installing a vanity over plumbing. Clear the space, shut off the water supply, and disconnect plumbing to create a solid foundation for a successful installation.
- Attaching the vanity securely, connecting the plumbing with care, and testing for leaks are crucial steps in ensuring a watertight and stable installation. Prioritize safety and attention to detail for a successful outcome.
Read more: How To Plumb Double Vanity
Step 1: Preparing the Area
Before you begin installing a vanity over plumbing, it’s important to prepare the area to ensure a smooth and successful installation. Follow these steps to get started:
- Clear the space: Remove any obstacles or items from the bathroom to create a clean and open area for the installation. This includes taking out any cabinets or shelves that might be in the way.
- Turn off the water supply: Locate the shut-off valves for the water supply connected to the plumbing fixtures. Turn the valves clockwise to shut off the water flow. It’s advisable to double-check that the water is fully turned off by turning on the faucets in the bathroom.
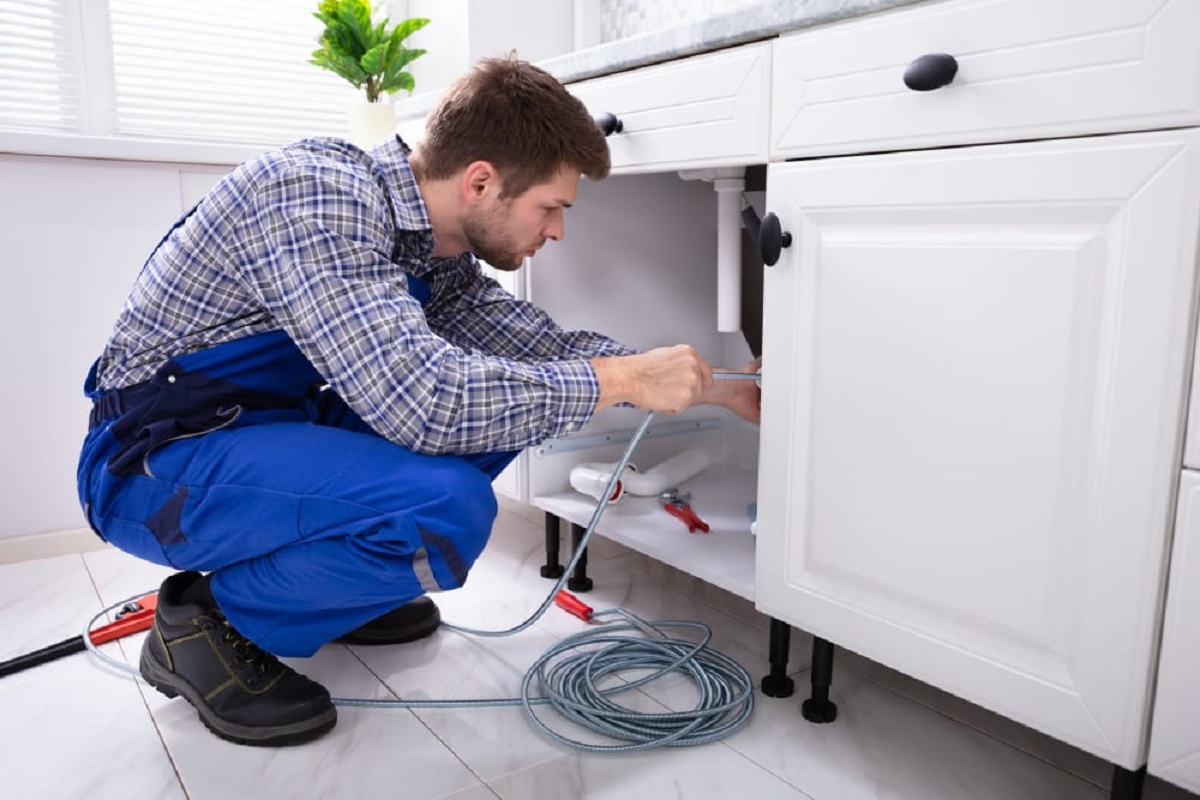
- Disconnect the plumbing: Use a wrench or adjustable pliers to disconnect the water supply lines and drain pipes from the existing vanity. Place a bucket underneath the pipes to catch any remaining water or debris.
- Remove the existing vanity: Carefully detach the old vanity from the wall by removing any screws or brackets holding it in place. Depending on the size and weight of the vanity, it may require assistance or additional tools to safely remove.
- Clean the area: Take the time to thoroughly clean the wall and floor where the new vanity will be installed. Remove any dirt, dust, or residue to ensure a smooth and secure fit.
By properly preparing the area, you’ll create a solid foundation for the installation process. With the area cleared and prepped, it’s time to move on to the next step: shutting off the water supply.
Step 2: Shutting Off the Water Supply
Before you proceed with installing a vanity over plumbing, it’s essential to shut off the water supply to prevent any water leakage or accidents. Follow these steps to safely turn off the water:
- Locate the main shut-off valve: In most homes, the main shut-off valve is typically located near the water meter or where the main water line enters the house. It is often found in the basement, the crawl space, or on an exterior wall.
- Close the main shut-off valve: Turn the valve clockwise (to the right) until it is fully closed. This will stop the flow of water throughout the entire house.
- Open faucets to relieve pressure: To ensure that there is no remaining water pressure in the pipes, open the faucets in the bathroom and let the water run until it stops completely.
It’s critical to ensure that the water supply is completely shut off before continuing with the installation process. This will prevent any potential leaks or accidents while you work on the plumbing system.
If you’re not confident about locating or shutting off the main water supply valve, consider consulting with a professional plumber for assistance. Safety should always be a priority when working with plumbing, and it’s better to seek help if you’re unsure.
Now that the water supply is safely turned off, you’re ready to move on to the next step: removing the old vanity.
Step 3: Removing the Old Vanity
Now that the water supply has been shut off, it’s time to remove the old vanity to make way for the new installation. Follow these steps to safely remove the old vanity:
- Disconnect the supply lines: Use a wrench or adjustable pliers to disconnect the water supply lines from the valves that were previously shut off. Be prepared for any residual water to drip out, so have a bucket or towel handy.
- Disconnect the drain pipe: Loosen the slip nut connecting the drain pipe to the p-trap. Make sure to have a bucket beneath the pipe to catch any water or debris that may still be in the system.
- Remove the vanity top: Many vanities have a separate top that needs to be removed first. Look for any screws or adhesive holding the top in place and carefully detach it.
- Detach the vanity from the wall: Check for screws or brackets securing the vanity to the wall. Use a screwdriver or drill to remove them, taking care not to damage the wall in the process.
- Remove the vanity base: With the vanity top and any securing screws removed, you can now gently pull the vanity away from the wall. If needed, enlist the help of another person to safely lift and remove the vanity base.
Once the old vanity is removed, you can take the opportunity to inspect the plumbing system and make any necessary repairs or adjustments. This is also a good time to clean the area behind the removed vanity and ensure it is ready for the new installation.
With step 3 complete, you’re now ready to move on to step 4: measuring and marking for the new vanity.
Step 4: Measuring and Marking
Now that the old vanity has been successfully removed, it’s time to measure and mark the area for the new vanity installation. Follow these steps to ensure accurate measurements:
- Measure the width: Use a tape measure to measure the width of the space where the new vanity will be installed. Measure from wall to wall, accounting for any baseboards or trim that may affect the width.
- Measure the depth: Measure the depth of the space from the back wall to the front edge, taking into consideration any obstructions such as pipes or electrical outlets.
- Mark the height: Determine the desired height of the vanity and mark a level line on the wall. This will ensure that the vanity is installed at the appropriate height for your comfort.
- Mark the plumbing connections: If necessary, mark the location of the plumbing connections on the back wall. This will help guide you during the installation process and ensure a proper fit.
- Check for level: Use a level to ensure that the marked line and the floor are perfectly level. If needed, adjust the line to ensure a balanced and aesthetic installation.
Accurate measurements and markings are crucial for a smooth and hassle-free vanity installation. They will help guide you during the next steps of positioning the new vanity and attaching it to the wall.
With step 4 complete, you’re now ready to move on to step 5: positioning the new vanity.
Read more: How To Install Vanity Mirror
Step 5: Positioning the New Vanity
With measurements and markings in place, it’s time to position the new vanity in the designated area. Follow these steps to ensure proper placement:
- Move the vanity into the bathroom: Carefully bring the new vanity into the bathroom, ensuring that it is safely maneuvered through doorways and hallways. Enlist the help of another person if needed, especially for larger or heavier vanities.
- Align the vanity with the marked line: Position the vanity against the wall, making sure to align it with the marked line for height. Use a level to ensure that the vanity is perfectly level from back to front and side to side.
- Adjust for plumbing connections: If necessary, make any adjustments to the positioning of the vanity to accommodate the plumbing connections. Ensure that there is enough space for the pipes and that they align with the marked locations on the back wall.
- Check for clearance: Verify that there is enough clearance for the vanity doors and drawers to open and close smoothly. Make any adjustments to the positioning if needed.
Properly positioning the new vanity is crucial to a successful installation. It ensures that the vanity is level, aligned with the marked height, and provides ample clearance for plumbing connections and functionality.
With step 5 complete, you’re now ready to move on to step 6: attaching the vanity to the wall.
When installing a vanity over plumbing, make sure to measure and mark the location of the pipes accurately before cutting any holes. Use a reciprocating saw to carefully cut out the necessary openings for the pipes.
Step 6: Attaching the Vanity to the Wall
Now that the new vanity is properly positioned, it’s time to secure it to the wall for stability and safety. Follow these steps to attach the vanity to the wall:
- Locate the wall studs: Use a stud finder to locate the wall studs behind the marked area where the vanity will be attached. Wall studs provide the necessary support for a secure installation.
- Mark the stud locations: Mark the locations of the wall studs on the back of the vanity using a pencil or marker. This will guide you during the attachment process.
- Drill pilot holes: Using an appropriate size drill bit, drill pilot holes into the back of the vanity at the marked stud locations. Make sure to drill slightly smaller holes than the screws you will be using.
- Secure the vanity to the wall: With the pilot holes drilled, use screws of the appropriate length to attach the vanity to the wall. Start by screwing into the pilot holes, ensuring that the vanity is securely fastened to the wall studs.
- Test stability: Give the vanity a gentle shake to ensure that it is securely attached and stable. If there is any wobbling or movement, tighten the screws or make any necessary adjustments to ensure stability.
Attaching the vanity to the wall is an important step in the installation process. It ensures that the vanity is secure, preventing any accidents or damage in the future. Take your time to ensure that the vanity is properly fastened and stable.
With step 6 complete, you’re now ready to move on to step 7: connecting the plumbing.
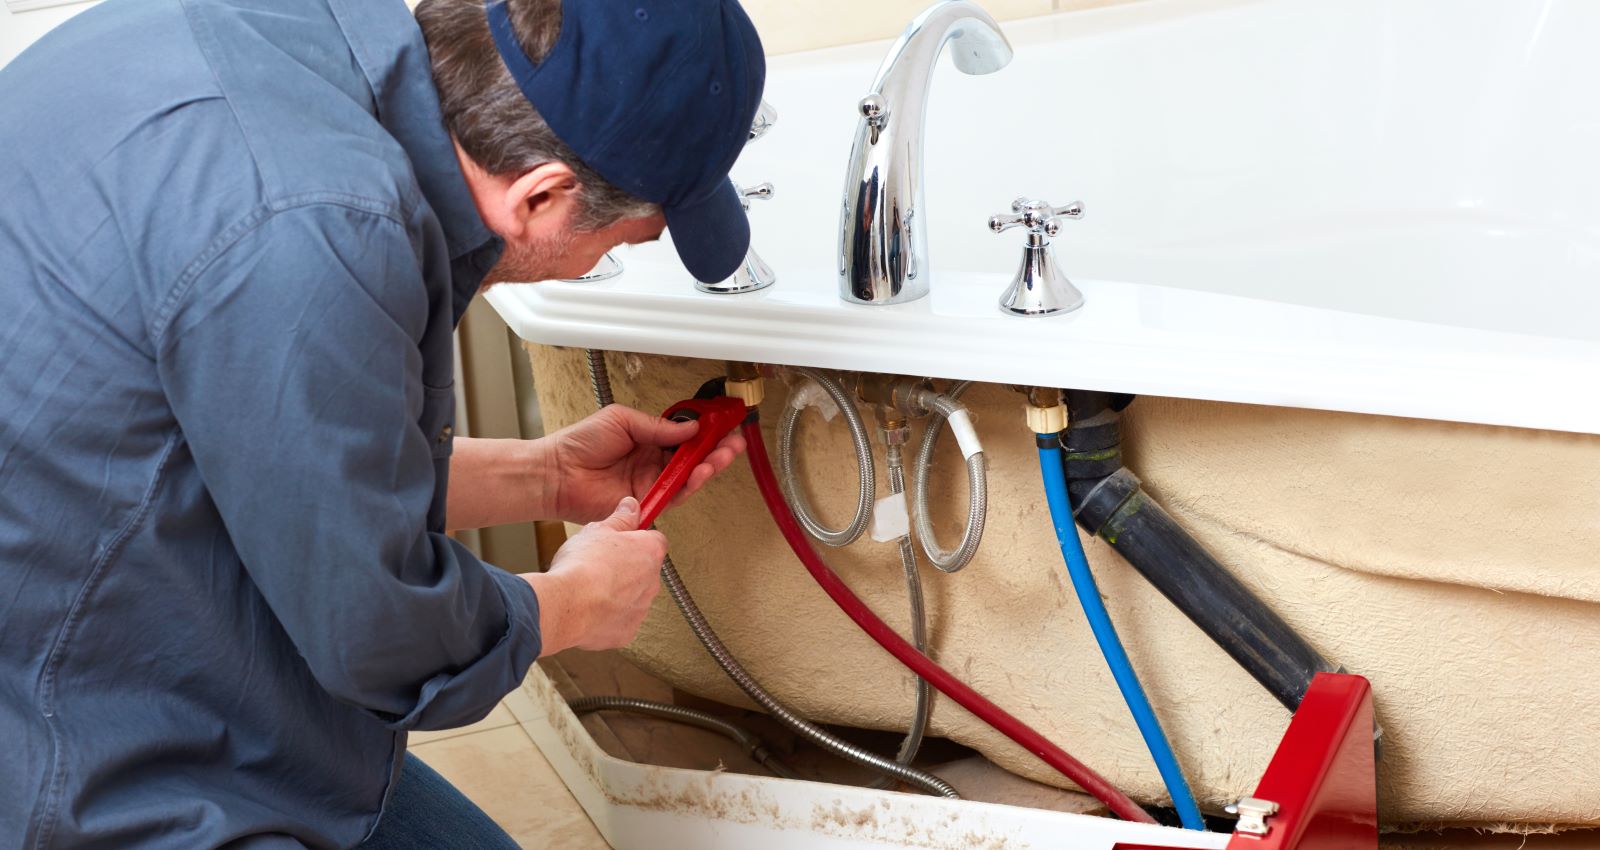
Step 7: Connecting the Plumbing
After securely attaching the vanity to the wall, it’s time to connect the plumbing fixtures to complete the installation. Follow these steps to connect the plumbing:
- Install faucet and handles: Follow the manufacturer’s instructions to install the faucet and handles onto the vanity. Use plumber’s tape to secure the connections and prevent any leaks.
- Connect the water supply lines: Attach the water supply lines to the faucet using a wrench or adjustable pliers. Make sure to connect the hot water line to the hot water valve and the cold water line to the cold water valve.
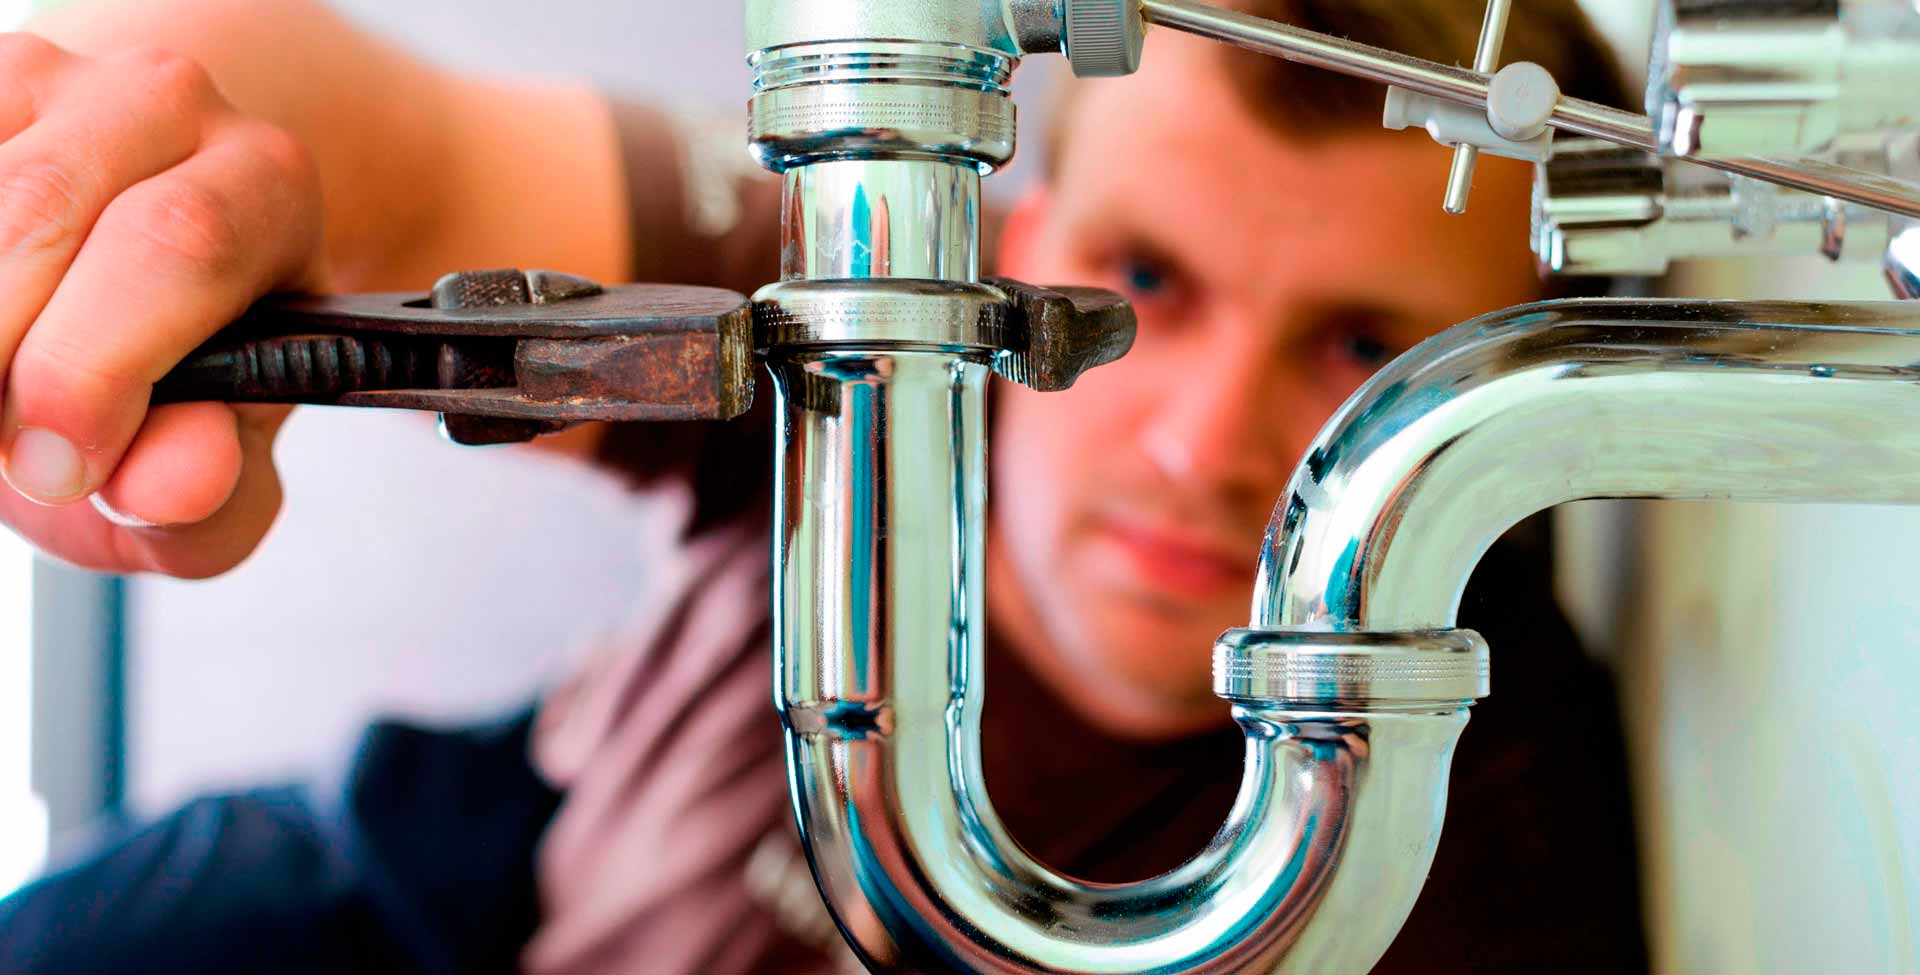
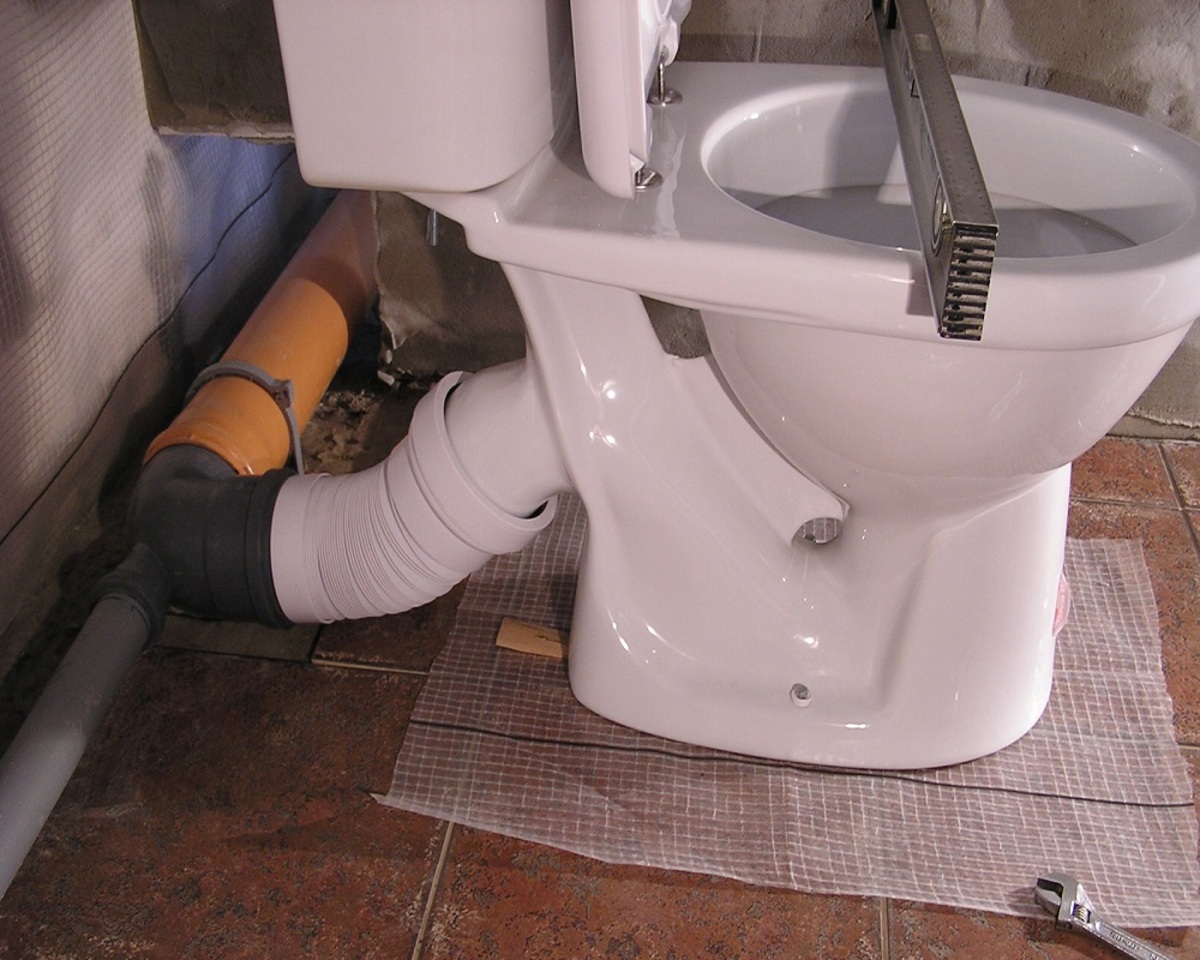
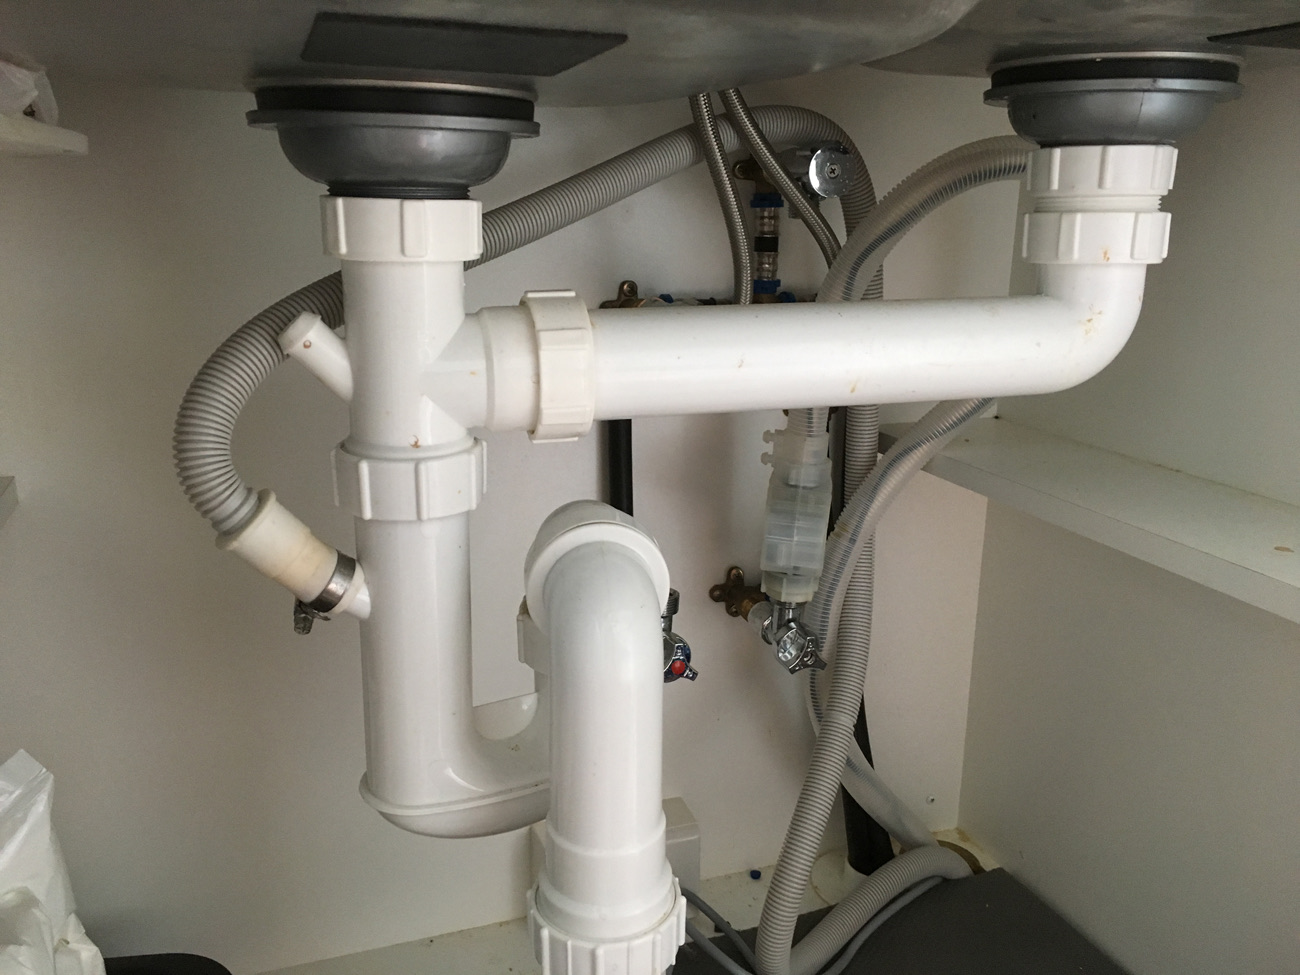
- Connect the drain pipe: Attach the p-trap and the drain pipe to the drain opening on the bottom of the sink. Use plumber’s tape or a sealant to ensure a watertight connection.
- Check for leaks: Turn on the water supply and carefully inspect all connections for any signs of leaks. If you notice any leaks, tighten the connections or make any necessary adjustments until the leaks are resolved.
It’s important to take your time during this step to ensure that all connections are properly sealed and free of leaks. Check for any signs of water leakage and address them promptly to prevent any damage to the vanity or surrounding area.
With step 7 complete, you’re now ready to move on to step 8: testing for leaks.
Step 8: Testing for Leaks
Once the plumbing connections are made, it’s crucial to test for leaks to ensure that the installation is watertight. Follow these steps to test for leaks:
- Turn on the water supply: Slowly turn on the water supply valves to allow water to flow into the newly installed vanity. Do this with caution to prevent any sudden water pressure or bursts.
- Inspect the connections: Carefully check all the plumbing connections, including the supply lines, faucets, handles, and drain pipe, for any signs of leaks. Look for dripping water, puddles, or moist areas.
- Check the p-trap: Examine the p-trap and the connection between the drain pipe and the sink for any leaks. Ensure that the p-trap is securely tightened.
- Test the sink and faucets: Run both hot and cold water through the sink and faucets to test their functionality. Observe for any leaks around the faucet handles or base of the sink.
- Inspect for any additional leaks: Take a few minutes to thoroughly inspect the entire vanity, including the bottom and back, for any hidden leaks or signs of water damage.
If you notice any leaks during the testing process, immediately turn off the water supply and address the issue. Tighten any loose connections, add plumber’s tape or sealant, or consult with a professional plumber if needed.
Testing for leaks is a crucial step to ensure that your newly installed vanity functions properly and avoids any potential water damage. Take the time to thoroughly inspect all connections to ensure a watertight installation.
With step 8 complete, you’re now ready to move on to step 9: securing the vanity in place.
Read more: How To Install A Backsplash On A Vanity
Step 9: Securing the Vanity in Place
Now that you have tested for leaks and confirmed that the plumbing connections are secure, it’s time to secure the vanity in its final position. Follow these steps to ensure the vanity is properly secured:
- Check the level: Use a spirit level to verify that the vanity is still level and adjust if necessary. This is important for the vanity’s stability and overall appearance.
- Anchor the vanity: Depending on the vanity’s design, you may need to anchor it to the wall for added stability. Use brackets or screws provided by the manufacturer to secure the vanity to the wall studs.
- Confirm stability: Gently shake or apply pressure to the vanity to ensure that it is securely anchored and doesn’t wobble. Make any necessary adjustments or tighten the screws if needed.
- Inspect for any visual flaws: Carefully examine the vanity’s exterior for any visible flaws or imperfections. Take this opportunity to touch up any paint or finish if required.
By securing the vanity in place, you ensure its stability and longevity. This step is crucial to prevent any shifting or movement that could lead to damage or plumbing issues in the future.
With step 9 complete, you’re now ready for the final step: adding the finishing touches.
Step 10: Finishing Touches
Congratulations! You’re almost done with the installation of your vanity over plumbing. Step 10 focuses on the final touches that will complete the project and give it a polished look. Follow these steps to add the finishing touches:
- Apply silicone sealant: Use silicone sealant around the edges of the sink to create a watertight seal. This will prevent water from seeping into the countertop or backsplash and causing damage over time.
- Connect the vanity backsplash (if applicable): If your vanity comes with a backsplash, align it with the vanity top and secure it in place using adhesive or screws provided by the manufacturer.
- Ensure proper ventilation: Make sure there is adequate airflow behind the vanity to prevent moisture buildup. Consider installing a vent or leaving enough space between the vanity and the wall.
- Reconnect any electrical outlets: If you had to disconnect any electrical outlets during the installation, reconnect them and ensure they are functioning properly.
- Clean and polish: Give the vanity a thorough cleaning, inside and out, using appropriate cleaning solutions. Polish any hardware, such as handles or knobs, to restore their shine.
- Organize the space: Once everything is in place, take the time to organize the interior of the vanity. Arrange your bathroom essentials, such as toiletries and cleaning supplies, in a neat and organized manner.
These finishing touches will add the final touches of beauty and functionality to your newly installed vanity. Take pride in your work and enjoy the transformation it brings to your bathroom.
With step 10 complete, you have successfully installed a vanity over plumbing. Take a step back and admire your work! Your bathroom now has a stylish and functional centerpiece that will enhance your daily routines.
Remember, if you encounter any challenges or feel unsure about any step of the installation process, it’s always best to consult with a professional plumber for guidance and assistance.
Congratulations once again on your successful vanity installation!
Conclusion
Installing a vanity over plumbing may seem like a daunting task, but with careful planning, attention to detail, and this step-by-step guide, you can confidently tackle the project. By following each step, from preparing the area to adding the finishing touches, you can successfully install a new vanity that adds both functionality and style to your bathroom.
Throughout the installation process, be sure to prioritize safety and take necessary precautions. Shutting off the water supply, wearing protective gear, and seeking professional assistance when needed will ensure a smooth and incident-free installation.
Remember to accurately measure and mark the area, secure the vanity to the wall, and connect the plumbing with care. Testing for leaks and verifying the stability of the vanity are essential to prevent any future problems and ensure a long-lasting installation.
Once the installation is complete, take the time to appreciate your hard work. Whether you’ve updated an existing bathroom or transformed a space entirely, the new vanity is a focal point that enhances the functionality and aesthetic appeal of the room.
Should you encounter any challenges or feel unsure about any step of the process, don’t hesitate to seek professional assistance. A trained plumber can provide guidance and expertise to ensure a successful installation.
With this comprehensive guide and your newfound knowledge, you can confidently install a vanity over plumbing and create a bathroom that reflects your personal style and meets your practical needs.
Enjoy the process and savor the satisfaction of a job well done as you admire your newly installed vanity!
Frequently Asked Questions about How To Install Vanity Over Plumbing
Was this page helpful?
At Storables.com, we guarantee accurate and reliable information. Our content, validated by Expert Board Contributors, is crafted following stringent Editorial Policies. We're committed to providing you with well-researched, expert-backed insights for all your informational needs.


0 thoughts on “How To Install Vanity Over Plumbing”