Articles
How Durable Are Epoxy Countertops
Modified: February 29, 2024
Discover the durability of epoxy countertops with our informative articles. Learn how this versatile material withstands everyday use and enhances your kitchen's style.
(Many of the links in this article redirect to a specific reviewed product. Your purchase of these products through affiliate links helps to generate commission for Storables.com, at no extra cost. Learn more)
Introduction
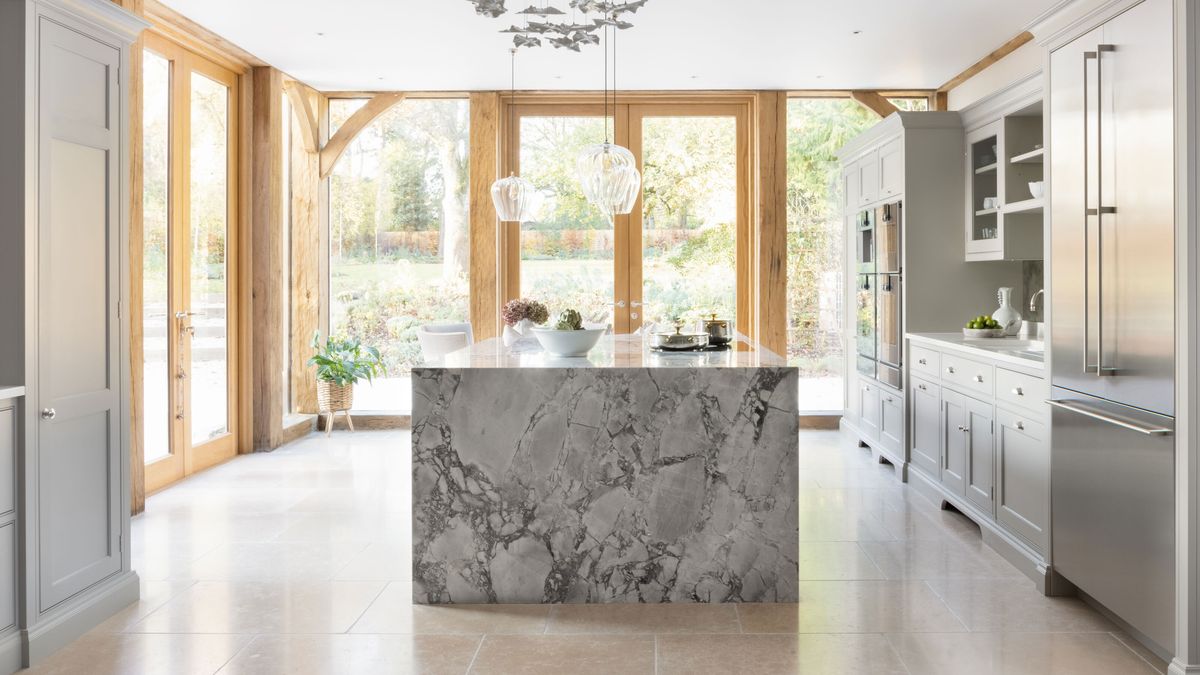
Epoxy countertops have gained popularity in recent years due to their durability, versatility, and aesthetic appeal. Whether you’re remodeling your kitchen or designing a commercial space, epoxy countertops can be a great choice. But how durable are epoxy countertops? In this article, we will explore the factors that affect the durability of epoxy countertops, as well as their pros and cons. We will also provide some tips on how to maintain and extend the lifespan of your epoxy countertops.
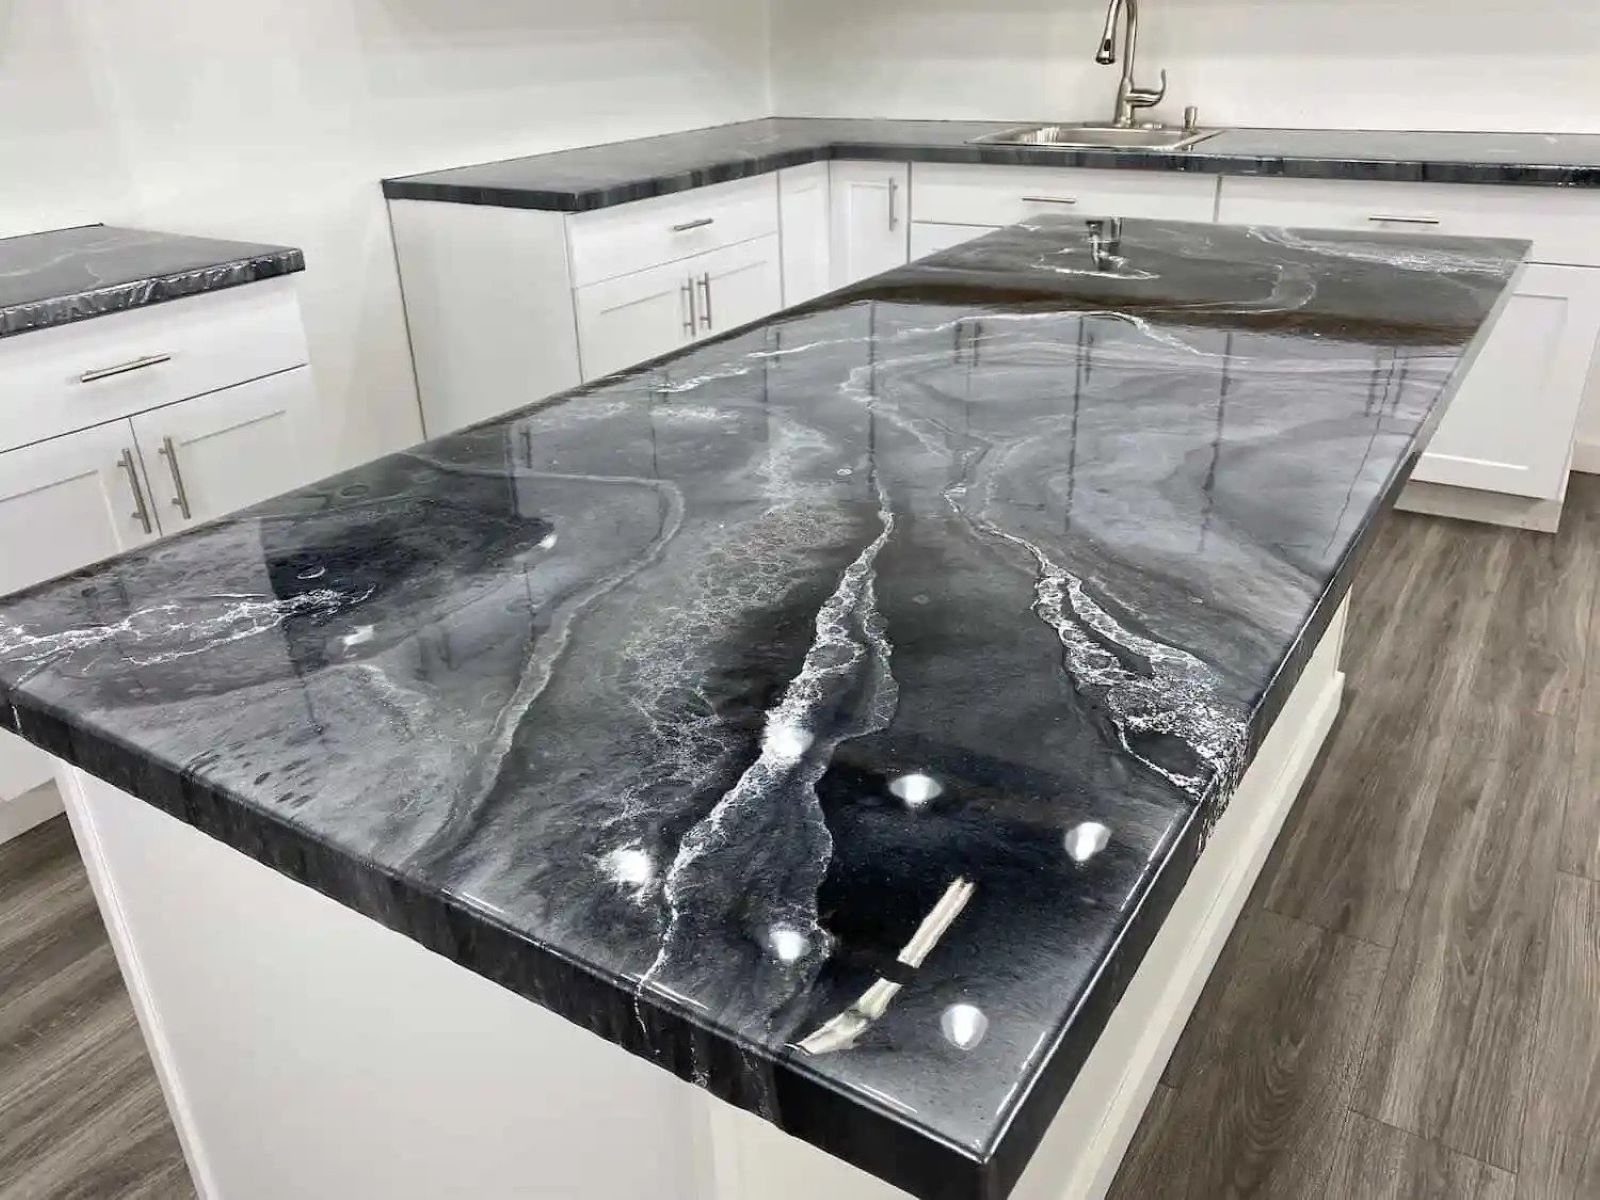
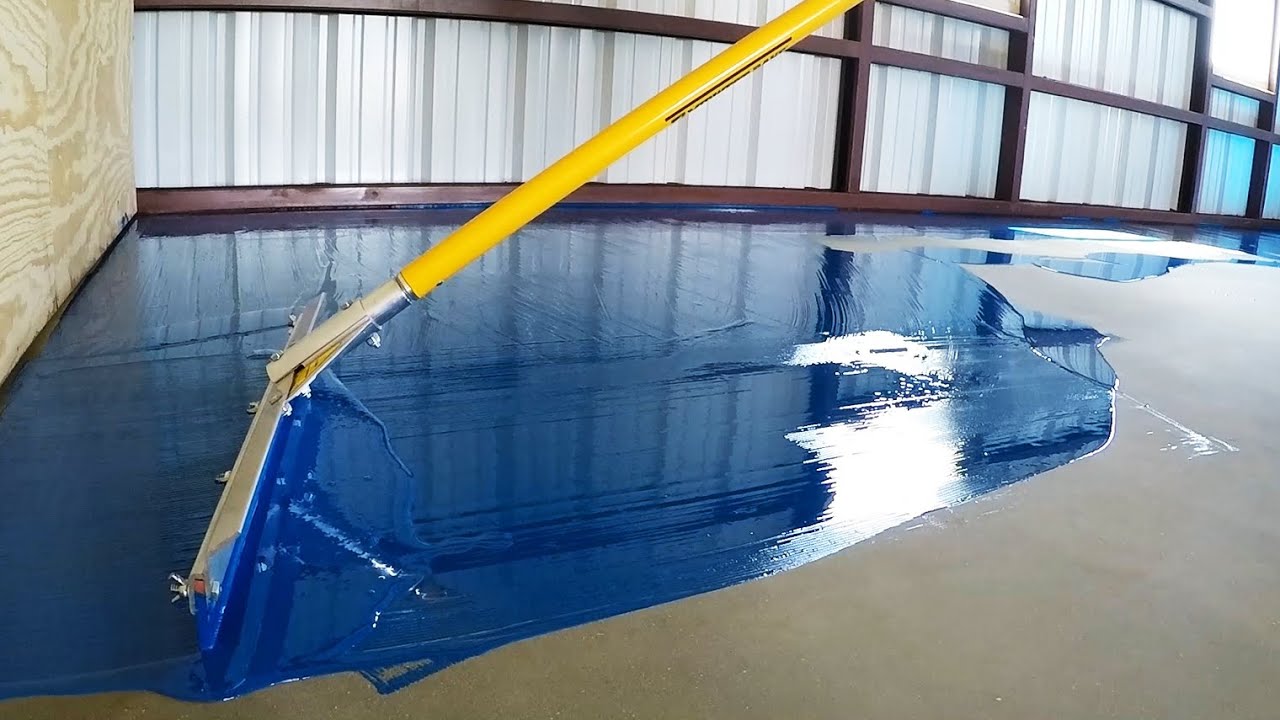
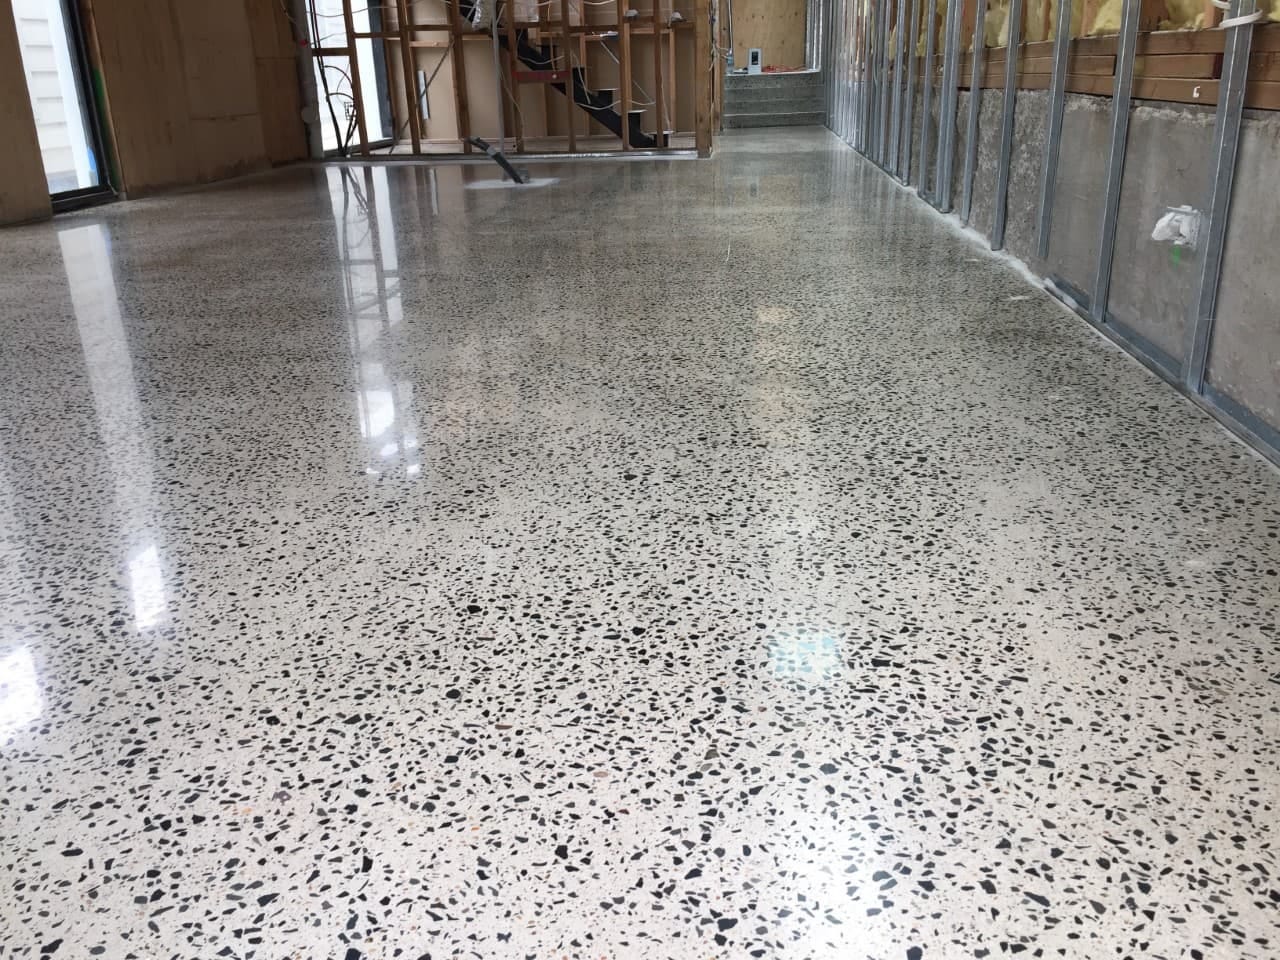
Epoxy countertops are made by mixing epoxy resin with a hardener, which creates a chemical reaction resulting in a hard, durable surface. The mixture is poured onto a prepared countertop surface, allowing it to flow and cure into a smooth, seamless finish. The final product is a high-gloss surface that is resistant to scratches, stains, and heat. Epoxy countertops are commonly used in kitchens, bathrooms, laboratories, restaurants, and retail spaces.
Now let’s dive into the factors that contribute to the durability of epoxy countertops:
Key Takeaways:
- Epoxy countertops offer durability, resistance to heat, stains, and chemicals, making them a versatile and visually appealing choice for residential and commercial spaces. Proper maintenance and care can extend their lifespan.
- While epoxy countertops provide durability and aesthetic appeal, they require careful maintenance to prevent damage from impact, heat, and UV exposure. Understanding their pros and cons is essential for making an informed decision.
Read more: What To Clean Epoxy Countertops With
What are Epoxy Countertops?
Epoxy countertops are a type of surface coating that have gained popularity in both residential and commercial spaces. Made from a combination of epoxy resin and a hardener, these countertops provide a durable and visually stunning option for various applications.
Epoxy countertops are created by mixing the epoxy resin and hardener together, creating a chemical reaction that results in a strong, durable, and glossy surface. This mixture is then poured onto a prepared countertop surface, allowing it to flow and settle to create a smooth, seamless finish.
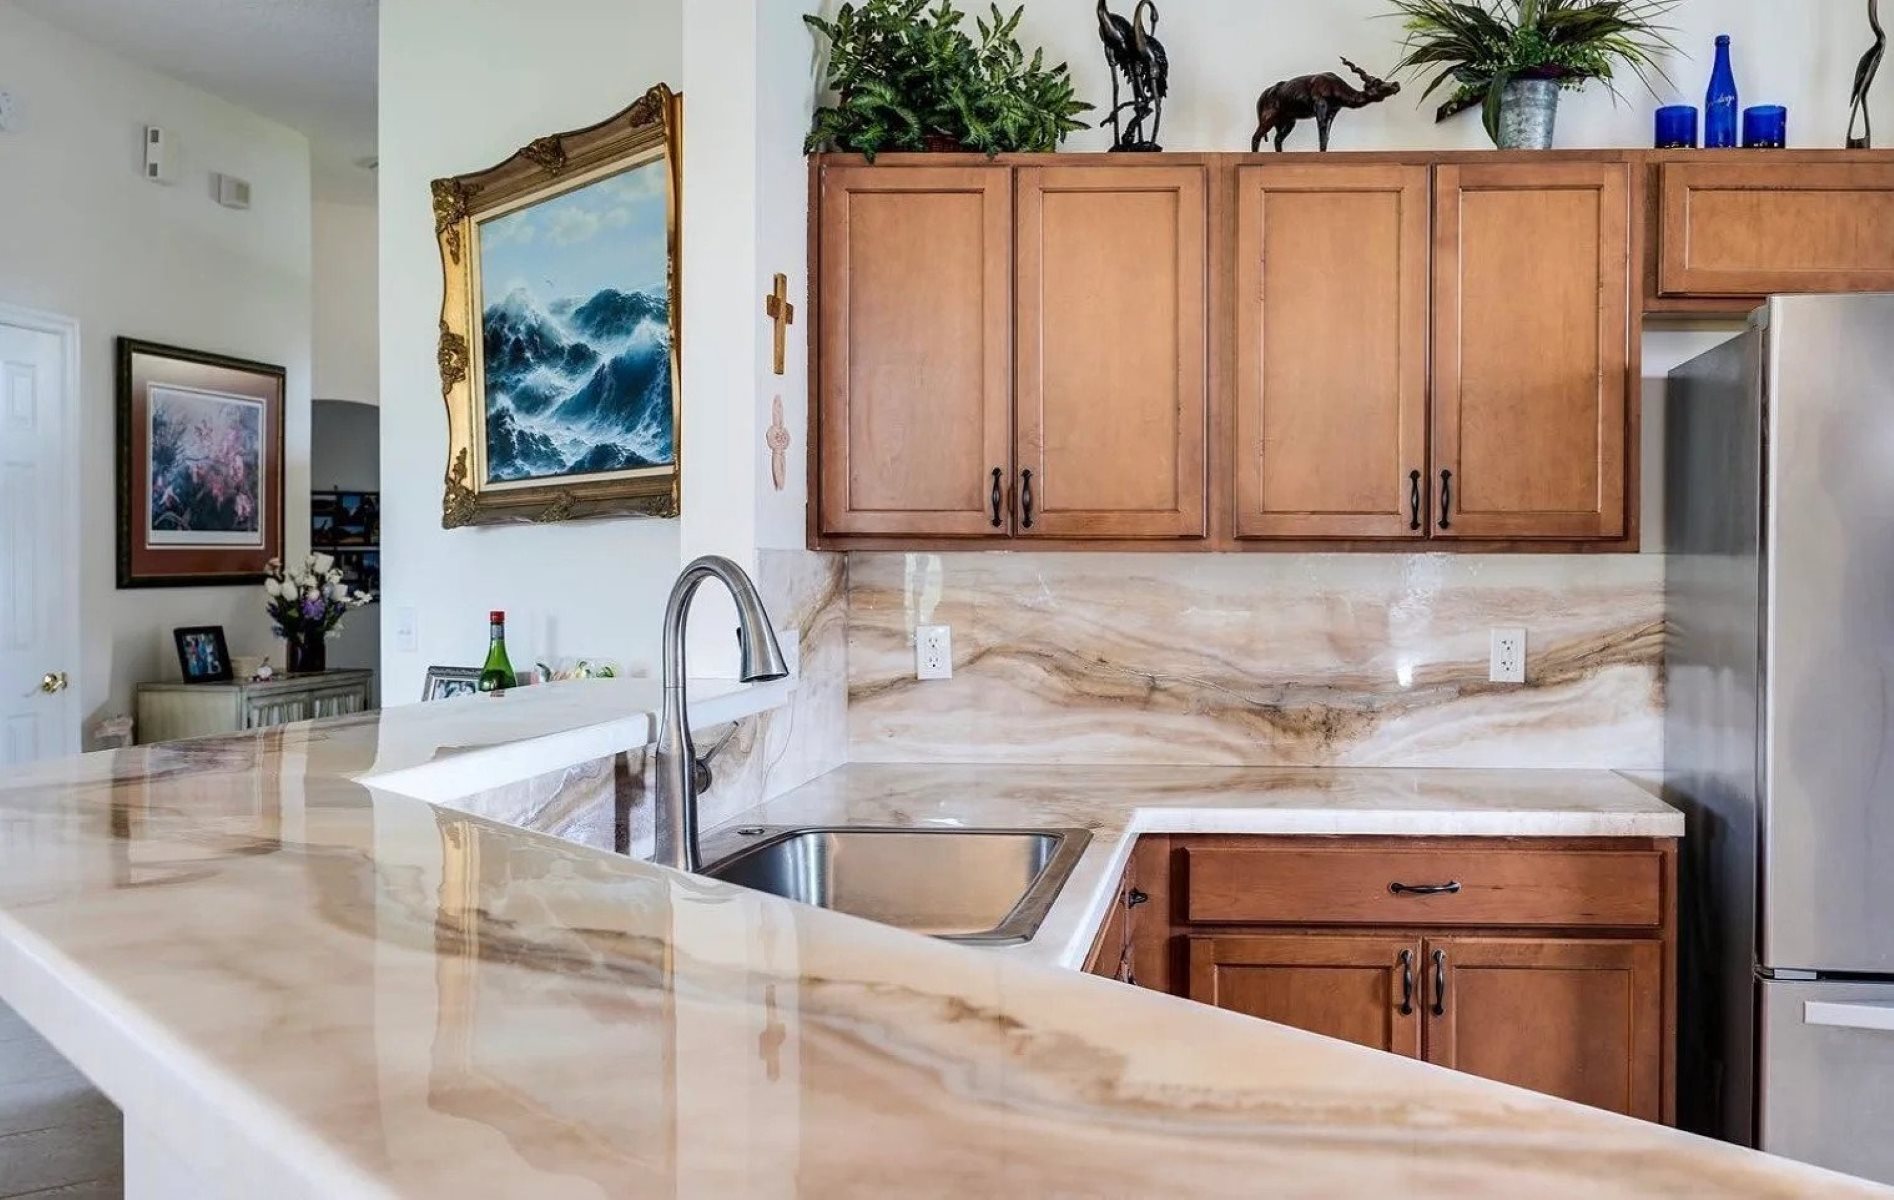
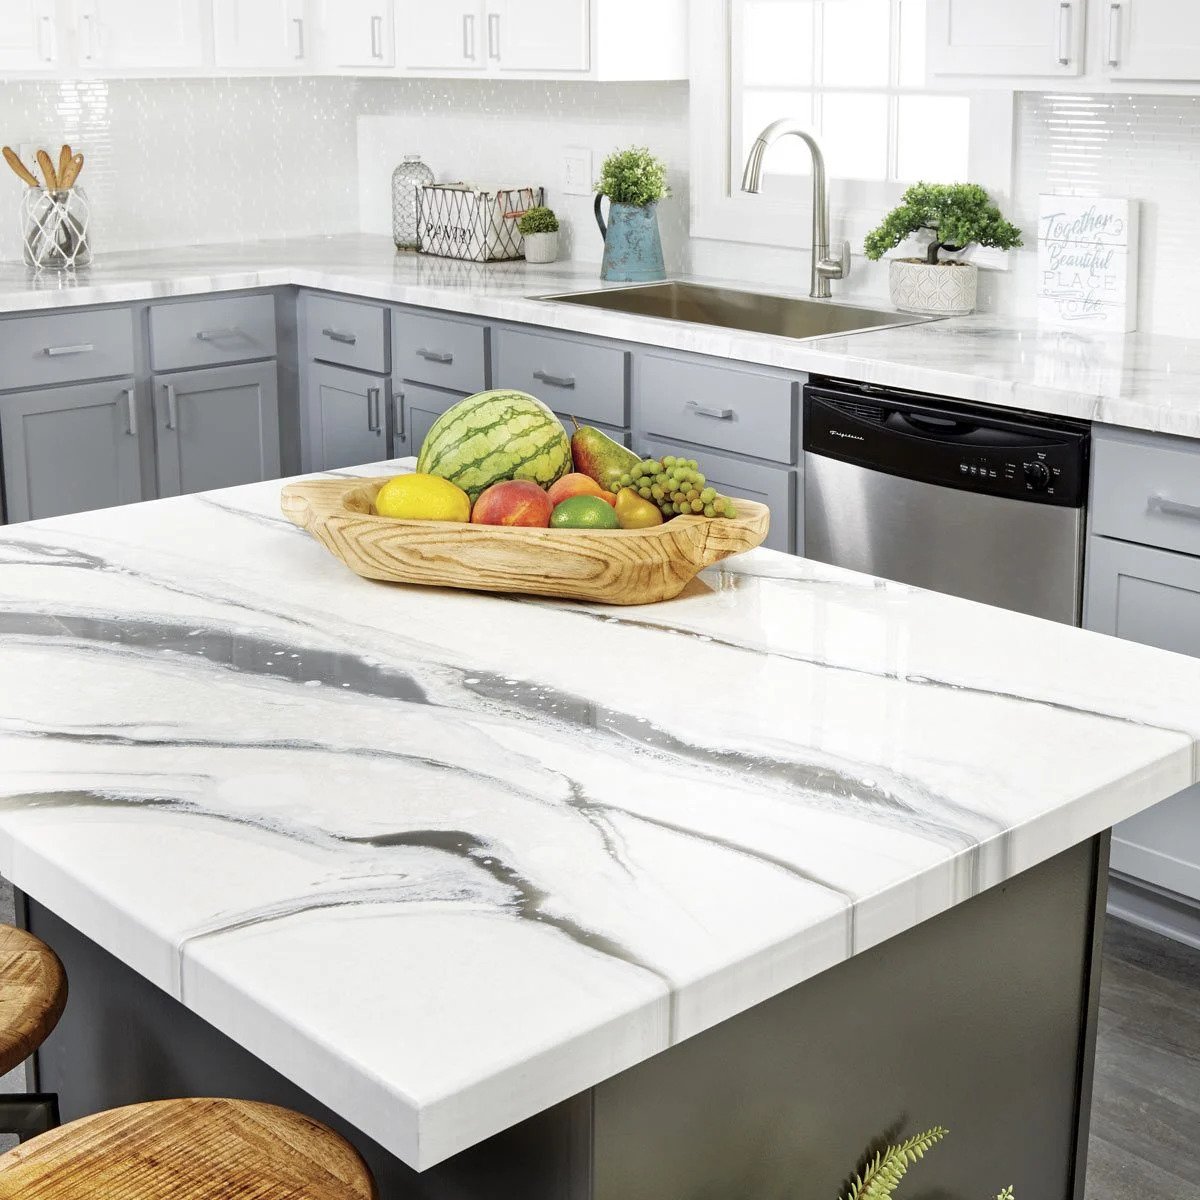
One of the key features that attract people to epoxy countertops is their versatility. They can be created in a wide range of colors and designs, allowing for customization to suit any style or aesthetic preference. This makes them a popular choice for homeowners and designers who want a unique and eye-catching countertop surface.
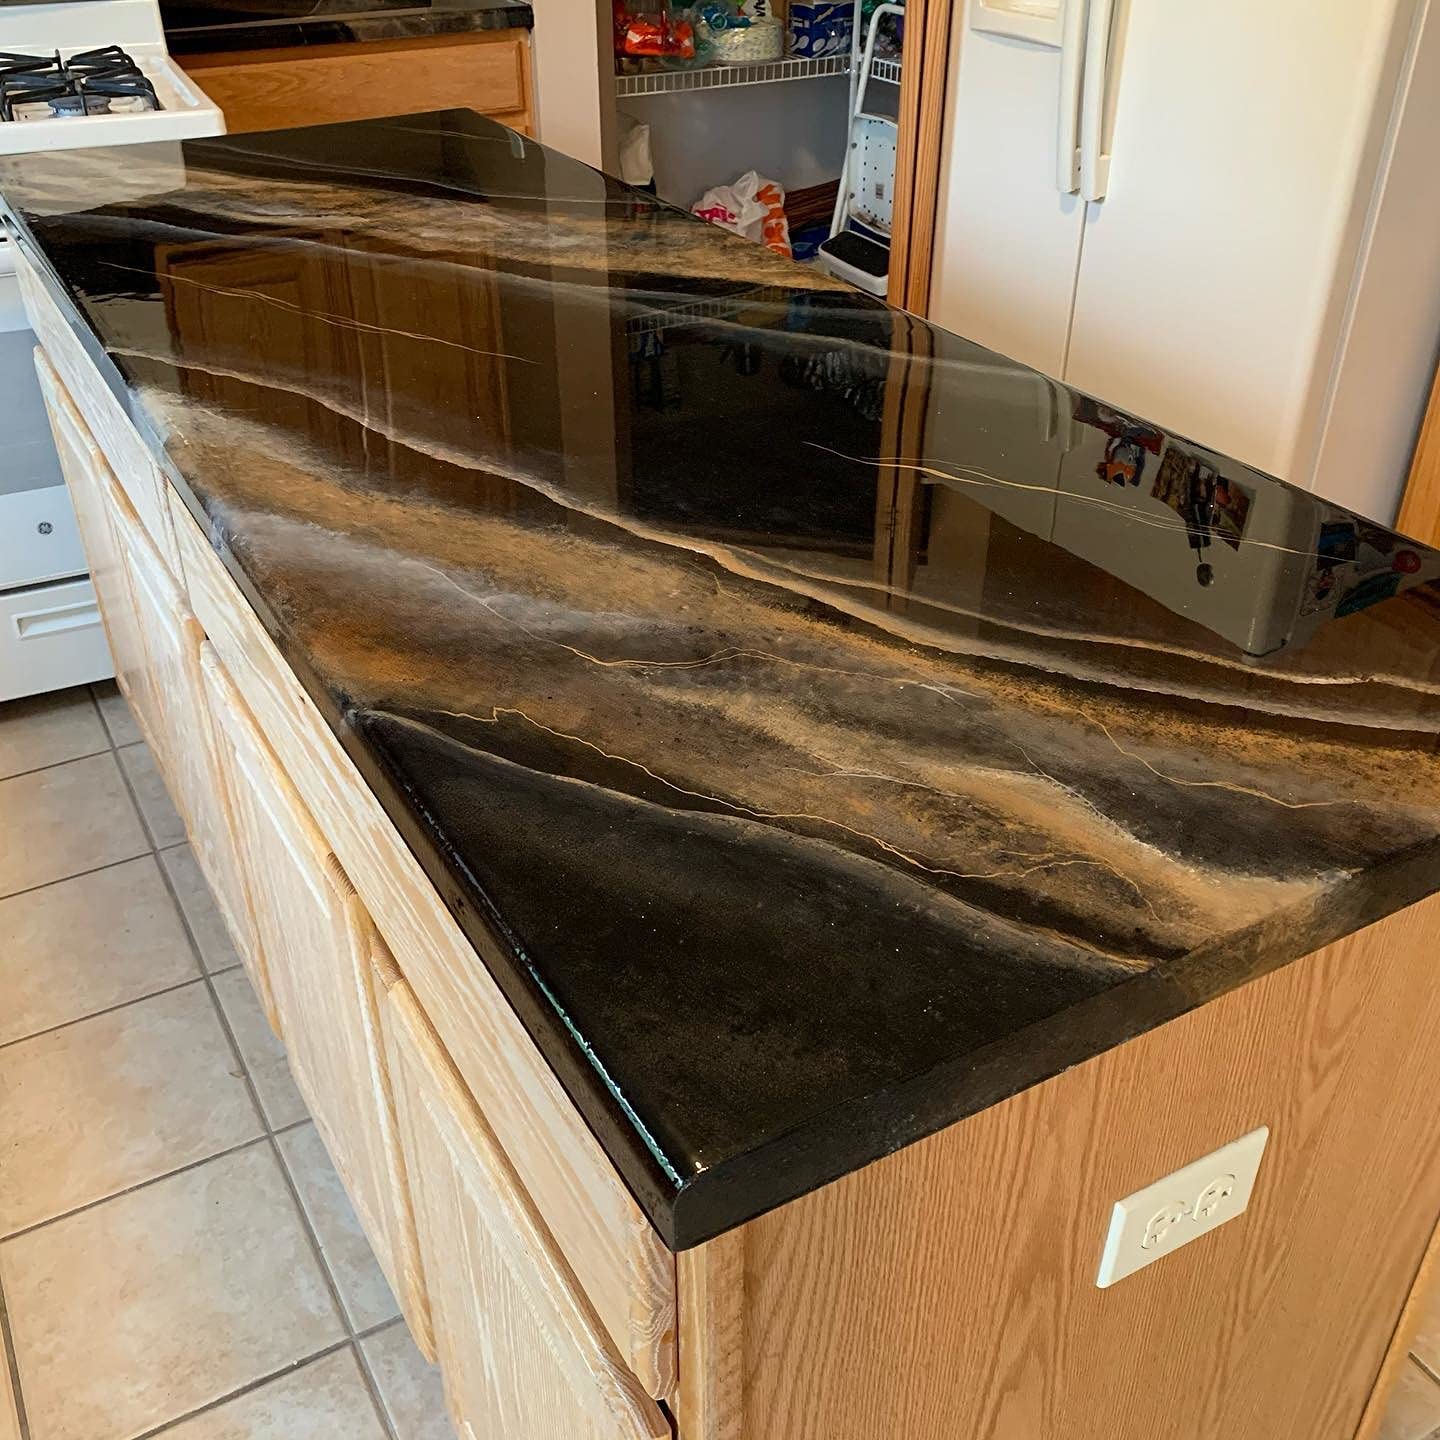
In addition to their aesthetic appeal, epoxy countertops also offer several practical advantages. They are highly resistant to scratches, stains, and heat, making them a durable and long-lasting option. This makes them suitable for high-traffic areas such as kitchens and bathrooms, where countertops are subjected to daily use and potential wear and tear.
Another benefit of epoxy countertops is their seamless appearance. Unlike traditional countertops that have visible seams and joints, epoxy countertops create a smooth and uninterrupted surface. This not only enhances their visual appeal but also makes them easier to clean and maintain.
Furthermore, epoxy countertops have excellent chemical resistance, making them resistant to common household chemicals and spills. This makes them suitable for use in laboratories, workshops, and commercial spaces where exposure to harsh chemicals may occur.
In summary, epoxy countertops are a durable, versatile, and visually appealing option for various applications. They offer a seamless and glossy finish, are resistant to scratches, stains, heat, and chemicals, making them an excellent choice for homeowners and designers looking for a reliable and attractive countertop surface.
Factors Affecting Durability
Several factors contribute to the overall durability of epoxy countertops. Understanding these factors can help you make an informed decision when choosing epoxy countertops for your space. Here are the key factors that can impact the longevity and performance of epoxy countertops:
- Impact Resistance: Epoxy countertops have excellent impact resistance, meaning they can withstand heavy objects being dropped or banged on the surface without cracking or chipping. However, extreme force or impact can still cause damage, so it’s important to exercise caution and use cutting boards or protective pads when working with sharp or heavy objects.
- Heat Resistance: Epoxy countertops are known for their heat-resistant properties. They can withstand high temperatures without warping or melting, making them suitable for use in kitchens and other areas where heat exposure is common. However, it’s still advisable to use trivets or hot pads when placing hot pots or pans directly on the surface to prevent any potential damage.
- Stain Resistance: Epoxy countertops are generally resistant to stains, thanks to their non-porous surface. This means that spills and food stains are unlikely to penetrate the surface, making them easy to clean and maintain. However, prolonged exposure to certain substances like strong dyes, acidic liquids, or harsh chemicals can potentially cause discoloration. It’s important to promptly clean up any spills and avoid using abrasive or acidic cleaners.
- Chemical Resistance: Epoxy countertops have excellent chemical resistance, making them resistant to a wide range of household chemicals, including common cleaning products. This makes them a suitable choice for spaces where exposure to chemicals is common, such as laboratories or workshops. However, it’s still advisable to clean up spills promptly and avoid using harsh chemicals that may cause damage over time.
- UV Resistance: While epoxy countertops are generally resistant to UV radiation, prolonged exposure to direct sunlight can cause yellowing or fading over time. To minimize this, it’s recommended to use window treatments or protective coatings that block out UV rays, especially in areas where the countertops are exposed to sunlight for extended periods.
By considering these factors, you can ensure that your epoxy countertops stay durable and maintain their aesthetic appeal over time. However, it’s important to note that proper care and maintenance are crucial for maximizing the lifespan of your epoxy countertops. In the next sections, we will explore the pros and cons of epoxy countertops and provide some useful tips on how to maintain them.
Impact Resistance
One of the key factors affecting the durability of epoxy countertops is their impact resistance. Epoxy countertops are known for their ability to withstand impacts and heavy objects being dropped or banged on the surface. This is due to the strong and resilient nature of epoxy resin.
Epoxy countertops are created by mixing epoxy resin with a hardener, which undergoes a chemical reaction and cures into a hard and durable surface. This results in a countertop that is less prone to cracking or chipping when subjected to impacts or heavy loads.
However, while epoxy countertops are highly impact-resistant, it’s important to note that extreme force or impact can still cause damage. For instance, dropping a heavy object with significant force or hitting the countertop with a hard object can potentially lead to cracks or chips.
To maintain the impact resistance of epoxy countertops, it’s advisable to take certain precautions. Here are some tips:
- Use cutting boards or protective pads when working with sharp objects like knives or kitchen utensils. This will prevent direct impact on the countertop surface and minimize the risk of scratches or dents.
- Avoid dropping heavy objects or applying excessive force on the countertop surface. While epoxy countertops are resilient, it’s always best to handle objects carefully to prevent any potential damage.
- Consider using epoxy countertops with additional reinforcement, such as fiberglass or metal inserts, in high-impact areas. These reinforcements can further enhance the durability and impact resistance of the countertops.
Regular maintenance and cleaning also play a role in preserving the impact resistance of epoxy countertops. Avoid using abrasive cleaners or scouring pads when cleaning the surface, as this can potentially create micro-scratches and compromise the impact resistance ability of the countertop.
By following these guidelines and being mindful of how you use and care for your epoxy countertops, you can ensure that they remain highly resistant to impacts and maintain their durability over time.
Heat Resistance
Another important factor that affects the durability of epoxy countertops is their heat resistance. Epoxy countertops are known for their ability to withstand high temperatures without warping or melting, making them suitable for use in kitchens and other areas where heat exposure is common.
Epoxy countertops are created by mixing epoxy resin with a hardener, resulting in a chemical reaction that creates a strong and heat-resistant surface. The cured epoxy countertop can typically withstand temperatures up to 300 degrees Fahrenheit (149 degrees Celsius) without any significant damage.
While epoxy countertops have excellent heat resistance, it’s important to note that prolonged exposure to extreme heat can still cause damage. Direct contact with hot pots, pans, or kitchen utensils can potentially leave permanent marks or discoloration on the surface. It’s therefore advisable to use trivets, hot pads, or heat-resistant mats to protect the countertop from direct heat.
Here are some tips to maintain the heat resistance of your epoxy countertops:
- Always use trivets or hot pads when placing hot pots, pans, or other heated objects on the countertop. This will create a barrier between the direct heat and the epoxy surface, minimizing the risk of damage.
- Avoid placing hot kitchen utensils directly on the countertop. Instead, use heat-resistant mats or silicone pads to protect the surface.
- Be cautious with heat-generating appliances such as toaster ovens or electric frying pans. Ensure that they are placed on heat-resistant surfaces or stands to prevent direct contact with the epoxy countertop.
- Consider using a cutting board or protective pad when using hot tools like hair straighteners or curling irons in the bathroom. This will prevent accidental heat damage to the countertop surface.
It’s important to note that sudden and extreme temperature changes can also cause damage to epoxy countertops. For instance, placing a very cold object directly on a hot epoxy surface or exposing the countertop to freezing temperatures can potentially lead to cracks or delamination. Be mindful of temperature differentials and try to avoid sudden changes to ensure the longevity of your epoxy countertop.
By following these guidelines and taking the necessary precautions, you can ensure that your epoxy countertop retains its heat resistance and withstands the rigors of everyday use in the kitchen or other heat-prone areas.
Read more: How Durable Is Granite Countertops
Stain Resistance
The stain resistance of epoxy countertops is another important factor to consider when assessing their durability. Epoxy countertops are generally highly resistant to stains due to their non-porous surface.
Epoxy countertops are created by mixing epoxy resin with a hardener, resulting in a chemical reaction that produces a smooth and seamless surface. This seamless finish prevents liquids, stains, and other substances from seeping into the countertop, making them easier to clean and maintaining their appearance over time.
However, while epoxy countertops are resistant to most stains, it’s important to note that prolonged exposure to certain substances or improper maintenance can still lead to staining. Here are some guidelines to maintain the stain resistance of your epoxy countertop:
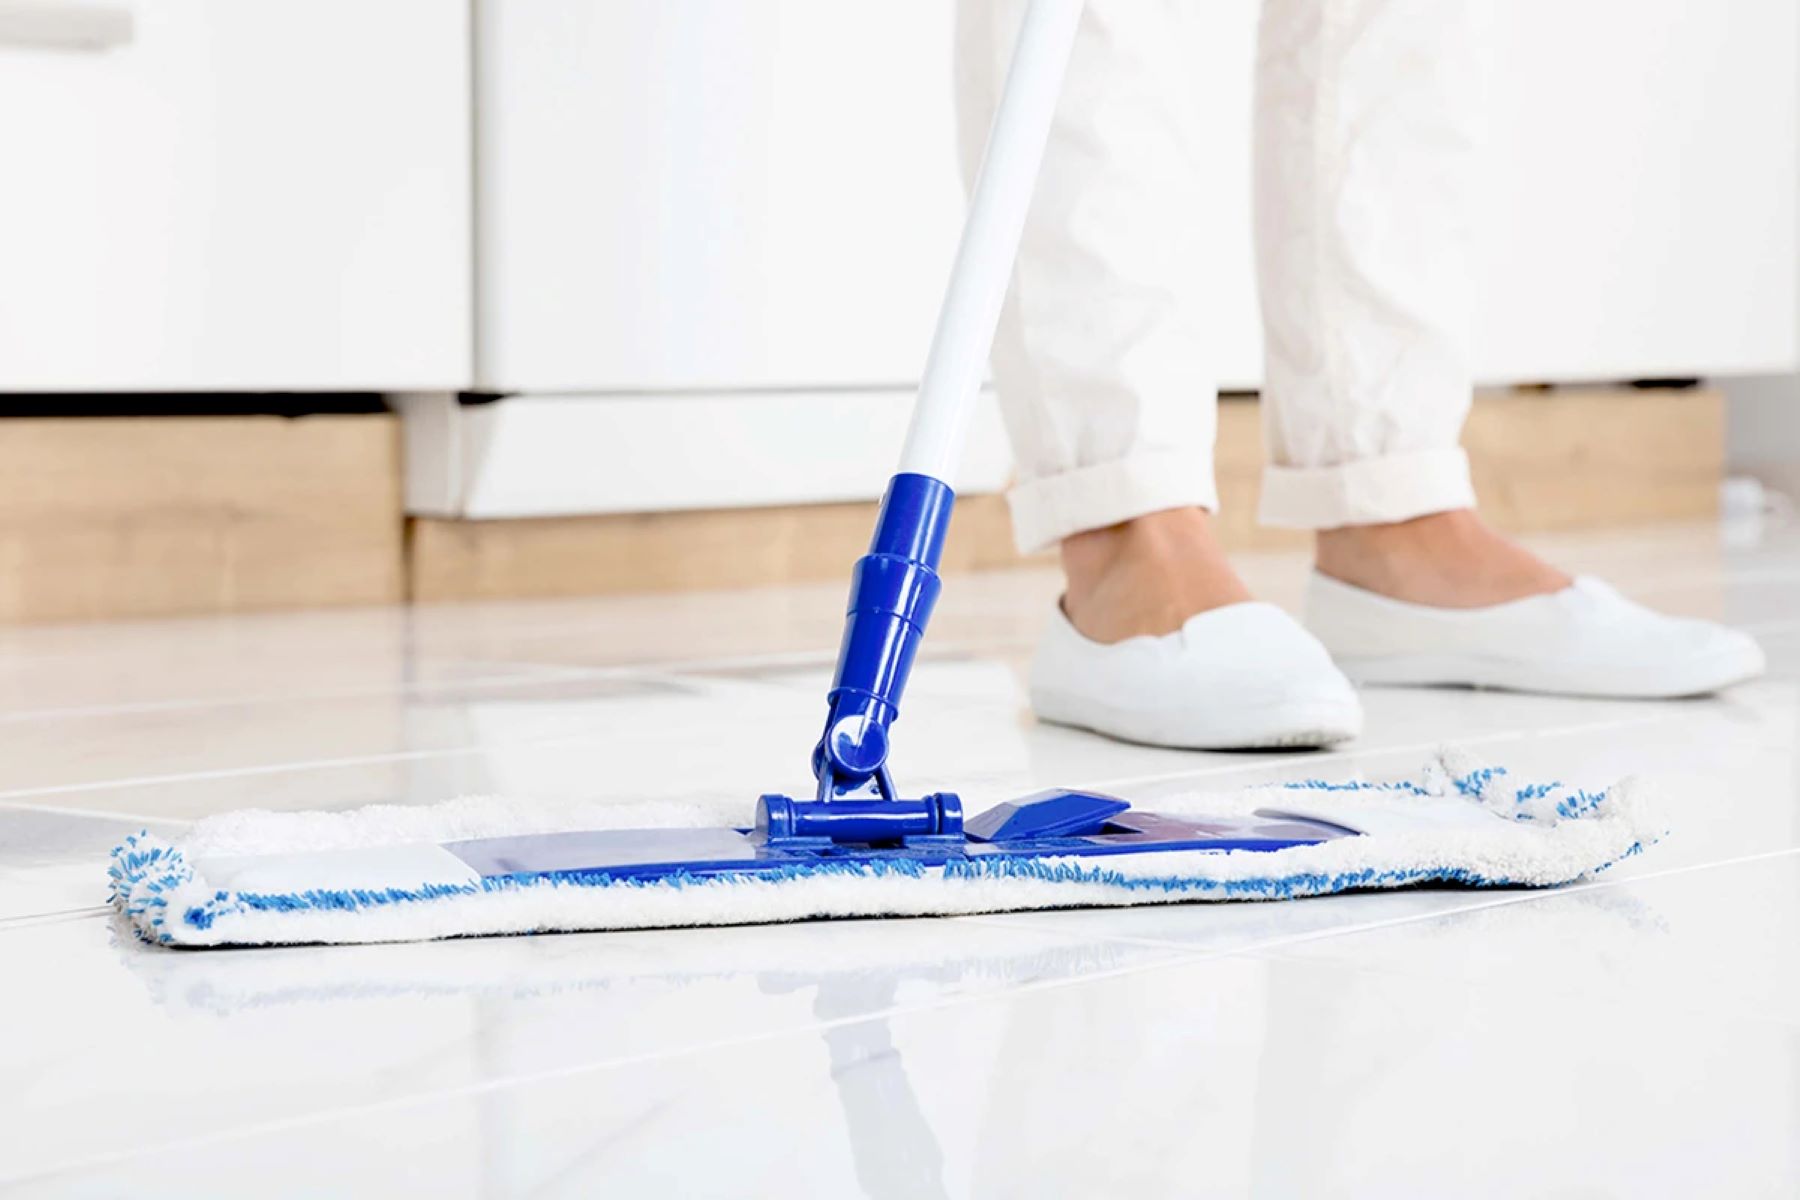
- Blot spills immediately: Promptly clean up any spills on the countertop to prevent the liquid from seeping into the surface. Use a soft cloth or paper towel to blot the spill, avoiding rubbing which can spread the stain.
- Avoid harsh or abrasive cleaners: Use mild dish soap, warm water, or a specialized epoxy countertop cleaner for routine cleaning. Avoid using abrasive cleaners, scouring pads, or harsh chemicals that can potentially damage the surface or strip away the protective layers of the epoxy.
- Limit exposure to acidic or harsh substances: While epoxy countertops have excellent resistance to most household chemicals, prolonged exposure to substances like bleach, vinegar, or lemon juice can potentially cause discoloration or damage. Clean up spills promptly and rinse the countertop thoroughly after contact with acidic substances.
- Use cutting boards and coasters: To prevent potential staining from food or beverages, always use cutting boards when slicing or chopping, and coasters or mats to protect the countertop surface from glasses, cups, or bottles.
- Regular maintenance: Periodically clean the surface using a mild cleaner and a soft cloth or sponge. This will help maintain the appearance of your epoxy countertop and prevent any build-up of residues or stains.
By following these guidelines and practicing routine maintenance and proper cleaning techniques, you can ensure that your epoxy countertop maintains its stain resistance and continues to look pristine over time.
Chemical Resistance
The chemical resistance of epoxy countertops is a crucial factor to consider when evaluating their durability. Epoxy countertops are known for their excellent resistance to a wide range of household chemicals, making them suitable for various applications.
Epoxy countertops are created by mixing epoxy resin with a hardener, resulting in a chemical reaction that produces a strong and resilient surface. This surface is highly resistant to many common household chemicals, including cleaning agents, acids, and solvents.
While epoxy countertops are highly resistant to chemicals, it’s important to note that prolonged exposure to certain substances or improper cleaning practices can still potentially cause damage. Here are some guidelines to ensure the chemical resistance of your epoxy countertop:
- Promptly clean up spills: Clean up any spills or splatters on the countertop as soon as possible. Use a mild cleaner or warm, soapy water to wipe away the spill, avoiding abrasive cleaners or scrubbing tools.
- Avoid abrasive or acidic cleaners: Using harsh or abrasive cleaners can potentially strip away the protective layers of the epoxy, compromising its chemical resistance. Stick to mild dish soap, warm water, or specialized epoxy countertop cleaners for routine cleaning.
- Protect the surface during chemical use: When using strong chemicals or cleaning agents, consider placing a protective mat or towel on the countertop surface. This will help prevent direct contact between the chemicals and the epoxy surface.
- Prevent prolonged exposure: While epoxy countertops are resistant to most household chemicals, it’s best to avoid leaving strong chemicals or solvents in contact with the countertop surface for extended periods. Promptly clean and rinse the area after using or spilling such substances.
- Use gentle cleaning tools: When wiping or cleaning the epoxy surface, use soft cloths, sponges, or non-abrasive materials. Avoid using scouring pads, steel wool, or sharp objects that can potentially scratch or damage the epoxy surface.
By following these guidelines and practicing proper cleaning techniques, you can maintain the chemical resistance of your epoxy countertop and prevent any potential damage or discoloration.
When caring for epoxy countertops, avoid using abrasive cleaners or scrubbing pads as they can scratch the surface. Instead, use a gentle cleaner and a soft cloth to maintain the durability and appearance of the countertops.
UV Resistance
The UV resistance of epoxy countertops is an important consideration when assessing their durability, especially for countertops exposed to sunlight or other sources of ultraviolet (UV) radiation. While epoxy countertops are generally resistant to UV rays, prolonged exposure to direct sunlight can still affect their appearance and performance over time.
Epoxy countertops are created by mixing epoxy resin with a hardener, resulting in a chemical reaction that produces a strong and glossy surface. While the epoxy resin itself has some UV resistance, prolonged exposure to UV radiation can cause yellowing or fading of the surface.
To protect your epoxy countertop from UV damage and prolong its lifespan, consider the following tips:
- Use window treatments: If your countertop is located near a window or receives direct sunlight, consider using blinds, curtains, or UV-protective film on the windows. These treatments can help block out or reduce the amount of UV radiation that reaches the countertop surface.
- Apply a protective coating: Consider applying a UV-resistant clear coat or epoxy sealer on top of the countertop surface. These coatings can provide an extra layer of protection against UV radiation and help preserve the color and finish of the epoxy countertop.
- Minimize direct sunlight exposure: If possible, rearrange your furniture or countertop layout to reduce direct exposure to sunlight during the peak hours of the day. This can help minimize the long-term impact of UV radiation on your epoxy countertop.
- Perform regular maintenance: Regular cleaning and maintenance can help prevent the buildup of dirt, dust, and other particles that can potentially accelerate the effects of UV exposure. Clean the countertop surface with a mild cleaner and soft cloth or sponge on a regular basis.
While UV resistance is an important aspect to consider, it is essential to note that even with proper care and protection, epoxy countertops can still experience some degree of color change or fading over time when exposed to UV radiation. However, by following these tips and taking preventive measures, you can help minimize the effects of UV exposure and maintain the appearance and durability of your epoxy countertop for years to come.
Pros and Cons of Epoxy Countertops
When considering epoxy countertops, it’s important to evaluate their pros and cons to determine if they are the right choice for your space. Here are some of the advantages and disadvantages of epoxy countertops:
Read more: How Durable Is Butcher Block Countertops
Pros:
- Durability: Epoxy countertops are known for their durability and resistance to scratches, stains, heat, and chemicals. They can withstand heavy use and are suitable for high-traffic areas.
- Aesthetic Appeal: Epoxy countertops offer a high-gloss and seamless finish, creating a modern and visually appealing look. They are available in a wide range of colors and designs, allowing for customization to suit your style preferences.
- Easy Maintenance: Epoxy countertops are non-porous, making them easy to clean and maintain. Spills and stains can be wiped away without seeping into the surface, and routine cleaning only requires mild dish soap and water.
- Versatility: Epoxy countertops can be used in various applications, including kitchens, bathrooms, laboratories, restaurants, and retail spaces. They offer versatility in design options and can be customized to fit different styles and aesthetics.
- Chemical Resistance: Epoxy countertops have excellent resistance to a wide range of chemicals, making them suitable for areas where exposure to chemicals is common, such as laboratories or workshops.
Cons:
- Cost: Epoxy countertops can be more expensive compared to other countertop materials, such as laminate or granite. The cost varies depending on factors like size, complexity of design, and additional features.
- Installation Complexity: Installing epoxy countertops requires proper preparation and training to ensure a smooth and even application. Improper installation can lead to issues such as improper adhesion or air bubbles in the epoxy surface.
- UV Sensitivity: While epoxy countertops have some UV resistance, prolonged exposure to direct sunlight can cause yellowing or fading over time. Taking precautions, such as using window treatments or protective coatings, can help minimize the effects of UV radiation.
- Potential for Damage: Although epoxy countertops are durable, they are not indestructible. Extreme force or impact can still cause cracks or chips in the surface, so it’s important to handle heavy objects with care and use protective measures.
- Limited Repair Options: If an epoxy countertop does get damaged, repairs can be challenging. In some cases, a full replacement may be necessary, depending on the severity of the damage.
It’s important to weigh these pros and cons based on your specific needs and preferences. Consider factors such as budget, intended use, maintenance requirements, and aesthetic appeal when deciding if epoxy countertops are the right choice for your space.
Tips for Maintaining Epoxy Countertops
Maintaining epoxy countertops is relatively easy and can help ensure their longevity and aesthetic appeal over time. By following these tips, you can keep your epoxy countertops in top shape:
- Clean spills promptly: Wipe up any spills on the countertop surface immediately to prevent staining or damage. Use a soft cloth or paper towel to blot the spill, avoiding rubbing which can spread the stain.
- Avoid abrasive cleaners: Use mild dish soap, warm water, or a specialized epoxy countertop cleaner for routine cleaning. Avoid using abrasive cleaners or scouring pads that can potentially scratch or damage the surface.
- Use gentle cleaning tools: When wiping or cleaning the surface, use soft cloths, sponges, or non-abrasive materials. Avoid using scouring pads, steel wool, or sharp objects that can potentially scratch or damage the epoxy surface.
- Protect from heat: Use trivets, hot pads, or heat-resistant mats to protect the countertop from direct heat. Avoid placing hot pots, pans, or kitchen utensils directly on the surface to prevent potential damage.
- Prevent scratches: Use cutting boards or protective pads when working with sharp objects like knives or kitchen utensils. This will prevent direct scratching of the countertop surface and prolong its longevity.
- Avoid harsh chemicals: While epoxy countertops are resistant to most household chemicals, avoid using harsh or acidic cleaners that can potentially strip away the protective layers of the epoxy. Stick to mild cleaning solutions.
- Regular maintenance: Clean the countertop surface regularly using a mild cleaner and a soft cloth or sponge. This will help remove any dirt, grime, or residues and maintain the appearance of your epoxy countertop.
- Minimize UV exposure: If your countertop is exposed to direct sunlight, use window treatments or apply a UV-resistant clear coat to protect it from potential yellowing or fading caused by UV radiation.
- Handle with care: While epoxy countertops are durable, they can still be damaged by extreme force or impact. Avoid dropping heavy objects onto the surface and use caution when handling sharp or heavy items.
- Regularly check for damage: Inspect your epoxy countertop periodically for any signs of cracks, chips, or damage. Address any issues promptly to prevent further damage and consider consulting a professional for repairs if necessary.
Following these tips and being proactive in maintaining your epoxy countertops will help keep them looking beautiful and ensure their durability for years to come. Remember to always refer to the specific care instructions provided by the manufacturer of your epoxy countertops for the best results.
Conclusion
Epoxy countertops provide a durable and visually appealing option for both residential and commercial spaces. Their unique characteristics such as impact resistance, heat resistance, stain resistance, chemical resistance, and versatility make them a popular choice among homeowners and designers.
Understanding the factors that affect the durability of epoxy countertops is crucial in making an informed decision. While epoxy countertops offer many benefits, including easy maintenance and resistance to scratches, stains, and heat, it is important to consider their potential drawbacks such as cost, installation complexity, and sensitivity to UV radiation.
To ensure your epoxy countertops remain in great condition, it’s important to follow proper maintenance practices. Cleaning up spills promptly, using gentle cleaning tools, protecting the surface from heat, and avoiding harsh chemicals are key elements of maintaining and preserving the longevity of your epoxy countertops.
Additionally, taking preventive measures such as using cutting boards, minimizing direct sunlight exposure, and handling heavy objects with care can help extend the lifespan of your epoxy countertops.
In conclusion, epoxy countertops offer a durable and aesthetically pleasing option for various applications. By understanding the factors affecting their durability, weighing the pros and cons, and following the maintenance tips, you can enjoy the long-lasting beauty and functionality of your epoxy countertops for years to come.
Frequently Asked Questions about How Durable Are Epoxy Countertops
Was this page helpful?
At Storables.com, we guarantee accurate and reliable information. Our content, validated by Expert Board Contributors, is crafted following stringent Editorial Policies. We're committed to providing you with well-researched, expert-backed insights for all your informational needs.


0 thoughts on “How Durable Are Epoxy Countertops”