Articles
How Much Does It Cost To Epoxy Basement Floor
Modified: May 6, 2024
Discover the average cost of epoxy basement floor in this comprehensive articles. Find out the factors that affect pricing and make an informed decision for your home renovation project.
(Many of the links in this article redirect to a specific reviewed product. Your purchase of these products through affiliate links helps to generate commission for Storables.com, at no extra cost. Learn more)
Introduction
When it comes to renovating your basement, one of the most important considerations is the flooring. The basement is a unique area of the house that requires durable and moisture-resistant flooring options. One popular choice for basement flooring is epoxy. Not only does epoxy flooring offer a stylish and modern look, but it also provides numerous benefits in terms of durability and functionality.
In this article, we will explore the world of epoxy basement flooring and discuss the factors that affect its cost. Whether you’re planning a complete basement makeover or just want to update the flooring, understanding the cost of epoxy basement flooring will help you make informed decisions and budget accordingly.
Key Takeaways:
- Epoxy basement flooring offers durability, moisture resistance, and low maintenance, making it a cost-effective and stylish choice for homeowners seeking to enhance their basement space.
- Whether considering a DIY approach or hiring a professional, understanding the factors affecting the cost of epoxy basement flooring is crucial for informed decision-making and effective budget planning.
Read more: How Much Does An Epoxy Garage Floor Cost
What is Epoxy Flooring?
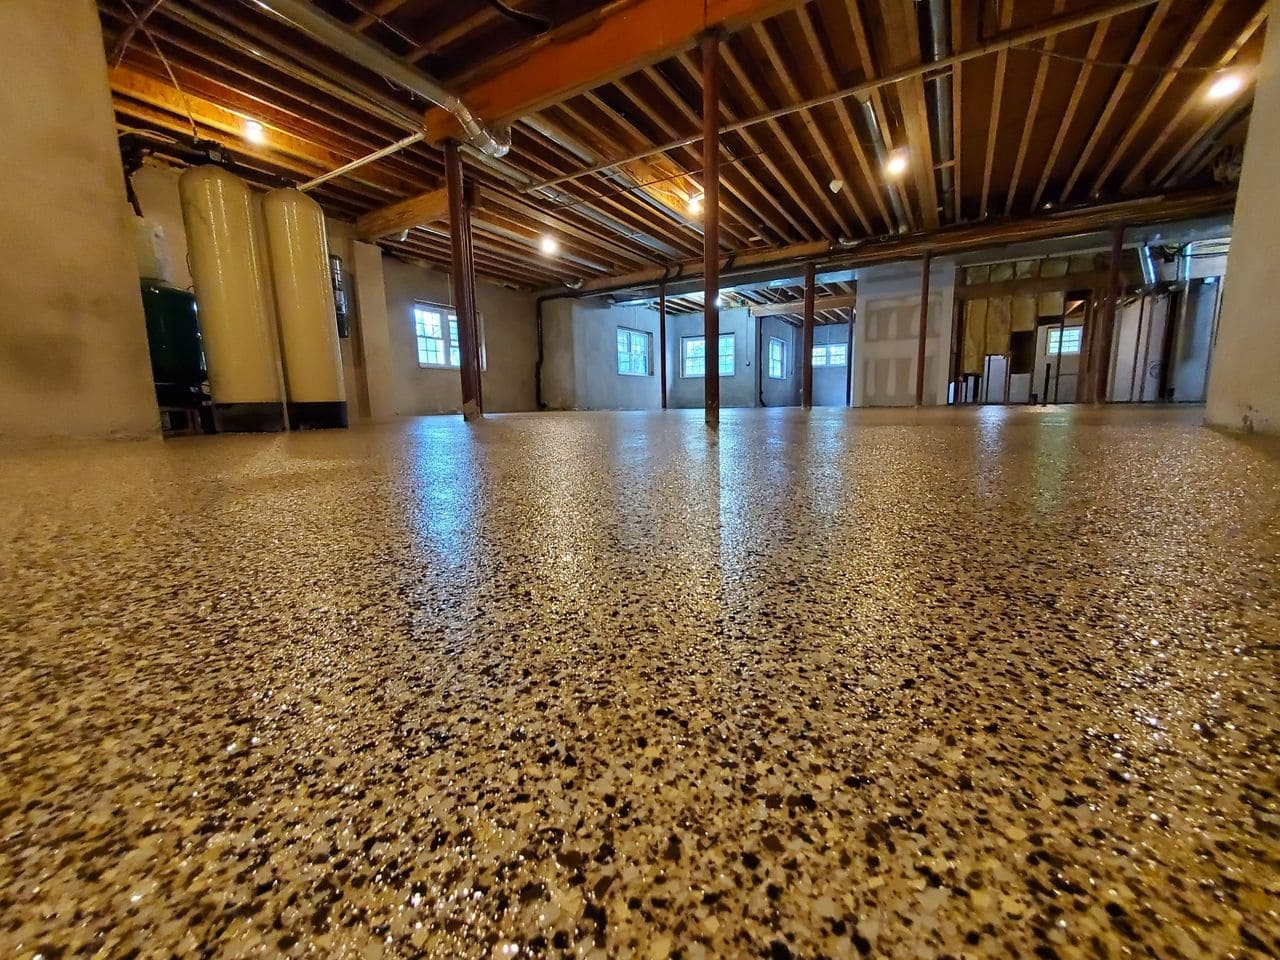
Epoxy flooring is a type of surface coating that is applied to concrete floors to provide a durable and attractive finish. It is made by combining resin and hardener, which react chemically to form a rigid plastic-like material. The resulting epoxy coating creates a strong bond with the concrete surface, making it resistant to stains, impact, moisture, and chemicals.
Epoxy flooring is commonly used in commercial and industrial settings due to its exceptional strength and durability. However, its popularity in residential applications, particularly in basements, has been on the rise in recent years. The seamless and glossy appearance of epoxy flooring adds a touch of sophistication to any space.
One of the key features of epoxy flooring is its ability to create a moisture barrier, making it an ideal choice for basements. Basements are prone to high humidity levels and occasional water leaks, which can cause damage to traditional flooring materials such as carpet, laminate, or wood. Epoxy flooring provides a waterproof and seamless surface, preventing moisture from seeping through and protecting the underlying concrete.
In addition to its moisture resistance, epoxy flooring is also highly resistant to chemicals, making it suitable for areas that may encounter spills or chemical exposure. This makes it a practical choice for basements that are used as storage areas or workshops.
Furthermore, epoxy flooring is easy to clean and maintain. Its smooth, non-porous surface prevents dirt, dust, and stains from adhering to the floor. Regular sweeping and occasional mopping are all that is needed to keep the flooring looking clean and fresh.
Overall, epoxy flooring offers a combination of durability, functionality, and aesthetic appeal, making it an excellent choice for basement flooring and other high-performance areas.
Benefits of Epoxy Basement Flooring
Epoxy basement flooring comes with a variety of advantages that make it a highly desirable option for homeowners. Let’s explore some of the key benefits of choosing epoxy for your basement:
- Durability: Epoxy flooring is known for its exceptional durability. It is resistant to scratches, cracks, and impacts, making it ideal for high-traffic areas like the basement. The strong bond it forms with the concrete ensures longevity and reduces the risk of damage or wear over time.
- Moisture resistance: Basements are prone to moisture issues, including leaks and humidity. Epoxy flooring provides a waterproof barrier, preventing water seepage, and protecting the concrete slab from damage. Unlike other flooring options, epoxy does not warp or buckle when exposed to moisture, making it a reliable choice for basement flooring.
- Chemical resistance: Basements often serve as storage areas or workshops, where exposure to chemicals is common. Epoxy flooring is highly resistant to chemicals, making it easy to clean spills without worrying about stains or damage. This protects the longevity of the flooring and maintains its aesthetic appeal.
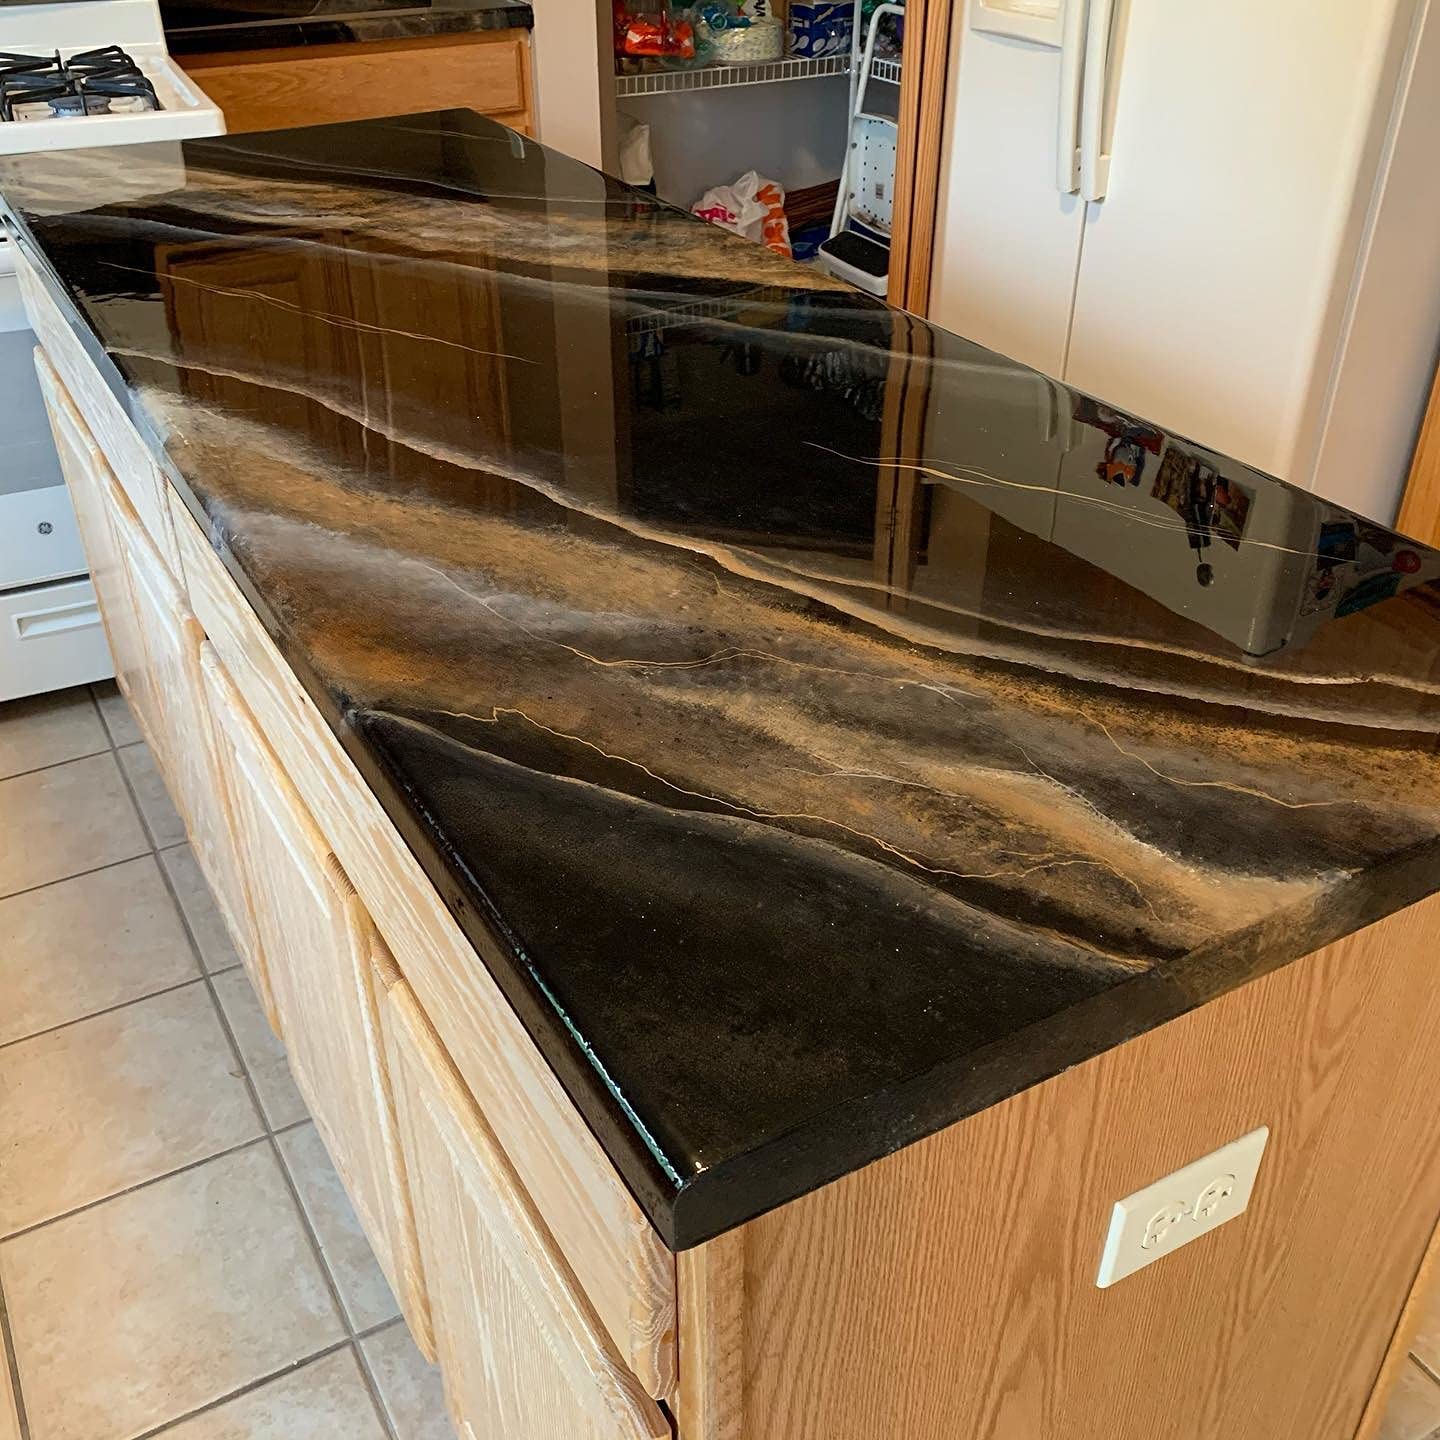
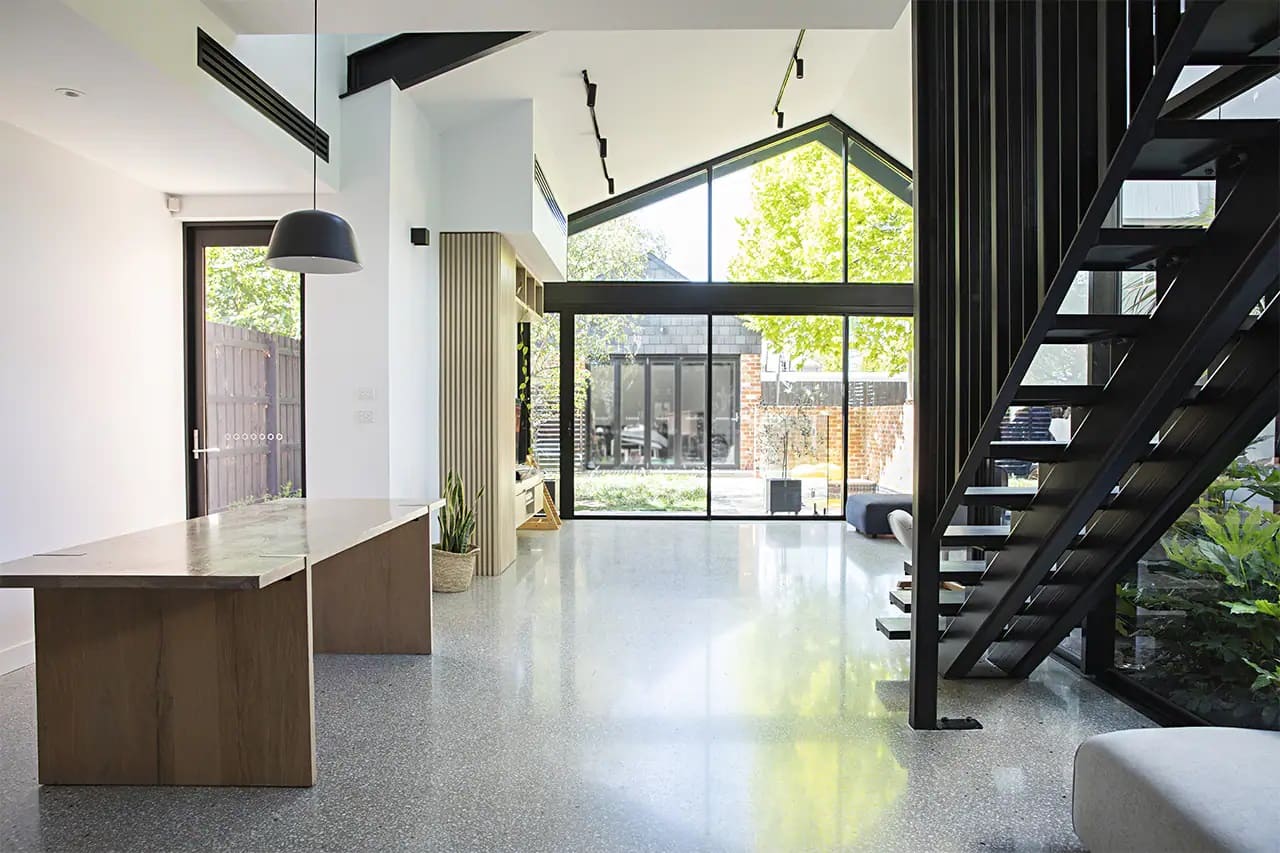
- Seamless and attractive finish: Epoxy basement flooring offers a smooth and seamless finish that adds a touch of elegance to the space. The glossy appearance of the epoxy coating enhances the overall aesthetic of the basement, making it visually appealing. Additionally, epoxy flooring is available in a wide range of colors and finishes, allowing homeowners to customize the look to suit their preferences.
- Low maintenance: One of the significant advantages of epoxy flooring is its ease of maintenance. The smooth and non-porous surface of epoxy makes it resistant to stains, dirt, and dust. Cleaning the floor is as simple as regular sweeping and an occasional mop with mild detergent. This saves homeowners valuable time and effort in maintaining their basement flooring.
- Cost-effective: While the upfront cost of installing epoxy flooring may be higher than some other flooring options, its long-term cost-effectiveness is worth noting. Epoxy flooring is durable and long-lasting, meaning you won’t have to worry about regular replacement or expensive repairs. Additionally, the low maintenance requirements translate into potential savings on cleaning products and maintenance costs over time.
Overall, epoxy basement flooring offers a range of benefits, including durability, moisture resistance, chemical resistance, an attractive finish, low maintenance, and long-term cost savings. These advantages make epoxy an excellent choice for homeowners looking to enhance the functionality and aesthetics of their basement space.
Factors Affecting the Cost of Epoxy Basement Flooring
Several factors can influence the cost of epoxy basement flooring. Understanding these factors will help you estimate the budget required for your project and make informed decisions. Here are the key factors that can affect the cost:
- Size of the basement: The size of your basement plays a significant role in determining the cost of epoxy flooring. Larger basements require more materials and labor, resulting in higher costs. On the other hand, smaller basements may have lower overall costs.
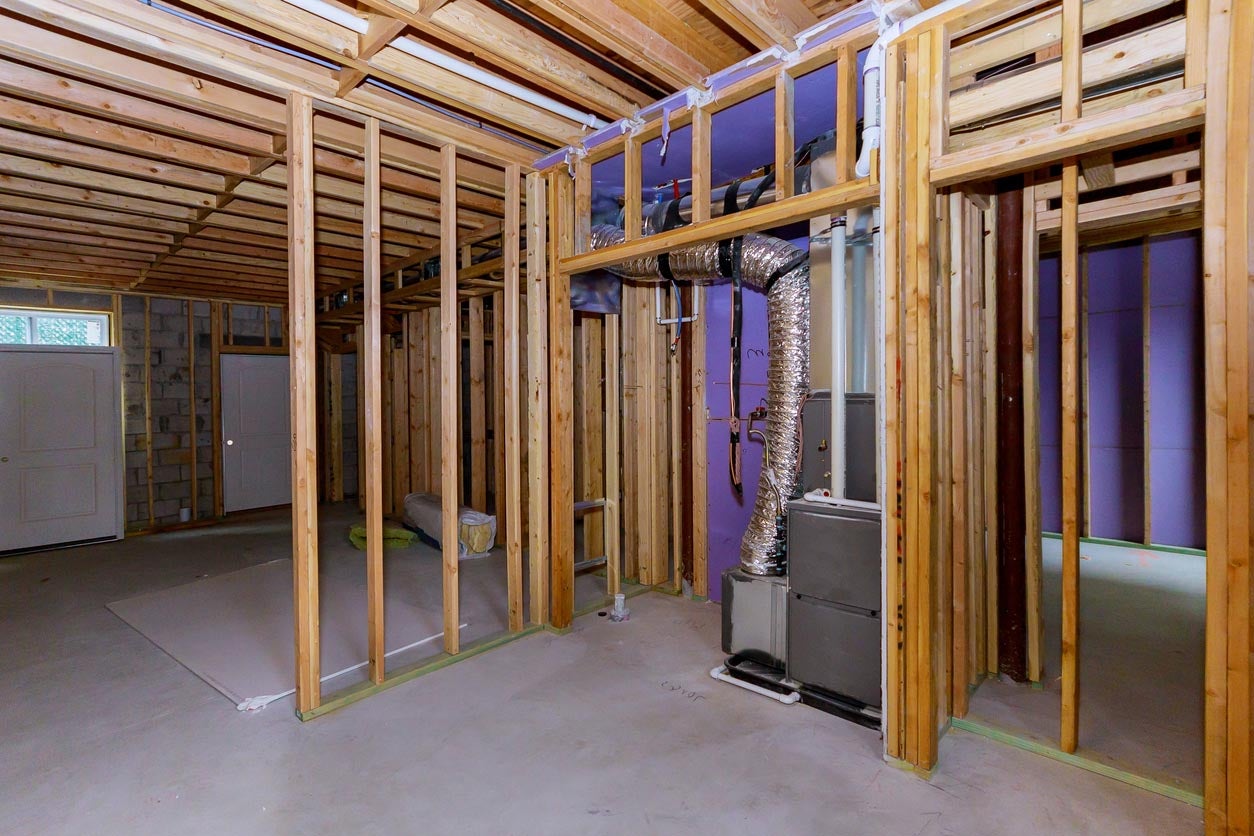
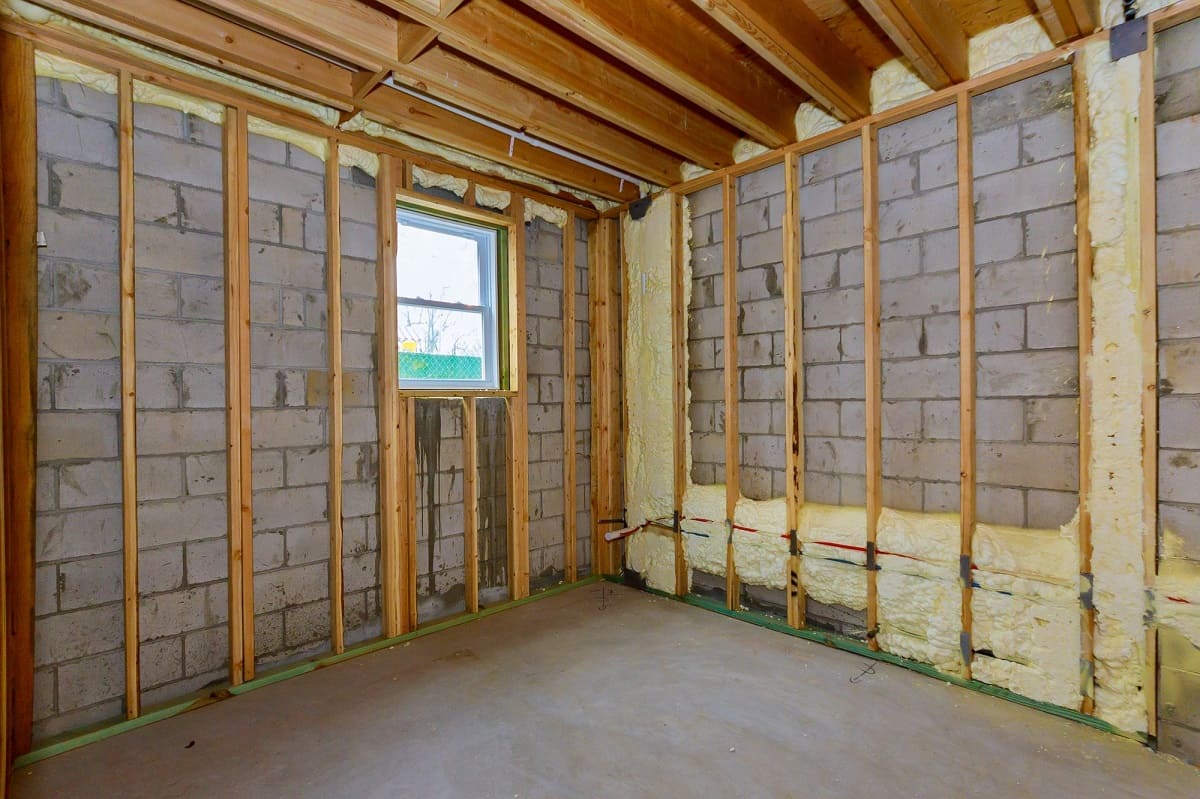
- Condition of the concrete: The condition of the existing concrete floor affects the cost of epoxy basement flooring. If the concrete is in good condition and requires minimal preparation, the cost will be relatively lower. However, if the concrete needs extensive repairs or additional surface preparation, such as grinding or crack filling, it can increase the overall cost.
- Epoxy system used: There are different types of epoxy systems available, ranging from basic to high-performance options. The cost will vary depending on the type of epoxy system you choose. Basic epoxy systems are more affordable, while high-performance systems with additional features like UV resistance or anti-slip properties may come at a higher cost.
- Design and customization: If you opt for custom colors, patterns, or decorative elements in your epoxy flooring, it can increase the cost. Customization often requires additional materials, labor, and expertise, resulting in higher overall expenses. However, it allows you to create a unique and personalized basement flooring that matches your aesthetic preferences.
- Additional features: Epoxy flooring can be enhanced with additional features, such as moisture barriers or chemical-resistant coatings. These features provide extra protection and durability but can contribute to a higher cost. Assessing the specific needs of your basement and considering the functional requirements will help determine if these additional features are necessary for your project.
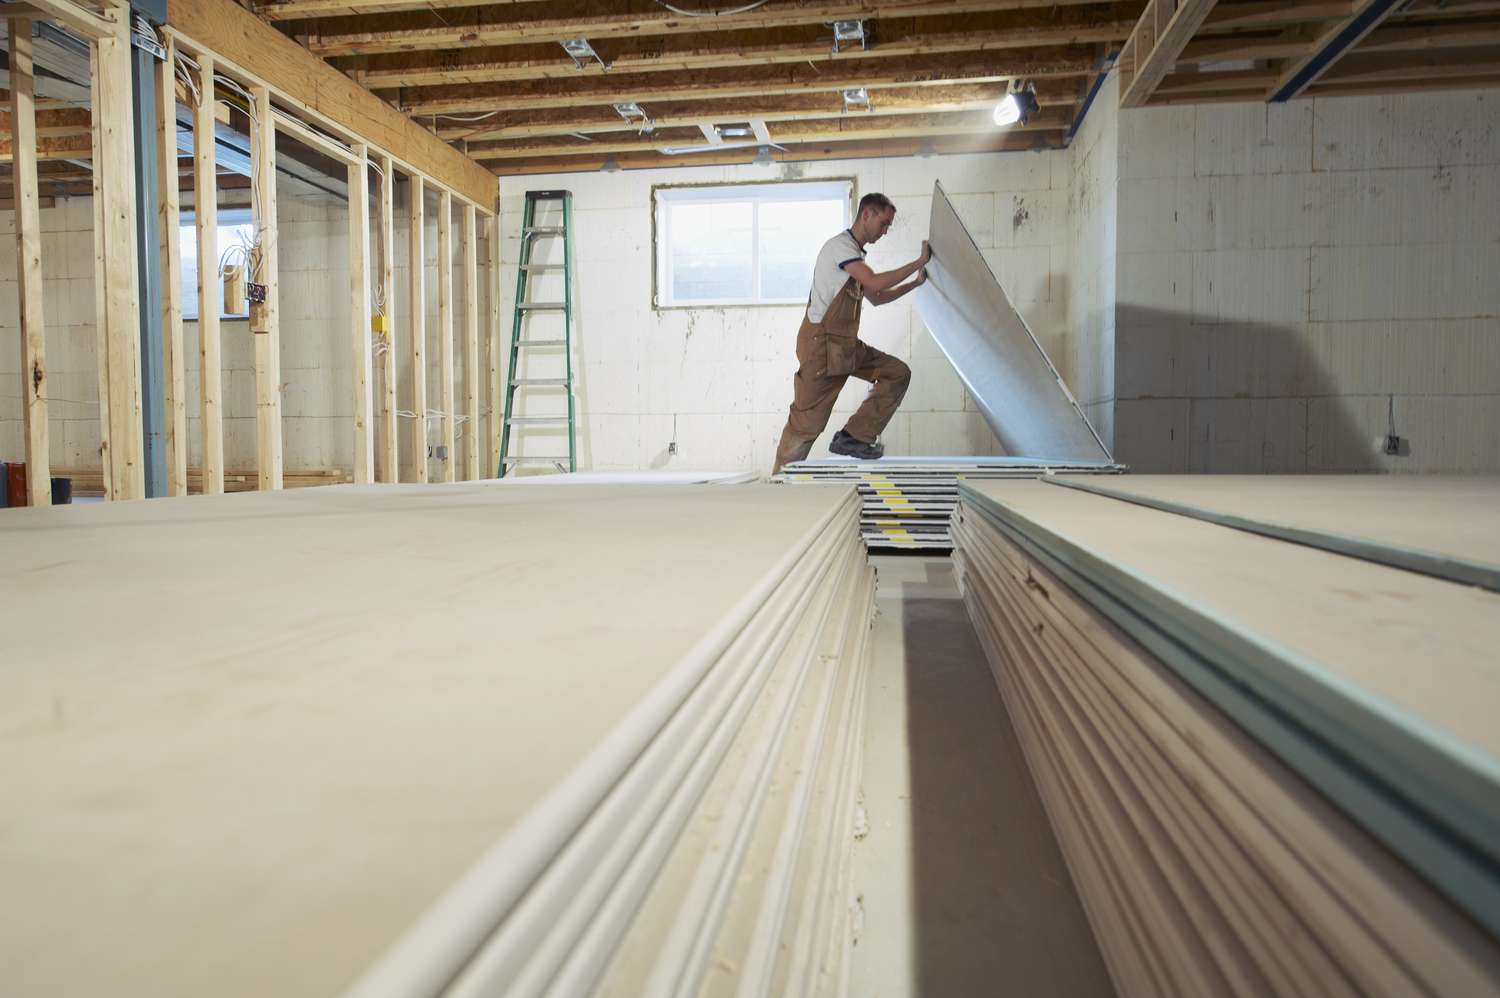
- Professional installation: While some homeowners may choose to install epoxy flooring as a DIY project, hiring a professional is recommended for optimal results. Professional installation ensures proper surface preparation, application, and sealing, which can significantly impact the longevity and quality of the epoxy flooring. However, professional installation comes with an additional cost for labor, which should be factored into the overall budget.
It is essential to consider these factors when estimating the cost of epoxy basement flooring. Consulting with professionals and obtaining multiple cost estimates will help you make an informed decision based on your budget and specific requirements.
Cost Breakdown of Epoxy Basement Flooring
When planning for epoxy basement flooring, understanding the cost breakdown is crucial for budgeting purposes. The cost can vary depending on several factors, including the size of the basement, the condition of the concrete, and the type of epoxy system chosen. Here is a breakdown of the typical costs associated with epoxy basement flooring:
- Preparation: This includes the necessary surface preparation before applying the epoxy coating. It may involve grinding, crack repairs, or moisture barrier installation. The cost of preparation can range from $1 to $3 per square foot, depending on the extent of the required preparation.
- Materials: The cost of materials includes the epoxy resin, hardener, primer, and any additional coatings or enhancements for the epoxy flooring. On average, the materials cost can range from $2 to $6 per square foot, depending on the quality of the epoxy system and any customization options chosen.
- Labor: Hiring a professional to install epoxy basement flooring can cost anywhere from $3 to $8 per square foot. This cost covers the expertise, labor, and equipment required for proper installation, ensuring a high-quality and long-lasting epoxy flooring system.
- Additional features: If you opt for additional features such as a moisture barrier or chemical-resistant coating, this can add to the overall cost. The price of these additional features can range from $2 to $4 per square foot, depending on the specific requirements and the products used.
- Customization: If you choose to customize your epoxy flooring with unique colors, patterns, or designs, there may be an additional cost. Customization options can range from $1 to $4 per square foot, depending on the complexity and intricacy of the design.
- Maintenance: While not an upfront cost, it’s important to consider the long-term maintenance expenses. Epoxy flooring is known for its low maintenance needs, but occasional touch-ups or resealing may be required over time. The cost of maintenance varies depending on the specific requirements and can range from $0.25 to $1 per square foot annually.
Keep in mind that these costs are estimates and can vary based on your specific location and the complexity of your project. It is always advisable to get multiple quotes from reputable contractors to determine the most accurate cost for your epoxy basement flooring project.
By understanding the cost breakdown, you can plan your budget effectively and make an informed decision that aligns with your financial resources and design preferences. Remember to consider the long-term durability and benefits of epoxy flooring when weighing the cost against the value it brings to your basement.
When budgeting for epoxy basement floor, consider the size of the area, the condition of the existing floor, and any additional services needed, such as crack repair or moisture barriers. Get multiple quotes to compare costs.
DIY vs Hiring a Professional for Epoxy Basement Flooring
When considering epoxy basement flooring, one decision you’ll need to make is whether to tackle the project as a DIY endeavor or hire a professional. Both options have their advantages and drawbacks. Let’s explore the pros and cons of each to help you make an informed choice:
DIY Epoxy Basement Flooring
Opting for a DIY approach can potentially save you money on labor costs. Here are some of the benefits of going the DIY route:
- Cost savings: By doing the project yourself, you can avoid paying for professional labor. This can result in significant cost savings, especially if you have experience with similar projects and already own the necessary tools.
- Flexibility: DIY projects offer flexibility in terms of scheduling and working at your own pace. You have control over when and how the project is executed, allowing you to work around your own schedule.
- Learning experience: Taking on a DIY epoxy basement flooring project can be a great learning experience. You can gain valuable skills and knowledge about the installation process, which can be beneficial for future projects.
However, DIY epoxy basement flooring also has its downsides:
- Skill and expertise: Installing epoxy flooring requires a certain level of skill and expertise. Improper application can result in a subpar finish, which may affect the durability and overall quality of the flooring. Without prior experience or knowledge, you may encounter challenges that could compromise the final result.
- Time-consuming: DIY projects can be time-consuming, especially if you’re unfamiliar with the process. Properly preparing the surface, applying the epoxy coating, and allowing ample curing time can take several days or even weeks. This can be a drawback if you’re looking for a quick and efficient renovation.
- Potential for mistakes: Without professional guidance, there is a higher risk of making mistakes during the installation process. These mistakes can lead to additional costs for repairs or even the need to start over. It’s essential to weigh your own skills and confidence level before taking on such a project.
Hiring a Professional for Epoxy Basement Flooring
While hiring a professional may involve additional costs, the benefits can outweigh the expense. Here are some advantages of hiring a professional:
- Expertise and experience: Professional epoxy flooring installers have the knowledge, skills, and experience necessary to ensure a high-quality and long-lasting floor. They know the best techniques and products to use and can provide guidance on customization options and maintenance.
- Time and efficiency: Professionals can complete the project more efficiently than most DIYers. They have the proper equipment and a trained team, allowing them to complete the installation process in a shorter time frame. This is especially beneficial if you need your basement to be ready for use quickly.
- Quality results: Hiring a professional guarantees a professional finish. They have access to high-quality materials and can deliver a flawless and visually appealing epoxy flooring that meets your specific requirements.
However, hiring a professional also has potential drawbacks:
- Higher cost: Professional labor comes at an additional cost. You’ll need to consider your budget and compare quotes from different contractors to ensure you’re getting a fair price.
- Limited control: When hiring a professional, you’ll have less control over the project’s timeline and process. You’ll need to communicate your preferences clearly but be open to their recommendations and expertise.
Ultimately, the decision of DIY vs hiring a professional for epoxy basement flooring depends on your skill level, time constraints, budget, and desired outcome. If you have the necessary expertise and are confident in your abilities, a DIY approach may be suitable. However, if you value efficiency, quality, and peace of mind, hiring a professional can ensure a seamless and successful epoxy basement flooring installation.
Conclusion
Epoxy basement flooring offers a wide range of benefits, making it a popular choice for homeowners looking to enhance the aesthetics and functionality of their basement space. With its durability, moisture resistance, ease of maintenance, and attractive finish, epoxy flooring provides a reliable and long-lasting solution for basement surfaces.
When considering epoxy basement flooring, it is important to understand the factors that affect its cost, including the size of the basement, the condition of the concrete, and the type of epoxy system chosen. By considering these factors, you can create a realistic budget and ensure that the investment aligns with your needs and preferences.
Whether you choose to tackle the project as a DIY endeavor or hire a professional, each option has its pros and cons. DIY epoxy flooring may save on labor costs and provide a learning experience, but it requires skill, time, and careful execution. Hiring a professional ensures expert installation, efficiency, and high-quality results, but comes with an additional cost.
Ultimately, the decision between DIY and professional installation depends on your individual circumstances, such as your skill level, available time, and budget. Assess your capabilities and requirements to determine the best approach for your epoxy basement flooring project.
In conclusion, epoxy basement flooring offers a durable, moisture-resistant, and visually appealing solution for enhancing your basement space. With proper planning, budgeting, and consideration of your options, you can achieve a stunning and functional epoxy flooring that transforms your basement into a valuable and enjoyable part of your home.
Now that you're savvy about epoxy costs for basement floors, why not delve deeper into another crucial aspect of basement transformations? Understanding how long renovations take can help you plan better and manage expectations. Diving into "How Long Does Basement Renovation Take" will equip you with essential timelines and preparation tips, ensuring your project runs smoothly from start to finish.
Frequently Asked Questions about How Much Does It Cost To Epoxy Basement Floor
Was this page helpful?
At Storables.com, we guarantee accurate and reliable information. Our content, validated by Expert Board Contributors, is crafted following stringent Editorial Policies. We're committed to providing you with well-researched, expert-backed insights for all your informational needs.


0 thoughts on “How Much Does It Cost To Epoxy Basement Floor”