Home>Articles>How To Ensure Precise Measurements For A Granite Countertop

Articles
How To Ensure Precise Measurements For A Granite Countertop
Modified: August 27, 2024
Learn how to accurately measure for granite countertops in this informative article. Avoid costly mistakes by following our step-by-step guide.
(Many of the links in this article redirect to a specific reviewed product. Your purchase of these products through affiliate links helps to generate commission for Storables.com, at no extra cost. Learn more)
Introduction
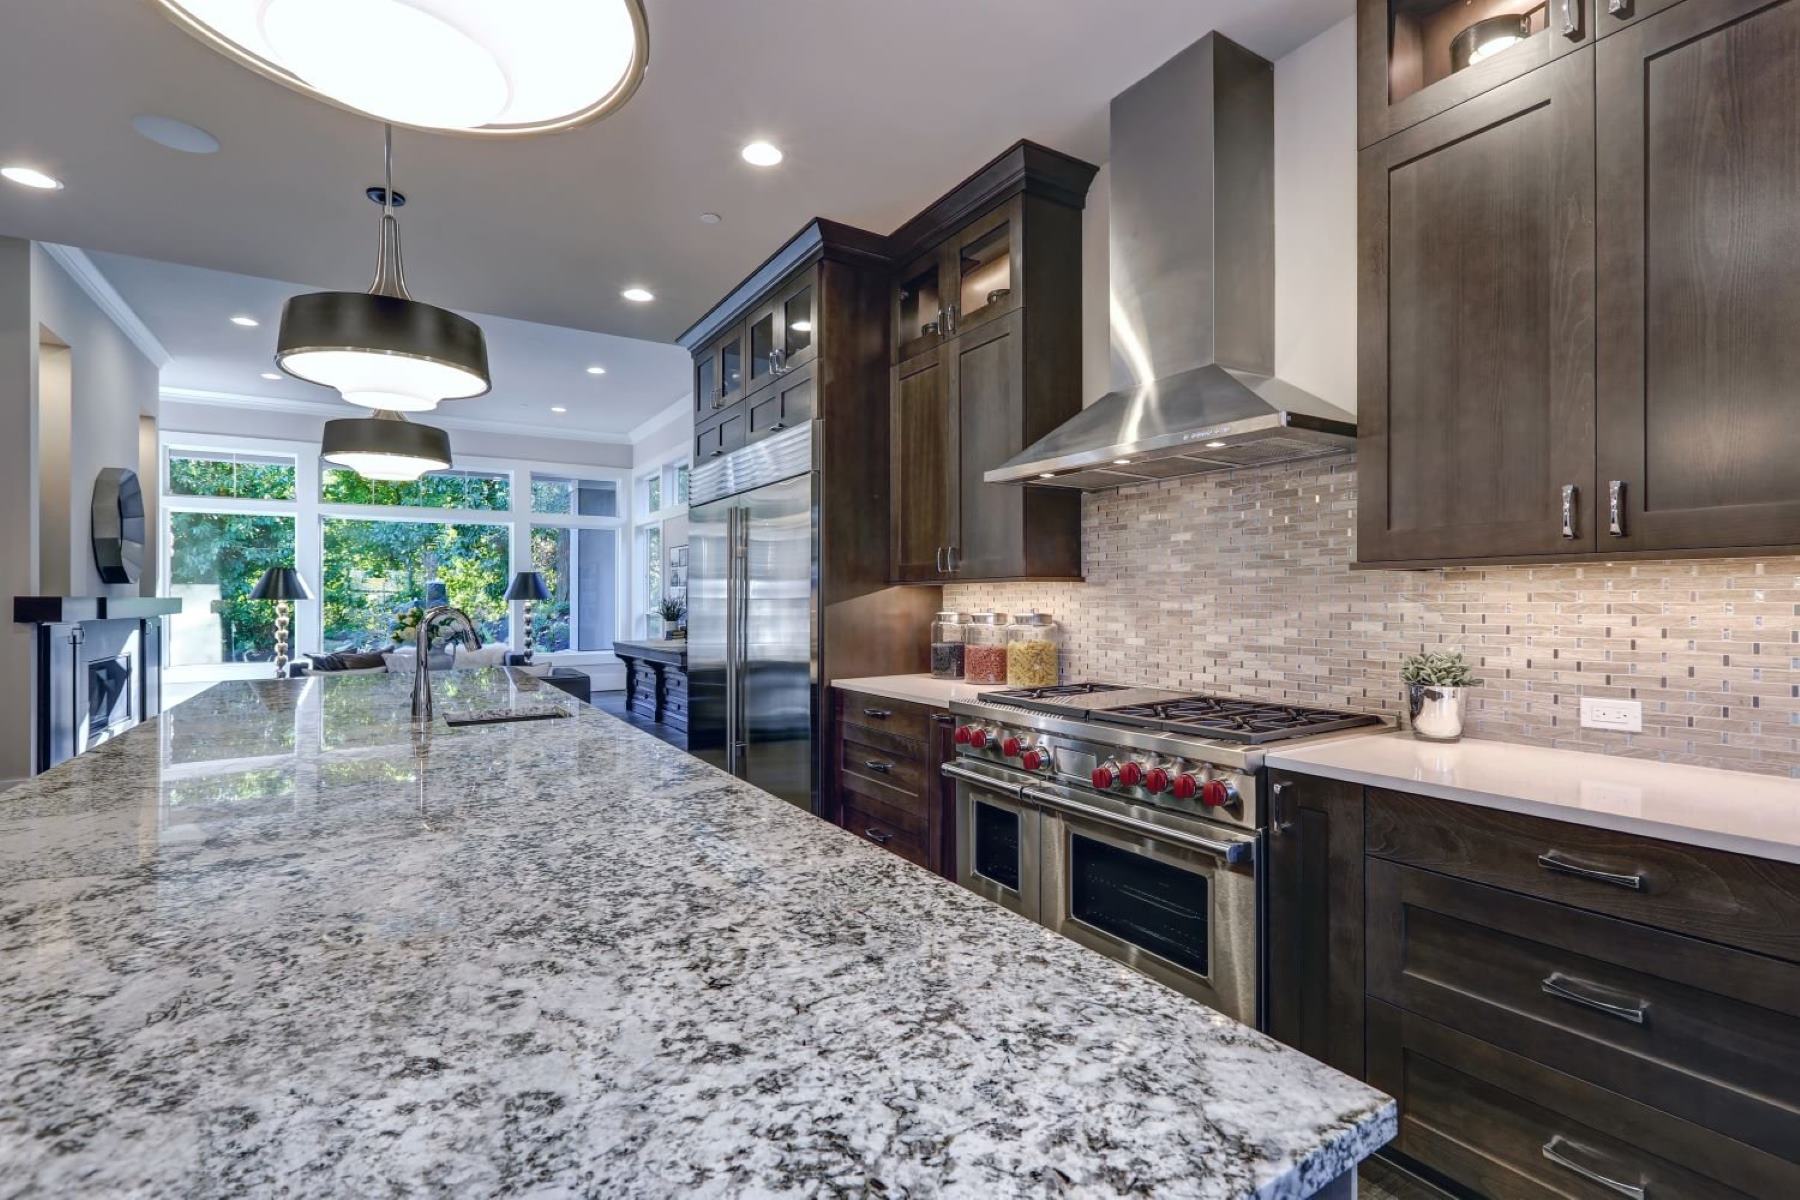
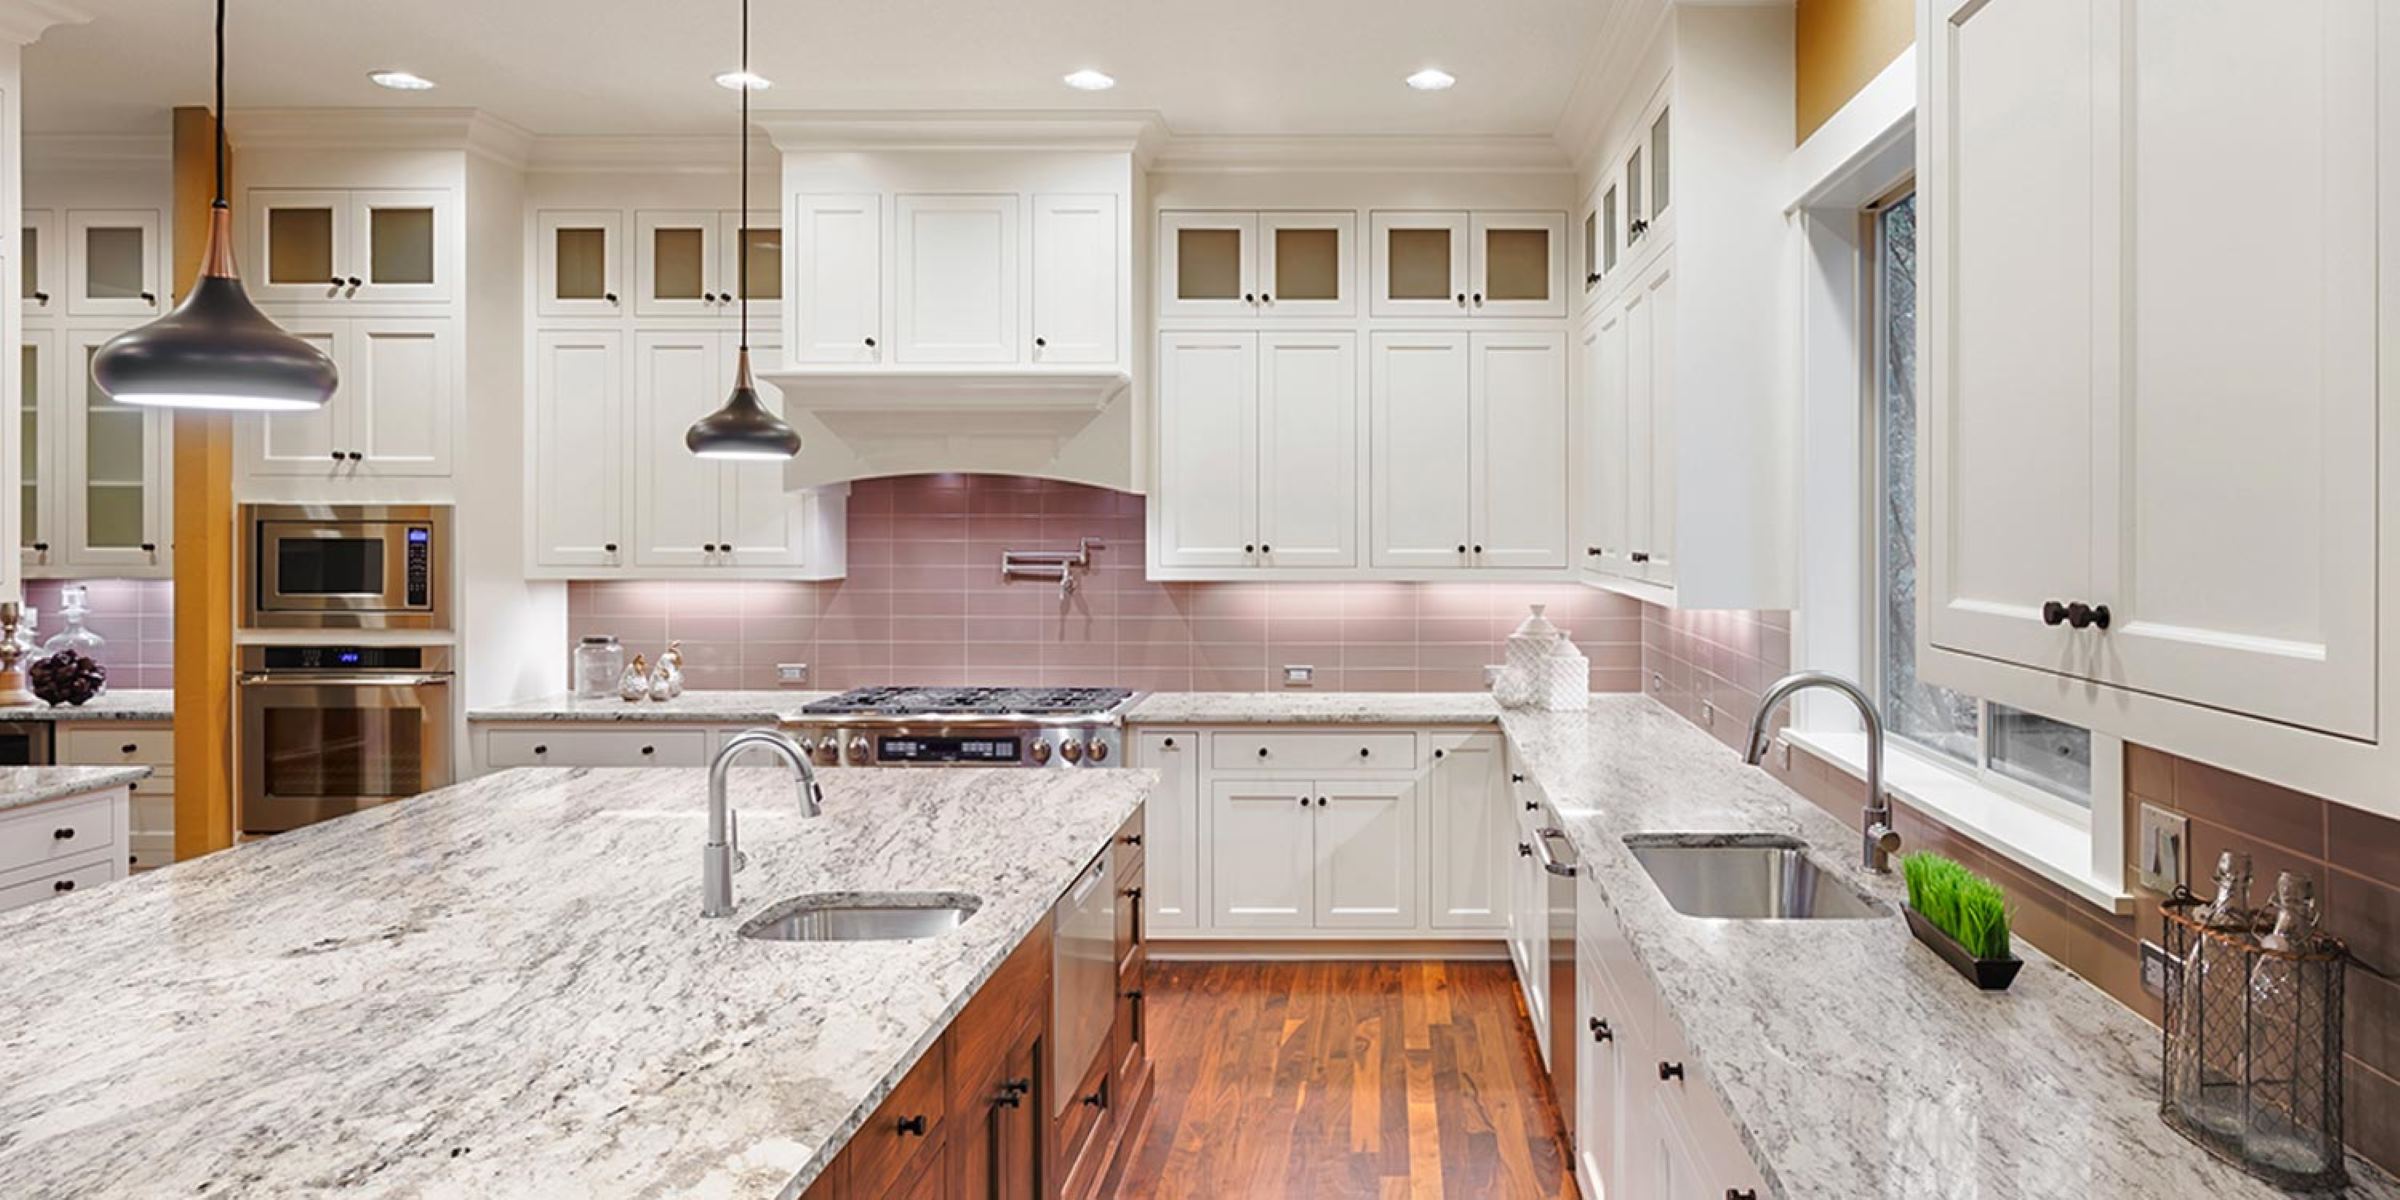
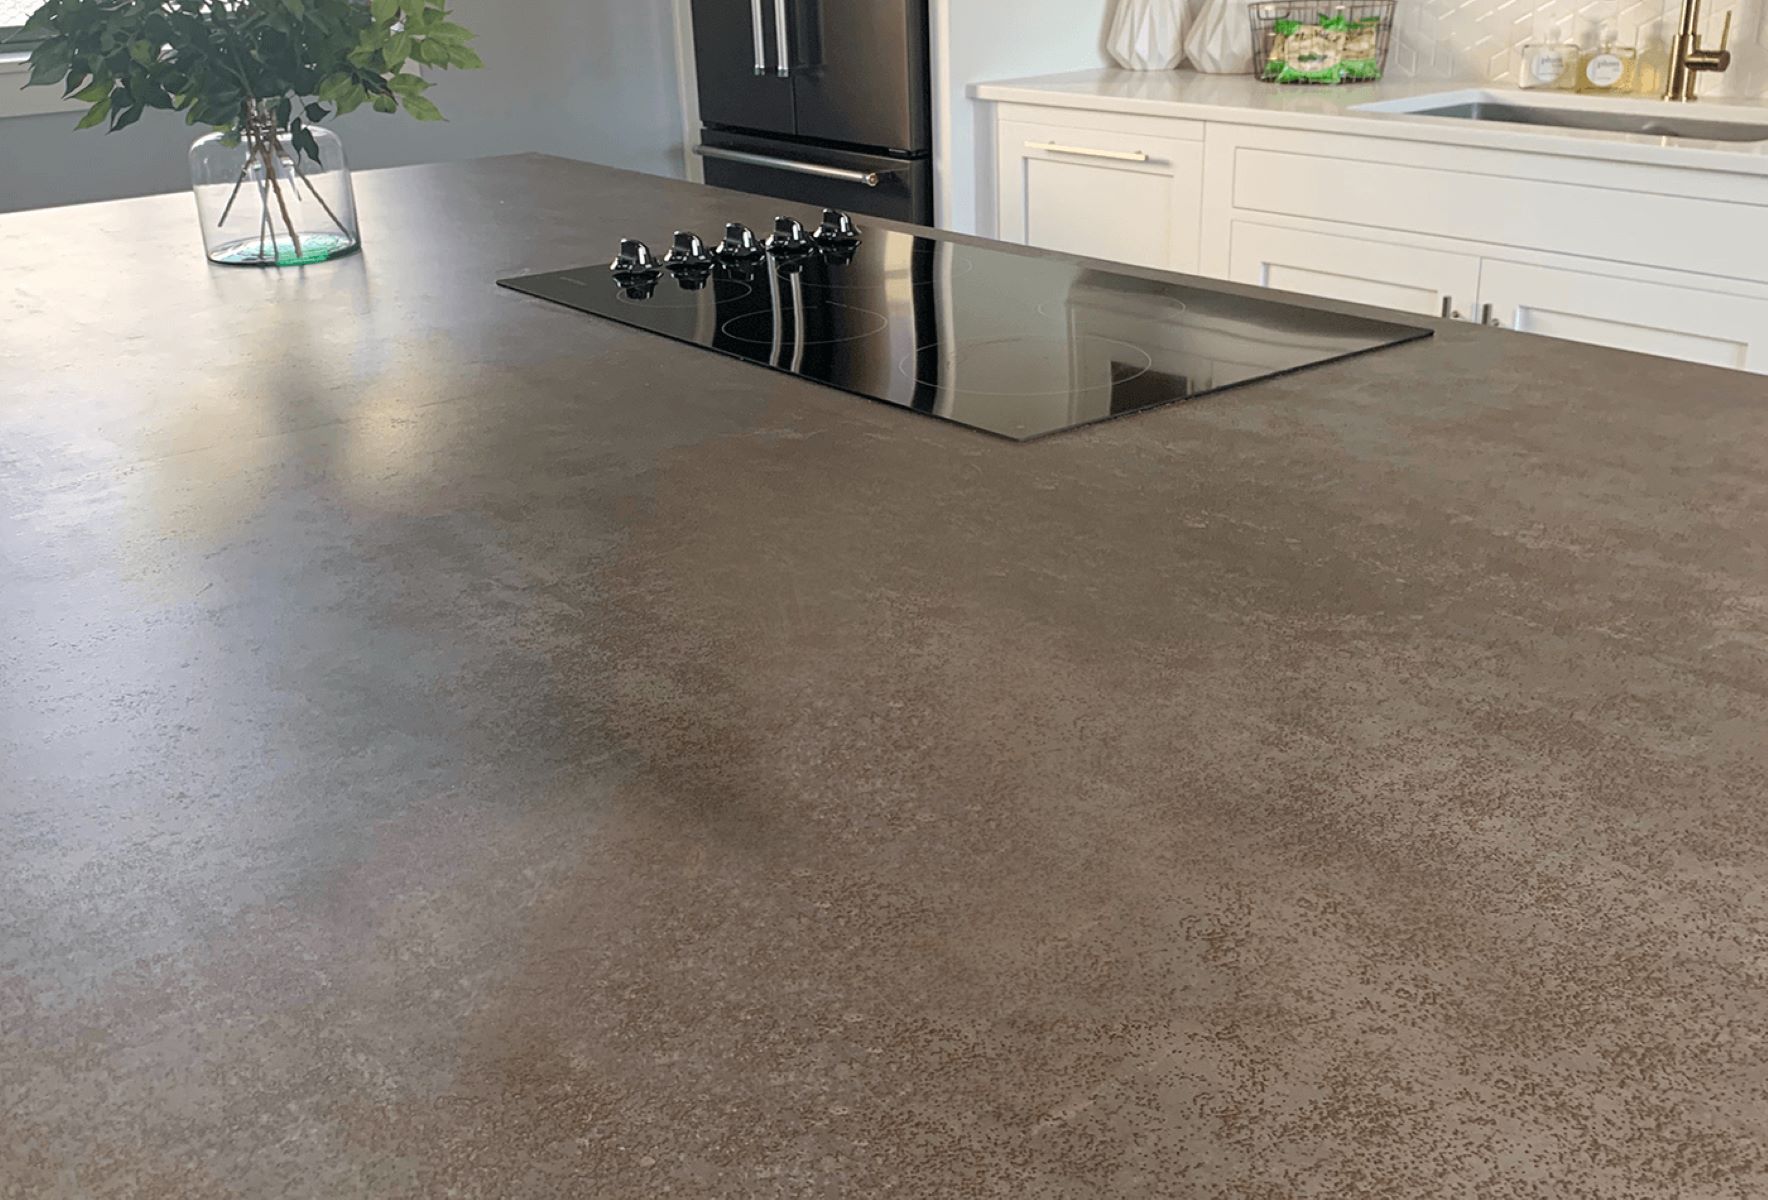
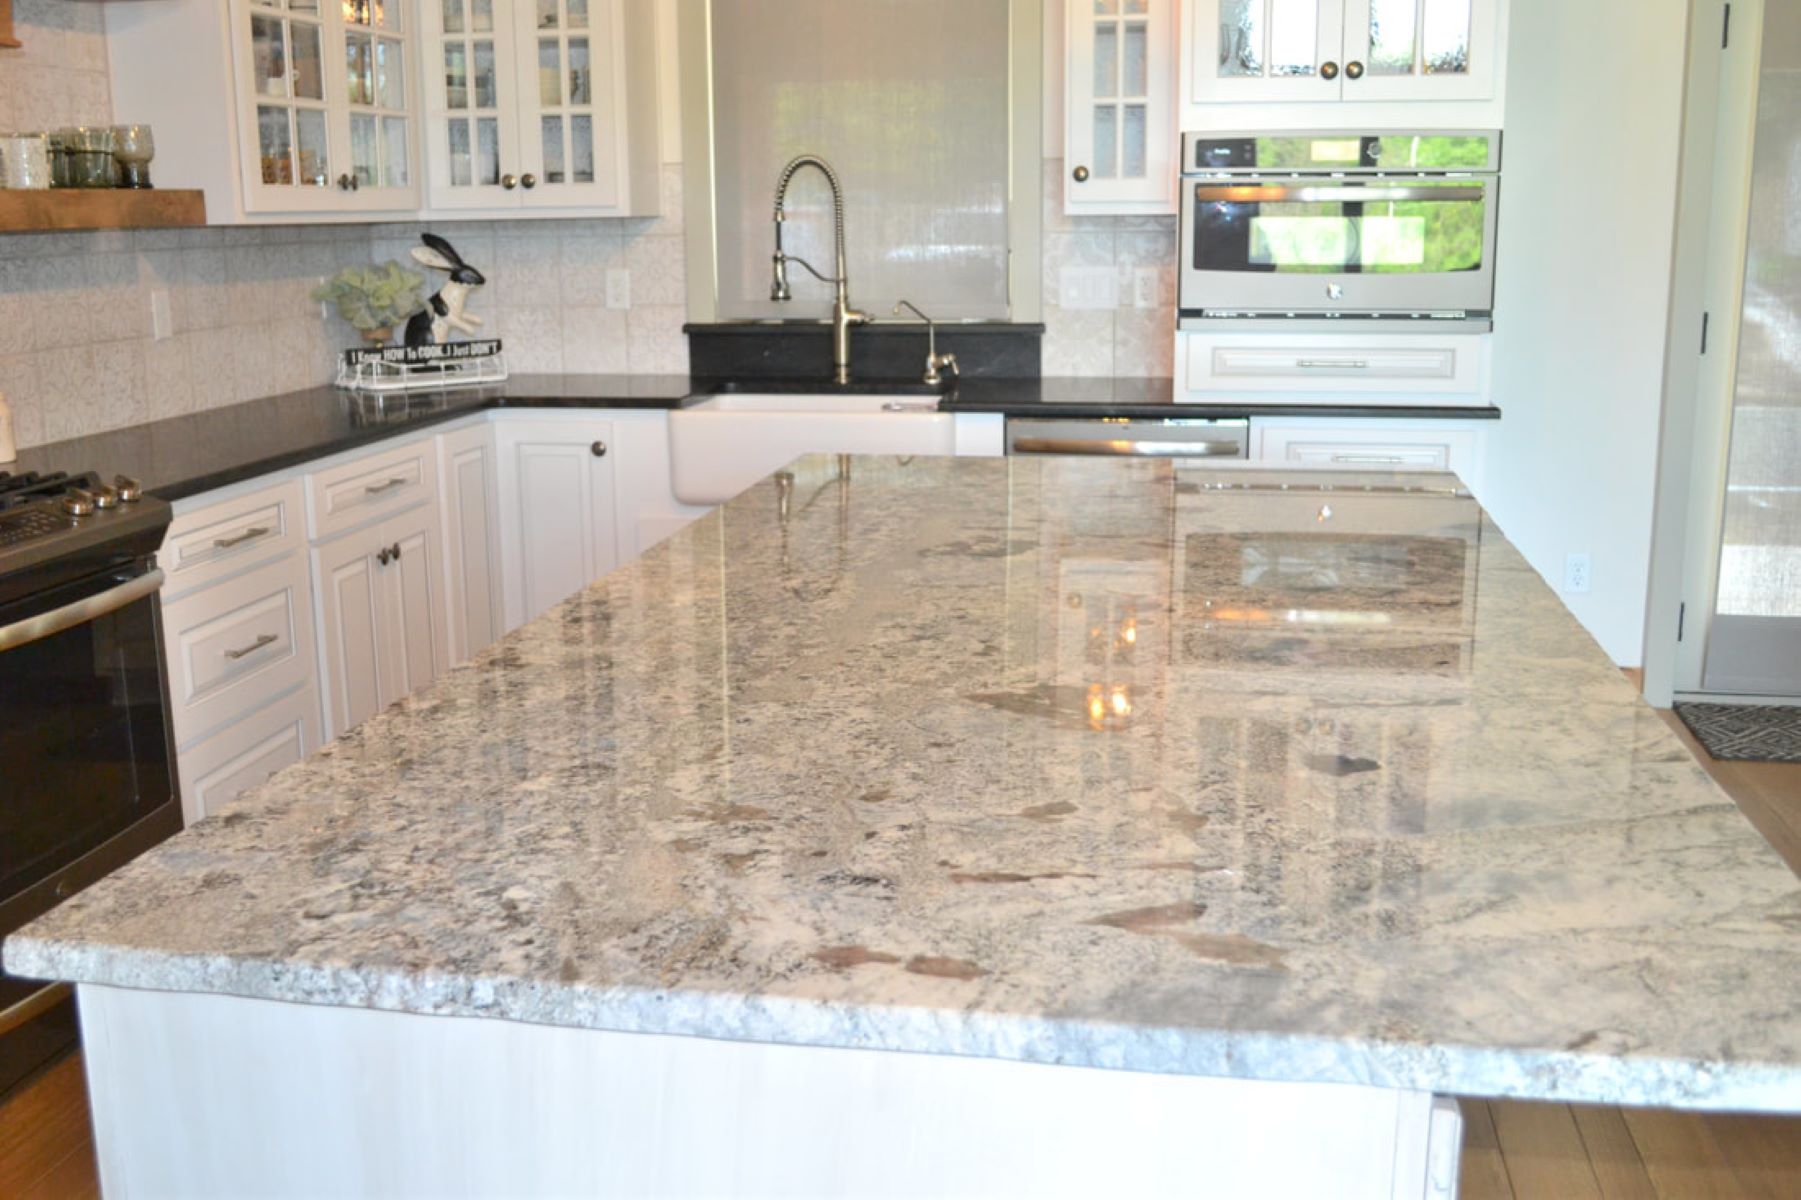
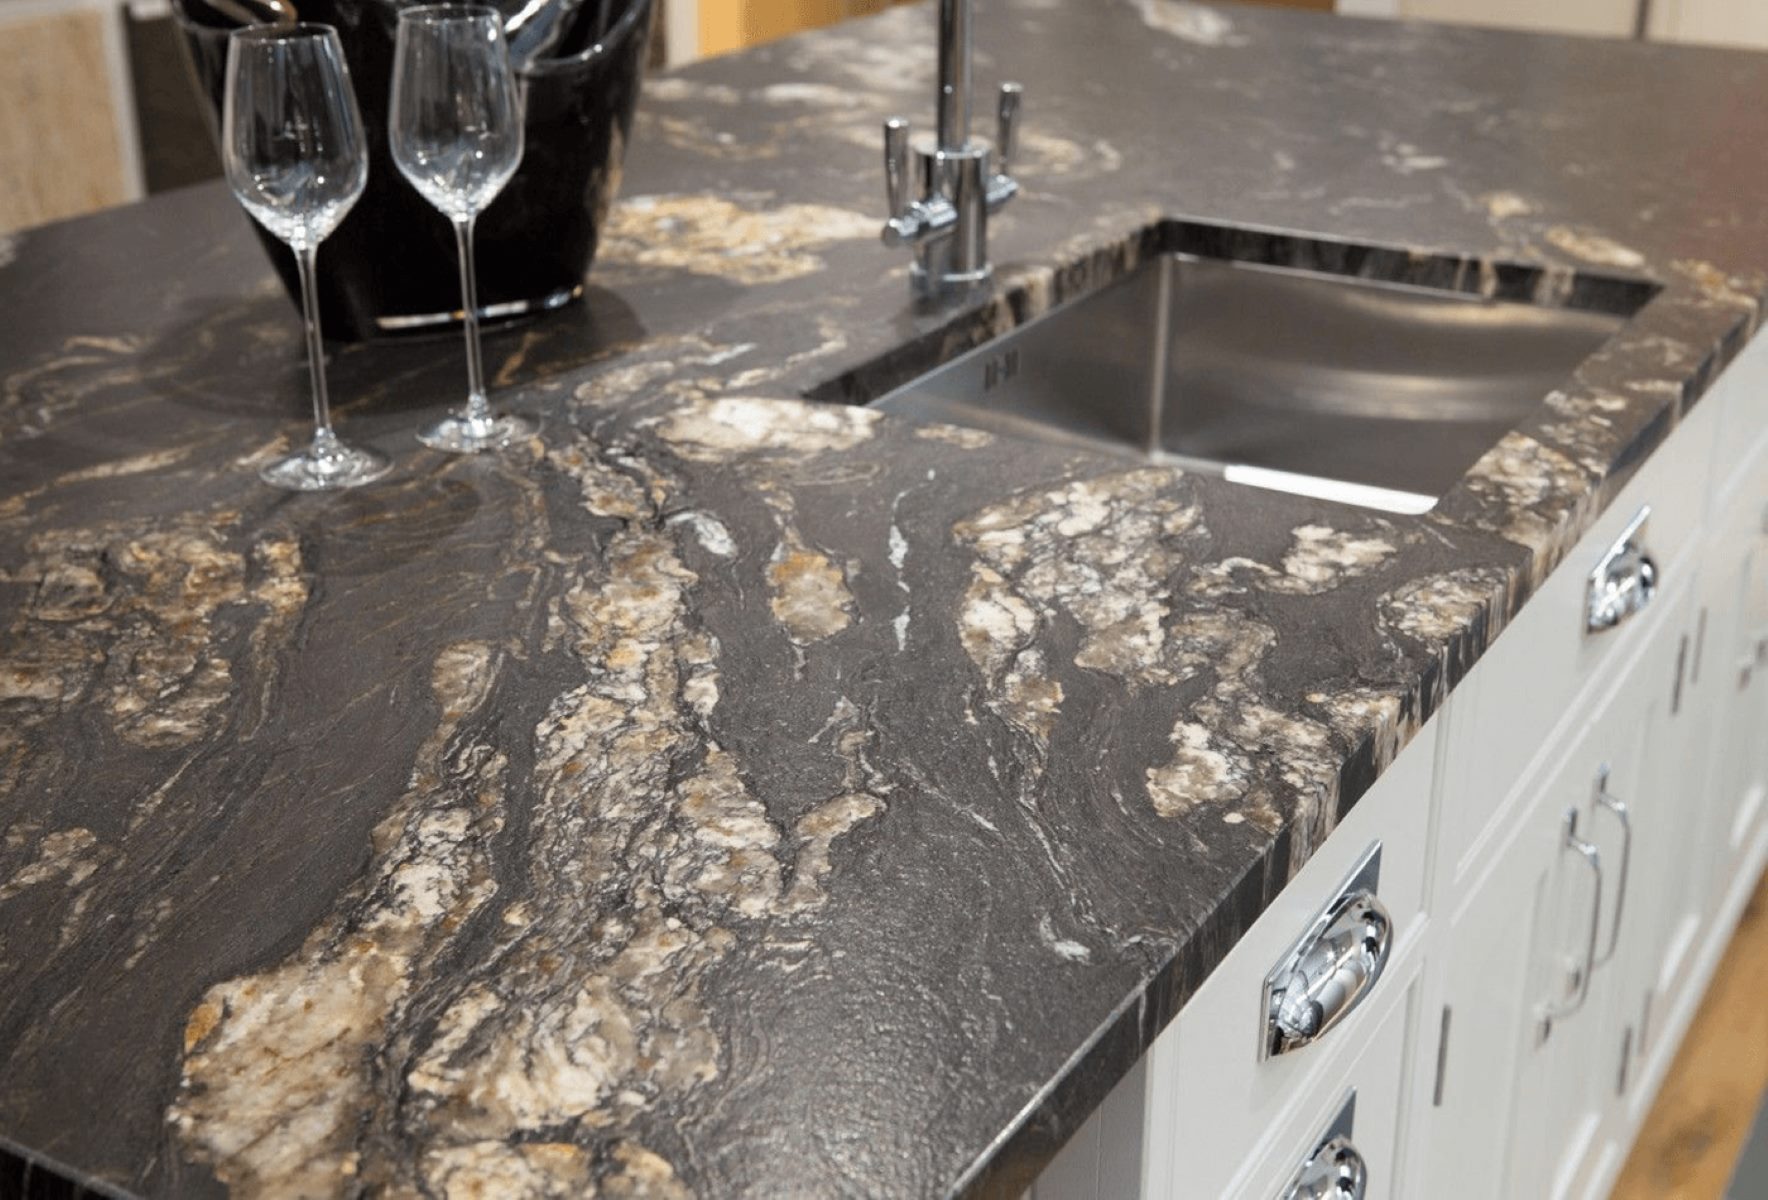
When it comes to upgrading your kitchen or bathroom, granite countertops are an excellent choice. Not only do they add a touch of elegance and sophistication to any space, but they are also durable and can withstand daily wear and tear. However, before you can install granite countertops, it is crucial to accurately measure the area where the countertops will be placed.
Measuring for granite countertops may seem like a daunting task, especially if you’ve never done it before. But with the right tools and approach, you can ensure precise measurements, resulting in a seamless installation process. In this article, we will guide you through the steps of measuring for granite countertops.
Key Takeaways:
- Accurate measurements are essential for a seamless granite countertop installation. Clear the area, use the right tools, and double-check your measurements to ensure a perfect fit and avoid costly mistakes.
- Marking measurements and accounting for overhangs and edges are crucial steps in the process. By following these steps, you can confidently move forward with your granite countertop project and achieve a beautiful, functional space.
Read more: How To Restore Granite Countertops
Measuring Tools Needed
Before you begin measuring for your granite countertops, it’s essential to gather the necessary tools to ensure accurate measurements. Here are the tools you will need:
- Tape Measure: A good-quality tape measure is an essential tool for measuring the dimensions of your countertop area.
- Straight Edge: A straight edge, such as a ruler or a level, will help you create straight lines and ensure precise measurements.
- Pencil or Marker: You will need a pencil or a marker to mark the measurements on the countertop surface.
- Notepad: Keeping a notepad handy will help you record the measurements as you go along, ensuring that you don’t forget any important details.
- Calculator: Depending on the complexity of your countertop layout, a calculator might come in handy for calculating measurements and making any necessary adjustments.
Having these tools readily available before you start measuring will save you time and make the process much smoother. Now that you have your tools ready, let’s move on to the next step in measuring for granite countertops.
Step 1: Clearing the Countertop Area
Before you can accurately measure for your granite countertops, it’s crucial to clear the countertop area of any items or clutter. Remove all kitchen appliances, utensils, and other objects from the countertop to ensure an unobstructed measuring process.
Clearing the countertop area will give you a clean and clear surface to work with, allowing you to take precise measurements without any hindrances. Remove any decorative items, such as vases or small appliances, that might be taking up space on the countertop. If there are any wall-mounted objects, such as shelves or cabinets, that might interfere with your measurements, consider temporarily removing them or taking their dimensions into account as needed.
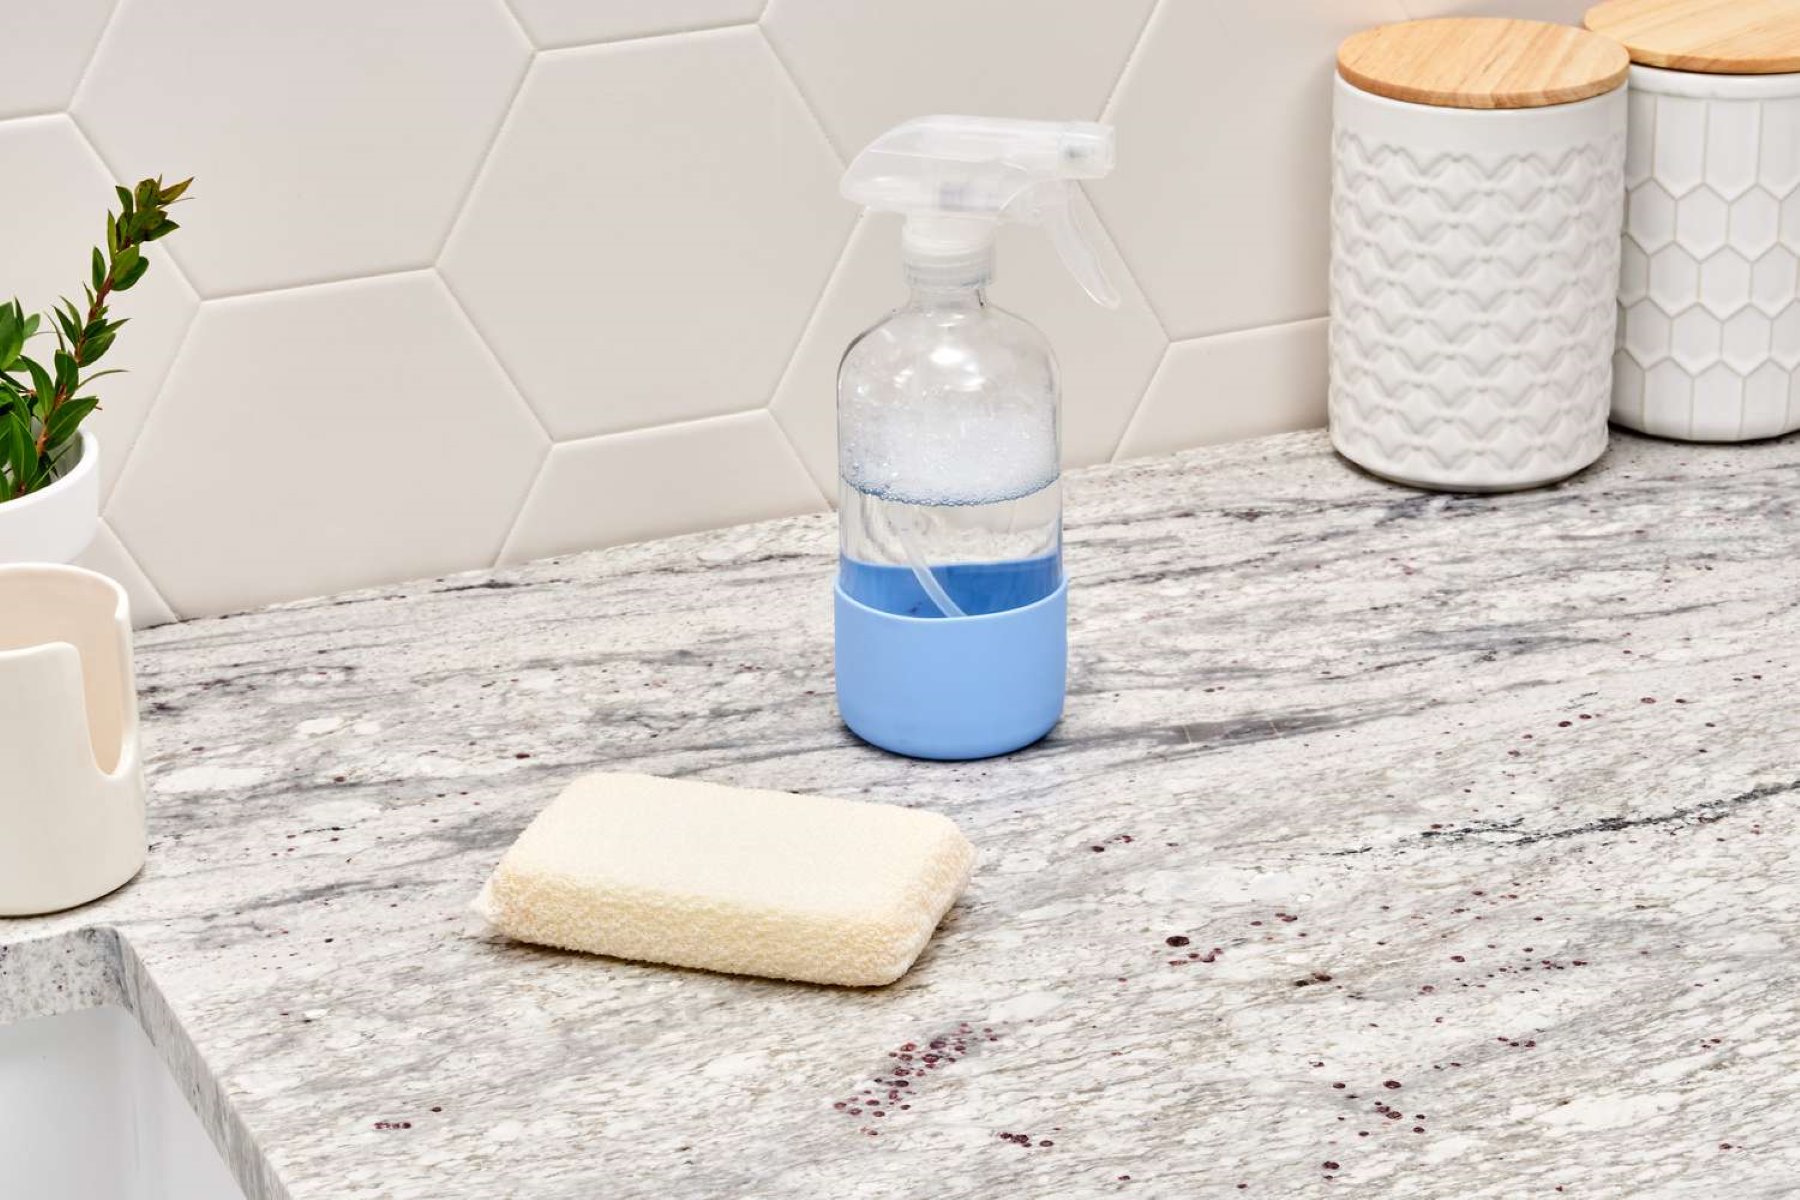
Make sure the countertop surface is clean and free of any dirt or debris that could affect the accuracy of your measurements. Use a damp cloth or cleaning solution to wipe down the countertop, ensuring a smooth and clean surface for measuring.
By clearing the countertop area, you create an ideal environment to take precise measurements for your granite countertops. This step sets the foundation for accurate measurements and a successful installation process.
Step 2: Taking Accurate Measurements
Now that you have a cleared countertop area, it’s time to start taking accurate measurements. Follow these steps to ensure precise measurements for your granite countertops:
- Start from one end: Begin measuring from one end of the countertop area and work your way across. This will help you stay organized and ensure that you don’t miss any sections.
- Measure the length: Use a tape measure to measure the length of the countertop area. Place one end of the tape measure against the wall and extend it to the opposite end of the countertop. Note down the measurement.
- Measure the depth: Next, measure the depth of the countertop by extending the tape measure from the front edge of the countertop to the back wall. Again, record the measurement.
- Account for irregularities: If your countertop has any irregular shapes or angles, measure those areas separately to ensure accurate dimensions. Use a flexible tape measure or a piece of string to measure curved or angled sections.
When measuring, be sure to extend the tape measure all the way to the edges of the countertop for accuracy. Additionally, make sure the tape measure is level and straight to avoid skewed measurements.
As you measure, it’s also a good idea to have a helper hold the loose end of the tape measure to keep it steady and prevent any bending or movement that could affect the accuracy of the measurements.
By following these steps and taking precise measurements, you will have the necessary dimensions to move forward with your granite countertop installation.
When measuring for granite countertops, always use a tape measure to get accurate dimensions. Measure the length and width of the area, and make note of any obstacles like sinks or appliances.
Step 3: Accounting for Overhangs and Edges
When measuring for granite countertops, it’s important to account for any overhangs and edges that will be part of the final installation. Overhangs and edges not only impact the appearance of your countertops but also require additional measurements for an accurate fit.
Here’s what you need to do to account for overhangs and edges:
- Define the desired overhang: Determine how much overhang you want for your countertops. The industry standard is typically around 1 to 1.5 inches, but you can choose a different measurement based on your preferences.
- Measure the overhang: Using your tape measure, measure the distance from the front edge of the countertop to where you want the overhang to end. Subtract this measurement from the total length of the countertop recorded in the previous step.
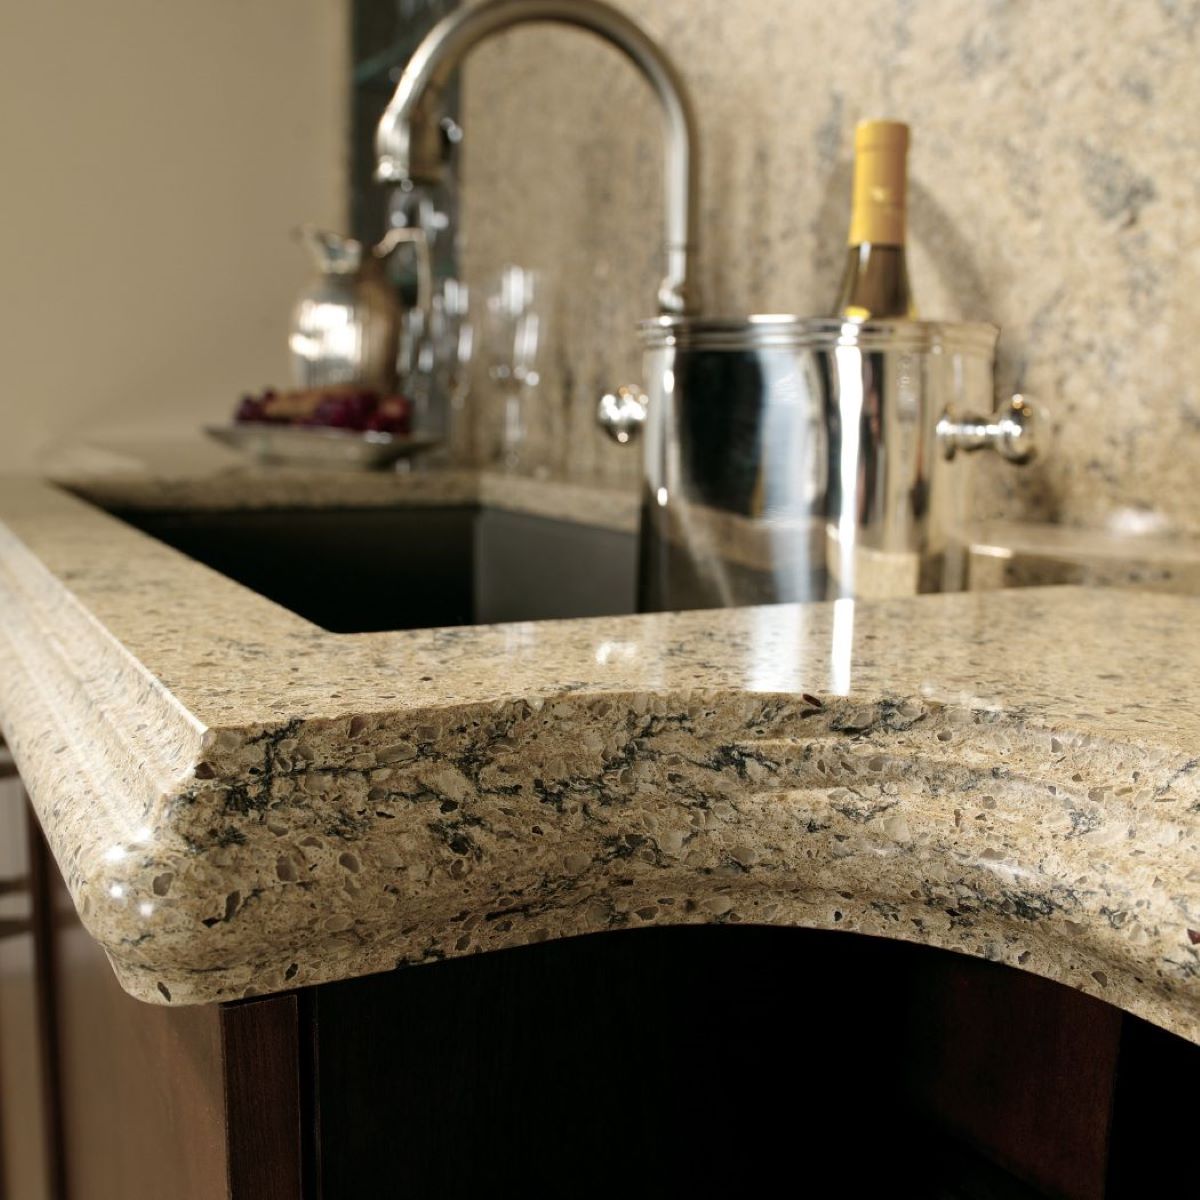
- Consider the edge profile: If you plan to have a decorative edge profile on your granite countertops, make sure to measure and account for it. Different edge profiles add varying thicknesses to the overall dimensions of the countertops.
By properly accounting for overhangs and edges, you can ensure that your granite countertops will fit seamlessly and have the desired appearance. Failing to account for these factors can result in ill-fitting countertops and potential issues during the installation process.
Once you have measured for overhangs and edges, it’s time to move on to the next step: marking the measurements on the countertop surface.
Read more: How Are Granite Countertops Made
Step 4: Marking the Measurements
After taking accurate measurements and accounting for overhangs and edges, the next step is to mark the measurements on the countertop surface. Marking the measurements will act as a guide during the installation process and ensure that the granite countertops fit perfectly.
Here’s how you can mark the measurements:
- Use a pencil or marker: Take a pencil or marker and make small marks on the countertop surface at each measurement point. Make sure the marks are visible and easily distinguishable.
- Connect the marks: Connect the marks with straight lines using a straight edge or ruler. This will create a clear outline of the countertop shape and dimensions.
- Indicate overhangs and edges: If you are incorporating overhangs or edge profiles, make sure to mark them accordingly. Use different markings or labels to identify the areas where overhangs and edges will be present.
By marking the measurements on the countertop surface, you are creating a visual reference that will help guide the installation process. This step is particularly crucial if you are working with a professional installer, as they will rely on these markings to ensure accurate placement of the granite countertops.
Once you have marked the measurements, it’s important to double-check their accuracy before proceeding to the next step.
Step 5: Double-checking the Measurements
Before finalizing the measurements and proceeding with the installation of your granite countertops, it’s vital to double-check the accuracy of your measurements. This step is crucial to avoid any costly mistakes or discrepancies that may arise during the installation process.
Follow these steps to double-check your measurements:
- Re-measure the dimensions: Use your tape measure and straight edge to re-measure the length, depth, and any irregular sections of the countertop. Compare these measurements with the ones you initially recorded to ensure consistency.
- Check for any discrepancies: Look for any noticeable discrepancies or inconsistencies between your initial measurements and the re-measured dimensions. If you encounter any variations, re-evaluate the measurements and make the necessary adjustments.
- Verify overhangs and edge profiles: Confirm that the overhangs and edge profiles are marked correctly, and their measurements align with your preferences.
- Consult with professionals: If you are unsure about any aspect of your measurements, consider consulting with a professional installer or a granite fabricator. They can provide valuable insights and guidance to ensure accurate measurements and a successful installation.
Double-checking your measurements serves as a final quality control step before moving forward with the installation. It helps catch any potential errors or oversights and gives you confidence that the granite countertops will fit perfectly in your space.
Once you are satisfied with the accuracy of your measurements, you can proceed with the installation process, knowing that you have taken the necessary steps to ensure a seamless fit.
Conclusion
Measuring for granite countertops is a crucial step in the installation process that requires accuracy and attention to detail. By following the steps outlined in this article, you can ensure a successful and seamless installation.
Start by gathering the necessary measuring tools, such as a tape measure, straight edge, pencil or marker, notepad, and calculator. Clear the countertop area of any items or clutter to create a clean and unobstructed space for measuring. Take accurate measurements of the length, depth, and any irregular sections of the countertop, accounting for overhangs and edge profiles.
Make sure to mark the measurements on the countertop surface, creating a visual guide for the installation process. Double-check the accuracy of your measurements by re-measuring and verifying the dimensions, as well as consulting with professionals if needed.
By carefully measuring for your granite countertops, you can ensure that they fit perfectly, enhancing the beauty and functionality of your kitchen or bathroom. Accurate measurements lead to a smooth installation process, avoiding any costly mistakes or issues.
Now that you have a comprehensive understanding of how to measure for granite countertops, you can confidently move forward with your project, knowing that you have taken the necessary steps for a successful installation.
Frequently Asked Questions about How To Ensure Precise Measurements For A Granite Countertop
Was this page helpful?
At Storables.com, we guarantee accurate and reliable information. Our content, validated by Expert Board Contributors, is crafted following stringent Editorial Policies. We're committed to providing you with well-researched, expert-backed insights for all your informational needs.


0 thoughts on “How To Ensure Precise Measurements For A Granite Countertop”