Articles
How To Epoxy A Floor
Modified: January 5, 2024
Learn how to epoxy a floor with helpful articles and step-by-step guides. Transform your space with this DIY floor coating technique.
(Many of the links in this article redirect to a specific reviewed product. Your purchase of these products through affiliate links helps to generate commission for Storables.com, at no extra cost. Learn more)
Introduction
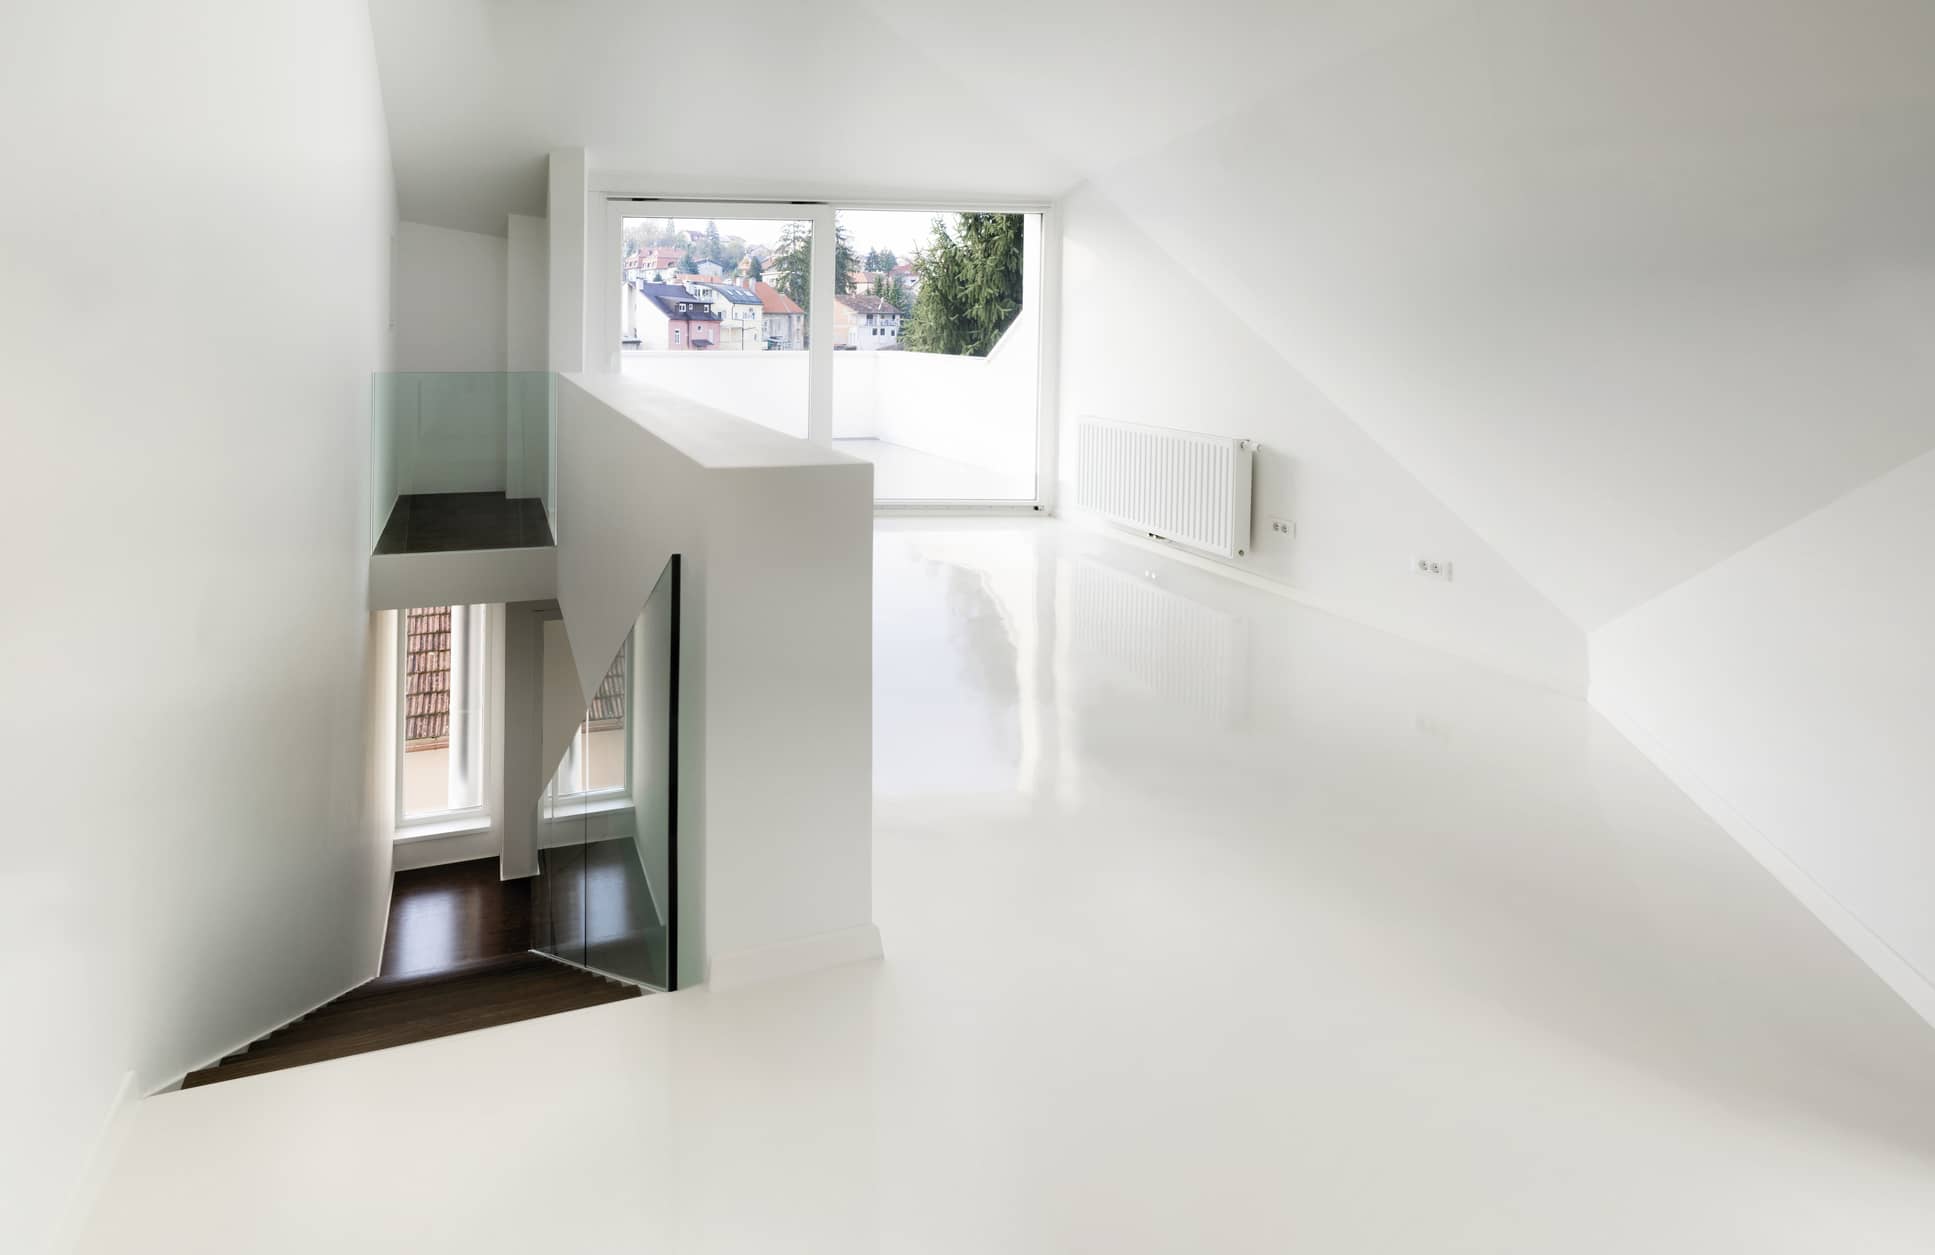
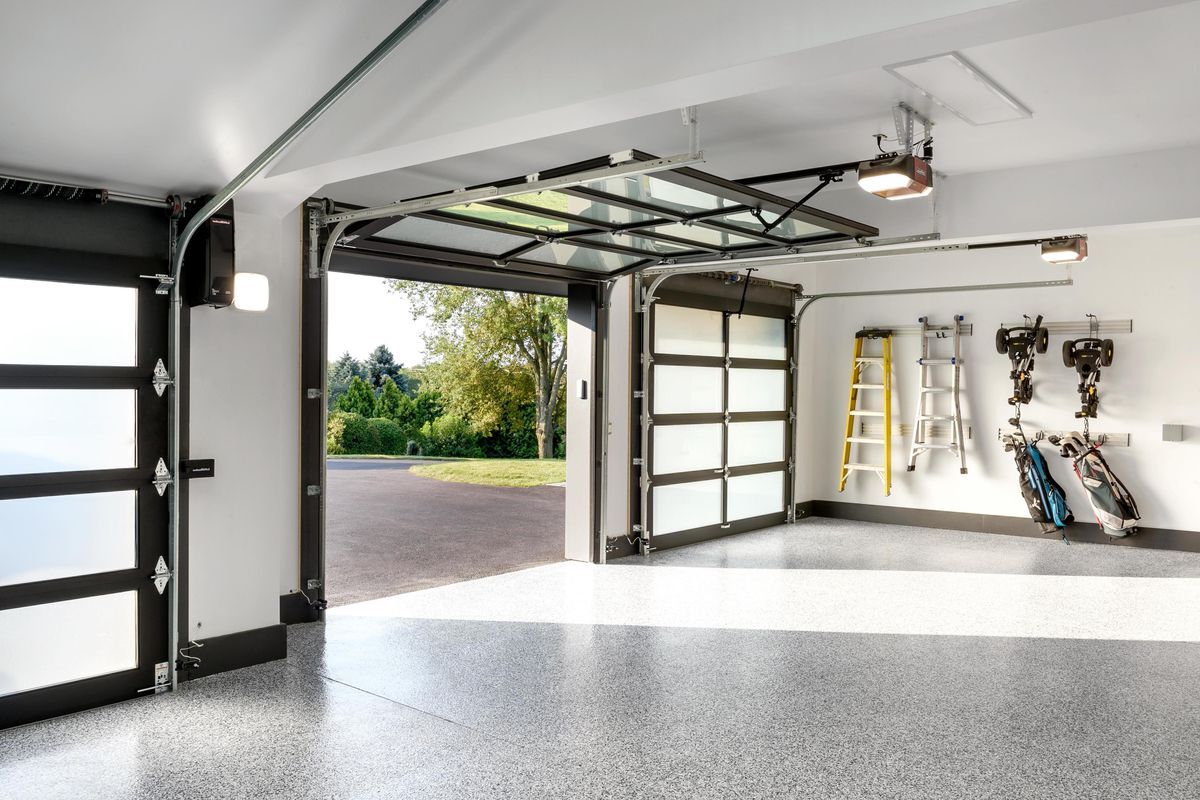
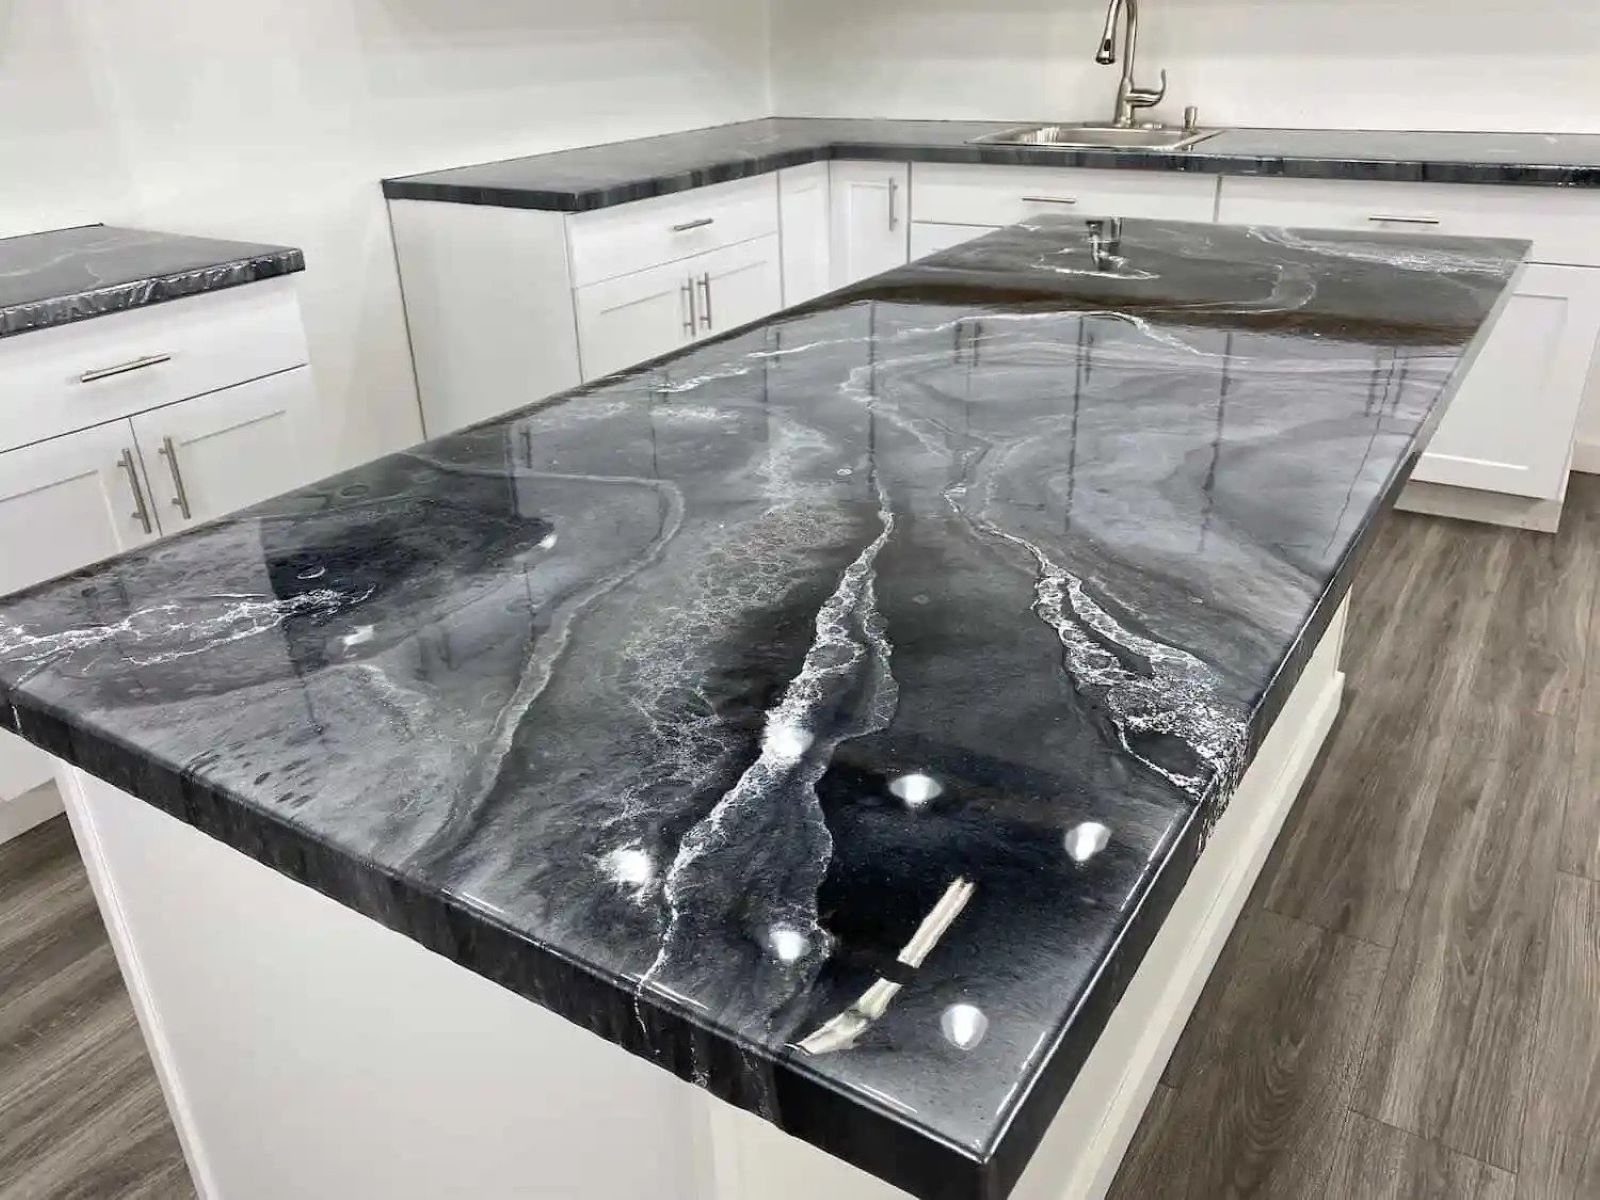
Epoxy flooring is a popular choice for both residential and commercial spaces. Its durability, easy maintenance, and aesthetic appeal make it an excellent option for enhancing the look and functionality of your floors. Whether you want to upgrade your garage, basement, or even your living room, epoxy flooring can transform any space into a stylish and long-lasting surface.
In this article, we will provide you with a step-by-step guide on how to epoxy a floor. From the materials needed to the final touches, we will cover everything you need to know to achieve a professional-looking epoxy floor. So, roll up your sleeves, put on your safety goggles, and let’s get started!
Key Takeaways:
- Transform any space with durable and stylish epoxy flooring. Follow the step-by-step guide for proper preparation, application, and maintenance to achieve a professional and long-lasting finish.
- Elevate your floors with epoxy coating. From mixing and applying the epoxy to adding decorative flakes, ensure proper curing and ongoing maintenance for a stunning and resilient floor.
Read more: What Is An Epoxy Floor
Materials Needed
Before you begin the epoxy flooring process, it’s important to gather all the necessary materials to ensure a smooth and successful application. Here is a list of the materials you will need:
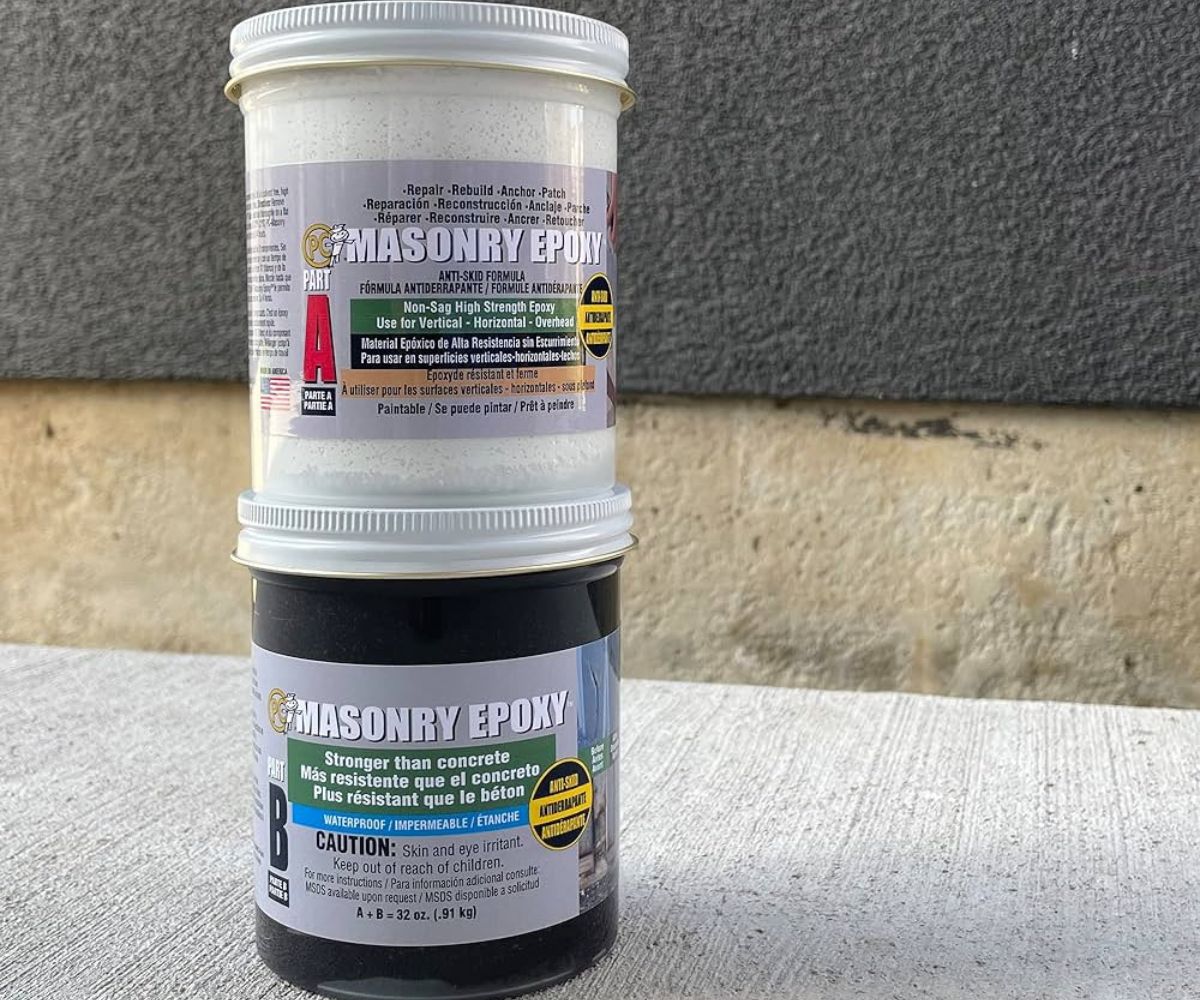
- Epoxy resin and hardener: These two components are mixed together to create the epoxy coating. Make sure to choose a high-quality epoxy product suitable for your specific flooring needs.
- Primer: A primer is typically used to prepare the surface and promote proper adhesion of the epoxy coating. Check the manufacturer’s instructions to find the recommended primer for your project.
- Cleaner/degreaser: Before applying the epoxy, it is crucial to thoroughly clean the floor to remove any dirt, oil, or grease. Choose a cleaner that is specifically designed for the surface you are working on.
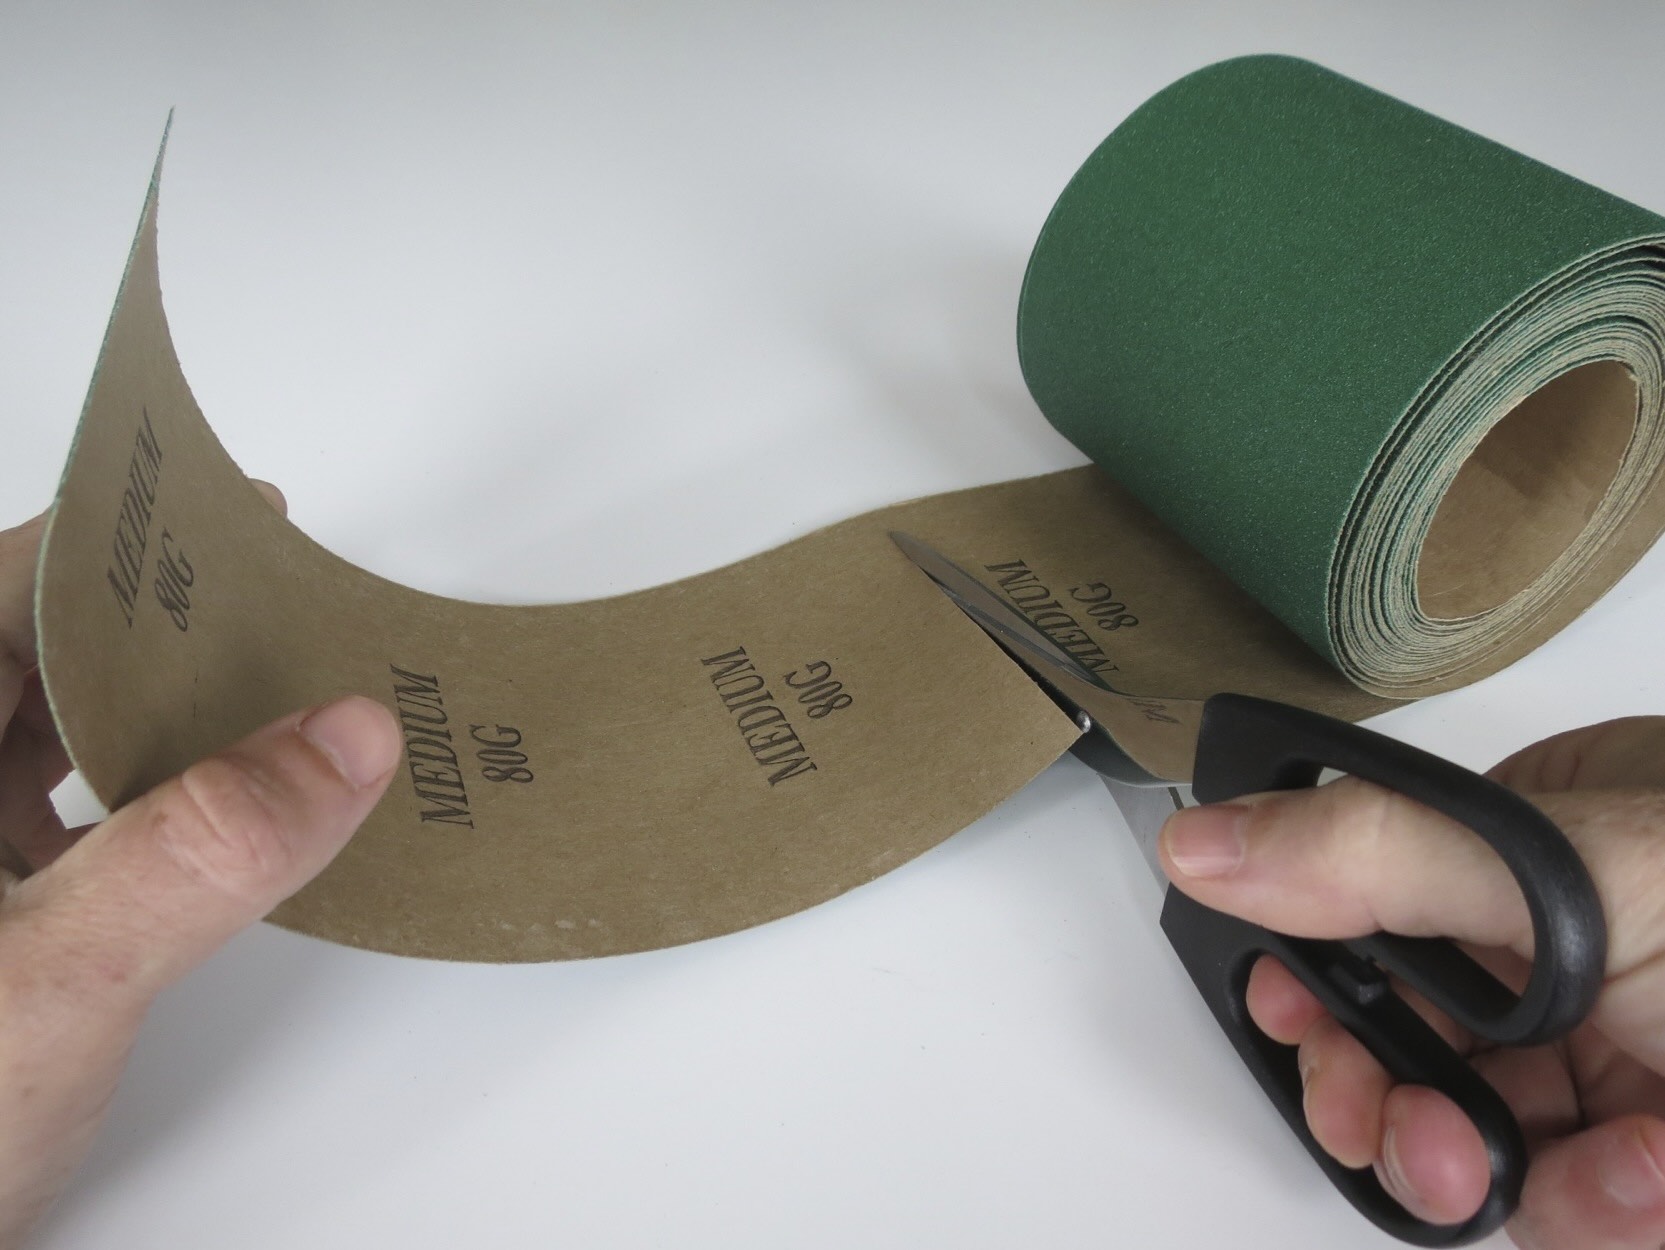
- Scraper and grinder: These tools will be used to remove any existing coatings, adhesives, or imperfections on the floor. They are essential for creating a smooth and even surface for the epoxy application.
- Roller and paintbrush: A roller is the primary tool for applying the epoxy coating. Make sure to choose a roller with a suitable nap length for the type of epoxy you are using. A paintbrush will come in handy for reaching corners and edges.
- Protective gear: Epoxy is a strong chemical compound that can be harmful if it comes into contact with your skin or eyes. Be sure to wear safety goggles, gloves, and a respirator mask to protect yourself during the application process.
- Decorative flakes (optional): If you want to add some texture and visual interest to your epoxy floor, decorative flakes can be sprinkled onto the wet epoxy coating. Choose flakes in your desired color and size to achieve the desired effect.
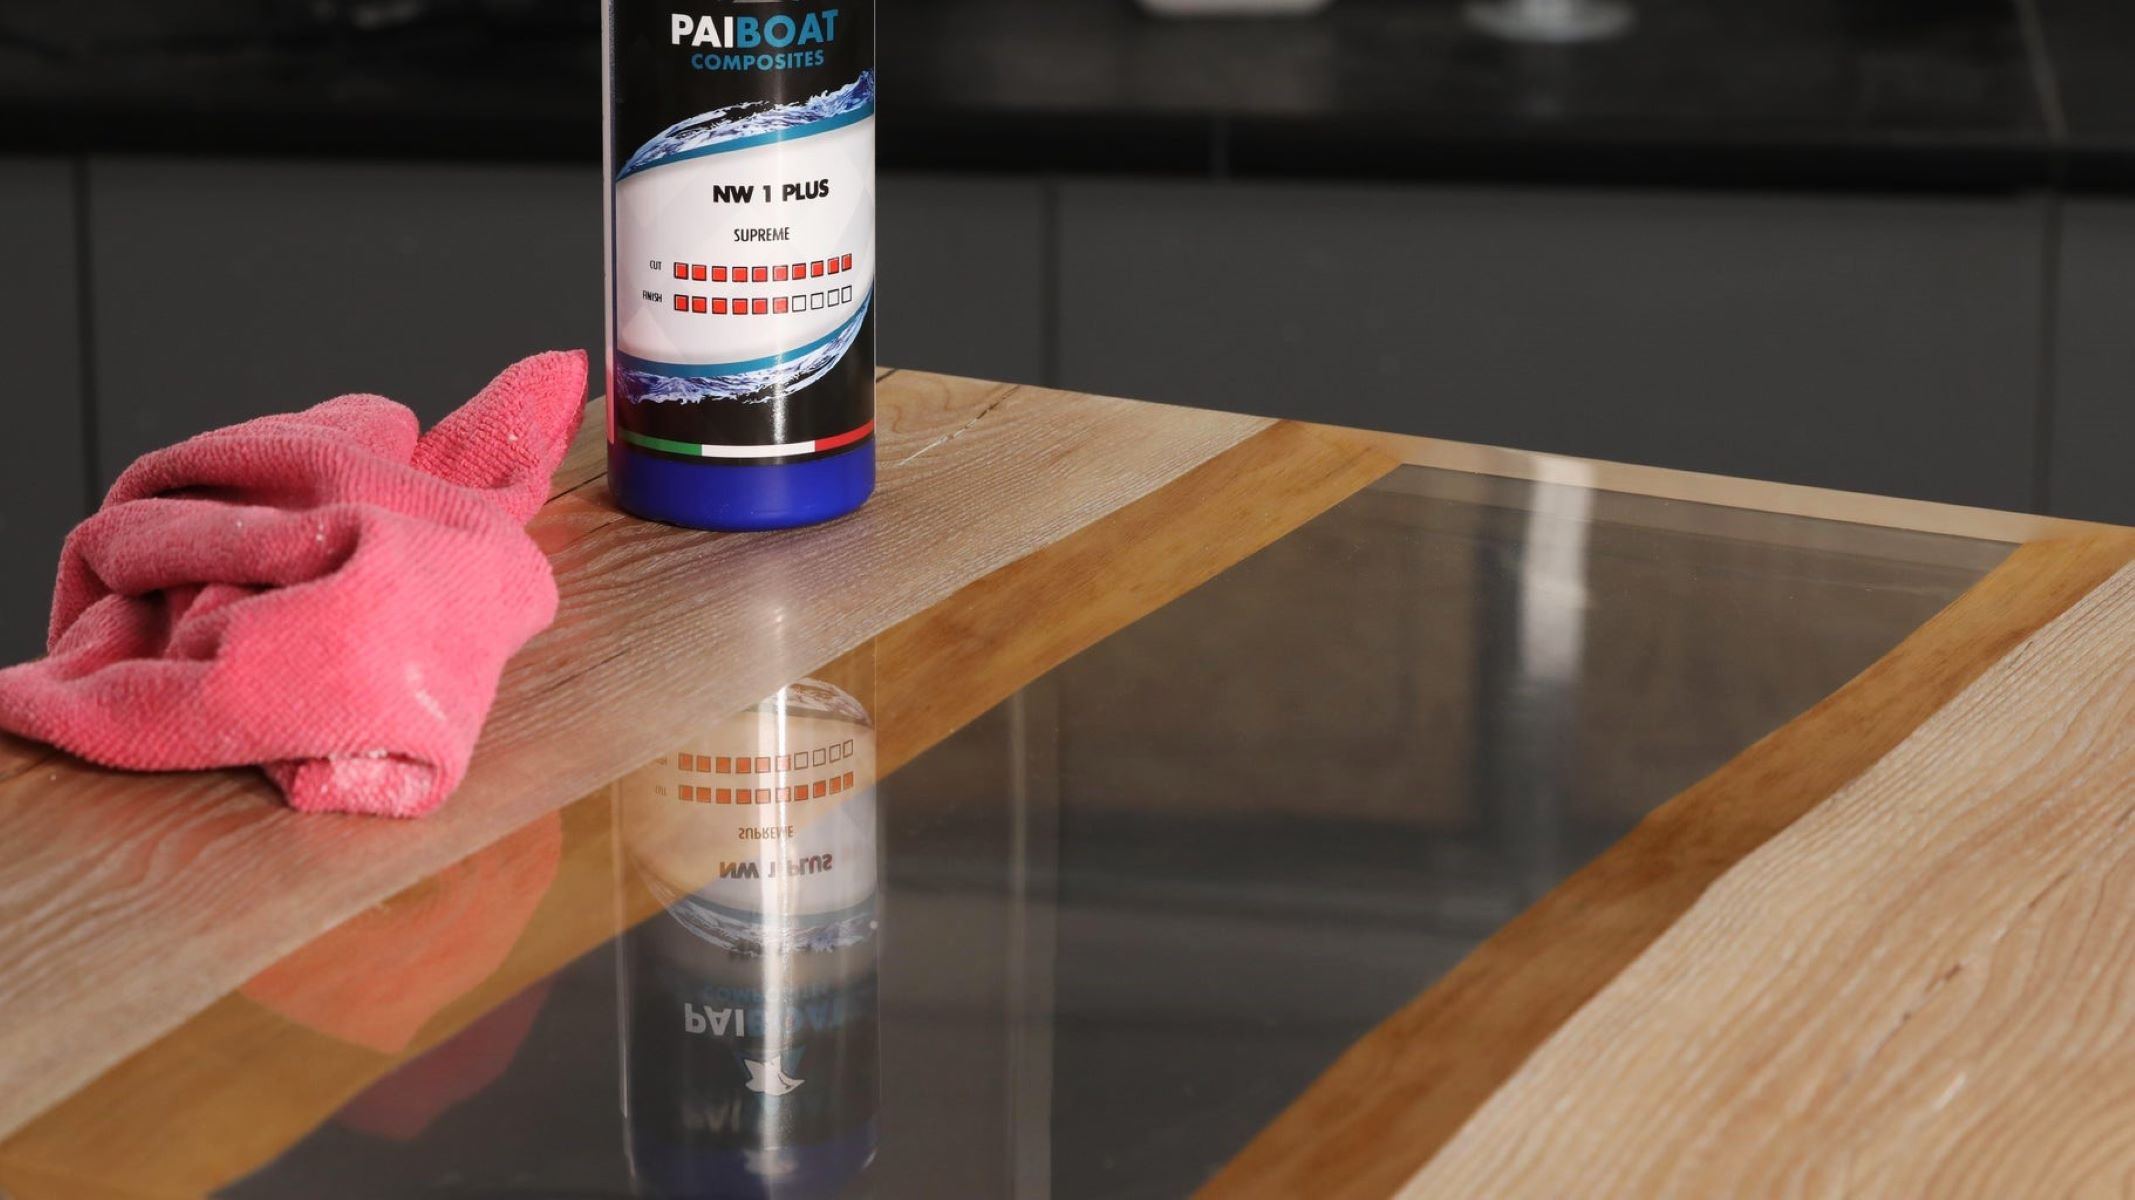
- Topcoat: A topcoat is typically applied after the epoxy has cured to add an extra layer of protection and enhance the glossy finish. Make sure to choose a topcoat that is compatible with your epoxy product.
- Clean rags and buckets: These will be used for cleaning and wiping off excess epoxy during the application.
Having all these materials ready before you start the process will save you time and ensure a hassle-free installation of your epoxy floor.
Preparing the Floor
Properly preparing the floor is vital for a successful epoxy application. The goal is to create a clean, smooth, and well-adhered surface. Follow these steps to prepare your floor:
- Clean the floor: Start by sweeping or vacuuming the entire floor to remove any loose particles and debris. Next, use a cleaner or degreaser specifically designed for your flooring material to thoroughly clean the surface. This step is crucial to remove any dirt, oil, or grease that could interfere with the epoxy’s adhesion.
- Remove existing coatings: If there are any existing coatings, adhesives, or sealers on the floor, you will need to remove them. Depending on the type and thickness of the coating, you may need to use a scraper, grinder, or chemical stripper. Follow the manufacturer’s instructions and take proper safety precautions when using these tools.
- Repair any imperfections: Inspect the floor for any cracks, holes, or uneven areas. Use a suitable patching compound to fill in any imperfections and ensure a smooth surface. Allow the compound to dry and then sand it down until it is flush with the rest of the floor.
- Etch the floor (if necessary): Some concrete floors may require etching to improve the adhesion of the epoxy. Etching involves applying an acidic solution to the floor to create a slightly roughened surface. Follow the manufacturer’s instructions for the appropriate etching product and technique.
- Thoroughly dry the floor: After cleaning, removing coatings, repairing imperfections, and etching (if necessary), allow the floor to fully dry. Moisture can interfere with the epoxy’s curing process and result in poor adhesion. Use fans or dehumidifiers to speed up the drying process if needed.
- Protect walls and surrounding areas: Before moving on to the epoxy application, protect any walls, furniture, or other areas that you don’t want to get epoxy on. Use plastic sheeting or painter’s tape to cover and secure these areas.
By properly preparing the floor, you are setting the foundation for a successful epoxy application. It may require some time and effort, but the results will be well worth it.
Mixing the Epoxy
Once the floor is properly prepared, it’s time to mix the epoxy. Follow these steps to ensure a thorough and properly mixed epoxy coating:
- Read the instructions: Before you begin mixing the epoxy, carefully read the manufacturer’s instructions on the product packaging. Different epoxy products may have specific mixing ratios or mixing times, so it’s essential to follow the instructions provided.
- Prepare the work area: Find a well-ventilated area to mix the epoxy. Make sure the temperature in the room is within the recommended range specified by the manufacturer. Lay down a drop cloth or plastic sheeting to protect the floor and gather all the necessary tools.
- Measure the epoxy components: Epoxy resin and hardener are generally mixed in a specific ratio, often 2:1 or 1:1. Use measuring cups or a digital scale to accurately measure the required amounts of each component.
- Pour the epoxy components into a mixing container: Pour the measured amounts of epoxy resin and hardener into a clean mixing container. It’s crucial to use a container that is large enough to allow for thorough mixing without overflowing.
- Mix the epoxy: Use a mixing stick or paddle attachment on a drill to mix the epoxy components. Start mixing at a low speed to avoid incorporating air bubbles into the mixture. Gradually increase the speed and continue mixing for the recommended duration specified by the manufacturer. Ensure that the epoxy is fully homogenized and there are no streaks or unmixed areas.
- Let the mixed epoxy sit: After mixing, let the epoxy sit for a few minutes to allow any air bubbles to rise to the surface. You can gently blow on the surface or use a handheld torch or heat gun to burst the bubbles. Avoid excessive heat, as it can lead to premature curing of the epoxy.
Remember, the epoxy has a limited working time, so it’s essential to mix only the amount of epoxy that you can apply within the specified time frame. Carefully following the manufacturer’s instructions will ensure a properly mixed epoxy that is ready for application.
Applying the Primer
Before applying the epoxy coating, it’s recommended to apply a primer to the prepared floor surface. The primer helps to promote better adhesion and improves the overall durability of the epoxy. Follow these steps to apply the primer:
- Prepare the primer: Read the manufacturer’s instructions for the specific primer you are using. Most primers come in a two-component system that needs to be mixed before use. Follow the recommended mixing ratio and thoroughly mix the components together in a clean container.
- Apply the primer: Starting at one corner of the room, pour the mixed primer onto the floor in small sections. Use a roller or brush to spread the primer evenly over the surface. Work in small manageable areas to ensure proper coverage and avoid drying before applying the epoxy.
- Use a brush for corners and edges: For corners and edges that are difficult to reach with a roller, use a paintbrush to apply the primer. Make sure to feather the edges to create a smooth transition between the primed areas and the rest of the floor.
- Allow the primer to dry: Follow the manufacturer’s recommended drying time for the primer. It typically takes a few hours to fully dry, but the exact drying time can vary depending on factors such as temperature and humidity. Avoid stepping on the primed areas until they are completely dry.
- Inspect for any imperfections: Once the primer is dry, inspect the floor for any missed spots or areas that need touch-ups. If necessary, apply a second coat of primer to ensure complete coverage. Allow the second coat to dry according to the manufacturer’s instructions.
Applying a primer before the epoxy coating helps to create a strong bond between the epoxy and the floor surface, ensuring a long-lasting and durable finish. Take your time during the primer application process to achieve a smooth and even surface for the epoxy coating.
Read more: How To Mop Epoxy Floors
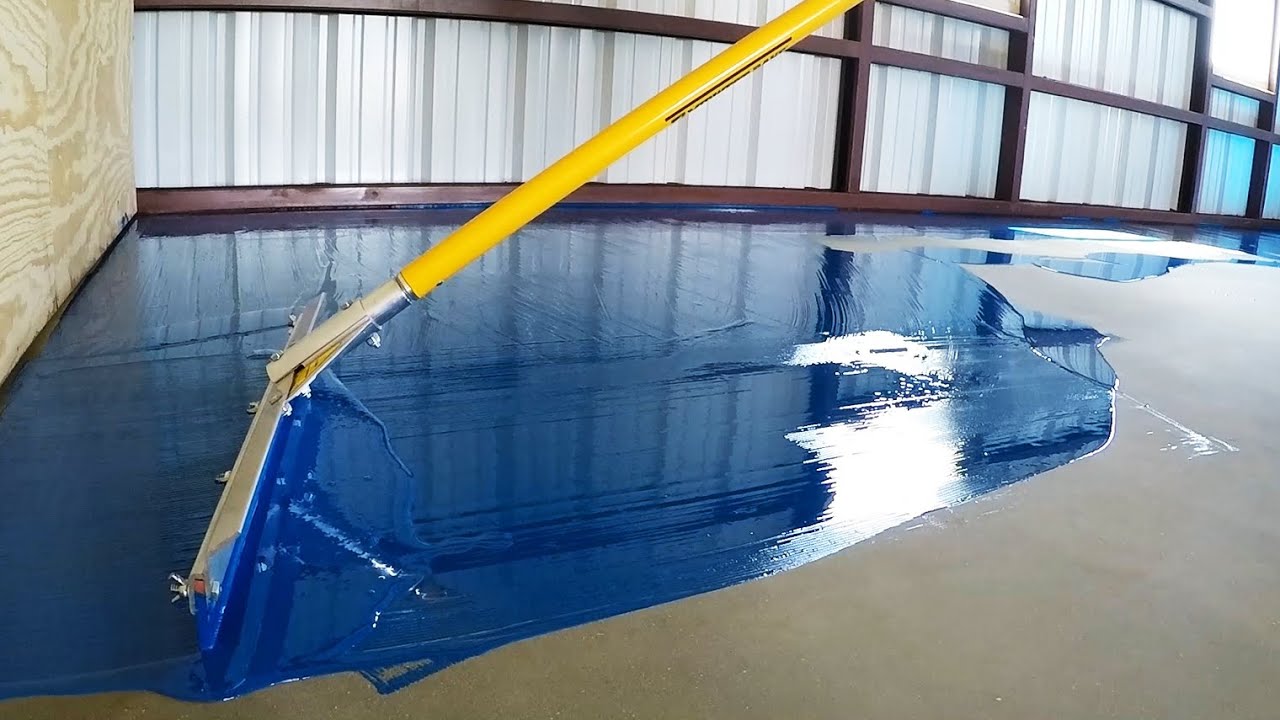
Applying the Epoxy
Now that the floor has been properly prepped and primed, it’s time to apply the epoxy coating. Follow these steps to achieve a smooth and professional-looking epoxy floor:
- Read the manufacturer’s instructions: Before you begin applying the epoxy, carefully read and follow the manufacturer’s instructions for your specific epoxy product. Different products may have different application techniques and drying times.
- Mix the epoxy: If you haven’t already done so, mix the epoxy resin and hardener according to the manufacturer’s instructions. Properly mixing the epoxy ensures optimal performance and durability.
- Pour the epoxy onto the floor: Start by pouring the mixed epoxy onto the floor in a long, narrow line. Work in small sections to ensure that you can spread the epoxy evenly without it drying too quickly.
- Spread the epoxy with a roller: Use a roller with a suitable nap length to spread the epoxy evenly over the floor surface. Start at the furthest corner and roll in consistent, overlapping strokes to ensure full coverage. Make sure to maintain a wet edge as you work to avoid visible seams.
- Work in small sections: As you continue to spread the epoxy, gradually move across the floor, working in small sections. This will prevent the epoxy from curing before you can fully spread and level it.
- Use a brush for corners and edges: For corners and edges that are difficult to reach with a roller, use a paintbrush to apply the epoxy. Blend the edges with the rolled-out epoxy to create a seamless transition.
- Smooth out any bubbles or imperfections: While the epoxy is still wet, carefully inspect the surface for any bubbles, streaks, or imperfections. Use a blowtorch or heat gun on low settings to gently pass over the affected areas to remove the bubbles and create a smooth finish.
- Allow the epoxy to cure: After applying the epoxy, allow it to cure according to the manufacturer’s instructions. This typically takes at least 24 hours but may vary depending on temperature and humidity. Avoid walking on or putting any heavy objects on the epoxy until it has fully cured.
Remember, proper application of the epoxy is crucial for a flawless and durable finish. Take your time and work systematically to ensure that the epoxy is applied evenly and without any imperfections.
Make sure to properly prepare the floor by cleaning and etching it before applying the epoxy. This will ensure better adhesion and a longer-lasting finish.
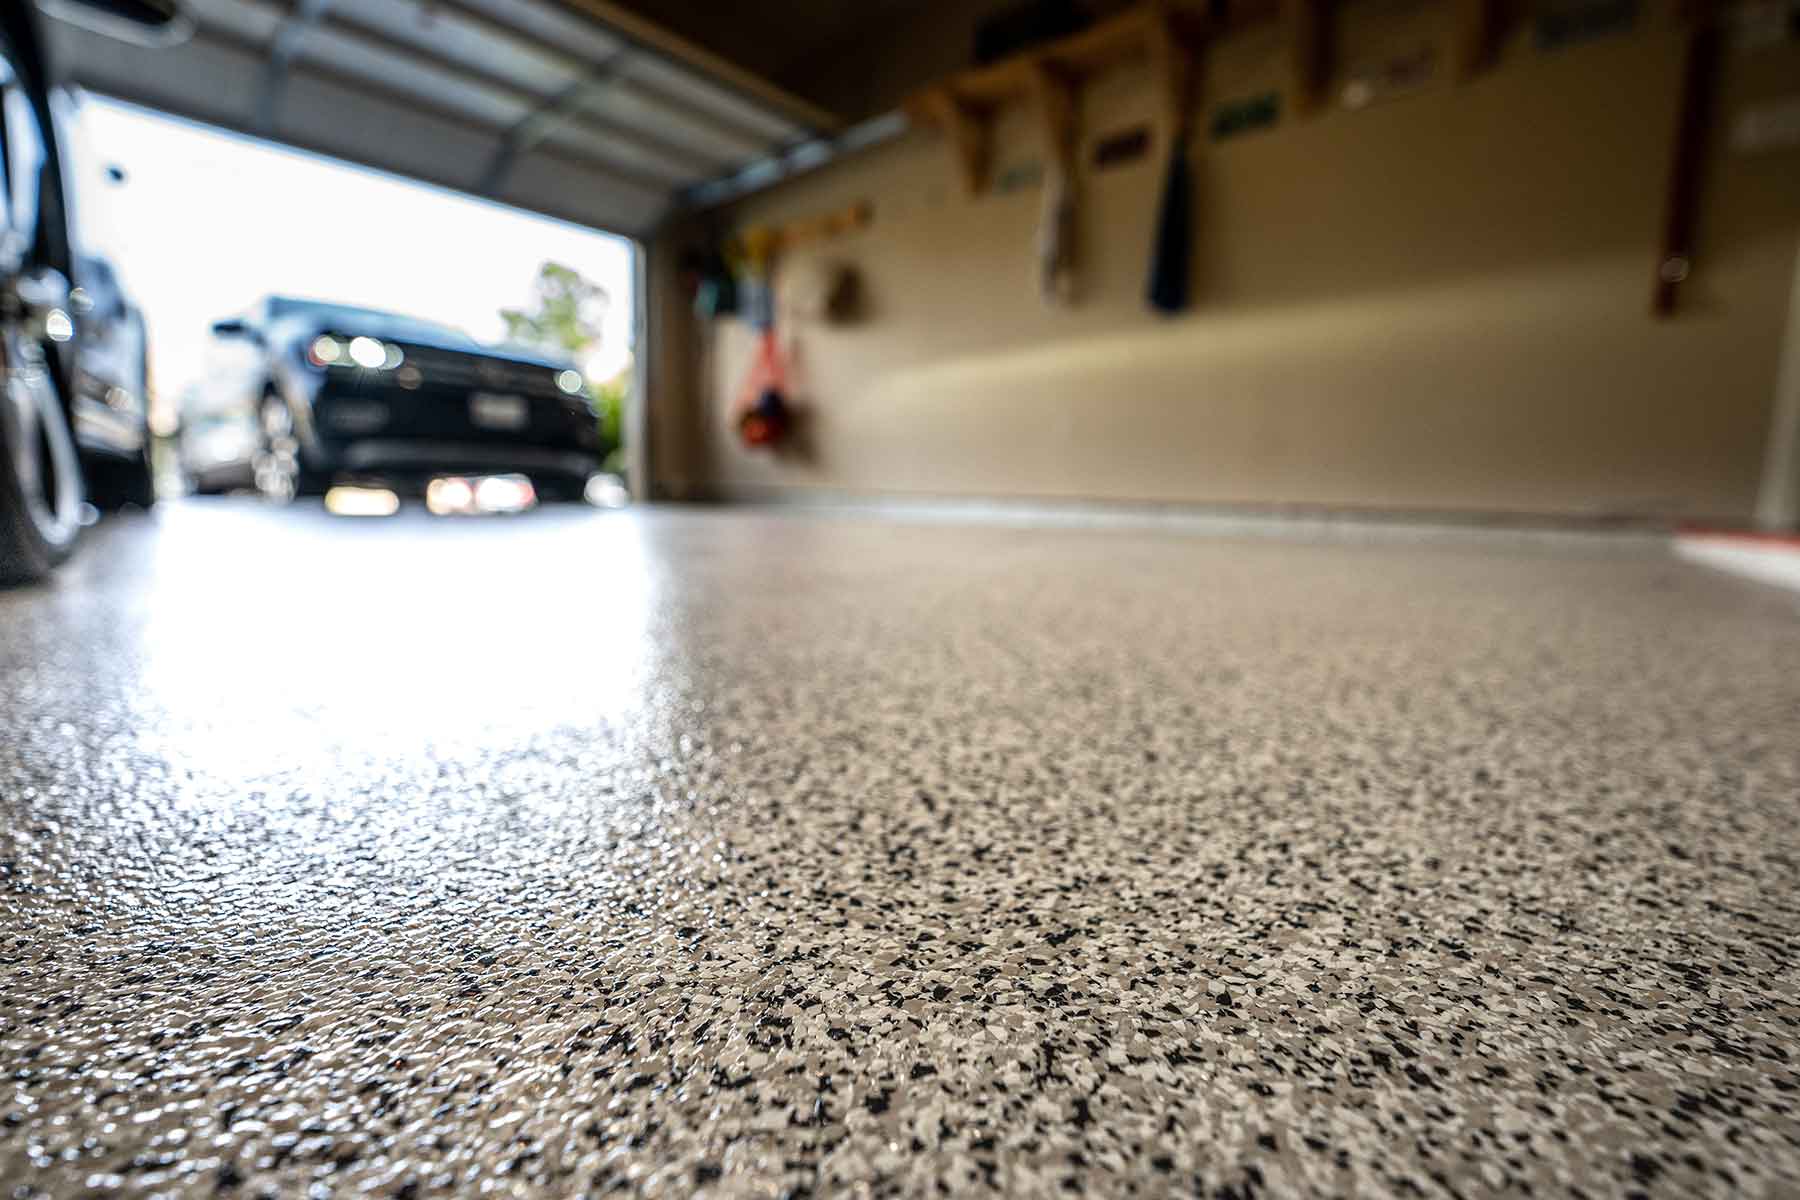
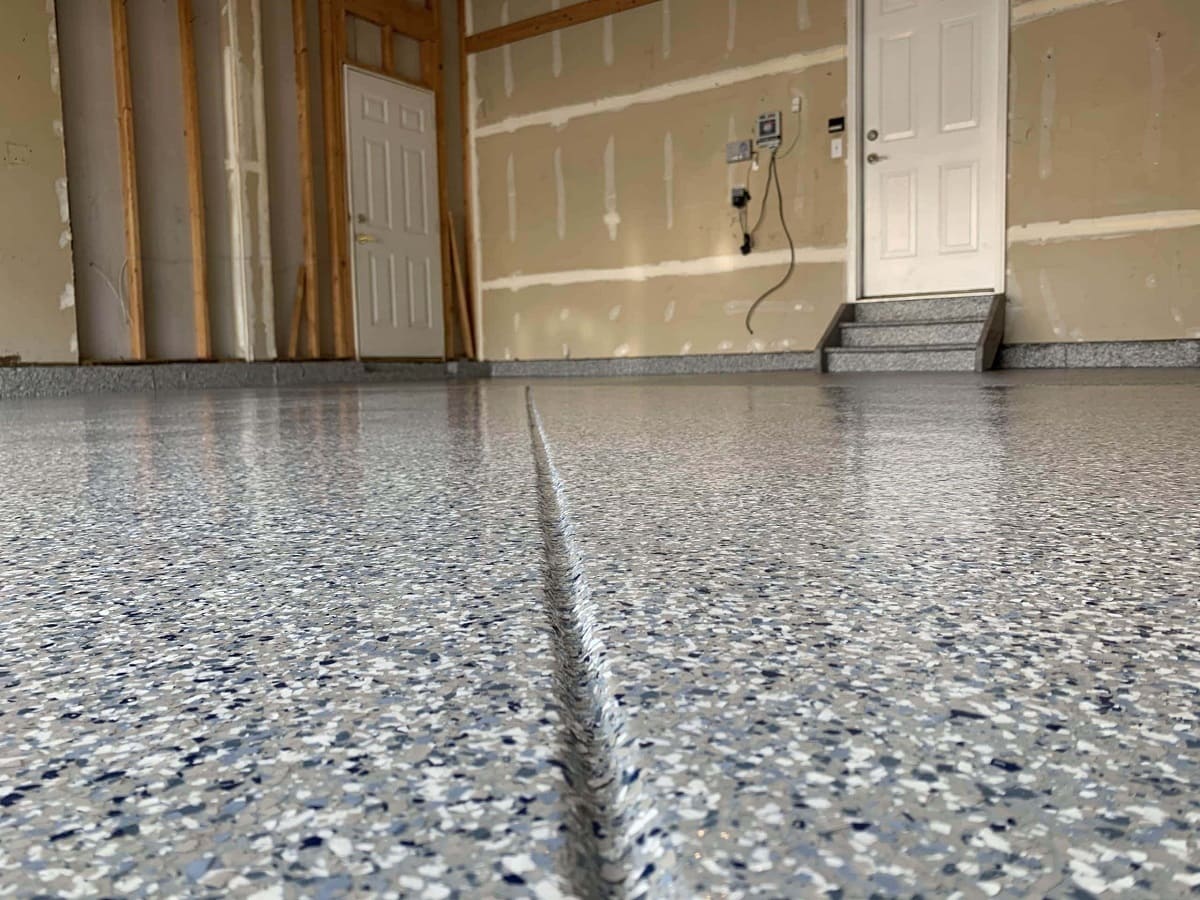
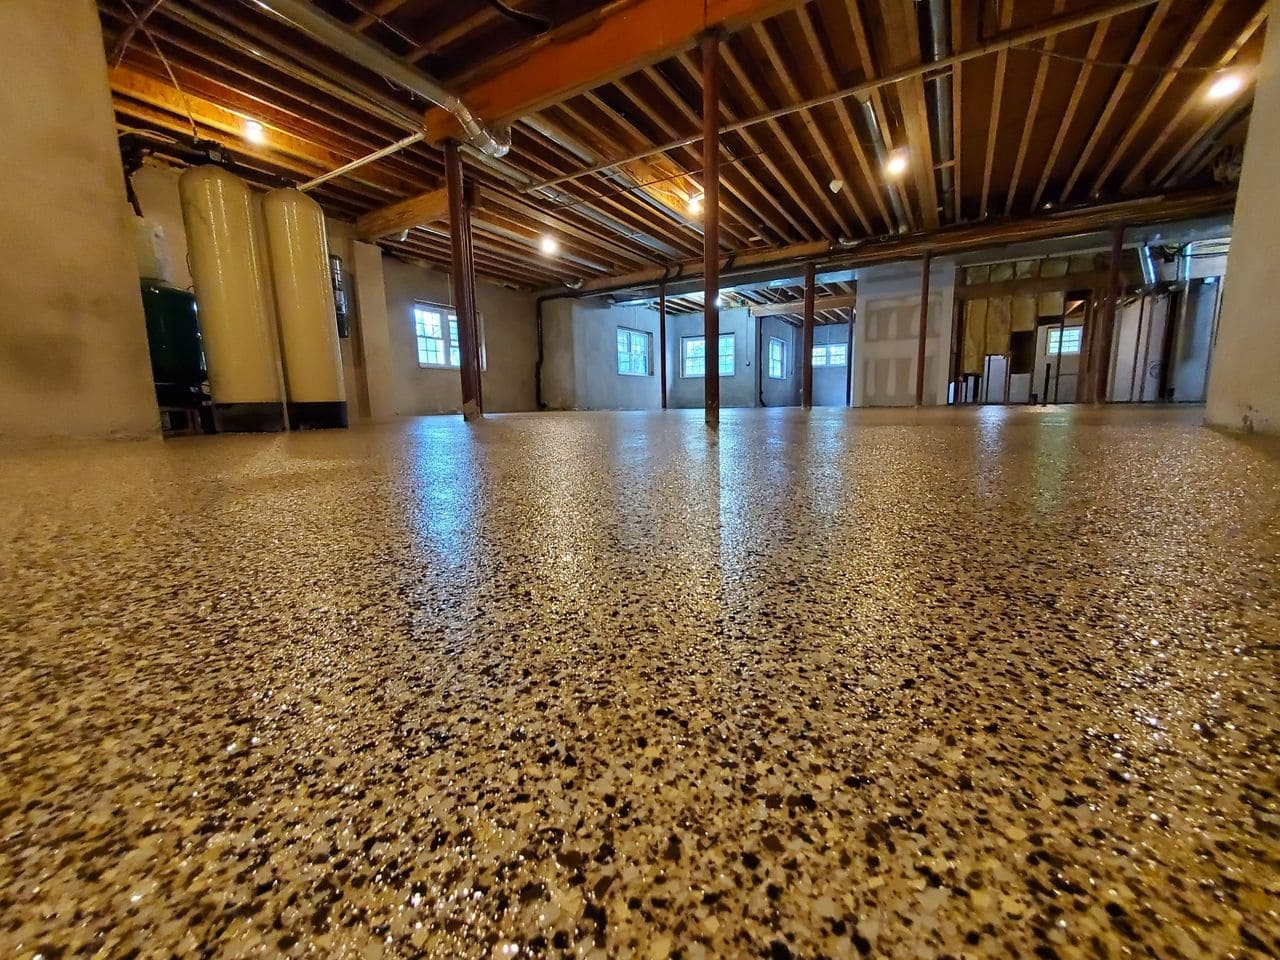
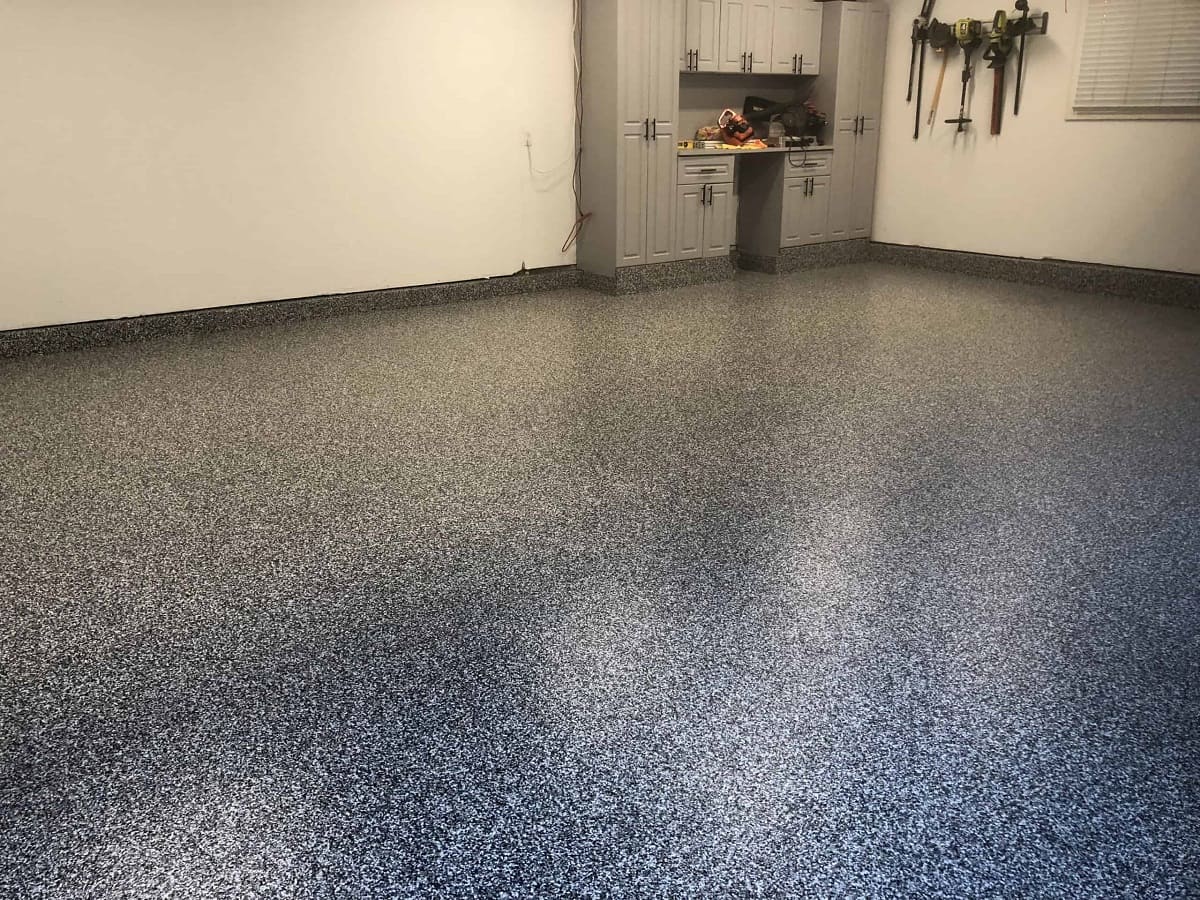
Adding Decorative Flakes (optional)
If you want to add texture and visual interest to your epoxy floor, you have the option to incorporate decorative flakes into the coating. Here’s how you can add decorative flakes to your epoxy floor:
- Choose your flakes: Decorative flakes come in various colors, sizes, and materials. Select flakes that complement your desired aesthetic and the overall decor of the space. Consider the size of the flakes and the level of coverage you want to achieve.
- Apply a base coat of epoxy: Before adding the flakes, apply a base coat of epoxy to the floor. Ensure that the base coat is still wet and tacky when adding the flakes for optimum adhesion.
- Evenly disperse the flakes: Sprinkle the decorative flakes over the wet base coat of epoxy. Aim for an even distribution, making sure not to clump the flakes together. Use a hand-held sieve or shaker to achieve a consistent dispersion.
- Let the flakes settle: Allow the flakes to settle into the epoxy for a few minutes. The flakes will sink slightly into the epoxy, providing a durable and textured surface.
- Apply a topcoat of epoxy: Once the flakes have settled, apply a clear topcoat of epoxy over the entire surface. The topcoat will encapsulate the flakes, providing them with protection and enhancing the overall durability of the floor.
- Smooth out the surface: After applying the topcoat, use a roller or brush to smooth out the surface and ensure an even finish. This will help to level any raised flakes and create a seamless appearance.
- Allow the epoxy to cure: Follow the manufacturer’s instructions regarding the curing time for the epoxy. It may take at least 24 hours for the epoxy to fully harden and cure. Avoid walking on or placing heavy objects on the floor until it is completely cured.
Adding decorative flakes to your epoxy floor can create a stunning visual effect and add depth to the surface. The flakes not only enhance the aesthetics but also add an extra layer of protection to the epoxy coating.
Allowing the Epoxy to Cure
After applying the epoxy coating and any decorative flakes, it is crucial to allow the epoxy to cure properly. The curing process allows the epoxy to harden and reach its maximum durability. Follow these steps to ensure a successful curing process:
- Read the manufacturer’s instructions: Consult the manufacturer’s instructions for the specific epoxy product you are using. The instructions will provide specific guidelines on curing time and conditions.
- Keep the area well-ventilated: Proper airflow is important during the curing process. Ensure that the space is adequately ventilated to allow any volatile fumes from the epoxy to dissipate. Open windows or use fans to encourage air circulation.
- Avoid foot traffic and heavy objects: Do not walk on the epoxy floor until it has fully cured. Avoid placing heavy objects on the floor during the curing process, as this may cause indentations or damage to the surface.
- Maintain the recommended temperature and humidity: The ideal curing conditions vary depending on the epoxy product. It is essential to maintain the recommended temperature and humidity levels for the duration of the curing process. Extreme temperatures or high humidity can affect the curing time and the quality of the final result.
- Be patient: Curing times can range from 24 to 72 hours or even longer, depending on the specific epoxy product and environmental factors. It is crucial to be patient and allow the epoxy sufficient time to fully cure before subjecting it to normal use.
- Monitor the curing process: Keep an eye on the epoxy during the curing process to ensure that it is drying properly. Check for any signs of discoloration, bubbling, or other abnormalities. If you notice any issues, consult the manufacturer’s instructions or seek professional advice.
- Perform a final inspection: Once the epoxy has fully cured, inspect the floor for any imperfections or areas that may need touch-ups. If necessary, apply additional coats of epoxy or perform any necessary repairs before proceeding to the next step.
Allowing the epoxy to cure completely is essential for achieving a hard, durable, and long-lasting floor surface. Taking the time to follow the recommended curing process will ensure the best results and extend the lifespan of your epoxy floor.
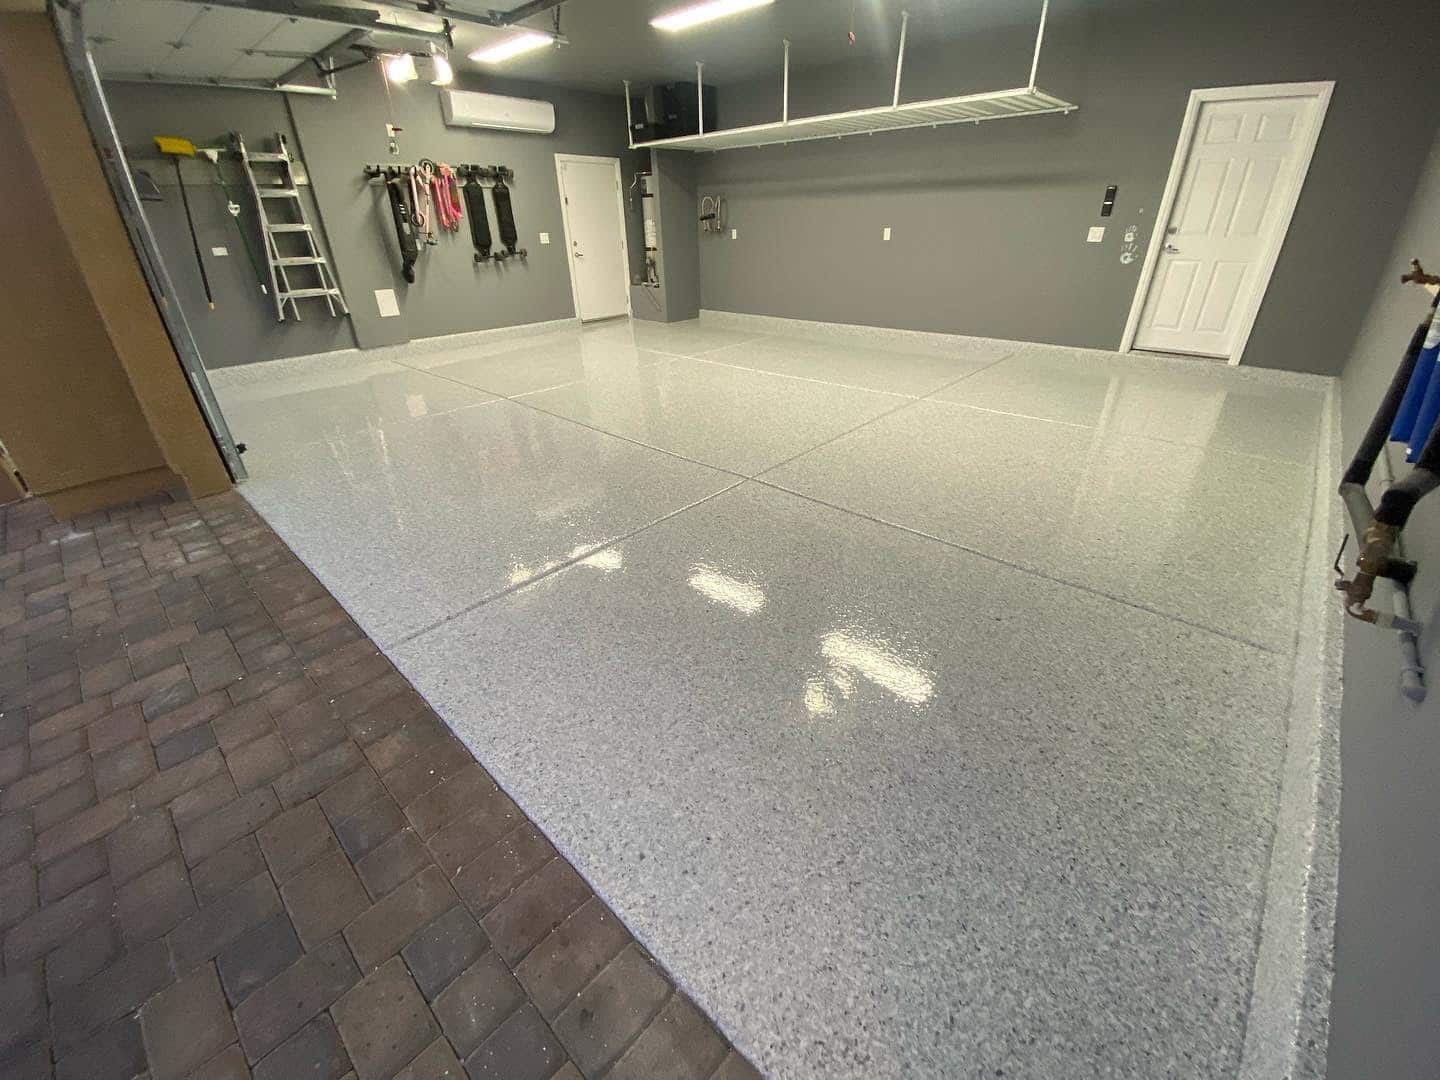
Applying the Topcoat
Applying a topcoat to your epoxy floor is an essential step in the finishing process. The topcoat adds an extra layer of protection, enhances the floor’s durability, and provides a glossy and polished finish. Follow these steps to apply the topcoat:
- Choose the appropriate topcoat: Select a topcoat that is specifically designed for use with epoxy floors. Consider factors such as the desired level of sheen, UV resistance, and chemical resistance.
- Read the manufacturer’s instructions: Carefully read and follow the instructions provided with the topcoat product. Each product may have specific requirements and application techniques.
- Prepare the work area: Clear the floor of any debris or objects, and ensure the area is well-ventilated. Consider covering nearby surfaces to protect them from any potential splatters or overspray during the application process.
- Mix the topcoat (if necessary): Some topcoat products may require mixing before use. Follow the manufacturer’s instructions regarding the appropriate mixing ratio and technique.
- Apply the topcoat: Start at one corner of the room and pour a small amount of the topcoat onto the floor. Use a roller or brush to spread the topcoat evenly over the floor surface, working in small sections. Be mindful of maintaining a wet edge to avoid visible seams.
- Smooth out the topcoat: After applying the topcoat, use a roller or brush to evenly distribute and smooth out the surface. This will help to eliminate any roller or brush marks, ensuring a seamless and professional finish.
- Allow the topcoat to dry and cure: Follow the manufacturer’s instructions for the drying and curing time of the topcoat. This can range from a few hours to several days, depending on the product and environmental conditions.
- Avoid foot traffic and heavy objects: During the drying and curing process, refrain from walking on the floor or placing heavy objects on it. Doing so may cause damage to the topcoat and compromise its performance.
- Perform a final inspection: Once the topcoat has fully dried and cured, inspect the floor for any imperfections or areas that may need touch-ups. Address any issues promptly to ensure the best possible finish.
Applying a topcoat is the final step in achieving a professional and polished look for your epoxy floor. It not only enhances the appearance but also provides an added layer of protection, ensuring long-term durability and easy maintenance.
Read more: How To Clean Epoxy Floor
Final Touches and Maintenance
After completing the epoxy floor installation, there are a few final touches and ongoing maintenance practices you can follow to ensure the longevity and beauty of your newly coated floor:
- Remove any tape or coverings: If you used tape or plastic coverings to protect certain areas during the installation process, carefully remove them once the epoxy is fully cured. Peel them off slowly and gently to avoid damaging the epoxy surface.
- Inspect for imperfections: Take some time to carefully inspect the entire floor for any imperfections or areas that may need touch-ups. If you notice any bubbles, scratches, or other inconsistencies, consult the manufacturer’s instructions for guidance on how to address them.
- Implement regular cleaning: Regular cleaning is essential to maintain the appearance and cleanliness of your epoxy floor. Use a gentle cleanser or neutral pH cleaner and a soft mop or microfiber cloth to remove any dirt or spills. Avoid using harsh chemicals or abrasive scrubbers, as they can damage the epoxy surface.
- Prevent scratches and damage: To prevent scratches, place felt pads or furniture glides under the legs of furniture items. Avoid dragging heavy objects across the floor, as this can cause damage. Additionally, consider using rugs or mats in high-traffic areas to protect the floor from wear and tear.
- Avoid extreme temperatures and chemicals: Epoxy floors are generally resistant to moderate heat, but exposure to extreme temperatures can cause damage. Avoid placing hot objects directly on the floor. Additionally, certain chemicals, such as strong acids or solvents, can degrade the epoxy surface, so be cautious when using or storing such substances.
- Perform periodic maintenance: Over time, your epoxy floor may experience wear and tear. Periodically assess the condition of the floor and perform any necessary touch-ups or repairs. Follow the manufacturer’s instructions for any recommended maintenance practices to preserve the quality and appearance of the epoxy coating.
- Enjoy your beautiful floor: With proper care and maintenance, your epoxy floor will provide you with a beautiful, durable, and long-lasting surface for years to come. Take pride in your newly coated floor and enjoy the benefits it brings to your space.
By following these final touches and maintaining regular care, you can extend the life and beauty of your epoxy floor, keeping it looking fresh and inviting for years to come.
Conclusion
Transforming your floors with epoxy coating is a rewarding project that enhances the overall appearance, durability, and functionality of your space. Whether you’re revamping your garage, basement, or living room, epoxy flooring provides a sleek and long-lasting solution.
Throughout this comprehensive guide, we have covered every step of the epoxy flooring process. From the initial preparation and cleaning of the floor to the application of primer, epoxy, and topcoat, each stage is essential for achieving a professional result.
By following the instructions provided by the manufacturer and implementing the recommended techniques, you can create an epoxy floor that is both visually appealing and resilient to daily wear and tear. Make sure to pay attention to details, such as mixing the epoxy thoroughly and evenly spreading it across the floor surface.
Remember, the curing process is crucial for achieving optimal results. Allowing the epoxy to fully cure and harden ensures its durability and longevity, providing you with a surface that will withstand the test of time.
Once your epoxy floor is complete, don’t forget about regular maintenance. By implementing simple cleaning practices and taking precautions to prevent scratches and damage, you can keep your epoxy floor looking pristine for years to come.
So, whether you’re looking to transform your garage into a stylish workshop or revamp your living room with a modern and durable floor, epoxy coating is an excellent choice. With careful preparation, proper application, and ongoing maintenance, you can enjoy the benefits of a stunning epoxy floor for a long time.
Now, it’s time to roll up your sleeves, gather your materials, and get started on your epoxy flooring journey. Embrace the process, unleash your creativity, and unlock the full potential of your floors with epoxy coating!
Frequently Asked Questions about How To Epoxy A Floor
Was this page helpful?
At Storables.com, we guarantee accurate and reliable information. Our content, validated by Expert Board Contributors, is crafted following stringent Editorial Policies. We're committed to providing you with well-researched, expert-backed insights for all your informational needs.


0 thoughts on “How To Epoxy A Floor”