Home>Articles>How To Attach A Hose To A Bissell Carpet Cleaner
Articles
How To Attach A Hose To A Bissell Carpet Cleaner
Modified: September 1, 2024
Learn how to easily attach a hose to your Bissell carpet cleaner with our step-by-step articles. Keep your carpets clean and fresh effortlessly.
(Many of the links in this article redirect to a specific reviewed product. Your purchase of these products through affiliate links helps to generate commission for Storables.com, at no extra cost. Learn more)
Introduction
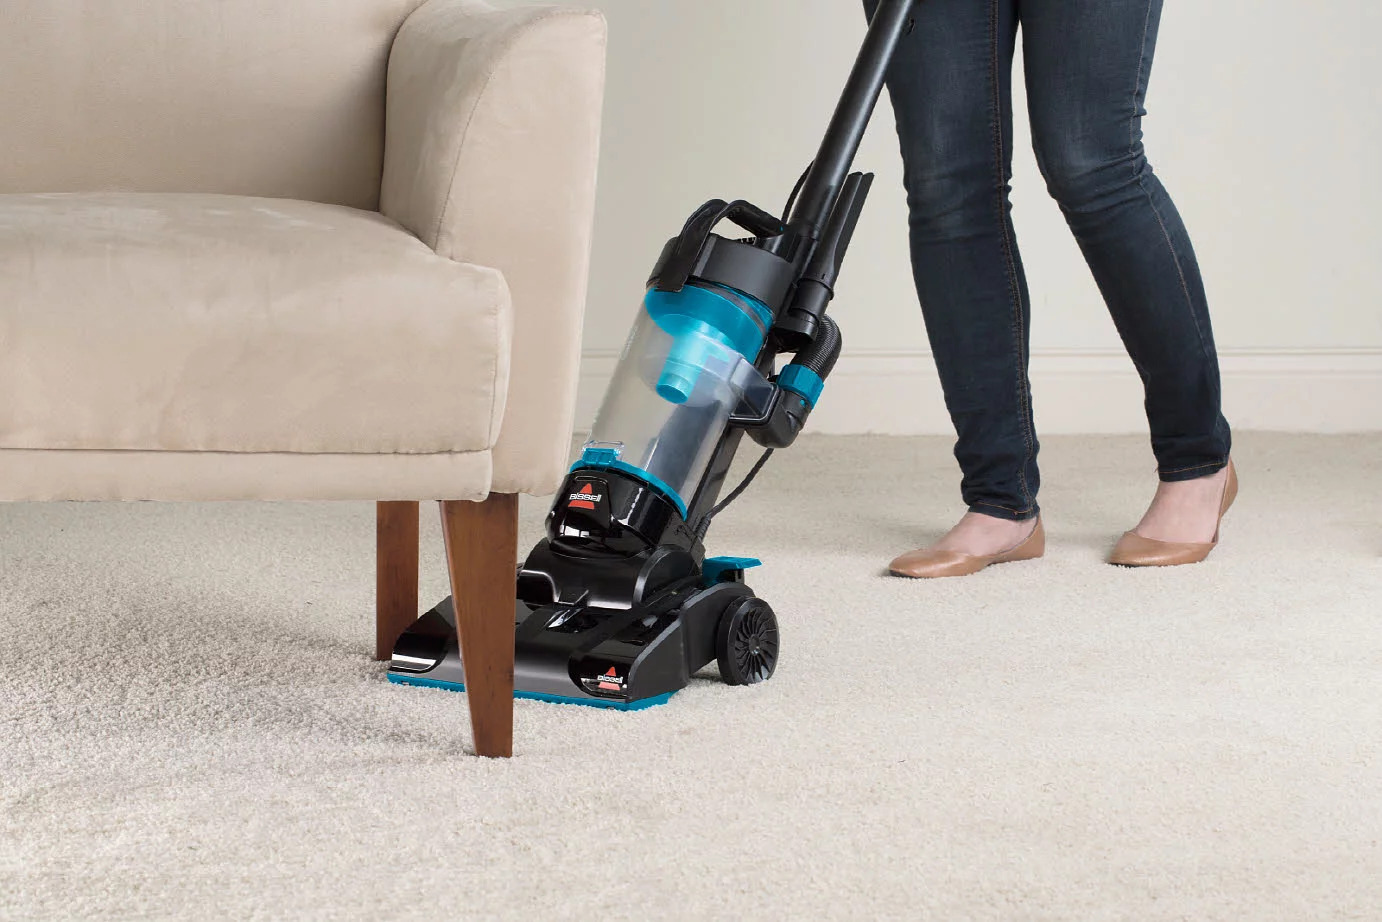
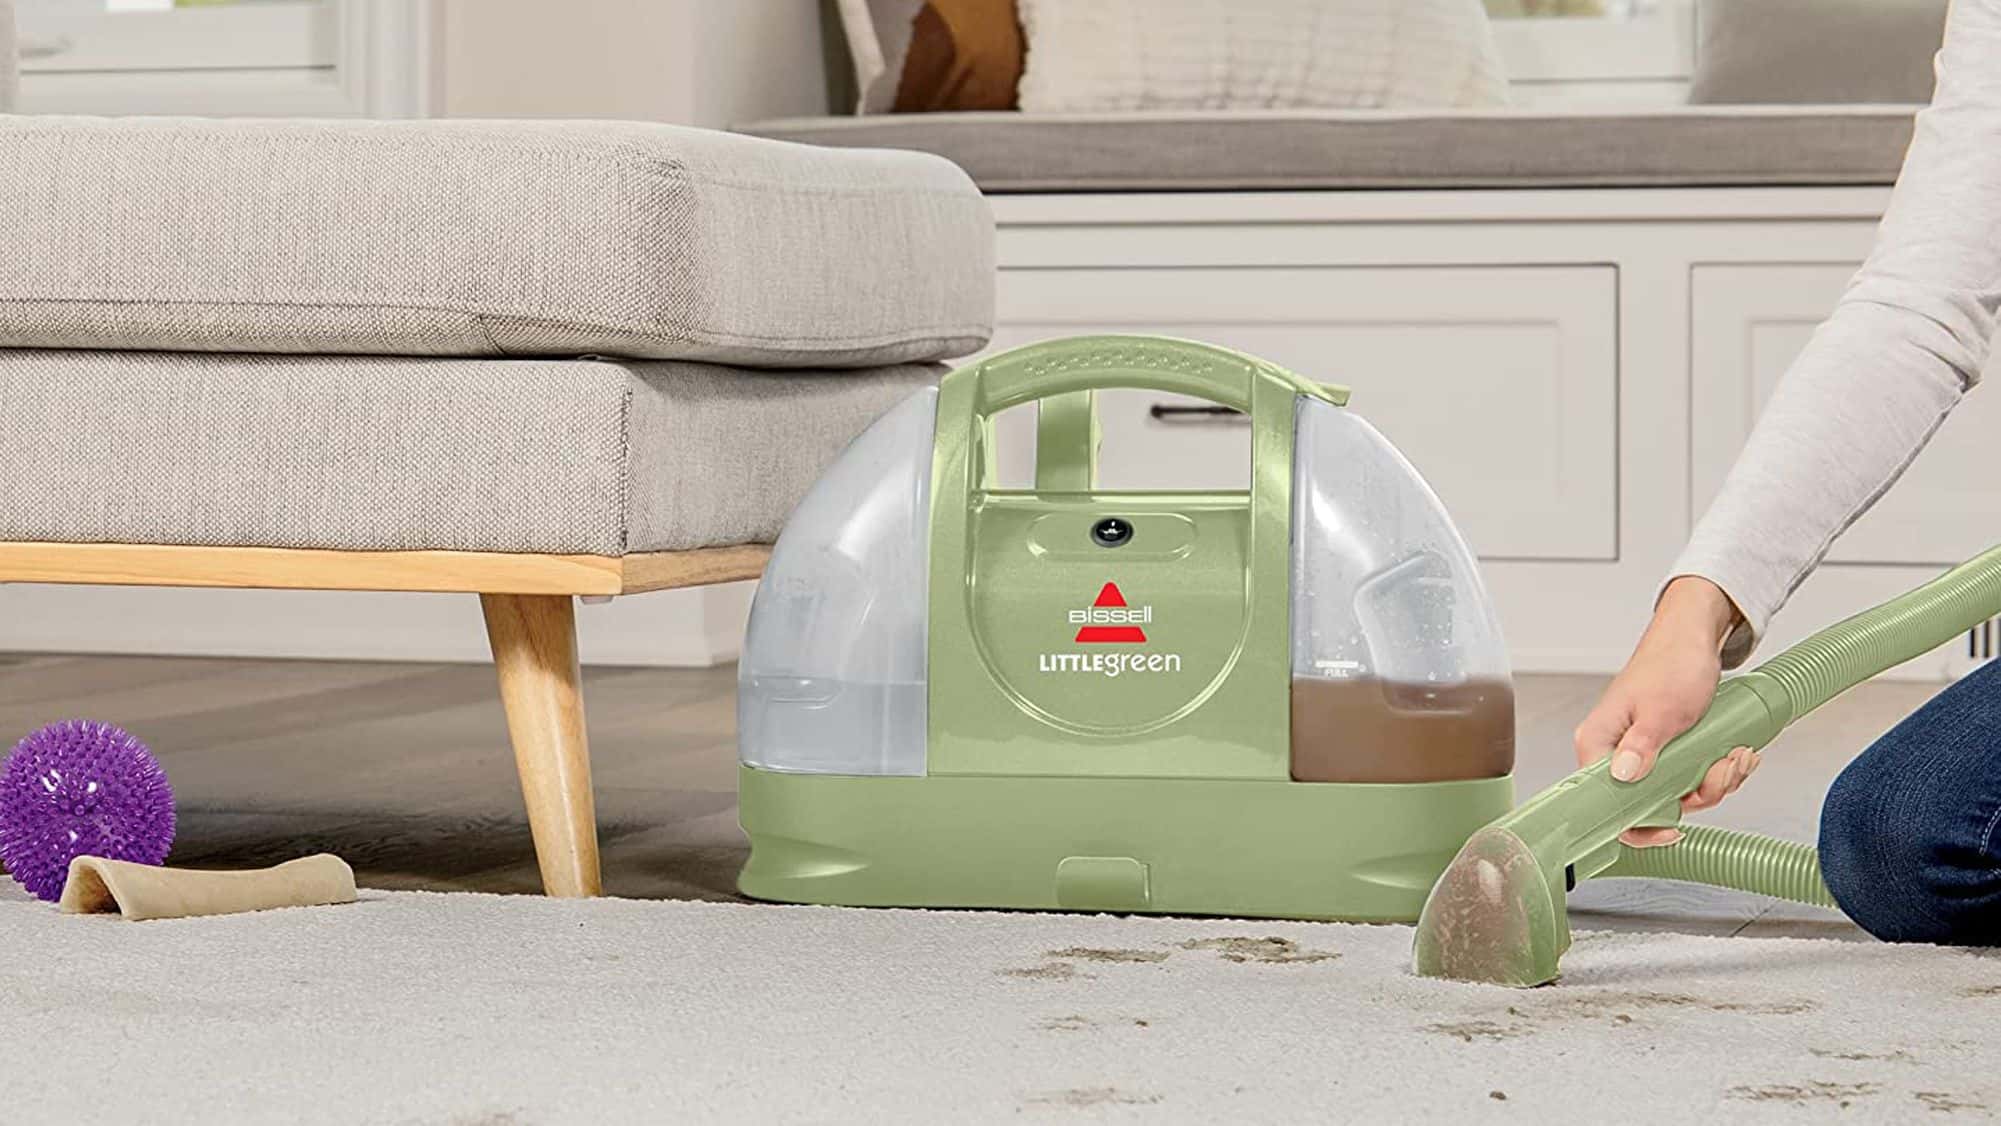
Welcome to our comprehensive guide on how to attach a hose to a Bissell carpet cleaner. If you want to deep clean your carpets or tackle hard-to-reach areas, attaching a hose to your Bissell carpet cleaner is the perfect solution. With the hose attachment, you can easily clean stairs, upholstery, and other surfaces that require a more targeted cleaning approach.
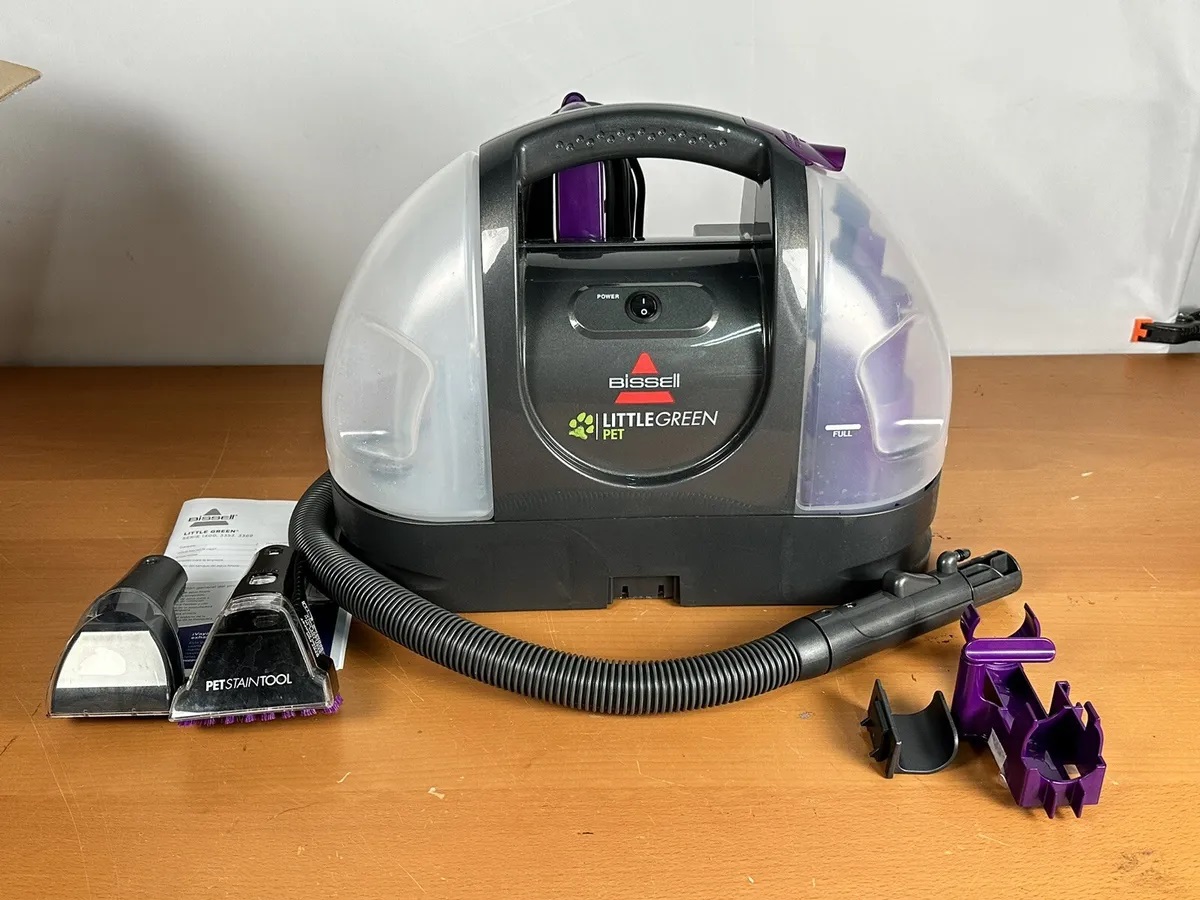
Whether you have a Bissell upright carpet cleaner or a portable spot cleaner, the process of attaching a hose is relatively simple. In this article, we will walk you through each step, providing detailed instructions to ensure a successful hose connection.
Before we begin, please note that the specific steps may slightly vary depending on the model of your Bissell carpet cleaner. It’s always a good idea to refer to your machine’s user manual for model-specific instructions and guidelines. Without further ado, let’s get started!
Key Takeaways:
- Easily attach a hose to your Bissell carpet cleaner by gathering materials, preparing the machine, locating the attachment point, and testing the connection for efficient and targeted cleaning.
- Master the art of attaching and using a hose on your Bissell cleaner to reach inaccessible areas, expand cleaning versatility, and maintain the cleanliness of your home with confidence.
Read more: How To Unclog Bissell Carpet Cleaner
Step 1: Gather the necessary materials
Before you start attaching a hose to your Bissell carpet cleaner, it’s important to gather all the necessary materials. Having everything ready beforehand will make the process smoother and more efficient. Here’s what you’ll need:
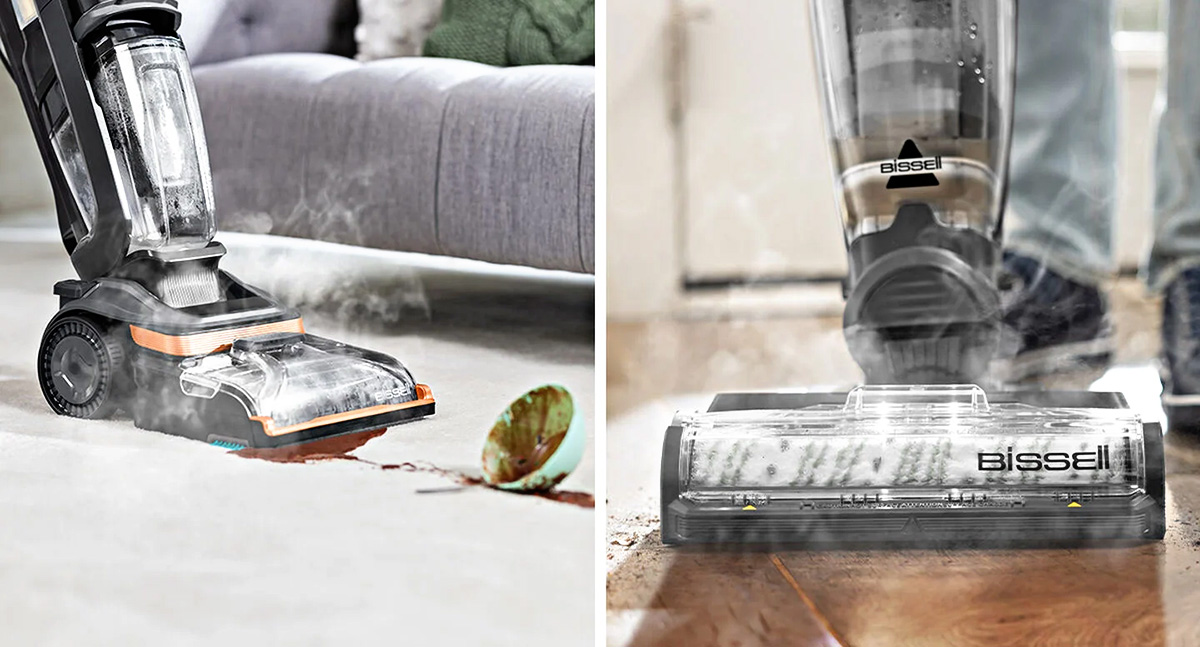
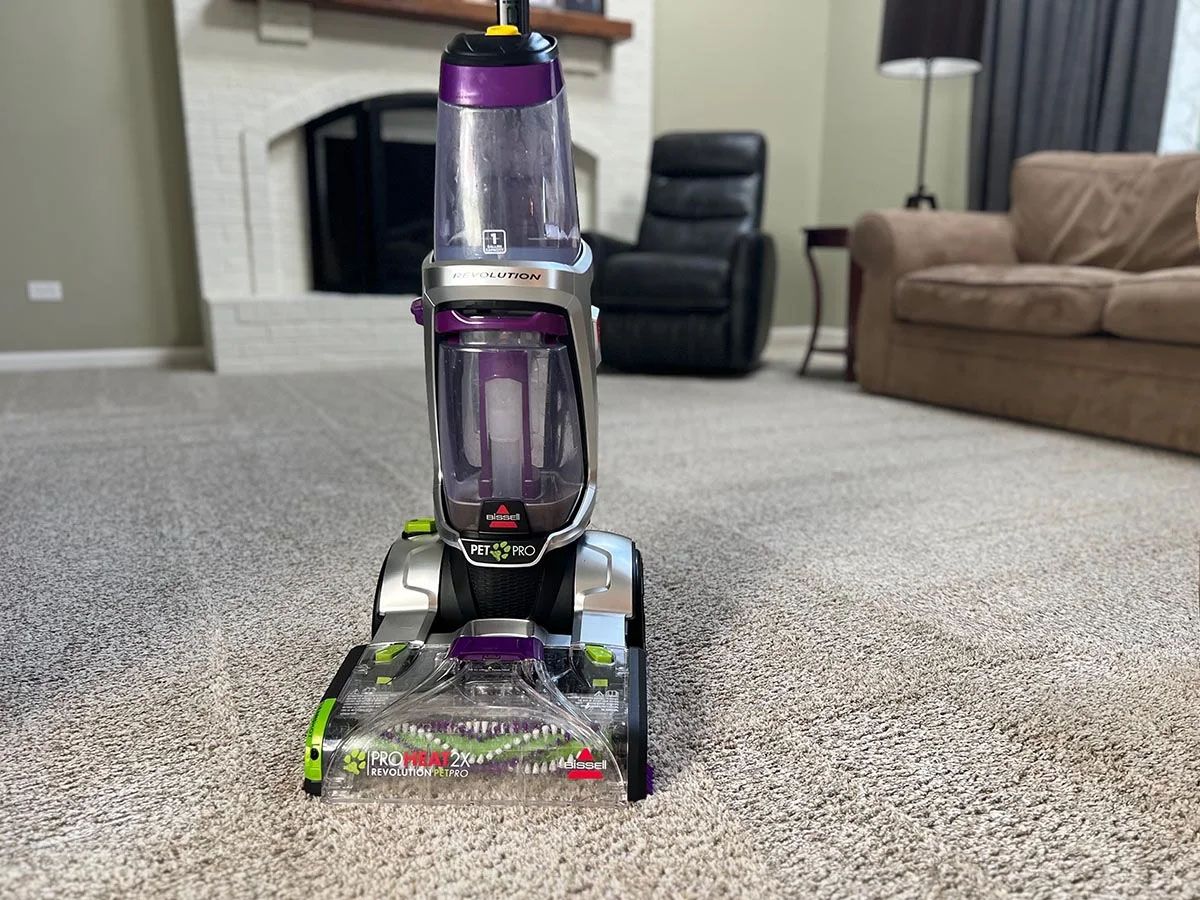
- Bissell carpet cleaner: Ensure that you have your Bissell carpet cleaner handy. The model and type of your Bissell cleaner may affect the hose attachment process, so it’s important to have the correct machine ready.
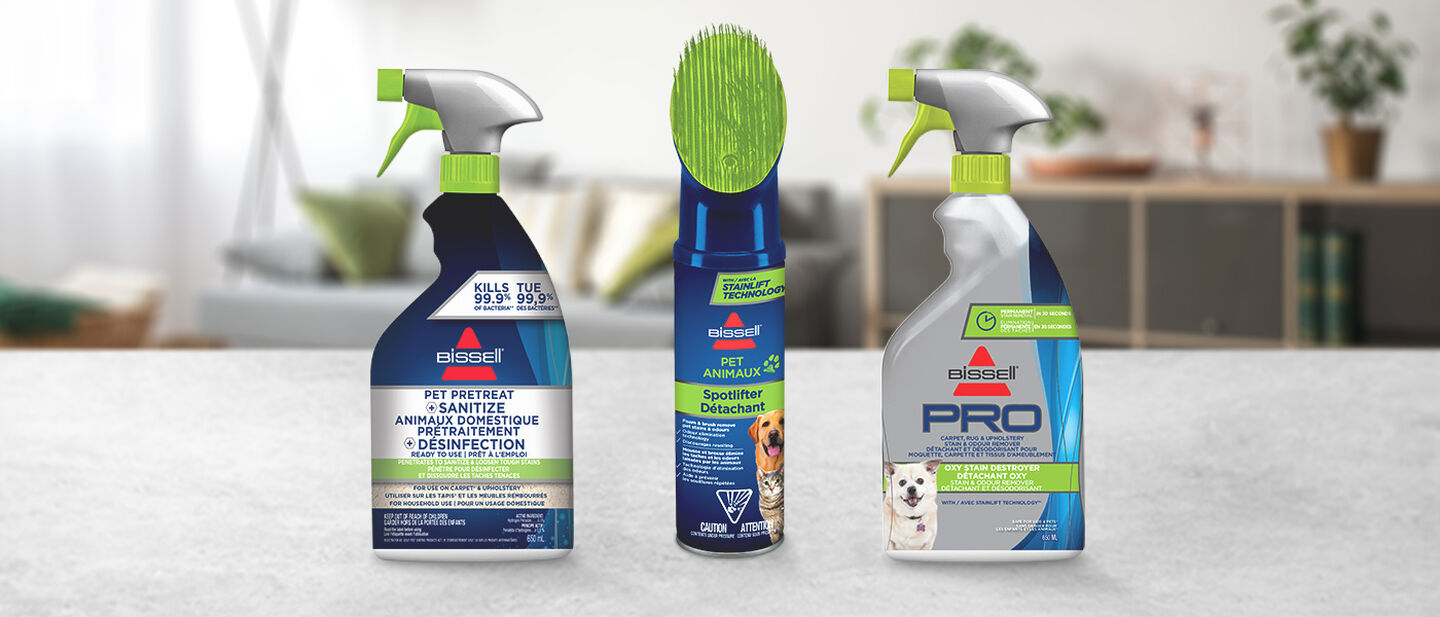
- Hose attachment: Depending on your Bissell model, a hose attachment may be included with the cleaner or available for purchase separately. Make sure you have the correct hose attachment that is compatible with your machine.
- Clean water: Fill up your Bissell carpet cleaner’s water tank with clean, hot water. This will ensure optimal cleaning performance.
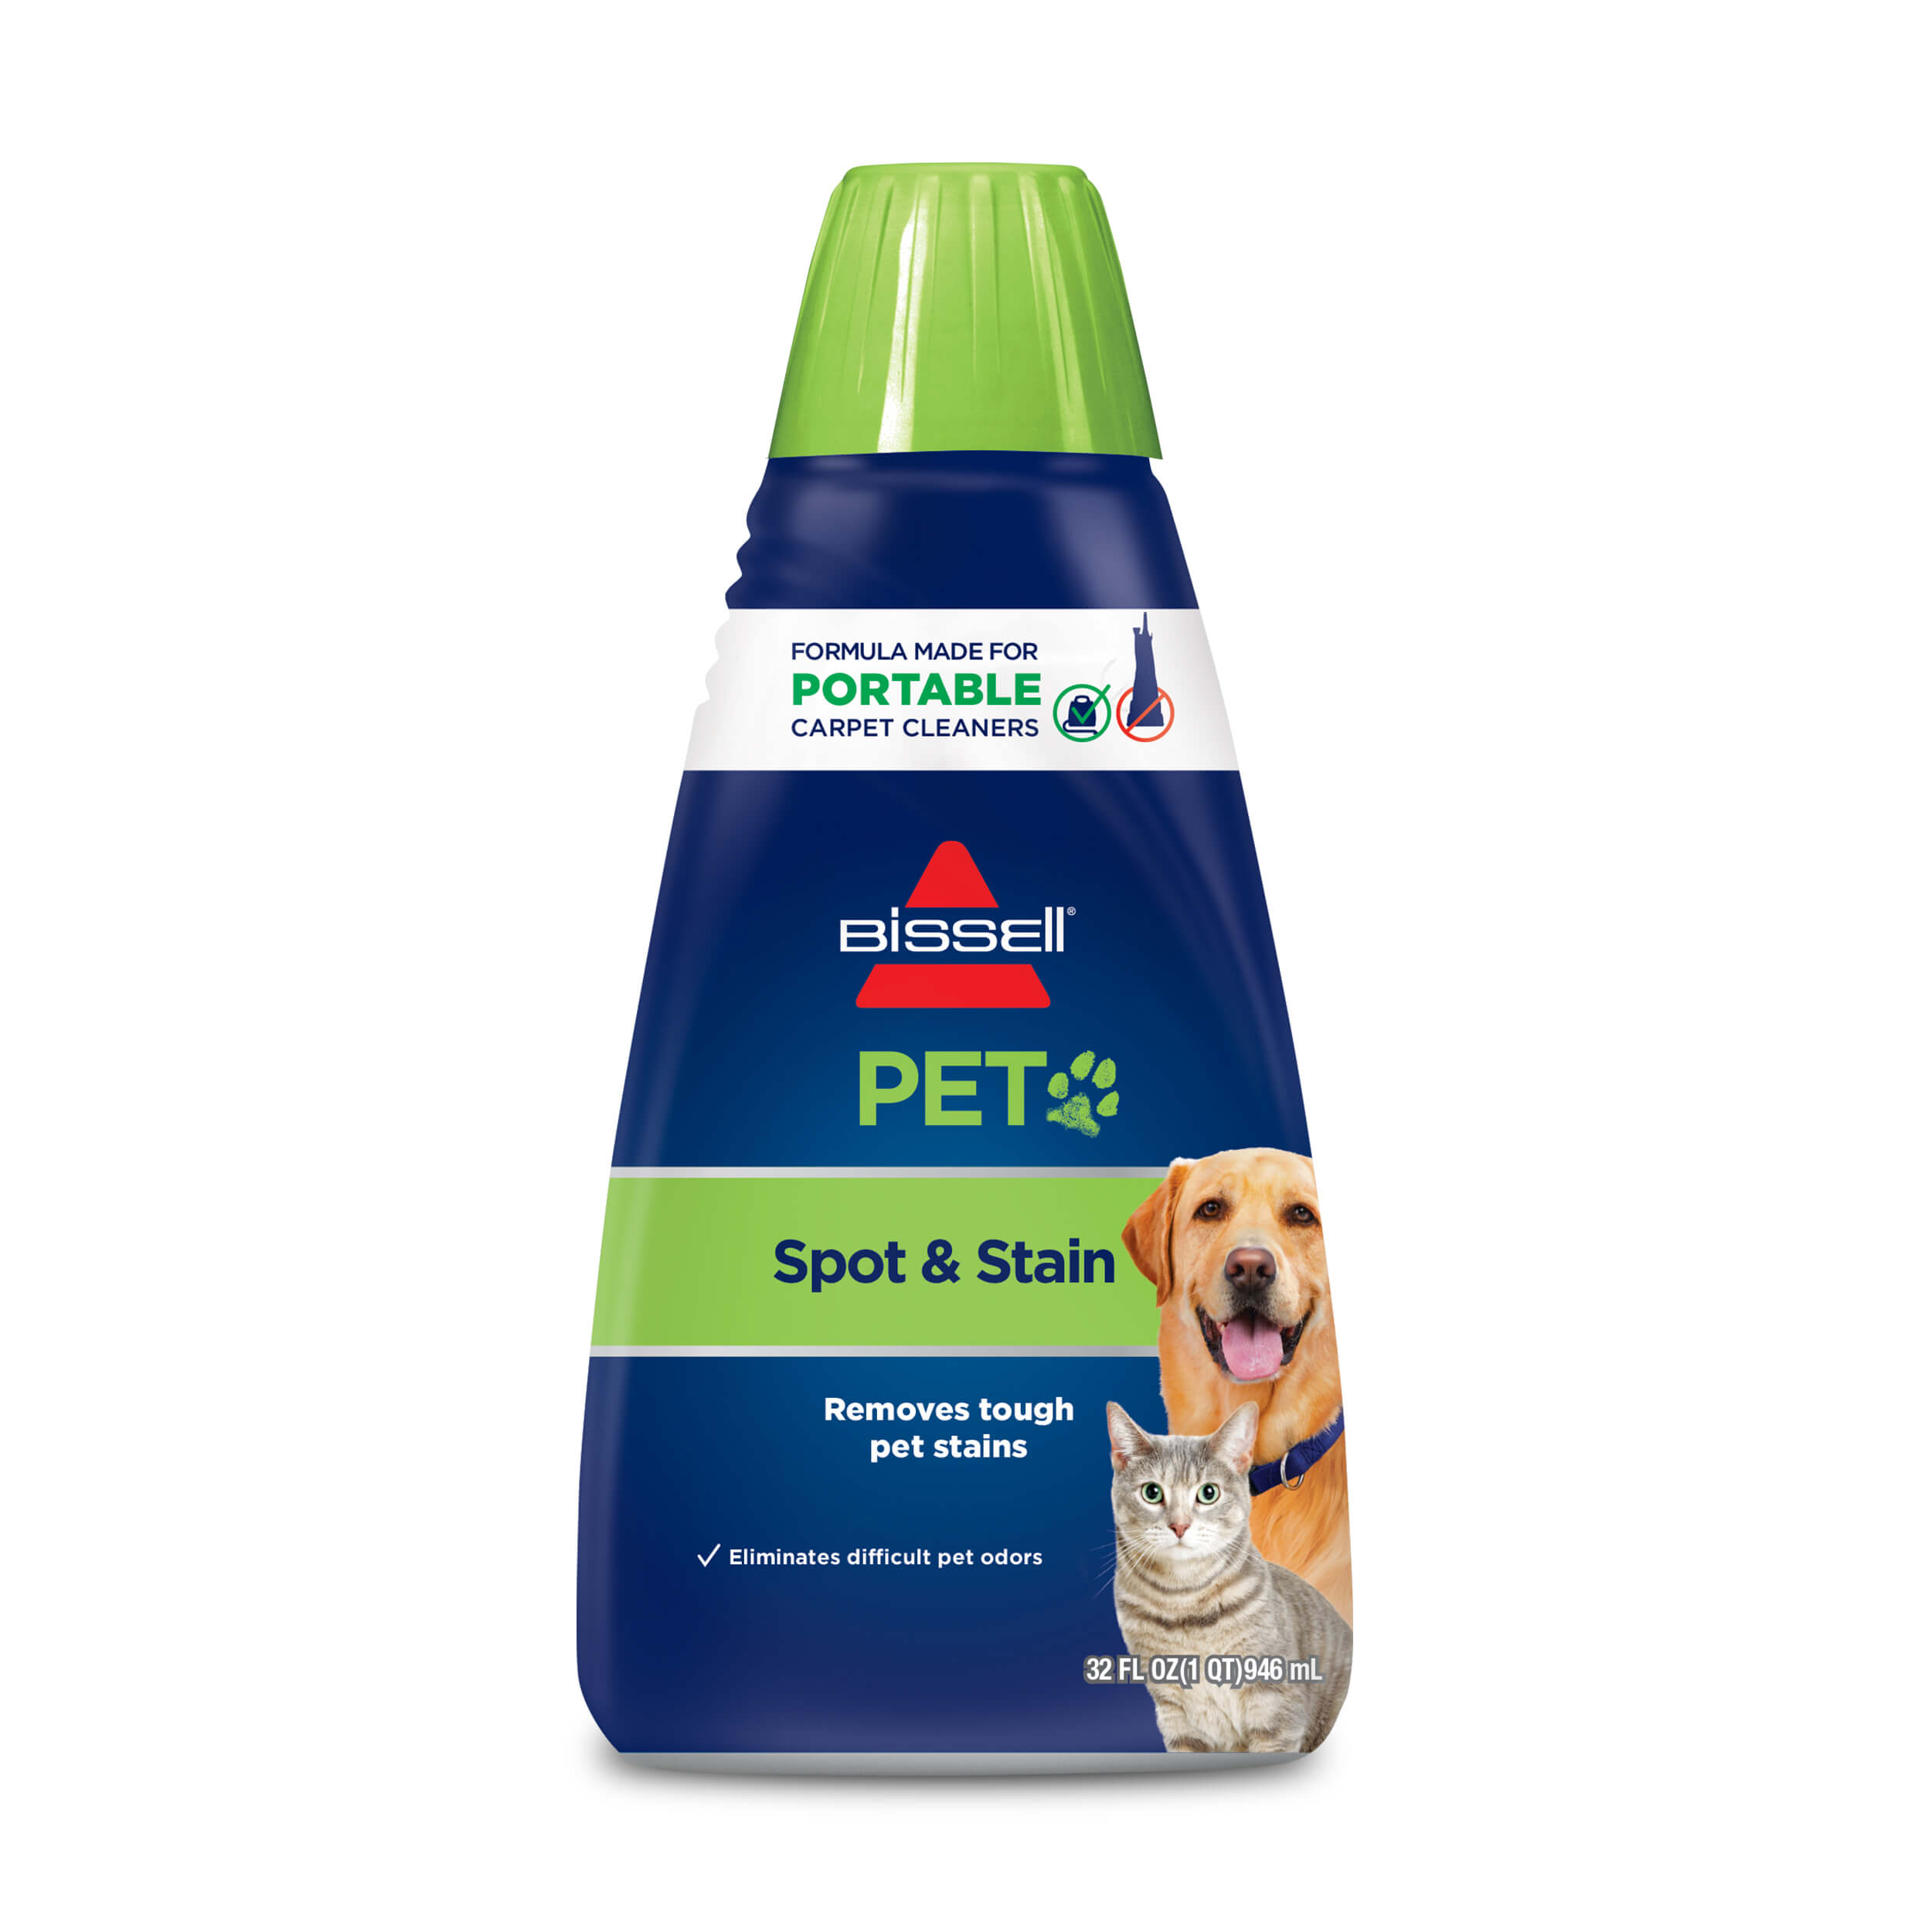
- Cleaning solution: Select a suitable carpet cleaning solution that is recommended for use with your Bissell cleaner. Different models may have specific cleaning solution requirements, so refer to the user manual for guidance.
- Power source: Make sure your Bissell carpet cleaner is plugged into a power outlet, or if it is cordless, ensure that the battery is fully charged.
Having these materials at hand will help you seamlessly attach the hose and start cleaning those hard-to-reach areas of your home. Once you have everything ready, let’s move on to the next step: preparing the Bissell carpet cleaner.
Step 2: Prepare the Bissell carpet cleaner
Before attaching the hose to your Bissell carpet cleaner, it’s crucial to properly prepare the machine for operation. Follow these steps to ensure your Bissell cleaner is ready to go:
- Check the water tank: Ensure that the water tank of your Bissell cleaner is empty before starting. If there is any water or cleaning solution remaining from a previous use, empty it out and give the tank a quick rinse.
- Add clean water: Fill the water tank with clean, hot water according to the instructions in your Bissell cleaner’s user manual. Be mindful not to overfill the tank, as it may cause leaks or hinder the machine’s performance.
- Measure and add cleaning solution: Depending on the guidance provided in the user manual, measure the appropriate amount of carpet cleaning solution and add it to the water tank. This will ensure the cleaning solution is properly diluted for effective cleaning.
- Secure the tank: Once you have added the water and cleaning solution, securely place the tank back into its designated position on the Bissell cleaner. Double-check that it is properly locked and sealed to prevent any leaks during operation.
- Plug in the machine: If your Bissell carpet cleaner is corded, plug it into a nearby power outlet. Ensure the cord is properly connected and free from any obstructions that may impede your movements during the cleaning process.
- Turn on the machine: Depending on the model of your Bissell cleaner, locate the power switch and turn the machine on. Give it a few moments to kick in and establish the necessary pressure for optimal cleaning.
By preparing your Bissell carpet cleaner in advance, you will ensure smooth operation and prevent any interruptions once you attach the hose. Now that your machine is ready, let’s move on to the next step: locating the hose attachment point.
Step 3: Locate the hose attachment point
Locating the correct hose attachment point on your Bissell carpet cleaner is essential for a successful hose connection. The location of the attachment point may vary depending on the model of your machine. Here’s how to locate it:
- Refer to the user manual: The user manual that came with your Bissell cleaner is the best resource for finding the specific location of the hose attachment point. It will provide detailed diagrams and instructions for your particular model.
- Examine the cleaner’s body: Take a close look at the body of your Bissell carpet cleaner. Look for any openings or protrusions where the hose attachment might fit. Manufacturers often design the machines in a way that allows for easy hose attachment.
- Inspect the accessories: If you purchased a separate hose attachment for your Bissell cleaner, check the package for any instructions or indications of where it should be connected. The accessory itself might have clues about its proper placement.
- Search online resources: If you’re unable to find the hose attachment point using the manual or visual examination, try searching online forums or Bissell’s official website. Other users or customer support might have additional information to help you locate the attachment point.
Remember, it’s important to locate the correct attachment point to ensure a secure and reliable connection. Taking the time to find the attachment location will prevent any potential damage to your Bissell cleaner and guarantee efficient cleaning with the hose. Once you’ve found the attachment point, let’s move on to the next step: attaching the hose to the cleaner.
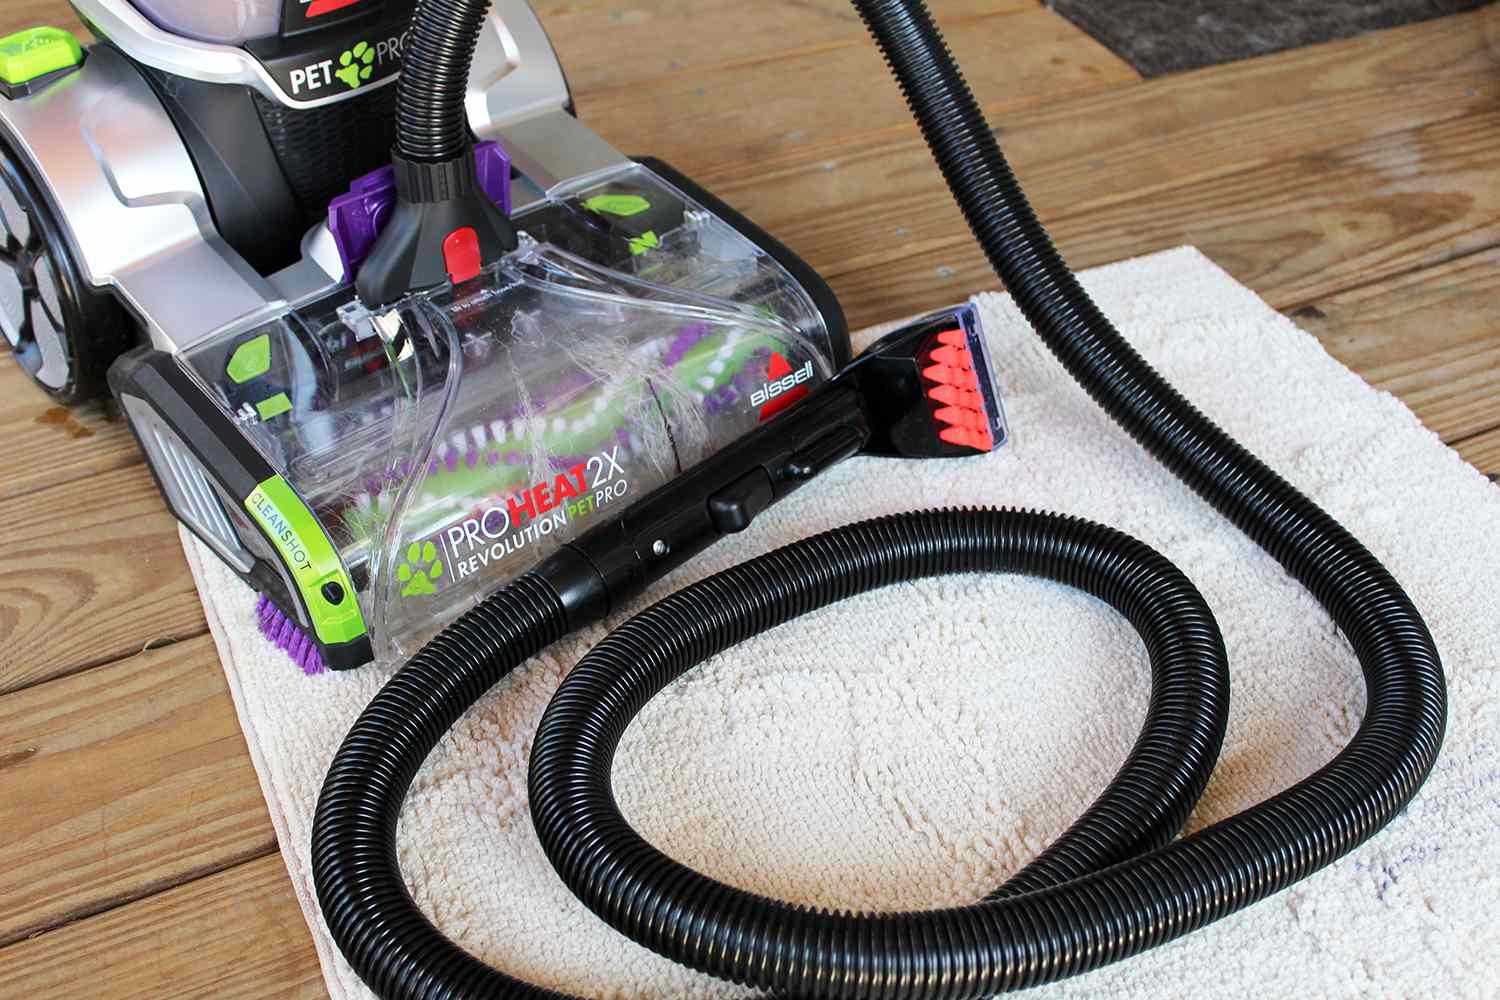
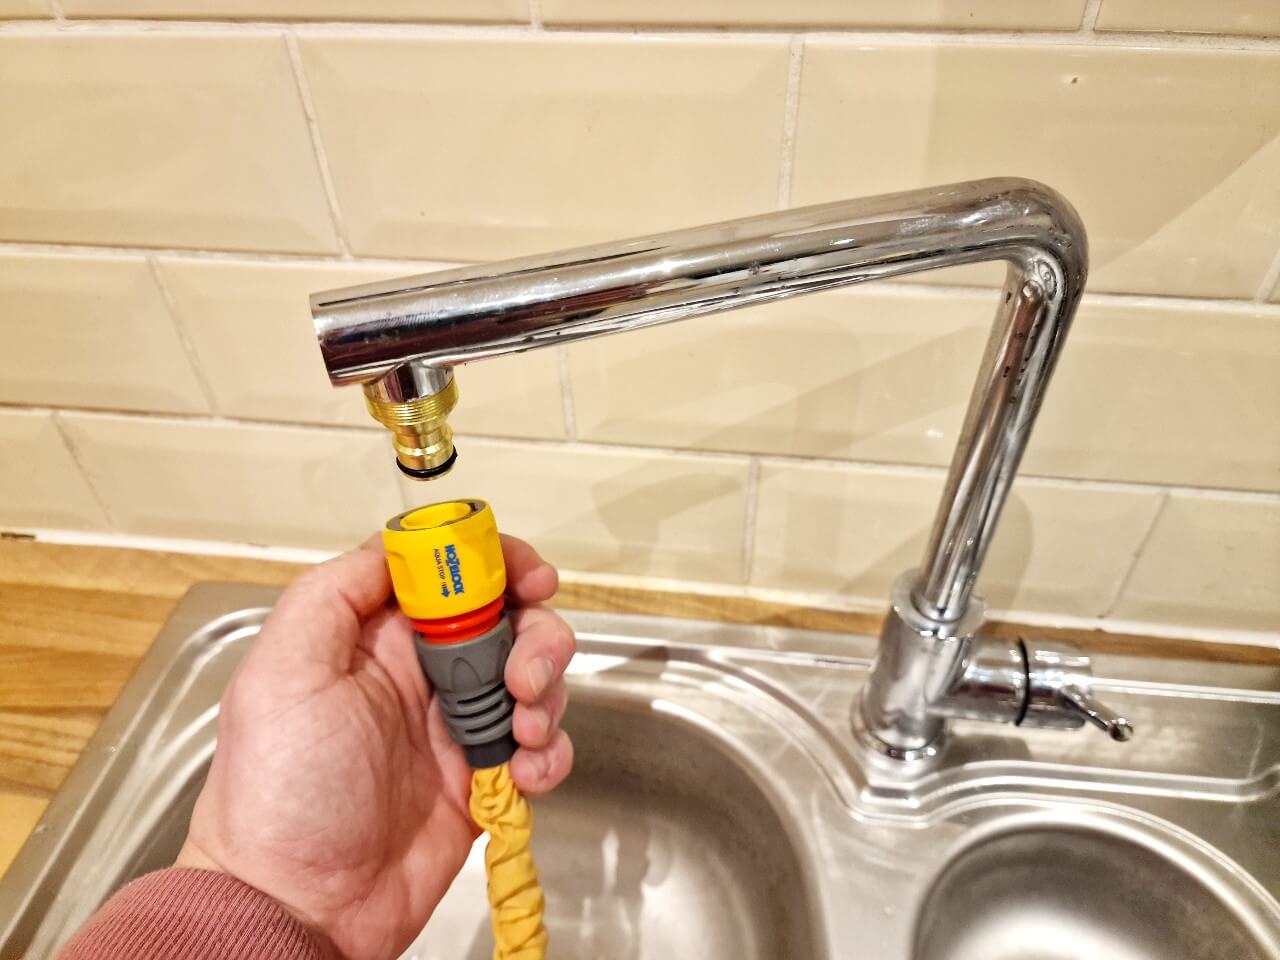
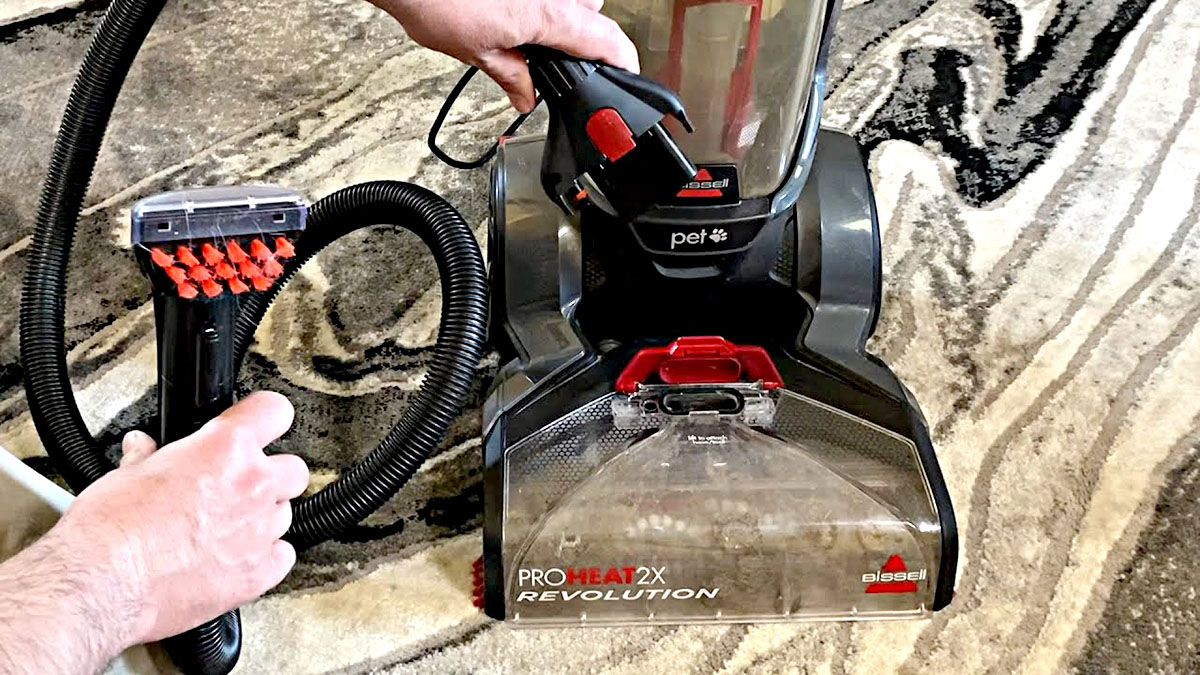
When attaching a hose to a Bissell carpet cleaner, make sure the machine is turned off and unplugged. Then, simply line up the hose connector with the machine’s hose attachment and push it in until it clicks into place.
Step 4: Attach the hose to the cleaner
Now that you have located the hose attachment point on your Bissell carpet cleaner, it’s time to attach the hose. Follow these steps to ensure a secure and proper connection:
- Match the hose connectors: Take a close look at both the hose attachment and the attachment point on your Bissell cleaner. Ensure that the connectors are compatible and align properly. They should fit together smoothly without any force or resistance.
- Insert the hose into the attachment point: Gently insert the end of the hose into the designated attachment point on the cleaner. Push it in until you feel it lock into place. You may need to rotate or twist the hose slightly for a secure fit.
- Confirm the connection: Once the hose is inserted, give it a gentle tug to verify that it is securely attached. It should not come off easily and should feel stable during operation. If the hose feels loose, double-check the alignment and insertion to ensure a proper connection.
- Route the hose: Depending on the length and design of the hose, route it in a way that is comfortable and practical for your cleaning needs. Avoid twisting or bending the hose excessively, as it may restrict airflow or cause damage to the attachment point.
By following these steps, you can attach the hose to your Bissell carpet cleaner with ease. Double-check the connection to ensure it is secure and ready for use. With the hose properly attached, you can now move on to the next step: testing the hose connection.
Read more: How To Empty A Bissell Carpet Cleaner
Step 5: Test the hose connection
Once you have successfully attached the hose to your Bissell carpet cleaner, it’s important to test the connection to ensure everything is working properly. Follow these steps to test the hose connection:
- Turn on the carpet cleaner: Make sure your Bissell cleaner is turned on and ready for operation. Refer to the user manual for instructions on how to properly start the machine.
- Activate the hose mode: Most Bissell carpet cleaners have a separate mode or switch to activate the hose function. Find the appropriate control on your machine and switch it to the hose mode.
- Adjust the settings: Depending on your cleaning needs, adjust the settings on the machine to optimize the cleaning performance with the hose attachment. This may involve selecting a specific cleaning mode or adjusting the suction power.
- Start cleaning: With the hose connected and the machine in the hose mode, you’re ready to start cleaning! Test the hose connection by using it to clean upholstery, stairs, or any other hard-to-reach areas. Pay attention to the suction power and ensure that the hose is effectively drawing up dirt and debris.
- Monitor for leaks or issues: While using the hose, keep an eye out for any leaks or issues with the connection. Check the attachment point and the hose itself for any signs of water or air leakage. If you notice any problems, stop using the hose and inspect the connection to resolve the issue.
By testing the hose connection, you can ensure that your Bissell carpet cleaner is functioning properly and that the hose attachment is working as intended. It’s essential to address any issues promptly to avoid further complications and ensure efficient cleaning performance.
If everything is working well during the test, congratulations! Your hose connection is successfully established, and you can move on to using your Bissell cleaner to tackle various cleaning tasks. If you need to detach the hose, you can follow the optional step in the next section.
Step 6: Detach the hose (optional)
If you have finished using the hose attachment on your Bissell carpet cleaner and want to detach it, follow these steps:
- Turn off the carpet cleaner: Before detaching the hose, make sure to turn off your Bissell cleaner and unplug it from the power source. This will ensure safety and prevent any accidental operation.
- Release the hose from the attachment point: Look for any release buttons or levers near the attachment point. Press or slide them to unlock the hose from the cleaner. This should loosen the connection and allow you to remove the hose.
- Gently pull the hose out: With the release mechanism engaged, gently pull the hose out of the attachment point. Be careful not to pull forcefully or yank the hose, as this could cause damage to the attachment point or the hose itself.
- Inspect the attachment point: Once the hose is detached, take a moment to inspect the attachment point on the Bissell cleaner. Check for any debris, dirt, or blockages that may have accumulated. Clean the attachment point if necessary to maintain optimal performance.
- Store the hose properly: When not in use, it’s important to store the hose in a safe and clean place. Make sure the hose is completely dry and coiled neatly to avoid any kinks or tangles.
It’s worth noting that detaching the hose is an optional step. If you’re planning to use the hose attachment again, it may be more convenient to leave it connected to the Bissell cleaner for quick and easy access to targeted cleaning areas.
With the hose successfully detached (if desired), you have completed all the necessary steps to attach and use a hose on your Bissell carpet cleaner. Remember to refer to your machine’s user manual for specific instructions and guidelines based on the model of your cleaner. Happy cleaning!
Conclusion
Attaching a hose to your Bissell carpet cleaner opens up a world of possibilities for deep cleaning and reaching inaccessible areas. By following the steps in this comprehensive guide, you have learned how to successfully attach and use a hose on your Bissell cleaner.
Throughout the process, we discussed the importance of gathering the necessary materials, preparing the machine, locating the hose attachment point, attaching the hose securely, and testing the connection. These steps ensure a seamless and effective cleaning experience with your Bissell carpet cleaner.
Remember to consult your Bissell cleaner’s user manual for specific instructions and guidelines that may be applicable to your model. It’s crucial to follow the manufacturer’s recommendations to maintain the warranty and ensure the longevity of your machine.
With the hose properly attached, you can now clean difficult-to-reach areas, such as stairs, upholstery, and other surfaces that require targeted cleaning. The hose attachment expands the versatility of your Bissell cleaner and allows for more thorough and precise cleaning throughout your home.
If you ever need to detach the hose, follow the optional step outlined in this guide. Properly storing and maintaining your hose will ensure its longevity and readiness for future use.
Now that you have mastered the art of attaching a hose to your Bissell carpet cleaner, you can confidently tackle your cleaning tasks with ease. Enjoy the convenience and effectiveness of a well-equipped cleaning machine as you maintain the cleanliness and freshness of your carpets and upholstery.
Thank you for reading our guide, and happy cleaning!
Frequently Asked Questions about How To Attach A Hose To A Bissell Carpet Cleaner
Was this page helpful?
At Storables.com, we guarantee accurate and reliable information. Our content, validated by Expert Board Contributors, is crafted following stringent Editorial Policies. We're committed to providing you with well-researched, expert-backed insights for all your informational needs.