
Articles
How To Attach A Hose To A Sink
Modified: August 28, 2024
Learn how to attach a hose to a sink with our informative articles. Discover step-by-step instructions and helpful tips for a successful installation.
(Many of the links in this article redirect to a specific reviewed product. Your purchase of these products through affiliate links helps to generate commission for Storables.com, at no extra cost. Learn more)
Introduction
Attaching a hose to a sink can be a handy skill to have for various reasons. Whether you need to fill a bucket, water your plants, or even give your pet a bath, connecting a hose to a sink provides a convenient water source when an outdoor faucet is not available. In this article, we will guide you through the step-by-step process of attaching a hose to a sink, ensuring a reliable connection that won’t cause any leaks or damage.
Before you begin, it’s important to gather all the necessary equipment and tools. Additionally, you should double-check if your sink is suitable for attaching a hose. Some sinks may not have the necessary components or may not be structurally designed to handle the water pressure exerted by a hose. It’s always best to consult the sink manufacturer or a professional plumber if you have any doubts about the compatibility or safety of your sink.
Now that we’ve covered the basics, let’s dive into the step-by-step process of attaching a hose to a sink.
Key Takeaways:
- Master the art of attaching a hose to your sink by gathering the right equipment, preparing the sink, and testing for leaks. Enjoy the convenience of a readily available water source for various household tasks and activities.
- Regular maintenance and inspection of the hose, hose adapter, and sink’s faucet are crucial to prevent potential leaks or damage. Seek professional assistance if you encounter difficulties or have concerns about compatibility or safety.
Read more: How To Attach Sink To Vanity
Step 1: Gather the Necessary Equipment
Before you can attach a hose to a sink, you need to gather all the required equipment and tools. Here’s a list of items you’ll need:
- Hose adapter or connector: This is a crucial component that connects the hose to the sink’s faucet. You can find these adapters at a local hardware store or online. Make sure to choose one that is compatible with your sink’s faucet.
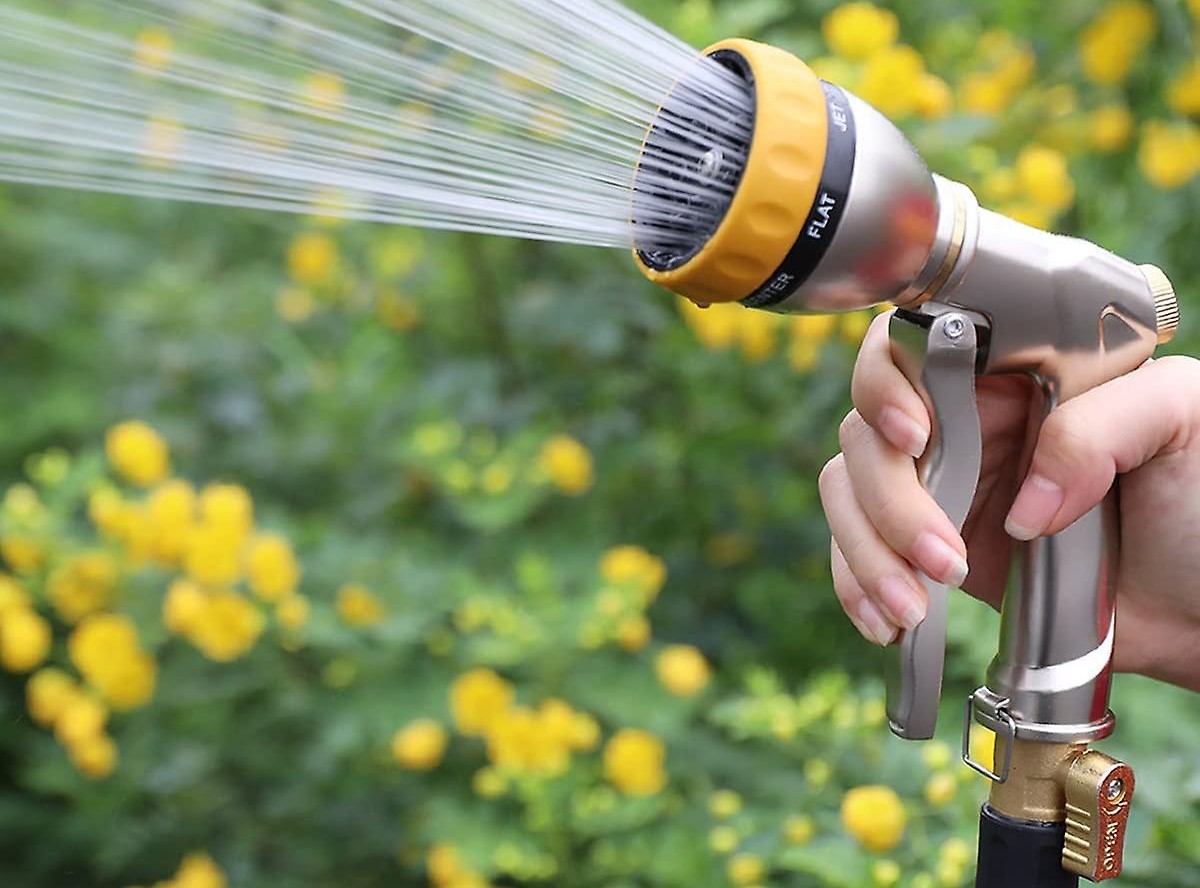
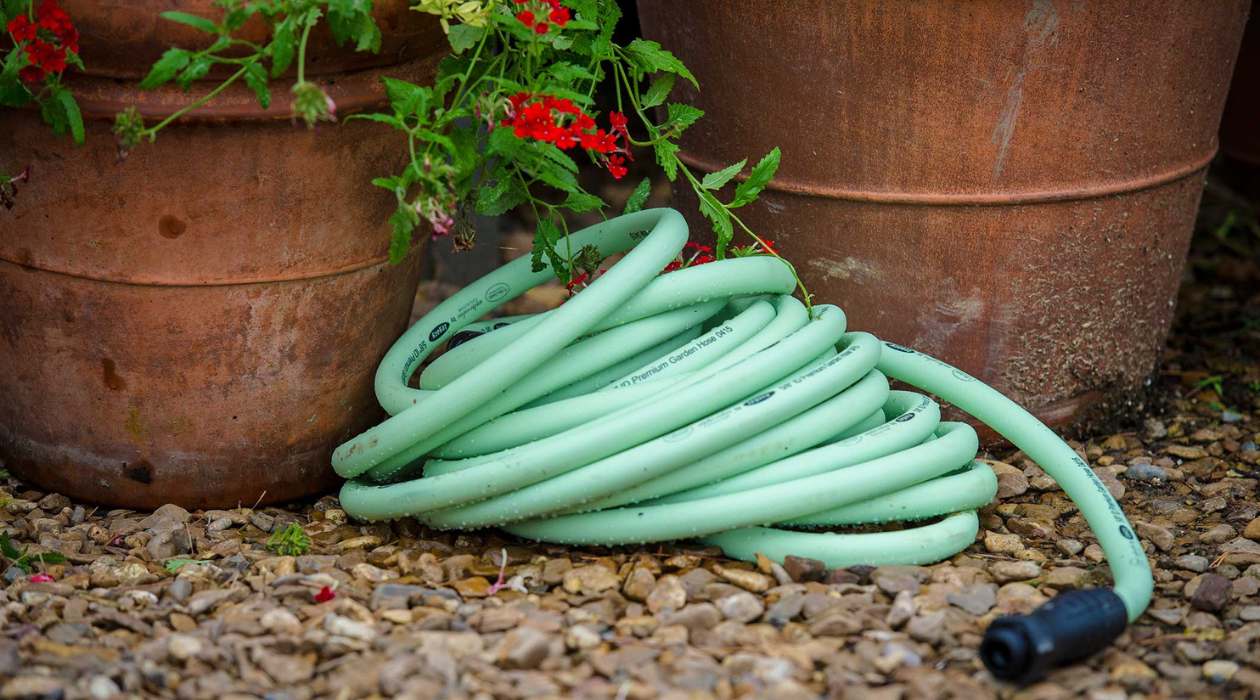
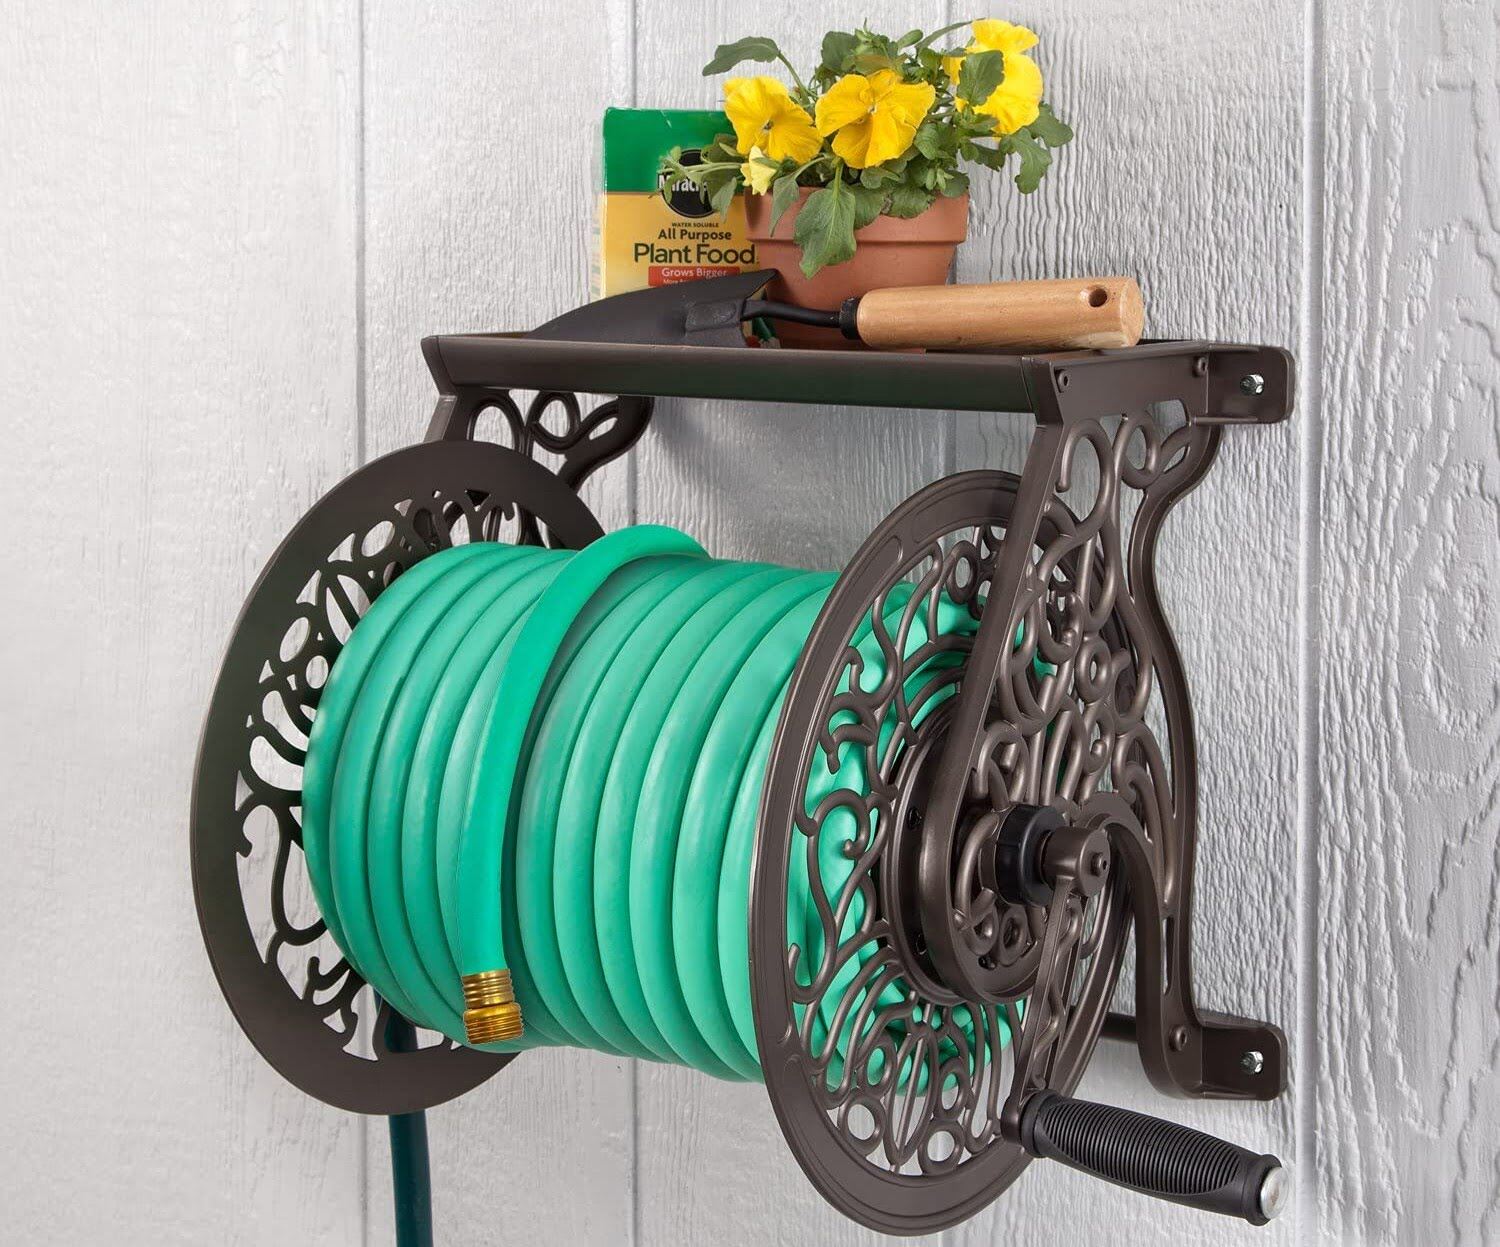
- Hose: Select a hose that is suitable for your needs. Consider the length and diameter of the hose based on the distance you need to cover and the water flow rate required.
- Teflon tape: This is used to create a watertight seal between the hose adapter and the sink’s faucet. Teflon tape helps prevent any leaks from occurring.
- Adjustable wrench or pliers: These tools will be needed to tighten the hose adapter onto the sink’s faucet securely.
- Bucket or container: Prepare a container to catch any water that may drip during the installation process. This will help prevent any mess or damage to your surroundings.
Once you have gathered all the necessary equipment, you’re ready to move on to the next step – preparing the sink for hose attachment. Make sure you have read the instructions for each item and familiarized yourself with their proper usage.
Step 2: Prepare the Sink
Before attaching the hose to the sink, it’s important to prepare the sink properly to ensure a smooth and secure connection. Follow these steps to prepare the sink:
- Clean the faucet: Start by cleaning the faucet thoroughly to remove any dirt, debris, or mineral deposits that may affect the connection. Use a mild soap and warm water solution, along with a soft cloth or sponge, to gently clean the faucet. Rinse it well and dry it completely before proceeding to the next step.
- Inspect the sink’s faucet: Take a close look at the faucet and check for any damage or worn-out parts. Look for any leaks, loose connections, or signs of corrosion. If you notice any issues, it’s best to address them before attaching the hose. Consult a plumber or the sink manufacturer if you need assistance.
- Apply Teflon tape: Take the hose adapter or connector and wrap a few layers of Teflon tape around its threads. This will create a tight seal when you attach it to the sink’s faucet, preventing any leaks. Wrap the tape in a clockwise direction to ensure that it doesn’t unravel when you screw on the adapter.
- Get a secure grip: If the sink has a threaded spout, use an adjustable wrench or pliers to hold the spout securely in place. This will prevent it from turning while you attach the hose adapter. If you’re working with a non-threaded spout, you can skip this step.
- Keep the drain open: It’s essential to keep the sink’s drain open during the attachment process to allow any excess water to escape. This will prevent water from backing up and potentially causing damage or flooding. You can place a bucket or container beneath the sink to catch any water that drains during the installation.
Once you have prepared the sink, you’re ready to move on to the next step – attaching the hose adapter.
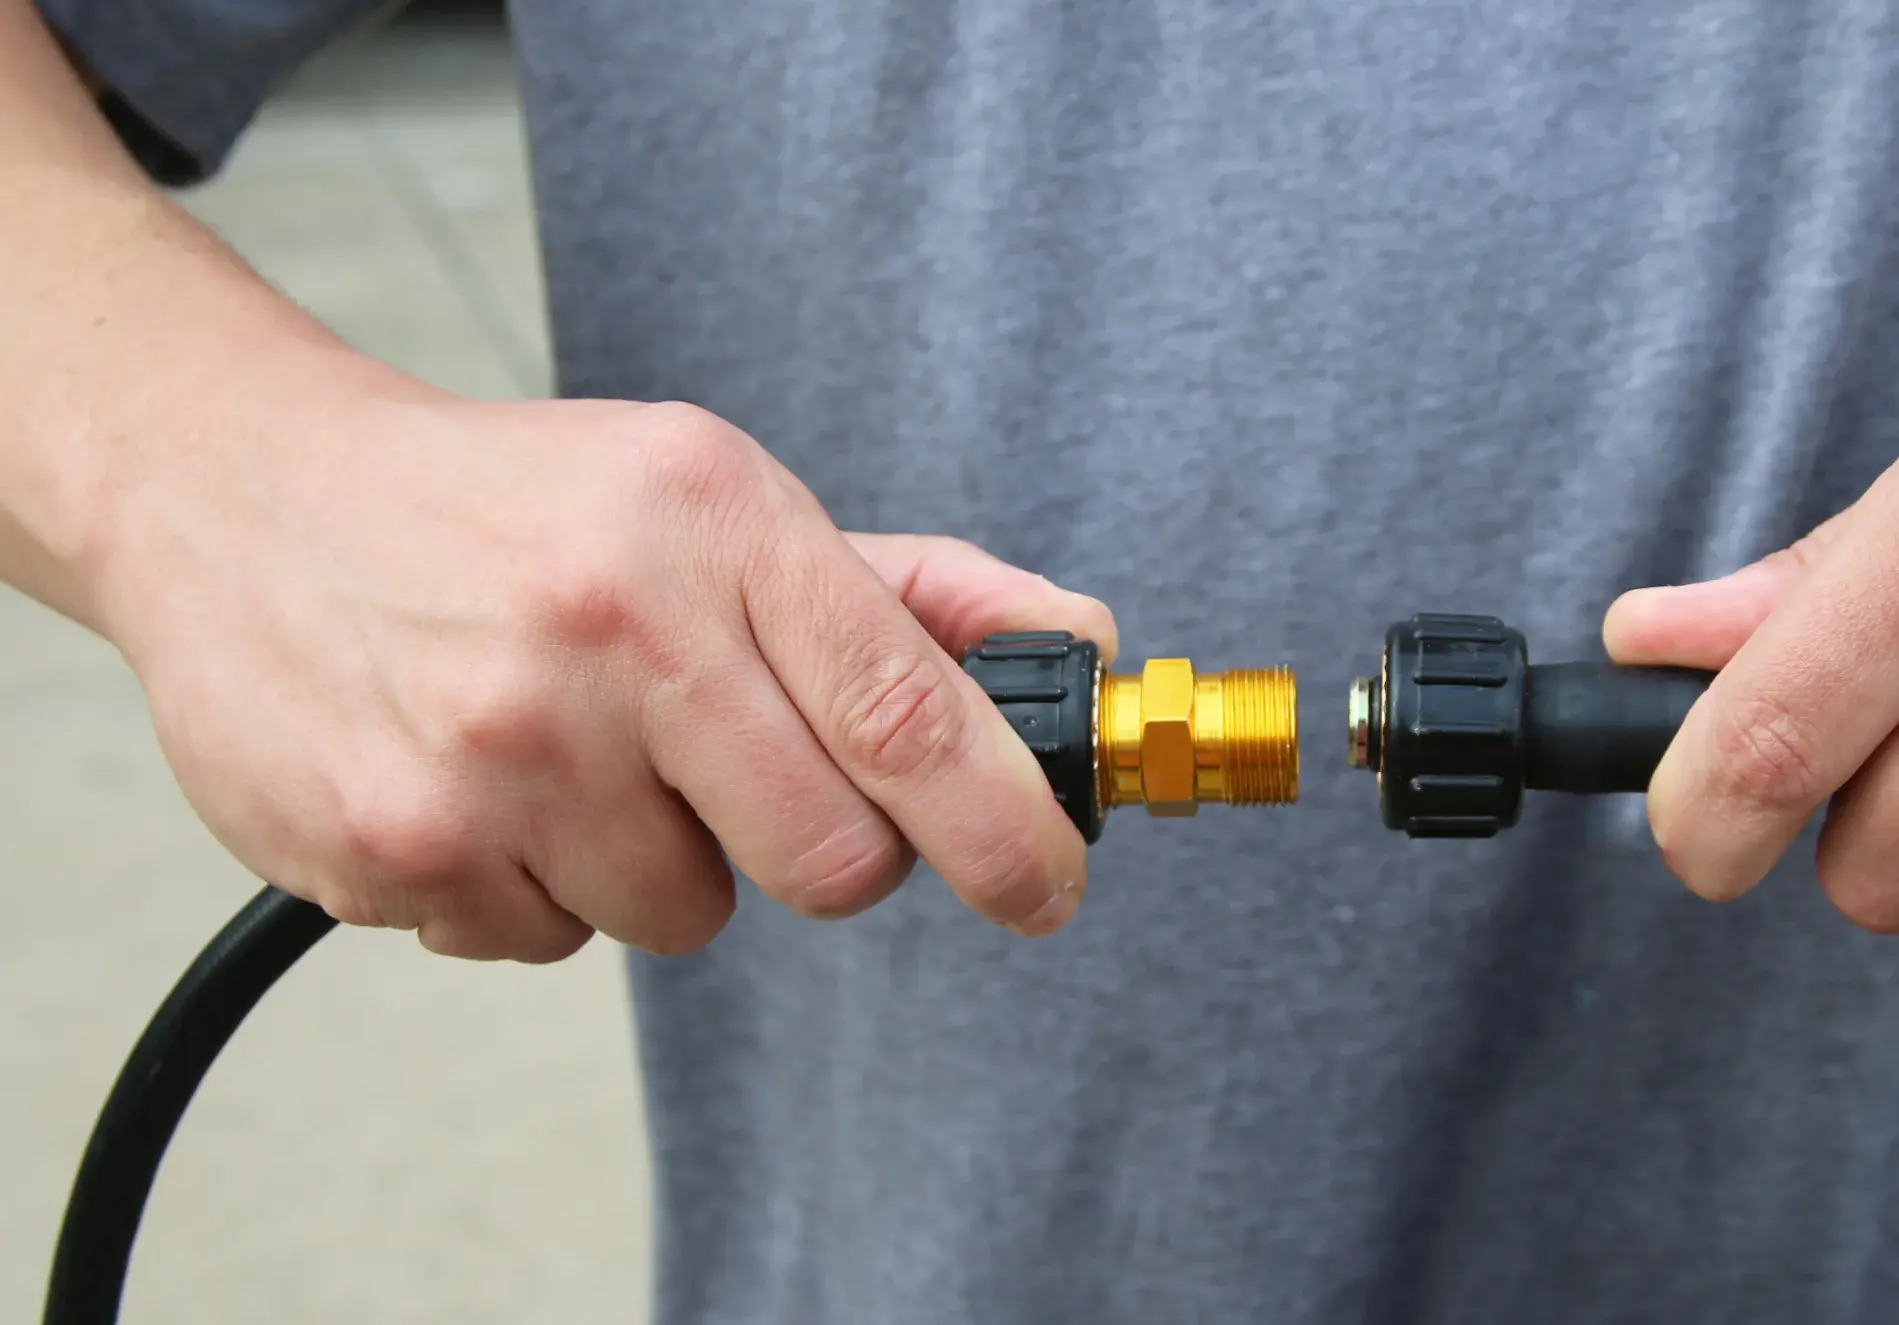
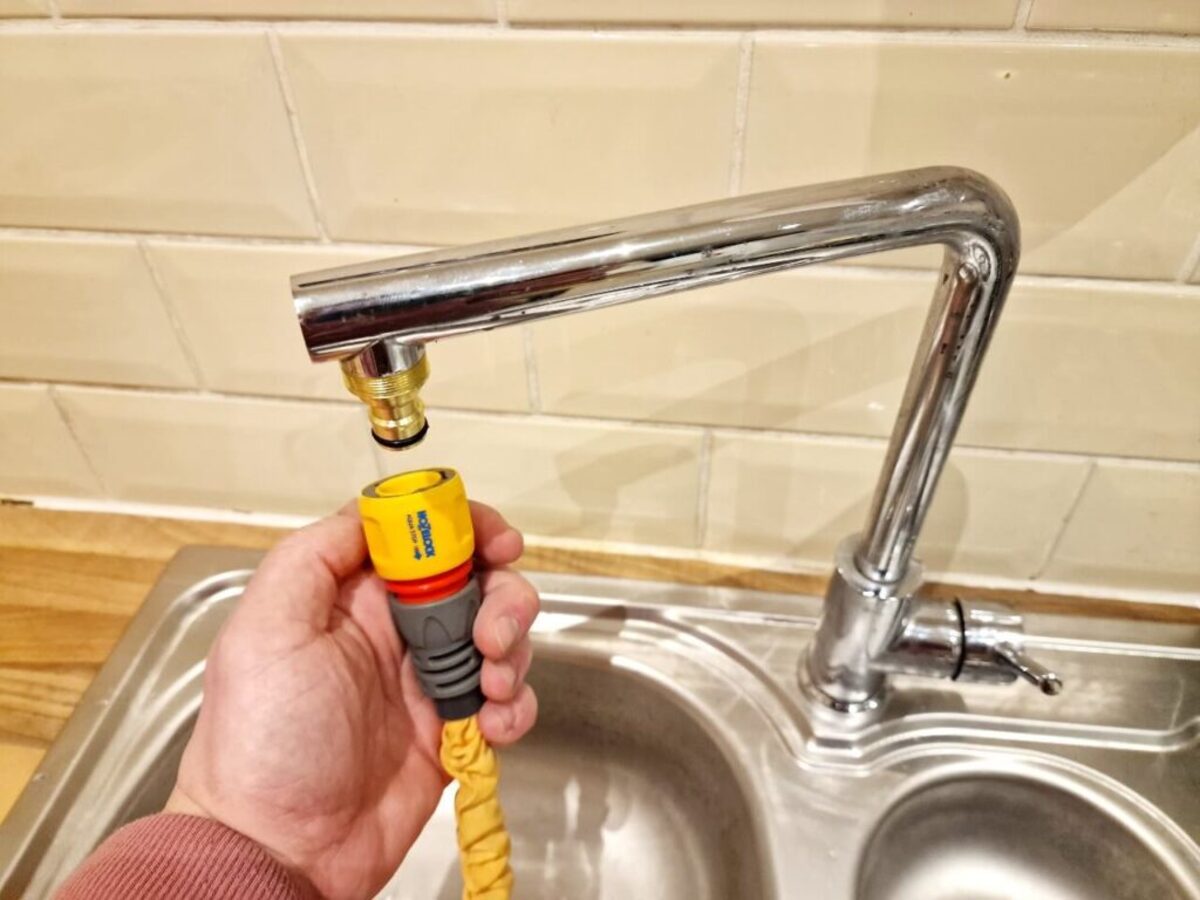
Step 3: Attach the Hose Adapter
With the sink prepared, it’s time to attach the hose adapter to the faucet. Follow these steps to ensure a secure and leak-free connection:
- Take the hose adapter and carefully screw it onto the sink’s faucet. Make sure to align the threads properly and tighten it securely. If you’re using pliers or an adjustable wrench, use them to provide extra grip and ensure a tight connection. Avoid overtightening, as it can cause damage to the faucet or the adapter.
- Check for a watertight seal: After attaching the adapter, turn on the sink’s faucet and let the water run for a few seconds. Observe the connection point between the adapter and the faucet for any signs of leakage. If you notice any water dripping, you may need to tighten the adapter further or reapply Teflon tape to ensure a watertight seal.
- Double-check the alignment: Ensure that the hose adapter is aligned properly and facing in the right direction. This will allow for smooth attachment of the hose and prevent any kinks or twists in the hose once connected.
- Inspect the connection: Take a few moments to visually inspect the connection between the hose adapter and the sink’s faucet. Check for any visible gaps or signs of instability. If everything looks secure, move on to the next step – connecting the hose to the adapter.
With the hose adapter securely attached to the sink’s faucet, you’re ready to move on to the next step – connecting the hose.
When attaching a hose to a sink, make sure to use a faucet adapter that is compatible with your sink’s faucet. This will ensure a secure and leak-free connection.
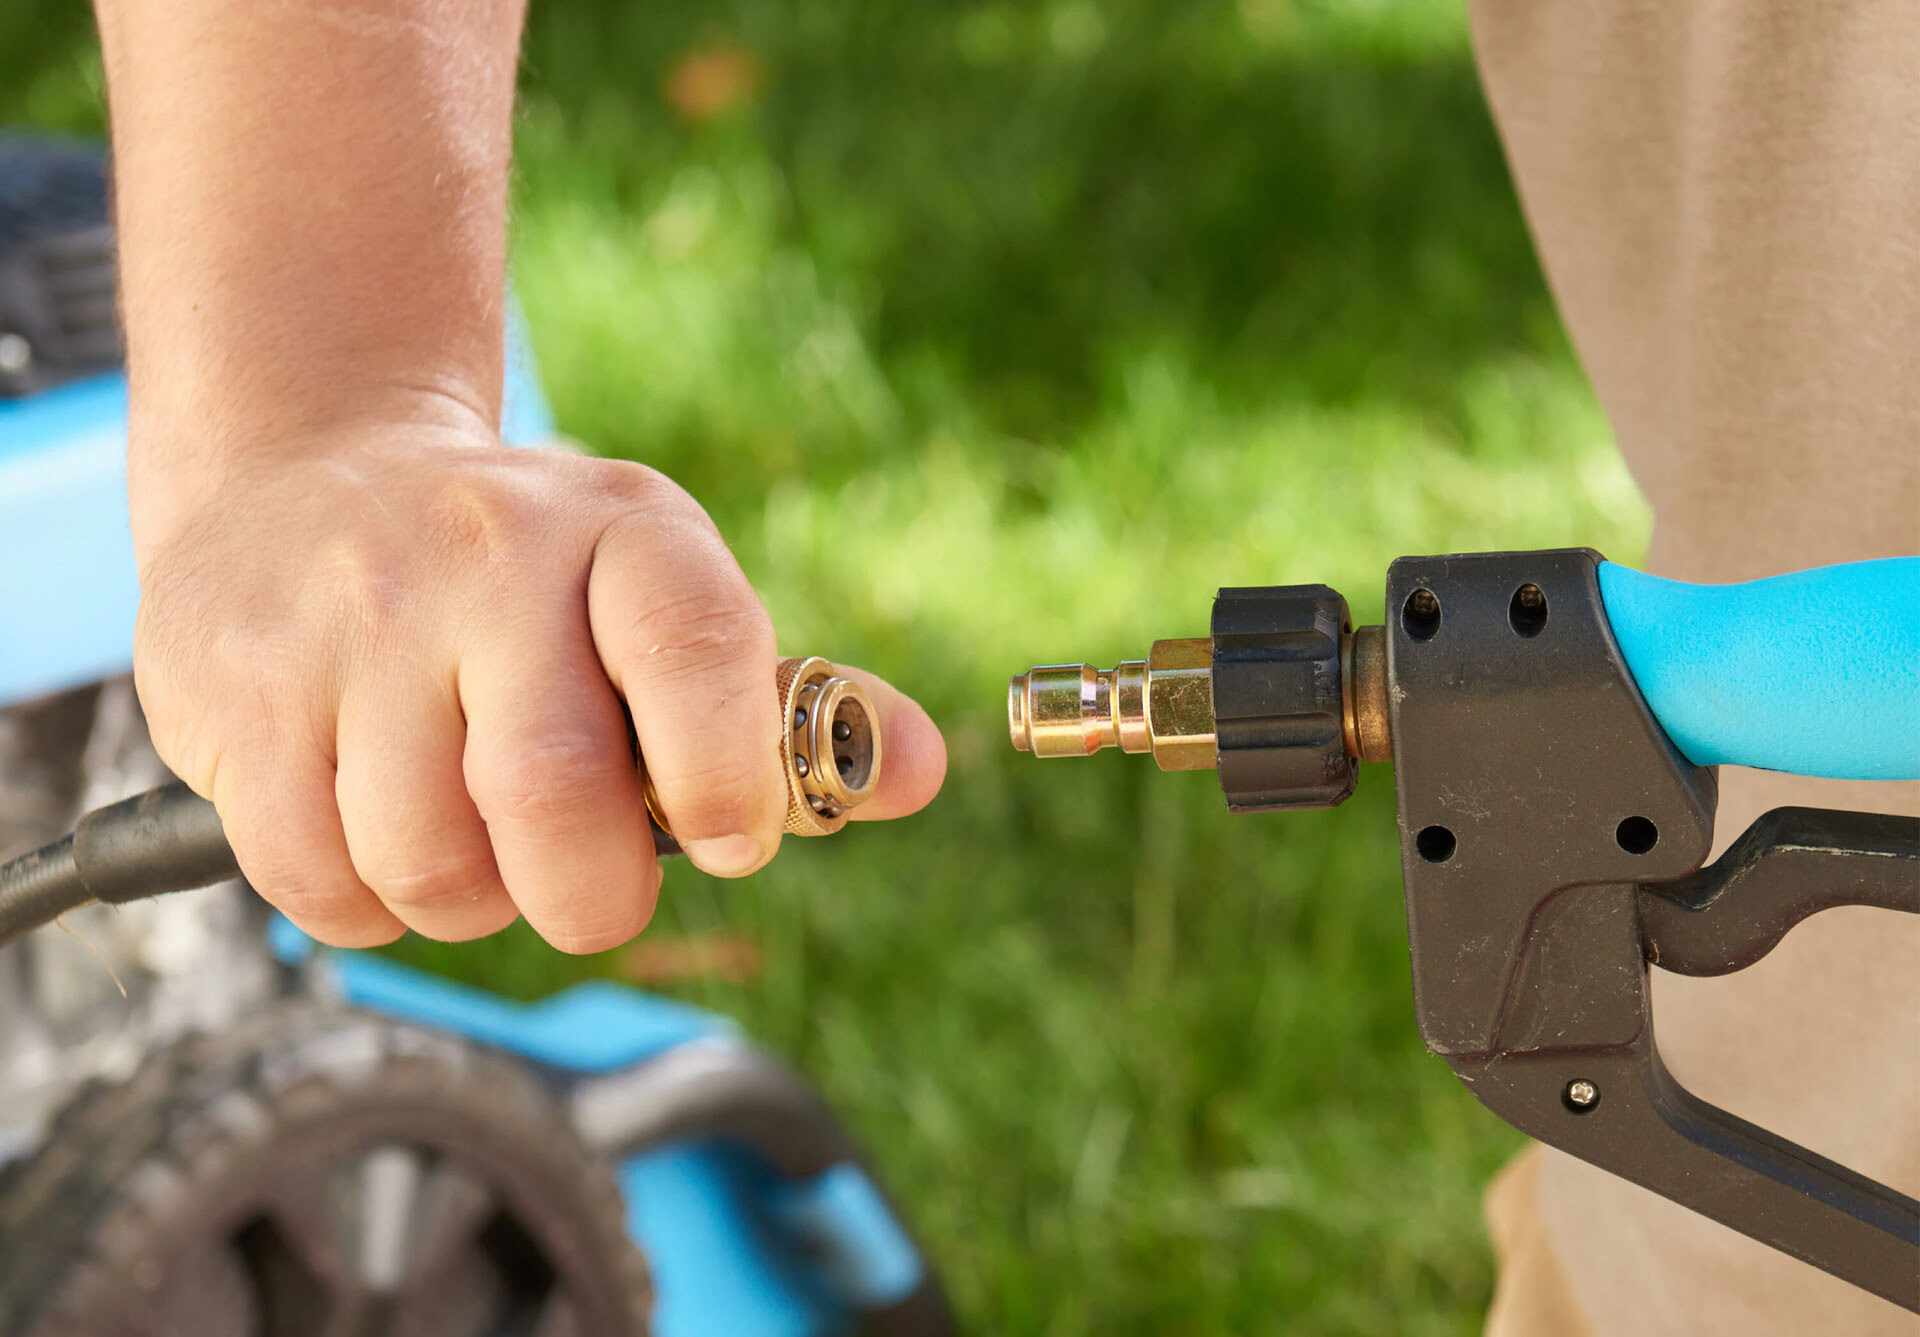
Step 4: Connect the Hose to the Adapter
Now that the hose adapter is securely attached to the sink’s faucet, it’s time to connect the hose to the adapter. Follow these steps to ensure a proper connection:
- Position the hose properly: Position the hose in a way that allows for easy access to the sink and ensures that it doesn’t get tangled or kinked. Place the end of the hose near the adapter, ready for attachment.
- Screw the hose onto the adapter: Take the end of the hose and screw it onto the threaded end of the hose adapter. Rotate it clockwise until it is tightly secured onto the adapter. Ensure a snug connection, but avoid overtightening, as it may cause damage to the adapter or hose.
- Inspect the connection: Once the hose is attached to the adapter, visually inspect the connection to ensure that no gaps or leaks are present. Look for any signs of water dripping or air escaping. If you notice any issues, it may indicate a loose connection that needs to be tightened.
- Test the connection: Turn on the water slowly and check for any leaks or spraying water. Monitor the connection closely to ensure a tight seal. If you detect any leaks, tighten the connection further or consider replacing the hose adapter or hose if necessary.
- Ensure proper alignment: Make sure the hose is aligned with the sink and doesn’t bend or twist excessively. This will allow for a smooth water flow and prevent any obstructions or damage to the hose.
With the hose securely connected to the adapter, you’re almost done. The final step is to test the connection for any leaks.
Step 5: Test for Leaks
After connecting the hose to the sink’s faucet, it’s important to test the connection for any potential leaks. Follow these steps to ensure a leak-free attachment:
- Turn on the water: Slowly turn on the water to allow it to flow through the hose. Start with a low water flow to avoid any sudden surges in pressure.
- Inspect the connection: Observe the hose adapter, hose, and the area around the connection point for any signs of leakage. Look for water dripping, spraying, or any abnormal moisture. Pay close attention to both the top and bottom of the connection point.
- Check for tightness: If you notice any leaks, first check the tightness of the connections. Use an adjustable wrench or pliers (if necessary) to tighten the hose adapter and the hose onto the faucet. Be careful not to overtighten, as it may damage the components.
- Reapply Teflon tape if necessary: If tightening the connections doesn’t resolve the leak, try reapplying Teflon tape to the threads of the hose adapter. This additional layer of tape can help create a more secure and watertight seal.
- Repeat the test: Once you’ve made any necessary adjustments, repeat the water flow test to check if the leaks have stopped. Monitor the connection closely for any signs of leakage. If the leaks persist, consider replacing the hose adapter or hose if they are damaged or worn out.
It’s important to thoroughly test for leaks because even a small drip can lead to water damage over time. Ensure that the connection is secure and watertight before using the hose for any prolonged periods or high-pressure tasks.
Congratulations! You have successfully attached a hose to your sink. Now you can enjoy the convenience of a readily available water source for various household tasks and activities.
Remember to follow any specific instructions or recommendations provided by the manufacturer for your particular sink and hose adapter. If you encounter any difficulties or have concerns, don’t hesitate to seek assistance from a professional plumber.
Conclusion
Attaching a hose to a sink provides a convenient and accessible water source for various tasks and activities. By following the steps outlined in this article, you can ensure a secure and leak-free connection that will allow you to make the most of your sink’s capabilities.
Throughout this guide, we have highlighted the importance of gathering the necessary equipment, preparing the sink, attaching the hose adapter, connecting the hose, and testing for leaks. These steps ensure that the attachment is done correctly and that you can use the hose with confidence.
It’s important to keep in mind that not all sinks are suitable for attaching a hose. Make sure to consult the sink manufacturer or a professional plumber if you have any doubts about the compatibility or safety of your sink.
Regular maintenance and inspection of the hose, hose adapter, and sink’s faucet are crucial to prevent any potential leaks or damage. Periodically check the connection for any signs of wear, tightness, or leakage. Promptly address any issues that arise to avoid more extensive problems in the future.
By mastering the skill of attaching a hose to a sink, you can enhance the versatility and functionality of your water supply. Whether you’re watering plants, washing your car, or carrying out any other tasks that require a water source, having a hose attached to your sink provides a convenient solution.
Always remember to follow any specific guidelines provided by the manufacturer for your sink and hose adapter. If you encounter any difficulties or have concerns, it’s wise to seek assistance from a professional plumber who can provide expert guidance and ensure the proper installation of the hose.
Now that you’re equipped with the knowledge and steps to attach a hose to your sink, go ahead and embrace its benefits. Enjoy the convenience and ease that comes with having a functional water source at your disposal, right from your sink.
Happy hose attachment!
Now that you've mastered attaching a hose to your sink, why not perfect your setup with the ideal hose connector? Our next guide covers the best pressure washer hose connectors available, ensuring your system runs smoothly without any hiccups. Whether you're washing your car or watering your garden, having the right connector can make all the difference. Make sure to check out our detailed review to find the perfect match for your needs.
Frequently Asked Questions about How To Attach A Hose To A Sink
Was this page helpful?
At Storables.com, we guarantee accurate and reliable information. Our content, validated by Expert Board Contributors, is crafted following stringent Editorial Policies. We're committed to providing you with well-researched, expert-backed insights for all your informational needs.


0 thoughts on “How To Attach A Hose To A Sink”