Articles
How To Replace Baseboards With Carpet
Modified: August 28, 2024
Learn how to replace baseboards with carpet in our informative articles. Find step-by-step guides and expert tips for a seamless installation.
(Many of the links in this article redirect to a specific reviewed product. Your purchase of these products through affiliate links helps to generate commission for Storables.com, at no extra cost. Learn more)
Introduction
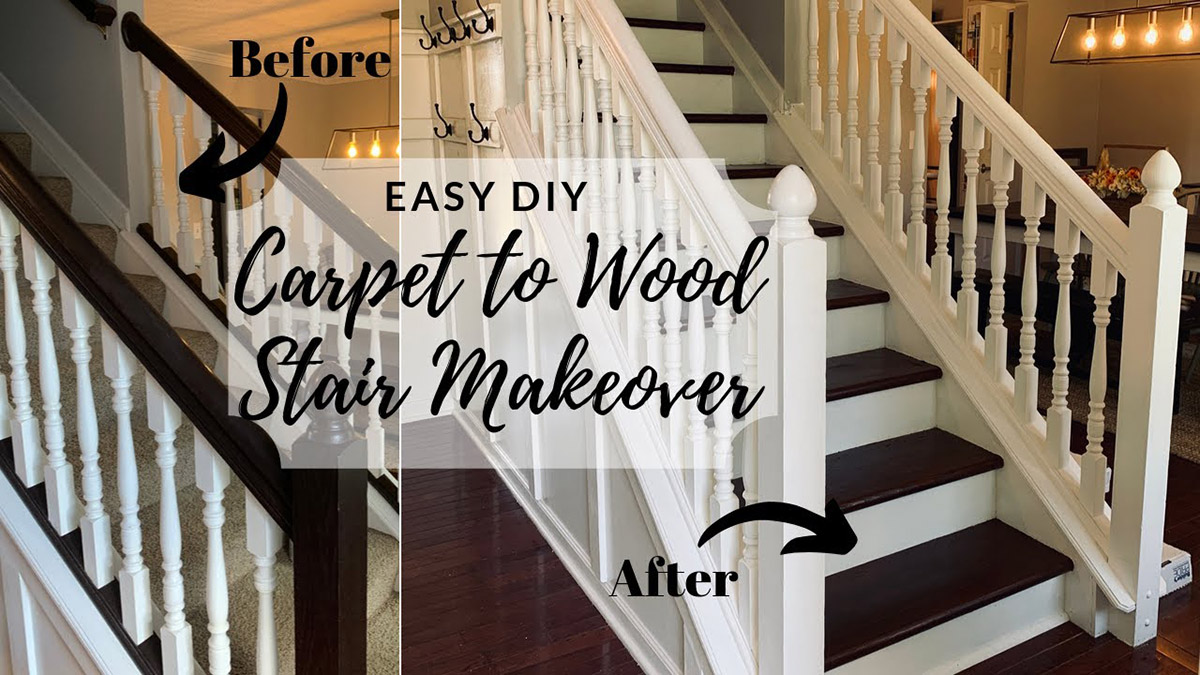
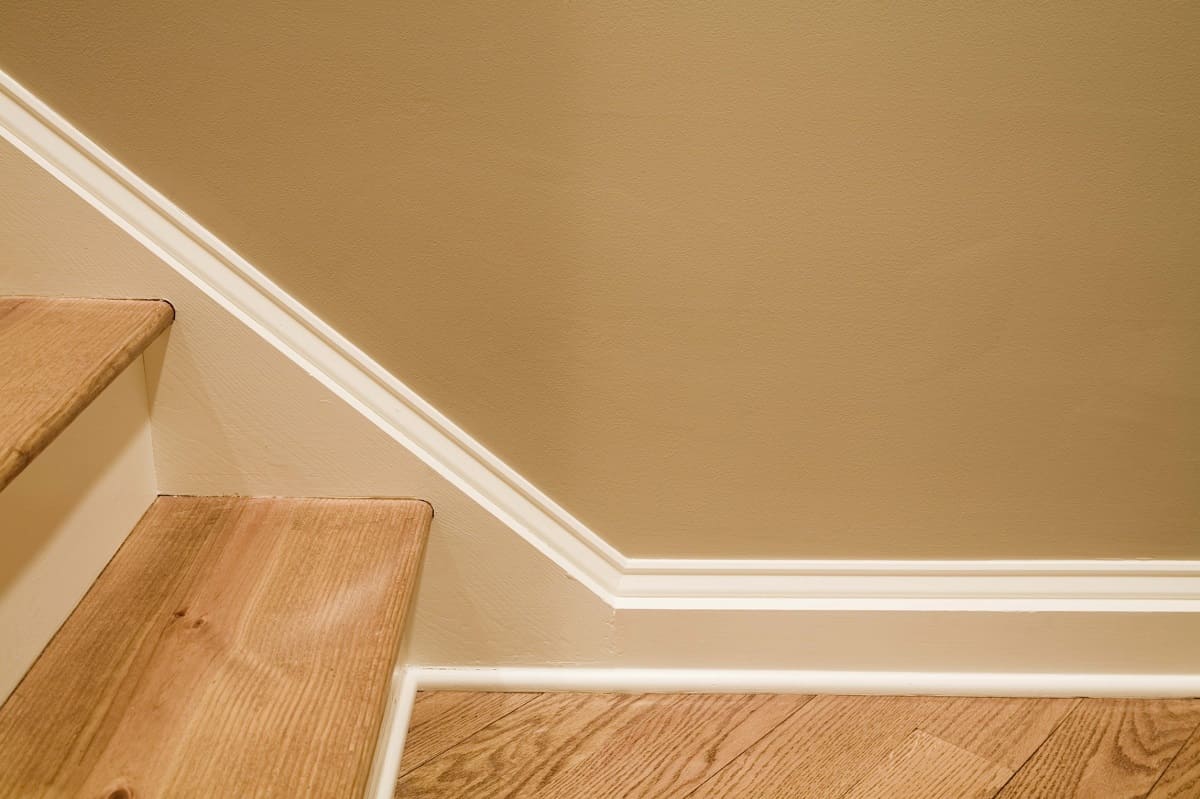
Welcome to our comprehensive guide on how to replace baseboards with carpet. Baseboards are an important element in any home as they provide a finished look to the walls and protect them from damage. However, there are times when you might want to replace the baseboards with carpet for aesthetic reasons or to create a more seamless transition between the floor and the wall.
This step-by-step guide will walk you through the process of removing the old baseboards, measuring and cutting the carpet, applying it to the wall, and installing the new carpet baseboards. We will also provide you with some helpful tips and tricks along the way to ensure a smooth and successful project.
Before we dive into the details, it’s important to note that replacing baseboards with carpet requires some basic DIY skills and the use of specific tools and materials. Make sure you are comfortable with the process and have the necessary tools before starting the project.
Now, let’s gather our tools and materials and get started on transforming your space with new carpet baseboards!
Key Takeaways:
- Transform your space with new carpet baseboards by following our step-by-step guide. From removing old baseboards to installing the new ones, achieve a seamless and professional look with ease.
- Embrace the rewarding DIY project of replacing baseboards with carpet. With careful measurements, precise cuts, and attention to detail, create a visually appealing and functional transition between your floor and walls.
Preparing the Tools and Materials
Before you begin replacing baseboards with carpet, it’s essential to gather all the necessary tools and materials. Here’s a list of items you will need:
- Utility knife
- Tape measure
- Pry bar
- Hammer
- Nail set
- Carpenter’s pencil
- Stud finder
- Carpet
- Carpet adhesive
- Baseboard adhesive
- Finishing nails
- Sanding block
- Paint and paintbrush
Once you have gathered all the tools and materials, it’s a good idea to prepare the work area. Remove any furniture or obstacles that might hinder your progress. This will make the process easier and help prevent any accidents or damage.
Make sure to wear appropriate safety gear, such as gloves and protective eyewear, to protect yourself during the project.
Additionally, if you are planning to paint the baseboards or the walls, make sure you have the necessary paint and brushes on hand. It’s always a good idea to choose a color that complements your carpet and overall design aesthetic.
Now that you have all your tools and materials ready, let’s move on to removing the old baseboards.
Removing the Old Baseboards
Removing the old baseboards is the first step in replacing them with carpet. Follow these steps to ensure a smooth removal process:
- Prepare the baseboards: Start by protecting the walls and floor around the baseboards. Cover the floor with a drop cloth or old sheets to catch any debris. Use painter’s tape to protect the wall surface from scratches or dents.
- Locate the studs: Use a stud finder to locate the studs behind the baseboards. This is important as you will want to secure the new carpet baseboards to the studs for stability.
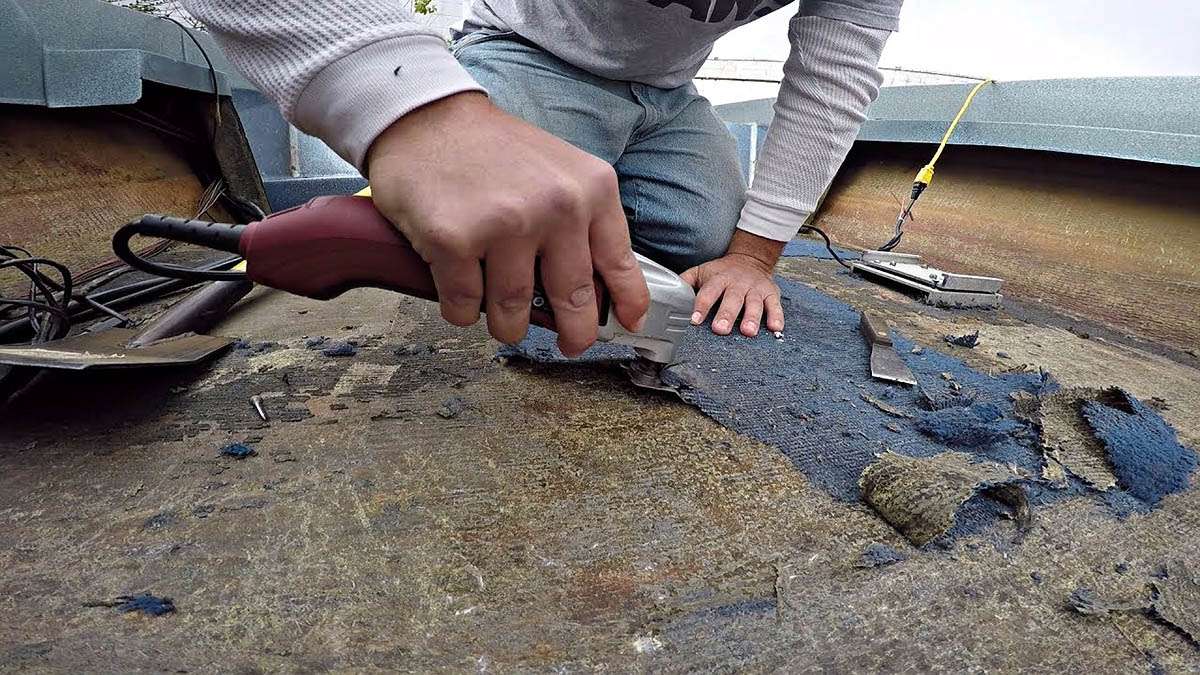
- Start at a corner: Begin by inserting the pry bar between the baseboard and the wall at a corner. Carefully apply pressure to lift the baseboard away from the wall. Use the pry bar and hammer to gently tap the baseboard and loosen it from the wall.
- Work your way along the baseboard: Once the first section is loose, continue moving along the baseboard, inserting the pry bar and gradually loosening the entire length. Take your time to avoid damaging the baseboard or the wall. If the baseboard is stubborn, use a small block of wood to protect the wall while leveraging the pry bar.
- Remove any nails: As you remove the baseboard, you will encounter nails or brads sticking out from the back. Use a pair of pliers or a nail set to remove them from the baseboard. Be careful not to damage the baseboard or the wall during this process.
- Inspect and repair: Once the baseboards are removed, inspect the walls for any damage or imperfections. If necessary, fill in any holes or cracks with spackling compound or putty. Allow the compound to dry, then sand it smooth using a sanding block.
By following these steps, you can safely and efficiently remove the old baseboards in preparation for the installation of the new carpet baseboards. Next, we’ll move on to measuring and cutting the carpet.
Measuring and Cutting the Carpet
Measuring and cutting the carpet accurately is crucial to ensure a seamless and professional-looking installation. Follow these steps to measure and cut the carpet:
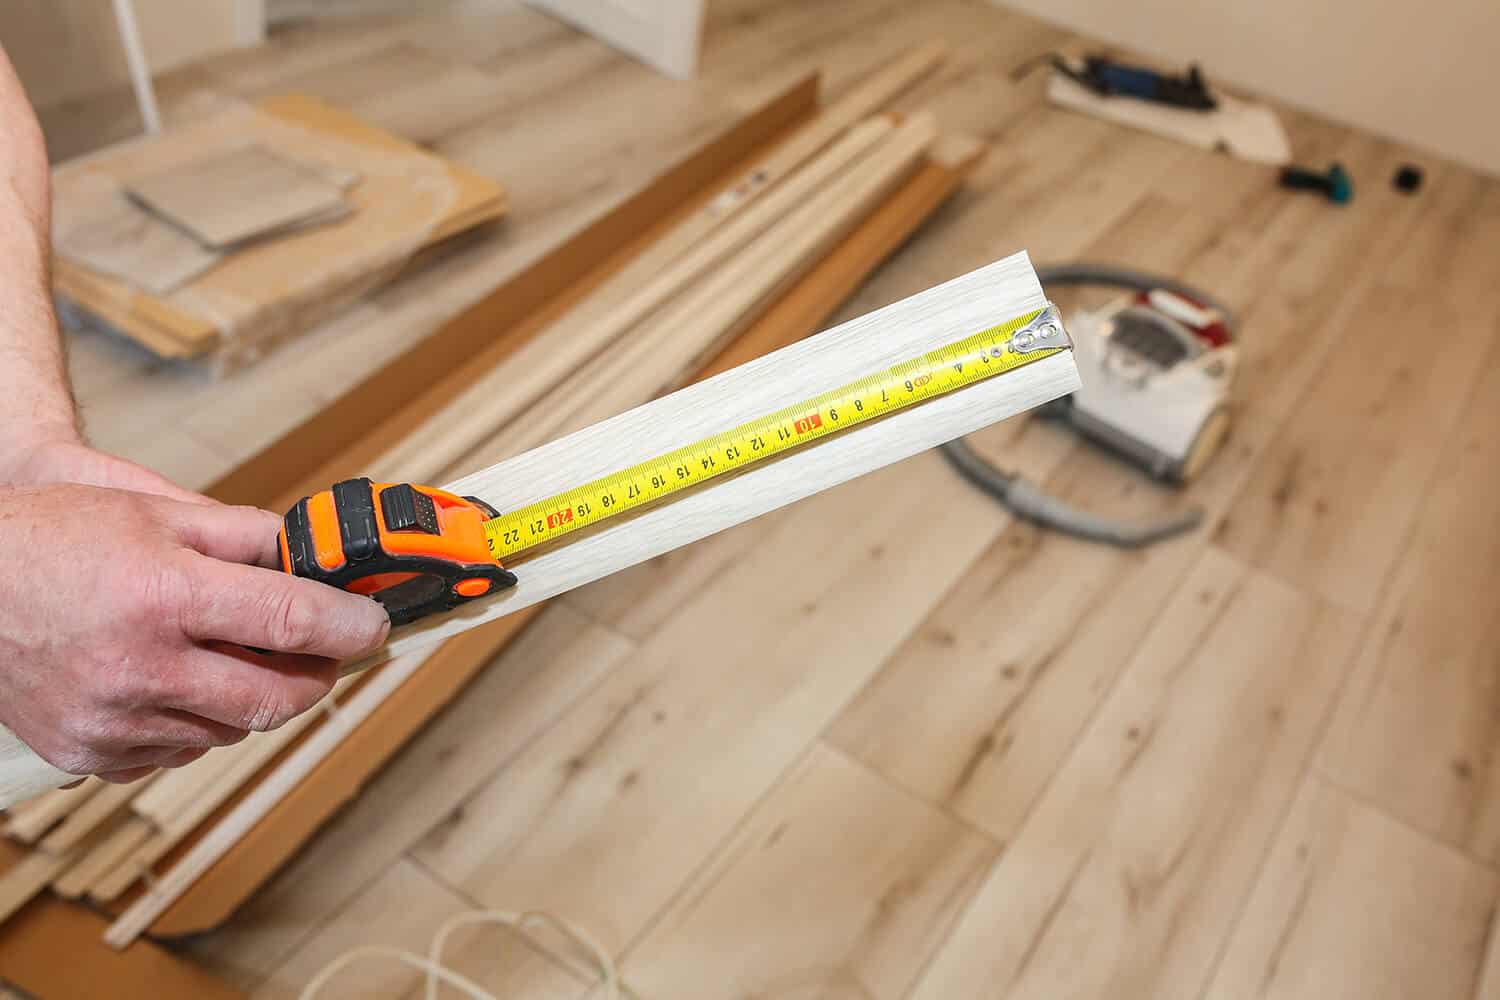
- Measure the length: Start by measuring the length of each wall where you will be installing the carpet baseboards. Use a tape measure and measure from one corner to the other, accounting for any corners or angles in the room. Be sure to measure each wall individually, as they may differ in length.
- Add extra length: Once you have the measurements, add a few inches to each side. This allowance will ensure that you have enough carpet to wrap around the corners and tuck into the baseboard groove for a clean finish. It’s always better to have a little extra carpet than to come up short.
- Mark the carpet: Using a carpenter’s pencil, mark the measurements on the back of the carpet. Make sure the lines are straight and clear for accurate cutting.
- Secure the carpet: Lay the carpet flat on the floor, with the back side facing up. Secure the edges of the carpet using heavy objects or weights to prevent it from shifting while you cut.
- Cut the carpet: Using a utility knife, carefully cut along the marked lines on the back of the carpet. Apply gentle pressure and make multiple passes if necessary to ensure a clean and precise cut. Take your time and be cautious to avoid any accidental cuts.
- Trim excess: Once you have cut the carpet for each wall, trim off any excess material. Use the utility knife to trim close to the edges, leaving enough to wrap around the corners and fit into the baseboard groove.
Remember to take accurate measurements and double-check them before cutting the carpet. It’s better to be precise during this step to avoid any issues during installation. With the carpet cut and ready, we can move on to applying it to the wall.
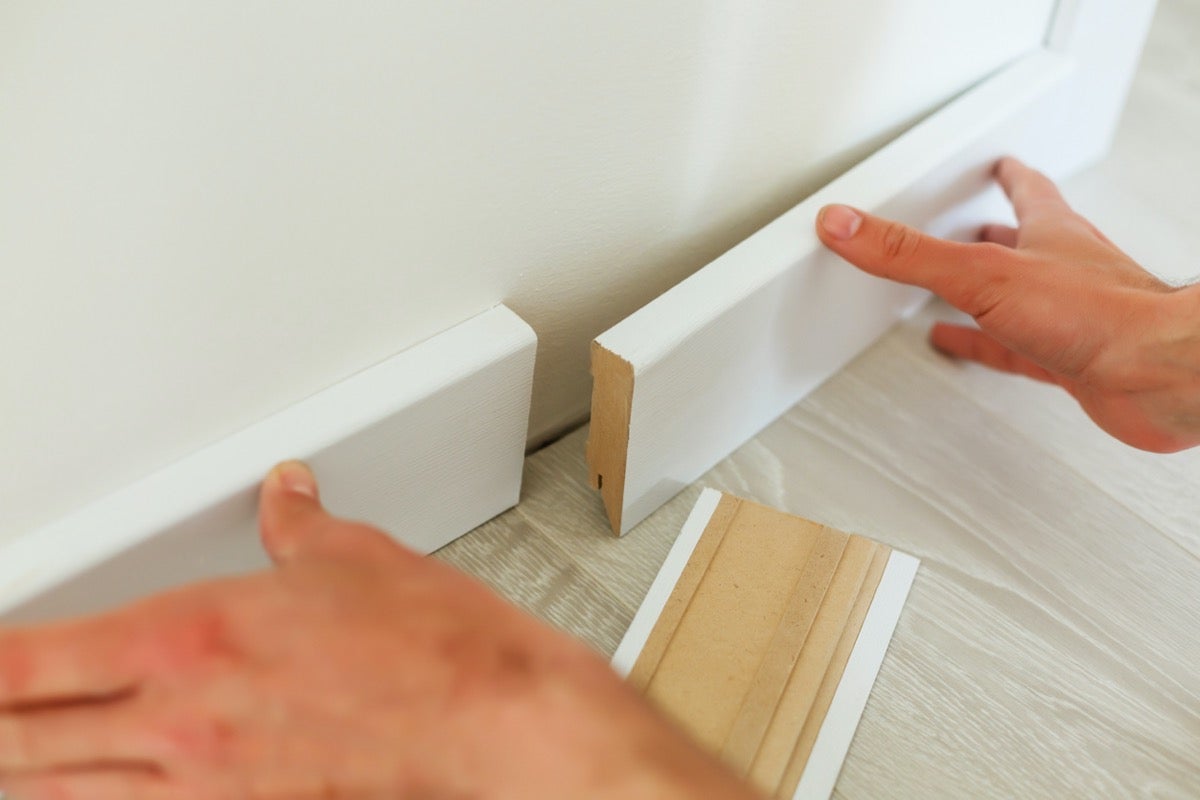
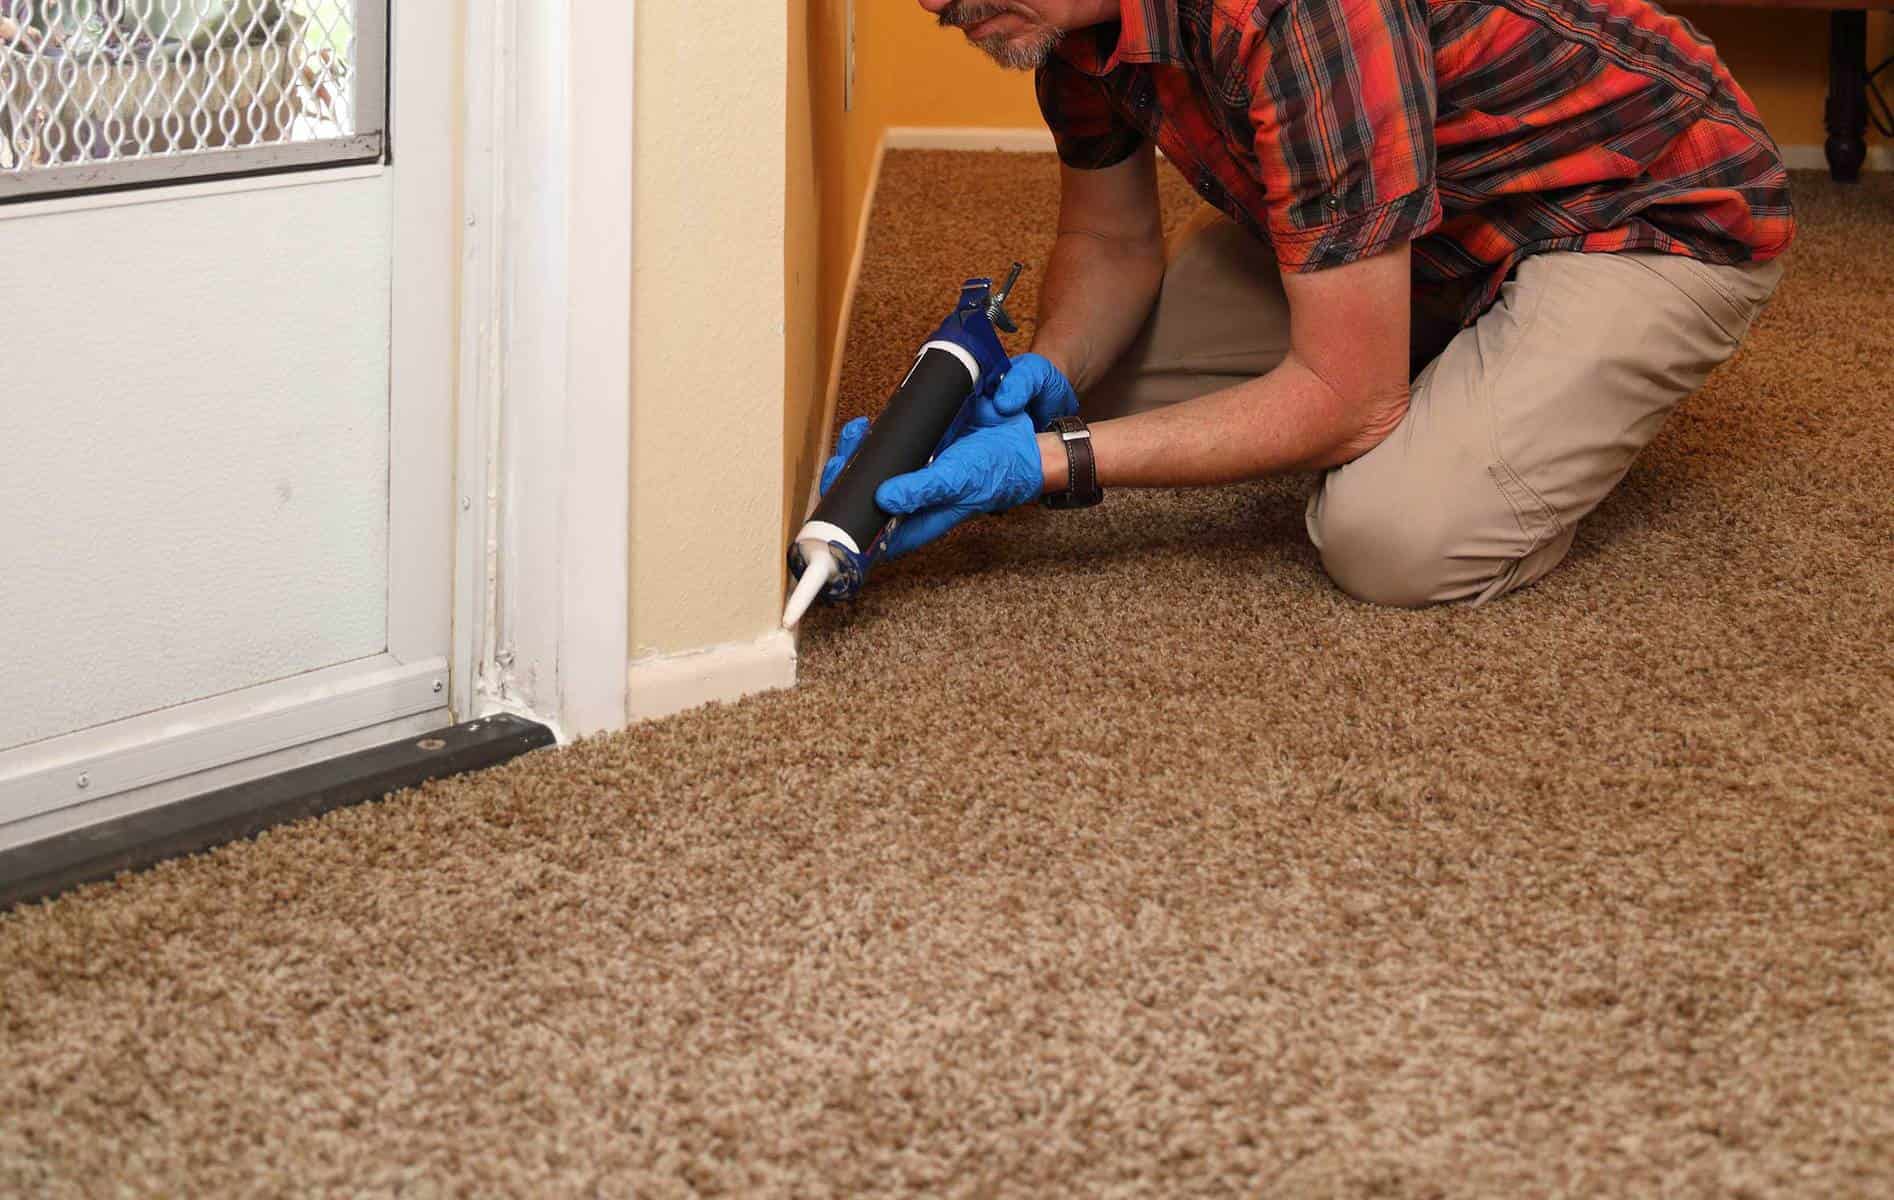
Before installing carpet, remove the existing baseboards carefully to avoid damage. Use a pry bar and putty knife to gently loosen and remove the baseboards, then reinstall them after the carpet is in place.
Applying the Carpet to the Wall
Now that you have your carpet cut to size, it’s time to apply it to the wall. Follow these steps to ensure a secure and clean installation:
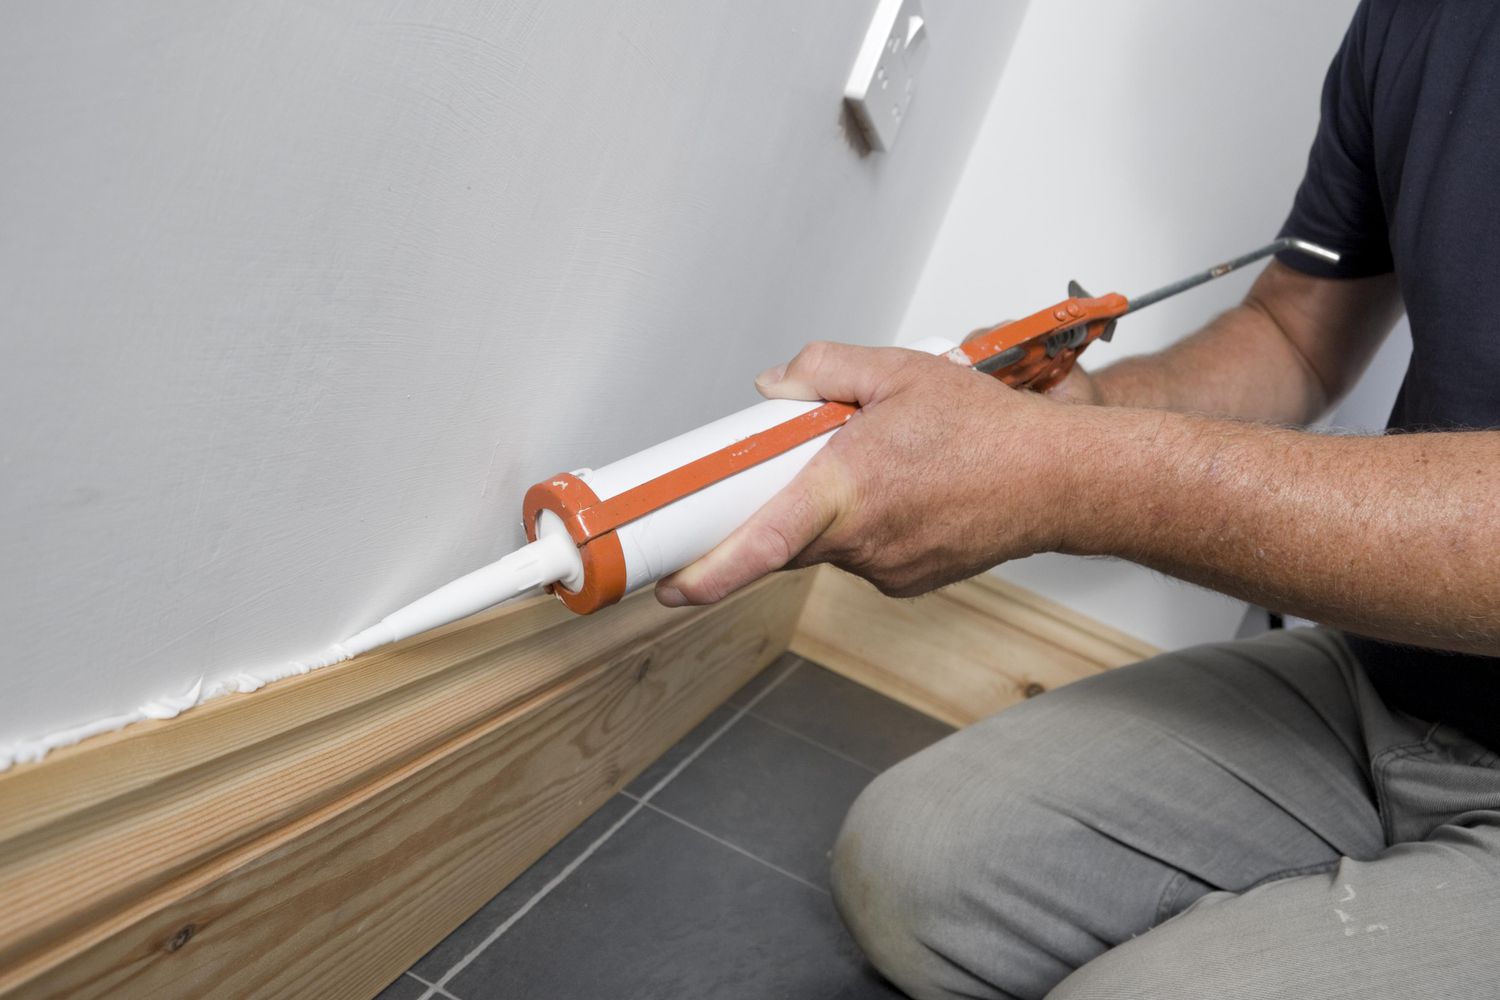
- Prepare the wall: Clean the wall surface thoroughly to remove any dust, debris, or loose paint. This will create a smooth and adhesive-friendly surface for the carpet baseboards.
- Apply adhesive: Using a carpet adhesive or a heavy-duty construction adhesive, apply a thin and even layer to the back of the carpet. Be sure to cover the edges and corners as well.
- Position the carpet: Carefully position the carpet along the wall, aligning it with the bottom edge. Start at a corner and work your way along the wall, pressing the carpet firmly against the wall surface. Smooth out any wrinkles or bubbles as you go.
- Secure the carpet: To ensure the carpet adheres properly, use a roller or a flat object to apply firm pressure along the entire length of the carpet. This will help the adhesive bond securely to the wall and prevent any loose edges.
- Wrap around the corners: When you reach a corner, gently fold the carpet over the corner and press it firmly against the adjacent wall. Trim any excess carpet if necessary, leaving enough to tuck into the baseboard groove.
- Tuck into the groove: Using a putty knife or a similar tool, carefully tuck the excess carpet into the baseboard groove. This will create a clean and finished look while ensuring that the carpet is securely held in place.
Take your time during this step to ensure proper alignment and adhesion. Smooth out any bubbles or imperfections as you go to achieve a professional-looking finish. With the carpet securely applied to the wall, it’s time to move on to installing the new carpet baseboards.
Read more: How To Replace A Carpet In A Car
Installing the New Carpet Baseboards
With the carpet securely applied to the wall, it’s time to install the new carpet baseboards. Follow these steps for a professional installation:
- Prepare the baseboards: If the new baseboards are not prefinished, it’s a good idea to prime and paint them before installation. Allow ample time for the paint to dry before proceeding.
- Measure and cut: Measure the length of each wall, taking into account any corners or angles. Use a miter saw or a coping saw to cut the baseboards at a 45-degree angle for a precise fit at the corners.
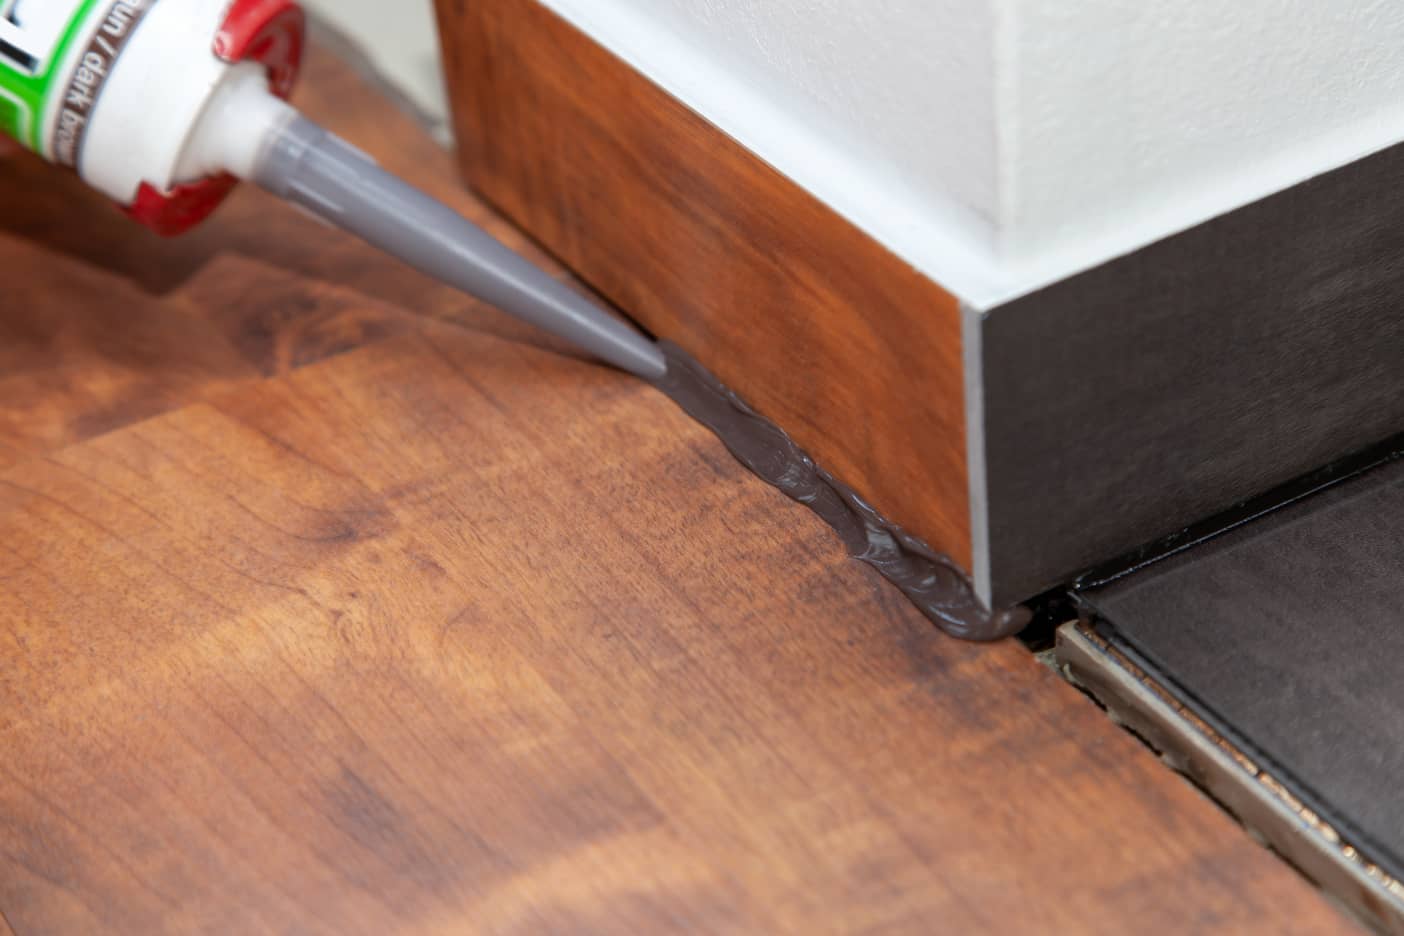
- Apply adhesive: Using a baseboard adhesive, apply a small amount to the back of each baseboard. Be careful not to apply too much, as excess adhesive may seep out when pressing the baseboards against the wall.
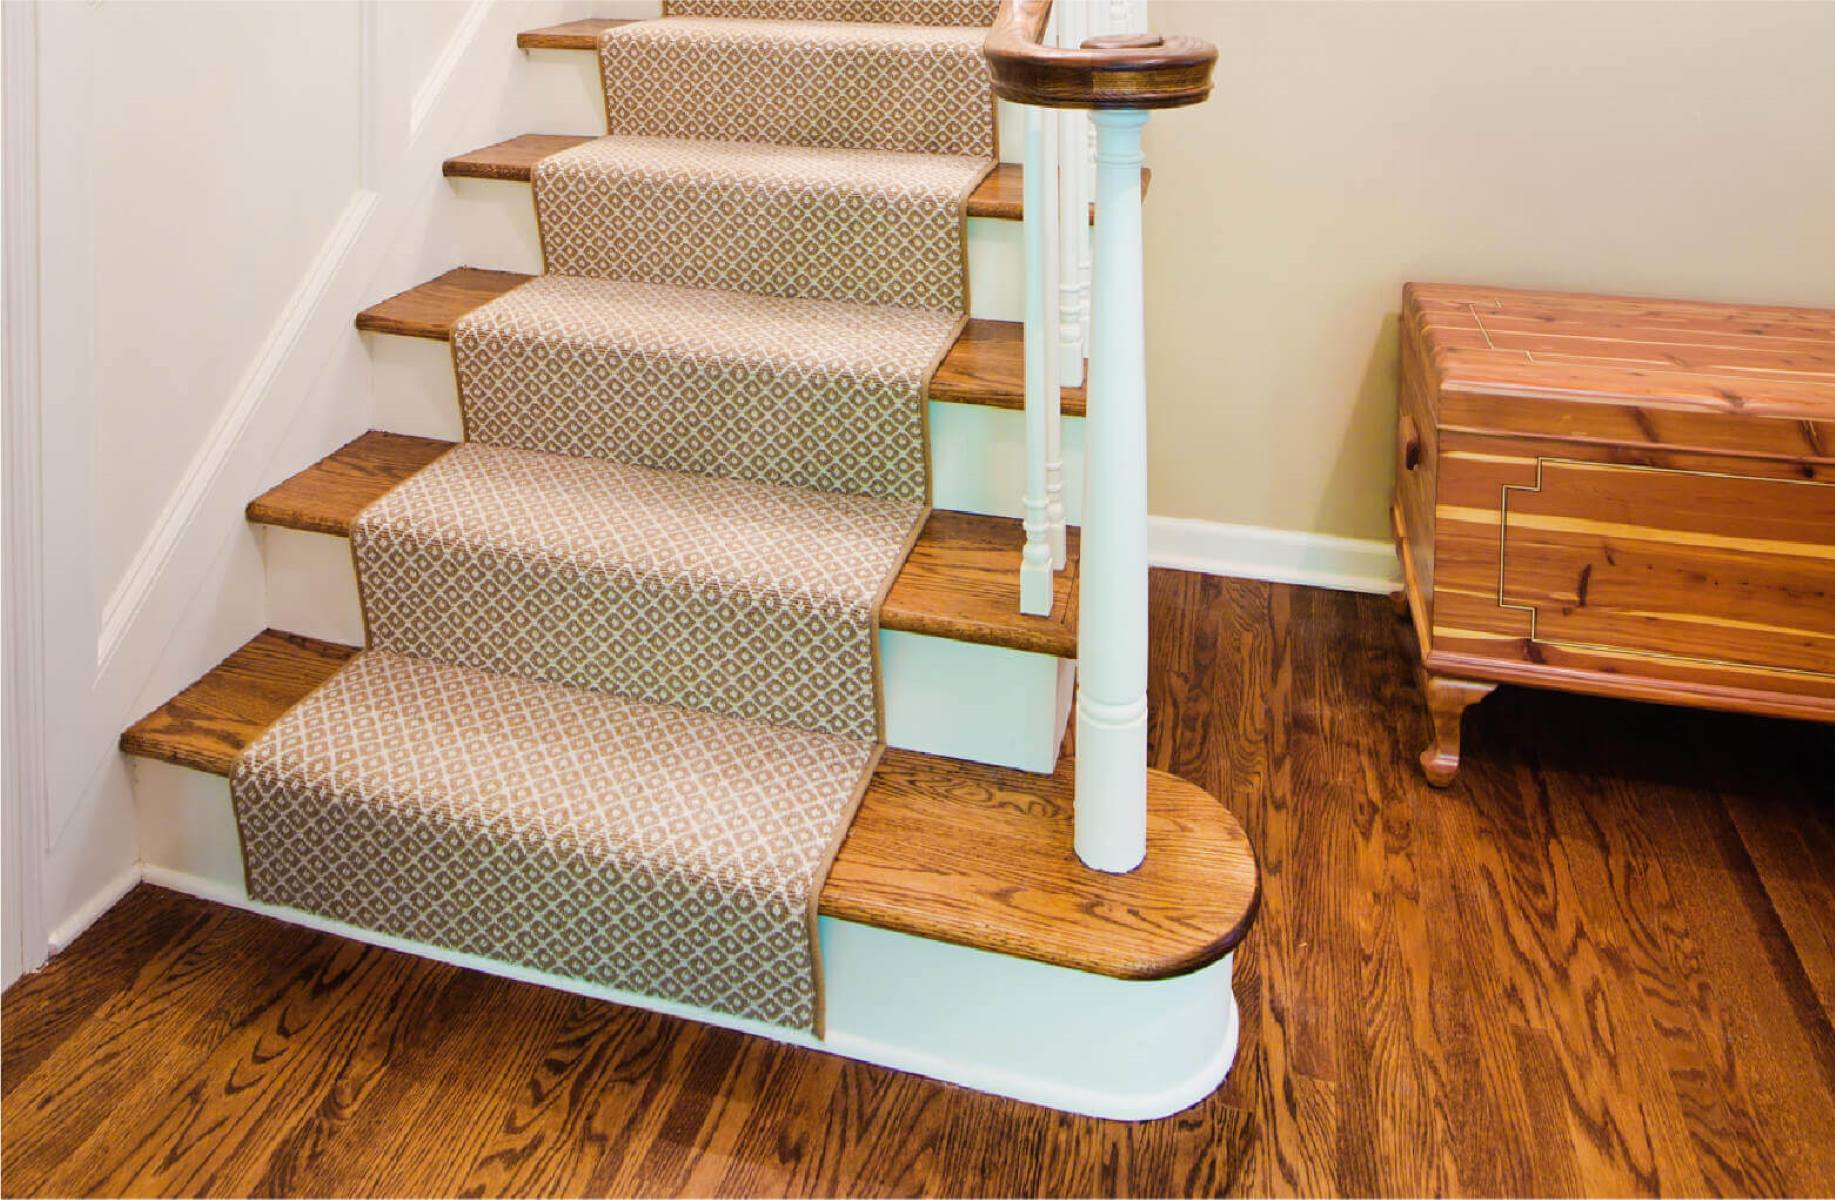
- Align and secure: Starting at a corner, align the baseboard with the bottom edge of the carpet and press it against the wall. Make sure it is level and flush against the wall. Use finishing nails to secure the baseboard to the studs, countersinking the nails slightly below the surface.
- Continue along the wall: Work your way along the wall, aligning and securing each baseboard. Repeat the process of applying adhesive, aligning, and nailing until all baseboards are installed. Take care at corners to ensure a seamless connection between the baseboards.
- Fill nail holes: Once all the baseboards are installed, fill the nail holes with wood filler. Smooth out the filler with a putty knife and allow it to dry completely. Sand the filled areas gently to create a smooth and even surface.
- Paint the baseboards: If necessary, touch up the baseboards with paint to create a seamless finish. Use a small paintbrush and carefully apply the paint, blending it with the existing paint on the baseboards.
- Clean up: Remove any excess adhesive or paint drips from the carpet and walls. Use a damp cloth or sponge to wipe away any residue. Allow the adhesive and paint to fully dry before moving furniture back into the room.
By following these steps, you can successfully install the new carpet baseboards and complete the transformation of your space. Now, let’s move on to the finishing touches and cleanup.
Finishing Touches and Cleanup
Now that the new carpet baseboards are installed, it’s time to add the finishing touches and complete the cleanup process. Follow these steps to ensure a polished and well-maintained final result:
- Remove protective coverings: Remove any protective coverings or drop cloths from the floor and furniture. Clean the floor if necessary to remove any dust or debris.
- Inspect and touch up: Take a closer look at the newly installed baseboards and carpet. Check for any imperfections, such as uneven edges or gaps. Touch up any areas that require additional adhesive or paint to achieve a seamless finish.
- Replace furniture: Once the adhesive and paint are fully dry, carefully move furniture back into the room. Take precautions to prevent any damage to the newly installed baseboards or carpet.
- Clean up excess adhesive: If there is any dried adhesive residue on the carpet, gently scrape it off using a plastic scraper. Be careful not to damage the carpet fibers. Use a vacuum cleaner to remove any loose debris or dust from the carpet.
- Dispose of materials: Properly dispose of any leftover carpet scraps, packaging, or other waste materials. Follow local regulations and guidelines for disposal or recycling.
- Enjoy your new carpet baseboards: Step back and admire your newly transformed space with carpet baseboards. Enjoy the clean and seamless transition between the floor and the wall.
Congratulations on successfully replacing your baseboards with carpet and completing the finishing touches and cleanup. Your efforts have resulted in a fresh and visually appealing space. Remember to regularly clean and maintain your carpet baseboards to keep them looking their best for years to come.
Thank you for following our comprehensive guide. We hope this has been helpful in your DIY project. Happy decorating!
Conclusion
Replacing baseboards with carpet can be a rewarding project that not only enhances the aesthetics of your space but also creates a seamless transition between the floor and the wall. By following the step-by-step guide outlined in this article, you can successfully complete the process with ease and achieve professional-looking results.
Throughout the journey, we have discussed the importance of preparing the necessary tools and materials, removing the old baseboards, measuring and cutting the carpet accurately, applying the carpet to the wall, and installing the new carpet baseboards. Each step is crucial to ensuring a smooth and successful transformation of your space.
Remember to take your time during each phase of the project and pay attention to detail. Properly measure and cut the carpet, secure it to the wall with adhesive, and align and install the new carpet baseboards with care. By following these guidelines, you can optimize the visual appeal and functionality of your space.
Once the installation is complete, take the time to add the finishing touches and perform a thorough cleanup. Inspect the newly installed carpet baseboards, make any necessary adjustments, and properly dispose of any waste materials.
With the project finished, step back and admire the transformation you have achieved. The new carpet baseboards not only add a touch of elegance but also protect your walls and create a cohesive look with your flooring.
Remember to maintain and care for your carpet baseboards properly to keep them looking their best. Regular cleaning and occasional touch-ups will help preserve their beauty and functionality in the years to come.
We hope this comprehensive guide has provided you with the knowledge and confidence to embark on your baseboard replacement project. Enjoy your newly transformed space and the countless possibilities it brings.
Frequently Asked Questions about How To Replace Baseboards With Carpet
Was this page helpful?
At Storables.com, we guarantee accurate and reliable information. Our content, validated by Expert Board Contributors, is crafted following stringent Editorial Policies. We're committed to providing you with well-researched, expert-backed insights for all your informational needs.