
Articles
How To Make A Stove Top Distiller
Modified: January 8, 2024
Learn how to make a stove top distiller with our informative articles. Discover the step-by-step process and start distilling your own spirits at home.
(Many of the links in this article redirect to a specific reviewed product. Your purchase of these products through affiliate links helps to generate commission for Storables.com, at no extra cost. Learn more)
Introduction
In today’s world, where clean and safe drinking water is of utmost importance, having a reliable method to distill water at home can be incredibly valuable. While there are various types of water filters and purifiers available on the market, a stove top distiller offers a simple and effective way to remove impurities and contaminants from your water.
A stove top distiller is a DIY device that utilizes heat to separate water vapor from impurities, leaving you with clean, purified water. It is a cost-effective solution that can be easily assembled using common household materials and a few tools. In this article, we will guide you through the process of creating your own stove top distiller, step by step.
But before we dive into the construction and distillation process, let’s take a moment to discuss the materials and tools you will need:
Key Takeaways:
- Create your own stove top distiller using common household materials and enjoy the satisfaction of having clean, purified water at your fingertips. It’s a cost-effective and reliable method for water purification.
- Ensure a clean water source, carefully monitor the distillation process, and properly store the distilled water to maintain its purity. Enjoy the benefits of having a sustainable and cost-effective solution for clean, purified water.
Read more: How To Make Bread On Stove Top
Materials and Tools Needed
- A large stainless steel or aluminium stock pot with a tight-fitting lid
- A smaller stainless steel or aluminium pot that will fit inside the larger pot
- A glass or heat-resistant plastic jug for collecting the distilled water
- A rubber gasket or silicone sealant to create a watertight seal
- A drill with a bit suitable for drilling holes in metal
- A stove or heat source to generate the necessary heat
- A supply of water to be distilled
Now that you have gathered all the necessary materials and tools, let’s move on to the step-by-step process of creating your stove top distiller.
Key Takeaways:
- Create your own stove top distiller using common household materials and enjoy the satisfaction of having clean, purified water at your fingertips. It’s a cost-effective and reliable method for water purification.
- Ensure a clean water source, carefully monitor the distillation process, and properly store the distilled water to maintain its purity. Enjoy the benefits of having a sustainable and cost-effective solution for clean, purified water.
Read more: How To Make Bread On Stove Top
Materials and Tools Needed
Before you embark on building your own stove top distiller, it’s important to gather all the necessary materials and tools. Here is a list of everything you will need:
- A large stainless steel or aluminium stock pot with a tight-fitting lid: This will serve as the main chamber for the distillation process. Ensure that it is large enough to hold a significant amount of water.
- A smaller stainless steel or aluminium pot that will fit inside the larger pot: This pot will act as the collection container for the distilled water. It should be small enough to fit inside the larger pot without obstructing the steam flow.
- A glass or heat-resistant plastic jug for collecting the distilled water: This is where you will collect the condensed water vapor that has been purified through distillation.
- A rubber gasket or silicone sealant to create a watertight seal: This will ensure that no steam escapes from the distiller during the process.
- A drill with a bit suitable for drilling holes in metal: You will need this to create openings for the steam to pass through.
- A stove or heat source to generate the necessary heat: The stove top distiller requires heat to create steam and facilitate the distillation process. Ensure you have a reliable heat source.
- A supply of water to be distilled: Choose a clean and potable water source for the best results. Tap water can work, but filtered or purified water is ideal.
Once you have gathered all the materials and tools, you are ready to move on to the next steps in building and using your stove top distiller.
Step 1: Preparing the Water Source
Before you can begin distilling water using your stove top distiller, it’s crucial to ensure that the water you use is clean and free from any contaminants. Here’s how to prepare the water source:
- Choose a clean water source: Select a water source that is safe for consumption. It is recommended to use filtered or purified water to achieve the best results. If you are using tap water, let it run for a few minutes to flush out any impurities.
- Remove any visible debris: Check the water for any visible dirt, particles, or sediments. If you notice any, strain the water through a fine-mesh strainer or a cheesecloth to remove them.
- Test the water quality (optional): If you want to ensure that the water is free from contaminants, consider using a water testing kit or sending a sample to a lab for analysis. This step is especially important if you are uncertain about the quality of your water source.
- Store the water properly: If you are not using the water immediately, store it in clean, airtight containers. Make sure to label them with the date of collection to keep track of its freshness.
Preparing the water source ensures that you are starting with clean and safe water for the distillation process. Remember, the quality of the water you use will directly impact the quality of the distilled water you obtain from the stove top distiller.
Once you have prepared the water source, you are ready to move on to the next step, which is building the distillation setup.
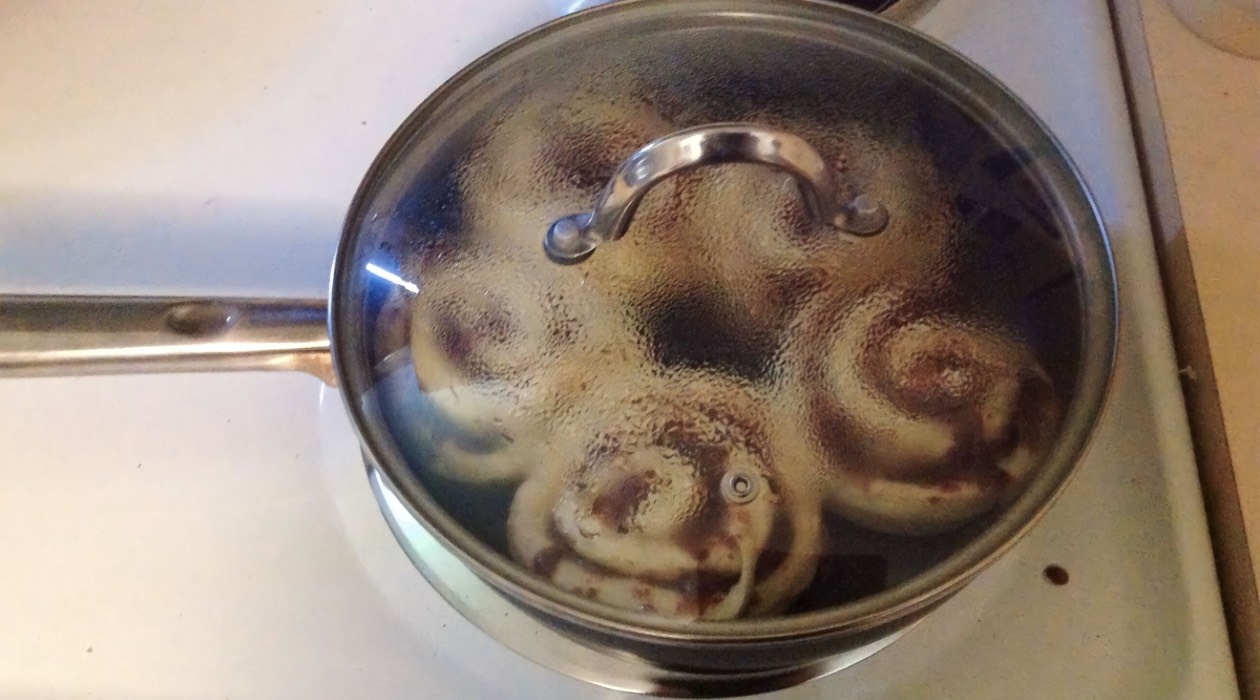
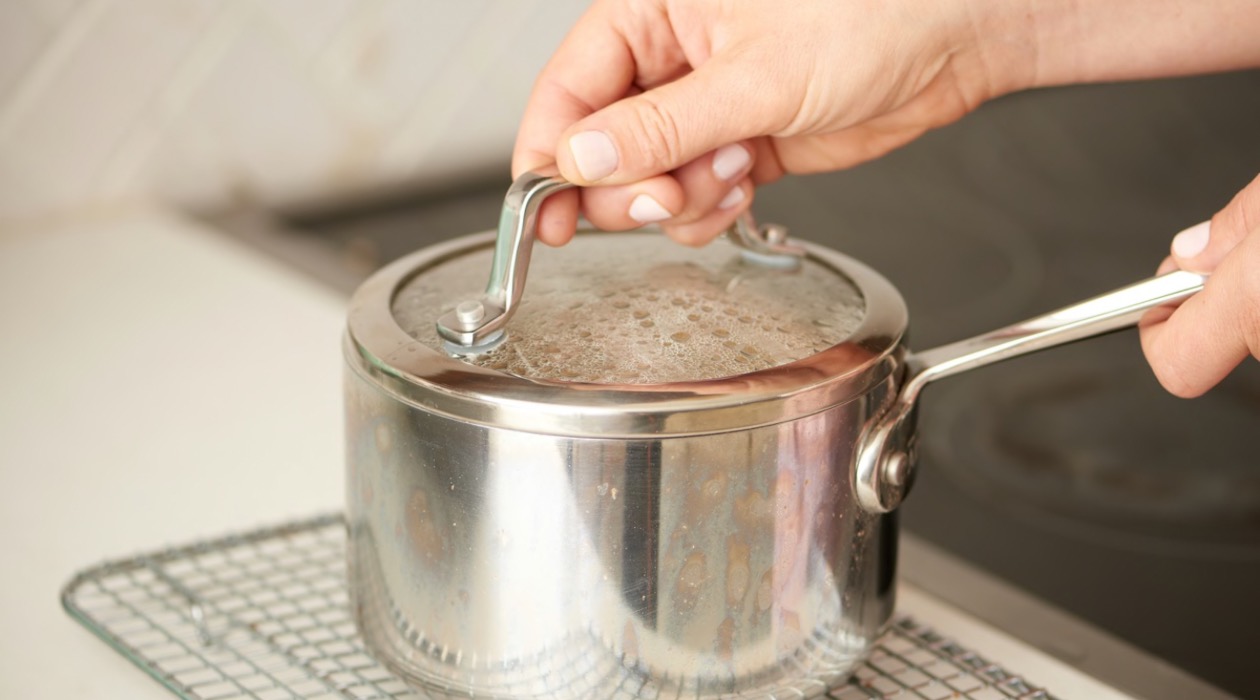
Step 2: Building the Distillation Setup
Building the distillation setup is a crucial step in creating your stove top distiller. It involves assembling the components that will facilitate the distillation process. Follow these steps to build your distillation setup:
- Place the larger pot on the stove: Place the large stainless steel or aluminium stock pot on the stove or heat source. Ensure it is stable and secure.
- Create an opening for the smaller pot: Take the smaller pot that will collect the distilled water and position it upside down inside the larger pot. Use a marker to trace its circumference on the lid of the larger pot.
- Drill a hole in the lid: Using a drill with a bit suitable for metal, carefully drill a hole inside the traced circle on the lid. The diameter of the hole should be slightly larger than the circumference of the smaller pot’s base.
- Place the smaller pot on the lid: Insert the smaller pot into the hole you just created on the lid. It should fit securely, with the rim of the smaller pot resting on the lid’s surface.
- Create a seal: To ensure the setup remains airtight, use a rubber gasket or apply silicone sealant around the rim of the smaller pot where it meets the hole in the lid. This will prevent any steam from escaping during the distillation process.
- Ensure a secure fit: Double-check that the smaller pot is securely positioned in the larger pot and that the seal is in place. The setup needs to be stable and airtight to function properly.
By following these steps, you will have successfully built the distillation setup for your stove top distiller. The smaller pot will act as the collection container for the distilled water, while the larger pot will provide the space for steam generation.
Next, we will move on to the next step: preparing the stove top distiller for the distillation process.
When making a stove top distiller, ensure that the condenser is properly cooled to efficiently separate the desired liquid from the mixture. Use ice or cold water to cool the condenser for best results.
Read more: How To Make Espresso With Stove Top
Step 3: Preparing the Stove Top Distiller
Now that you have built the distillation setup for your stove top distiller, it’s time to prepare it for the distillation process. Follow these steps to get your distiller ready:
- Add water to the larger pot: Fill the larger pot with water, ensuring that it covers the bottom of the smaller pot but does not overflow.
- Place the lid on the larger pot: Cover the larger pot with its tight-fitting lid. Make sure it is properly secured to prevent any steam from escaping during the distillation process.
- Position the collection jug: Place the collection jug or container next to the stove, making sure it is within easy reach. This is where you will collect the distilled water.
- Turn on the stove: Turn on the heat source and set it to medium-high. You want a steady but not too high temperature to generate steam without boiling the water aggressively.
- Monitor the temperature: Keep an eye on the pot to ensure that the water is heating up and steam is being produced. Adjust the heat as necessary to maintain a steady flow of steam.
These steps are essential in preparing your stove top distiller for the distillation process. It’s important to monitor the temperature and make sure the setup is functioning properly. The heat will cause the water in the larger pot to evaporate, producing steam that will rise and condense inside the smaller pot. This condensed steam will be the purified distilled water that you collect in the jug.
With the stove top distiller prepared and the heat applied, you are now ready to move on to the next step: distilling the water!
Step 4: Distilling the Water
With your stove top distiller prepared and the heat applied, it’s time to start the distillation process to obtain clean and purified water. Follow these steps to distill the water:
- Observe the steam formation: As the water in the larger pot heats up, steam will begin to form. Watch as the steam rises and travels through the opening in the lid.
- Condense the steam: As the steam travels through the opening, it will come into contact with the cooler lid and the inside of the smaller pot. This contact will cause the steam to condense back into liquid form.
- Collect the purified water: As the condensed steam drips down, it will collect in the smaller pot. From there, it will flow out of the pot through a spout or small opening and into the collection jug or container you have placed nearby.
- Monitor the distillation process: Keep an eye on the progress of the distillation process. You should see a steady flow of distilled water dripping into the collection jug. Adjust the heat as needed to maintain a consistent flow.
- Continue distilling until desired amount collected: Let the distillation process continue until you have collected the desired amount of purified water. This will depend on your needs and the capacity of the collection jug.
- Turn off the heat: Once you have collected enough distilled water, turn off the heat source and allow the distiller to cool down before handling.
Remember, the distillation process takes time, so be patient and observe the progress as the water is transformed into clean and purified vapor and then condensed back into liquid form. The resulting water is free from most impurities and contaminants that may have been present in the original water source.
Now that you have successfully distilled the water using your stove top distiller, it’s time to move on to the final step: collecting and storing the distilled water.
Step 5: Collecting and Storing the Distilled Water
After successfully distilling the water using your stove top distiller, it’s important to properly collect and store the distilled water to maintain its purity and quality. Follow these steps to collect and store the distilled water:
- Remove the collection jug: Carefully remove the collection jug or container from its position next to the distiller. Be cautious not to spill the distilled water.
- Label the container: Use a waterproof marker or label to mark the container with the date of distillation. This will help you keep track of the freshness of the distilled water.
- Transfer the distilled water: Pour the distilled water from the collection jug into clean, airtight containers that are suitable for water storage. Glass or food-grade plastic containers are recommended.
- Seal the containers: Ensure that the containers are tightly sealed to prevent any contamination or evaporation. This will help to maintain the purity of the distilled water for an extended period.
- Store the distilled water: Place the sealed containers in a cool, dark, and dry location away from direct sunlight. This will help to preserve the quality of the water and prevent the growth of bacteria or other impurities.
- Monitor the stored water: Periodically check the stored water for any signs of contamination or changes in taste or odor. If any issues arise, discard the water and repeat the distillation process.
By following these steps, you can ensure that the distilled water remains clean and safe for consumption. Properly storing the distilled water will help maintain its quality and allow you to have a reliable supply of purified water whenever you need it.
Congratulations! You have successfully completed all the steps to make a stove top distiller and distill your own water. By investing a little time and effort, you now have a cost-effective and efficient method to purify water in the comfort of your home.
Remember to always use the distilled water responsibly and consult with a healthcare professional if you have any specific health concerns or requirements regarding your water consumption.
Now that you have mastered the process of making a stove top distiller, you can enjoy the benefits of clean and purified water whenever you need it.
Stay hydrated and enjoy the pure goodness of distilled water!
Conclusion
In this article, we have explored the process of creating and using a stove top distiller to obtain clean and purified water. By following the steps outlined, you can easily build your own distillation setup using common household materials and a few tools.
A stove top distiller offers a cost-effective and reliable method of water purification. It utilizes heat to generate steam, which is then condensed to produce clean, distilled water, free from most impurities and contaminants.
Throughout the process, it is essential to ensure that you have a clean water source and to monitor the distillation setup carefully. By following the proper steps, you can obtain high-quality distilled water for drinking, cooking, and other purposes.
Remember to collect and store the distilled water in clean, airtight containers, properly labeled with the date of distillation. Storing the water in a cool, dark, and dry location will help maintain its purity over time.
While a stove top distiller can effectively remove common impurities found in water, it may not eliminate certain contaminants such as volatile organic compounds or heavy metals. In such cases, it is advisable to seek alternative water purification methods or consult with water treatment professionals.
By taking the initiative to create your own stove top distiller, you can have peace of mind knowing that you have a reliable source of clean and purified water. It is a sustainable and cost-effective solution that can be easily adapted to suit your needs.
Now that you have learned how to make a stove top distiller, go ahead and try it out. Enjoy the satisfaction of having purified water at your fingertips, knowing that you have taken a proactive step towards enhancing your health and well-being.
Stay hydrated, stay healthy!
Frequently Asked Questions about How To Make A Stove Top Distiller
Was this page helpful?
At Storables.com, we guarantee accurate and reliable information. Our content, validated by Expert Board Contributors, is crafted following stringent Editorial Policies. We're committed to providing you with well-researched, expert-backed insights for all your informational needs.


0 thoughts on “How To Make A Stove Top Distiller”