Articles
How To Build Mirrors With Lights
Modified: October 20, 2024
Learn how to build mirrors with lights in these informative articles. Enhance your space with DIY mirror projects and brighten up any room.
(Many of the links in this article redirect to a specific reviewed product. Your purchase of these products through affiliate links helps to generate commission for Storables.com, at no extra cost. Learn more)
Introduction
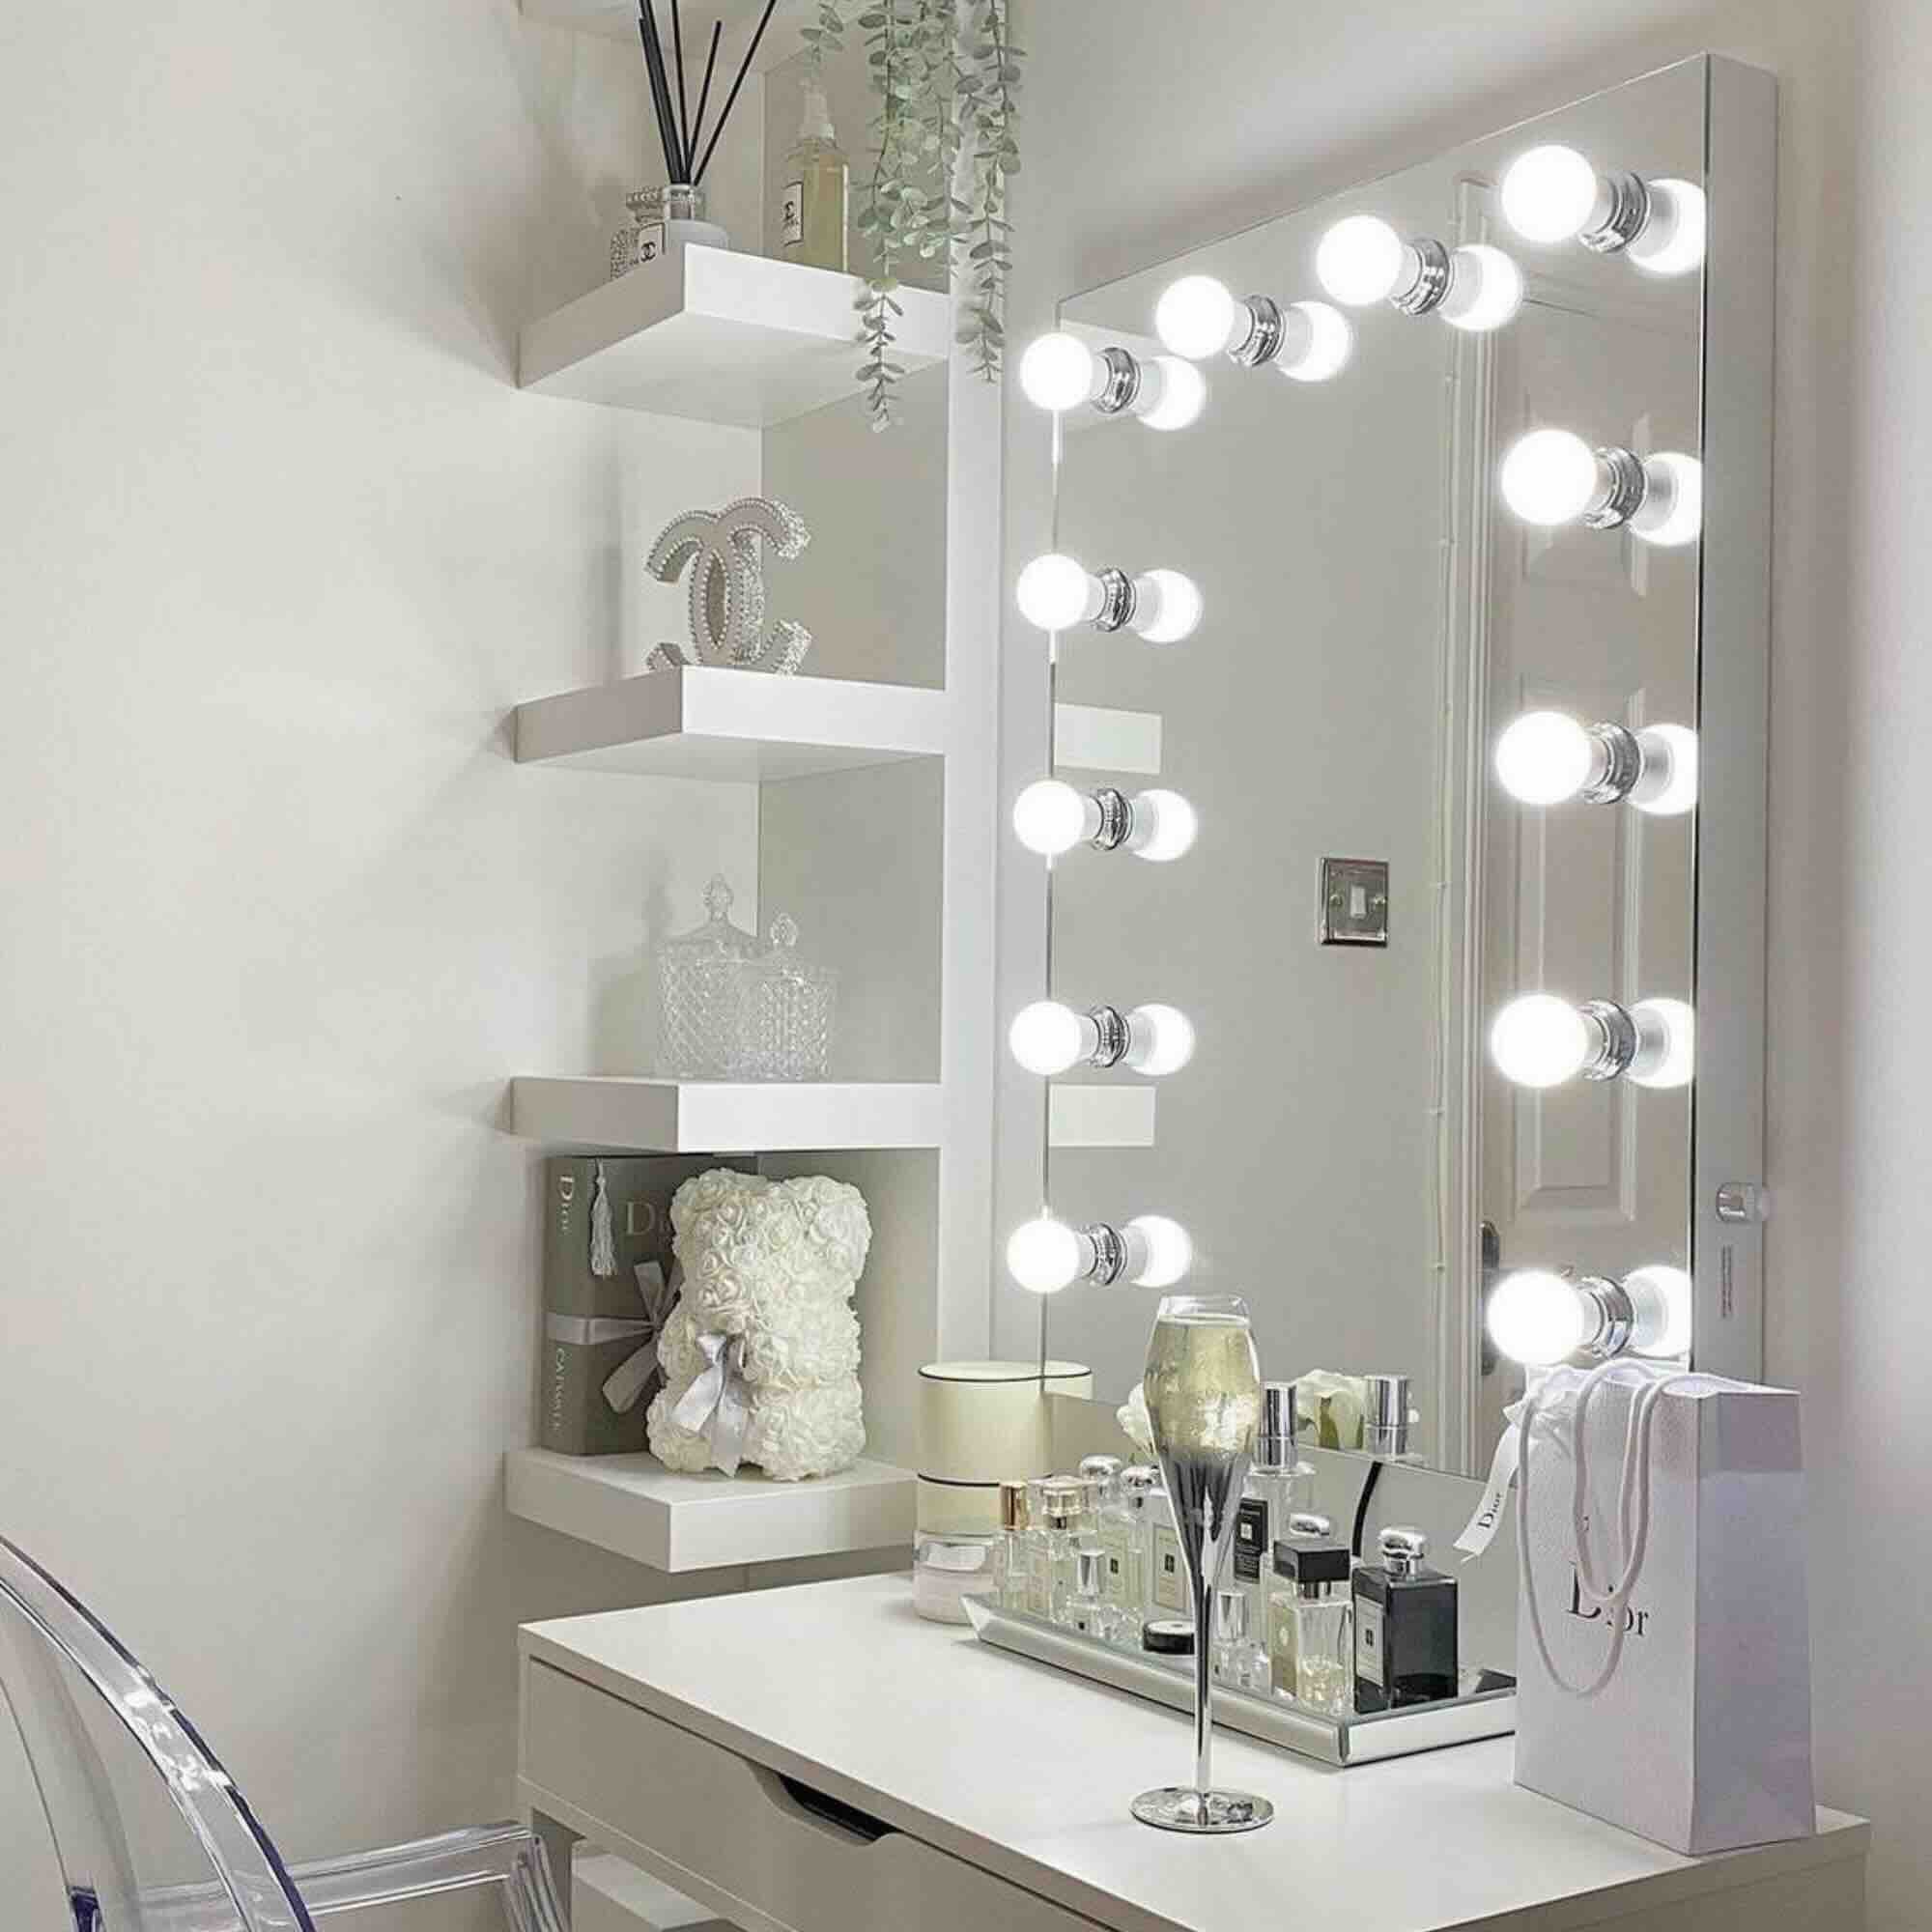
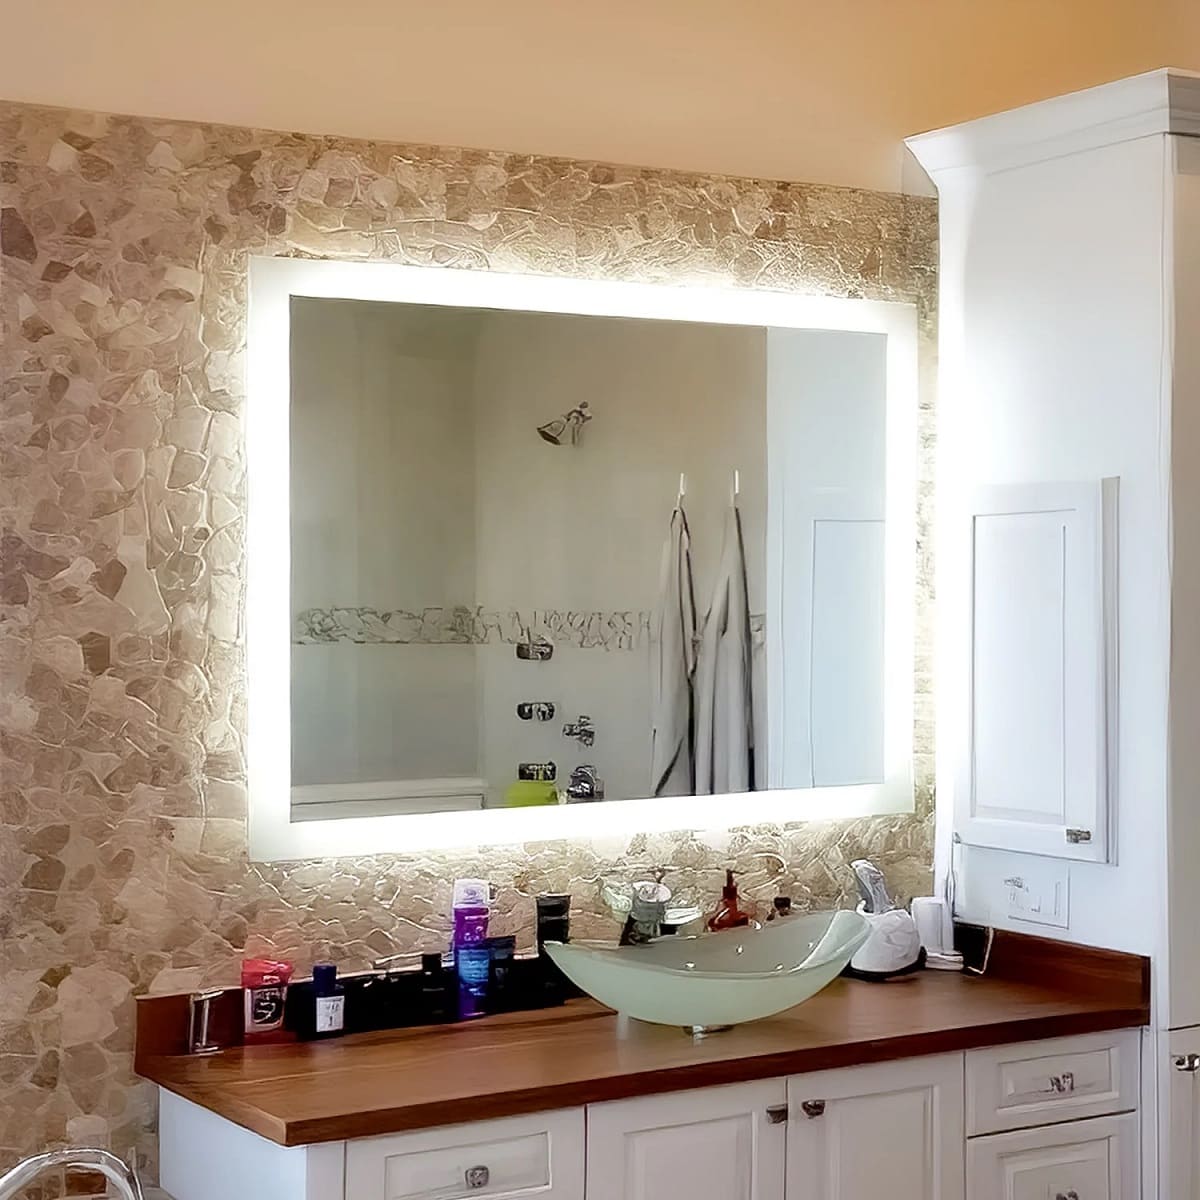
Welcome to the world of mirror customization! If you’ve ever dreamed of having a stunning mirror with lights that can transform your space, you’ve come to the right place. Mirrors with lights have become incredibly popular in recent years, as they add a touch of elegance and functionality to any room.
Whether you’re getting ready in the morning, applying makeup, or simply want to enhance the ambiance of your space, mirrors with lights are a fantastic addition. In this article, we will guide you through the step-by-step process of building your own custom mirror with lights.
We’ll cover everything from choosing the right mirrors and lights, to gathering the necessary tools and materials, and finally, how to attach the lights to the mirror and wire them properly. By the end of this article, you’ll have all the knowledge and skills necessary to create your own personalized mirror with lights.
But before we dive into the process, it’s important to note that working with electrical components requires caution and adherence to safety measures. If you’re not comfortable working with electricity, we recommend consulting a professional electrician to ensure your project is completed safely.
Now, let’s get started on our journey to creating a stunning mirror with lights!
Key Takeaways:
- Create a stunning mirror with lights by carefully choosing the right mirrors and lights, gathering necessary tools, and following step-by-step instructions for safe and effective construction.
- Prioritize safety, take your time, and enjoy the process of building your personalized mirror with lights to enhance your space with elegance and functionality.
Read more: How To Add Vanity Lights To A Mirror
Choosing the Right Mirrors and Lights
When it comes to building a mirror with lights, selecting the right mirrors and lights is crucial. Here are some factors to consider:
- Size and Shape: Consider the size and shape of the mirror you want to use. Think about the available space and the purpose of the mirror. Whether you prefer a rectangular, round, or oval mirror, make sure it fits well into your desired location.
- Quality and Clarity: Look for mirrors with high-quality glass that offers excellent clarity. You want a mirror that will provide a clear reflection without any distortions.
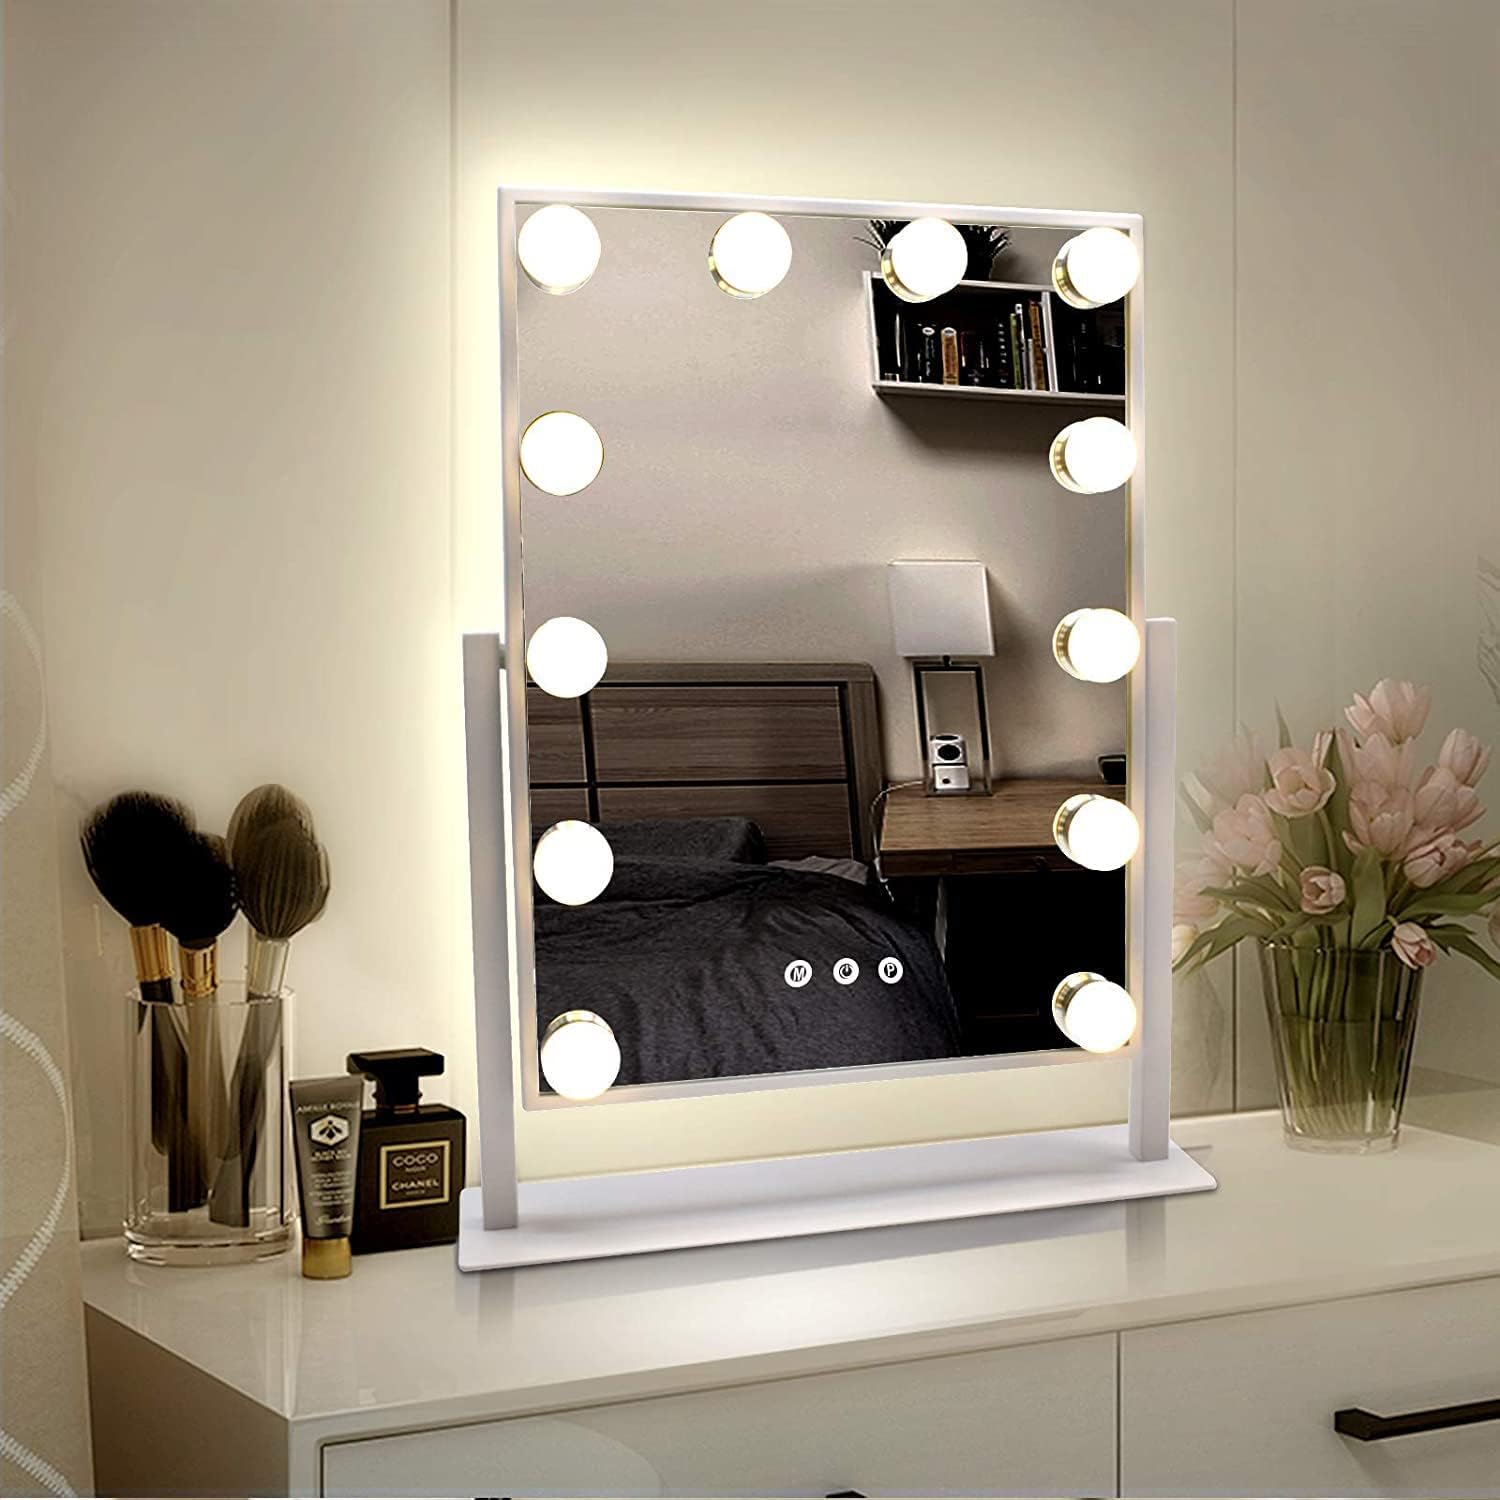
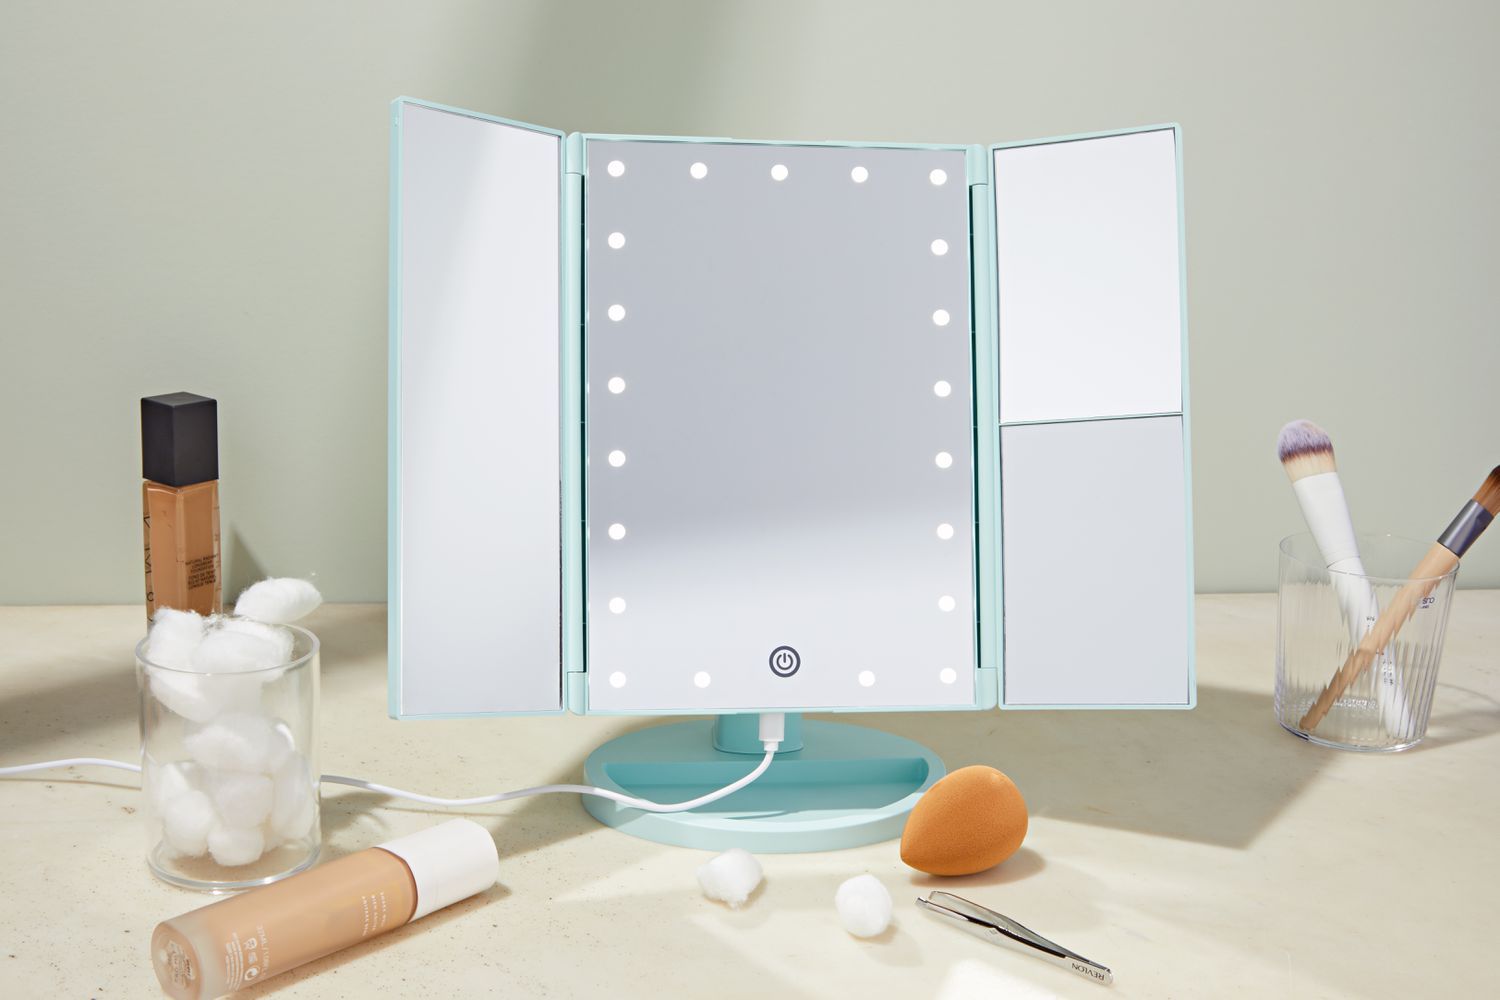
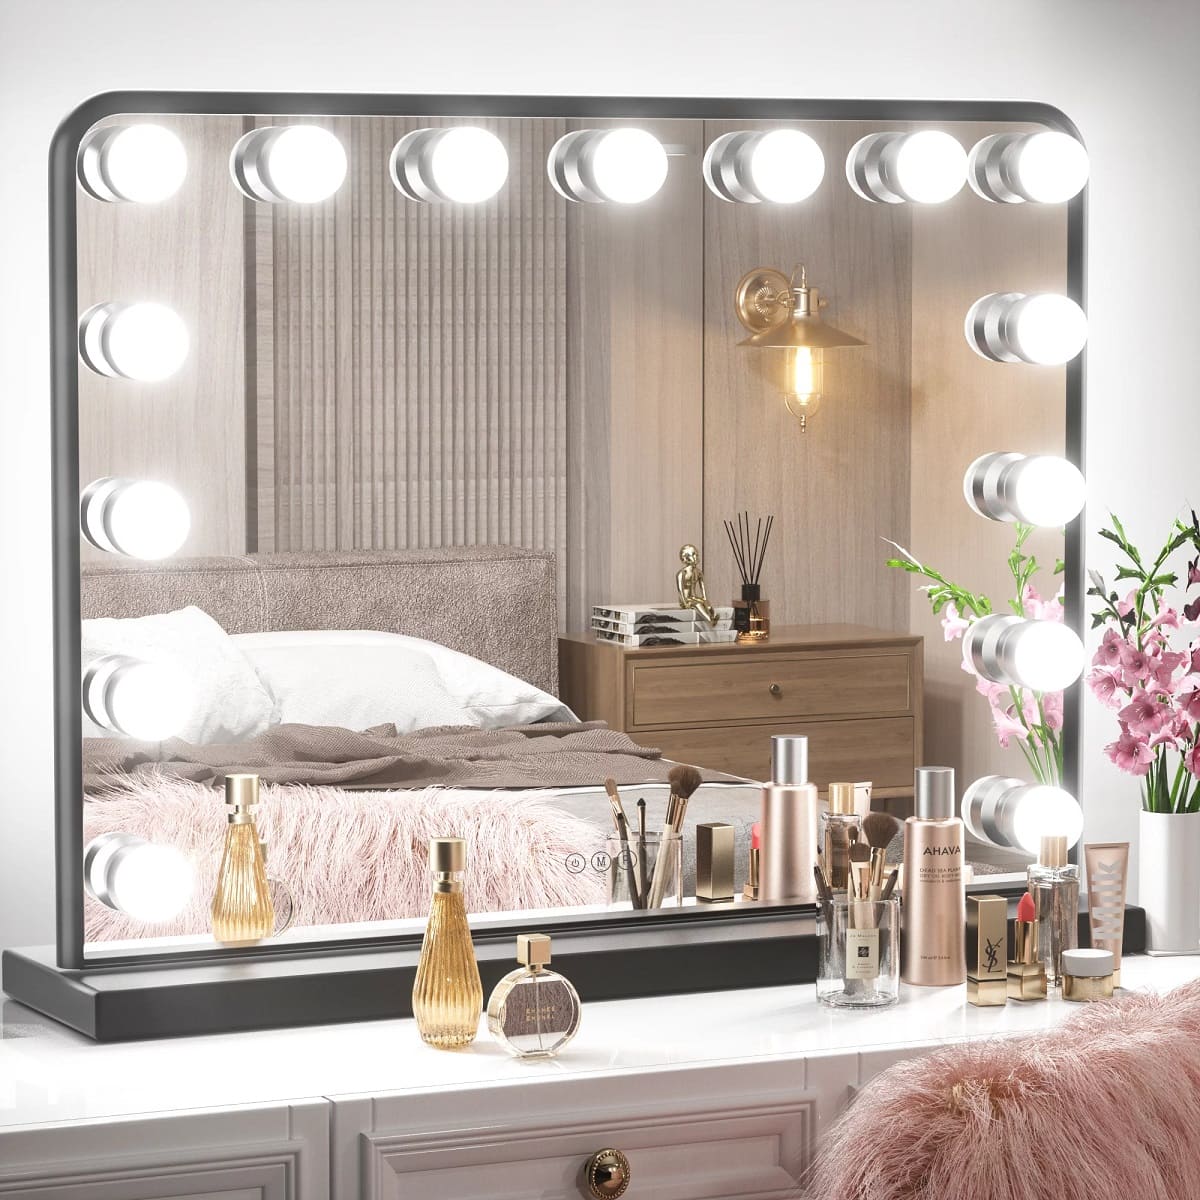
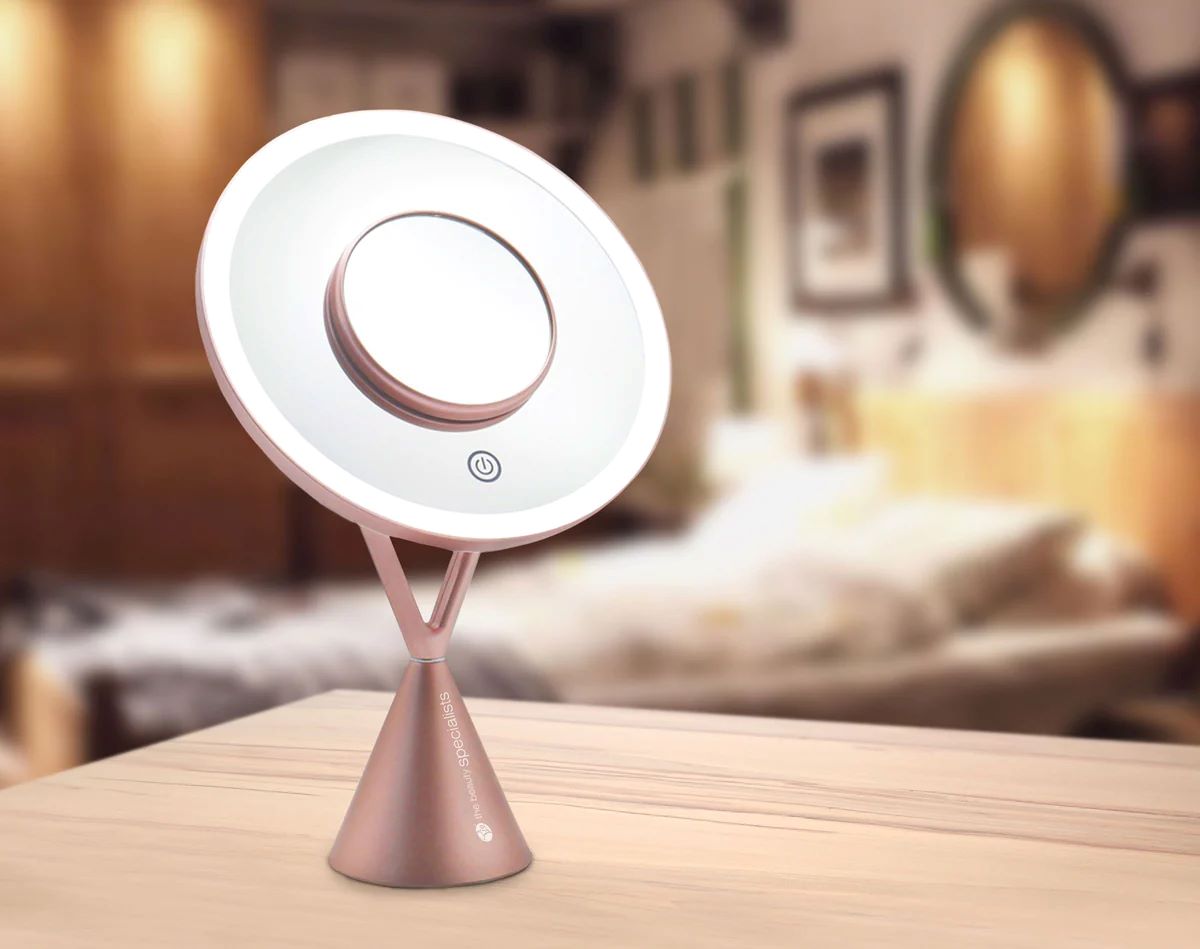
- Lighting Options: Decide on the lighting style you want for your mirror. You can choose between LED lights, fluorescent lights, or incandescent lights. LEDs are popular due to their energy efficiency and long lifespan.
- Color Temperature: Consider the color temperature of the lights. Warm white light creates a cozy and inviting atmosphere, while cool white light gives a refreshing and modern feel. Choose the color temperature that best suits your space.
- Dimmable Option: If you want the flexibility to adjust the brightness of your mirror lights, consider choosing lights with a dimmable feature. This allows you to create the perfect lighting ambiance for any occasion.
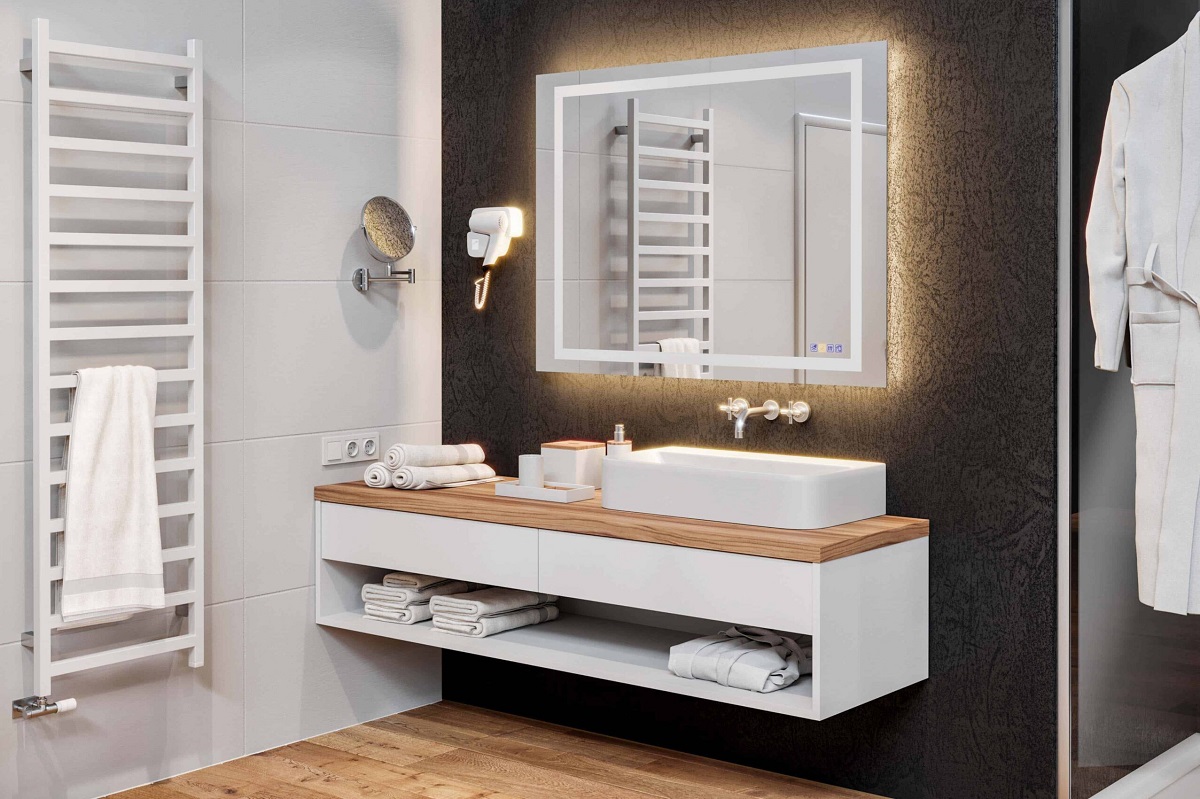
- Water Resistance: If you plan to install the mirror in a bathroom or any area prone to moisture, ensure that both the mirror and lights are water-resistant. This will prevent any damage or safety hazards.
It’s important to take your time and choose mirrors and lights that complement your personal style and the overall aesthetic of the space. You want a mirror that not only serves its purpose but also adds an aesthetic touch to your room.
Once you have a clear idea of the type of mirror and lights you want, let’s move on to the next step: gathering the necessary tools and materials.
Gathering the Necessary Tools and Materials
Before you begin building your mirror with lights, it’s essential to gather all the necessary tools and materials. Here’s a list of what you’ll need:
- Mirror: Choose a mirror in the size and shape of your preference. Ensure it has a sturdy frame that can support the weight of the lights.
- Lights: Purchase the appropriate lights for your project. This could include LED light strips, individual LED bulbs, or other types of light fixtures.
- Power source: Determine how you’ll power your lights. You may need an electrical outlet nearby or consider battery-operated options.
- Screwdriver: Depending on the type of lights you’re using, you may need a screwdriver to secure them to the frame or mount.
- Wire cutters/strippers: These tools will be necessary if you need to cut or strip wires to connect the lights.
- Electrical tape: Use electrical tape to ensure the wires are properly insulated and secure.
- Mounting hardware: If your mirror doesn’t come with mounting hardware, purchase the appropriate brackets or hooks to hang it securely.
- Level: A level will help you make sure your mirror is mounted straight and horizontally aligned.
- Measuring tape: Use a measuring tape to determine the appropriate distance and placement for the lights on the mirror.
- Pencil or marker: Mark the spots where you’ll attach the lights, ensuring even spacing and alignment.
Make sure to gather all the tools and materials ahead of time to avoid unnecessary delays during the construction process. If needed, consult with a professional or refer to the instructions provided with your specific lights for any additional materials or tools required.
With all the necessary tools and materials ready, let’s move on to the next step: preparing the workspace for your mirror-building project.
Preparing the Workspace
Before you embark on building your mirror with lights, it’s essential to set up a suitable workspace. Here are some steps to follow:
- Clean and Clear: Start by clearing the area where you plan to work. Remove any obstructions, furniture, or décor items that could get in the way and create a clutter-free space.
- Protective Covering: Lay down a protective covering, such as a drop cloth or plastic sheet, to avoid any damage to the floor or surrounding surfaces. This will catch any dust, debris, or accidental spills.
- Good Lighting: Ensure you have adequate lighting in the workspace to see your materials and tools clearly. Natural light or additional task lighting can be beneficial during the construction process.
- Accessible Power Source: Ensure you have access to a power source if your lights require electrical connection or charging during the construction process.
- Organize Tools: Arrange all your tools and materials within reach, so you don’t waste time searching for them while working on your mirror. Consider using a toolbox or organizing bins to keep everything in order.
- Workbench or Table: If possible, set up a sturdy workbench or table where you’ll assemble and wire your mirror with lights. This will provide a stable surface and make the construction process more comfortable.
- Safety Measures: Don’t forget to prioritize safety while working. Ensure the workspace is well-ventilated and that you have safety gear such as goggles, gloves, and a dust mask to protect yourself from any potential hazards.
By preparing a dedicated workspace, you’ll have a clean and organized area to work on your mirror with lights. This will help you stay focused, efficient, and ensure that your construction process goes smoothly.
Now that your workspace is ready, it’s time to dive into the exciting part of attaching the lights to the mirror. Let’s move on to the next step!
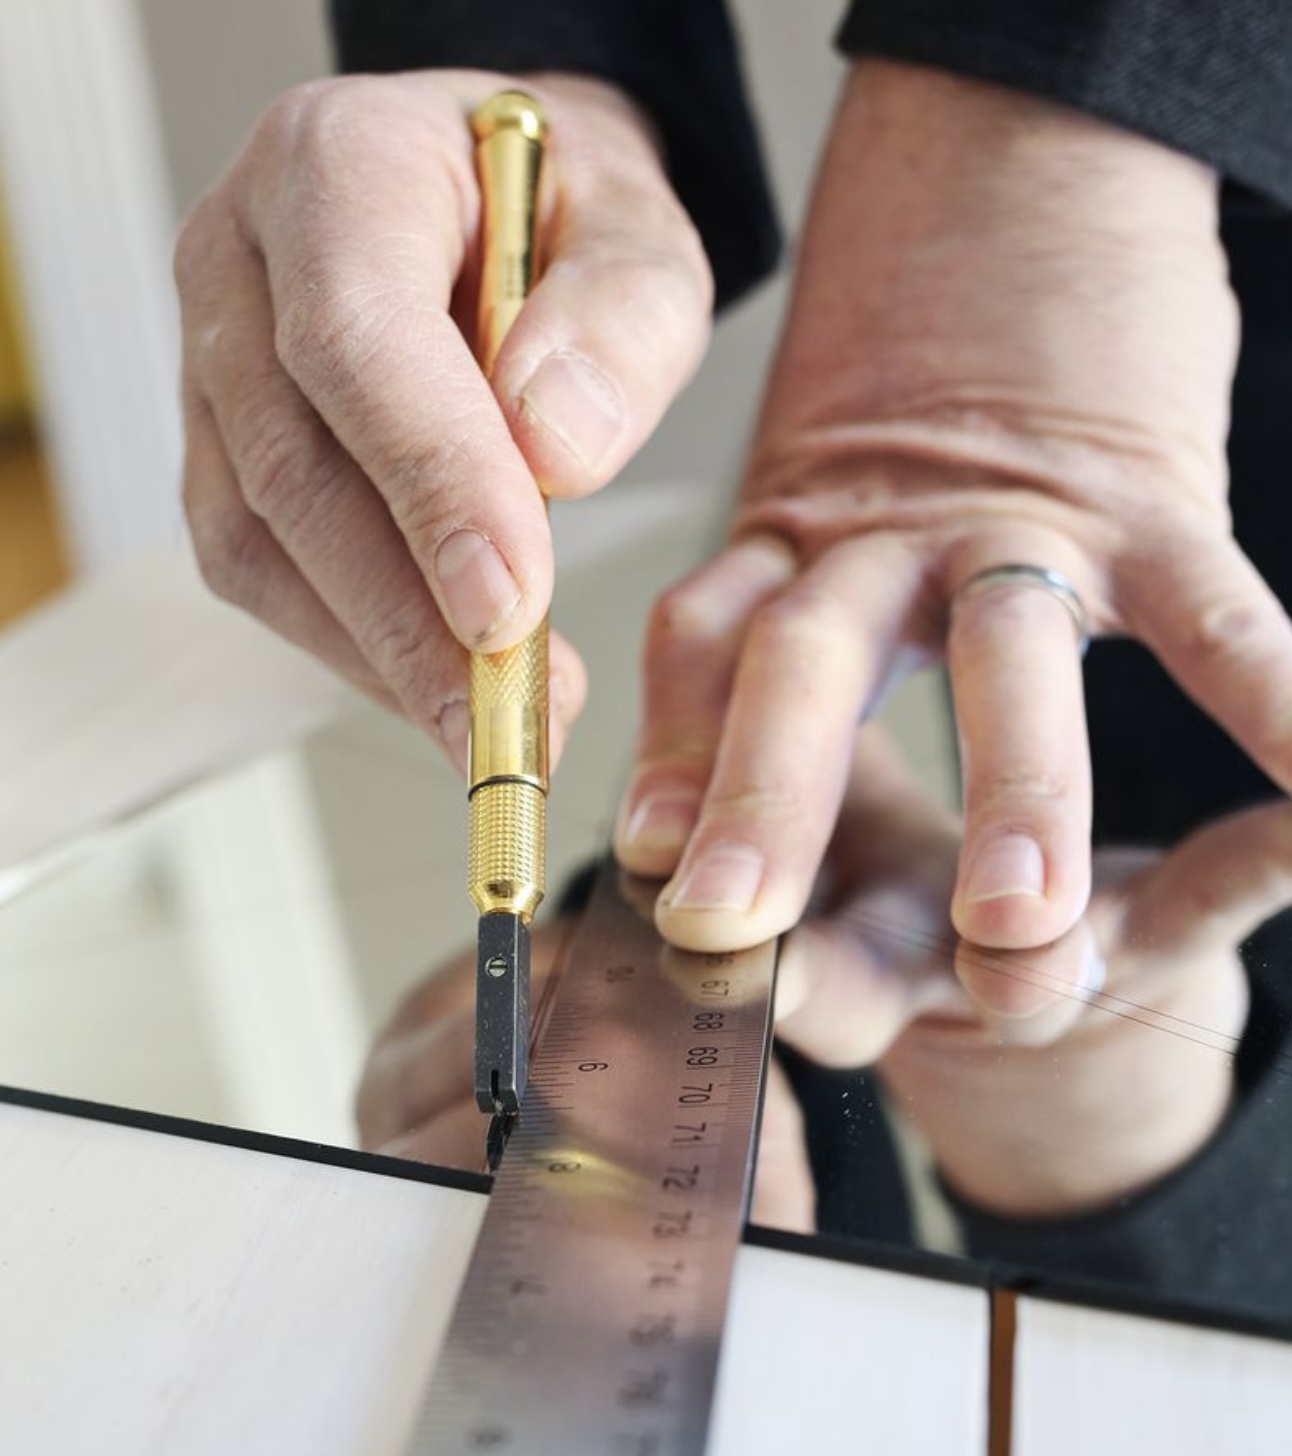
Attaching the Lights to the Mirror
Now that you have your workspace prepared, it’s time to attach the lights to the mirror. Follow these steps:
- Measure and Mark: With a measuring tape, determine the desired placement of the lights on the mirror. Take into account even spacing and aesthetic considerations. Use a pencil or marker to mark the spots where the lights will be attached.
- Prepare the Lights: If using LED light strips, carefully peel off the adhesive backing to expose the sticky side. For individual bulbs or light fixtures, follow the manufacturer’s instructions for mounting or attaching them to the frame.
- Attach the Lights: Starting from the marked spots, press the adhesive side of the LED light strip firmly onto the mirror’s surface. If using individual bulbs or light fixtures, secure them using screws or other appropriate fasteners.
- Ensure Sturdy Attachment: Double-check that the lights are securely attached to the mirror. Give them a gentle tug to ensure they won’t come loose or fall off.
Take your time during the attachment process to ensure the lights are affixed straight and evenly spaced. If you’re not satisfied with the initial placement, it’s better to make adjustments now rather than later. Remember to follow any specific instructions provided by the manufacturer for the type of lights you’re using.
Once you have successfully attached the lights to the mirror, it’s time to move on to the next step: wiring the lights to create a functional and illuminated mirror.
When building mirrors with lights, make sure to use LED lights for energy efficiency and a clear reflection. Position the lights evenly around the mirror to avoid shadows.
Read more: How To Use Mirrors To Reflect Light
Wiring the Lights
Wiring the lights is a crucial step in building your mirror with lights. Follow these steps to ensure a safe and effective wiring process:
- Plan the Wiring Route: Decide on the best route for the wires to connect the lights to the power source. Consider concealing the wires behind the frame or using wire clips to secure them in place.
- Measure the Wire Length: Use a measuring tape to determine the length of wire needed to reach from each light to the power source. Add a few extra inches for flexibility and ease of installation.
- Cut and Strip the Wires: Using wire cutters/strippers, cut the wire to the desired length. Strip about half an inch of insulation from each end of the wire to expose the inner conductive metal.
- Connect the Wires: Connect the positive (+) and negative (-) ends of the wires to their respective terminals on the lights. This can typically be done by twisting the exposed metal ends together or using wire connectors if provided.
- Secure the Connections: Once the wires are connected, use electrical tape to insulate and secure the wire connections. This will help prevent any accidental short circuits or exposure of bare wire.
- Test the Lights: Before proceeding, plug in or turn on the power source to test if the lights are working properly. Ensure all connections are secure and the lights illuminate as expected.
- Organize the Wires: Use wire clips or cable management solutions to tidy up the wires and prevent them from dangling or getting tangled. This will help maintain a clean and professional-looking installation.
- Consider Safety: Keep in mind that working with electricity can be hazardous. If you are unsure or uncomfortable with the wiring process, consult a professional electrician for assistance.
Ensure that the wire connections are secure and well-insulated to avoid any potential electrical hazards. Take your time and double-check all connections before proceeding to the next step.
Now that you have successfully wired the lights, it’s time to move on to mounting the mirror and fine-tuning the lighting.
Mounting the Mirror
Now that your mirror is equipped with lights and wired properly, it’s time to mount it securely. Follow these steps to ensure a safe and stable installation:
- Locate Studs or Anchors: Use a stud finder or anchors to identify the best mounting points on the wall. This will provide maximum support for the weight of the mirror and ensure a secure installation.
- Mark the Mounting Points: Once you’ve identified the studs or anchors, mark the mounting points on the wall with a pencil or marker. Make sure the marks align with the desired height and position of the mirror.
- Attach Mounting Brackets: Depending on the mirror’s design, you may need to attach mounting brackets to the back of the mirror frame. Follow the manufacturer’s instructions on how to securely attach these brackets.
- Secure the Mirror: With the help of a friend or a level, hold the mirror against the wall, aligning it with the marked mounting points. Carefully drive screws or appropriate wall anchors through the brackets and into the wall.
- Double-Check Alignment: Use a level to ensure the mirror is straight and horizontally aligned. Make any necessary adjustments before fully tightening the mounting screws or anchors.
- Tighten Mounting Hardware: Once the mirror is level and aligned, securely tighten the mounting screws or anchors. Be careful not to overtighten and damage the mirror or wall.
- Test Stability: Gently give the mirror a slight tug to check its stability. It should feel sturdy and not move or wobble when touched. If there is any instability, recheck the mounting points and tighten the hardware as needed.
Mounting the mirror properly is crucial for both your safety and the mirror’s longevity. Take your time during this step to ensure a secure and stable installation.
With the mirror securely mounted, it’s time to move on to testing and adjusting the lights to achieve the desired lighting effect.
Testing and Adjusting the Lights
Now that you have your mirror mounted, it’s time to test and adjust the lights to achieve the perfect lighting effect. Follow these steps:
- Turn on the Lights: Plug in or turn on the power source to activate the lights. Ensure that all connections are secure and that the lights illuminate as expected.
- Assess the Lighting: Step back and take a good look at the lighting effect. Evaluate the brightness, color temperature, and overall ambiance of the lights. It’s important to consider the intended purpose of the mirror when assessing the lighting.
- Make Adjustments: If necessary, make any adjustments to the light placement or positioning. You can move the lights closer together or farther apart, or experiment with different angles to achieve the desired illumination and shadowing effects.
- Test with Different Settings: If your lights have dimmable options or different color temperature settings, test them out to find the setting that best suits your needs. Dimming the lights can create a softer and more relaxed ambiance, while adjusting the color temperature can create different moods.
- Solicit Feedback: If possible, ask a friend or family member to provide their input on the lighting effect. They may offer different perspectives or notice something you may have missed.
Remember to take your time during this stage to ensure the lighting is to your liking. Small adjustments can make a big difference in the overall aesthetics and functionality of your mirror with lights.
Once you’re satisfied with the lighting adjustments, it’s time to move on to the final touches and safety measures to complete your mirror-building project.
Final Touches and Safety Measures
Congratulations! You’re nearing the completion of your mirror-building project. Here are some final touches and safety measures to consider:
- Clean the Mirror: Wipe down the mirror surface to remove any fingerprints, smudges, or dust accumulated during the construction process.
- Secure Loose Wires: Use wire clips or adhesive hooks to secure any loose wires or cables, keeping them neat and out of the way.
- Hide Exposed Wires (Optional): If desired, you can further conceal any exposed wires by using cable management solutions or decorative molding to create a clean and polished look.
- Double-Check Electrical Connections: Ensure all electrical connections are secure and properly insulated using electrical tape. Check for any signs of loose wiring or exposed areas that could pose a safety risk.
- Read Manufacturer’s Instructions (If applicable): If you purchased a mirror kit or lights with specific instructions, review them one final time to ensure you haven’t missed any important steps or safety precautions.
- Install GFCI Outlet (If applicable): If your mirror with lights is located in a bathroom or near a water source, it’s recommended to install a Ground Fault Circuit Interrupter (GFCI) outlet for added electrical safety.
- Perform Safety Checks: Test the mirror and lights by turning them on and off, ensuring they function properly without any flickering or other electrical issues.
- Regular Maintenance: Keep your mirror and lights in top condition by periodically cleaning the mirror surface, checking the wiring for any signs of damage, and replacing any burnt-out bulbs or faulty components.
- Consult a Professional (If unsure): If you’re unsure about any aspect of the construction process or have concerns about electrical safety, it’s always best to consult a professional electrician for guidance.
With these final touches and safety measures accounted for, you can enjoy your newly built mirror with lights with peace of mind, knowing that it is both aesthetically pleasing and safe.
Congratulations once again on building your custom mirror with lights! Now it’s time to sit back, relax, and bask in the beautiful glow of your creation.
This wraps up our comprehensive guide on how to build mirrors with lights. We hope you found it informative and that it has empowered you to create a stunning piece that will enhance your space for years to come.
Conclusion
Building your own mirror with lights can be a rewarding and fulfilling project. Not only does it allow you to customize your space and add a touch of elegance, but it also gives you the opportunity to showcase your creativity and DIY skills.
Throughout this guide, we’ve covered the essential steps to help you successfully build your mirror with lights. From choosing the right mirrors and lights, to gathering the necessary tools and materials, and finally, attaching the lights, wiring them, mounting the mirror, and testing and adjusting the lights, we’ve provided you with a comprehensive roadmap to follow.
Remember, while this guide provides a general overview, it’s important to consult any specific instructions provided by the manufacturer of your chosen mirror and lights. Additionally, if you’re not comfortable working with electricity, it’s always best to seek the assistance of a professional electrician to ensure your project is completed safely.
By taking the time to carefully plan, measure, and execute each step of the process, you’ll be able to create a stunning mirror with lights that adds both functionality and beauty to your living space. Don’t forget to prioritize safety throughout the entire construction process.
We hope this guide has inspired you to embark on your mirror-building journey and that you enjoy the process as much as the final result. Now go ahead, bring your vision to life, and bask in the glow of your own personalized mirror with lights!
Frequently Asked Questions about How To Build Mirrors With Lights
Was this page helpful?
At Storables.com, we guarantee accurate and reliable information. Our content, validated by Expert Board Contributors, is crafted following stringent Editorial Policies. We're committed to providing you with well-researched, expert-backed insights for all your informational needs.


0 thoughts on “How To Build Mirrors With Lights”