Articles
How To Keep Bathroom Mirrors From Fogging
Modified: August 16, 2024
Discover effective ways to prevent bathroom mirrors from fogging up with these helpful articles. Keep your mirrors clear and fog-free with our expert tips and tricks.
(Many of the links in this article redirect to a specific reviewed product. Your purchase of these products through affiliate links helps to generate commission for Storables.com, at no extra cost. Learn more)
Introduction
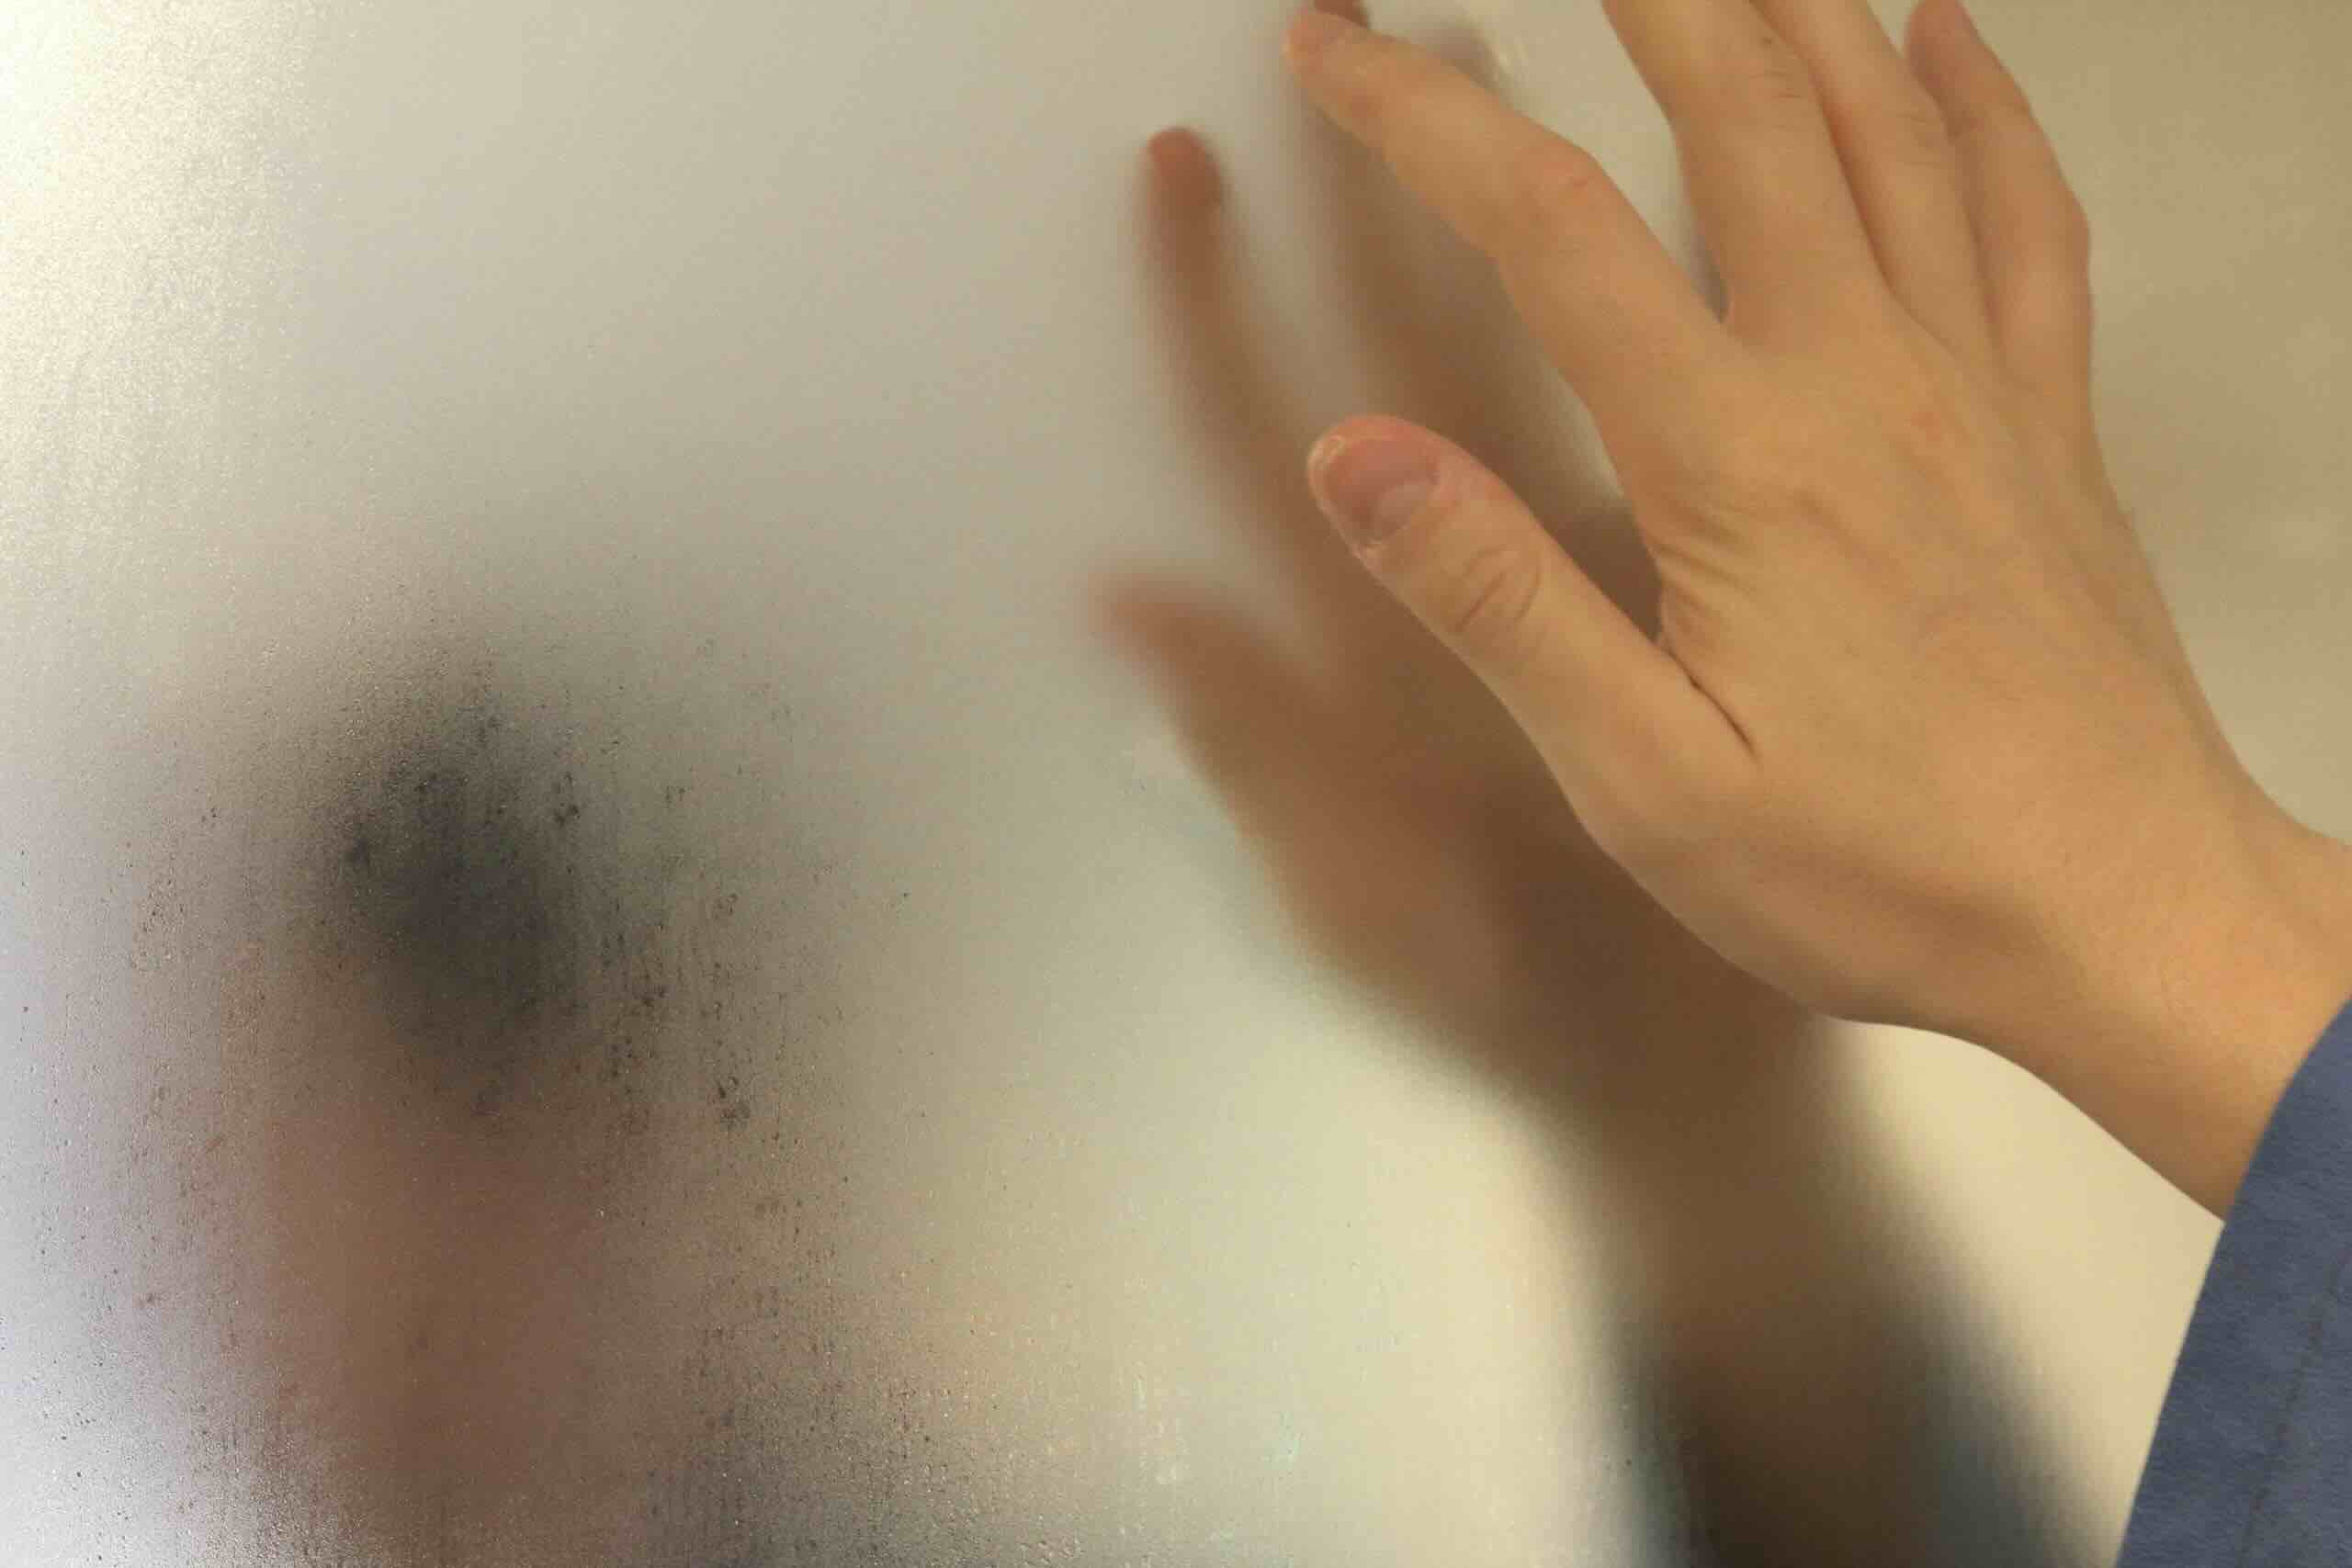
Having a fog-free bathroom mirror is essential for a clear and convenient morning routine. There’s nothing more frustrating than stepping out of a hot shower only to find your bathroom mirror completely fogged up, obscuring your reflection. But why do bathroom mirrors fog up in the first place? And more importantly, how can you prevent it?
Fogging on bathroom mirrors occurs due to the temperature difference between the warm, humid air in the bathroom and the cooler surface of the mirror. When the warm air comes into contact with the cooler mirror, it condenses into tiny water droplets, creating that frustrating and obstructive foggy effect.
While it may seem like a minor inconvenience, dealing with a foggy mirror on a daily basis can be annoying and time-consuming. Luckily, there are several effective methods you can employ to keep your bathroom mirror from fogging up, ensuring a clear reflection every time.
Now, let’s explore some tried-and-tested tips and methods to prevent bathroom mirror fogging. Whether you prefer using commercial anti-fogging products or DIY solutions, there’s something for everyone.
Key Takeaways:
- Say goodbye to foggy bathroom mirrors with these 7 effective methods, from commercial anti-fogging products to DIY solutions like shaving cream and vinegar. Enjoy a clear reflection every time you step into your bathroom!
- Prevent mirror fogging by improving ventilation, lowering water temperature, and using a hairdryer. Experiment with different methods to find the one that works best for you and enjoy a hassle-free morning routine.
Why Do Bathroom Mirrors Fog Up?
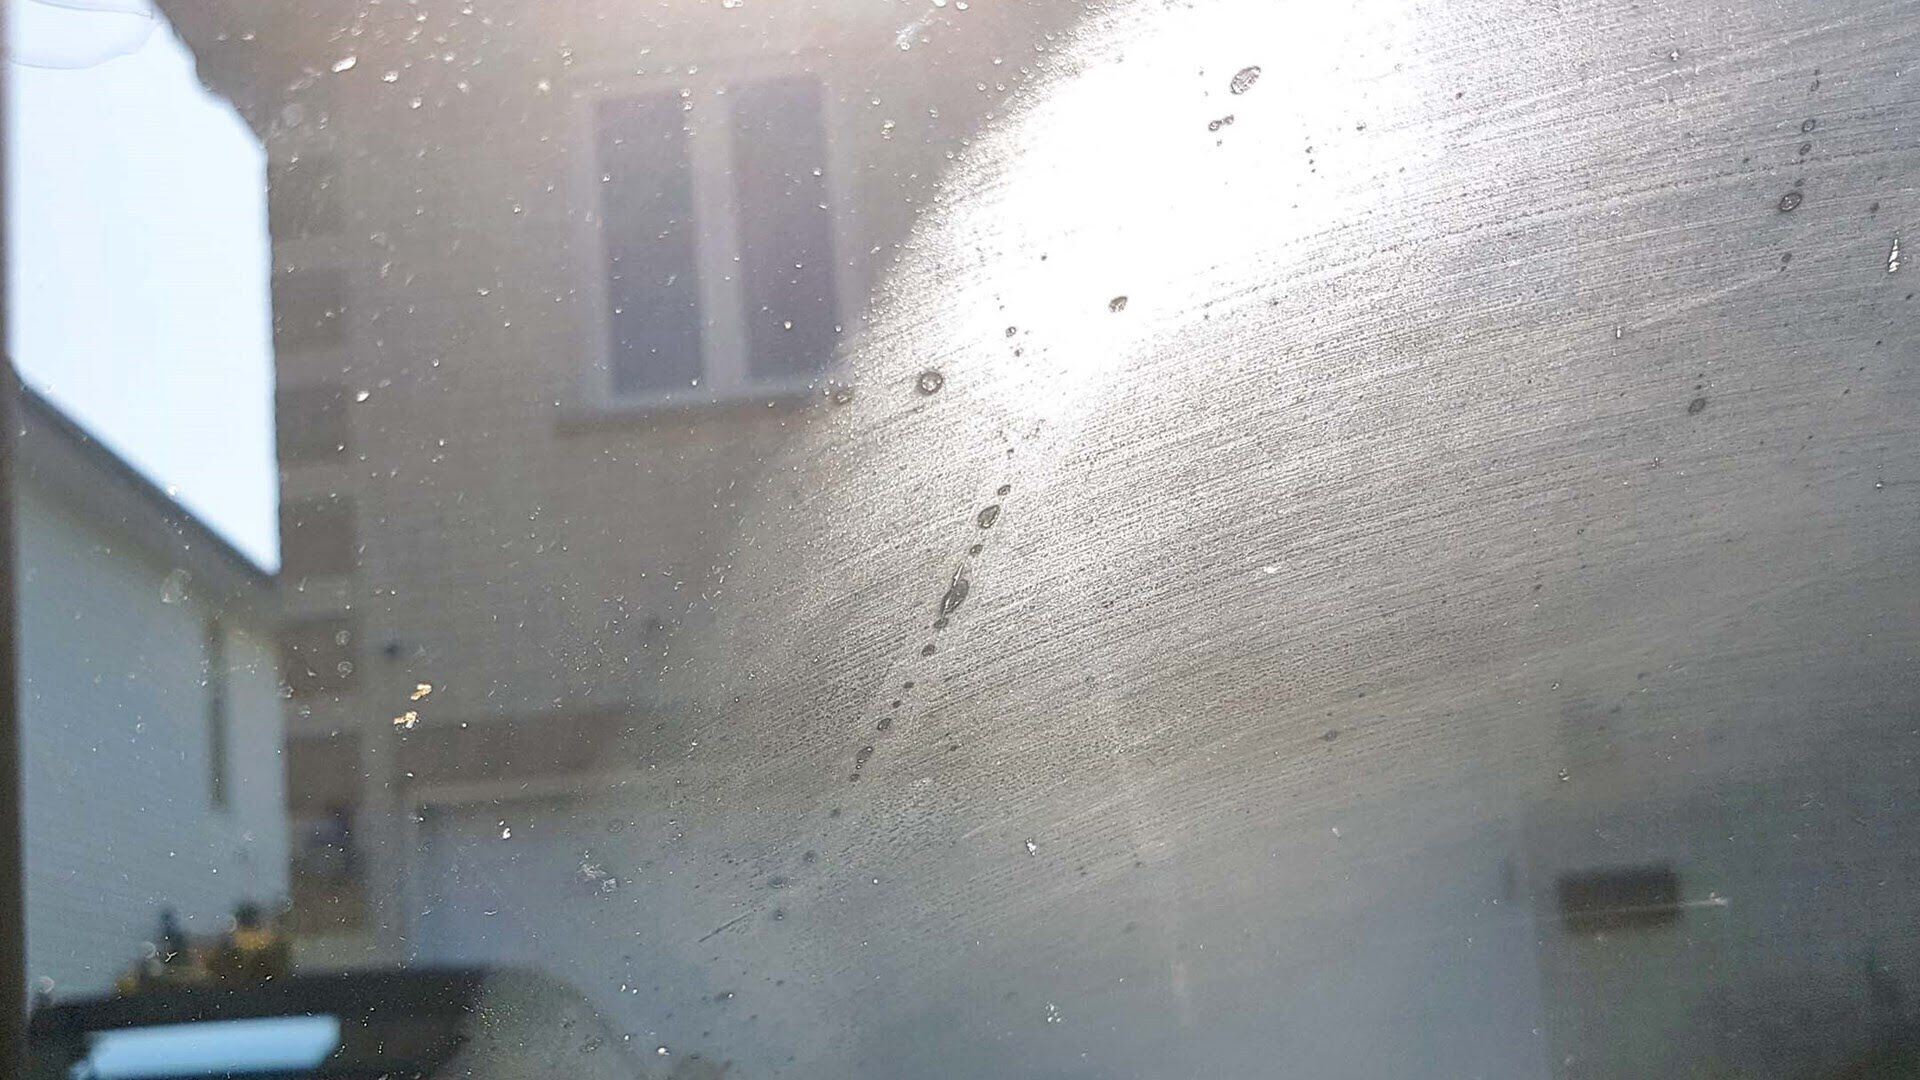
Foggy bathroom mirrors are a result of a scientific phenomenon known as condensation. Condensation occurs when warm, moist air comes into contact with a cooler surface, causing the water vapor in the air to turn into liquid droplets.
When you take a hot shower or run hot water in the bathroom, the steam rises and fills the space. As the steam cools down, it turns into water droplets that cling to any nearby cool surfaces, including your bathroom mirror. This process is magnified if your bathroom lacks adequate ventilation or if the mirror is positioned close to the shower or bath.
The temperature difference between the moist air and the mirror’s cool surface causes the water vapor in the air to condense more rapidly, resulting in a foggy or misty appearance on the mirror. This fogging obstructs your reflection and can be quite frustrating when you’re in a rush.
Understanding why bathroom mirrors fog up is the first step in effectively preventing it from happening. By implementing certain preventive measures, you can minimize the occurrence of fog and enjoy a clear mirror every time you step into your bathroom.
Now that you know why bathroom mirrors fog up, let’s delve into some practical tips and methods for preventing this common annoyance.
Tips for Preventing Bathroom Mirror Fogging
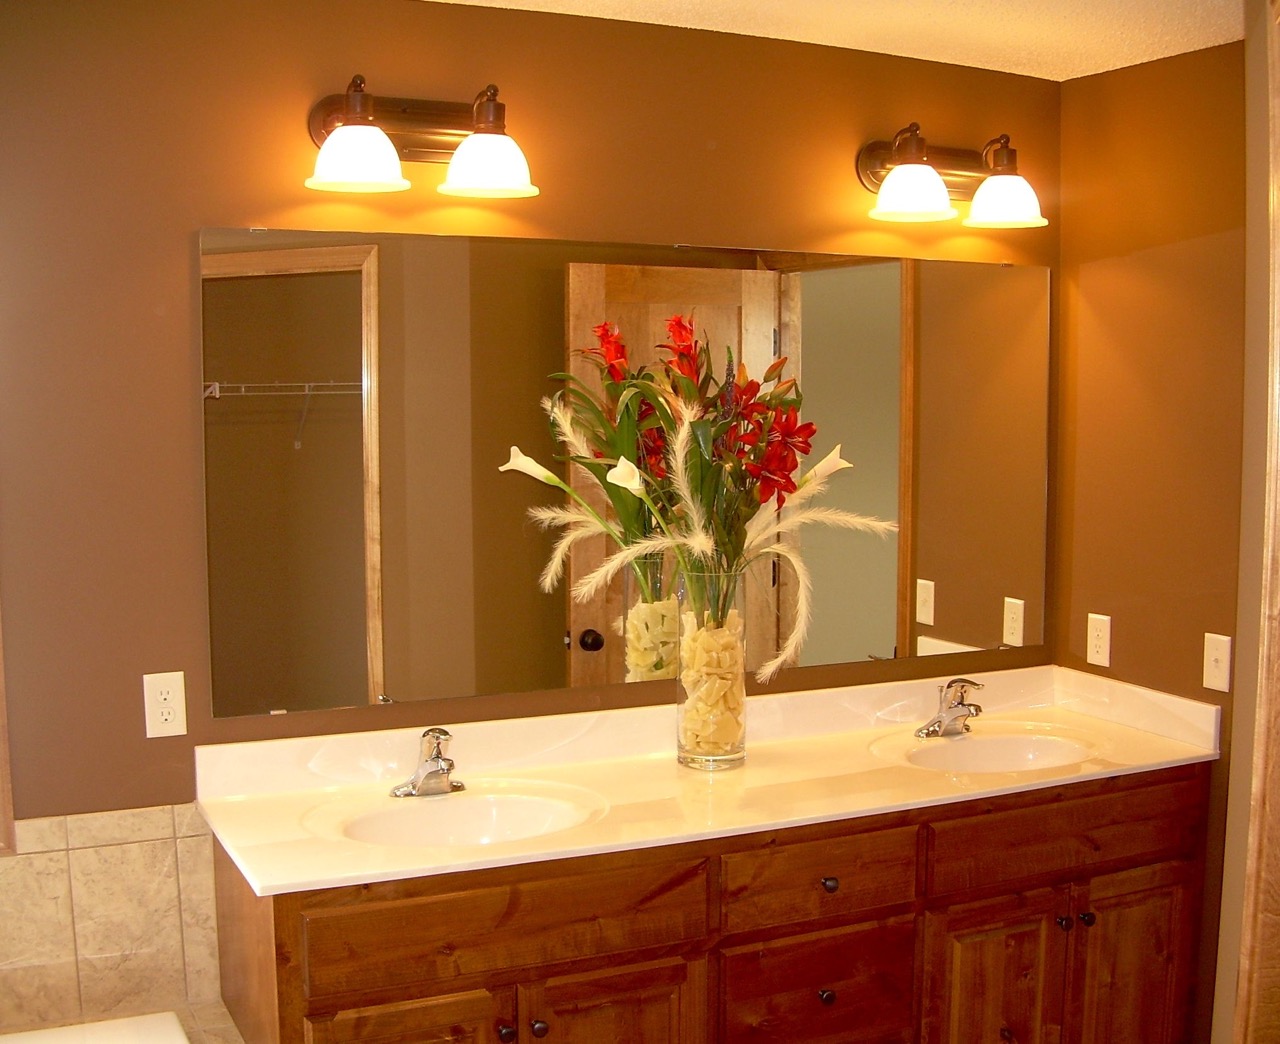
There are several simple and effective tips you can follow to prevent your bathroom mirror from fogging up. By implementing these strategies, you can maintain a clear mirror surface and ensure a hassle-free morning routine. Here are some suggestions:
- Improve ventilation: Proper ventilation is crucial in reducing moisture levels in your bathroom. Install an exhaust fan or open a window to allow steam to escape, preventing it from condensing on the mirror.
- Keep the bathroom door open: Leaving your bathroom door ajar while showering can help with airflow and allow moisture to dissipate more quickly.
- Lower the water temperature: Hot showers create more steam, increasing the chances of mirror fogging. Consider reducing the water temperature to minimize steam production.
- Use a squeegee: After your shower, use a squeegee to remove excess moisture from the mirror surface. This simple tool can help prevent fogging by eliminating water droplets.
- Preheat the bathroom: By turning on a space heater or radiator in the bathroom before showering, you can raise the temperature and reduce the temperature difference between the air and mirror, minimizing condensation.
- Apply a thin layer of shaving cream: Apply a small amount of shaving cream to the mirror’s surface and wipe it off with a clean cloth. The shaving cream creates a protective film that prevents fog from forming.
- Use a hairdryer: After showering, use a hairdryer on a cool setting to blow air over the mirror. This helps evaporate any remaining moisture and prevent fogging.
By incorporating these preventive measures into your daily routine, you can significantly reduce the occurrence of mirror fogging in your bathroom. Experiment with different methods to find the one that works best for you.
Now, let’s explore some specific methods and DIY solutions you can use to keep your bathroom mirror fog-free.
Method 1: Apply a Commercial Anti-Fogging Product
If you prefer a hassle-free and ready-to-use solution, you can invest in a commercial anti-fogging product specifically designed for bathroom mirrors. These products typically come in spray or wipe form and work by creating a thin, invisible layer on the mirror’s surface that prevents condensation.
To use a commercial anti-fogging product, follow these simple steps:
- Clean your bathroom mirror using a mild glass cleaner or a mixture of vinegar and water.
- Ensure the mirror is completely dry before applying the anti-fogging product.
- Hold the spray bottle a few inches away from the mirror and evenly mist the entire surface.
- If using a wipe, gently rub the wipe across the mirror’s surface in a circular motion.
- Allow the product to dry or settle, following the manufacturer’s instructions.
Commercial anti-fogging products provide a quick and convenient solution to prevent mirror fogging. They are easy to apply, long-lasting, and can effectively keep your bathroom mirror clear and fog-free.
Remember to read and follow the instructions provided by the manufacturer for the best results. Additionally, some commercial anti-fogging products may leave a slight residue or film on the mirror, so it’s important to choose a product that is compatible with your mirror’s surface.
If you prefer a DIY approach or want to explore alternative methods, continue reading to discover more ways to prevent bathroom mirror fogging.
Method 2: Use Shaving Cream or Toothpaste
If you’re looking for a budget-friendly and easily accessible solution to prevent bathroom mirror fogging, using shaving cream or toothpaste can be an effective DIY option. Both shaving cream and toothpaste contain ingredients that leave a protective film on the mirror’s surface, preventing condensation from forming.
Here’s how you can use shaving cream or toothpaste to keep your bathroom mirror fog-free:
- Clean your mirror using a mild glass cleaner or a mixture of vinegar and water.
- Ensure the mirror is completely dry before applying the shaving cream or toothpaste.
- Take a small amount of shaving cream or toothpaste and spread it evenly across the mirror’s surface using a clean cloth or your fingers.
- Leave the shaving cream or toothpaste on the mirror for a few minutes to allow it to dry.
- Once dry, use a separate clean cloth or paper towel to buff and remove any excess shaving cream or toothpaste.
The thin film left behind by shaving cream or toothpaste acts as a barrier that prevents fog from forming on the mirror. This method is inexpensive and easily reversible if you decide to switch back to another preventive measure in the future.
Keep in mind that the effectiveness of this method may vary depending on the brand and type of shaving cream or toothpaste you use. It’s recommended to test a small area of the mirror first to ensure compatibility and to avoid any potential damage to the mirror’s surface.
Now that you know about using shaving cream or toothpaste, let’s explore another simple DIY solution: creating a vinegar and water solution to prevent mirror fogging.
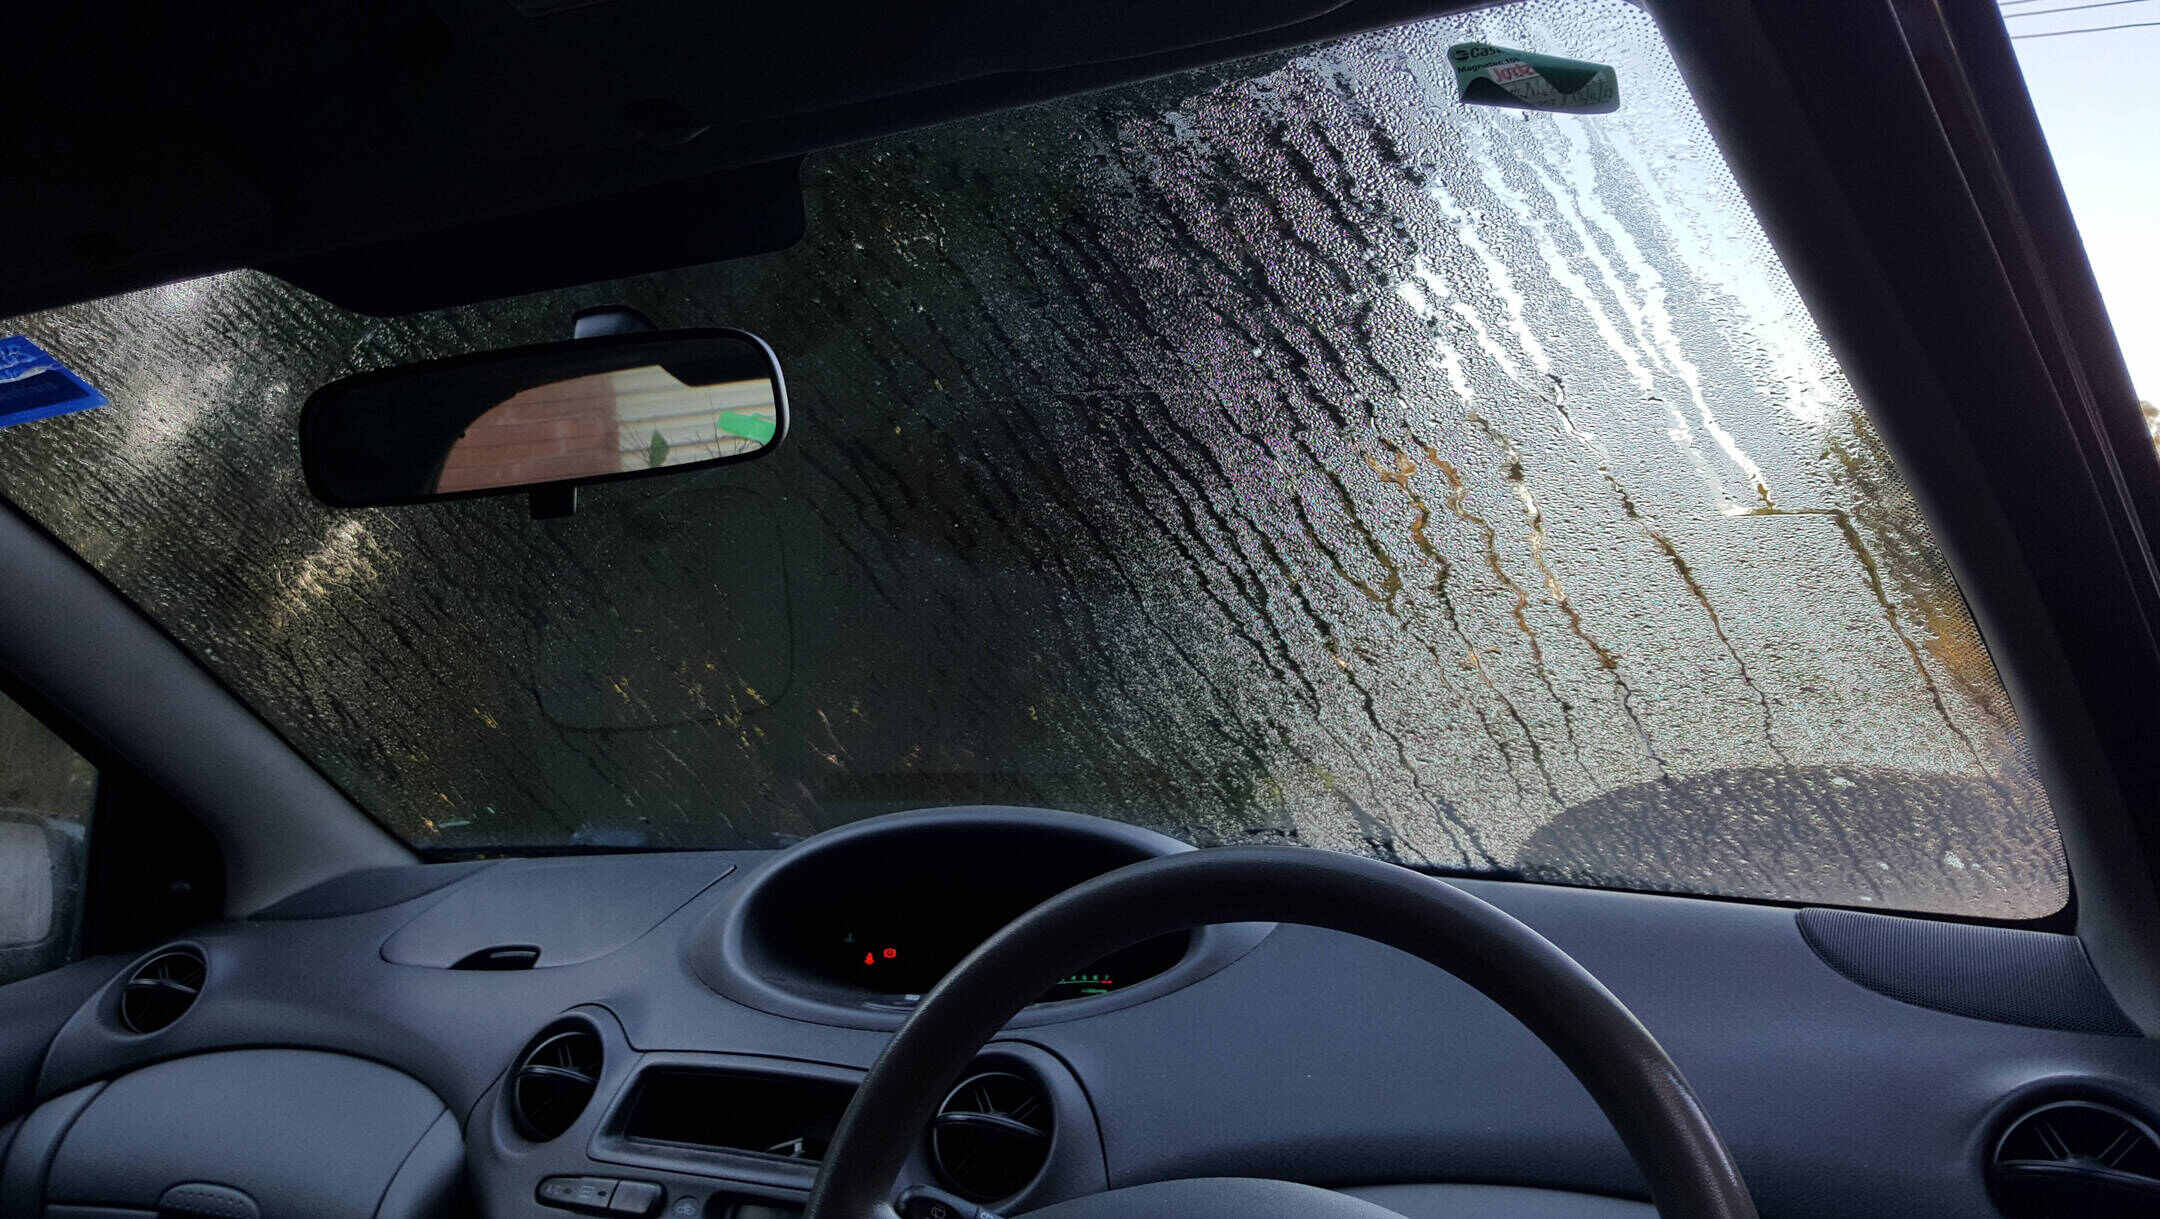
Read more: How To Remove Fog From Car Windows
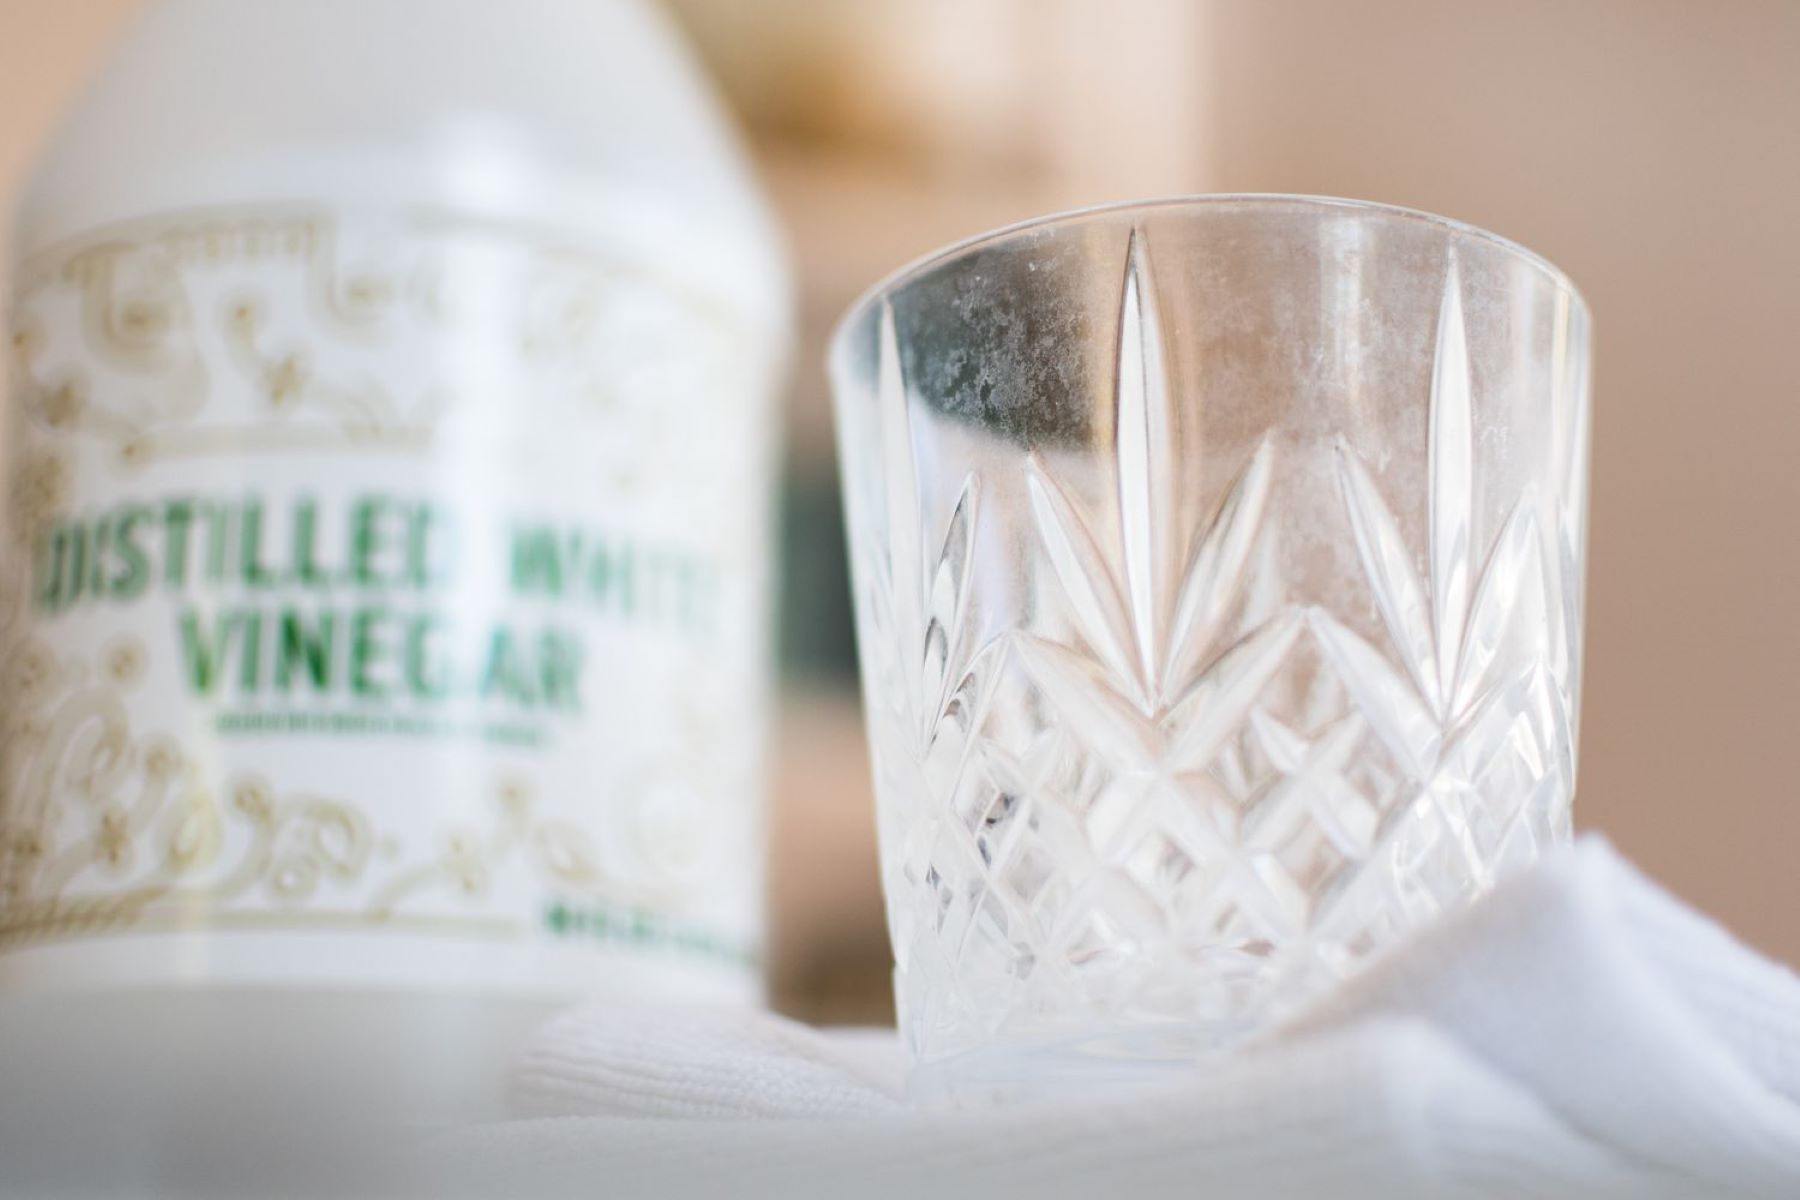
Method 3: Vinegar and Water Solution
A vinegar and water solution is a popular DIY method for preventing bathroom mirror fogging. Vinegar contains acetic acid, which helps to create a barrier on the mirror’s surface, preventing condensation from forming.
Here’s how you can make and use a vinegar and water solution:
- Mix equal parts of distilled white vinegar and water in a spray bottle or a container.
- Clean your bathroom mirror using a mild glass cleaner or a mixture of vinegar and water.
- Spray or wipe the vinegar and water solution onto the mirror’s surface.
- Using a clean cloth or paper towel, evenly spread the solution across the mirror.
- Allow the solution to air dry on the mirror without wiping it off.
The vinegar and water solution creates a protective layer on the mirror, preventing fog from forming. This method is cost-effective, environmentally friendly, and easy to apply.
However, keep in mind that the vinegar odor may linger temporarily after each application. If you find the smell unpleasant, you can add a few drops of essential oils to the solution to create a more pleasant fragrance.
Using a vinegar and water solution is an excellent way to naturally prevent bathroom mirror fogging. However, if you’re looking for an alternative DIY solution, consider using a soap and water mixture, which we’ll explore next.
After showering, wipe the mirror with a dry towel or use a hairdryer on a cool setting to prevent fogging. You can also apply a small amount of shaving cream and wipe it off to create a fog-resistant barrier.
Method 4: Soap and Water Solution
A soap and water solution is another simple yet effective DIY method for preventing bathroom mirror fogging. Similar to shaving cream and toothpaste, soap creates a thin film on the mirror’s surface that helps to repel moisture and prevent condensation.
Here’s how you can make and use a soap and water solution:
- Fill a spray bottle or a container with warm water.
- Choose a mild soap, such as liquid hand soap or dish soap, and add a small amount to the warm water.
- Mix the soap and water solution until the soap is thoroughly dissolved.
- Clean your bathroom mirror using the soap and water solution.
- Rinse the mirror with clean water to remove any excess soap residue.
- Allow the mirror to air dry or gently wipe it dry with a clean cloth.
The soap and water solution creates a protective barrier that helps to prevent mirror fogging. This method is cost-effective, readily available, and safe for most types of mirrors.
Keep in mind that using too much soap can leave a visible residue on the mirror. Therefore, it’s essential to use a small amount of soap and ensure proper rinsing to avoid any streaks or smudges.
Now that you’re familiar with the soap and water solution, let’s move on to Method 5, which involves using a hairdryer to prevent mirror fogging.
Method 5: Hairdryer Method
If you prefer a quick and convenient solution for preventing bathroom mirror fogging, the hairdryer method is worth considering. This method involves using a hairdryer on a cool setting to blow air over the mirror’s surface, helping to evaporate any remaining moisture and prevent fogging.
Here’s how you can use the hairdryer method to keep your bathroom mirror fog-free:
- After showering, ensure the bathroom is adequately ventilated to remove excess humidity.
- Plug in a hairdryer and set it to the cool or low heat setting.
- Hold the hairdryer a few inches away from the mirror’s surface.
- Direct the airflow towards the mirror and move the hairdryer in a sweeping motion to cover the entire surface.
- Continue blowing air over the mirror for a few minutes or until the mirror appears dry and clear.
The hairdryer method is especially effective in removing any residual moisture from the mirror and preventing condensation. It’s a quick and easy solution, ideal for those who are short on time or prefer not to use any additional products on their mirror surface.
However, keep in mind that using a hairdryer on a high heat setting can potentially damage the mirror or surrounding materials. Therefore, it’s essential to only use the cool or low heat setting to avoid any mishaps.
Now that you’re familiar with the hairdryer method, let’s move on to Method 6, which involves heating the mirror surface to prevent fogging.
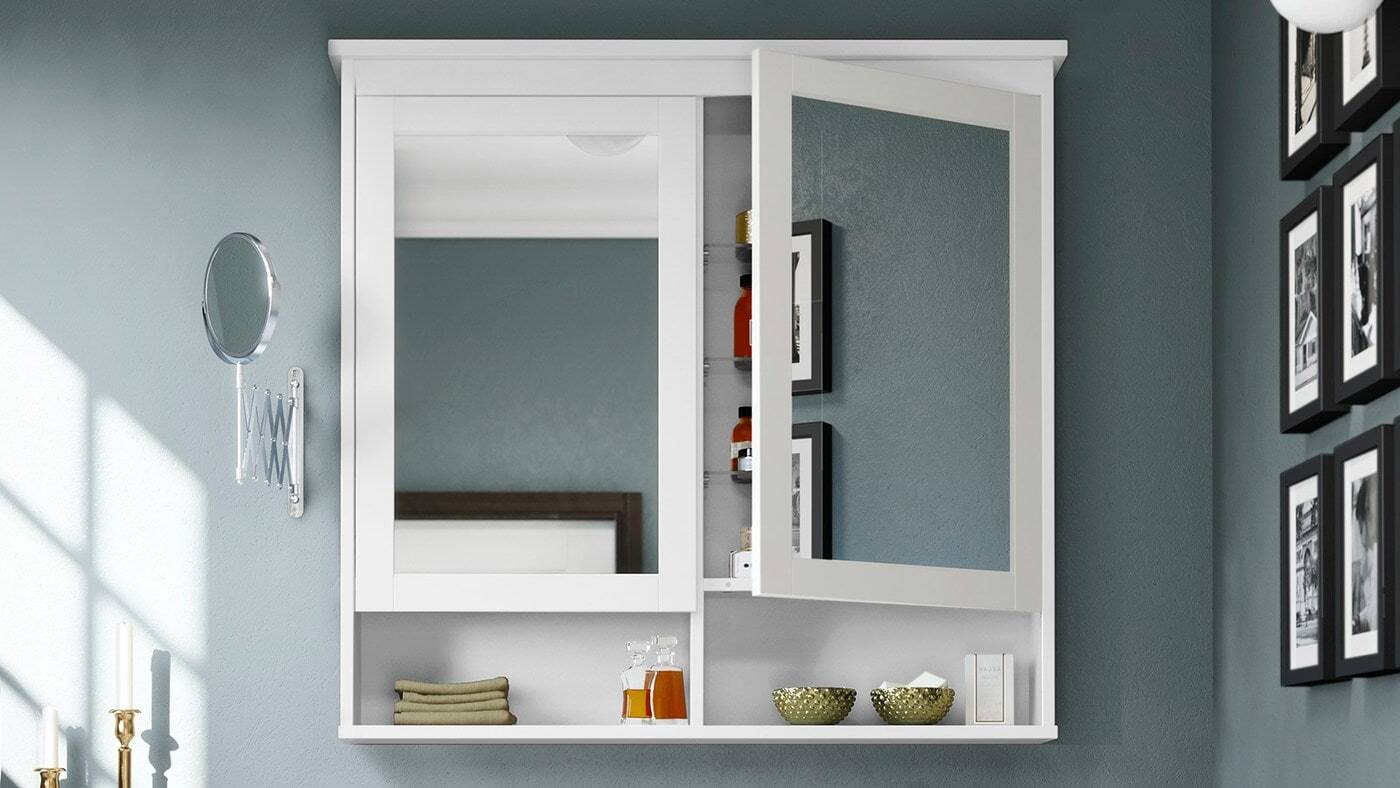
Method 6: Heating the Mirror Surface
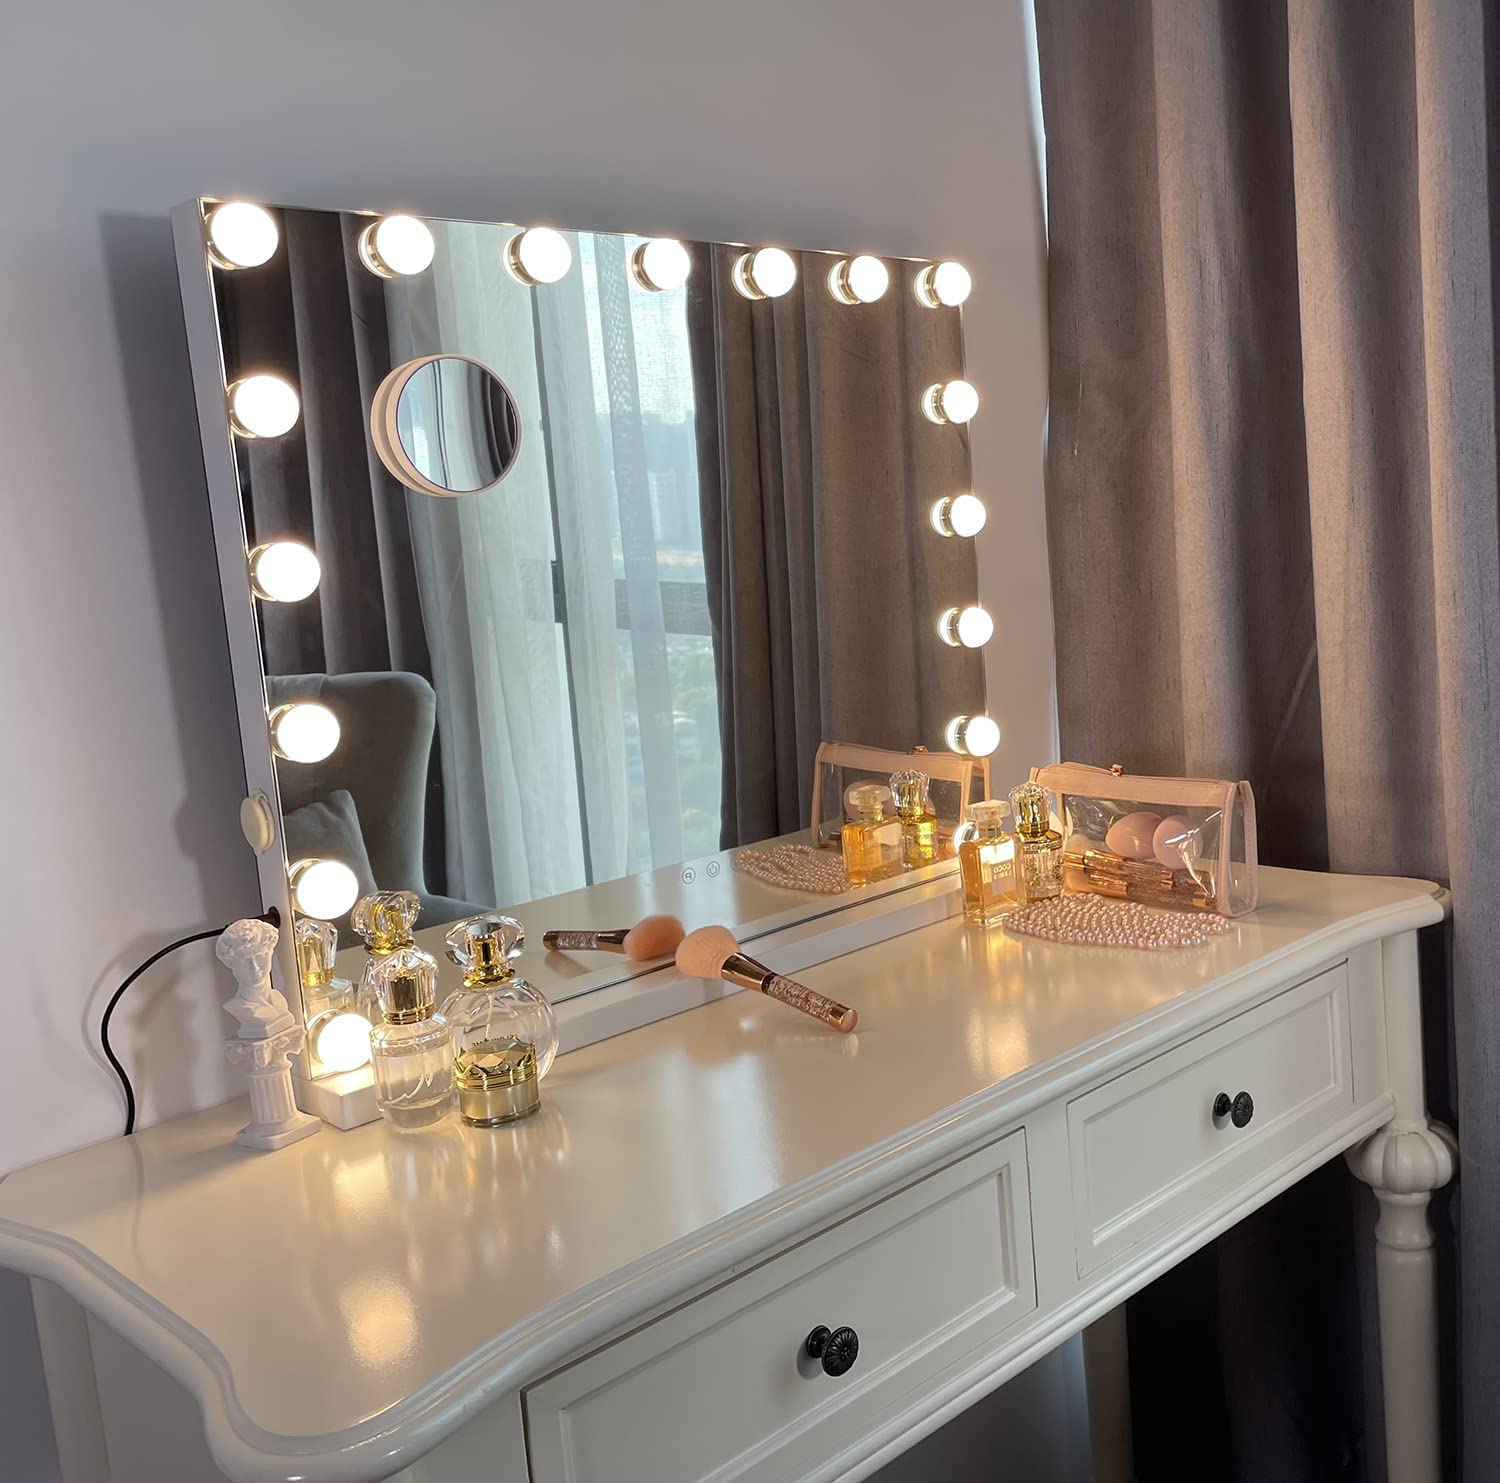
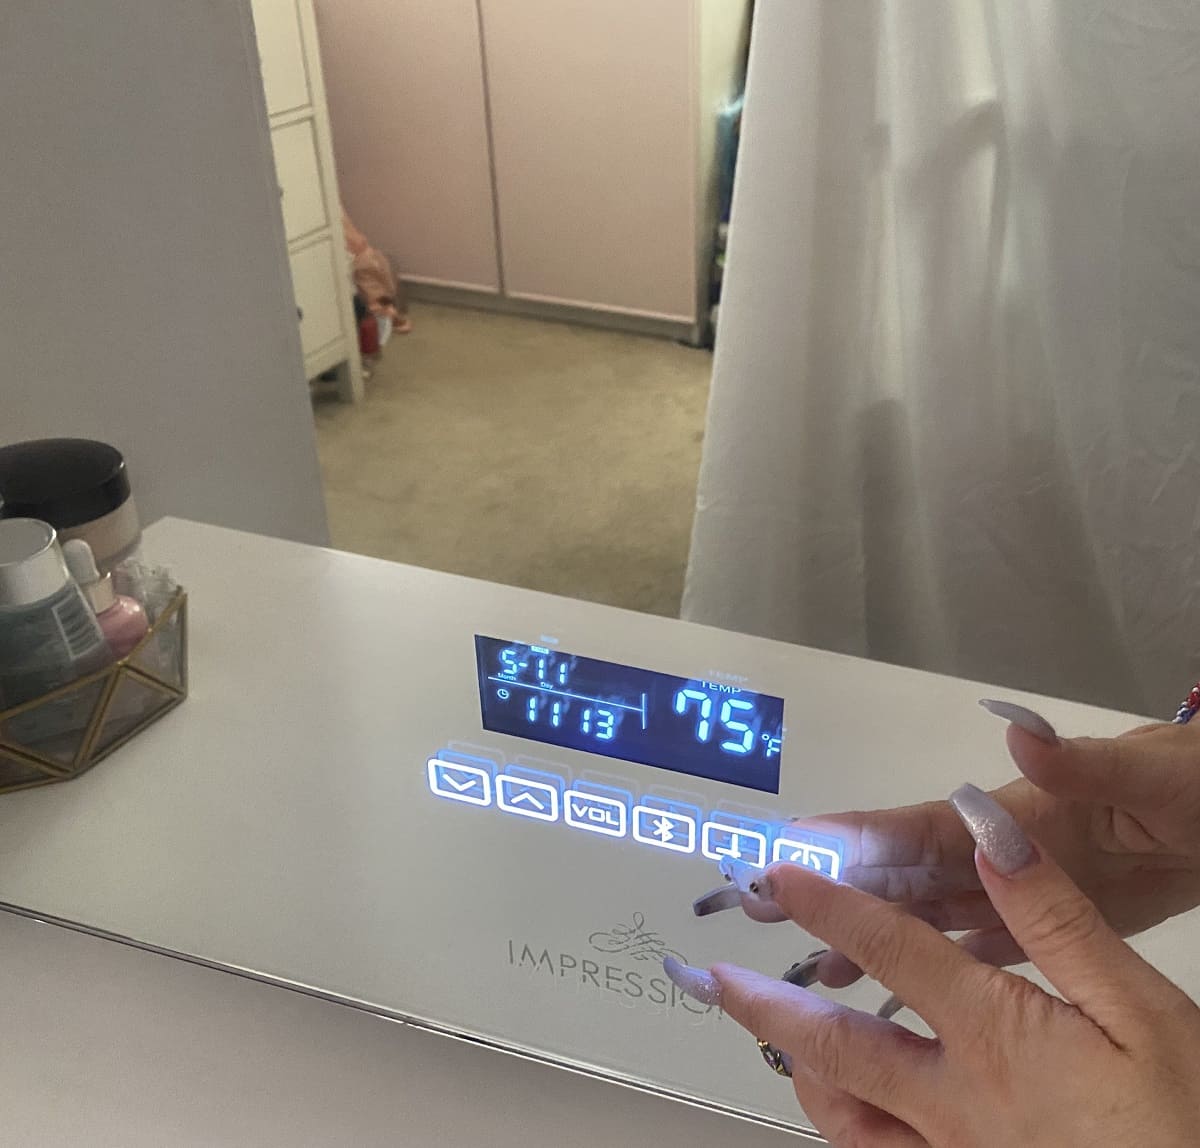
If you’re looking for a more permanent solution to keep your bathroom mirror free from fogging, consider heating the mirror surface. This method involves installing a heating element behind the mirror, which helps to keep the mirror at a slightly higher temperature than the air in the bathroom, preventing condensation from forming.
To heat the mirror surface, you have a few options:
- Mirror Demister Pads: Mirror demister pads are thin heating pads that can be easily installed behind your bathroom mirror. These pads are connected to a power source and generate gentle heat that keeps the mirror surface warm and free from fog.
Both options provide a practical and long-term solution to prevent mirror fogging. By ensuring the mirror surface remains at a slightly elevated temperature, condensation is significantly reduced or eliminated altogether.
However, it’s important to note that installing these heating elements may require professional assistance, especially if you’re not familiar with electrical work or mirror installation. It’s always recommended to consult with an expert to ensure safe and proper installation.
Now that you know about heating the mirror surface as a preventive measure, let’s move on to the last method, which involves installing a mirror demister pad.
Read more: How To Install Vanity Mirror
Method 7: Install a Mirror Demister Pad
If you’re looking for a convenient and efficient way to prevent bathroom mirror fogging, installing a mirror demister pad is a great solution. A mirror demister pad is a thin, self-adhesive heating pad that can be easily installed behind your bathroom mirror to keep the mirror surface warm and fog-free.
Here’s how you can install a mirror demister pad:
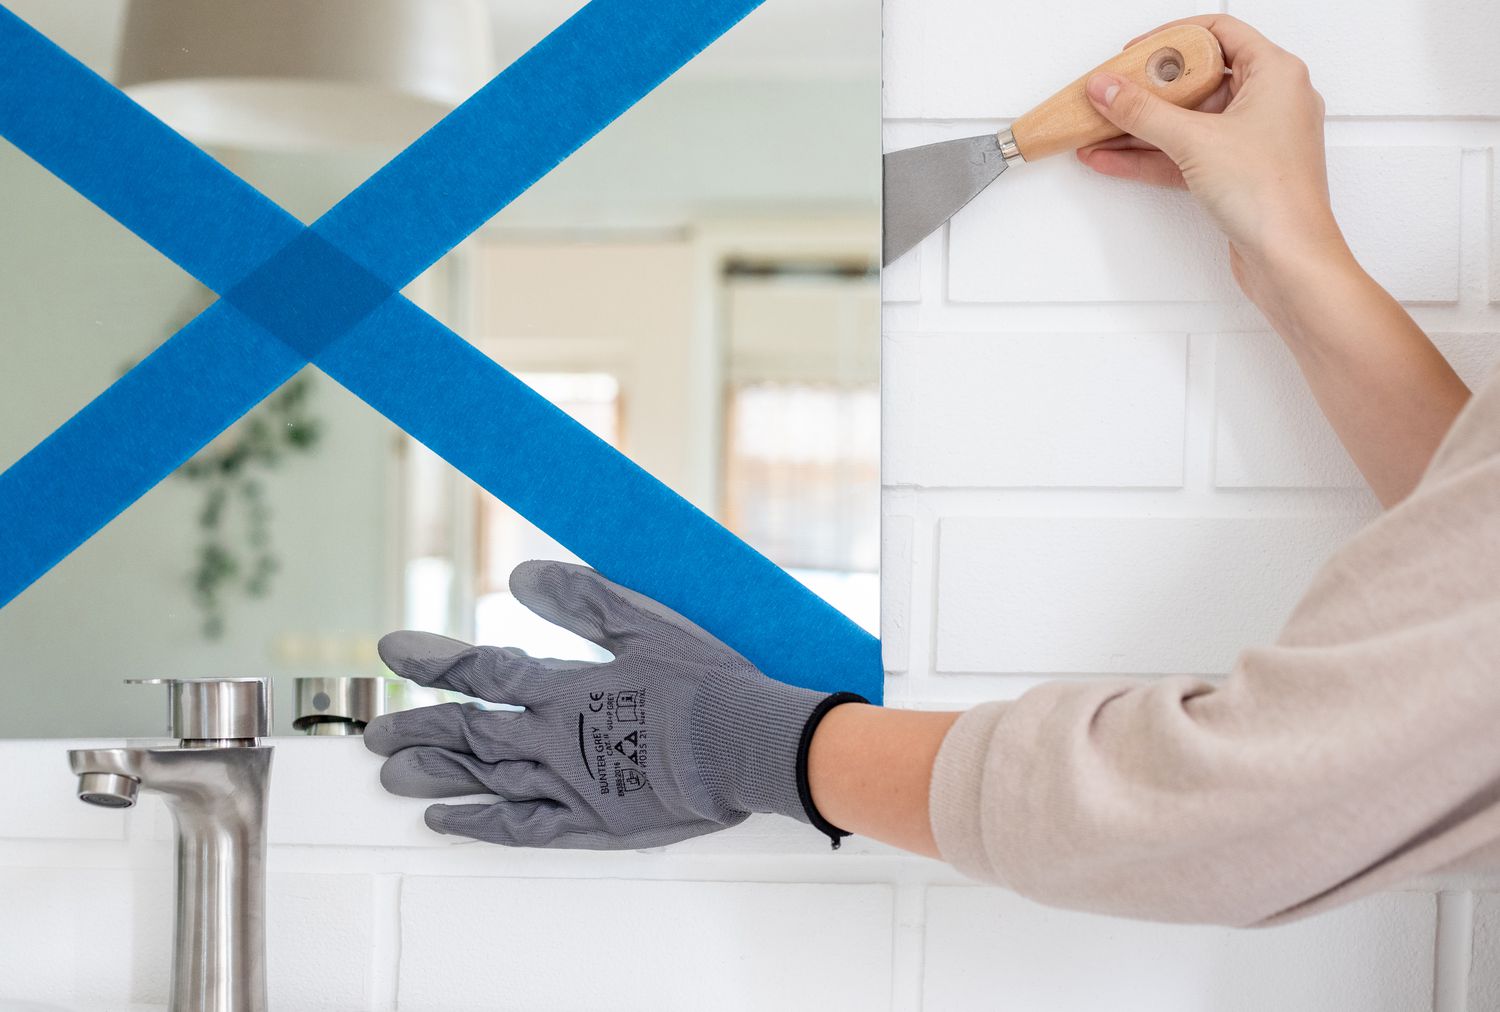
- Start by cleaning the back of your bathroom mirror to ensure it is free from dust and debris.
- Measure the dimensions of your mirror and choose a mirror demister pad that matches or can be cut to fit the size of your mirror.
- Peel off the backing of the demister pad to reveal the adhesive side.
- Carefully position the demister pad on the back of the mirror, applying firm but gentle pressure to ensure it sticks firmly.
- If necessary, trim any excess demister pad with scissors to fit the shape of your mirror.
- Connect the demister pad to a power source according to the manufacturer’s instructions. Most demister pads come with a simple connection that can be plugged into a nearby electrical outlet.
Once installed, the mirror demister pad will generate gentle heat, keeping the mirror surface at a slightly higher temperature than the surrounding air. This helps to prevent condensation from forming and ensures a clear, fog-free reflection every time you use the mirror.
It’s important to note that installing a mirror demister pad may require a basic understanding of electrical work. If you’re not comfortable or confident in your abilities, it’s best to consult with a professional electrician to ensure safe and proper installation.
By installing a mirror demister pad, you can enjoy the convenience of a fog-free mirror without the need for additional products or regular maintenance.
Now that we’ve explored seven effective methods to prevent bathroom mirror fogging, you can choose the one that best suits your needs and preferences. Say goodbye to foggy mirrors and enjoy a clear reflection every time you step into your bathroom!
Conclusion
Foggy bathroom mirrors can be a frustrating inconvenience in our daily routines, but with the right preventive measures, you can keep your mirror clear and fog-free. By understanding the science behind mirror fogging and implementing the right techniques, you can enjoy a clear reflection every time you step into your bathroom.
In this article, we explored seven effective methods for preventing bathroom mirror fogging:
- Method 1: Apply a commercial anti-fogging product
- Method 2: Use shaving cream or toothpaste
- Method 3: Create a vinegar and water solution
- Method 4: Make a soap and water mixture
- Method 5: Use a hairdryer on a cool setting
- Method 6: Heat the mirror surface
- Method 7: Install a mirror demister pad
Each method has its own advantages and considerations, allowing you to choose the one that best suits your preferences and budget. Whether you opt for a commercial product, a DIY solution, or a more permanent installation, these methods can help you maintain a clear and fog-free mirror.
It’s important to note that while these methods are effective in preventing mirror fogging, it’s advisable to test them first on a small area of your mirror to ensure compatibility and avoid any potential damage.
Remember to also consider other bathroom factors that can contribute to mirror fogging, such as proper ventilation and temperature control. Opening a window, using an exhaust fan, or preheating the bathroom can all help in reducing moisture levels and minimizing condensation.
With the right preventive measures in place, you can say goodbye to the frustration of foggy bathroom mirrors and enjoy a clear reflection every day. So, experiment with these methods, find the one that works best for you, and make foggy mirrors a thing of the past!
Frequently Asked Questions about How To Keep Bathroom Mirrors From Fogging
Was this page helpful?
At Storables.com, we guarantee accurate and reliable information. Our content, validated by Expert Board Contributors, is crafted following stringent Editorial Policies. We're committed to providing you with well-researched, expert-backed insights for all your informational needs.
0 thoughts on “How To Keep Bathroom Mirrors From Fogging”