
Articles
How To Change Cabinet Color
Modified: September 1, 2024
Learn how to change the color of your cabinets with our expert interior design tips. Transform your space with a simple and cost-effective cabinet makeover.
(Many of the links in this article redirect to a specific reviewed product. Your purchase of these products through affiliate links helps to generate commission for Storables.com, at no extra cost. Learn more)
Introduction
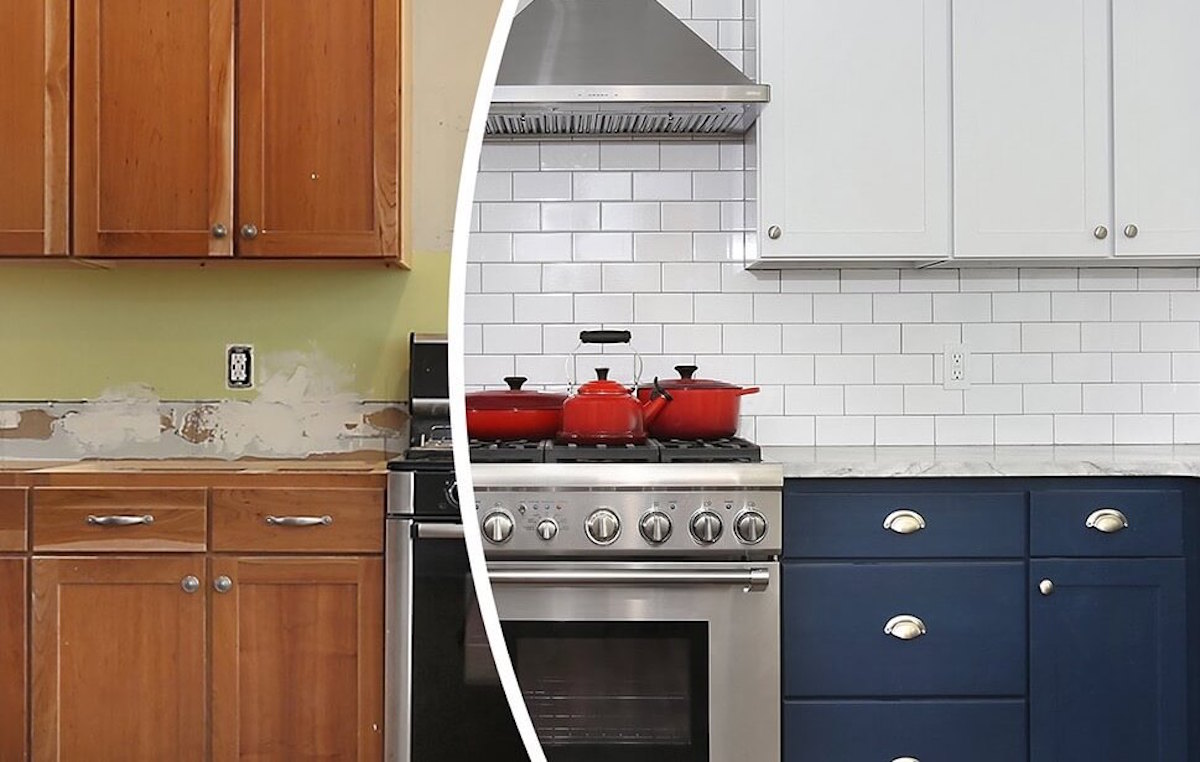
Changing the color of your cabinets can completely transform the look and feel of your kitchen or any other space. Whether you want to update your cabinets to match a new decor style or simply refresh the existing color, painting your cabinets is a cost-effective and relatively easy project. In this article, we will guide you through the step-by-step process of changing cabinet color, from preparing the cabinets to adding the final protective finish.
Key Takeaways:
- Transform the look and feel of your space by changing cabinet color. Proper preparation, color selection, and protective finish are key to achieving a professional and durable result.
- Removing cabinet doors and hardware, sanding, priming, and applying multiple thin coats of paint are essential steps in achieving a flawless and professional finish.
Read more: How To Change The Color Of A Bathtub
Preparing Your Cabinets for Painting
Before you dive into the painting process, it’s important to properly prepare your cabinets. Start by removing all items from the cabinets and give them a thorough cleaning. Remove any grease, grime, or dust buildup using a mild cleaning solution. Once the cabinets are clean, use painter’s tape to protect any surfaces you don’t want to be painted, such as the walls or countertops.
Choosing the Right Color for Your Cabinets
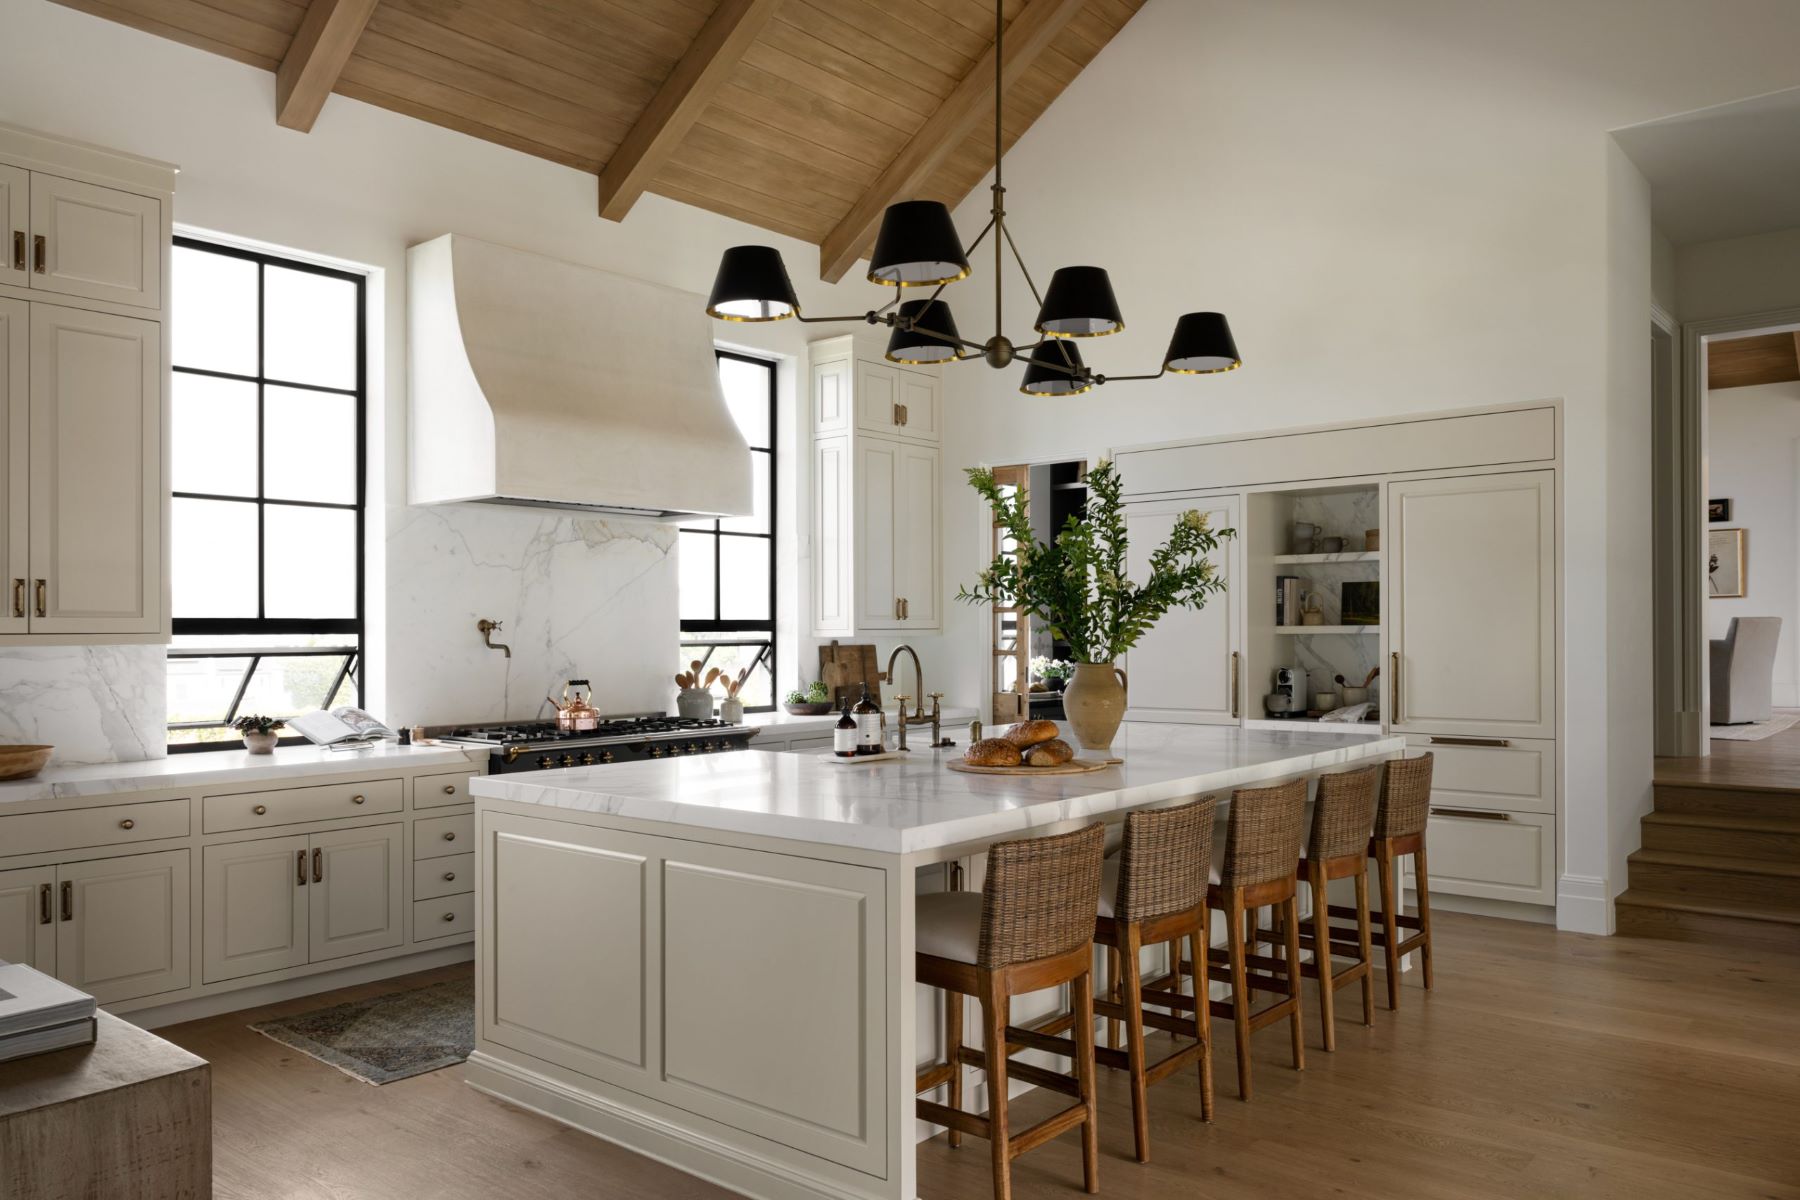
Choosing the right color for your cabinets is a crucial step in the process. Consider the overall style and color scheme of your kitchen or the space where the cabinets are located. If you’re unsure, look for inspiration in design magazines or online platforms. It’s also a good idea to test the color by painting a small section or using color swatches to ensure it complements the rest of the room.
Removing Cabinet Doors and Hardware
To ensure an even and professional-looking finish, it’s best to remove the cabinet doors and hardware before painting. Use a screwdriver to remove the hinges and handles carefully. Label each piece so you know where it goes when it’s time to reassemble the cabinets. Place all the hardware in a safe location to avoid misplacing anything.
Before painting or refinishing your cabinets, make sure to thoroughly clean and sand them to ensure the new color adheres properly. Use a high-quality primer and paint for a professional finish.
Sanding and Priming the Cabinets
After removing the doors and hardware, it’s time to prepare the cabinet surfaces for painting. Start by lightly sanding the cabinets to create a smooth and paint-ready surface. This will also help the paint adhere better. Once you’ve finished sanding, clean the cabinets again to remove any dust. Apply a coat of primer to further improve paint adhesion and create a solid base for the color.
Read more: How To Change Brick Color
Applying the Paint
Now comes the fun part, applying the paint to your cabinets. Use a brush or roller to apply the paint evenly. Start with the backside of the cabinet doors and work your way to the front, leaving sufficient drying time between coats. For a professional finish, apply multiple thin coats rather than one thick coat. This will prevent drips and ensure a smooth, flawless result.
Adding a Protective Finish
To protect your newly painted cabinets and enhance their durability, it’s important to add a protective finish. Choose a clear polyurethane or varnish that suits your desired level of sheen, such as satin or gloss. Apply the protective finish according to the manufacturer’s instructions and allow ample drying time before reassembling the cabinets.
Reinstalling Cabinet Doors and Hardware
Once the paint and protective finish have fully dried, it’s time to reattach the cabinet doors and hardware. Use the labels you previously made to ensure each piece goes back in its original place. Tighten the hinges and handles securely, but be careful not to overtighten as it may damage the cabinets or hardware. Step back and admire the refreshed look of your newly painted cabinets!
Frequently Asked Questions about How To Change Cabinet Color
Was this page helpful?
At Storables.com, we guarantee accurate and reliable information. Our content, validated by Expert Board Contributors, is crafted following stringent Editorial Policies. We're committed to providing you with well-researched, expert-backed insights for all your informational needs.






0 thoughts on “How To Change Cabinet Color”