Articles
How to Change PC Fan Color
Modified: February 26, 2024
Want to learn how to change the color of your PC fan? Check out our informative articles for step-by-step guides and expert tips!
(Many of the links in this article redirect to a specific reviewed product. Your purchase of these products through affiliate links helps to generate commission for Storables.com, at no extra cost. Learn more)
Introduction
Personal computers (PCs) have become an integral part of our daily lives, and many of us take pride in customizing our computers to reflect our personal style. One popular customization option is changing the color of PC fans, which can add a vibrant and eye-catching touch to the overall look of the computer.
PC fans play a crucial role in cooling the components of a computer. They ensure that the internal temperature remains within safe limits, preventing overheating and potential hardware damage. While most PC fans come in default colors, such as black or white, many enthusiasts prefer to change the color to match their desired aesthetic.
If you’re looking to change the color of your PC fan, this article will guide you through the process. We’ll cover everything from understanding PC fans to choosing the right fan for color change, as well as step-by-step instructions on how to install and change the color of a PC fan. So, grab your tools and let’s get started!
Key Takeaways:
- Personalize Your PC
Change the color of your PC fan to reflect your unique style and creativity. Follow the step-by-step guide to enhance the aesthetics of your computer setup and express your personality through customization. - Balance Style and Functionality
Choose a fan that not only complements your PC’s appearance but also performs efficiently in terms of cooling. Strike a balance between style and functionality to create a visually appealing and reliable computer setup.
Read more: How to Clean PC Fan
Understanding PC Fans
Before diving into the process of changing the color of your PC fan, it’s important to understand the basic mechanics of how they work.
PC fans are designed to create airflow and improve the circulation of air within the computer case. They consist of a motor, blades, and a casing. The motor powers the rotation of the blades, which then generates airflow. The fan casing helps direct the airflow to cool down the computer’s internal components, such as the CPU (central processing unit) and GPU (graphics processing unit).
PC fans come in different sizes, typically measured in millimeters. The most common sizes are 80mm, 120mm, and 140mm. The size of the fan determines its compatibility with the computer case. It’s important to choose a fan that fits properly in the available fan slots of your case.
Another important factor to consider when selecting a PC fan is its airflow and noise levels. The airflow is measured in cubic feet per minute (CFM) and indicates how much air the fan can move in a minute. Higher CFM values generally indicate better cooling performance. Noise levels are measured in decibels (dB). Fans with lower dB ratings produce quieter operation, which can be important if you prefer a quieter computing experience.
When choosing a fan for color change, ensure that it is compatible with your computer case and meets your desired airflow and noise level requirements.
Choosing the Right Fan for Color Change
When it comes to changing the color of your PC fan, you have a few options available. You can either purchase a fan that comes in your desired color or opt for a fan that allows customization.
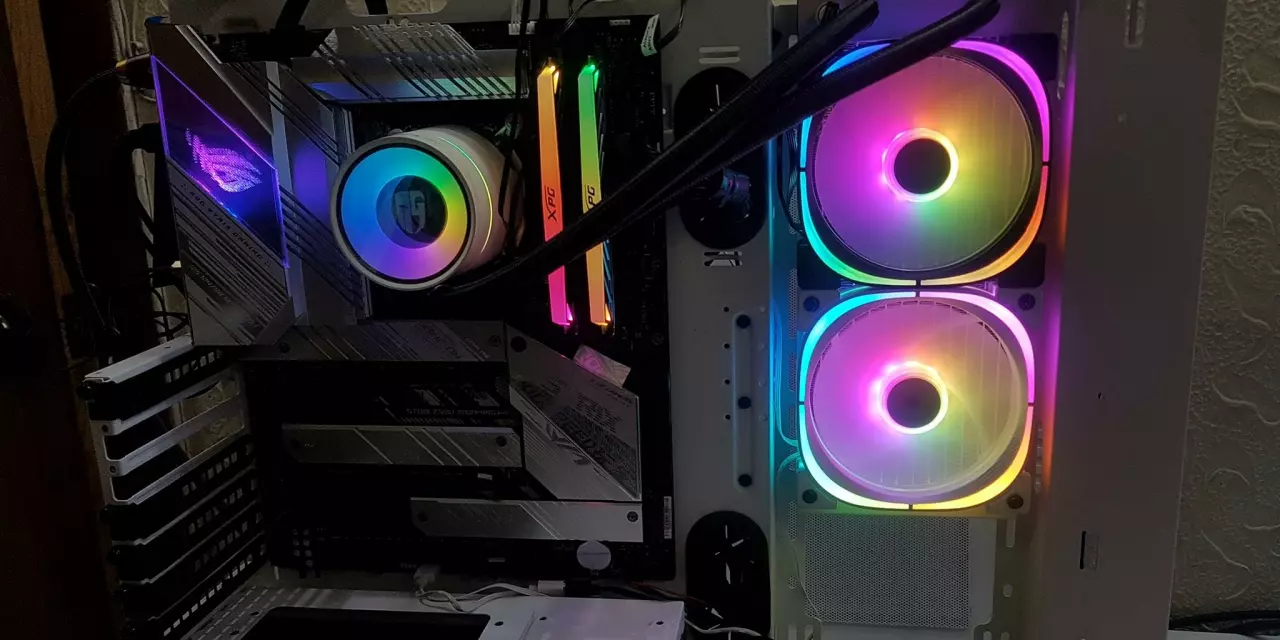
If you prefer a fan that comes in a specific color, there are numerous manufacturers that offer PC fans in a wide range of colors, including vibrant options like RGB (red, green, blue) fans. These fans often come with built-in LED lighting that allows you to easily customize the color and lighting effects.
Alternatively, if you want more control over the fan’s color, you can choose fans that are designed for customization. These fans typically feature translucent or transparent blades that you can personalize using additional LED lighting strips or light diffusers. With this option, you have the flexibility to change colors or even create unique lighting patterns.
Consider the aesthetic theme of your PC build when choosing the color of the fan. You may want to match it with other components or create a contrasting color scheme that adds visual interest. Keep in mind that the overall look should be visually appealing and cohesive.
Additionally, check the compatibility of the fan with your motherboard or other lighting control software. Some fans may require specific connectors or support for RGB lighting control. Make sure your motherboard or lighting control system supports the chosen fan before making a purchase.
Remember, the goal is to choose a fan that not only complements your computer’s appearance but also performs efficiently in terms of cooling. Strike a balance between style and functionality to ensure your computer remains cool and reliable.
Step 1: Gathering Required Tools and Materials
Before you begin the process of changing the color of your PC fan, it’s essential to gather all the necessary tools and materials. Here’s a list of what you’ll need:
- Screwdriver: Depending on your computer case, you may need a Phillips or flat-head screwdriver to remove the screws holding the fan in place.
- Anti-static wrist strap: This will help protect your computer’s internal components from any potential static discharge while working on them.
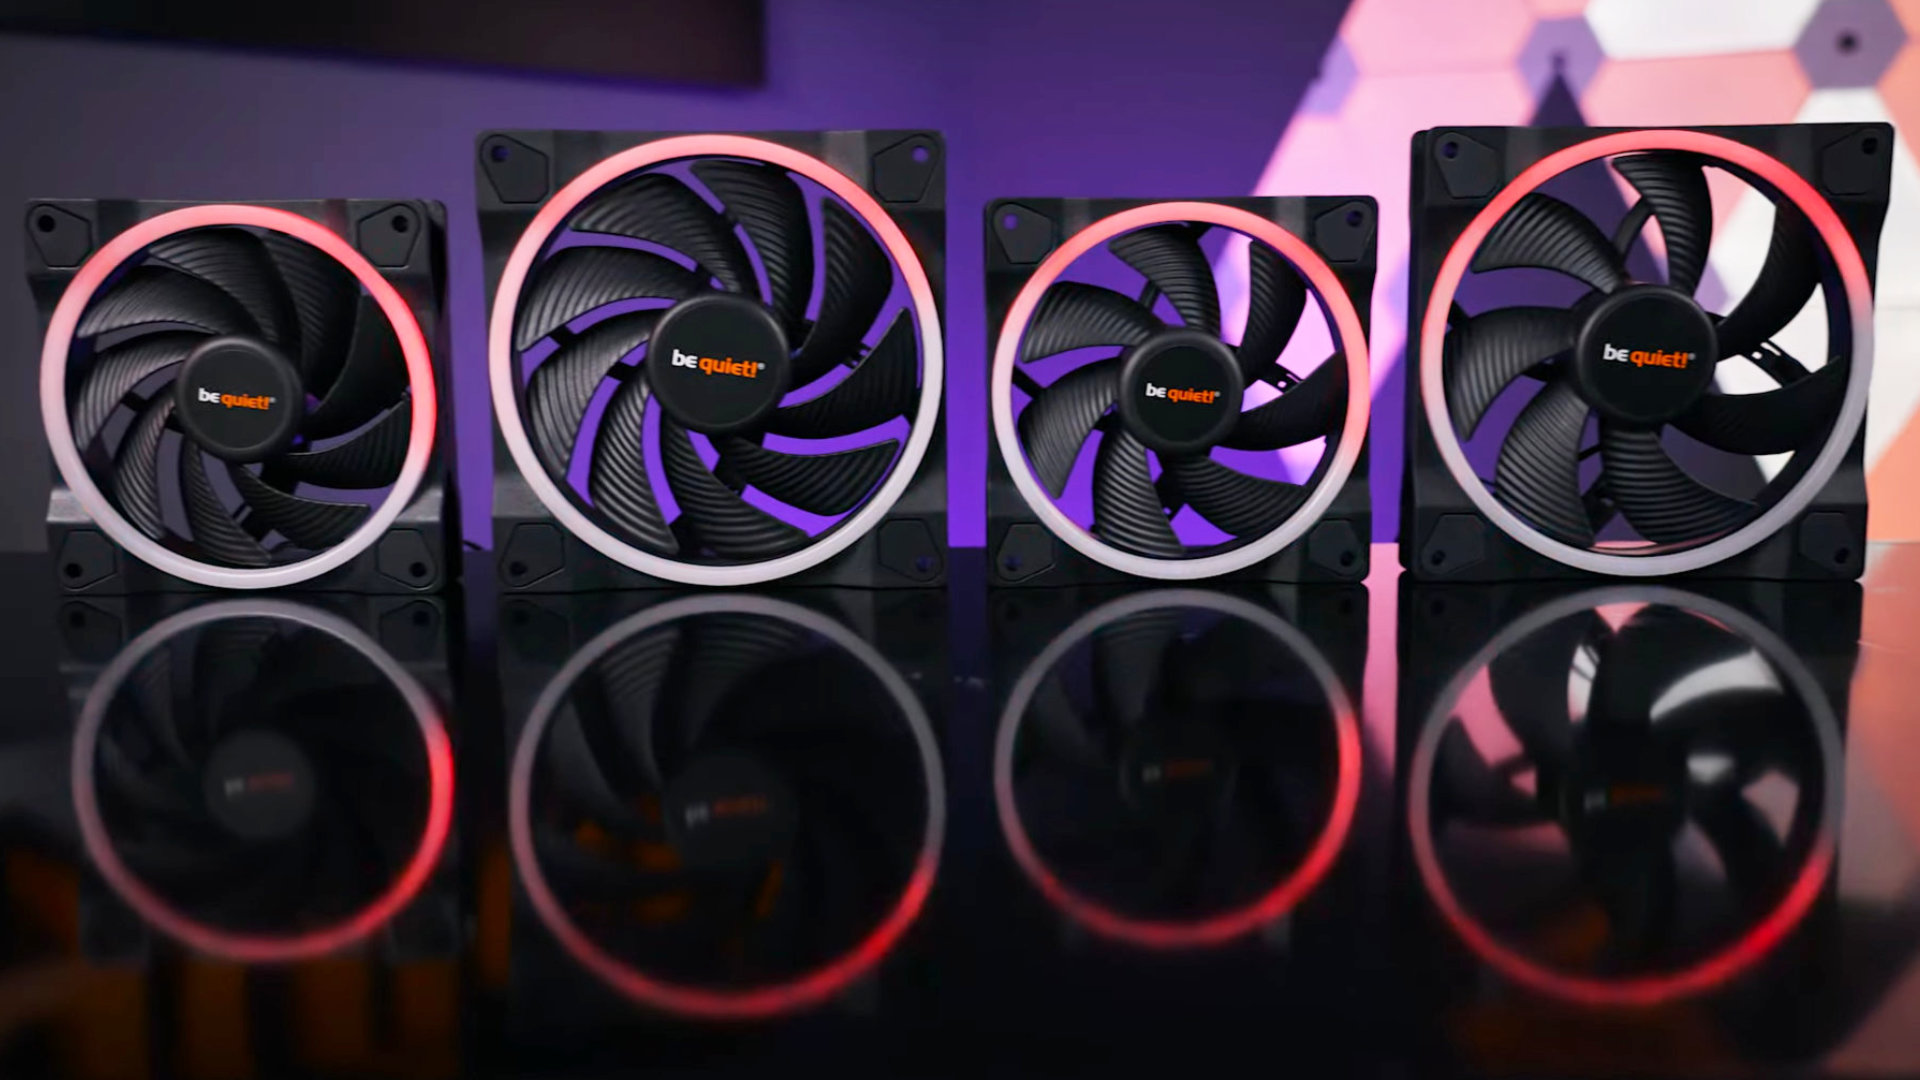
- New PC fan: Choose a fan that is compatible with your computer case and meets your desired color requirements.
- Replacement screws: In case the new fan doesn’t come with screws or the existing ones are damaged, it’s always good to have a few spare screws on hand.
- LED lighting equipment (optional): If you’re looking to customize the fan’s color further, you may want to consider additional LED lighting strips or light diffusers to create unique lighting effects.
Before starting the process, ensure that you have a clean and well-lit workspace. It’s always a good idea to work on a static-free surface, such as an anti-static mat or a non-conductive material like wood or plastic. This will help prevent any potential damage to your computer’s components.
Once you have gathered all the necessary tools and materials, you’re ready to move on to the next step – preparing the PC case for fan installation.
Step 2: Preparing the PC Case for Fan Installation
Before you can install the new fan and change its color, you’ll need to prepare your PC case to accommodate the fan. Follow these steps to ensure a smooth installation process:
- Turn off your computer and unplug it from the power source. This will help prevent any potential electrical accidents and ensure your safety during the installation process.
- Open your PC case by removing the side panel. The method of opening the case may vary depending on the model, but it typically involves removing a few screws or sliding the panel off. Consult your computer’s manual if you’re unsure how to open the case.
- Locate the fan slot where you plan to install the new fan. Most PC cases have dedicated slots for fans, usually located at the front, rear, or top of the case. Ensure that the slot is compatible with the size of your new fan.
- Inspect the fan slot and remove any obstructions that may hinder the installation. This might include dust, cables, or other components. Use compressed air or a soft brush to clean out any debris.
- If your case requires a fan mount or bracket, check if it is already installed. If not, refer to your case’s manual for instructions on how to install it properly.
- Take note of the position and orientation of the existing fan (if applicable). This will help you orient the new fan correctly when installing it.
By following these steps, you’ll be ready to proceed with removing the old fan in the next step. Take your time and be cautious while handling your PC components to avoid any accidental damage.
Read more: How To Adjust Fan Speed On Pc
Step 3: Removing the Old Fan
Now that you have prepared your PC case for fan installation, it’s time to remove the old fan. Follow these steps to safely remove the existing fan:
- Ensure your PC is still turned off and unplugged from the power source.
- Identify and locate the screws or fasteners that are securing the old fan in place. Most fans are held in place by screws that attach them to the case or a mounting bracket.
- Using the appropriate screwdriver, carefully remove the screws or fasteners. Keep them in a safe place as you will need them later.
- Gently disconnect the fan’s power cable from the motherboard or fan controller. Note the connection type (three-pin or four-pin) to ensure proper reconnection later.
- Once the screws and cables are removed, carefully lift the old fan out of the PC case. Be mindful of any other components or cables nearby, ensuring that you don’t cause any unintentional damage.
- Inspect the area where the old fan was mounted and remove any dust or debris. This will help ensure proper airflow and prevent any future issues.
By following these steps, you will have successfully removed the old fan from your PC case. Take your time and handle the components with care to prevent any accidental damage. With the old fan out of the way, you’re ready to move on to the next step: installing the new fan.
You can change the color of your PC fan by replacing it with a fan that has LED lights in your desired color. Make sure to check compatibility with your PC before purchasing.
Step 4: Installing the New Fan
With the old fan removed, it’s time to install the new fan and prepare it for color change. Follow these steps to properly install the new fan in your PC case:
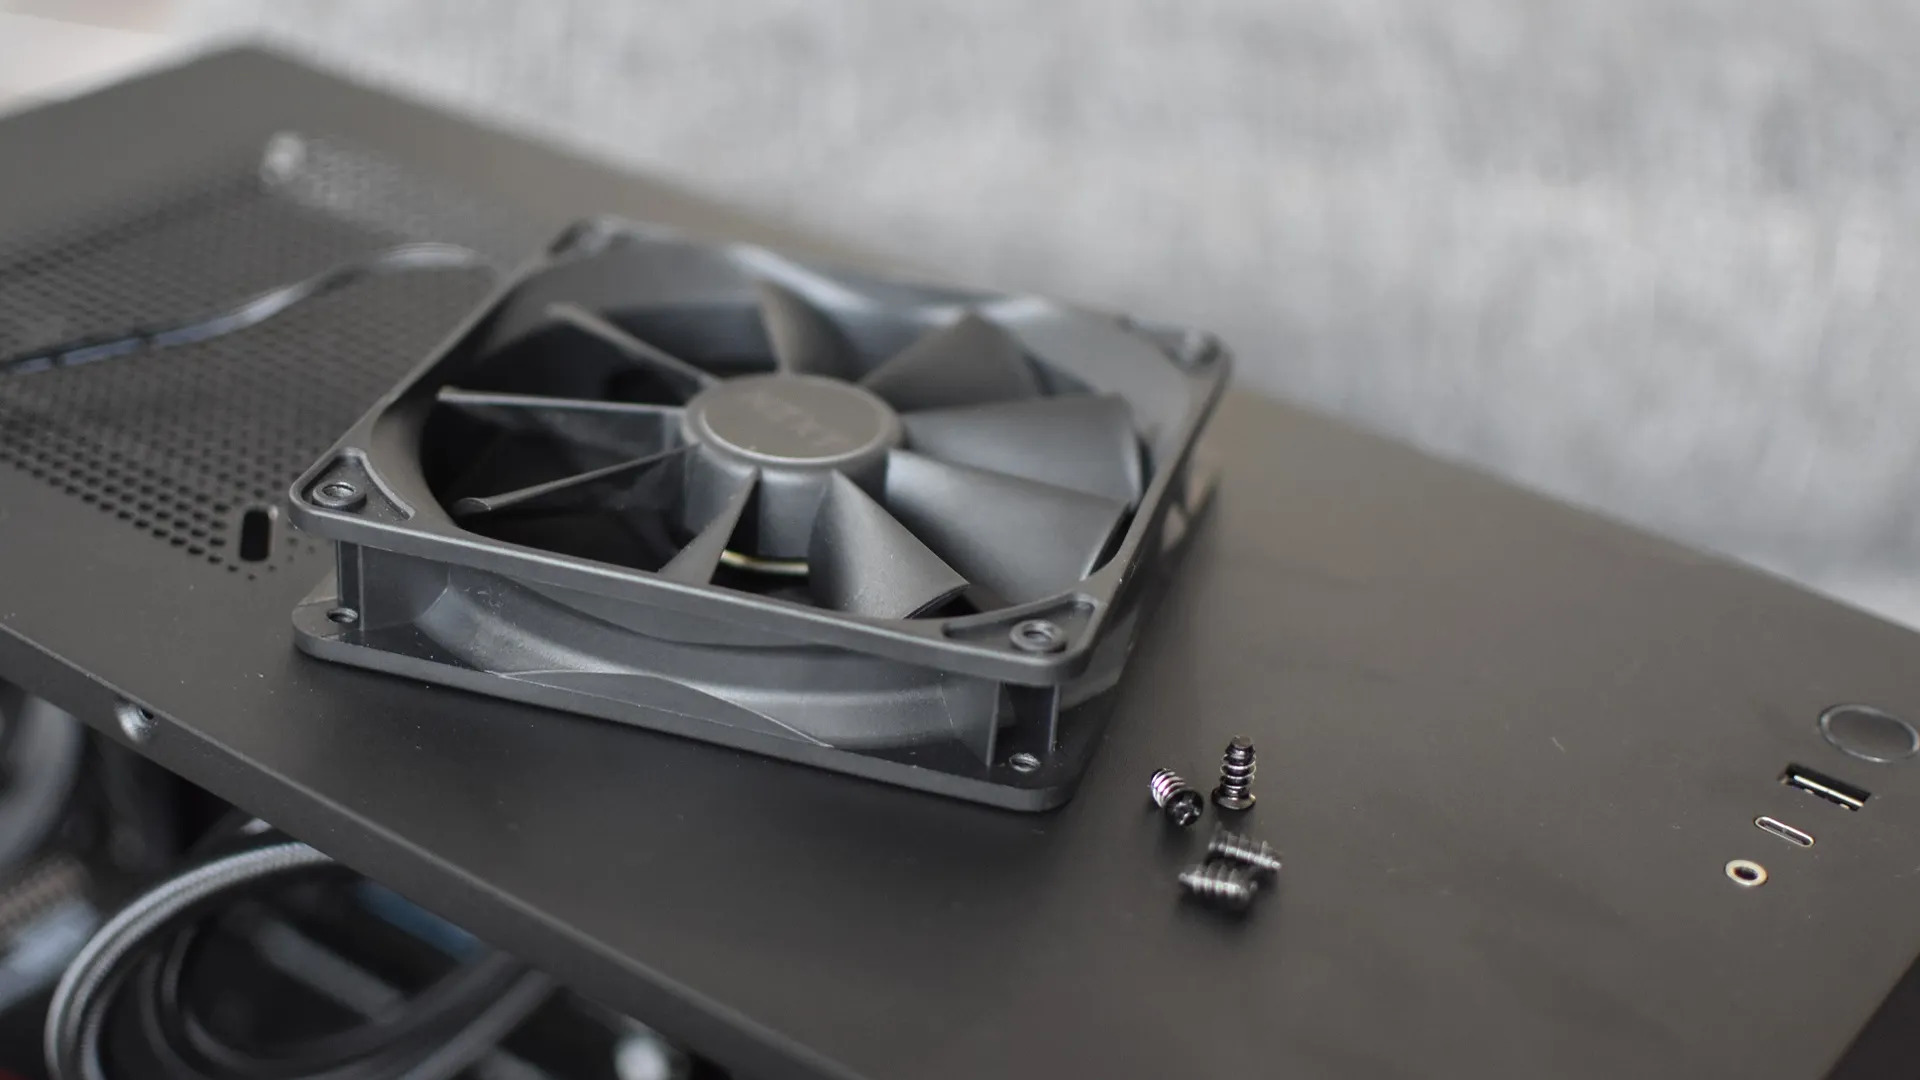
- Take the new fan and position it in the fan slot that you prepared in the previous steps. Ensure that the screw holes on the fan align with the mounting holes on the case or the fan mount.
- Using the screws that you set aside, start screwing the fan into place. Begin with one screw, and then move diagonally to the opposite corner before tightening the rest of the screws. This will help ensure even and secure fastening.
- Connect the fan’s power cable to the appropriate port on your motherboard or fan controller. If the fan has RGB lighting, make sure to connect the RGB cable as well, following the manufacturer’s instructions.
- Take a moment to double-check all the connections and ensure that the fan is securely mounted in the case. Make any necessary adjustments before proceeding.
- If your fan has additional LED lighting options, such as RGB lighting, you can set up and configure the lighting according to the manufacturer’s instructions. This step will allow you to prepare the fan for color change and create the desired lighting effects.
By following these steps, you have successfully installed the new fan in your PC case. Ensure that all screws are tightened properly and that the fan is securely mounted before moving on to the next step.
Now let’s move on to the exciting part: changing the color of the fan!
Step 5: Connecting and Testing the Fan
Now that the new fan is installed, it’s time to connect and test it to ensure it is functioning properly. Follow these steps to connect and test the fan:
- Ensure your PC is still turned off and unplugged from the power source.
- Locate the fan’s power cable and connect it to the appropriate fan header on your motherboard or fan controller. Make sure the connection is secure.
- If your fan has additional RGB lighting, connect the RGB cable to the corresponding RGB header or controller on your motherboard.
- Double-check all connections to ensure they are secure and properly aligned.
- Close the PC case by reattaching the side panel. Secure it in place with the necessary screws.
- Plug in and turn on your PC.
- Enter your computer’s BIOS or use a software utility to check if the new fan is detected and functioning properly. Ensure that it’s running at the appropriate RPM (revolutions per minute) and that the RGB lighting is working as desired.
- If everything is working correctly, proceed to the next step. If there are any issues, double-check the connections and consult the fan’s manual or the motherboard’s documentation for troubleshooting steps.
By following these steps, you will have successfully connected and tested the new fan. It’s important to ensure that the fan is working properly before proceeding to the next step of changing the fan’s color.
Now that the fan is installed and tested, it’s time to proceed to the exciting part: changing the color of the fan!
Step 6: Changing the Fan Color
Now comes the fun part: changing the color of your PC fan! If you’ve chosen a fan that is already in your desired color, you can skip this step. However, if you want to customize the color of your fan, follow these steps:
- Refer to the manufacturer’s instructions to determine the method of changing the fan color. Some fans come with built-in RGB lighting and can be controlled using software or hardware controls, while others may require additional accessories like LED strips or light diffusers.
- If your fan requires additional accessories, follow the manufacturer’s instructions to install and connect them properly. This may involve attaching LED strips or light diffusers to the fan blades or mounting them inside the case.
- Once the accessories are properly installed, use the manufacturer’s software or hardware controls to change the color of the fan. This could involve selecting a specific color from a color palette or creating custom lighting effects.
- Experiment with different colors and lighting effects to find the combination that best suits your aesthetic preferences. You can also synchronize the fan’s color with other RGB components in your PC for a cohesive and visually pleasing look.
- Take your time to adjust the color settings and ensure that you are satisfied with the result. Don’t be afraid to get creative and try different combinations until you achieve the desired effect.
Remember to refer to the manufacturer’s instructions and documentation throughout this process to ensure you are following the correct steps for your specific fan model. Enjoy the freedom of customizing your PC fan’s color to reflect your unique style and preferences!
With the fan color changed, we’re almost done. Now let’s move on to the final step: adding the finishing touches.
Read more: How To Tell Pc Fan Direction
Step 7: Finishing Touches
After successfully changing the color of your PC fan, it’s time to add the finishing touches to complete the customization process. Follow these steps to ensure a polished and professional look:
- Clean up any remaining dust or debris inside the PC case. Use compressed air or a soft brush to remove any particles that may have accumulated during the installation process.
- Double-check all connections to ensure they are secure and properly aligned. Ensure that the fan and any additional accessories are functioning as expected.
- Take a step back and admire your work! Take a moment to appreciate the new color and lighting effects of your PC fan.
- Consider other aesthetic modifications you can make to further enhance the overall look of your PC. This might include cable management, adding custom decals or stickers, or even upgrading other components to match the new color scheme.
- Show off your customized PC to friends and fellow enthusiasts. Share your experience on online forums or social media platforms to inspire others and spark conversations about PC customization.
- Regularly clean and maintain your PC to keep it looking its best. This includes cleaning dust filters, wiping down surfaces, and checking for any signs of wear or damage.
Congratulations! You have successfully changed the color of your PC fan and completed the customization process. Now you can enjoy a one-of-a-kind PC that reflects your personal style and adds a visually captivating element to your setup.
Remember, PC customization is an ongoing process, and you can always make further modifications and changes as your preferences evolve. Stay creative and have fun with your customized PC!
Now sit back, relax, and enjoy the enhanced aesthetics and performance of your newly customized PC with its vibrant and eye-catching fan color.
Happy computing!
Conclusion
Customizing the color of your PC fan can not only add a visually appealing element to your computer setup but also allow you to express your personal style and creativity. By following the steps outlined in this article, you can successfully change the color of your PC fan and create a customized look that stands out from the crowd.
From understanding the mechanics of PC fans to choosing the right fan for color change, gathering the necessary tools and materials, and installing the new fan, each step is crucial to achieving a successful outcome. Remember to handle your PC components with care, ensure proper connections, and test the fan before moving on to the color customization step.
Changing the fan’s color can be done in various ways, depending on the fan model you choose. Some fans come with built-in RGB lighting that allows you to easily customize the color and lighting effects. Others may require additional accessories like LED strips or light diffusers to achieve the desired color customization.
Once you have changed the color of your fan, take the time to add the finishing touches. Clean up any remaining dust, double-check connections, and consider other aesthetic modifications to further enhance the appearance of your PC. Share your customized PC with others and inspire fellow enthusiasts with your creativity.
Remember, PC customization is an ongoing process, and you can continue to make modifications and changes as your preferences evolve. Stay up-to-date with the latest trends and explore new ways to enhance the look and performance of your computer.
Now that you have the knowledge and guidelines on how to change the color of your PC fan, it’s time to put your skills into action. Enjoy the process of creating a personalized and visually stunning computer setup!
Happy customizing!
Frequently Asked Questions about How To Change PC Fan Color
Was this page helpful?
At Storables.com, we guarantee accurate and reliable information. Our content, validated by Expert Board Contributors, is crafted following stringent Editorial Policies. We're committed to providing you with well-researched, expert-backed insights for all your informational needs.


0 thoughts on “How to Change PC Fan Color”