Articles
How To Change Hardwood Floor Color
Modified: August 31, 2024
Learn how to change the color of your hardwood floor with our expert articles. Transform your space with step-by-step instructions and professional tips.
(Many of the links in this article redirect to a specific reviewed product. Your purchase of these products through affiliate links helps to generate commission for Storables.com, at no extra cost. Learn more)
Introduction
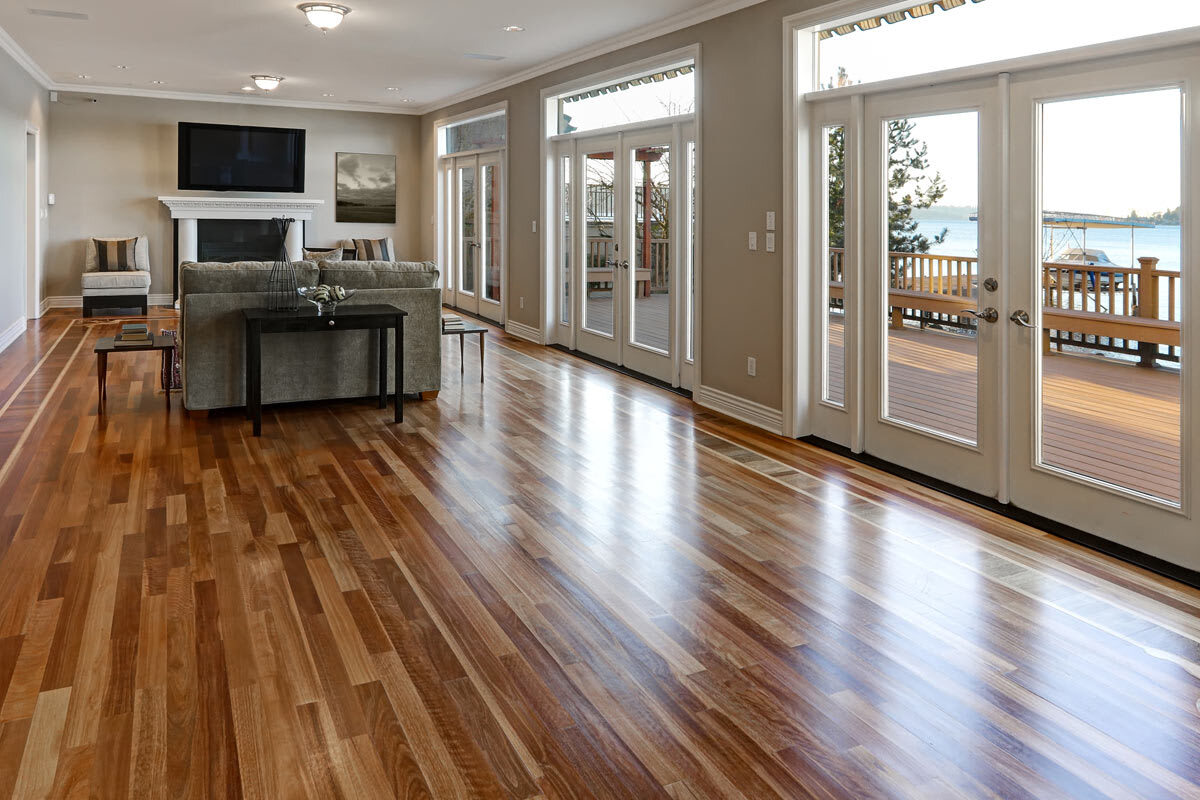
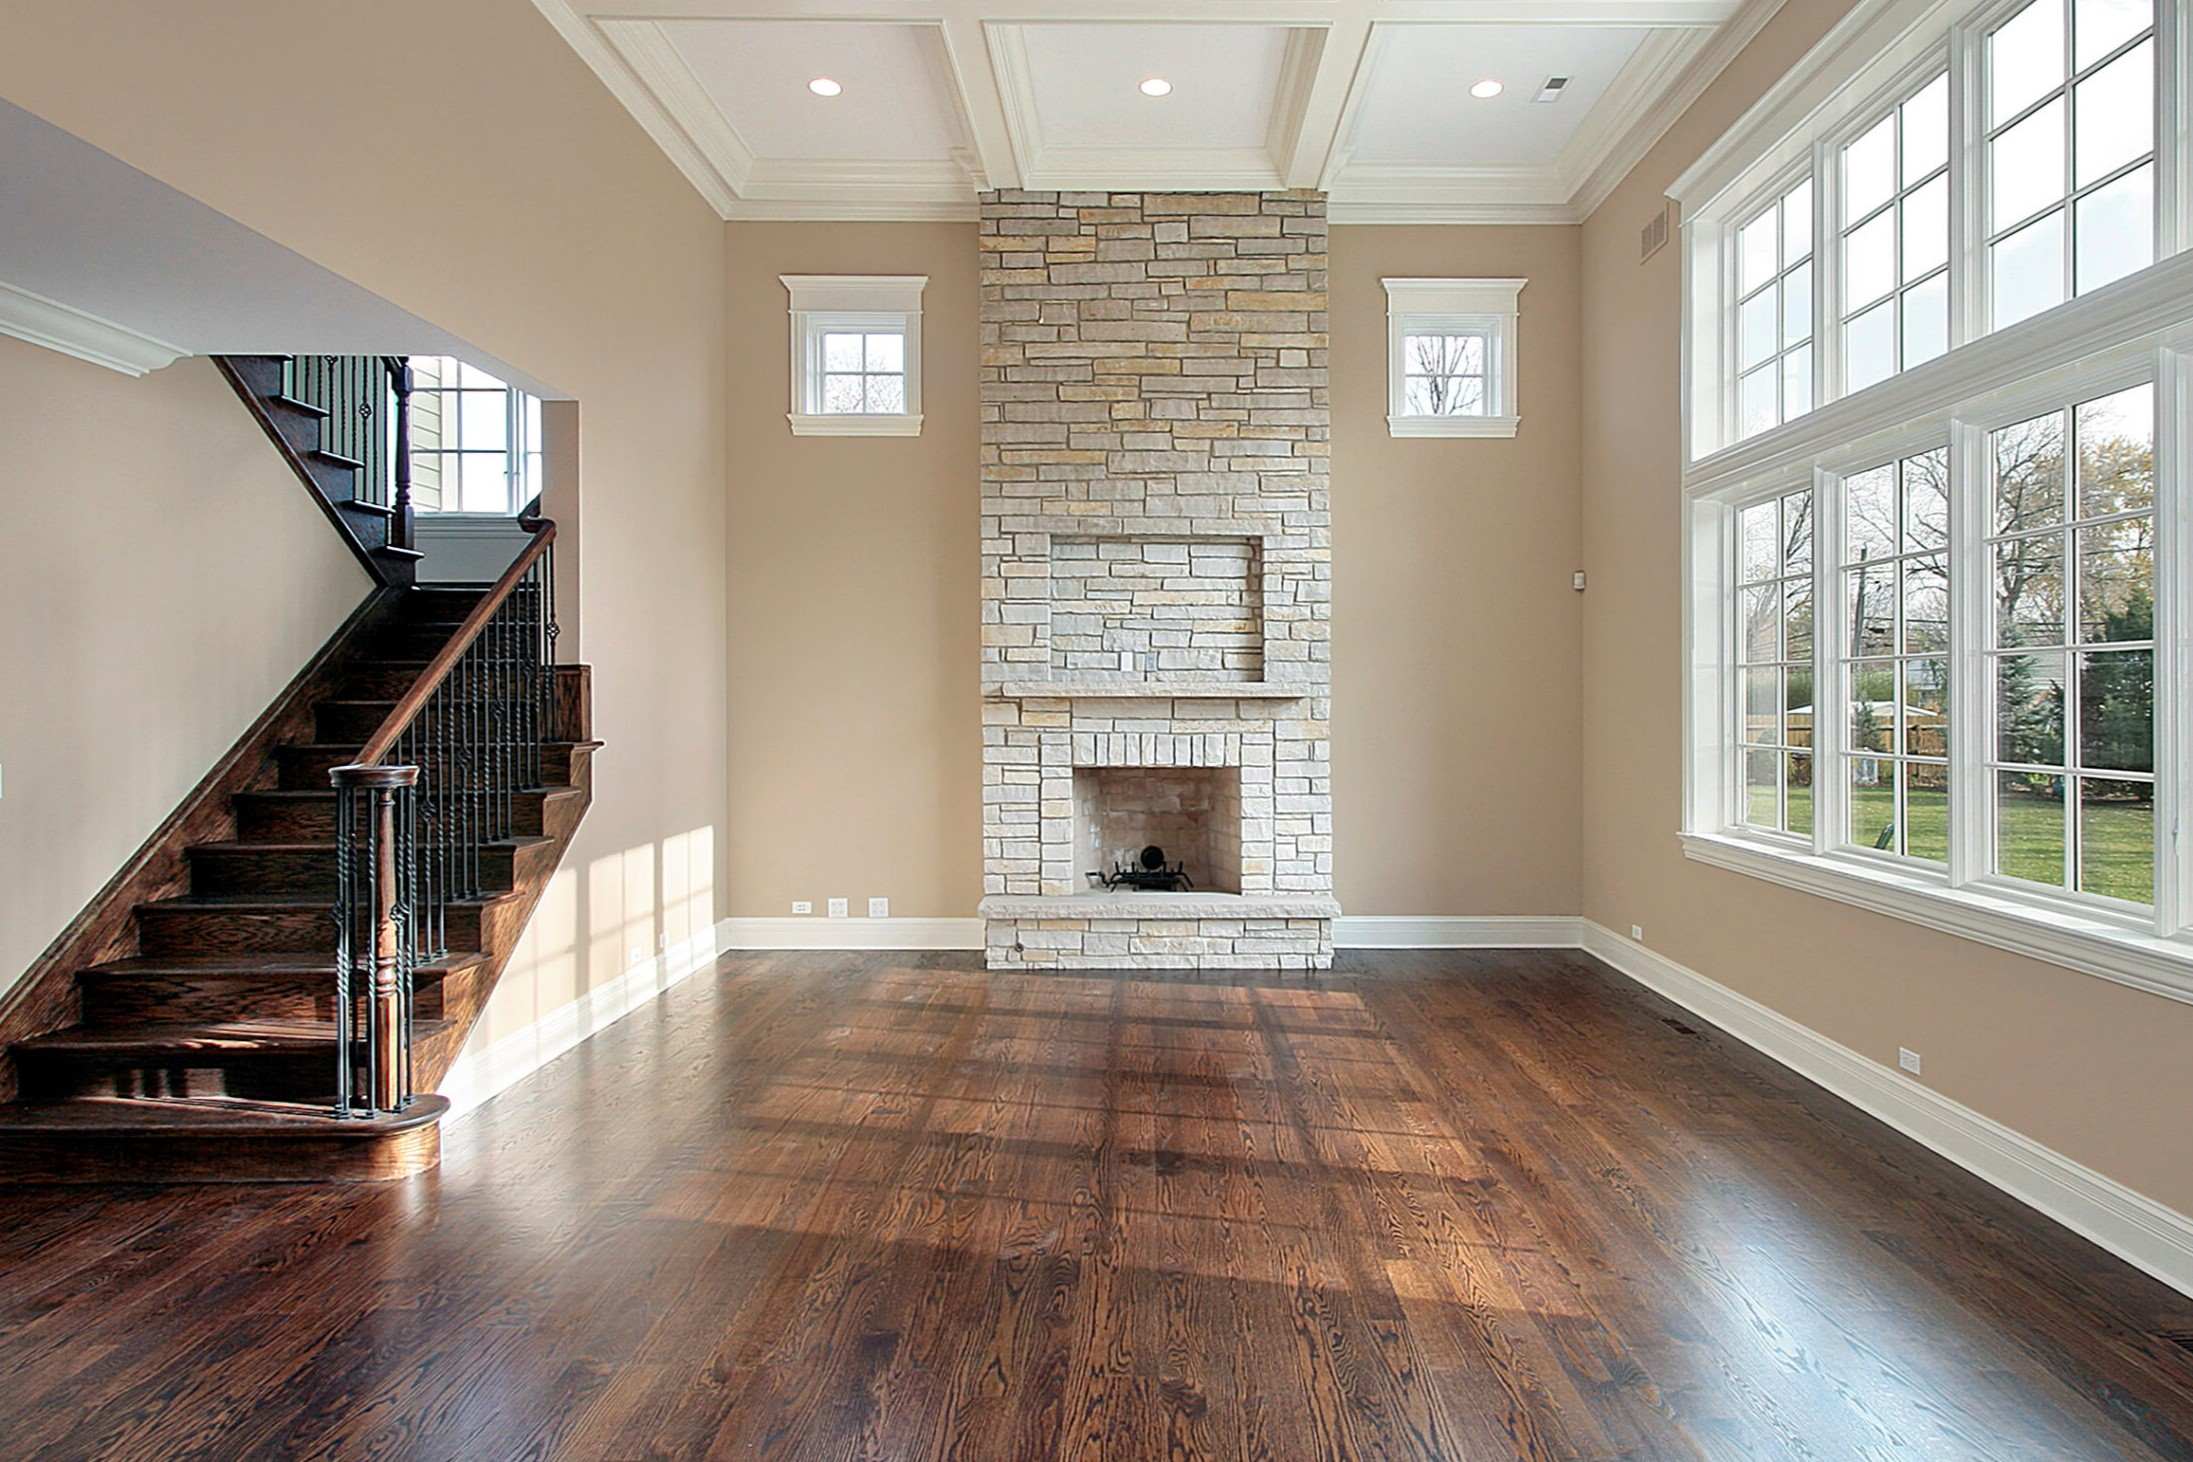
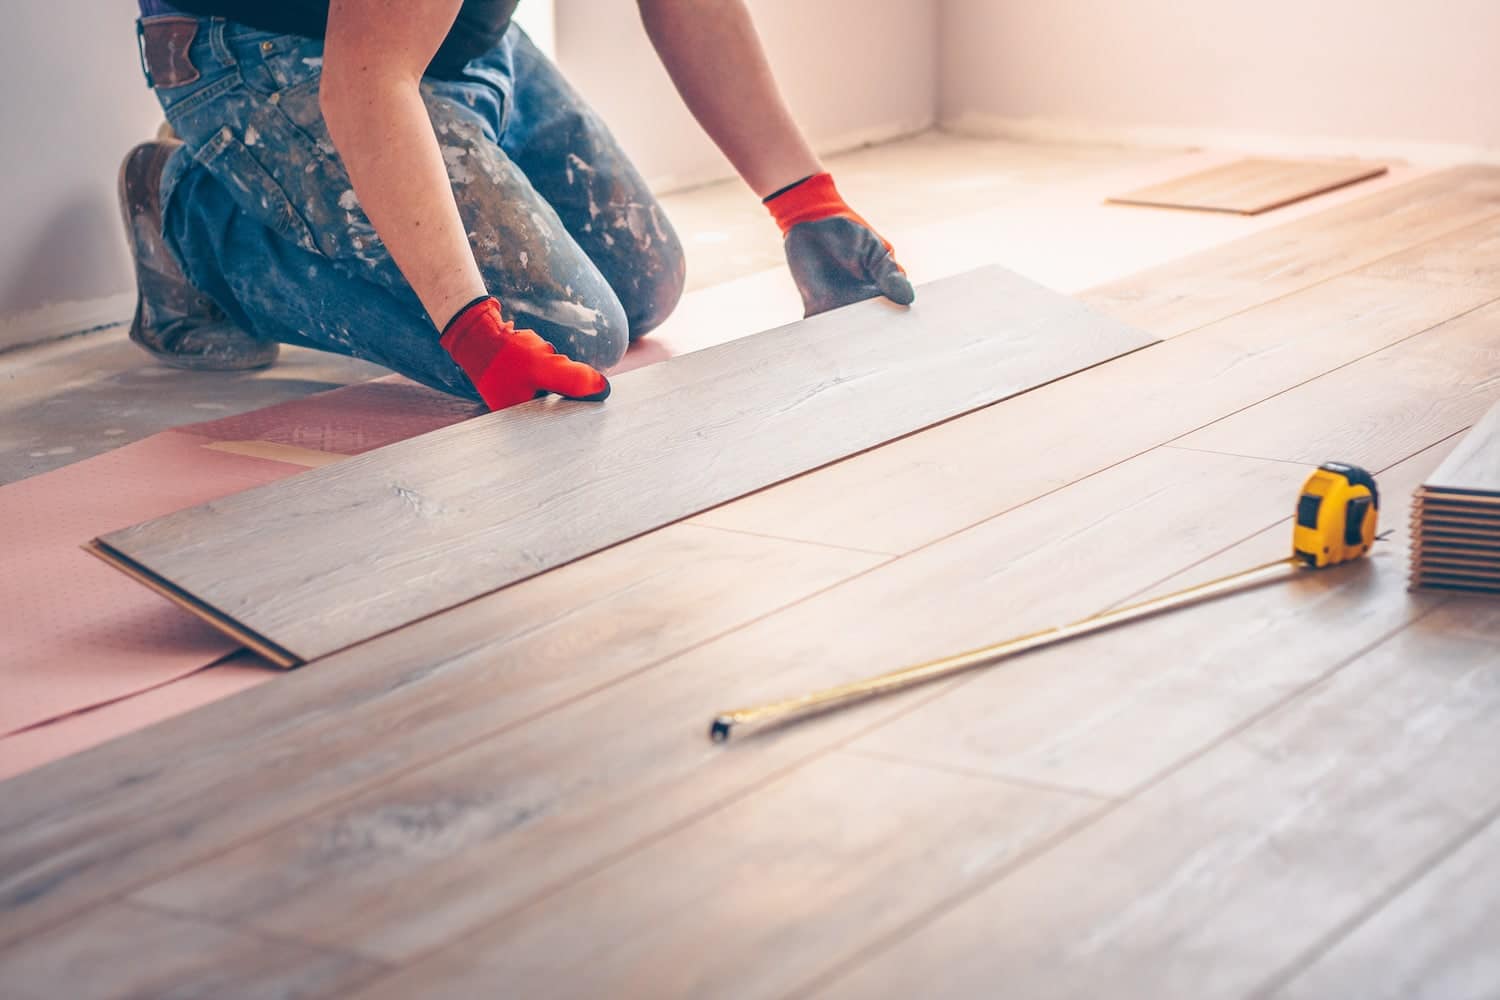
Changing the color of your hardwood floor can be an effective way to transform the look and feel of your space. Whether you want to update the style of your home or rejuvenate worn-out flooring, the process of changing the hardwood floor color can help you achieve your desired aesthetic. With the right tools, materials, and techniques, you can give your hardwood floors a brand new look without the need for costly replacements. In this article, we will guide you through the step-by-step process of changing the color of your hardwood floor.
Before diving into the process, it’s important to note that changing the color of your hardwood floor is a significant undertaking that requires careful planning and preparation. It may also involve some level of expertise depending on your experience with DIY projects. If you are unsure about your abilities or if your flooring is in need of major repairs, it is recommended to consult a professional.
In order to successfully change the color of your hardwood floor, you will need to follow a series of steps that include preparing the floor, choosing the new color, sanding the floor, applying the stain, letting it dry, applying a sealant, and cleaning and maintaining the new color. Each of these steps plays a crucial role in achieving the desired end result.
By understanding the process and investing time and effort into each step, you can transform your hardwood floors into a stunning focal point that complements the overall design of your space. So, let’s explore each step in detail and get started on changing the color of your hardwood floor!
Key Takeaways:
- Transform your space by changing your hardwood floor color with careful preparation, color selection, and proper application techniques. Achieve a stunning new look without costly replacements.
- Maintain your newly colored hardwood floor with regular cleaning, protective measures, and periodic sealant reapplication. Preserve the beauty and longevity of your transformed space.
Preparing the Hardwood Floor
Before diving into the process of changing the color of your hardwood floor, it’s essential to properly prepare the surface to ensure optimal results. Preparing the hardwood floor involves several key steps that will help you achieve a smooth and even color application. Here are the steps to follow:
- Clean the floor: Start by thoroughly cleaning the hardwood floor to remove any dirt, dust, or debris. Use a broom or vacuum cleaner to sweep the floor, and then follow up with a damp mop to ensure it’s free from any lingering particles. Make sure the floor is completely dry before proceeding to the next step.
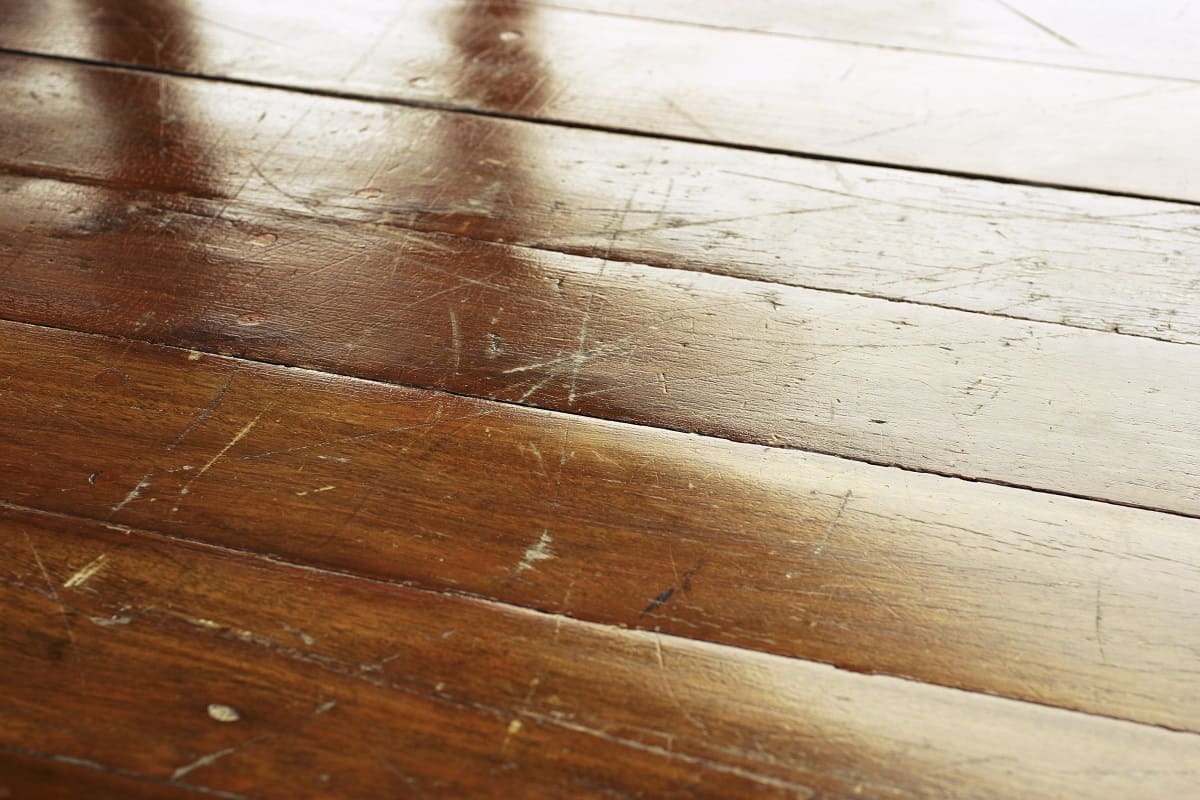
- Repair any damaged areas: Inspect the floor for any signs of damage such as scratches, dents, or loose boards. If you come across any issues, take the time to repair them before continuing. Fill in any gaps or holes with wood filler and sand down any rough patches or raised edges to create a smooth surface.
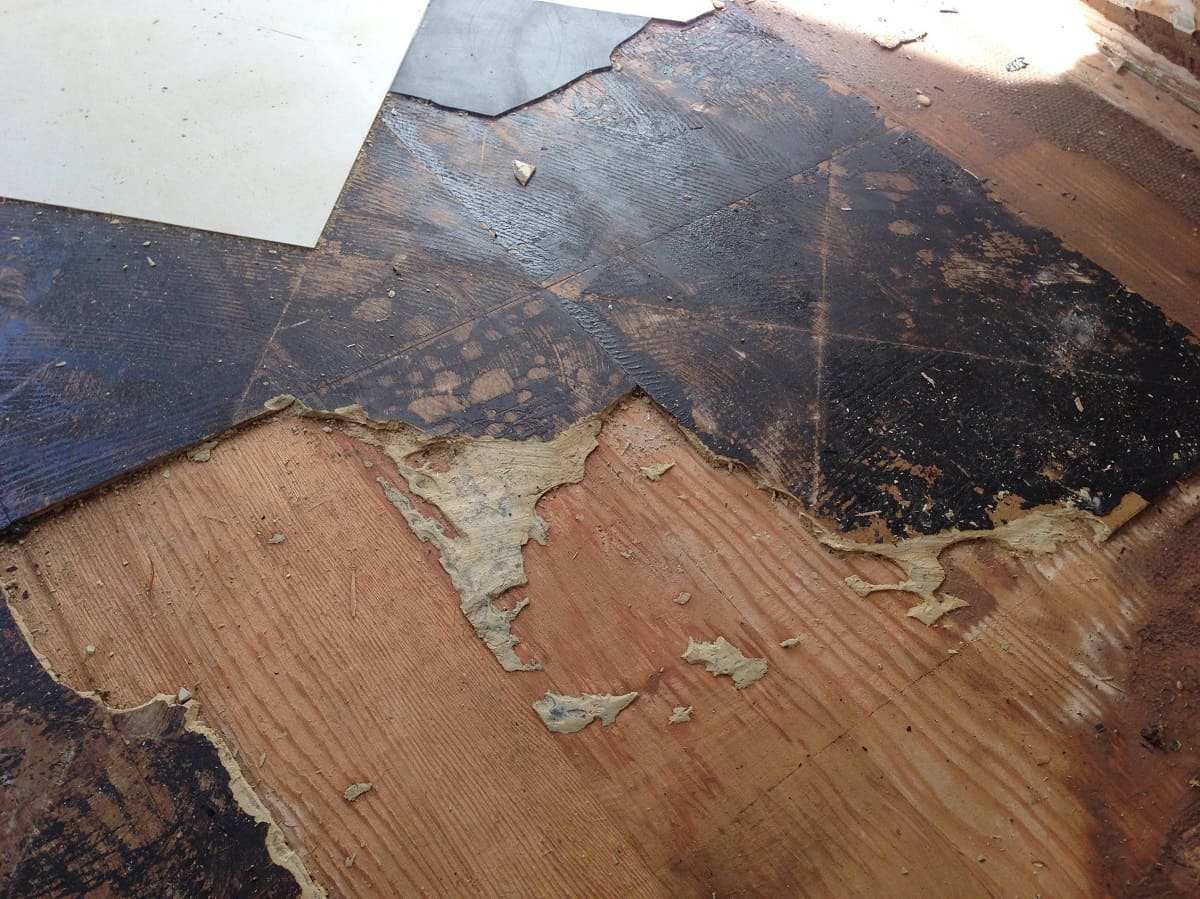
- Remove the existing finish: If your hardwood floor has an existing finish, such as varnish or wax, it’s important to remove it to ensure proper adhesion of the new color. You can use a chemical stripper or sandpaper to remove the existing finish. Follow the manufacturer’s instructions when using a chemical stripper, and be sure to wear protective gear and work in a well-ventilated area.
- Sand the floor: Sanding the floor is a crucial step in preparing the hardwood surface for the new color. Use a drum sander or a handheld sander with a fine-grit sandpaper to even out any imperfections and create a smooth surface. Sand in the direction of the wood grain to prevent scratches or damage. Be sure to remove all the sanding dust using a vacuum and a tack cloth.
By following these steps, you can ensure that your hardwood floor is properly prepared for the color-changing process. Taking the time to clean, repair, remove the existing finish, and sand the floor will help you achieve a professional-looking finish and ensure the longevity of the new color.
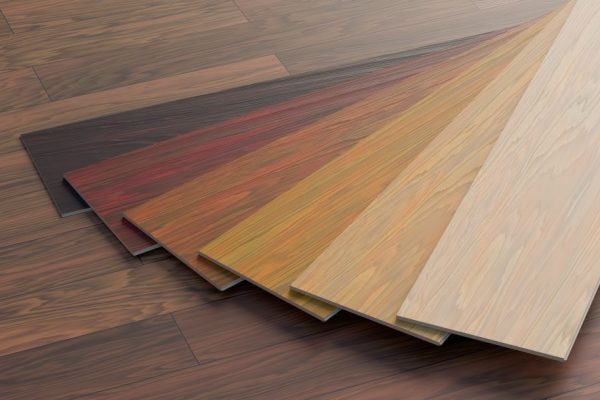
Choosing the New Color
Once you’ve prepared the hardwood floor, the next step in changing its color is choosing a new hue that fits your aesthetic and complements the overall design of your space. The color you select will have a significant impact on the look and feel of the room, so it’s important to choose wisely. Here are some considerations to keep in mind when selecting a new color:
- Style and ambiance: Think about the style and ambiance you want to create in the room. Do you prefer a warm and cozy atmosphere or a modern and sleek look? The color of your hardwood floor can contribute to the overall vibe of the space.
- Existing decor: Take into account the existing decor and color scheme in the room. Choose a color that harmonizes with the surrounding elements such as the walls, furniture, and accessories. Consider whether you want the floor to blend in or make a statement as a focal point.
- Natural or stained: Decide whether you want to enhance the natural beauty of the wood by opting for a clear finish or if you prefer to add color to the floor by using a stain. Stains offer a wide range of color options, from light to dark tones, allowing you to customize the look based on your preferences.
- Lighting conditions: Consider the lighting conditions in the room. Natural and artificial lighting can affect how the color appears. If the space is well-lit and receives plenty of natural light, you have more flexibility in choosing lighter or darker shades. However, if the room is darker, you may want to opt for lighter floor colors to add brightness.
- Samples and swatches: It’s always a good idea to obtain samples or swatches of the colors you’re considering. This will allow you to test how the color looks in your specific lighting conditions and alongside your existing decor. Hold the samples against the wall and furniture to see how they blend together.
- Personal preference: Ultimately, trust your personal preference and instincts. Choose a color that you love and that resonates with your style and taste. After all, you’ll be the one living with the floor color on a daily basis.
By considering these factors and taking the time to explore various color options, you can confidently choose a new hue that transforms your hardwood floor and enhances the overall aesthetic of your space. Remember, the color you choose should not only be visually appealing but also create a harmonious and inviting atmosphere.
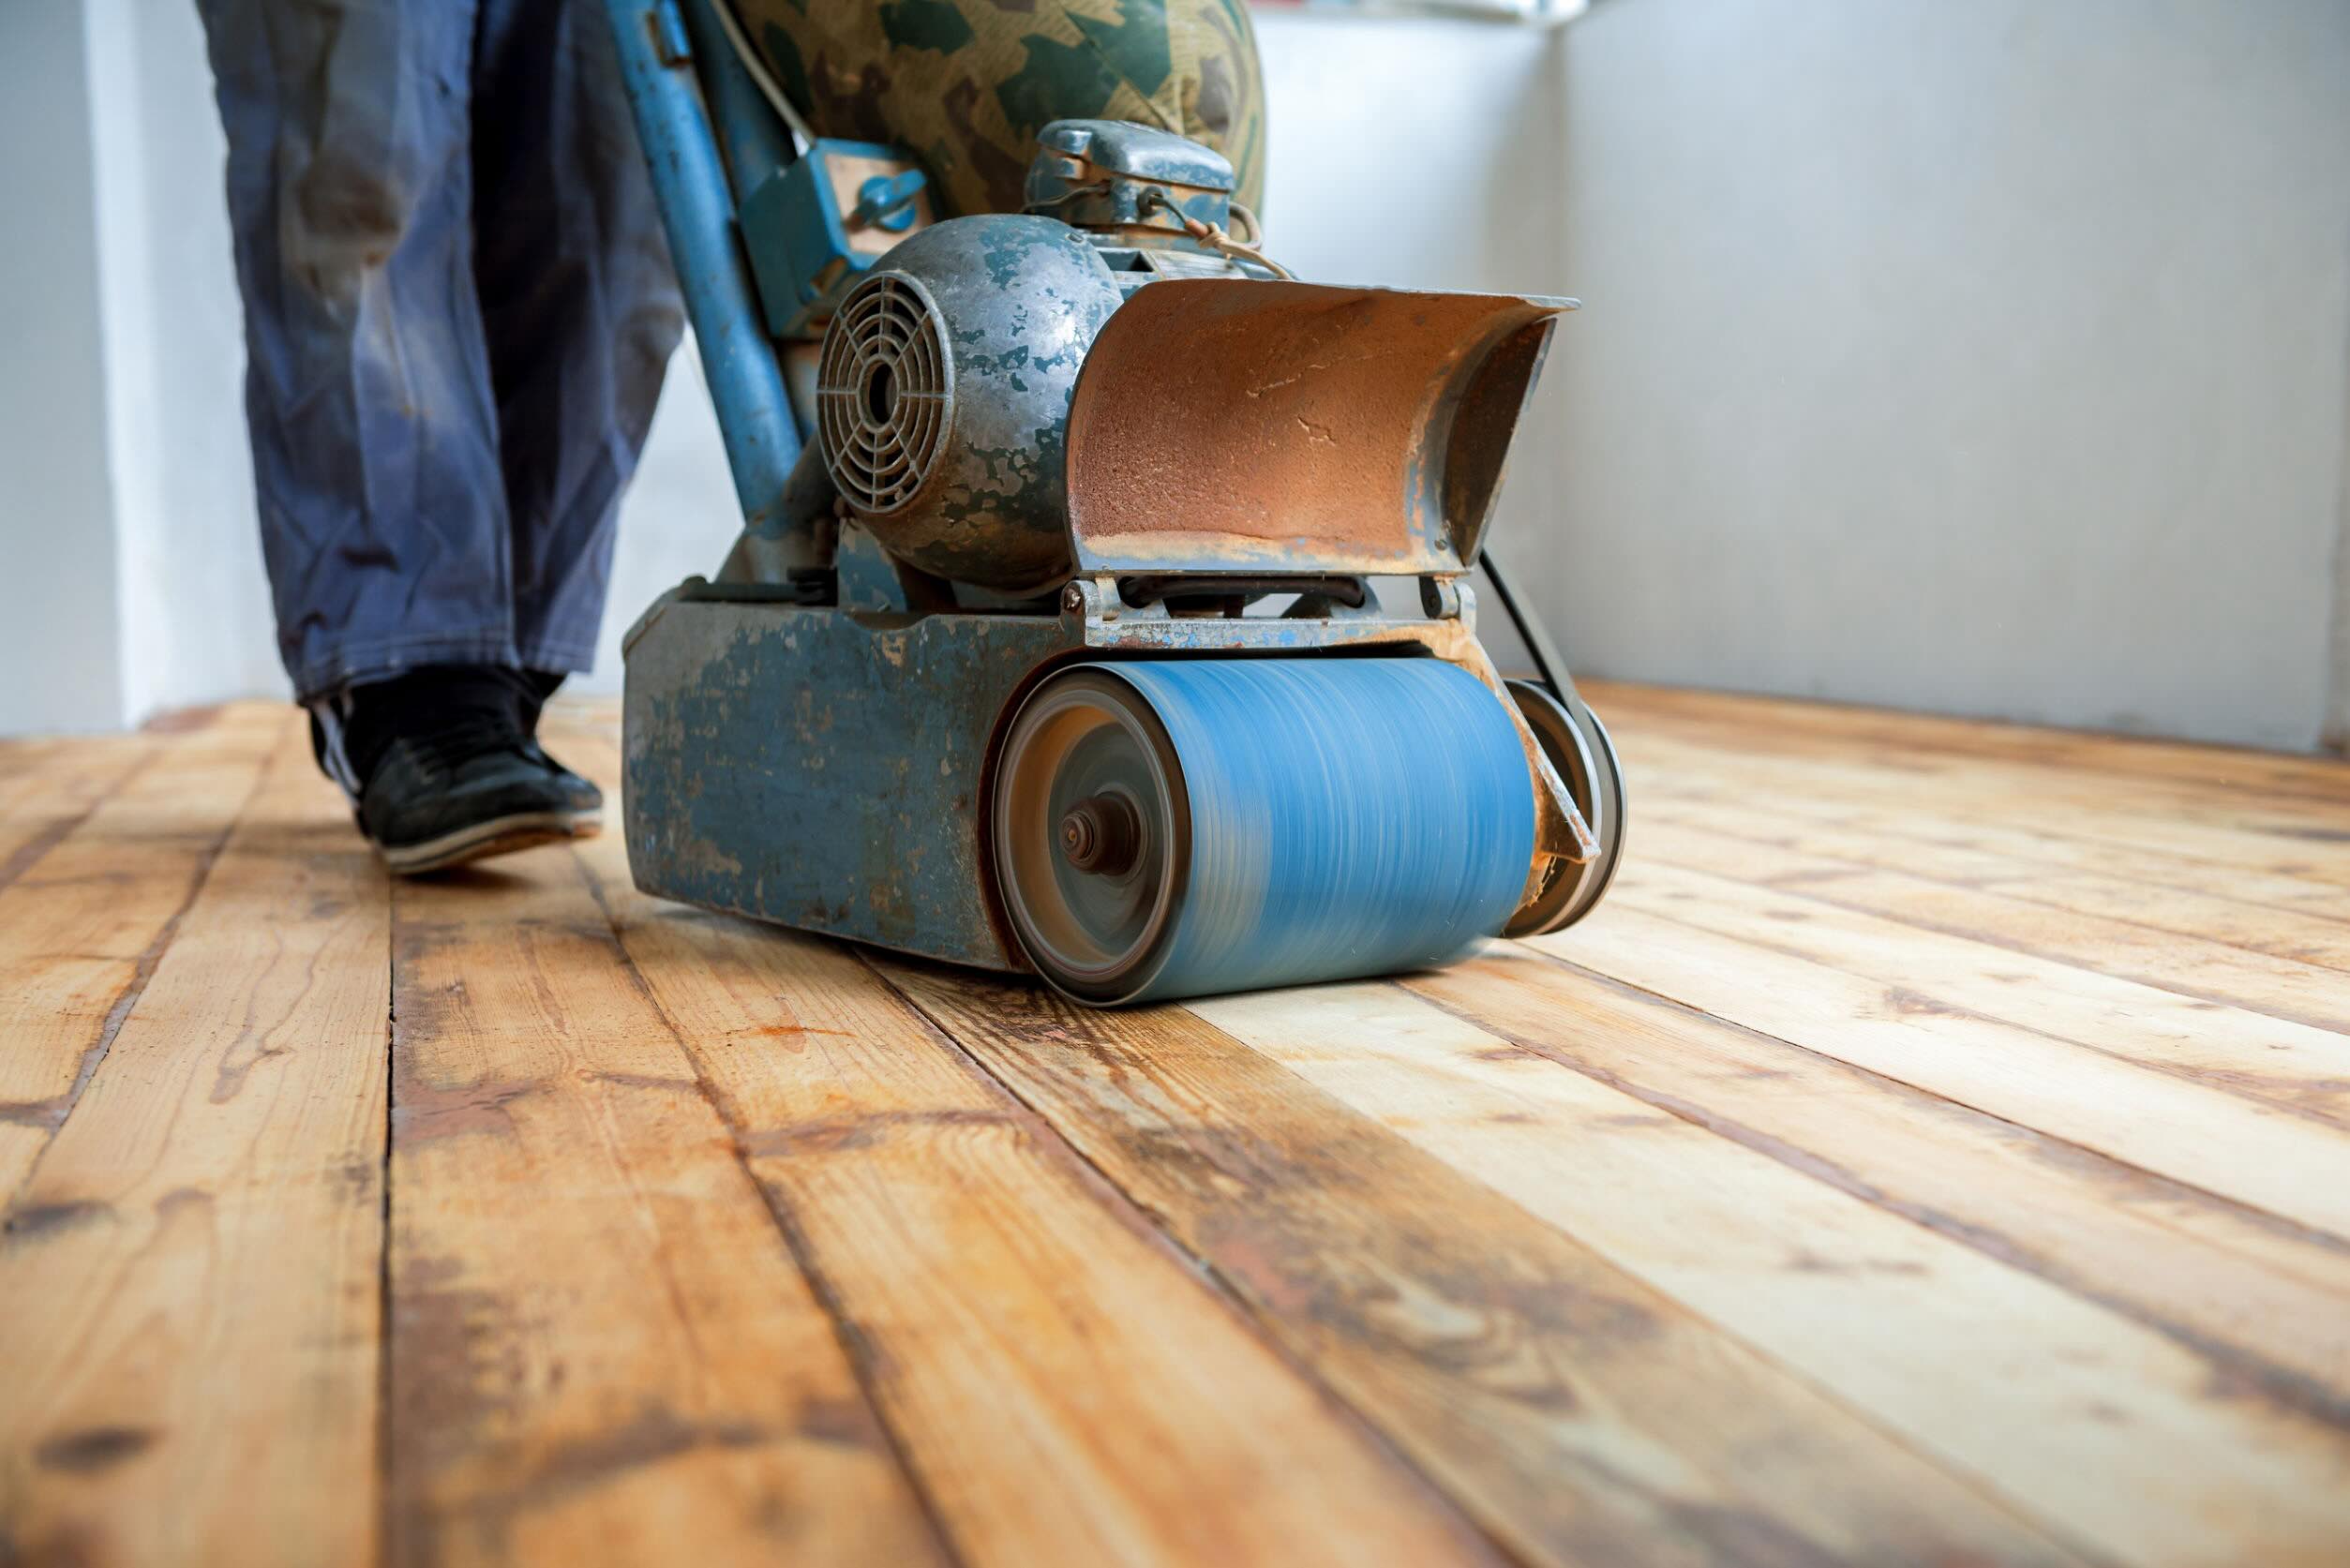
Sanding the Floor
After preparing the hardwood floor and choosing the new color, the next crucial step in changing the floor’s appearance is sanding. Sanding helps to remove any imperfections, smooth out the surface, and ensure proper adhesion of the stain. Here’s a guide on sanding the floor:
- Start with the right equipment: To sand the hardwood floor, you’ll need to have the appropriate equipment. A drum sander or a handheld sander with a fine-grit sandpaper is commonly used. Consider renting the necessary equipment if you don’t already own them. Additionally, make sure to wear protective gear, including goggles, a dust mask, and ear protection.
- Begin sanding: Start sanding the floor by moving the sander in the direction of the wood grain. This ensures that you don’t create any scratches or damage to the surface. Begin with a coarse-grit sandpaper to remove any existing finish or stubborn stains. Gradually progress to finer-grit sandpapers to achieve a smooth and even surface.
- Take care of corners and edges: While a drum sander is ideal for sanding the main surface of the floor, it may not reach the corners and edges. To sand these areas, you’ll need to use a handheld sander or sandpaper wrapped around a sanding block. Be thorough and ensure that all areas of the floor are sanded evenly.
- Monitor the progress: As you sand, consistently monitor the progress to ensure that you’re achieving the desired results. Stop periodically to inspect the floor and feel the surface with your hands. The goal is to achieve a smooth and uniform appearance.
- Remove sanding dust: Once you’re satisfied with the sanding, it’s crucial to remove all the sanding dust from the floor. Use a vacuum cleaner or a broom to thoroughly clean the surface. Then, use a tack cloth or a slightly damp cloth to remove any remaining dust. It’s important to have a clean and dust-free surface before applying the stain.
Remember, sanding is a critical step in the process of changing the hardwood floor’s color. It not only enhances the appearance of the floor but also creates a smooth and even canvas for the stain. By taking the time to properly sand the floor, you’ll ensure optimal results and a stunning final outcome.
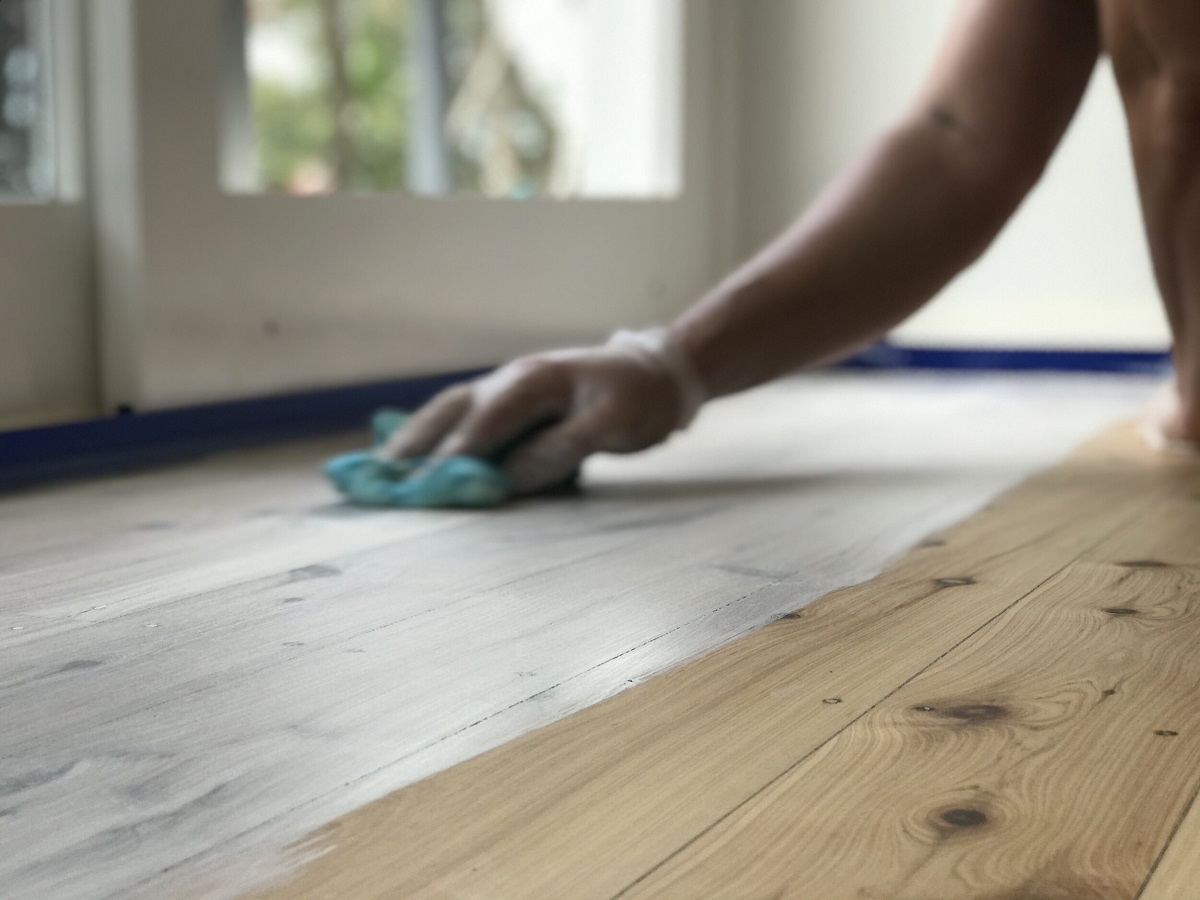
Consider using a wood stain to change the color of your hardwood floors. Make sure to sand and clean the floors thoroughly before applying the stain for best results.
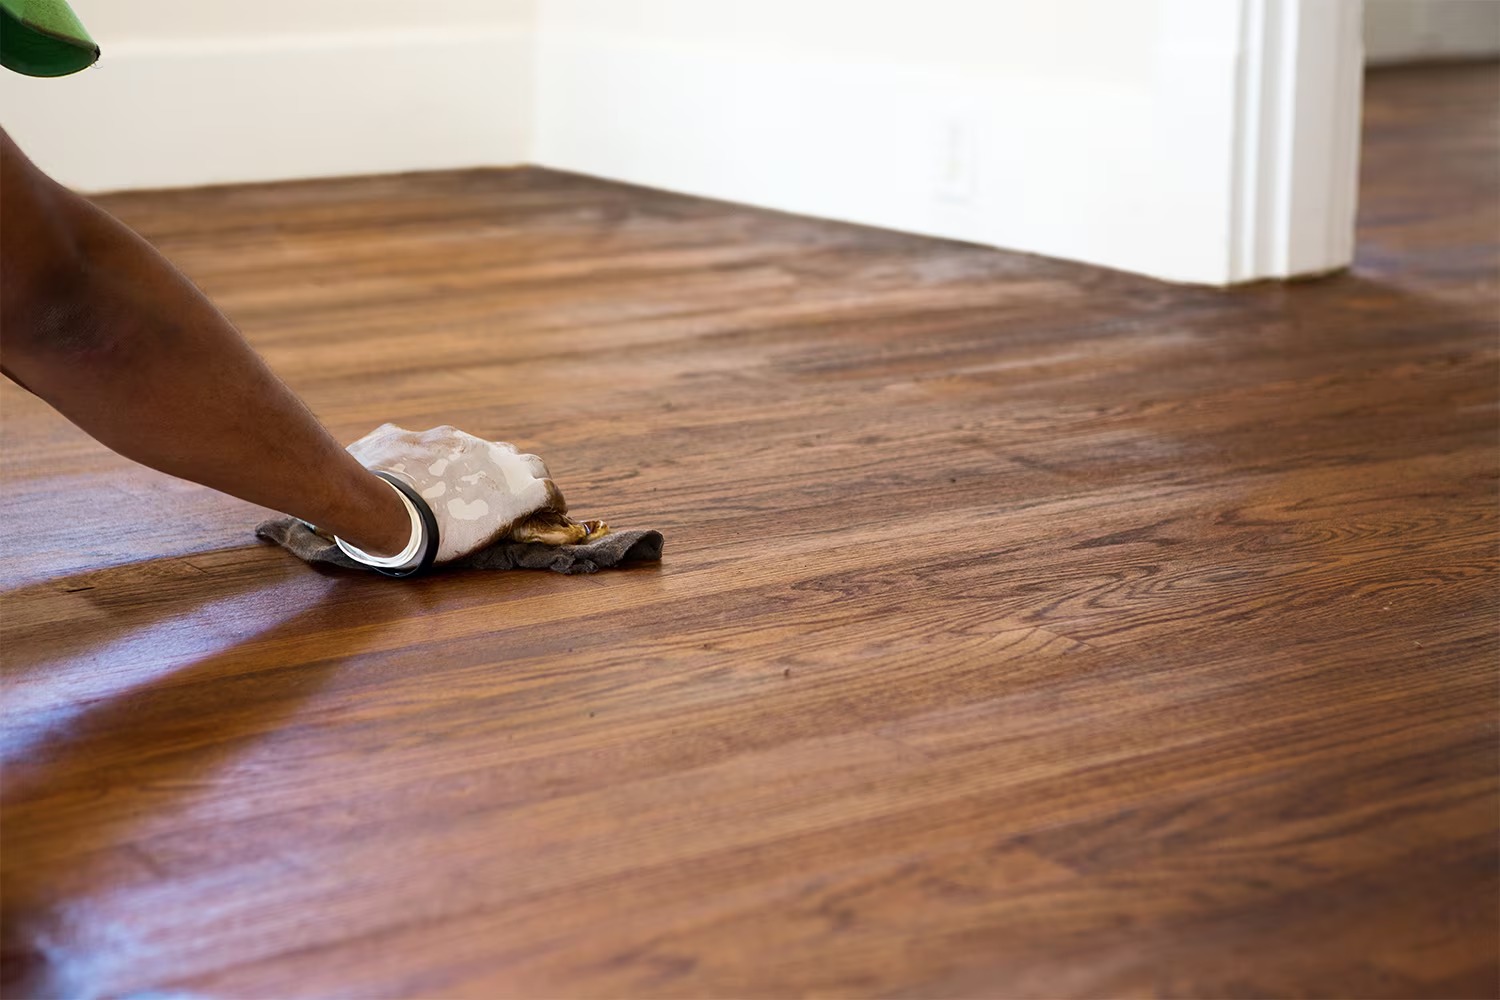
Applying the Stain
After sanding the hardwood floor, the next step in changing its color is applying the stain. The stain adds color, depth, and richness to the wood, enhancing its natural beauty. Here’s a step-by-step guide on how to apply the stain:
- Choose the right stain: Select a stain that matches your desired color and compliments the overall aesthetic of your space. Test the stain on a small, inconspicuous area or a sample board to ensure it produces the desired color and intensity on your specific wood species.
- Prepare the stain: Stir the stain thoroughly to ensure it’s well-mixed. If using an oil-based stain, follow the manufacturer’s instructions for proper mixing and preparation.
- Apply the stain: Use a brush or a sponge applicator to apply the stain to the hardwood floor. Start in a corner and work your way towards the exit, ensuring a smooth and even application. Apply the stain generously, working it into the wood grain. It’s important to move in the direction of the wood grain to achieve consistent results.
- Work in small sections: Divide the floor into manageable sections to work on. Avoid applying the stain to the entire floor at once as it may dry before you have a chance to wipe off the excess. working on small sections allows you to maintain control over the staining process.
- Wipe off the excess stain: After applying the stain, use a clean cloth or paper towel to wipe off any excess stain. This will help achieve a more even and consistent color. Take care to use smooth, overlapping strokes to avoid leaving streaks or marks on the floor.
- Allow the stain to dry: Allow the stain to dry completely before proceeding to the next steps. Follow the manufacturer’s guidelines for the recommended drying time. Keep in mind that drying time can vary based on factors such as temperature and humidity, so it’s important to be patient and allow sufficient drying time.
Applying the stain is a critical step in the process of changing the color of your hardwood floor. Take your time, work in small sections, and ensure an even application and coverage. By following these steps, you’ll achieve a beautifully stained floor that enhances the aesthetic of your space.
Read more: How To Install Hardwood Floors
Letting the Stain Dry
After applying the stain to your hardwood floor, it is crucial to allow sufficient time for it to dry. Allowing the stain to fully dry ensures that the color sets properly and prevents any unwanted smudging or damage. Here are some important considerations and steps to follow during the drying process:
- Follow the manufacturer’s instructions: Different stains may have varying drying times, so it is important to carefully read and follow the instructions provided by the manufacturer. These guidelines will provide specific information on the recommended drying time and any special considerations for the particular stain you used.
- Create a controlled environment: To promote proper drying, it is beneficial to create a controlled environment. Maintain a steady room temperature and moderate humidity levels. Avoid extreme heat or cold, as it can impact the drying process and the final result of the stain.
- Avoid foot traffic: It is essential to avoid walking on the freshly stained floor during the drying process. Even slight contact can disrupt the color and leave unwanted marks or imprints. Create barriers or use caution signs to prevent accidental foot traffic and ensure that everyone in the household is aware of the drying period.
- Allow ample drying time: Stain drying times can range from a few hours to several days. Patience is key during this stage. It’s better to err on the side of caution and allow more time than to rush the process and risk compromising the final result. Ensure that the stain feels dry to the touch before proceeding to the next steps.
- Check for color consistency: While the stain is drying, evaluate the color consistency and coverage. Take note of any areas that may require additional stain application or touch-ups. This is the ideal time to address any discrepancies before moving on to the next step.
- Monitor the drying process: Regularly inspect the drying progress to ensure that the color is setting evenly and no issues arise. If you notice any problems or irregularities, address them promptly before continuing with additional steps.
By allowing the stain to dry completely, you ensure that the desired color is achieved and that the finished result is smooth and consistent. Remember to exercise patience and follow the recommended drying time for the best outcome.
Applying a Sealant
Applying a sealant to your newly stained hardwood floor is a crucial step in preserving and protecting the color, as well as enhancing its durability. A sealant acts as a protective barrier, sealing the surface and preventing damage from spills, moisture, and everyday wear and tear. Here are the steps to follow when applying a sealant:
- Choose the right sealant: There are various types of sealants available, including polyurethane, oil-based, and water-based options. Consider factors such as durability, drying time, and environmental impact when selecting the sealant that best suits your needs. Follow the manufacturer’s instructions for the specific sealant you choose.
- Prepare the area: Ensure that the stained floor is clean and free from any debris or dust before applying the sealant. Use a vacuum cleaner or a damp cloth to remove any particles. It’s crucial to have a clean and smooth surface for optimal sealant adhesion.
- Apply the sealant: Using a brush or a lambswool applicator, start applying the sealant along the edges of the room and work your way towards the center. Apply a thin, even coat of the sealant, following the direction of the wood grain. Avoid over-applying the sealant, as it can lead to an uneven finish or a long drying time.
- Allow drying time: Follow the manufacturer’s instructions for the recommended drying time of the sealant. Depending on the specific product, this can range from a few hours to several days. Ensure the room is well-ventilated during the drying process to help expedite the process.
- Apply additional coats: Once the initial coat is dry, you may choose to apply additional coats of the sealant for added protection and depth of finish. Sand lightly between coats using a fine-grit sandpaper to ensure proper adhesion between layers. Be sure to remove any sanding dust before applying each subsequent coat.
- Allow for curing time: After applying the final coat of sealant, allow for proper curing time before placing furniture or heavy items on the floor. Curing time can vary depending on the type of sealant used, so refer to the manufacturer’s guidelines. It’s important to be patient and avoid any activity that may damage the sealant before it fully cures.
By applying a sealant to your newly stained hardwood floor, you enhance its longevity and protect it from everyday wear and tear. Be diligent in following the manufacturer’s instructions, allowing sufficient drying and curing time, and applying multiple coats if desired. This will help ensure a durable and beautiful finish that will stand the test of time.
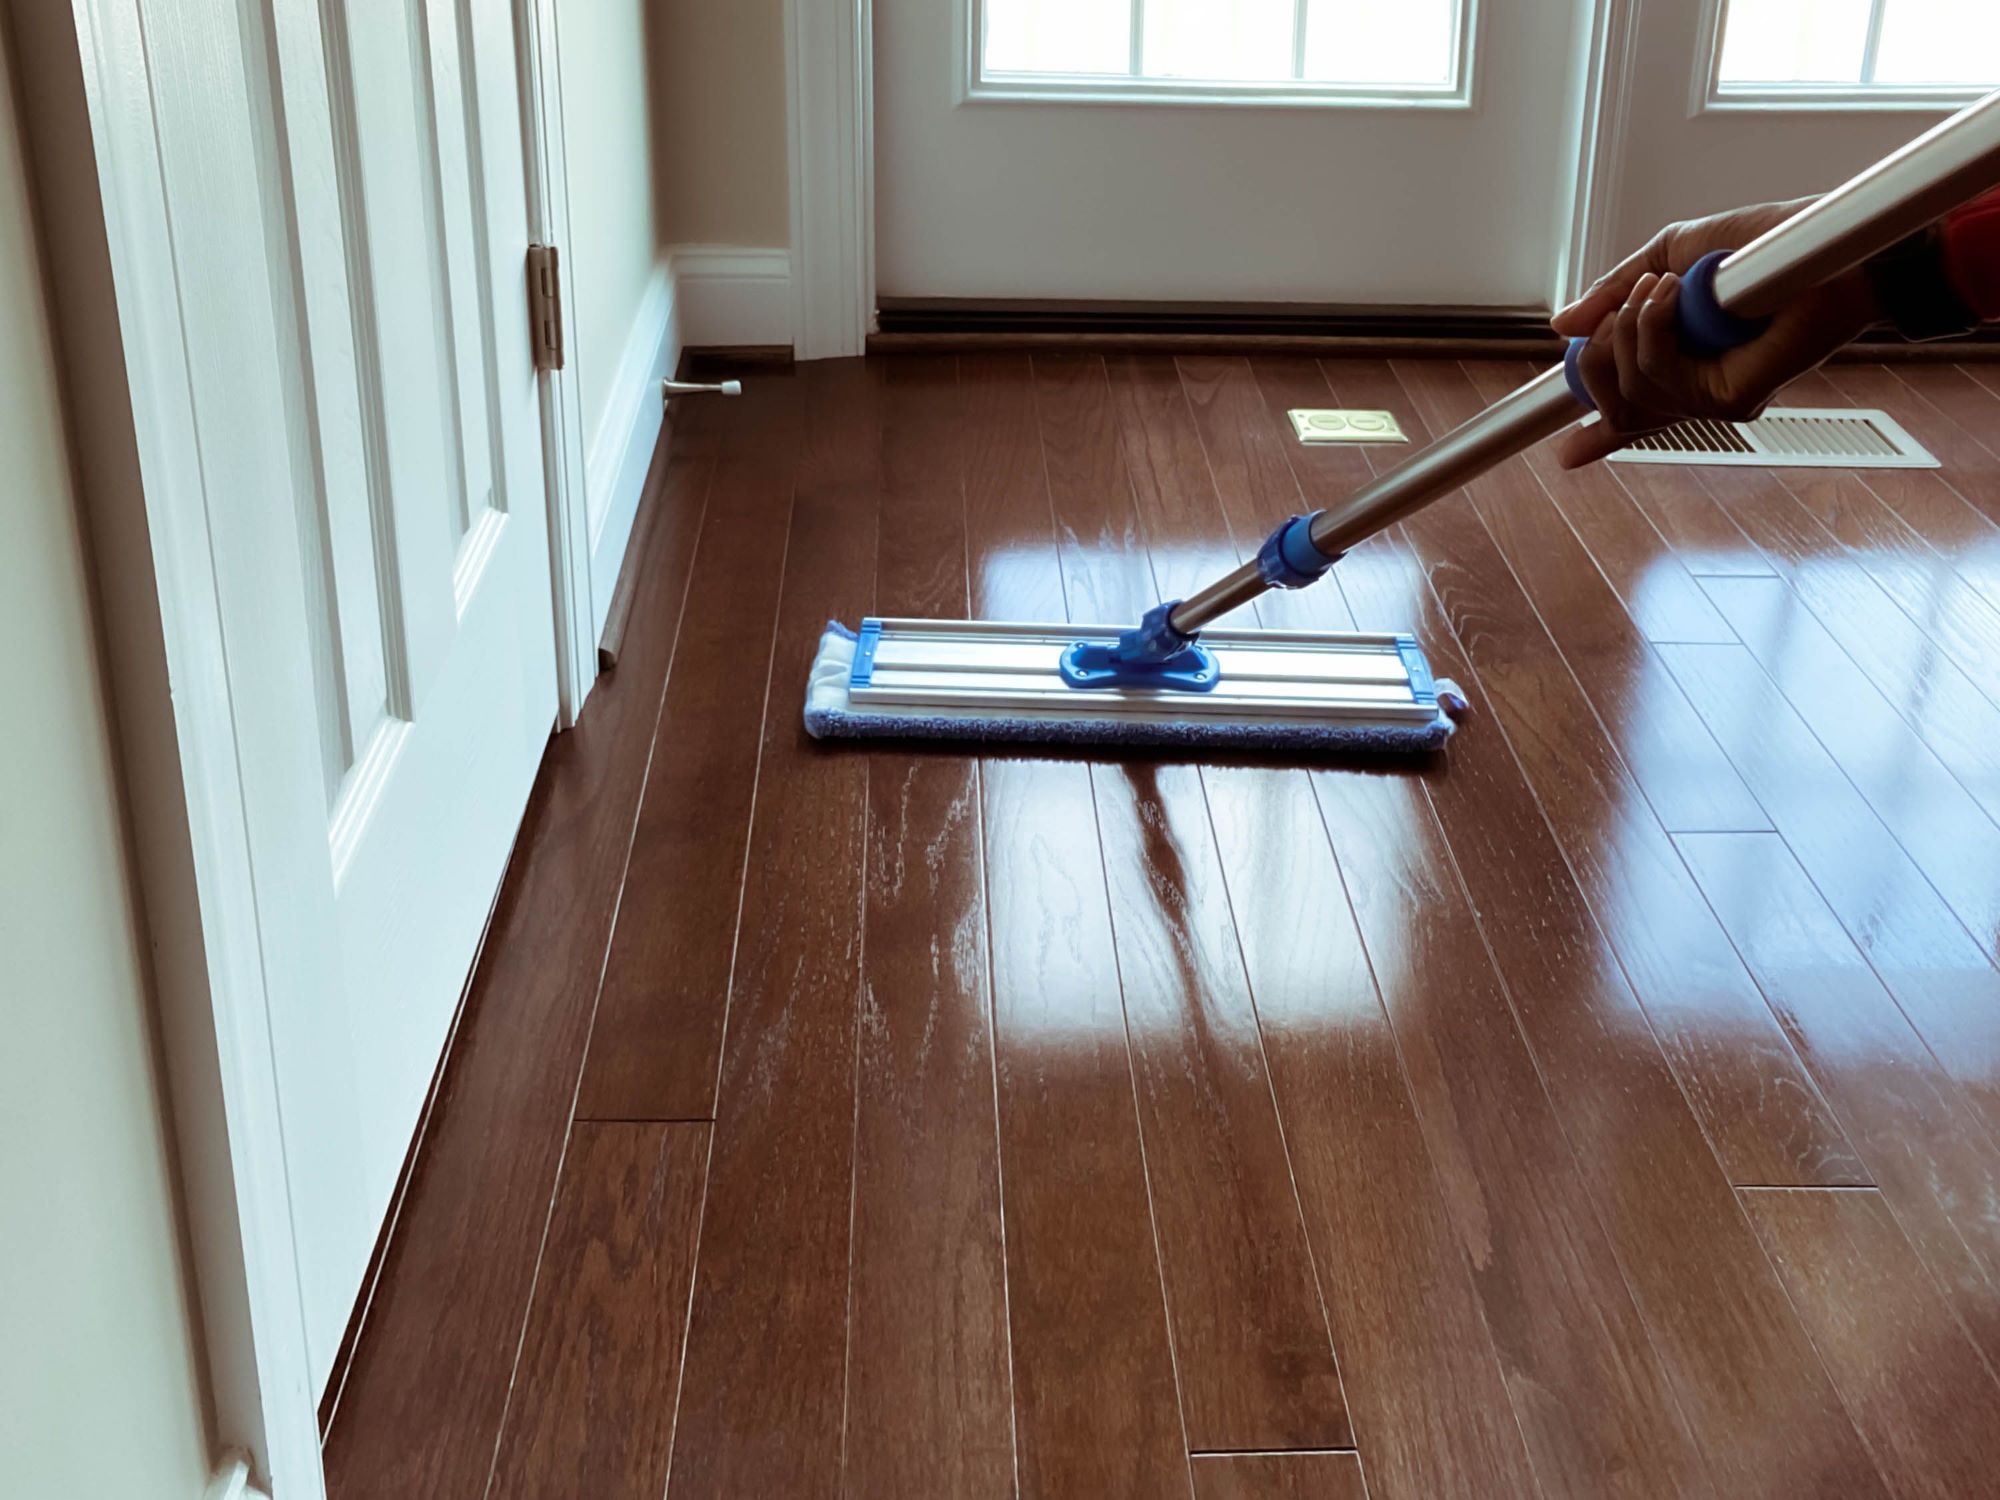
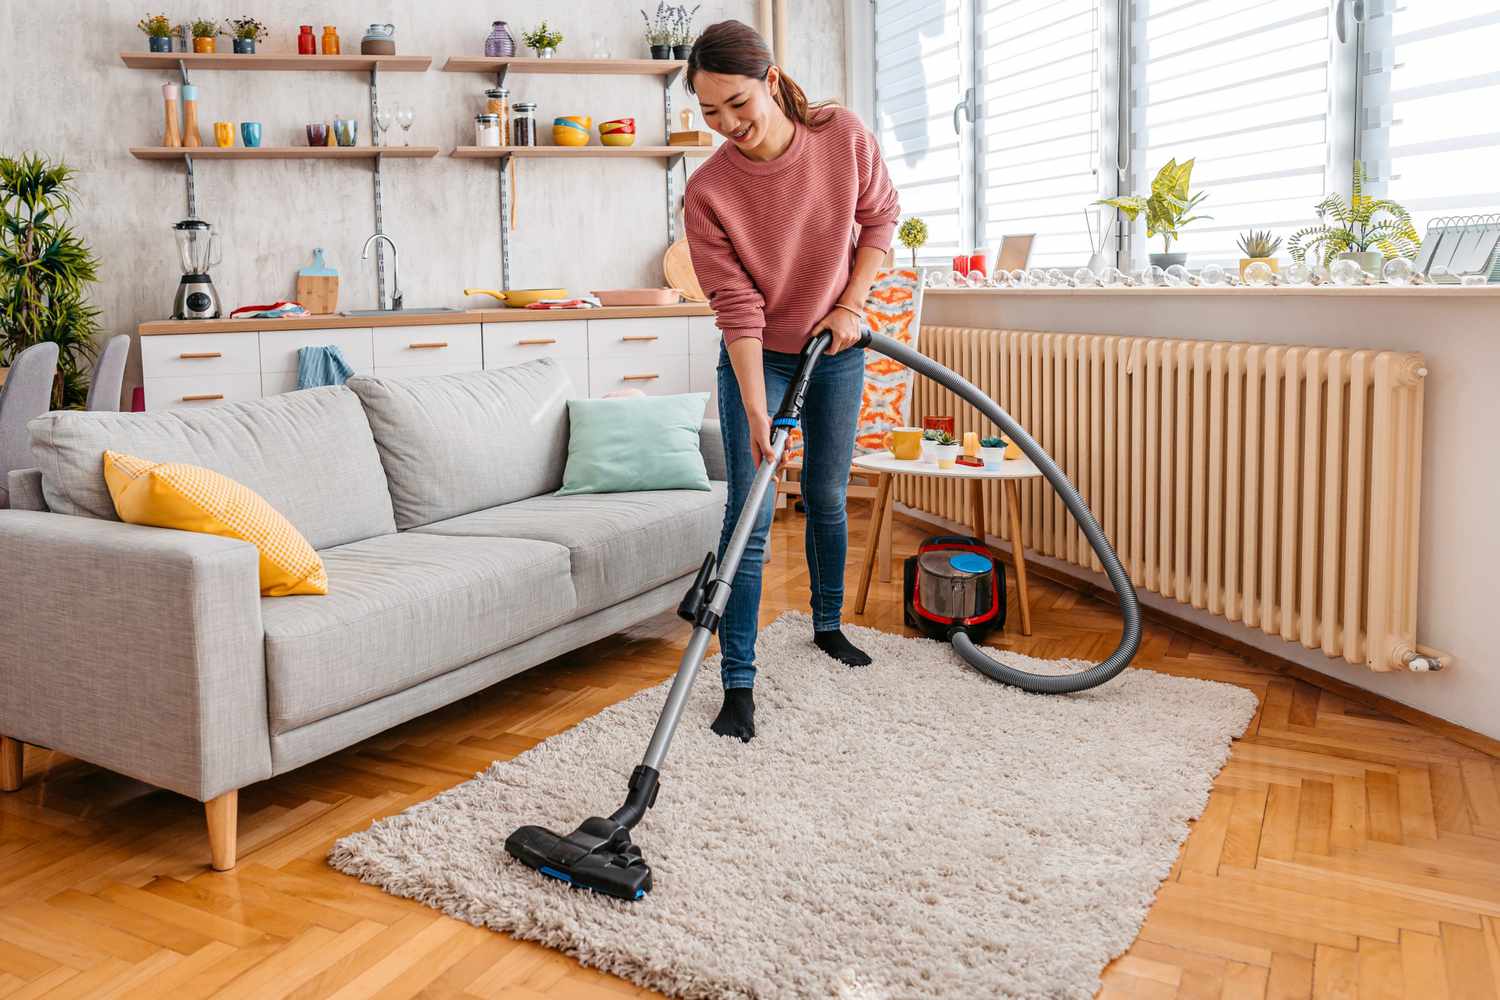
Cleaning and Maintaining the New Color
Once you have changed the color of your hardwood floor and applied the necessary sealant, it’s important to implement a regular cleaning and maintenance routine to preserve the new color and keep your floors looking their best. Here are some tips to help you clean and maintain the new color of your hardwood floor:
- Sweep or vacuum regularly: Regularly remove loose dirt, dust, and debris from your hardwood floors by sweeping with a soft-bristle broom or using a vacuum cleaner with a floor brush attachment. This will prevent grit from scratching and dulling the surface.
- Use a damp mop: For a deeper clean, use a well-wrung damp mop with a mild pH-neutral hardwood floor cleaner. Avoid using excessive water or harsh cleaning agents, as they can damage the sealant and the wood. Always follow the manufacturer’s instructions for any cleaning products you use.
- Wipe up spills immediately: Accidental spills should be promptly wiped up with a soft, absorbent cloth or paper towel to prevent staining or moisture damage to the wood. Avoid using excessive water or leaving liquid spills to sit on the floor for prolonged periods.
- Protect against scratches: Place felt pads on the bottom of furniture legs to prevent scratches when moving them. Use area rugs or mats in high-traffic areas to protect the floor from wear and tear. Avoid dragging heavy furniture or objects across the floor to prevent deep scratches.
- Trim pet nails: Keep your pet’s nails trimmed to avoid scratches on the hardwood floor. Pet nails can leave marks and damage the finish if they are overly long or sharp.
- Avoid direct sunlight: Prolonged exposure to direct sunlight can cause the color of your hardwood floor to fade over time. Consider using window treatments such as blinds or curtains to protect your floors from harmful UV rays.
- Periodically reapply sealant: Over time, the protective sealant on your hardwood floor may wear down. Reapply a fresh coat of sealant every few years or as recommended by the manufacturer to maintain the color and protect the wood.
- Consult professionals for refinishing: If your hardwood floor starts to show signs of wear or damage, consider consulting professionals for refinishing. They can sand off the old finish, apply a new stain, and reseal your floor to bring it back to its former glory.
By implementing a regular cleaning routine and following proper maintenance practices, you can extend the life of the new color on your hardwood floor and keep it looking beautiful for years to come. Remember, prevention is key, so taking proactive steps to protect your floors will minimize the need for extensive repairs or refinishing in the long run.
Frequently Asked Questions about How To Change Hardwood Floor Color
Was this page helpful?
At Storables.com, we guarantee accurate and reliable information. Our content, validated by Expert Board Contributors, is crafted following stringent Editorial Policies. We're committed to providing you with well-researched, expert-backed insights for all your informational needs.


0 thoughts on “How To Change Hardwood Floor Color”