
Articles
How To Deep Clean Top Load Washer
Modified: October 18, 2024
Learn effective methods for deep cleaning your top load washer with these informative articles. Keep your washing machine running smoothly and odor-free.
(Many of the links in this article redirect to a specific reviewed product. Your purchase of these products through affiliate links helps to generate commission for Storables.com, at no extra cost. Learn more)
Introduction
Welcome to our comprehensive guide on how to deep clean a top load washer. As one of the most frequently used appliances in our homes, it’s essential to keep our washing machines clean for optimal performance and longevity. Over time, soap scum, dirt, and mildew can build up, causing unpleasant odors and reducing the efficiency of your machine.
Regular maintenance and deep cleaning can help remove these contaminants and keep your washer running smoothly. This article will provide you with step-by-step instructions on how to deep clean every part of your top load washer, from the exterior to the drum, detergent dispenser, filters, and even the agitator (if applicable).
Before we dive into the cleaning process, it’s important to note that you should always follow safety precautions when working with any electrical appliance. Make sure to unplug the washer from the power source before starting the cleaning process and avoid using harsh chemicals or abrasive materials that can damage the machine.
Now, let’s gather the supplies we’ll need to deep clean your top load washer.
Key Takeaways:
- Regularly clean your top load washer’s exterior, drum, detergent dispenser, filters, and agitator to maintain optimal performance and prevent odors and residue buildup.
- Follow safety precautions, gather necessary supplies, and run maintenance cycles to keep your top load washer fresh, clean, and efficient for years to come.
Read more: How To Clean A Samsung Top Load Washer
Safety Precautions
Before you begin deep cleaning your top load washer, it’s crucial to take some safety precautions to ensure your well-being and prevent any potential accidents. Here are some important safety tips to keep in mind:
- Turn off the power: Before starting the cleaning process, always unplug the washer from the power source. This step is essential to avoid any electrical hazards while working on the machine.
- Protect your hands: Wear protective gloves to shield your hands from any cleaning agents or potentially sharp edges inside the washer. This will help prevent any skin irritation or injuries during the cleaning process.
- Use non-toxic cleaners: When selecting cleaning products, opt for non-toxic and environmentally friendly options. Harsh chemicals can damage the washer’s surfaces and potentially leave behind harmful residues that can transfer onto your clothes in future wash cycles.
- Keep the area well-ventilated: Deep cleaning can involve the use of cleaning agents with strong odors. Ensure that the laundry room is well-ventilated by opening windows or using fans to circulate fresh air during the cleaning process.
- Refer to the manufacturer’s instructions: While these general cleaning guidelines apply to most top load washers, it’s essential to consult your machine’s user manual for any specific instructions or precautions provided by the manufacturer.
By following these safety precautions, you can ensure a safe and effective deep cleaning process for your top load washer. Now, let’s move on to gathering the necessary supplies.
Gather Supplies
Before you begin deep cleaning your top load washer, it’s important to gather all the necessary supplies. Having them on hand will make the cleaning process more efficient. Here’s a list of the supplies you’ll need:
- White vinegar: Vinegar is a natural cleaning agent that can help remove residue and kill mold or mildew.
- Baking soda: Baking soda is a versatile ingredient that can help eliminate odors and remove stains.
- Mild dish soap: A gentle dish soap can be used to clean the exterior and other parts of the washer.
- Microfiber cloth: Microfiber cloths are effective for wiping down surfaces without leaving lint or scratches.
- Toothbrush or small scrub brush: These brushes can be used to clean hard-to-reach areas, such as the detergent dispenser or agitator.
- Hot water: Hot water is ideal for breaking down dirt and grime.
- Bucket or basin: You’ll need a container to mix the cleaning solution and collect water.
Make sure to gather all these supplies before you begin the cleaning process to ensure a smooth and efficient process. Once you have everything ready, you can move on to cleaning the exterior of your top load washer.
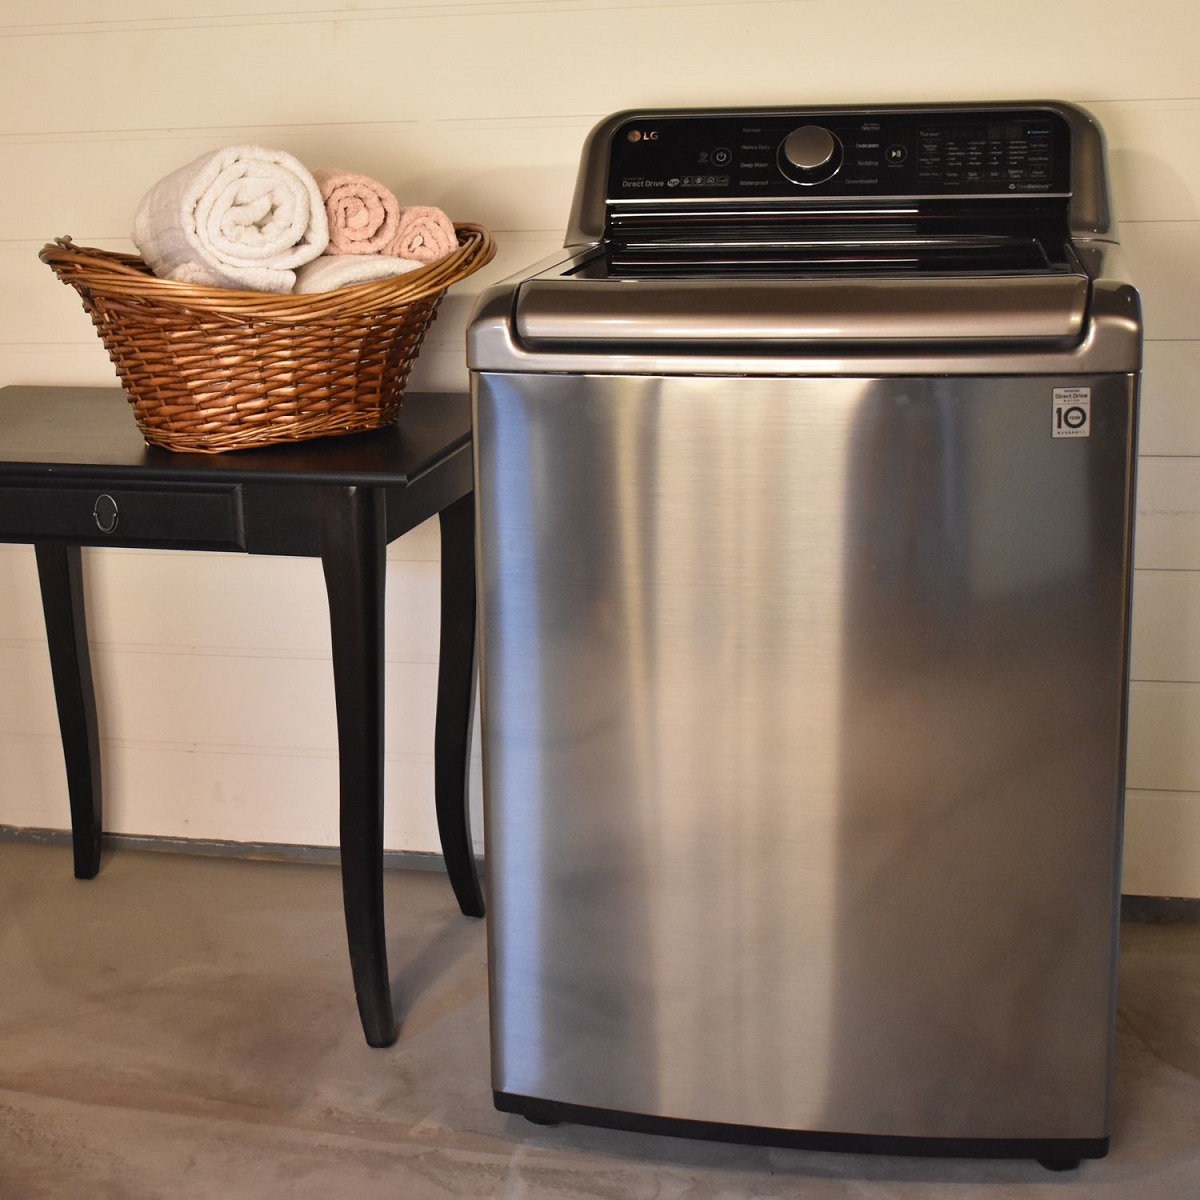
Clean the Exterior
The first step in deep cleaning your top load washer is to clean the exterior surfaces. Over time, dust, dirt, and grime can accumulate on the machine’s exterior, making it appear dull and dirty. Here’s how you can clean the exterior:
- Prepare a cleaning solution: In a bucket or basin, mix warm water with a small amount of mild dish soap. This mixture will be gentle enough to clean the exterior without causing any damage.
- Dip a microfiber cloth into the soapy water: Wet the cloth in the cleaning solution and wring out any excess water. The cloth should be damp, not dripping wet.
- Wipe down the exterior surfaces: Starting from the top, gently wipe down all the exterior surfaces of the washer. Pay special attention to any areas with visible dirt or stains. Use a circular motion for effective cleaning.
- Focus on knobs and buttons: Use a toothbrush or small scrub brush to clean the knobs, buttons, and other small details on the control panel. Dip the brush in the soapy water and scrub gently to remove any grime or residue.
- Rinse with clean water: Once you’ve wiped down all the surfaces, rinse the cloth with clean water and wring out any excess. Use the damp cloth to wipe away any soapy residue from the exterior of the washer.
- Dry the surfaces: Finally, use a dry microfiber cloth to dry the surfaces of the washer. This will help prevent water spots and leave the exterior looking clean and polished.
By following these steps, you can effectively clean the exterior of your top load washer and restore its original shine. Now, let’s move on to cleaning the drum.
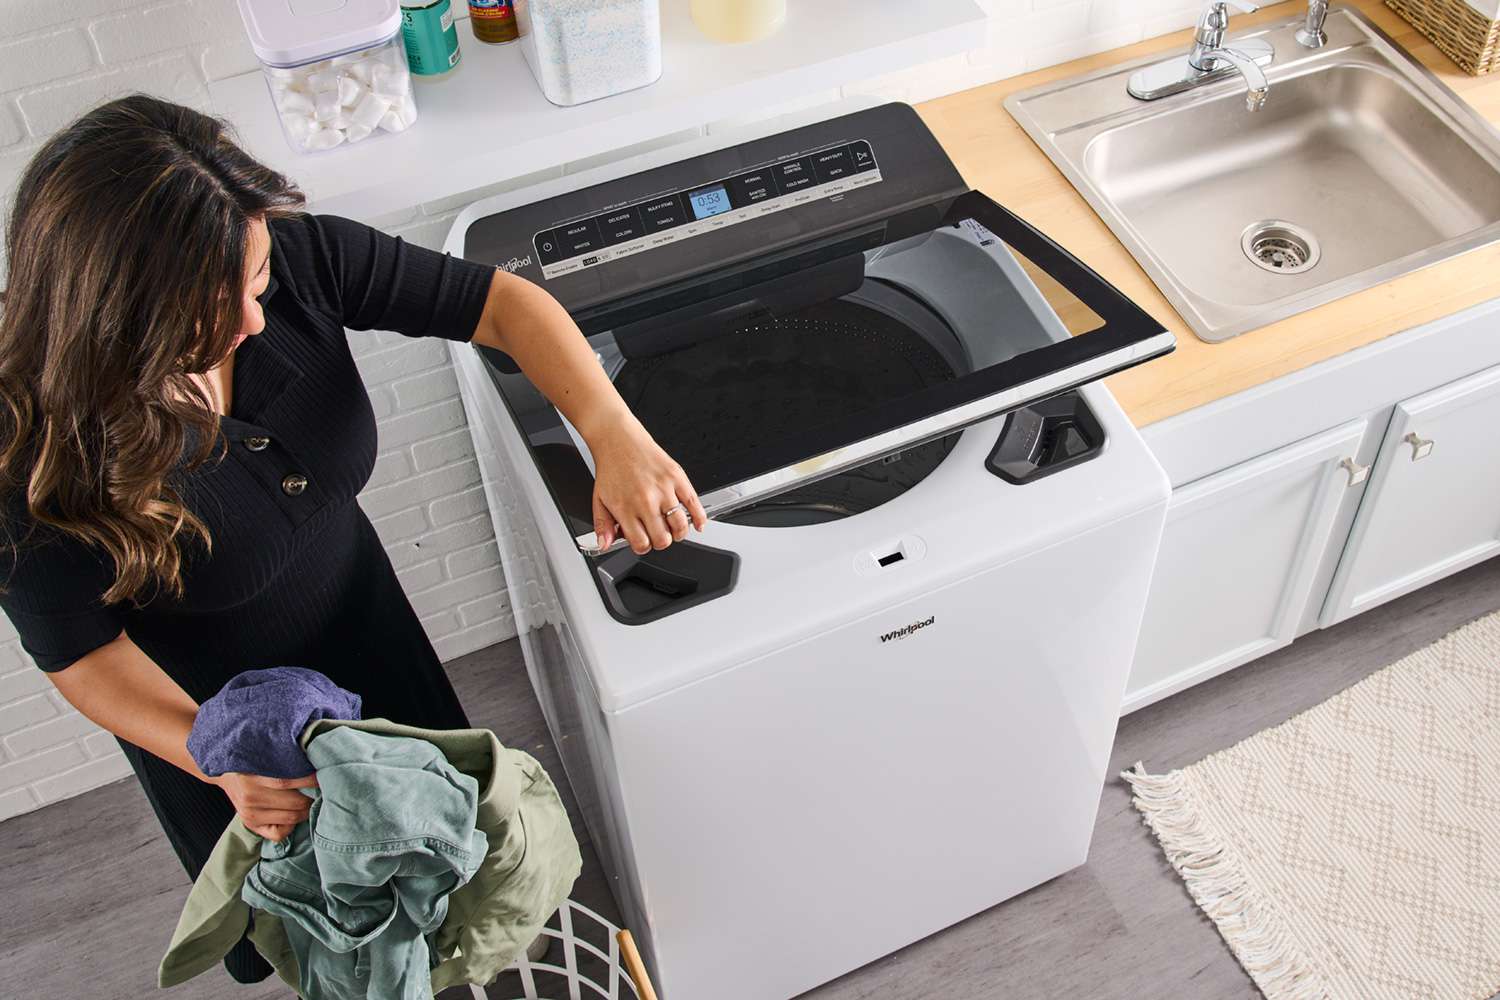
Clean the Drum
Next in the deep cleaning process of your top load washer is cleaning the drum, which is the interior part where you load your laundry. Over time, the drum can accumulate dirt, soap scum, and mildew, leading to unpleasant odors and potentially affecting the cleanliness of your clothes. Here’s how you can clean the drum:
- Run an empty cycle with vinegar: Fill the drum with hot water until it’s about half full. Add two cups of white vinegar to the water. Vinegar is a natural disinfectant and helps remove residue and odors.
- Let the machine agitate briefly: Allow the machine to agitate for a few minutes to ensure the vinegar-water solution is mixed well.
- Pause the cycle: After the agitation, pause the cycle and let the vinegar solution sit in the drum for about an hour. During this time, the vinegar will work to break down any buildup or grime inside the drum.
- Resume the cycle: After the hour has passed, resume the cycle and let it run until completion. This will help flush out the vinegar solution from the drum.
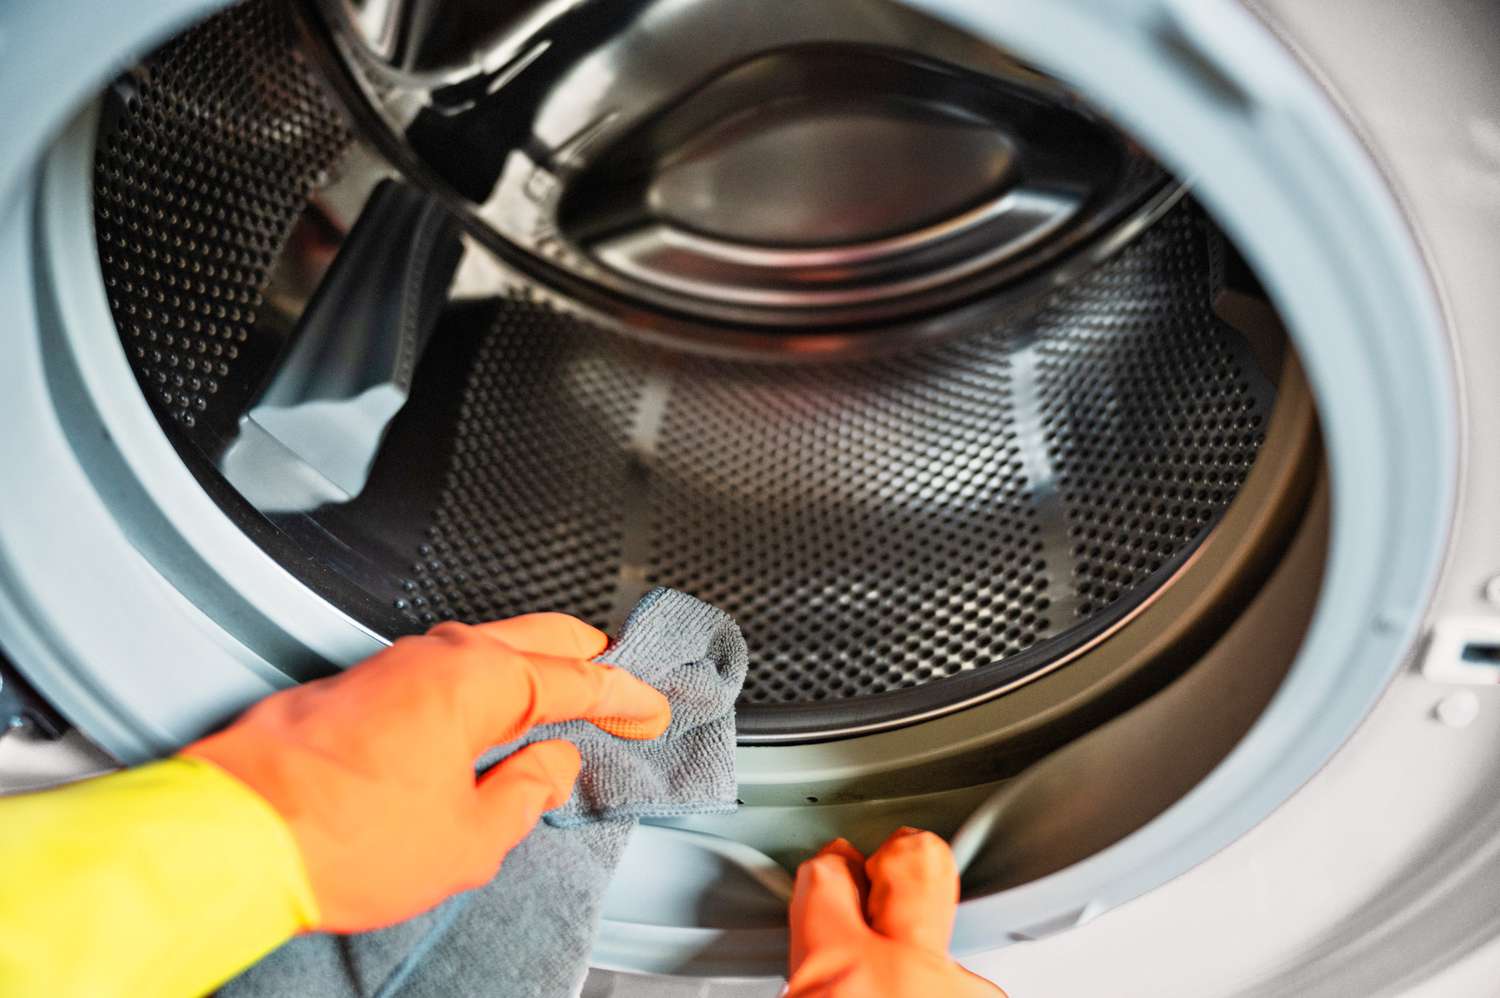
- Wipe down the drum: Once the cycle is complete, use a damp microfiber cloth to wipe down the interior of the drum. This will help remove any remaining residue or debris.
- Leave the lid open: After cleaning, it’s important to leave the washing machine lid open for a while to allow proper ventilation. This helps prevent mold or mildew growth and allows the drum to dry completely.
By following these steps, you can effectively clean the drum of your top load washer and eliminate any odors or residue. Now, let’s move on to cleaning the detergent dispenser.
Read more: How to Clean Filter on LG Top Load Washer
Clean the Detergent Dispenser
The detergent dispenser in your top load washer can easily become clogged with dried detergent, fabric softener, and other residues. Cleaning the detergent dispenser regularly is important to ensure that your laundry products are dispensed properly during each wash cycle. Here’s how you can clean the detergent dispenser:
- Remove the dispenser tray: Depending on your washer model, the detergent dispenser tray may be removable. Check your machine’s user manual for instructions on how to remove it.
- Soak the tray in warm, soapy water: Fill a basin or sink with warm water and add a few drops of mild dish soap. Place the detergent dispenser tray in the soapy water and let it soak for a few minutes to loosen any dried residue.
- Gently scrub the tray: Use a toothbrush or small scrub brush to scrub the detergent dispenser tray, focusing on any areas with stubborn residue. Pay attention to any small holes or compartments in the tray, ensuring they are thoroughly cleaned.
- Rinse the tray: Once you’ve scrubbed the tray, rinse it thoroughly with clean water to remove any soap residue.
- Clean the dispenser housing: While the tray is soaking, use a damp cloth or sponge to clean the dispenser housing inside the machine. Wipe away any residue or build-up that may be present.
- Dry the tray and reassemble: After cleaning, dry the detergent dispenser tray completely. Make sure it’s completely dry before reassembling it into the machine.
By regularly cleaning the detergent dispenser, you can ensure that your laundry products are properly dispensed and prevent clogs or buildup in the dispenser. Now, let’s move on to cleaning the filters in your top load washer.
To deep clean a top load washer, run a hot water cycle with a mixture of vinegar and baking soda to remove built-up residue and odors. Wipe down the agitator and drum with a damp cloth and leave the lid open to air dry.
Clean the Filters
Filters in your top load washer play an essential role in trapping lint, debris, and other particles to prevent them from clogging the drain and affecting the functionality of the machine. Regularly cleaning the filters helps maintain the washer’s performance and prevents potential drainage issues. Here’s how you can clean the filters:
- Locate the filters: Depending on your washer model, there may be one or more filters. Consult your machine’s user manual to find the location of the filters.
- Remove the filters: Once you’ve located the filters, carefully remove them from their designated compartments. Some filters may twist off, while others may have a release latch.
- Rinse with hot water: Rinse the filters under hot running water to remove any trapped dirt, lint, or debris. Use your fingers or a soft brush to gently scrub away stubborn residue.
- Inspect for damage: While cleaning the filters, take a moment to inspect them for any visible damage, such as tears or cracks. If you notice any damage, contact a professional for repair or replacement.
- Reinstall the filters: Once the filters are clean and dry, carefully reinstall them back into their compartments. Make sure they are securely in place.
Regularly cleaning the filters in your top load washer helps maintain proper drainage and prevents clogs. It’s recommended to clean the filters at least once every few months, or more frequently if you notice drainage issues or excessive lint accumulation.
Now that you’ve cleaned the filters, let’s move on to cleaning the agitator (if your washer has one).
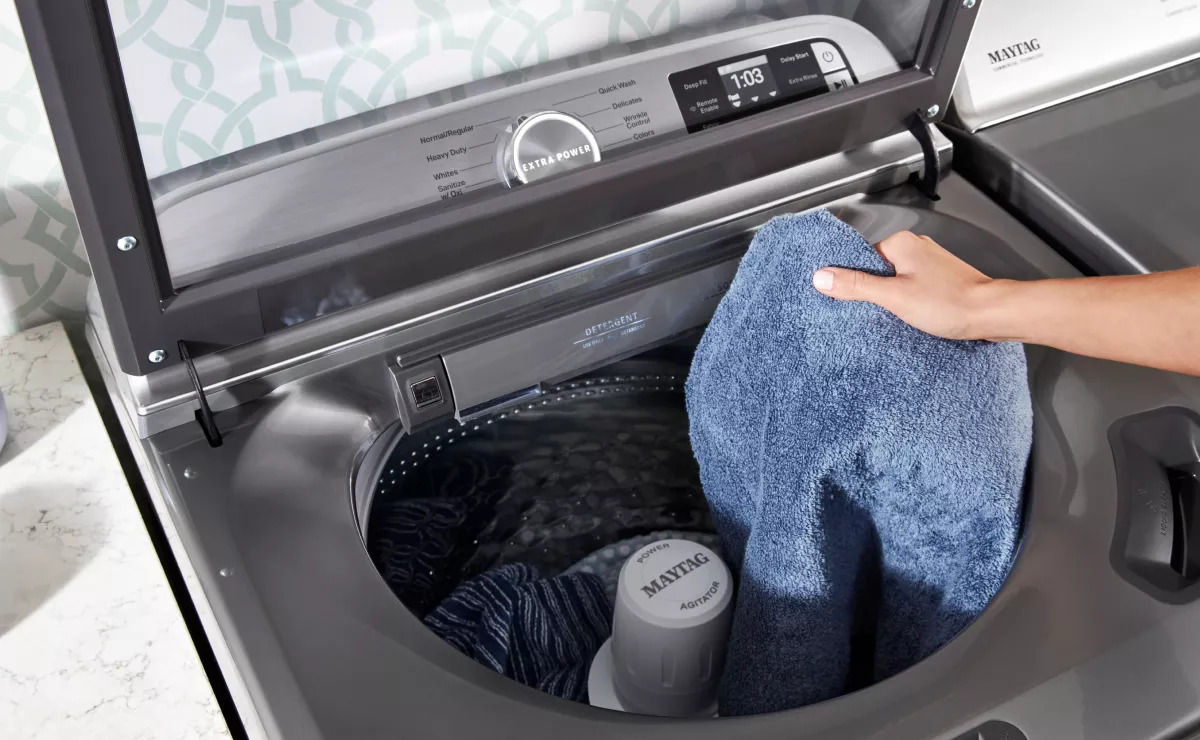
Clean the Agitator (if applicable)
If your top load washer has an agitator, it’s important to clean it regularly to prevent the build-up of dirt, grime, and detergent residue. Cleaning the agitator helps maintain its functionality and ensures that your clothes are thoroughly cleaned during each wash cycle. Here’s how you can clean the agitator:
- Remove the agitator cap: Start by removing the agitator cap, which is the top part of the agitator. Depending on your washer model, you may need to gently pry it off or unscrew it.
- Inspect for debris: Once the agitator cap is removed, take a moment to inspect the inside of the agitator for any visible debris, such as lint or clothing fibers. Use your fingers or a small brush to remove any loose debris.
- Mix a cleaning solution: In a bucket or basin, mix warm water with a small amount of mild dish soap. This solution will be used to clean the agitator.
- Scrub the agitator: Dip a toothbrush or a small scrub brush into the cleaning solution and scrub the inside surfaces of the agitator. Pay special attention to any stubborn stains or built-up residue. Use a circular motion to effectively clean all sides of the agitator.
- Rinse with clean water: Once you’ve scrubbed the agitator, rinse it thoroughly with clean water to remove any soap residue.
- Dry and reassemble: After cleaning, dry the agitator completely before reassembling it. Make sure it’s securely in place.
Regularly cleaning the agitator in your top load washer helps maintain its performance and ensures that your clothes are cleaned effectively. If you’re unsure of how to remove the agitator cap or have any concerns, consult your machine’s user manual or contact the manufacturer for guidance.
Now that the agitator (if applicable) is clean, let’s move on to running a maintenance cycle to further freshen up your top load washer.
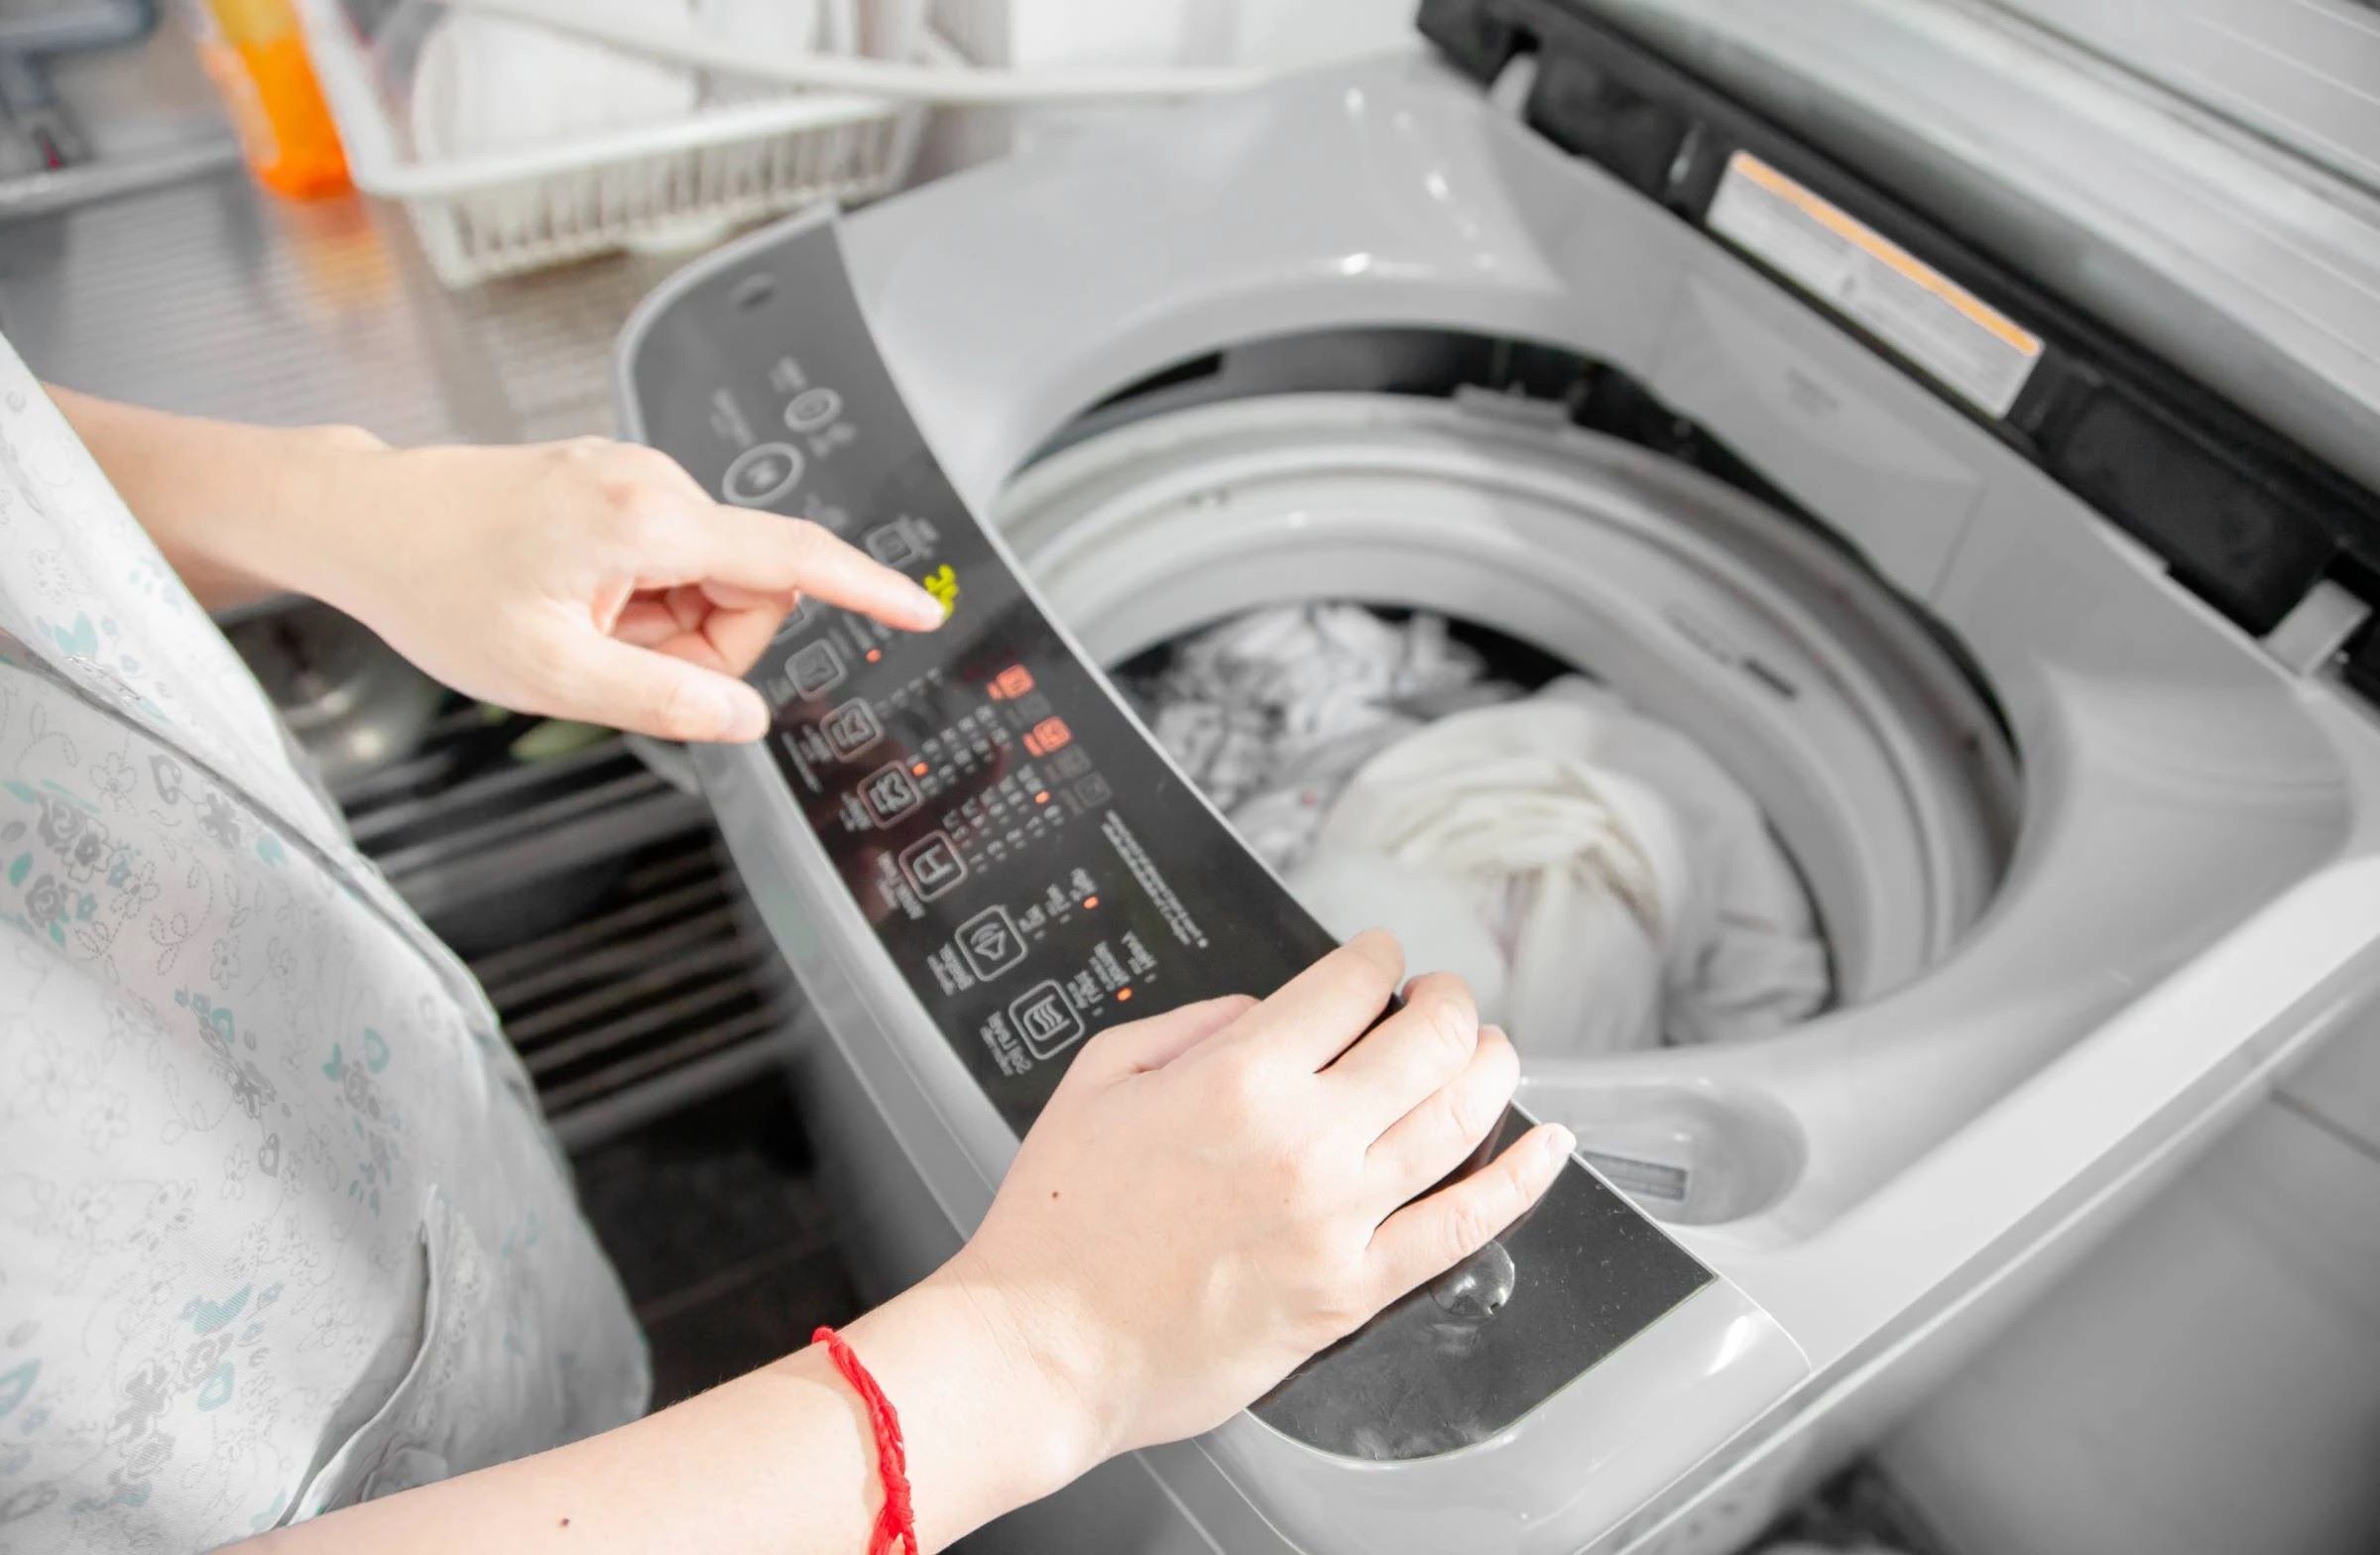
Run a Maintenance Cycle
Running a maintenance cycle on your top load washer is an effective way to further clean and freshen up the machine. A maintenance cycle helps remove any remaining residue, bacteria, or odors, ensuring that your washer is in optimal condition. Follow these steps to run a maintenance cycle:
- Empty the washer: Make sure the washer is empty and there are no clothes or any other items inside.
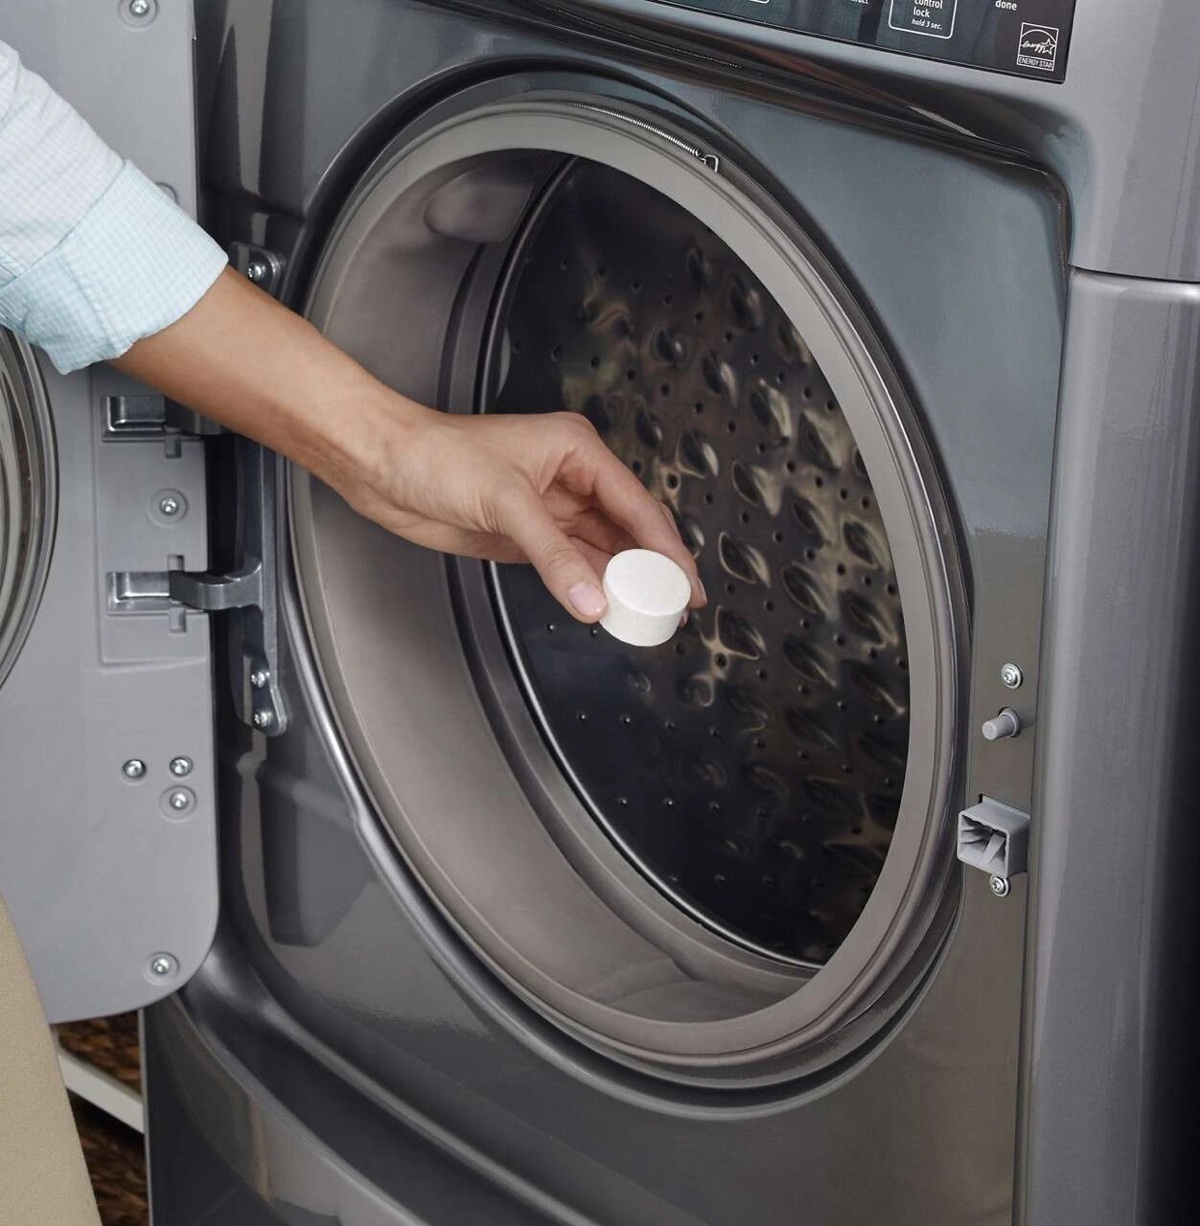
- Add cleaning agents: Depending on your washer’s recommendations, you can add either a cup of white vinegar or a specialized washing machine cleaner to the washing machine drum. Both options can effectively clean and deodorize the machine.
- Select the right cycle: Choose the longest and hottest cycle available on your machine. This will help maximize the cleaning power and ensure thorough cleaning.
- Start the cycle: Start the maintenance cycle and let it run until completion. Ensure that the washer completes all the cycles and drains properly.
Running a maintenance cycle regularly, about once a month or as recommended by the manufacturer, can help keep your top load washer fresh and clean. It’s important to follow the specific instructions provided by your machine’s user manual for optimal results.
Now that you’ve completed the maintenance cycle, let’s move on to some tips for keeping your washer clean and well-maintained on an ongoing basis.
Read more: How To Clean Maytag Top Load Washer Filter
Tips for Keeping Your Washer Clean
Maintaining a clean and odor-free top load washer requires regular maintenance and a few simple practices. By following these tips, you can keep your machine in top condition and extend its lifespan:
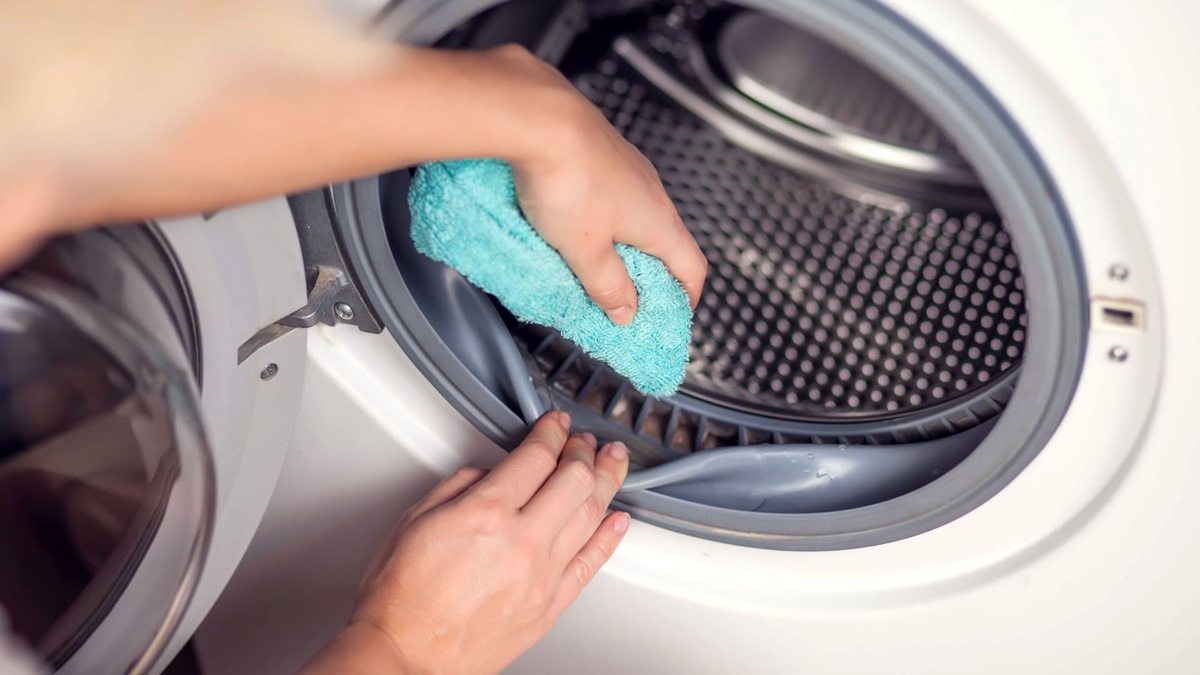
- Wipe down the drum and door seal: After each wash cycle, take a damp cloth and wipe down the inside of the drum and the door seal. This helps remove any excess moisture and prevents the growth of mold or mildew.
- Leave the door open between washes: After each use, leave the washer door open for a while to allow airflow and help the moisture evaporate. This prevents the buildup of unpleasant odors and reduces the risk of mold growth.
- Avoid overloading: Overloading the washer can strain its components and compromise its cleaning performance. Follow the manufacturer’s instructions for maximum load capacity to ensure effective and efficient cleaning.
- Use the right detergent: Use high-quality, low-sudsing detergents specifically formulated for top load washers. Using too much detergent or using the wrong type can lead to excessive suds and residue buildup.
- Clean the detergent dispenser regularly: As we discussed earlier, regularly clean the detergent dispenser to prevent clogs and ensure proper dispensing of laundry products. Refer to the manufacturer’s instructions for detailed guidelines.
- Remove and clean the lint trap: If your top load washer has a lint trap, remove it regularly and clean out any lint or debris. This helps improve drainage and prevents clogs.
- Perform regular maintenance checks: Inspect your washer for any signs of wear or damage, such as loose hoses, leaks, or unusual noises. Address any issues promptly to prevent further damage and ensure the optimal performance of your machine.
By incorporating these simple habits into your laundry routine, you can keep your top load washer clean, fresh, and efficient for years to come. Regular maintenance and a little extra care go a long way in maintaining the performance and longevity of your appliance.
Now that we’ve covered all the essential tips and steps to deep clean your top load washer, you can enjoy fresh and clean laundry every time.
Conclusion
Cleaning your top load washer is an important step in maintaining its performance and ensuring clean and fresh laundry. By following the steps outlined in this guide, you can effectively deep clean every part of your washer, from the exterior to the drum, detergent dispenser, filters, and even the agitator (if applicable).
Remember to always prioritize safety by following the recommended precautions, such as turning off the power and using non-toxic cleaning agents. Taking the time to gather the necessary supplies and following the step-by-step instructions will help you achieve optimal results.
In addition to deep cleaning, implementing regular maintenance practices, such as wiping down the drum and door seal, leaving the door open to promote airflow, and avoiding overloading, will help prevent the accumulation of dirt, residue, and odors.
By incorporating these cleaning and maintenance tips into your routine, you’ll not only keep your top load washer in great condition but also ensure that your laundry comes out clean, fresh, and odor-free.
Remember, a clean washer leads to cleaner clothes. So, take the time to give your top load washer the attention it deserves, and enjoy the benefits of a well-maintained and efficient appliance.
Frequently Asked Questions about How To Deep Clean Top Load Washer
Was this page helpful?
At Storables.com, we guarantee accurate and reliable information. Our content, validated by Expert Board Contributors, is crafted following stringent Editorial Policies. We're committed to providing you with well-researched, expert-backed insights for all your informational needs.


0 thoughts on “How To Deep Clean Top Load Washer”