Home>Storage Ideas>Kitchen Storage>How To Deep-Clean Your Waffle Maker Without Damaging It
Kitchen Storage
How To Deep-Clean Your Waffle Maker Without Damaging It
Modified: August 26, 2024
Learn how to effectively clean your waffle maker without causing any damage. Discover easy kitchen storage ideas for your waffle maker.
(Many of the links in this article redirect to a specific reviewed product. Your purchase of these products through affiliate links helps to generate commission for Storables.com, at no extra cost. Learn more)
Introduction
Welcome to our comprehensive guide on how to deep-clean your waffle maker without damaging it. A waffle maker is a versatile kitchen appliance that adds a touch of deliciousness to your breakfast routine. Whether you enjoy classic Belgian waffles, crispy Chaffle, or savory potato waffles, keeping your waffle maker clean is essential for maintaining its performance and ensuring the longevity of the appliance.
While wiping off any leftover batter or residue may be sufficient for day-to-day cleaning, deep-cleaning your waffle maker on a regular basis is crucial for removing built-up grime, grease, and food particles that can affect the taste and texture of your waffles. However, it’s important to clean your waffle maker correctly to avoid damaging the non-stick surfaces or disrupting the electrical components.
In this guide, we will walk you through a step-by-step process to deep-clean your waffle maker effectively. We will also provide you with valuable tips and tricks to ensure a thorough clean and share common mistakes to avoid. So, let’s dive in and learn how to keep your waffle maker sparkling clean and ready to whip up delicious waffles!
Key Takeaways:
- Regular deep-cleaning of your waffle maker is crucial for tastier waffles, appliance longevity, and food safety. Follow the step-by-step guide and tips to ensure a thorough and effective cleaning process.
- After deep-cleaning, implement proper maintenance practices like regular wiping, proper storage, and following the manufacturer’s instructions to keep your waffle maker in optimal condition for years of delightful waffle-making.
Read more: How To Make A Waffle Without A Waffle Iron
Understanding the Importance of Deep-Cleaning
A waffle maker, like any other kitchen appliance, requires regular cleaning to maintain its performance and ensure the safety of the food you prepare. Deep-cleaning your waffle maker goes beyond wiping away surface-level residue – it involves removing built-up grime, grease, and food particles that can accumulate over time.
Here are a few reasons why deep-cleaning your waffle maker is important:
- Improved Taste and Texture: Over time, residual oils and crumbs can accumulate on the cooking surface, impacting the taste and texture of your waffles. Deep-cleaning helps to remove these particles, allowing your waffles to cook evenly and taste delicious.
- Prevention of Cross-Contamination: Food particles left behind on the waffle maker can become a breeding ground for bacteria. Deep-cleaning ensures that you start with a clean surface, reducing the risk of cross-contamination and maintaining food safety.
- Longevity of Your Waffle Maker: Regular deep-cleaning helps to prevent the buildup of stubborn stains, grease, and grime that can damage the heating elements and non-stick coating of your waffle maker. By keeping it clean, you can extend the lifespan of your appliance.
- Promoting Efficiency: A clean waffle maker heats up faster and cooks more evenly, resulting in perfectly golden and crispy waffles. Deep-cleaning allows the heat to distribute evenly throughout the cooking plates, ensuring consistent results with every use.
By understanding the importance of deep-cleaning your waffle maker, you can ensure that every batch of waffles you make is not only delicious but also cooked on a clean and safe surface. Now, let’s move on to the materials needed to deep-clean your waffle maker effectively.
Materials Needed for Deep Cleaning
Before you start the deep-cleaning process for your waffle maker, it’s important to gather the necessary materials. Here’s what you’ll need:
- Mild Dish Soap: Look for a gentle dish soap that is free from harsh chemicals and abrasives. This will help to effectively clean the surfaces of your waffle maker without causing any damage.
- Soft Cloth or Sponge: Choose a soft cloth or sponge that won’t scratch the non-stick coating of your waffle maker. Avoid using abrasive scrubbers or brushes, as they can damage the surface.
- Toothbrush or Small Cleaning Brush: A soft toothbrush or small cleaning brush is useful for reaching into the crevices and hard-to-reach areas of your waffle maker.
- Vinegar or Lemon Juice: Both vinegar and lemon juice are natural cleaning agents that can help to remove stubborn stains and grease. They are particularly effective for tackling mineral deposits or hard water stains.
- Warm Water: Warm water will help to break down grease and grime, making it easier to clean your waffle maker.
- Soft, Dry Cloth or Towel: After deep-cleaning your waffle maker, use a soft, dry cloth or towel to gently wipe away excess moisture and prevent water spots.
Having these materials readily available will make the deep-cleaning process much smoother and ensure that you have everything you need to effectively remove any residue or buildup from your waffle maker.
Now that you have gathered the necessary materials, let’s move on to the step-by-step guide for deep-cleaning your waffle maker.
Step-by-Step Guide for Deep-Cleaning Your Waffle Maker
Deep-cleaning your waffle maker may seem intimidating, but with this step-by-step guide, you’ll be able to tackle the task with confidence. Follow these simple steps to ensure a thorough clean:
- Unplug and Let It Cool Down: Before you begin cleaning, ensure that your waffle maker is unplugged and has completely cooled down. This will prevent any accidents or injuries.
- Remove Removable Plates (if applicable): If your waffle maker has removable plates, take them out and wash them separately according to the manufacturer’s instructions.
- Wipe Away Excess Crumbs: Use a soft cloth or sponge to gently wipe away any loose crumbs or batter from the cooking surface. Be careful not to scratch the non-stick coating.
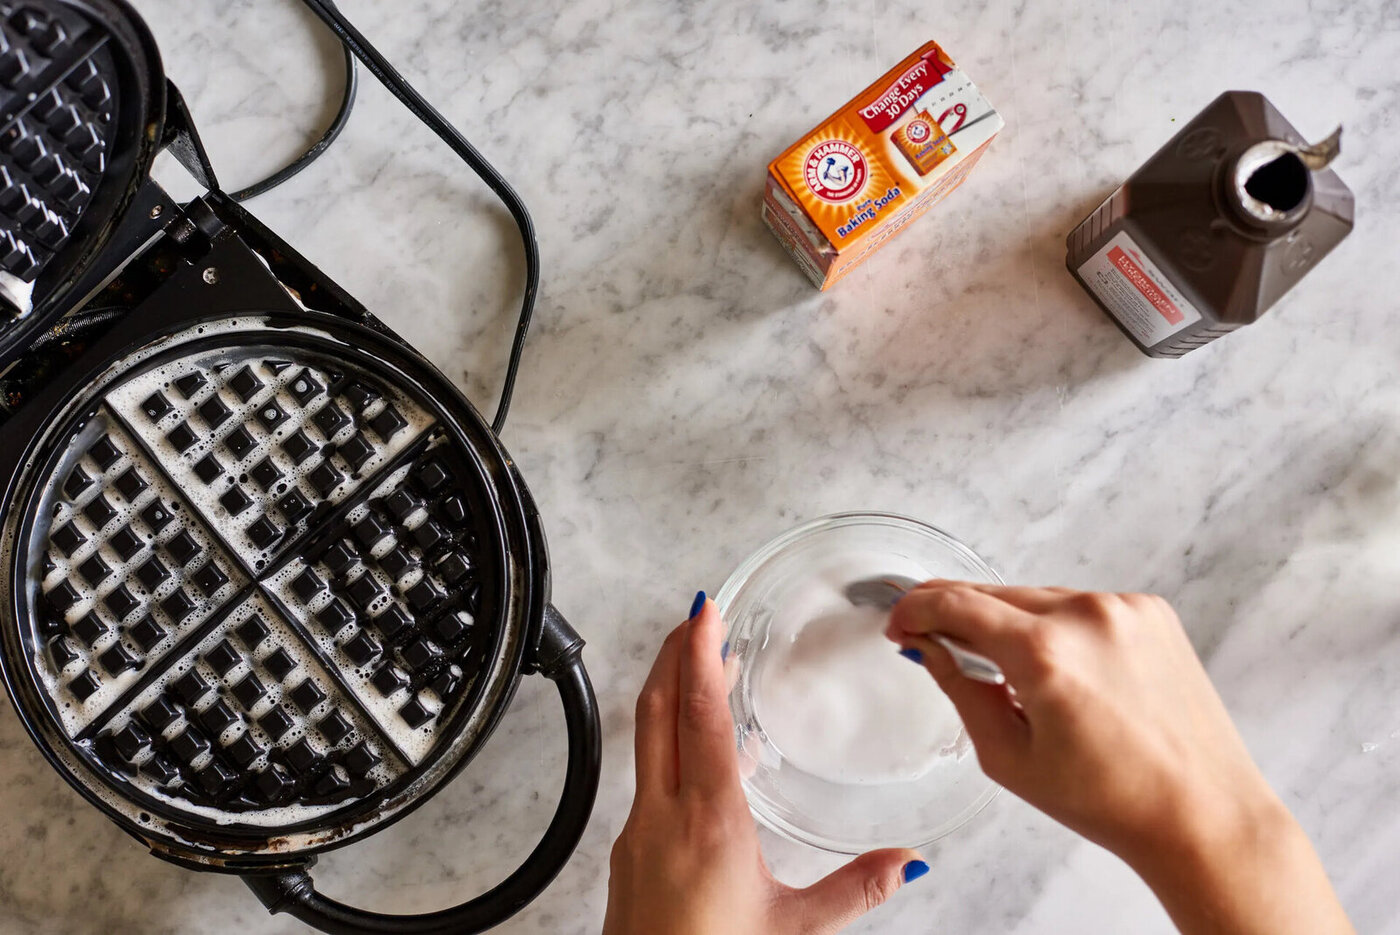
- Mix Mild Dish Soap with Warm Water: In a bowl, mix a few drops of mild dish soap with warm water to create a soapy solution.
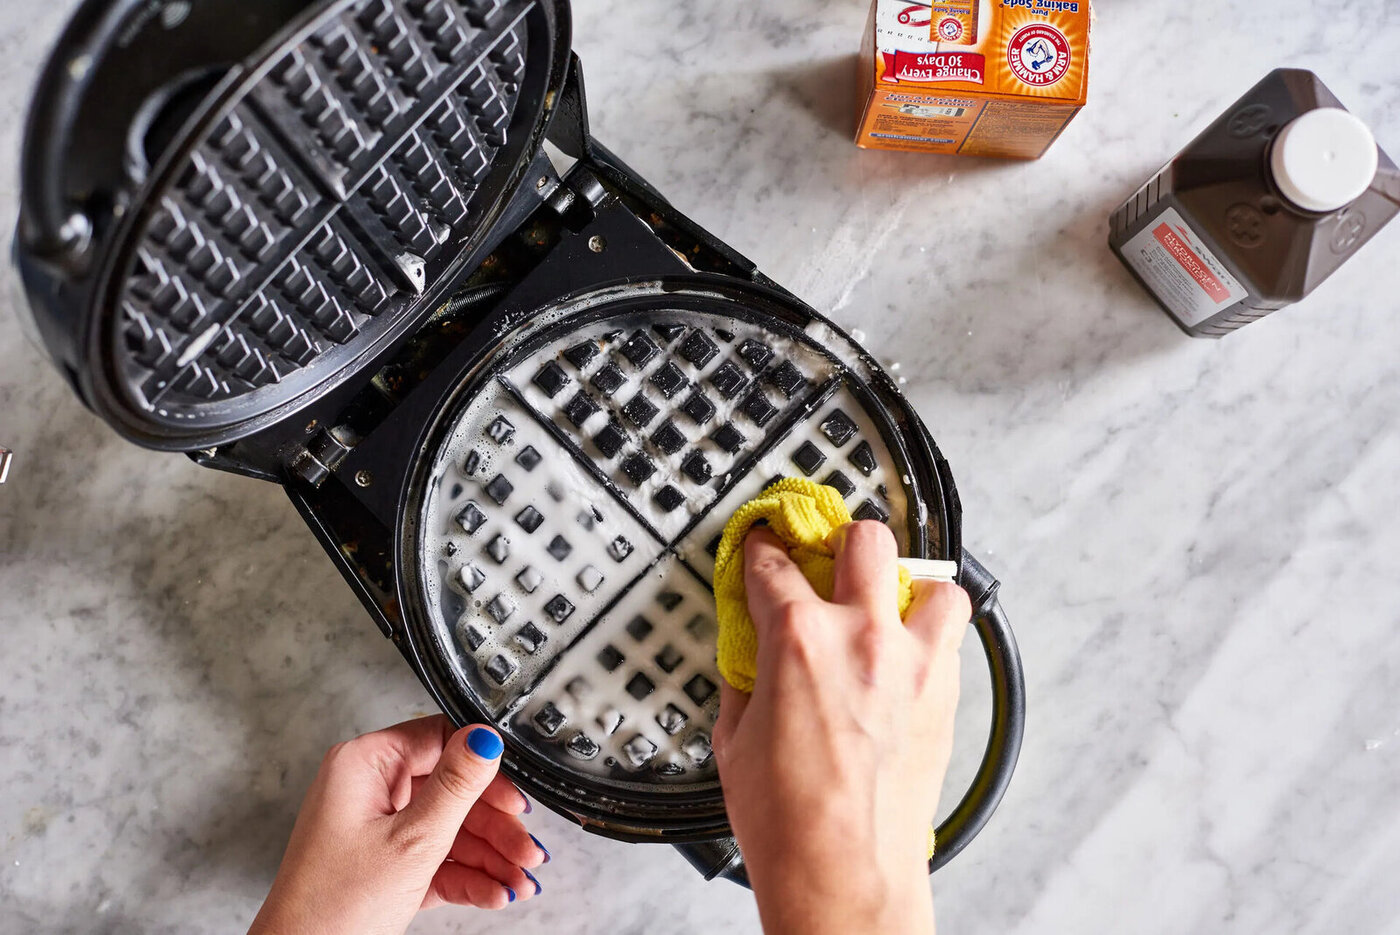
- Clean the Cooking Surfaces: Dip a soft cloth or sponge into the soapy solution, wring out any excess water, and gently scrub the cooking surfaces of the waffle maker. Pay extra attention to any areas with stubborn stains or grease buildup.
- Use a Toothbrush for Crevices: For hard-to-reach areas or crevices, use a soft toothbrush or small cleaning brush dipped in the soapy solution to scrub away any residue.
- Tackle Stubborn Stains with Vinegar or Lemon Juice: If there are stubborn stains or mineral deposits, dampen a cloth with vinegar or lemon juice and gently rub the affected areas. Let it sit for a few minutes, then rinse with warm water.
- Rinse and Wipe: After cleaning the surfaces, rinse the cloth or sponge with clean water and wipe away any soap residue from the waffle maker. Ensure that no soapy water seeps into the electrical components.
- Dry Thoroughly: Use a soft, dry cloth or towel to thoroughly dry the waffle maker, eliminating any remaining moisture. This helps to prevent water spots and potential damage.
- Reassemble and Store: Once the waffle maker is completely dry, reassemble any removable parts and store it in a clean and dry location until your next use.
Following these steps regularly will keep your waffle maker in prime condition and ensure a clean and safe cooking surface for your delicious homemade waffles.
Next, let’s explore some tips and tricks to enhance your deep-cleaning experience and maintain your waffle maker’s longevity.
To deep-clean your waffle maker without damaging it, unplug it and let it cool completely. Then, use a damp cloth to wipe away any excess batter or residue. For stuck-on batter, use a soft-bristled brush or a plastic scraper to gently remove it. Avoid using harsh chemicals or abrasive sponges to prevent damage to the non-stick coating.
Tips and Tricks for Effective Cleaning
Deep-cleaning your waffle maker doesn’t have to be a daunting task. With these tips and tricks, you can make the cleaning process more efficient and effective:
- Clean After Every Use: While deep-cleaning is essential, it’s also important to clean your waffle maker after each use. Wipe away any excess batter or crumbs to prevent them from sticking and building up over time.
- Wait for It to Cool Down: Always allow your waffle maker to cool down completely before cleaning. Cleaning a hot appliance can be dangerous and may damage its surfaces.
- Never Immerse in Water: Avoid submerging your waffle maker in water or placing it under running water. This can damage the electrical components and pose a safety risk. Instead, follow the manufacturer’s instructions for cleaning.
- Be Gentle: When cleaning, use a soft cloth, sponge, or non-abrasive brush to prevent scratching the non-stick coating of your waffle maker.
- Avoid Harsh Chemicals: Stick to mild dish soap and natural cleaning agents like vinegar or lemon juice to clean your waffle maker. Harsh chemicals can damage the surfaces and affect the taste of your waffles.
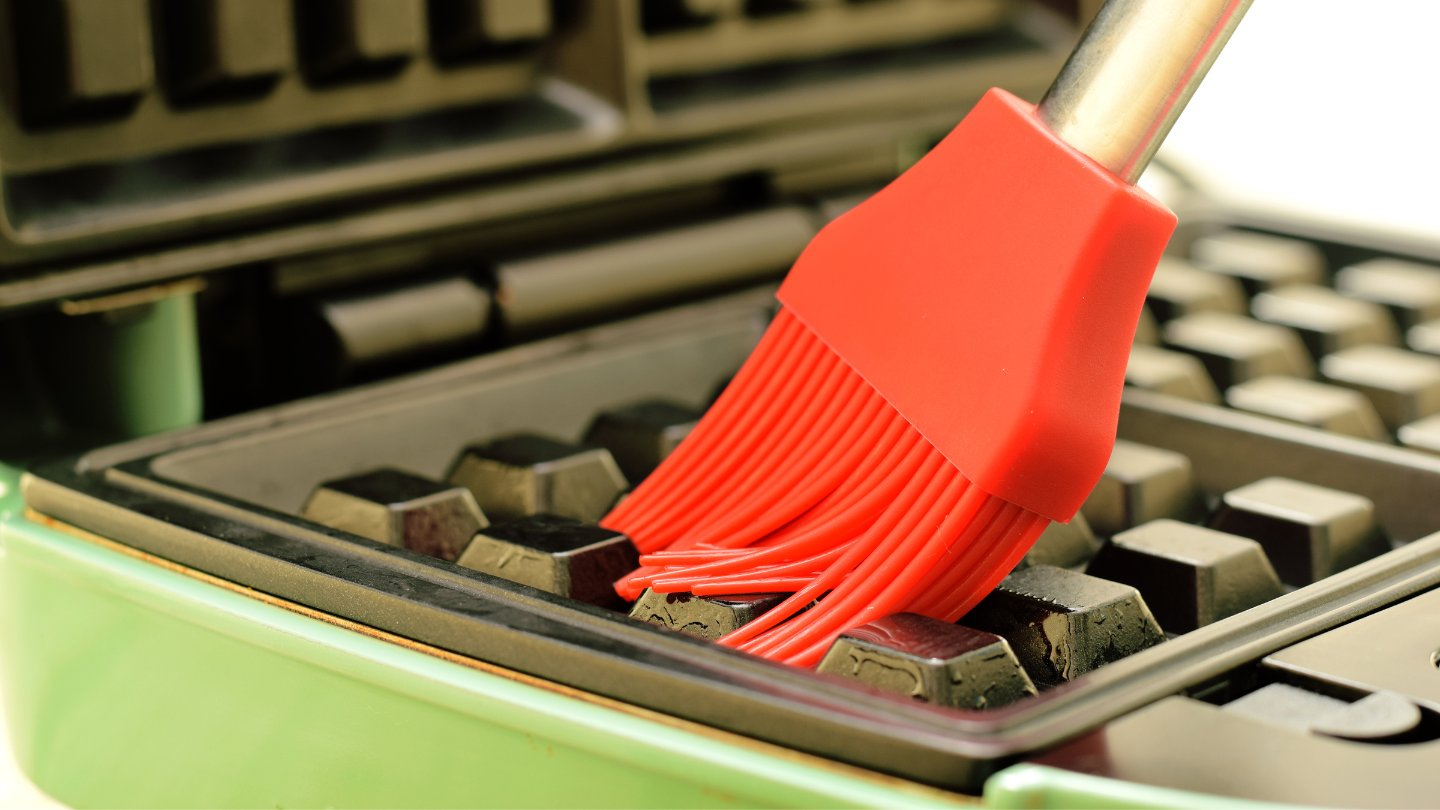
- Remove Excess Grease: If your waffle maker has removable plates, consider using a paper towel to remove excess grease or oil before proceeding with the deep-cleaning process.
- Don’t Overload with Batter: To minimize spills and make cleanup easier, be mindful of the amount of batter you pour onto the waffle maker. Overloading can lead to messy cleanups and require more time and effort to deep-clean.
- Store Properly: When not in use, store your waffle maker in a clean and dry place to prevent dust or moisture from accumulating. This will help maintain its cleanliness and overall performance.
By incorporating these tips into your cleaning routine, you can ensure that deep-cleaning your waffle maker is a breeze. Now, let’s discuss the common mistakes to avoid while cleaning.
Common Mistakes to Avoid While Cleaning
When deep-cleaning your waffle maker, it’s important to be aware of common mistakes that can potentially damage the appliance or hinder the cleaning process. Here are some mistakes to avoid:
- Using Abrasive Cleaners: Avoid using abrasive cleaners, scrub brushes, or steel wool on the surfaces of your waffle maker. These can scratch the non-stick coating and compromise its performance.
- Immersing in Water: Never immerse your waffle maker in water or submerge it under running water. This can cause electrical damage and pose a safety hazard. Instead, follow the manufacturer’s instructions for cleaning.
- Using Excessive Force: Be gentle when cleaning your waffle maker, especially around the control buttons and electrical components. Applying excessive force can cause damage and affect its functionality.
- Skipping the Cool-Down Period: It’s crucial to allow your waffle maker to cool down completely before cleaning. Cleaning a hot appliance can result in burns and damage to the surfaces.
- Missing Hard-to-Reach Areas: Pay attention to hard-to-reach areas like grooves or crevices. Use a toothbrush or small cleaning brush to ensure all nooks and crannies are thoroughly cleaned.
- Using Harsh Chemicals: Stick to mild dish soap, vinegar, or lemon juice for cleaning. Avoid using harsh chemicals or cleaners that may damage the surfaces and affect the taste of your waffles.
- Not Drying Thoroughly: After cleaning, make sure to dry your waffle maker thoroughly to prevent water spots and potential damage. Moisture left on the appliance can lead to rust or mold growth.
- Storing While Damp: Never store your waffle maker if it’s still damp. Moisture can lead to the growth of mold and mildew. Ensure it is completely dry before putting it away.
- Overlooking Removable Plates: If your waffle maker has removable plates, don’t forget to clean them separately according to the manufacturer’s instructions. Neglecting to clean these plates can result in residue buildup and affect the performance of your appliance.
By avoiding these common mistakes, you can ensure a safe and effective deep-cleaning process for your waffle maker. Now that you have thoroughly cleaned your waffle maker, let’s explore some tips for maintaining it after cleaning.
Maintaining Your Waffle Maker After Cleaning
After deep-cleaning your waffle maker, it’s important to implement proper maintenance practices to keep it in optimal condition. Here are some tips to help you maintain your waffle maker after cleaning:
- Regular Wiping: Make it a habit to wipe down the cooking surfaces of your waffle maker after every use. This helps prevent the buildup of residue and keeps it clean between deep-cleaning sessions.
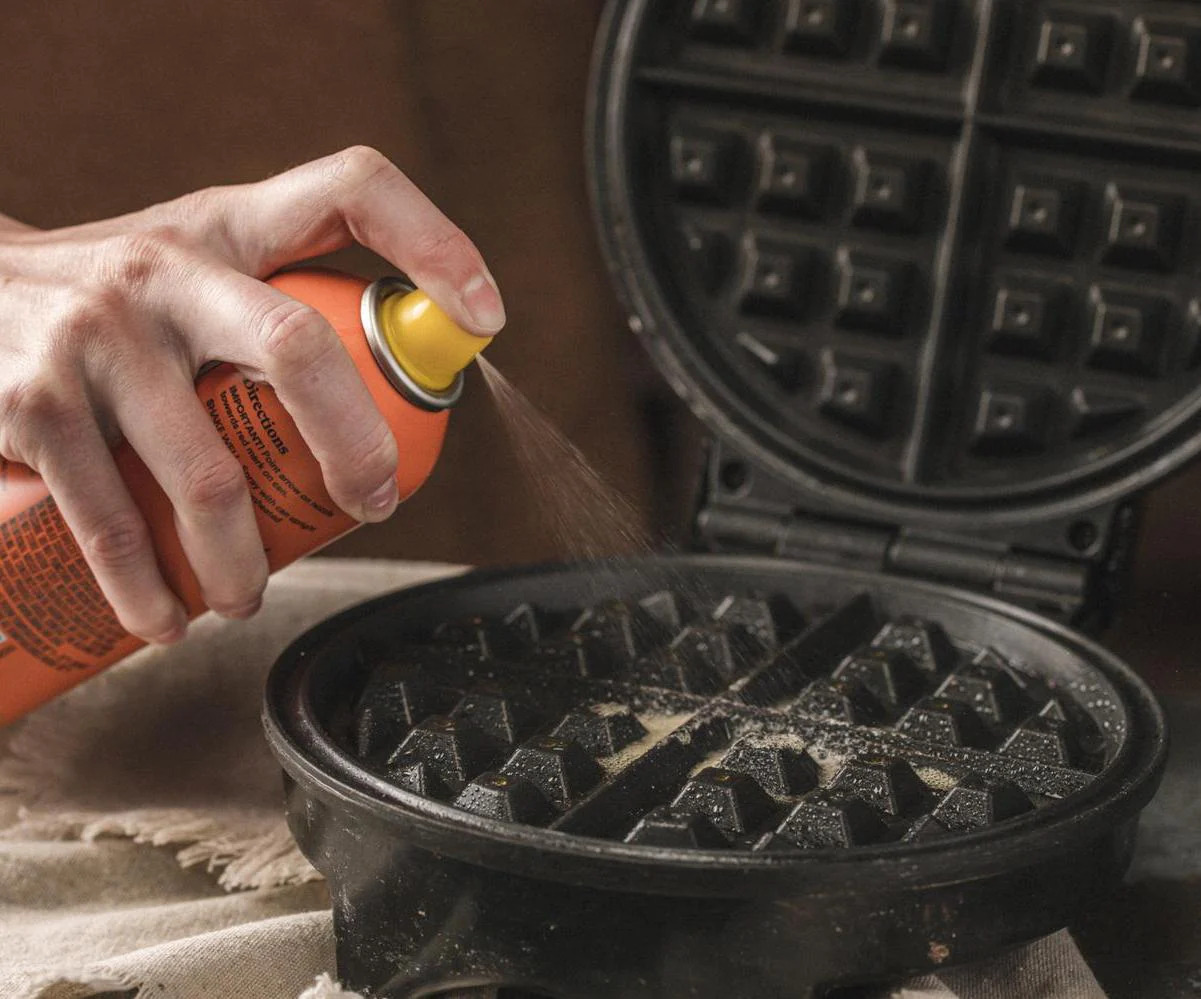
- Seasoning: Some waffle makers benefit from seasoning with a light coating of oil. Check the manufacturer’s instructions to see if this is recommended for your specific model. Seasoning helps to maintain the non-stick surface and keep your waffles from sticking.
- Storage: Store your waffle maker in a clean, dry place to prevent dust, moisture, and other contaminants from affecting its performance. Avoid stacking heavy items on top of it, as this can cause damage to the appliance.
- Inspect the Power Cord: Regularly inspect the power cord for any signs of damage or fraying. If you notice any issues, have the cord repaired or replaced by a qualified professional before using the waffle maker again.
- Follow Manufacturer’s Instructions: Always refer to the manufacturer’s instructions for specific care and maintenance guidelines for your waffle maker. Each model may have unique recommendations that should be followed for optimal performance and longevity.
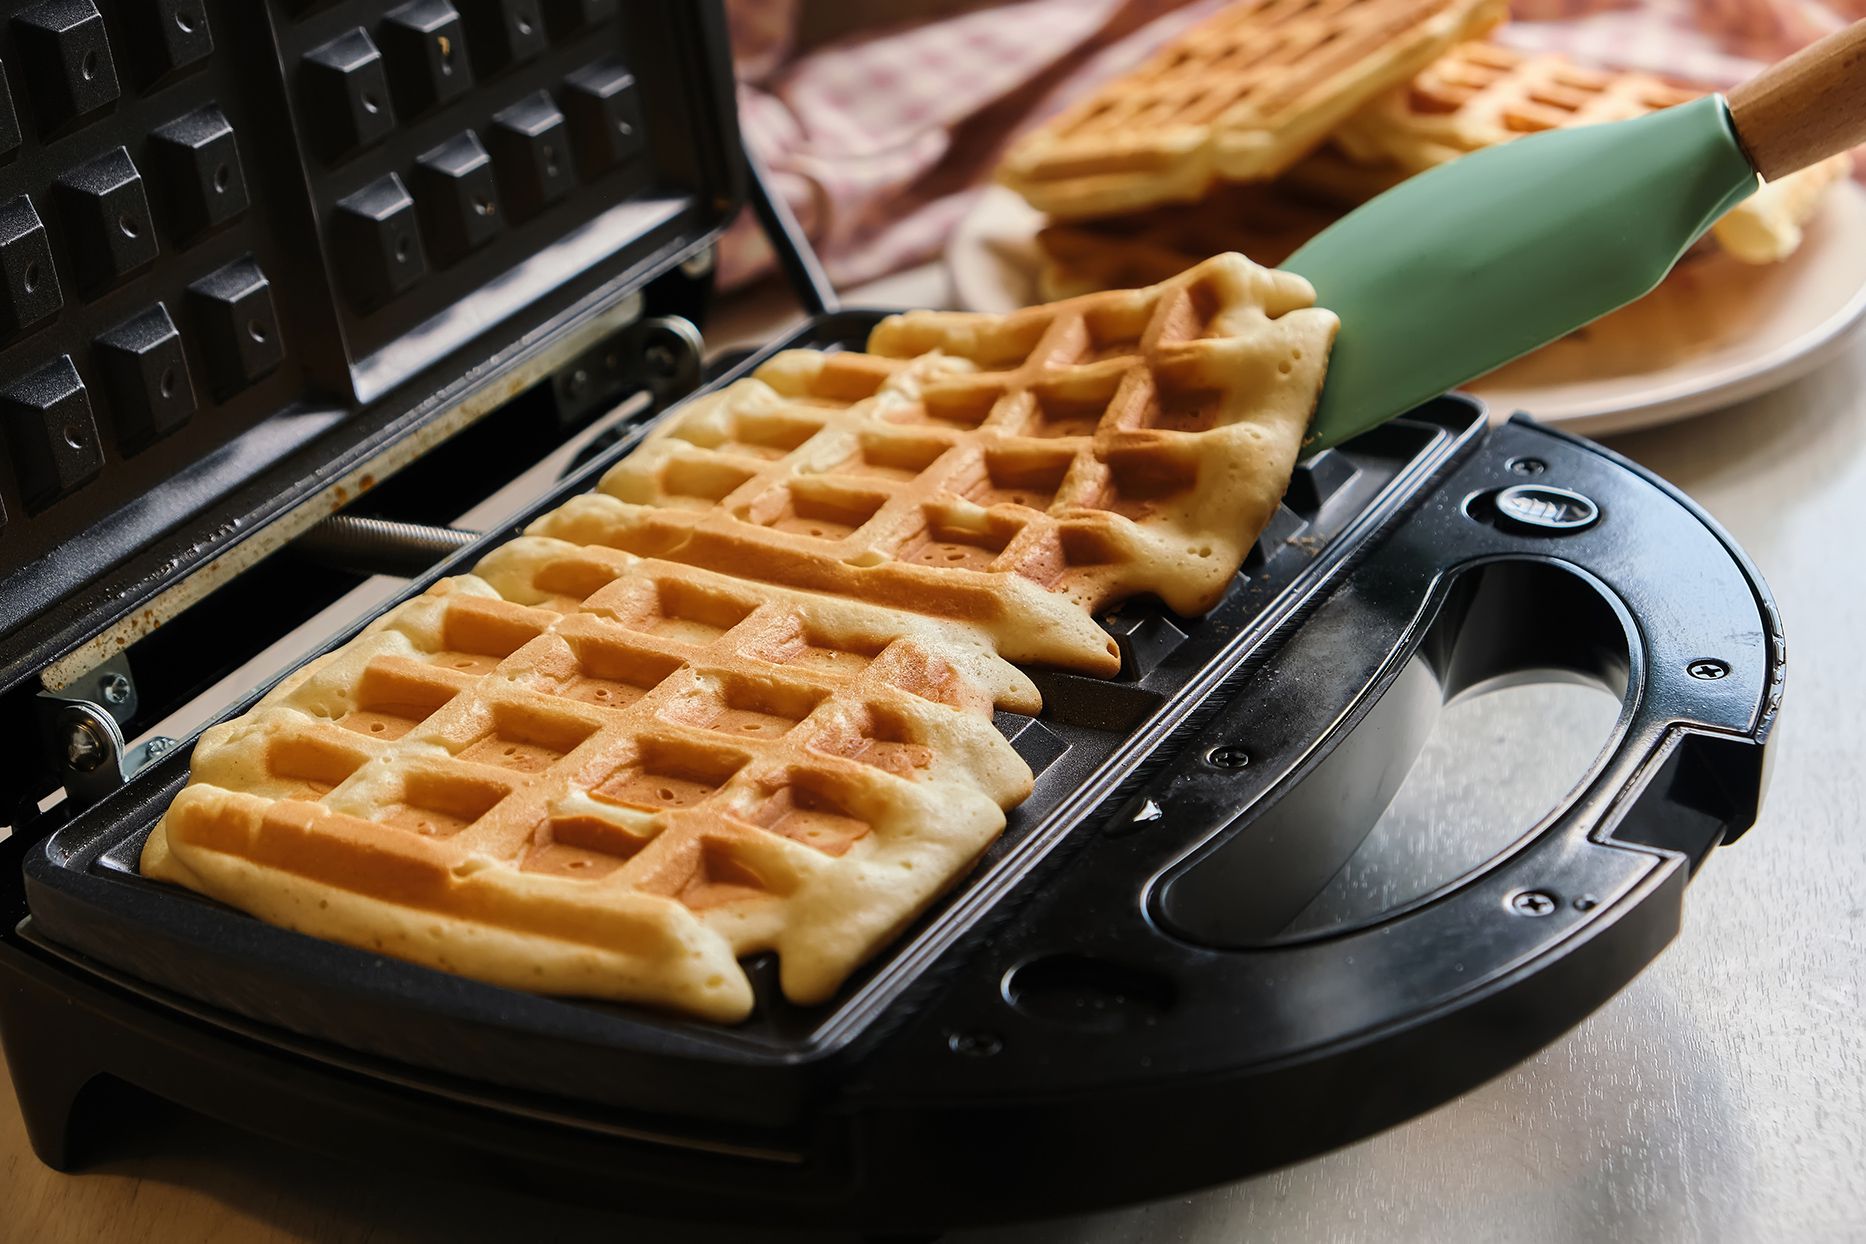
- Use Non-Abrasive Utensils: When removing cooked waffles from the waffle maker, use non-abrasive utensils, such as silicone or wooden spatulas, to prevent scratching the non-stick coating.
- Avoid Metal or Sharp Objects: Never use metal utensils or sharp objects to scrape off stuck-on batter or residue. This can damage the surfaces of your waffle maker and compromise its non-stick properties.
- Monitor for Any Changes: Pay attention to any changes in the performance or appearance of your waffle maker. If you notice any issues, such as uneven heating or flaking non-stick coating, contact the manufacturer or a professional for assistance.
By following these maintenance tips, you can prolong the lifespan of your waffle maker and ensure that it continues to deliver delicious waffles every time you use it.
With proper cleaning and maintenance, your waffle maker will remain in excellent condition, providing you with years of enjoyment and mouth-watering waffles. So go ahead, take care of your waffle maker, and get ready to enjoy some delightful homemade waffles!
Remember, a clean waffle maker is a happy waffle maker!
Conclusion
Congratulations! You have successfully learned how to deep-clean your waffle maker without damaging it. Maintaining a clean and well-maintained waffle maker is essential for delicious, evenly cooked waffles and the longevity of your appliance. By following the step-by-step guide, tips and tricks, and avoiding common mistakes, you can ensure a thorough and effective deep-cleaning process.
Remember the importance of deep-cleaning your waffle maker regularly to remove built-up grime, grease, and food particles that can affect the taste, texture, and performance of your waffles. Additionally, implementing proper maintenance practices after cleaning, such as regular wiping, proper storage, and following the manufacturer’s instructions, will help keep your waffle maker in optimal condition.
Now that you possess the knowledge to properly care for your waffle maker, it’s time to enjoy the delightful experience of preparing and devouring delicious homemade waffles. So go ahead, whip up some batter, pour it into your clean and well-maintained waffle maker, and savor the perfect golden and crispy waffles that await you!
Thank you for taking the time to learn about deep-cleaning and maintaining your waffle maker. Happy waffle making!
Frequently Asked Questions about How To Deep-Clean Your Waffle Maker Without Damaging It
Was this page helpful?
At Storables.com, we guarantee accurate and reliable information. Our content, validated by Expert Board Contributors, is crafted following stringent Editorial Policies. We're committed to providing you with well-researched, expert-backed insights for all your informational needs.


0 thoughts on “How To Deep-Clean Your Waffle Maker Without Damaging It”