Home>Home Maintenance>How to Deep Clean Vinyl Floors Without Professional Help
Home Maintenance
How to Deep Clean Vinyl Floors Without Professional Help
Modified: December 6, 2023
Know how to deep clean vinyl floors with these simple and easy steps. With this tutorial, you won't need a professional cleaner ever again.
(Many of the links in this article redirect to a specific reviewed product. Your purchase of these products through affiliate links helps to generate commission for Storables.com, at no extra cost. Learn more)
Vinyl floors are said to be the most resilient type of flooring. Industries such as healthcare, aerospace, construction, and many more can attest to that. But even the most versatile and strongest material needs some tender love and care to preserve its strength, and one can start by knowing how to deep clean it.
While hiring a professional is still the best option, learning to deep clean your floors can ultimately save you money. Doing home repairs and maintenance on your own can also help you acquire new skills, which are great for spontaneous spring cleaning.
If you’re ready to use some elbow grease, then read the tips and tricks below on how you can remove stubborn stains and scuffs on vinyl floors. They’re all beginner-friendly, so you can learn to deep clean floors effortlessly!
Types of Vinyl Flooring
Vinyl flooring is the easiest floor to clean, but before you learn suitable cleaning methods and solutions, you must first understand the different types of vinyl flooring available in the market.
Read more: How To Clean Paint Off Vinyl Floor
Sheet Vinyl
Sheet vinyl is ideal for large areas. Aside from having fewer seams to align, they’re great for busy floors because of their unmatched durability. In terms of size, one sheet of vinyl flooring measures up to 12 inches in length.
Thanks to modern technology, you can get a vinyl sheet in various styles at a meager price. They’re also water-resistant, so it’s easy to wipe spills and sweep dirt and debris. Nowadays, sheet vinyl has become less popular since you need to change the whole flooring when there are holes or signs of wear and tear.
Vinyl Tiles
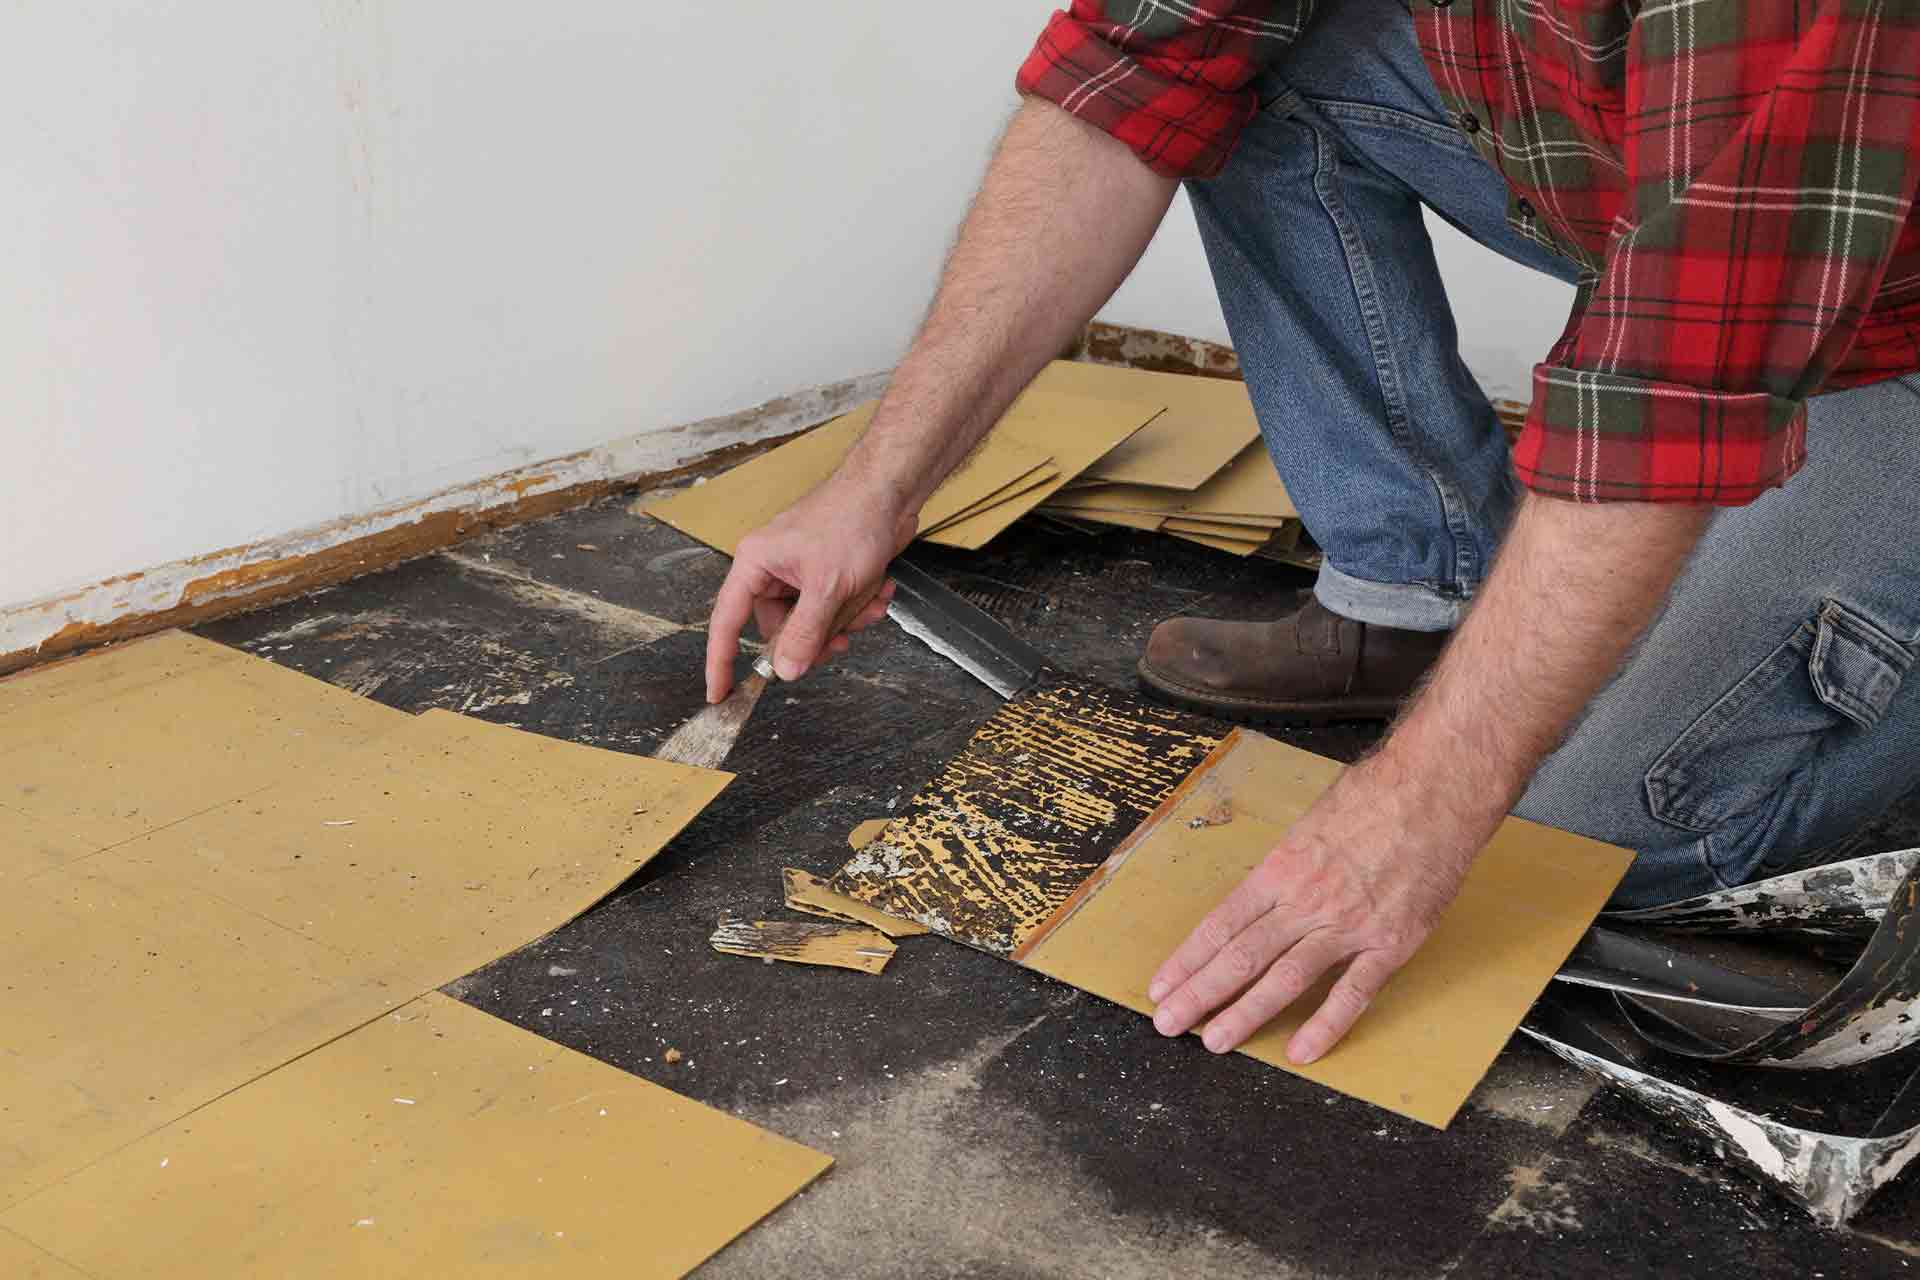
Vinyl tiles are the perfect vinyl flooring for those looking for undemanding customization and repair. Instead of changing the whole flooring, you will only need to remove two to three tiles. Though it still depends on how large the broken or worn-out part is.
Aside from that, vinyl tiles offer various styles and construction types to choose from. The downside of vinyl tiles is that they’re more expensive than sheet vinyl, and keeping the seams right involves additional installation costs.
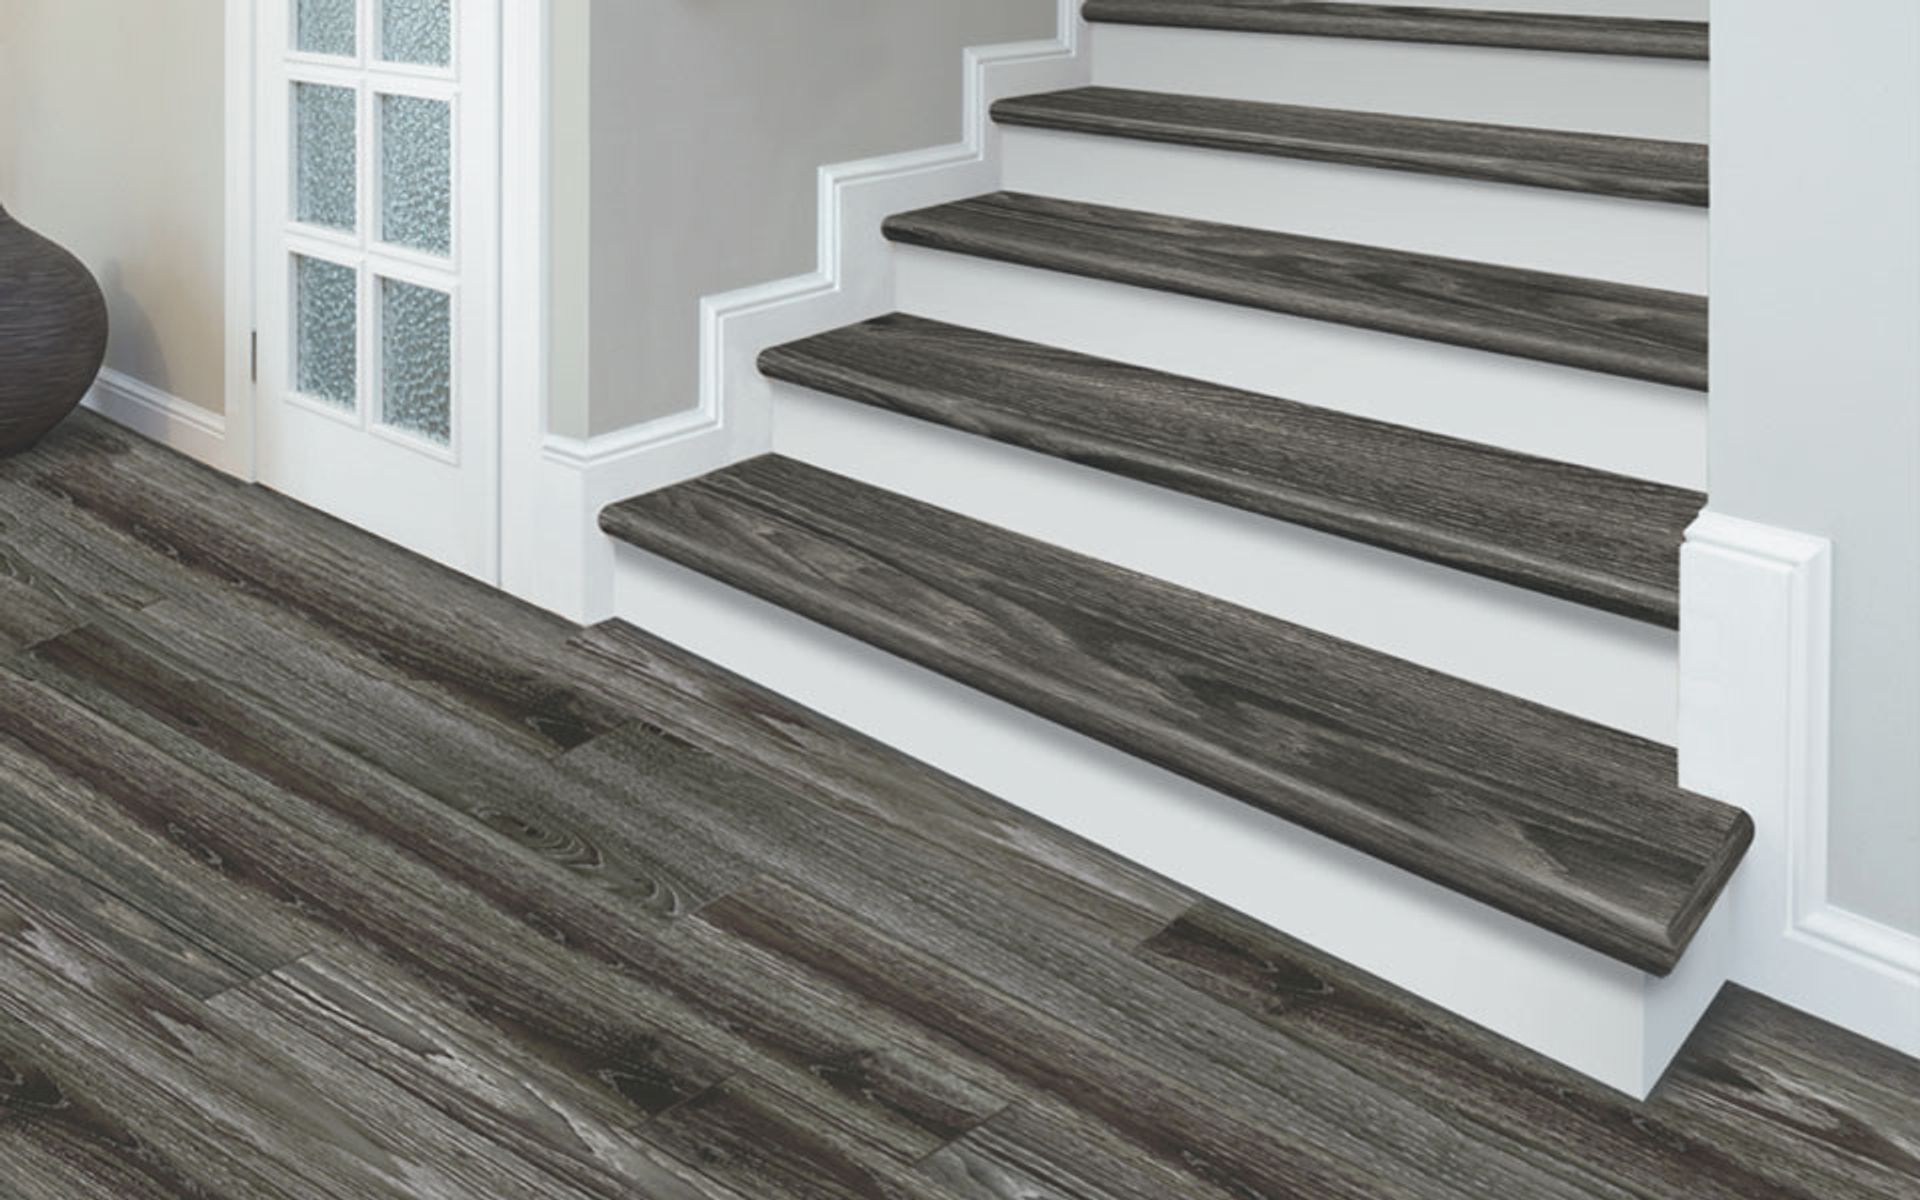
Vinyl Planks
Vinyl planks are made to match their hardwood counterparts at a fraction of the cost. With vinyl planks, you can get the same authentic look and durability of hardwood floors. Furthermore, it’s easier to clean and maintain. Unlike wood, vinyl planks are moisture-resistant, thus popular for both residential and commercial applications.
Besides, they’re much more comfortable to work on than wood planks. They can also stay at room temperature even during the winter season. To ensure clean vinyl planks, mop them with hot water once or twice a week.
LVT (Luxury Vinyl Tile)
Another popular choice for most homeowners is the luxury vinyl tile, otherwise known as LVT. With 3D imaging technology, it can imitate almost any style flooring. This includes the grain, colors, and textures. The embossment layer plays a significant role in creating realistic visuals to give it a luxurious and authentic look.
Typically, it’s five times thicker than standard vinyl, so you would benefit from the comfort and fullness. Though considered the most expensive out of all the types, LVT has an estimated lifespan of 20 years, so you will get the best bang for your buck.
Benefits of Knowing How to Deep Clean Vinyl Floors
Just like cleaning leather, properly deep cleaning your vinyl floors can aid in the longevity of the coating. But what if we tell you that you can do this all by yourself?
First, knowing how to properly take care of your flooring can improve the value of your home. Floors are the busiest aspect of the house, and they can get pretty dirty. When grime and dust remain on your floors for a long time, they can ruin your floor’s shine and shorten its lifespan. With that, deep cleaning it even once a week is ideal to prevent such buildup and preserve the beauty of your vinyl floors.
Second, DIY deep cleaning is budget-friendly. The average cost of hiring professionals for deep cleaning your floors is around $100 per room. Imagine the money you can save! With just a dependable mop and a trusty vinyl floor cleaner, your floors will look as good as new!
Lastly, deep cleaning floors results in a fresh and healthier environment. Floors are a haven of germs, yet kids love to get down on them during playtime. Thoroughly cleaning and sanitizing vinyl floors will help kill any disease-causing germs and viruses – something that your family and guests would benefit from.
Things to Avoid When Deep Cleaning Vinyl Floors
Even if vinyl floors are resilient enough to withstand anything other than feet, some of your home cleaning ways can contribute to its ruin. Avoid this by taking note of the don’ts of deep cleaning listed below.
Don’t use too much water
Water is a great way to remove dirt, but too much can harm your floors. Too much water sitting on your vinyl floors can seep through the seams and crevices of the flooring. Eventually, this will ruin the adhesive that holds the vinyl and floor together. Water can also get trapped under your flooring, and create the perfect breeding ground for mold.
Don’t use a steam mop
Vinyl is 100 percent plastic, so using a steam mop where heat can reach 250 degrees Fahrenheit is not such a great idea. It can warp, bend, and cause buckles to your vinyl flooring. It can also ruin the adhesive of your flooring due to moisture buildup. An unpleasant smell can also be produced, which you don’t want your guests to encounter.
Read more: What Is The Best Mop To Clean Vinyl Floors
Never use abrasive cleaners
When all vinyl floor cleaners fail, one might be tempted to scrub down a stubborn stain. But scrubbing too hard can lead to a greater risk of damaging your floors. Stiff-bristled brushes and too much force can leave scratches and dents on your vinyl floors – making them lose their shine. Hence, only apply the right cleaning solutions to dried stains. Be patient as not all stains go away that easy.
Avoid solvent-based or wax polish
You can’t keep your vinyl’s shine when you use solvent-based or wax polish on them. Solvents can stain and even eat away the top coating of vinyl floors. Since these chemicals can change the floor’s integrity, expect to encounter problems with your flooring’s appearance and performance. As for wax, the said polish won’t adhere well on vinyl since the latter already has a coating. This would leave a residue that you need to remove afterward.
Don’t use ammonia-based cleaning solutions
Using ammonia-based cleaning solutions can cause cracks and ultimately break down the material. Like bleach, they tend to destroy the protective coating of vinyl, which can further cause damage to the inner layers. With this, bear in mind that you should only use safe and gentle cleaning solutions to preserve your vinyl floors and only use harsh chemicals recommended by the manufacturer.
How to Deep Clean Vinyl Floors
Step 1 – Erase Any Ink Blots and Stains
Things You’ll Need:
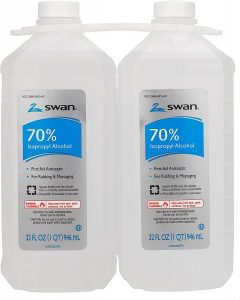
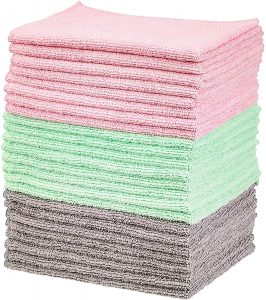
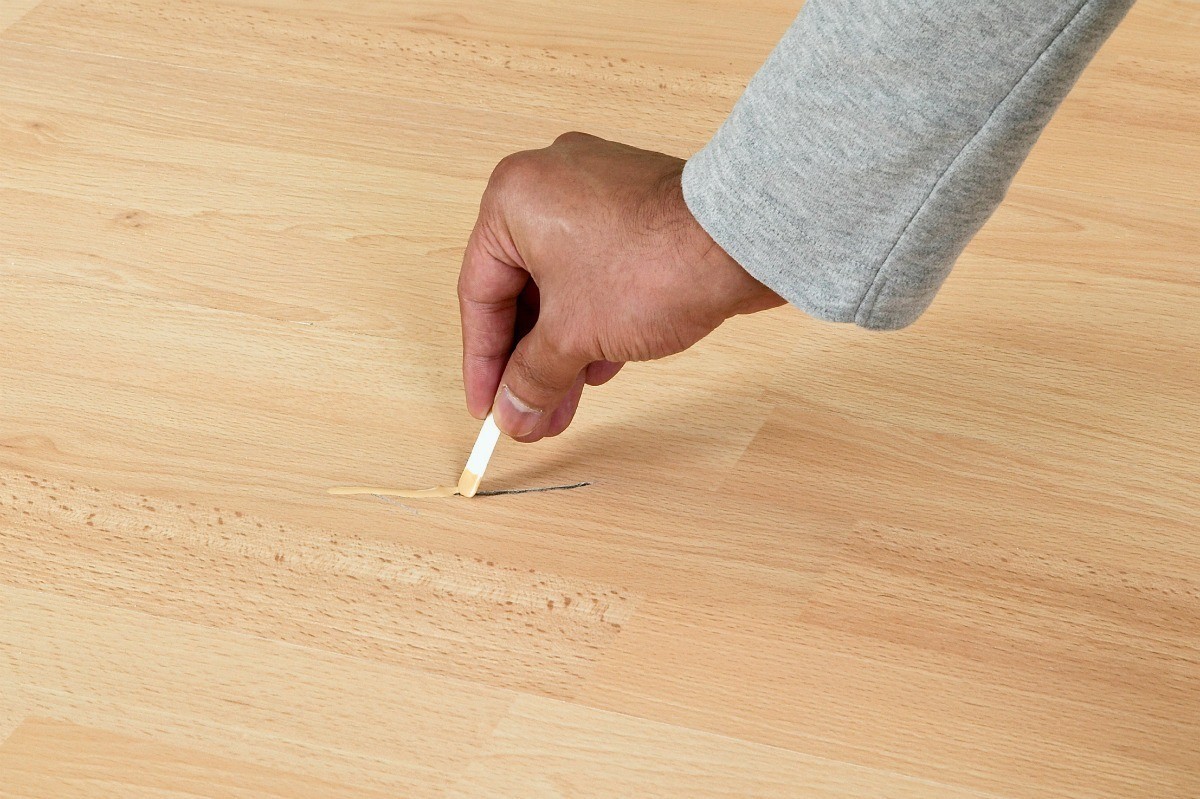
The first step in deep cleaning extremely dirty vinyl floors is erasing the noticeable blemishes and marks. If you have kids, you’d know that these little Picassos turn everything into their canvas, especially your floors. When erasing ink blots and stains, the first thing you’ll need to do is grab vinyl floor cloths and a bottle of rubbing alcohol. You can spray or put an ample amount of alcohol on the area and let it sit for a couple of minutes. Dab the cloth in alcohol again, and wipe down the area. Repeat if the stain won’t budge.
Step 2 – Remove Stubborn Stains
Things You’ll Need:
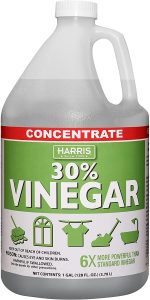
Stubborn stains can hinder your floors from making a good impression. But with some baking soda and vinegar, your sense of pride in your floors are sure to be restored. When cleaning vinyl plank flooring, you don’t need to scrub hard and use chemicals to remove even the toughest stains. Just make a soda paste by mixing equal parts of baking soda and vinegar. Then, apply some paste to the stain and leave it for a couple of minutes. After that, wipe the paste with a cleaning cloth, and you’re done. The stain comes off right away.
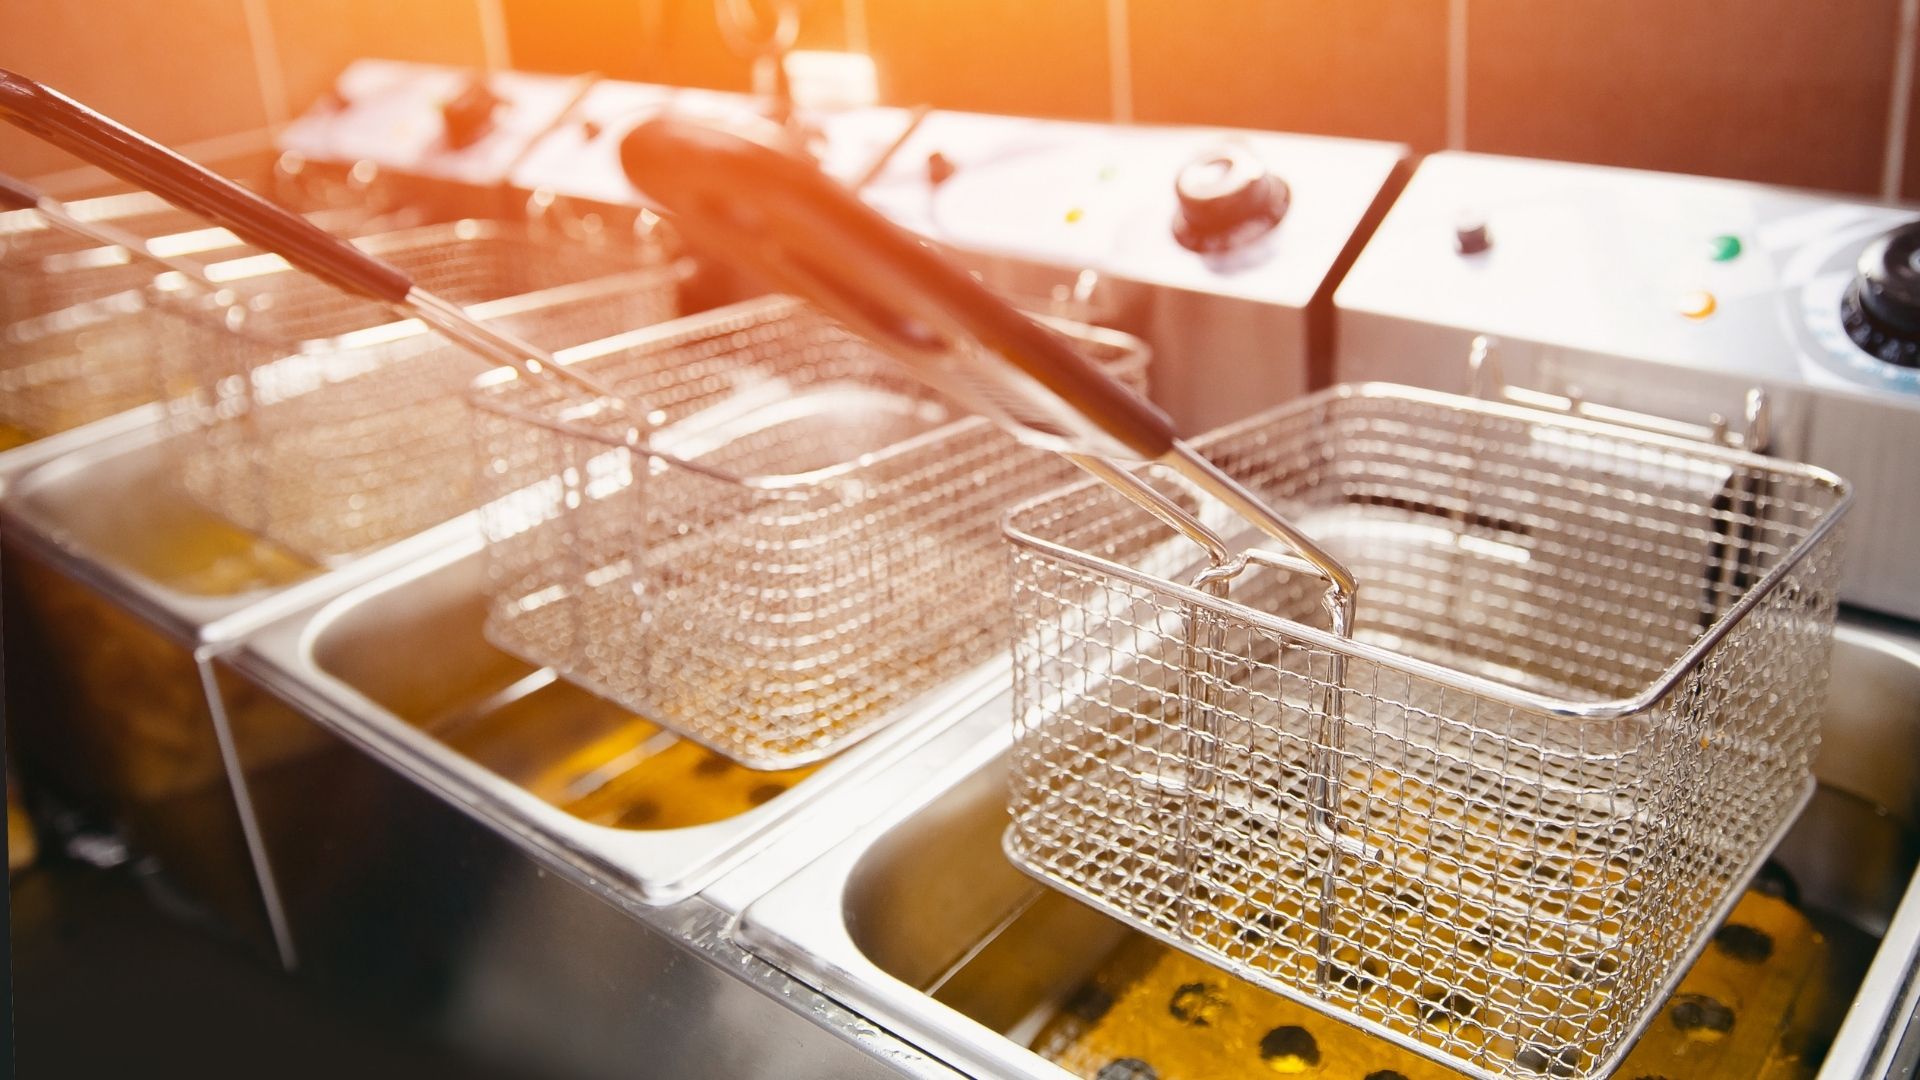
Step 3 – Cut Grease on Floors
Things You’ll Need:
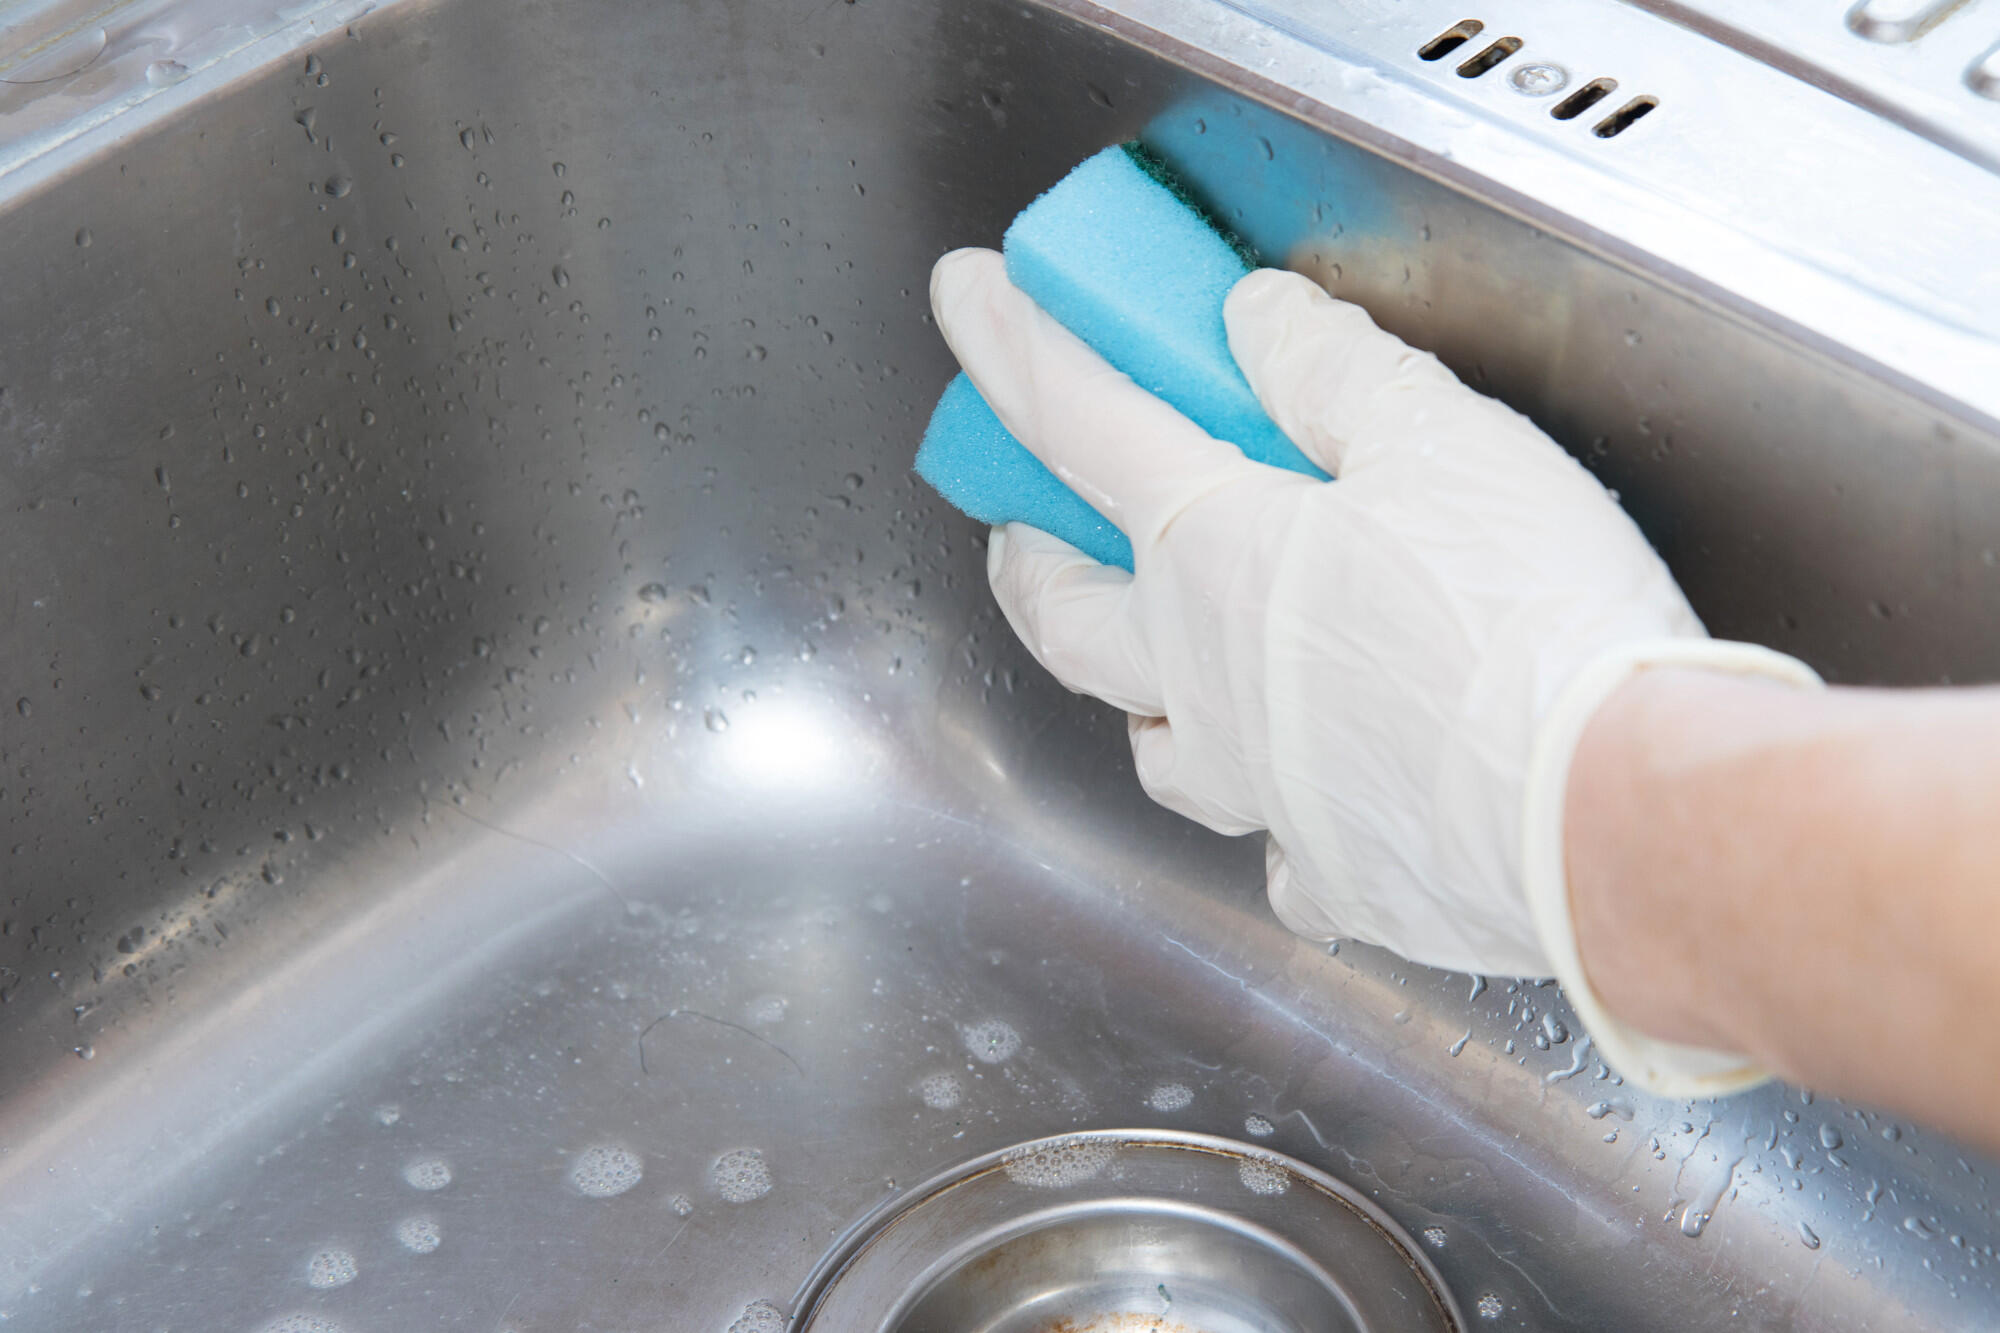
Grease makes floors slippery and prone to dirt and dust buildup. To combat this, mix warm water with 10 to 20 drops of dish soap. It’s also best to use a mop to ensure that you never miss a spot. Do note that you should only use dish soap when needed. This is to prevent wear on the finish and preserve the shine of your vinyl flooring.
Step 4 – Wipe Your Floors Clean
Things You’ll Need:
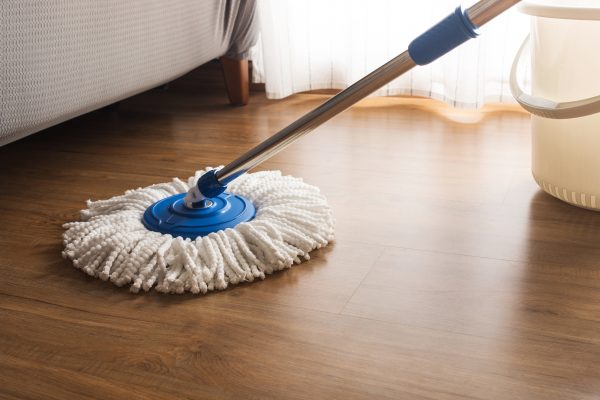
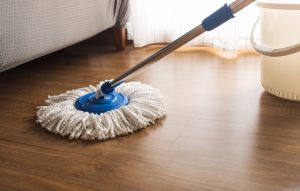
Now that all remedies have been deployed, it’s time to rinse your floors. It is highly advisable to never skip this step. Wiping your floors clean can help avoid a sticky film of residue soap from coating your floors. To start, use a spray mop, so you would not thoroughly soak your floors with water. Mop your floors until it’s squeaky clean.
Read more: How To Polish Vinyl Floor
Step 5 – Let It Air Dry
There’s no better way to dry your floors than letting air do the work for you. So, opening windows and doors to let the air circulate is better than applying heat that can warp your vinyl floors. You can also use a dry mop to speed up the drying process, as this will reduce the risk of any hard water stains.
Step 6 – Restore Your Floors Shine
Things You’ll Need:

The last but equally essential step when deep cleaning vinyl floors is to apply a solution that can restore or maintain their shine. Vinyl floors take pride in their remarkable sheen that improves the overall look of your home. Though it’s not recommended to use a wax polish, you can still use some products you might already have to bring back your floor’s radiance.
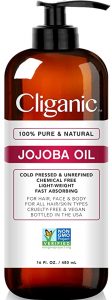
Just mix one cup of vinegar and a few drops of baby oil in a gallon of warm water. With a wiping cloth, you can instantly see beaming results. For scruffs and dents, spray some WD-40 or jojoba on a towel or cloth and gently wipe the area in a circular motion.
Now that you know how to deep clean vinyl floors, it’s time to see it for yourself. Be sure to check this step-by-step tutorial on how to maintain your floors properly so they can stand the test of time. Aside from knowing how to clean vinyl, check out these handheld vacuums to help you achieve an effortlessly spotless home.
Was this page helpful?
At Storables.com, we guarantee accurate and reliable information. Our content, validated by Expert Board Contributors, is crafted following stringent Editorial Policies. We're committed to providing you with well-researched, expert-backed insights for all your informational needs.


0 thoughts on “How to Deep Clean Vinyl Floors Without Professional Help”