Articles
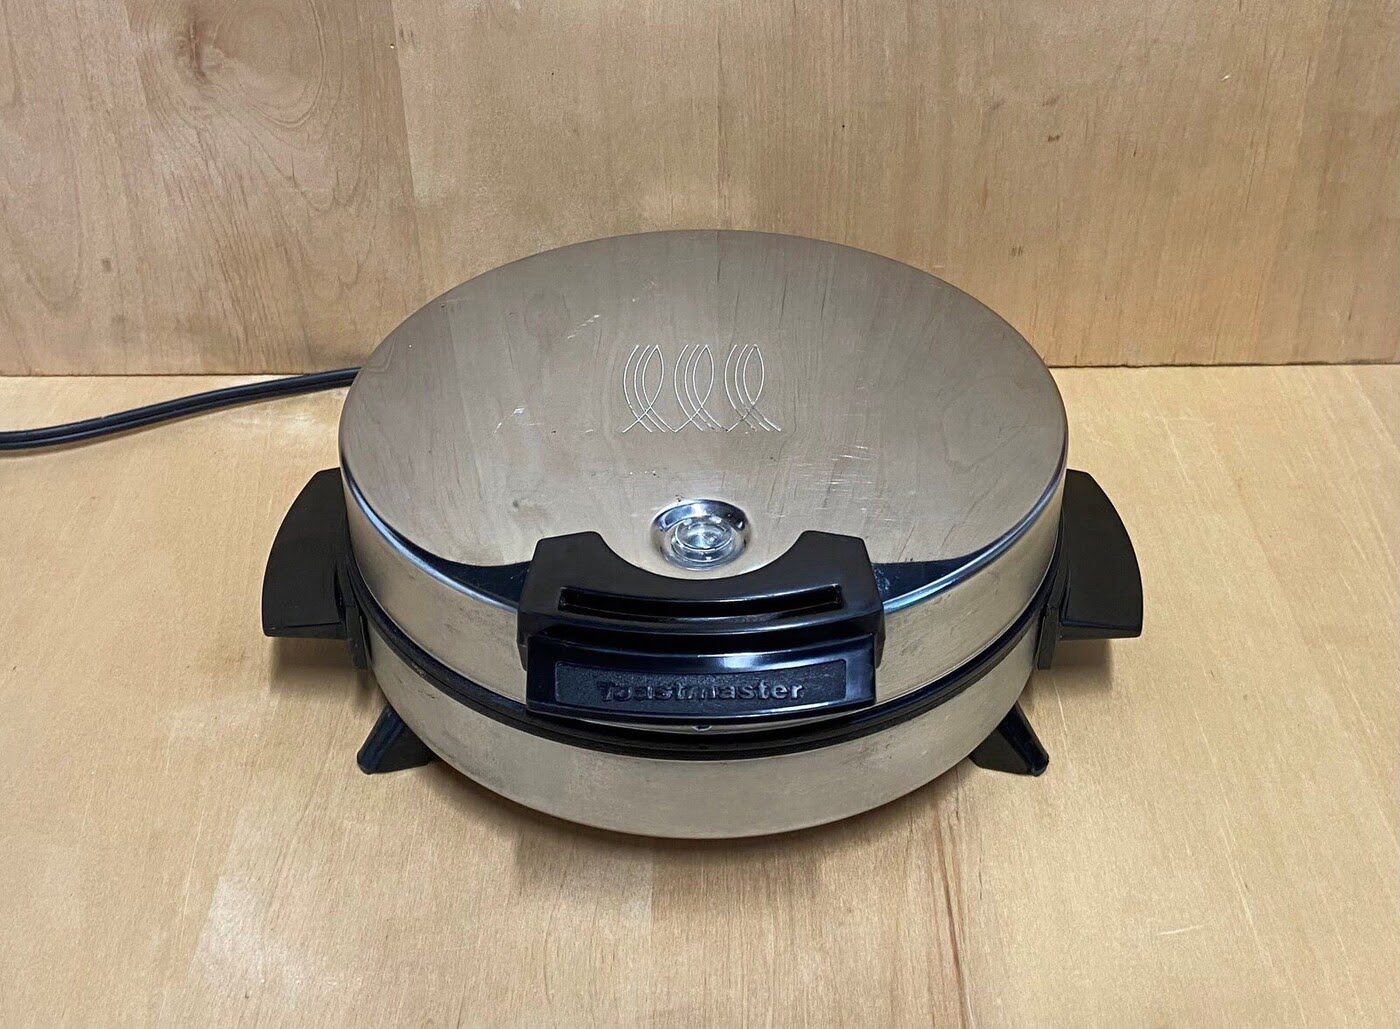
How To Use Toastmaster Waffle Iron
Modified: October 21, 2024
Learn how to make delicious waffles with the Toastmaster waffle iron. This article provides step-by-step instructions and helpful tips for using this popular kitchen appliance.
(Many of the links in this article redirect to a specific reviewed product. Your purchase of these products through affiliate links helps to generate commission for Storables.com, at no extra cost. Learn more)
Introduction
Are you a breakfast lover who can’t resist the warm, crispy goodness of freshly made waffles? If so, then owning a Toastmaster Waffle Iron is a must-have for your kitchen. This versatile appliance allows you to whip up delicious waffles from the comfort of your own home in no time. Whether it’s a lazy Sunday morning brunch or a special occasion breakfast, the Toastmaster Waffle Iron is your go-to for perfectly cooked waffles every time.
In this article, we will guide you through the process of using the Toastmaster Waffle Iron to make mouthwatering waffles. From preparing the waffle iron to cooking the batter and cleaning up afterward, we’ve got you covered.
So, let’s dive in and discover how to master the art of using the Toastmaster Waffle Iron!
Key Takeaways:
- Master the art of making perfect waffles with your Toastmaster Waffle Iron by following the step-by-step guide, from preparing the appliance to cooking and cleaning. Elevate your breakfast experience at home!
- Enjoy the versatility and reliability of the Toastmaster Waffle Iron, creating delightful waffles for any occasion. Experiment with flavors and toppings to customize your homemade waffle creations and impress your family and friends.
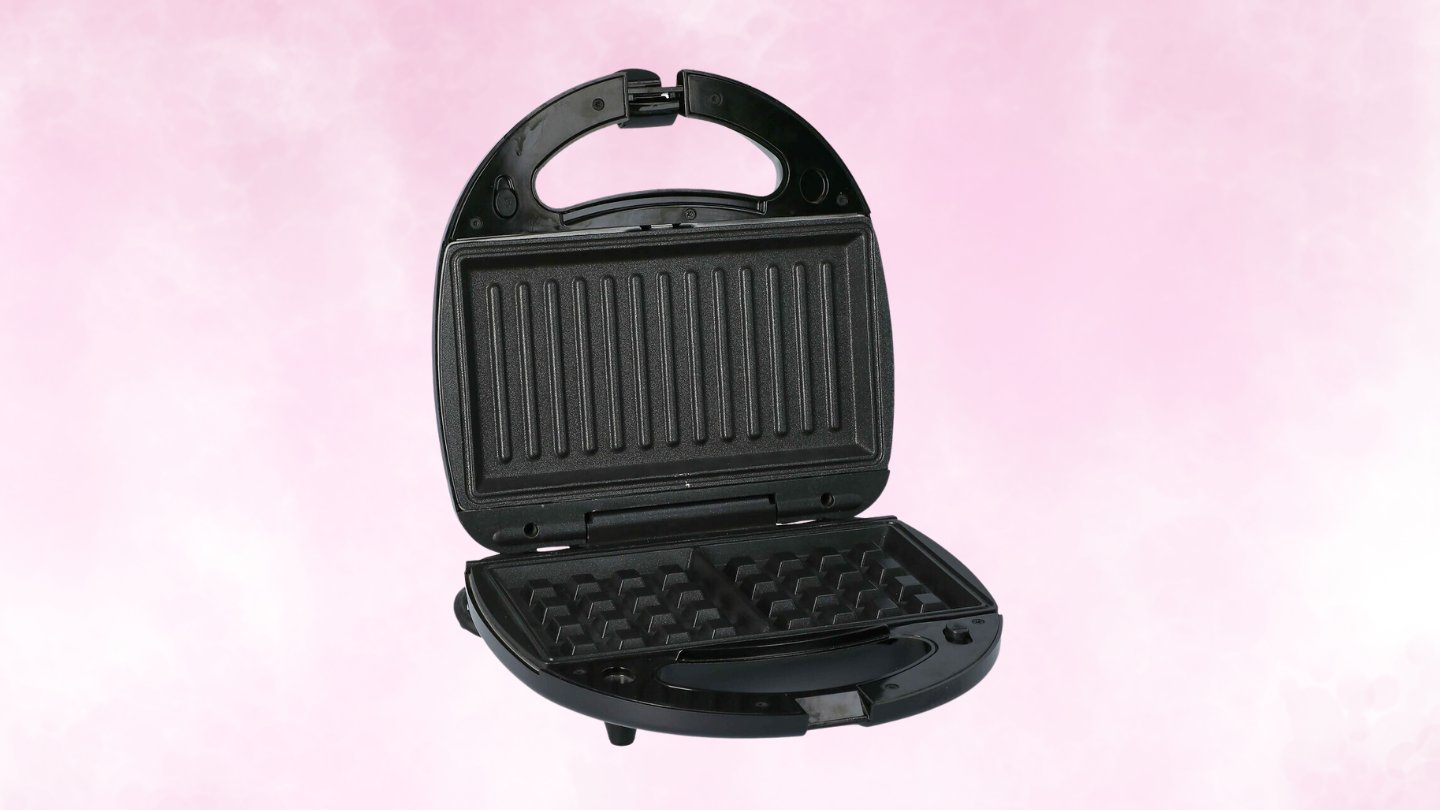
Step 1: Preparing the Waffle Iron
Before you can start making scrumptious waffles with your Toastmaster Waffle Iron, it’s essential to prepare the appliance properly. Follow these steps to ensure your waffle iron is ready for use:
- Start by cleaning: Before the first use and after each subsequent use, clean the waffle iron thoroughly with a damp cloth. This helps remove any dust or residue that may have accumulated during storage.
- Check the instruction manual: Familiarize yourself with the manufacturer’s instructions and recommendations for your specific model. Each Toastmaster Waffle Iron may have slight variations, so it’s crucial to understand the specific guidelines.
- Inspect the waffle plates: Check the plates of the waffle iron to ensure they are clean and free from any debris. A build-up of residue can affect the cooking process and the quality of your waffles.
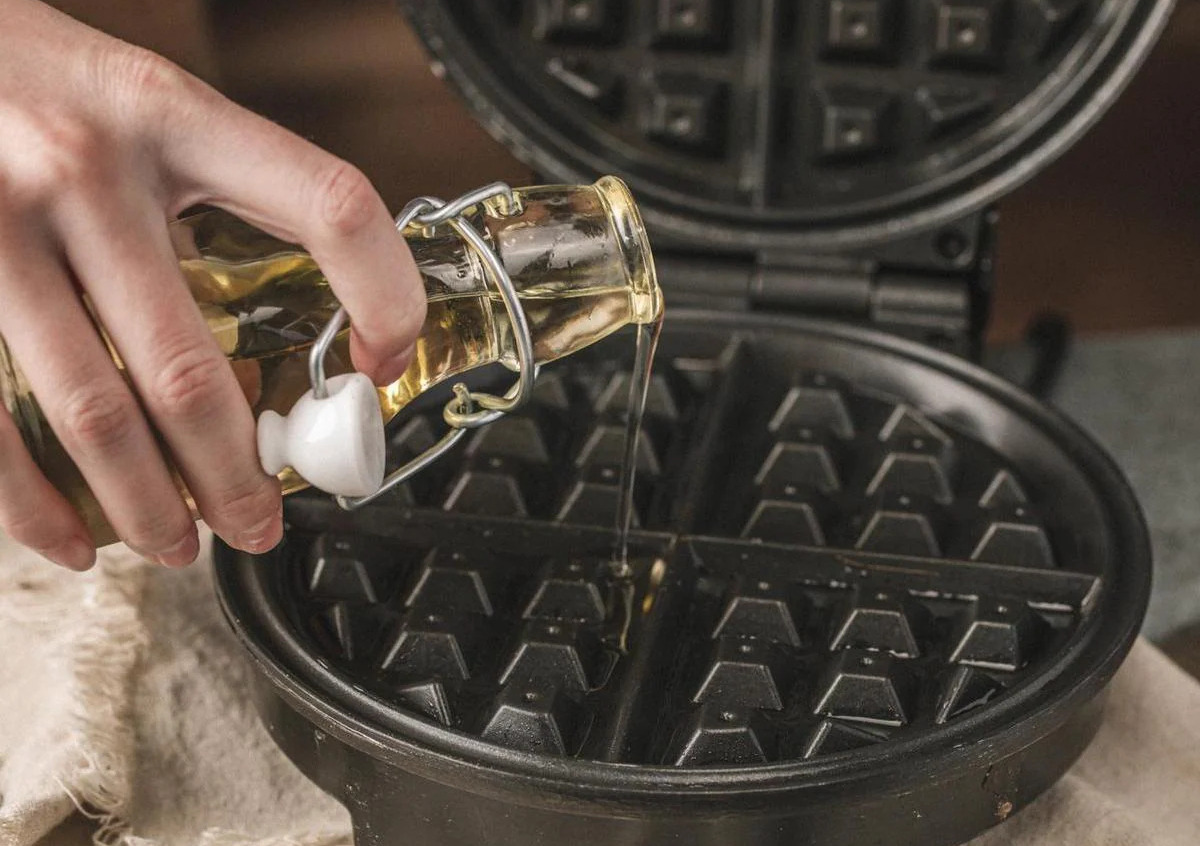
- Apply cooking spray: Lightly grease the waffle plates with a cooking spray or brush them with melted butter. This step prevents the batter from sticking to the plates and makes it easier to remove the waffles once they’re cooked.
- Preheat the waffle iron: Turn on your Toastmaster Waffle Iron and let it preheat according to the manufacturer’s instructions. This usually takes a few minutes. Preheating ensures that the waffle iron reaches the proper temperature for even cooking.
By taking the time to properly prepare your waffle iron, you’ll set the foundation for making perfect waffles. Now that your waffle iron is ready, it’s time to move on to the next step: mixing the waffle batter.
Step 2: Mixing the Waffle Batter
Now that your Toastmaster Waffle Iron is preheating, it’s time to prepare the waffle batter. Follow these steps to mix the batter for delicious, fluffy waffles:
- Gather the ingredients: Check the recipe you’ll be using to make the waffle batter and gather all the necessary ingredients. This typically includes flour, baking powder, salt, sugar, eggs, milk, and melted butter.
- Measure the dry ingredients: In a large mixing bowl, combine the flour, baking powder, salt, and sugar. Use a whisk or fork to ensure the ingredients are evenly distributed.
- Prepare the wet ingredients: In a separate bowl, whisk together the eggs, milk, and melted butter until well combined.
- Combine the wet and dry ingredients: Create a well in the center of the dry ingredients and pour the wet mixture into it. Gently stir the ingredients together with a spatula or whisk until just combined. Be careful not to overmix, as this can result in dense waffles.
- Let the batter rest: Allow the batter to rest for a few minutes to let the flavors meld and to activate the leavening agents in the baking powder.
Once your waffle batter is mixed, it’s time to move on to the next step: preheating the waffle iron. Remember, a well-prepared batter is key to achieving perfectly cooked waffles with a crisp exterior and a fluffy interior.
Step 3: Preheating the Waffle Iron
With your waffle batter mixed and ready, it’s time to preheat your Toastmaster Waffle Iron. Follow these steps to ensure the waffle iron reaches the optimal temperature for making golden-brown waffles:
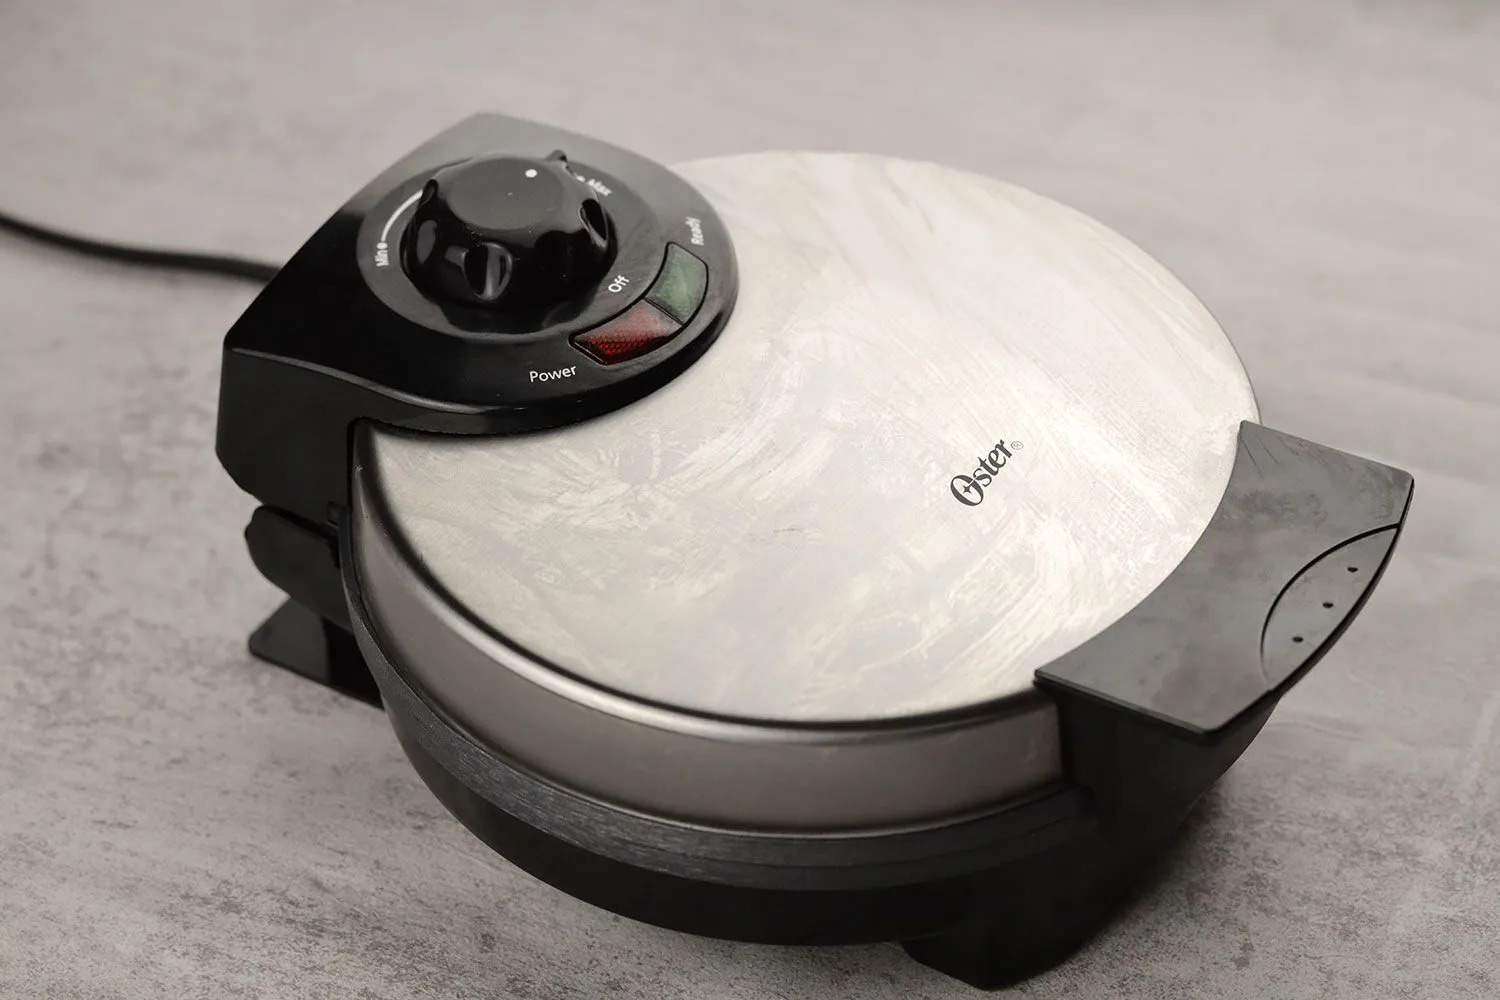
- Turn on the waffle iron: Plug in your Toastmaster Waffle Iron and turn it on. Most models have a power switch or dial to control the heat.
- Select the desired temperature: Depending on your model, adjust the temperature knob or setting to the desired level. The temperature range is typically indicated on the waffle iron and can vary from low to high.
- Allow the waffle iron to heat up: Give the waffle iron a few minutes to reach the desired temperature. This may vary depending on the model and the temperature setting you have chosen.
- Check the indicator light: Many Toastmaster Waffle Irons come equipped with an indicator light that alerts you when the iron has reached the desired temperature. Once the light illuminates or turns off, it indicates that the iron is ready for use.
- Perform the “water test” (optional): If your waffle iron does not have an indicator light, you can perform a simple “water test” to ensure it’s properly preheated. Sprinkle a few drops of water onto one of the hot plates. If the water sizzles and evaporates quickly, the iron is adequately heated.
Preheating the waffle iron is an important step to achieve evenly cooked and perfectly textured waffles. Once the iron is properly preheated, you’re ready to move on to the next step: pouring the batter onto the waffle iron and cooking the waffles.
Step 4: Pouring the Batter onto the Waffle Iron
Now that your Toastmaster Waffle Iron is preheated and ready, it’s time to pour the batter onto the hot plates and begin cooking your waffles. Follow these steps to ensure a smooth and successful pouring process:
- Open the waffle iron: Lift the top lid of the waffle iron to expose the hot plates. Make sure to use oven mitts or a towel to protect your hands from the heat.
- Position the waffle iron: Place the waffle iron on a sturdy and heat-resistant surface, such as a countertop or table. Ensure there is enough space for the waffle iron to open completely without any obstructions.
- Coat the plates: If necessary, lightly coat the hot plates with cooking spray or brush them with melted butter to prevent the batter from sticking.
- Pour the batter: Using a ladle or measuring cup, pour the desired amount of batter onto the center of the lower plate. The amount of batter will vary depending on the size and shape of your waffle iron, so refer to your specific model’s instructions for guidance.
- Spread the batter (optional): If your waffle iron requires it, use a spatula or the back of a spoon to spread the batter evenly across the hot plates. This will help ensure that the batter covers the entire surface and cooks evenly.
- Close the waffle iron: Gently close the lid of the waffle iron, making sure not to push it down too forcefully. The batter will spread and fill the waffle iron as it cooks.
Remember to follow the guidelines and recommendations provided by the manufacturer for optimal results. Now that the batter is poured onto the waffle iron, it’s time to move on to the next step: cooking the waffles to perfection.
Preheat the Toastmaster waffle iron and lightly grease the plates with cooking spray. Pour the batter onto the center of the lower plate, close the lid, and cook until golden brown. Enjoy your delicious waffles!
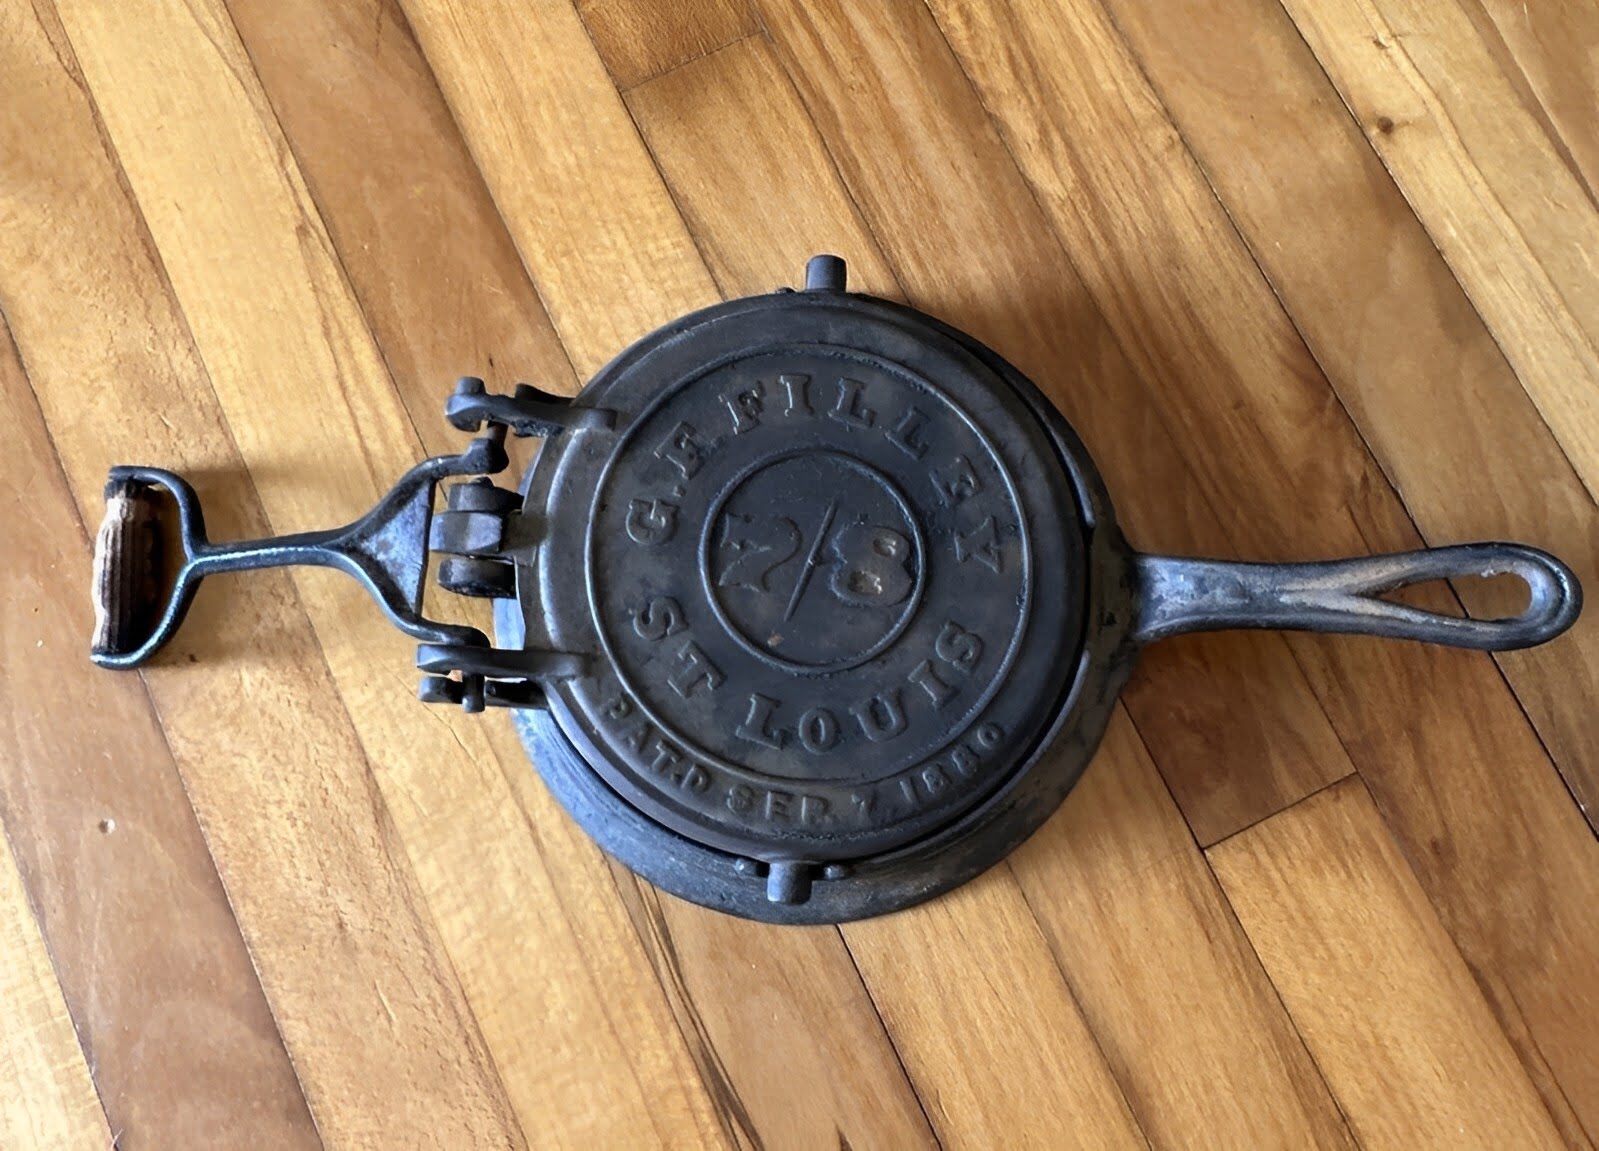
Read more: How To Use A Cast Iron Waffle Iron
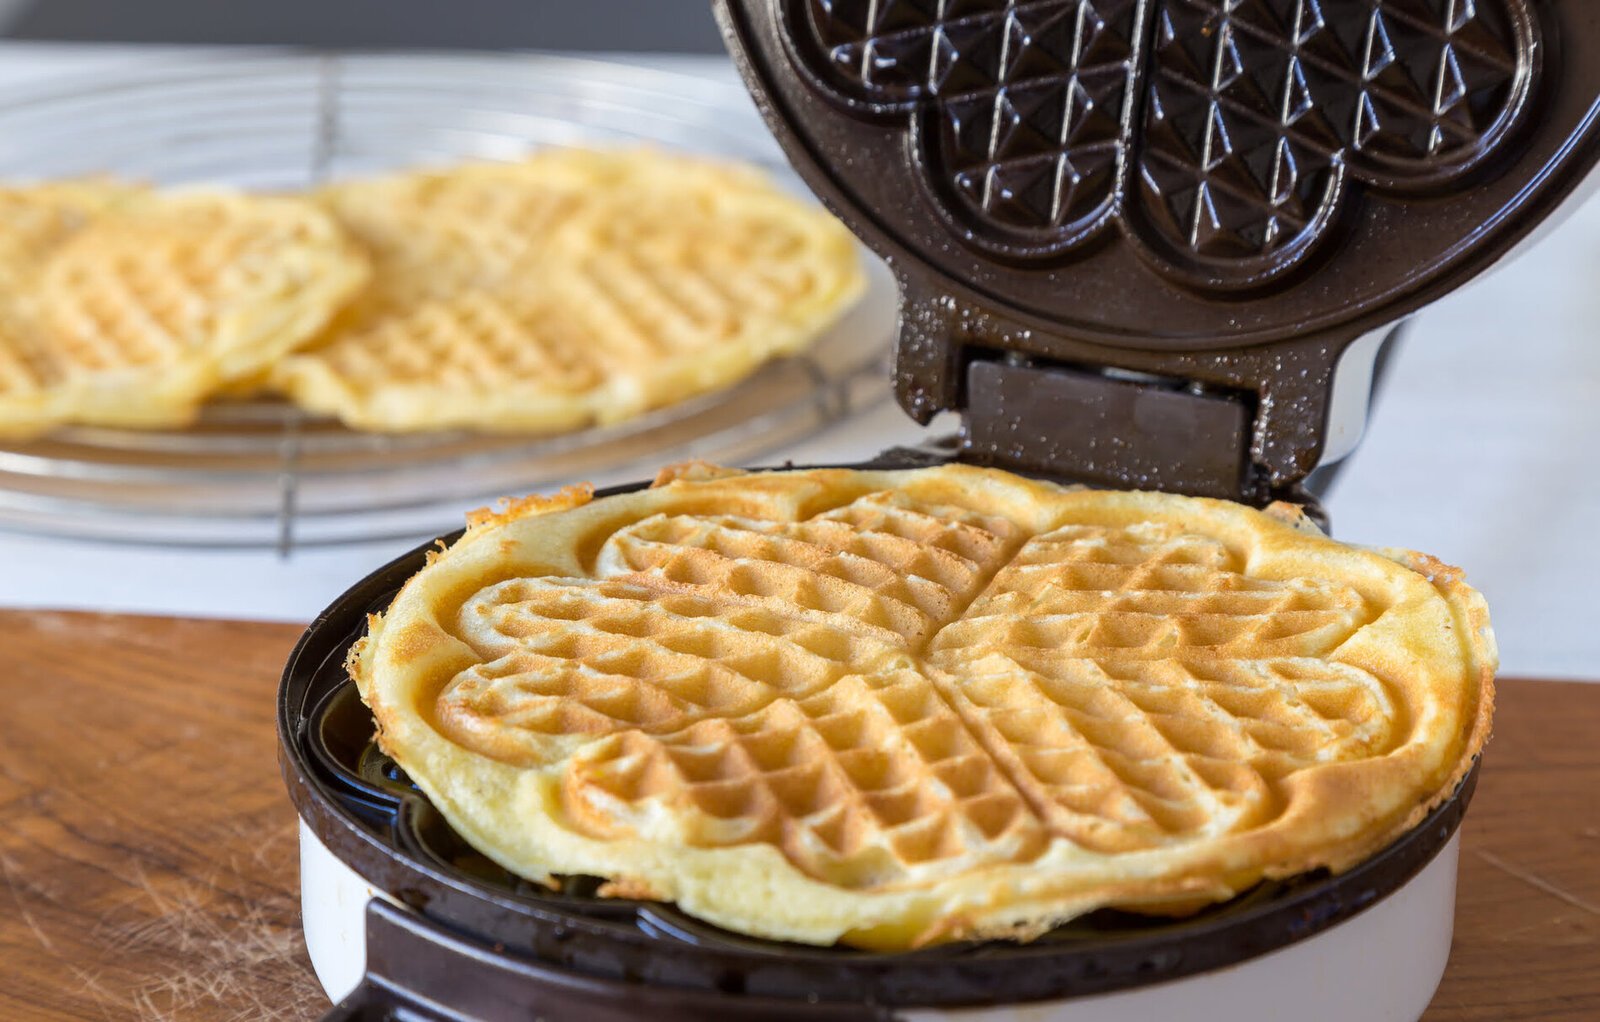
Step 5: Cooking the Waffles
The exciting part has arrived – it’s time to cook your waffles to crispy, golden perfection! Follow these steps to ensure your waffles are cooked evenly, with a delightful crunch on the outside and a fluffy texture on the inside:
- Allow the waffles to cook: Close the waffle iron and let the waffles cook for the recommended time, as stated in your specific model’s instructions. The cooking time typically ranges between 3 to 5 minutes, but it may vary depending on the recipe and your desired crispness.
- Avoid opening the waffle iron prematurely: While it’s tempting to peek and check on the progress, refrain from opening the waffle iron too soon. Opening it prematurely can cause the waffles to stick or become unevenly cooked.
- Listen for signals: Pay attention to any sounds or steam escaping from the waffle iron. The sizzling sound should reduce and the steam release should decrease as the waffles cook. These are good indications that the waffles are nearing completion.
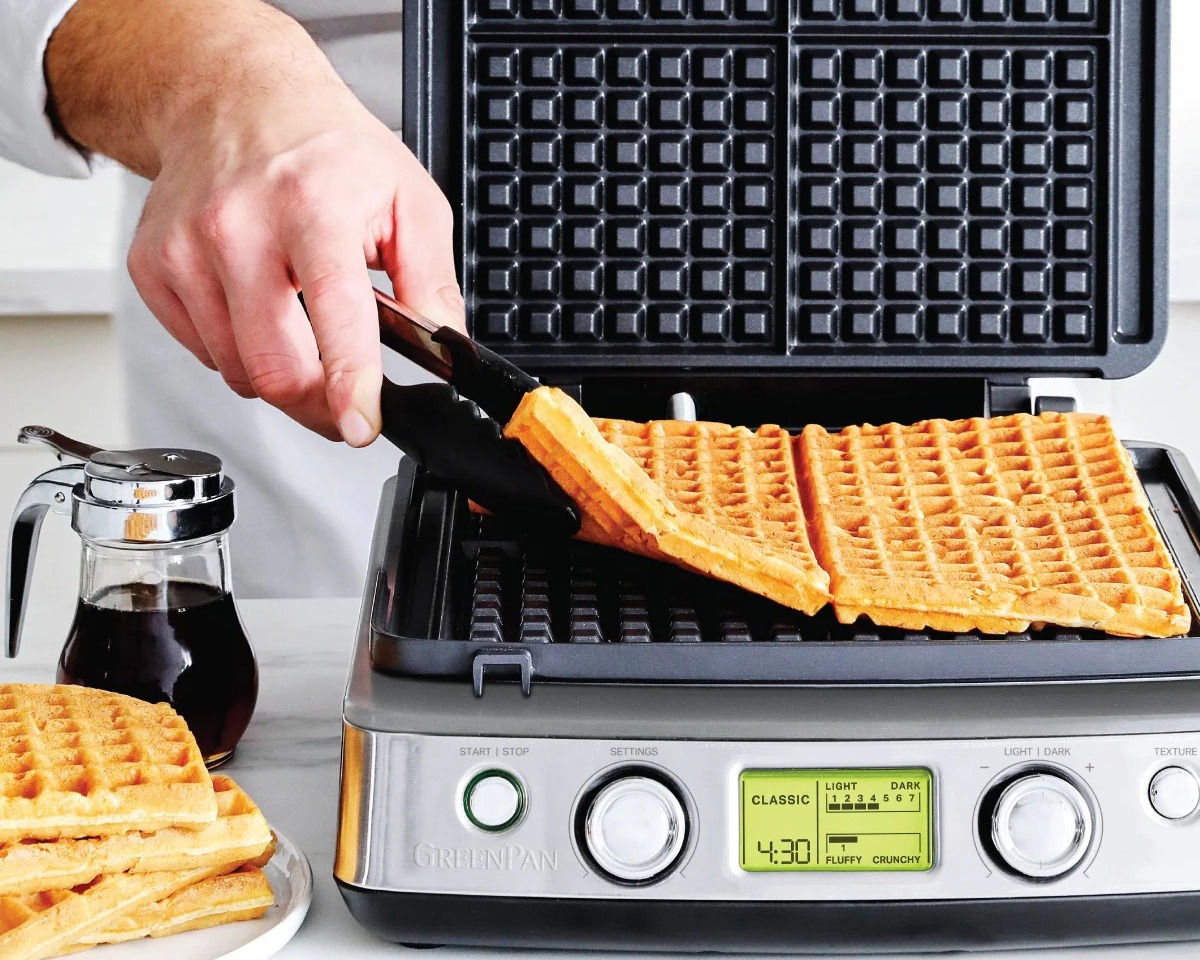
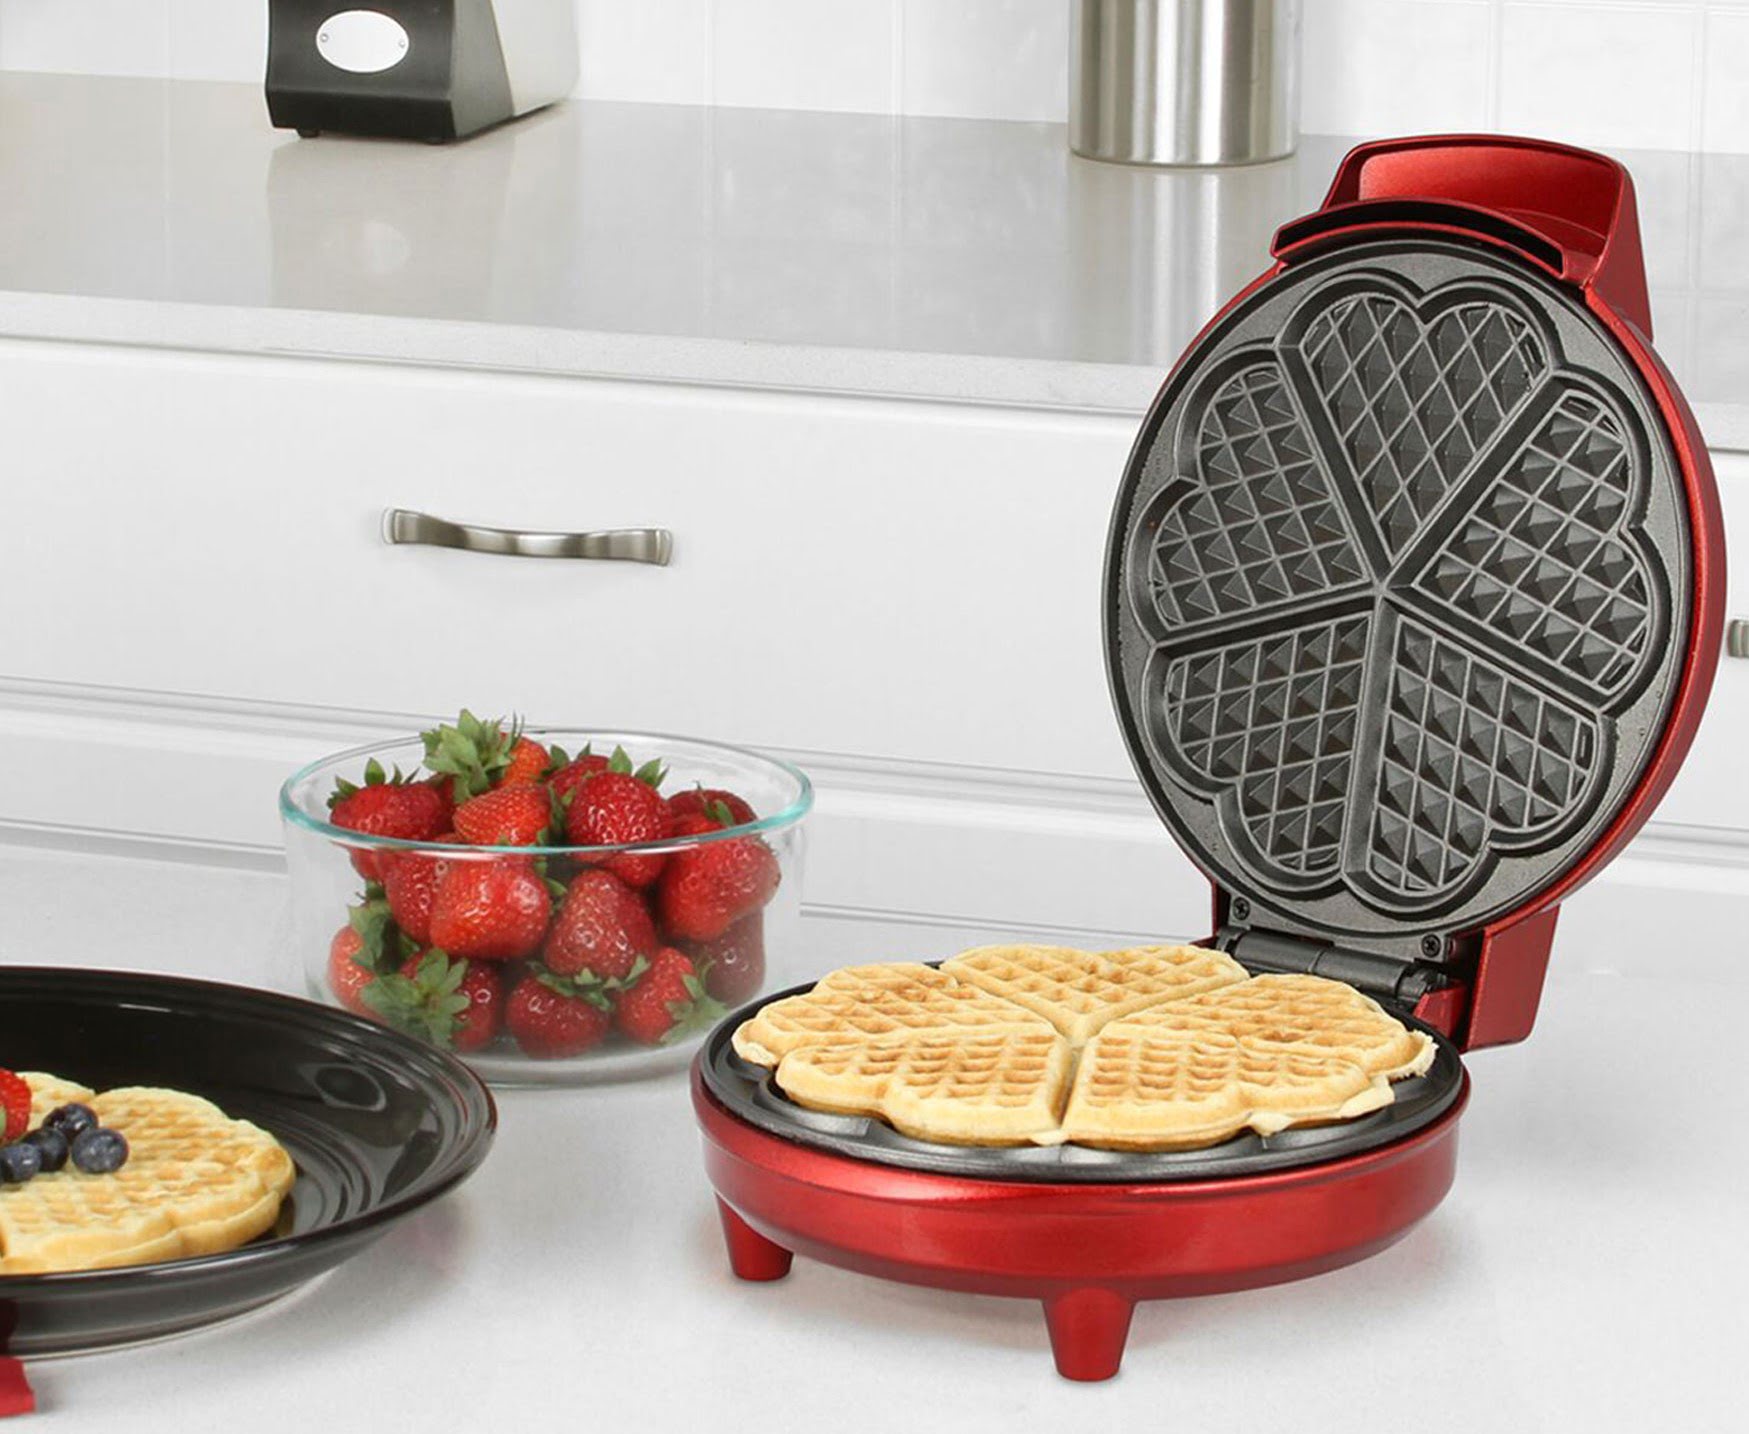
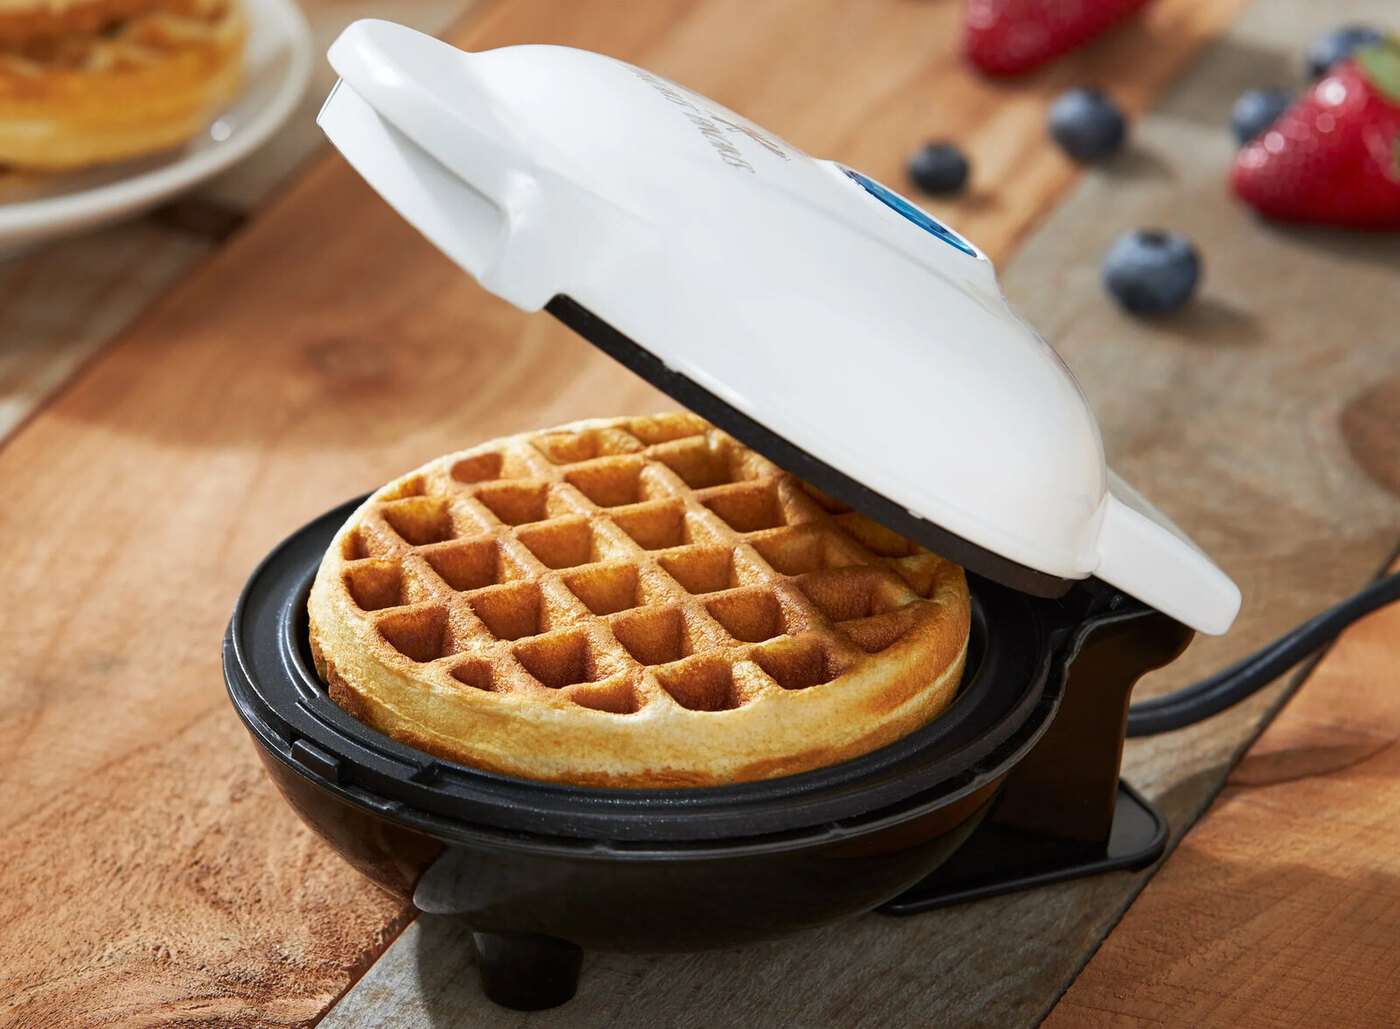
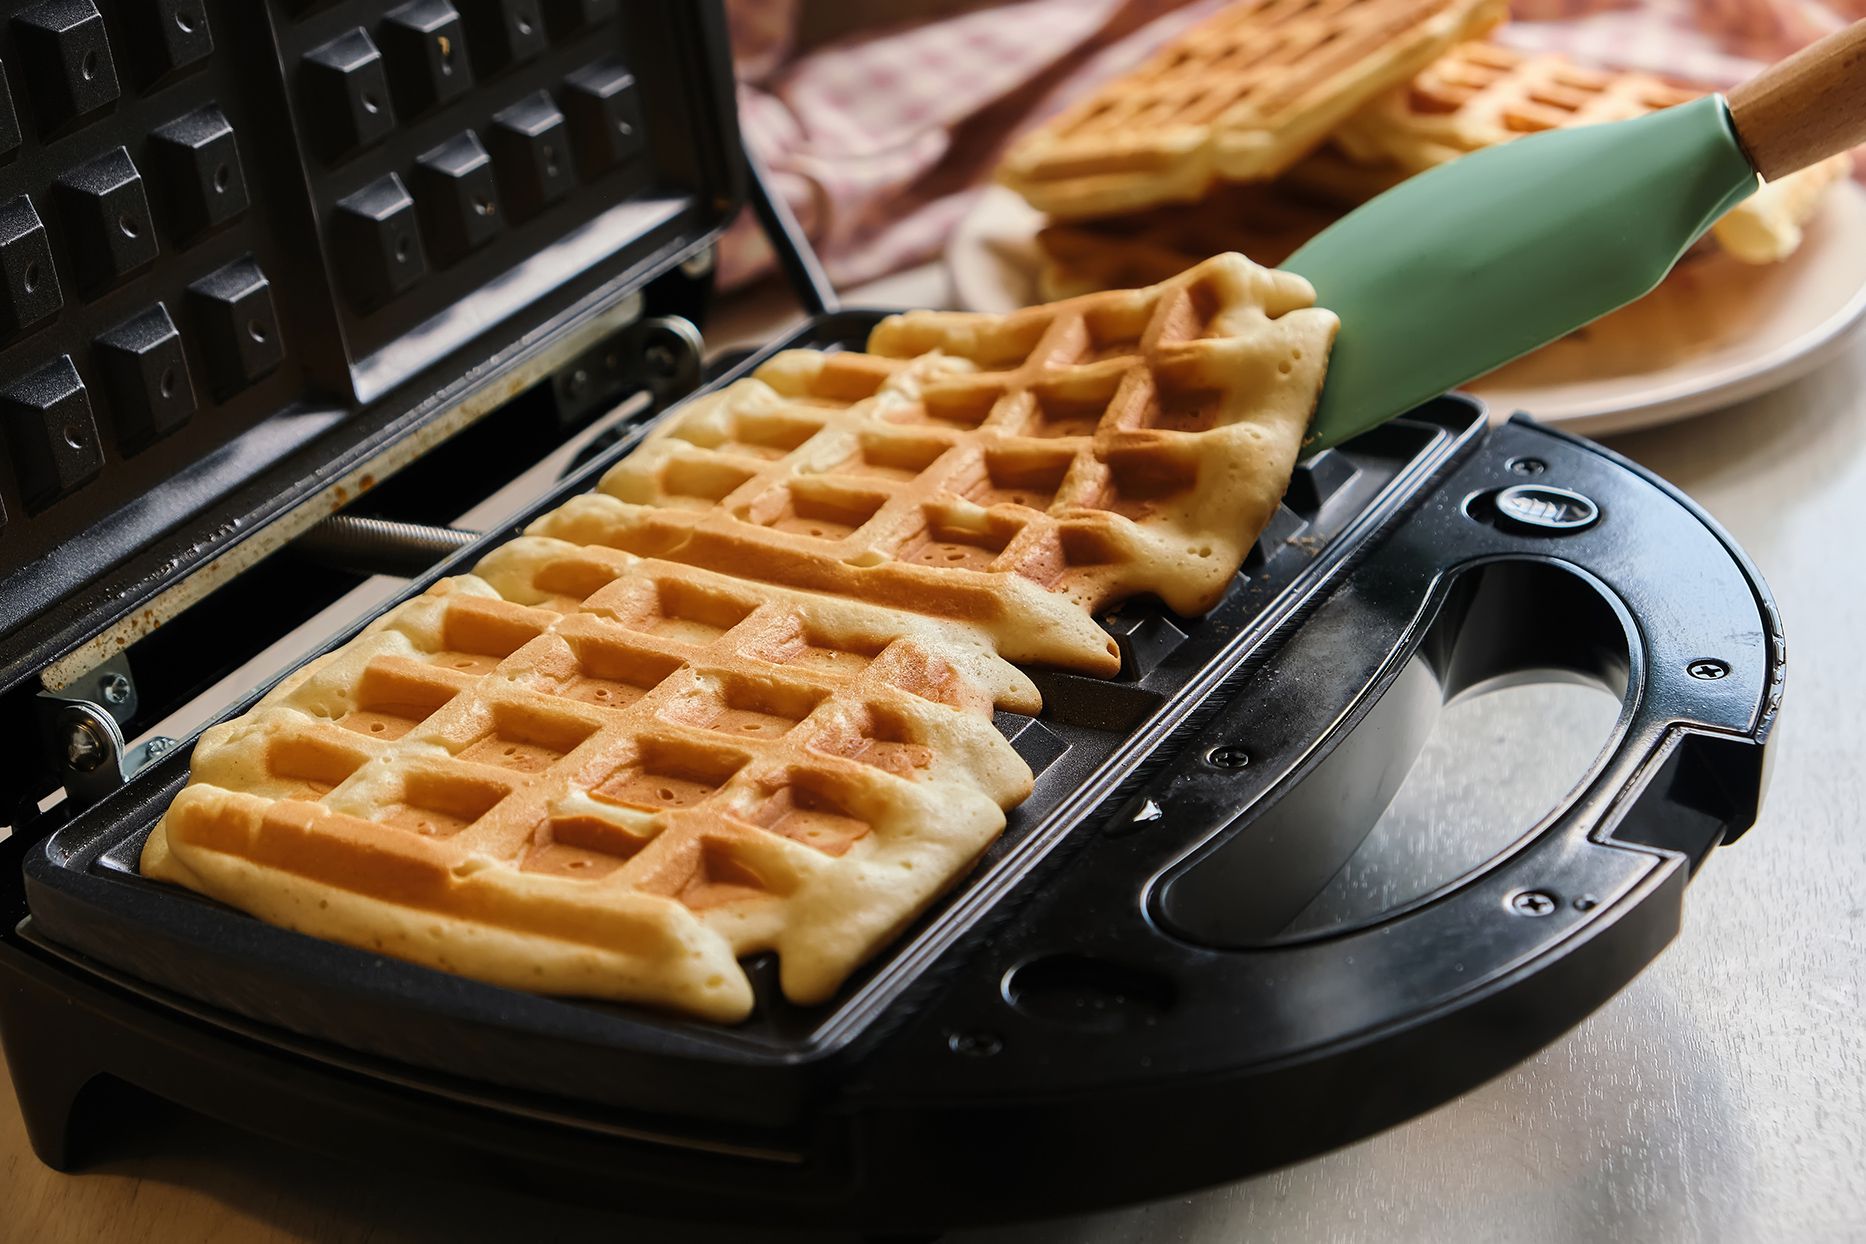
- Check for doneness: After the recommended cooking time has passed, lift the lid of the waffle iron and check the color and texture of the waffles. They should have a golden-brown color and feel crisp on the outside. If they appear pale or soft, close the lid and cook them for a little longer until they reach the desired doneness.
- Remove the cooked waffles: Once the waffles are cooked to your liking, use a heat-resistant spatula to carefully remove them from the waffle iron. Place them on a wire rack or a preheated plate to keep them warm while you cook the remaining batter.
With the cooking process complete, you’re just a step away from savoring your delectable homemade waffles. Now, let’s move on to the final step: removing the waffles from the waffle iron.
Step 6: Removing the Waffles from the Iron
The moment of truth has arrived – it’s time to remove your freshly cooked waffles from the Toastmaster Waffle Iron. Follow these steps to ensure the waffles are released from the iron without sticking or tearing:
- Open the waffle iron: Carefully lift the top lid of the waffle iron to expose the cooked waffles. Use oven mitts or a towel to protect your hands from the heat.
- Use a spatula: Gently slide a heat-resistant spatula under the edge of the waffle, starting from one side. Gradually work your way around the edges to loosen the waffle from the hot plates. Be careful not to press too hard to avoid damaging the waffle.
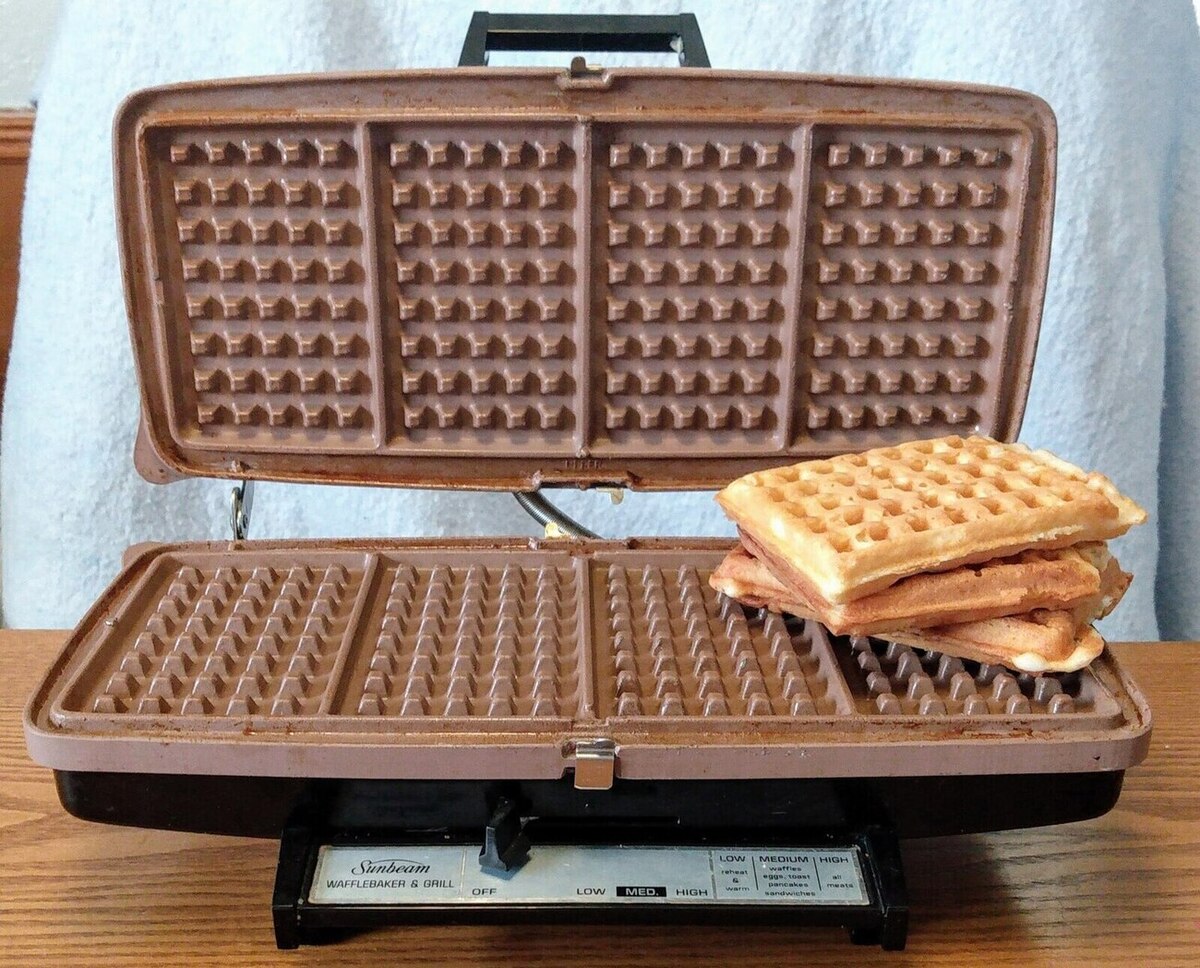
- Lift and transfer: Once the waffle is loosened, lift it with the spatula and transfer it to a serving plate or a wire rack. Place it with the crispy side facing up to retain its texture.
- Repeat the process: If you have more batter to cook, close the waffle iron again and repeat the cooking process. Before pouring the next batch of batter, make sure to reapply the cooking spray or brush the plates with melted butter.
Removing the waffles from the waffle iron requires a gentle touch to ensure they maintain their shape and don’t tear apart. With your waffles successfully removed, it’s time to move on to the final step: cleaning and maintaining the waffle iron.
Step 7: Cleaning and Maintaining the Waffle Iron
After enjoying your delicious homemade waffles, it’s important to properly clean and maintain your Toastmaster Waffle Iron. Follow these steps to ensure your waffle iron remains in optimal condition for future use:
- Unplug the waffle iron: Before cleaning, make sure the waffle iron is unplugged and has had time to cool down. This will prevent any accidents or burns.
- Wipe down the exterior: Use a damp cloth or sponge to wipe down the exterior of the waffle iron. This will remove any grease or residue that may have accumulated during the cooking process.
- Clean the plates: If the plates are removable, carefully detach them from the waffle iron as per the manufacturer’s instructions. Clean the plates with warm, soapy water and a non-abrasive sponge or brush. Make sure to remove any batter or grease and rinse them thoroughly.
- Wipe the interior: Use a damp cloth or sponge to wipe the interior of the waffle iron. Be careful not to immerse the entire unit in water, as this can damage the electrical components.
- Dry the parts: Thoroughly dry all parts of the waffle iron, including the plates, with a clean towel or allow them to air dry completely. This helps prevent rust or mold growth.
- Reassemble the waffle iron: Once the plates are dry, reattach them to the waffle iron according to the manufacturer’s instructions. Ensure that they fit securely and correctly.
- Store the waffle iron: Store the waffle iron in a cool, dry place to protect it from moisture or dust. Keep the cord neatly wrapped and secured to prevent any damage.
- Perform regular maintenance: Periodically check the waffle iron for any signs of wear or damage. Follow the manufacturer’s instructions for any additional maintenance or troubleshooting needed.
By regularly cleaning and maintaining your Toastmaster Waffle Iron, you’ll prolong its lifespan and ensure consistent performance for future waffle-making adventures.
With the waffle iron now cleaned and stored properly, you’ve completed all the necessary steps to use and care for your Toastmaster Waffle Iron. Enjoy your homemade waffles time and time again, and delight in the wonderful breakfast creations you can make right in your own kitchen!
Conclusion
Congratulations! You’ve now learned how to use and master the art of making delicious waffles with your Toastmaster Waffle Iron. By following the step-by-step guide, you’ll be able to create golden-brown, crispy waffles with a fluffy interior that will impress your family and friends.
Remember, preparation is key. Ensure that your waffle iron is clean, properly preheated, and the batter is well-mixed. Take your time to cook the waffles to perfection, checking for doneness and removing them with care to maintain their shape. After enjoying your waffles, cleaning and maintaining your waffle iron will keep it in excellent condition for future use.
So why settle for store-bought waffles when you can recreate the taste and texture of a breakfast masterpiece from the comfort of your own home? Experiment with different toppings and flavors to customize your waffles, from classic maple syrup and butter to fresh fruit, whipped cream, or even savory options like chicken and waffles.
The Toastmaster Waffle Iron is a versatile and reliable kitchen appliance that will elevate your breakfast or brunch experience. Whether you’re cooking for a crowd or enjoying a quiet morning alone, your waffle iron will become an essential tool in your culinary adventures.
So, go ahead, gather your ingredients, mix your batter, preheat your waffle iron, pour, cook, and savor the delightful aroma and taste of freshly made waffles. Breakfast will never be the same again!
Frequently Asked Questions about How To Use Toastmaster Waffle Iron
Was this page helpful?
At Storables.com, we guarantee accurate and reliable information. Our content, validated by Expert Board Contributors, is crafted following stringent Editorial Policies. We're committed to providing you with well-researched, expert-backed insights for all your informational needs.


0 thoughts on “How To Use Toastmaster Waffle Iron”