
Articles
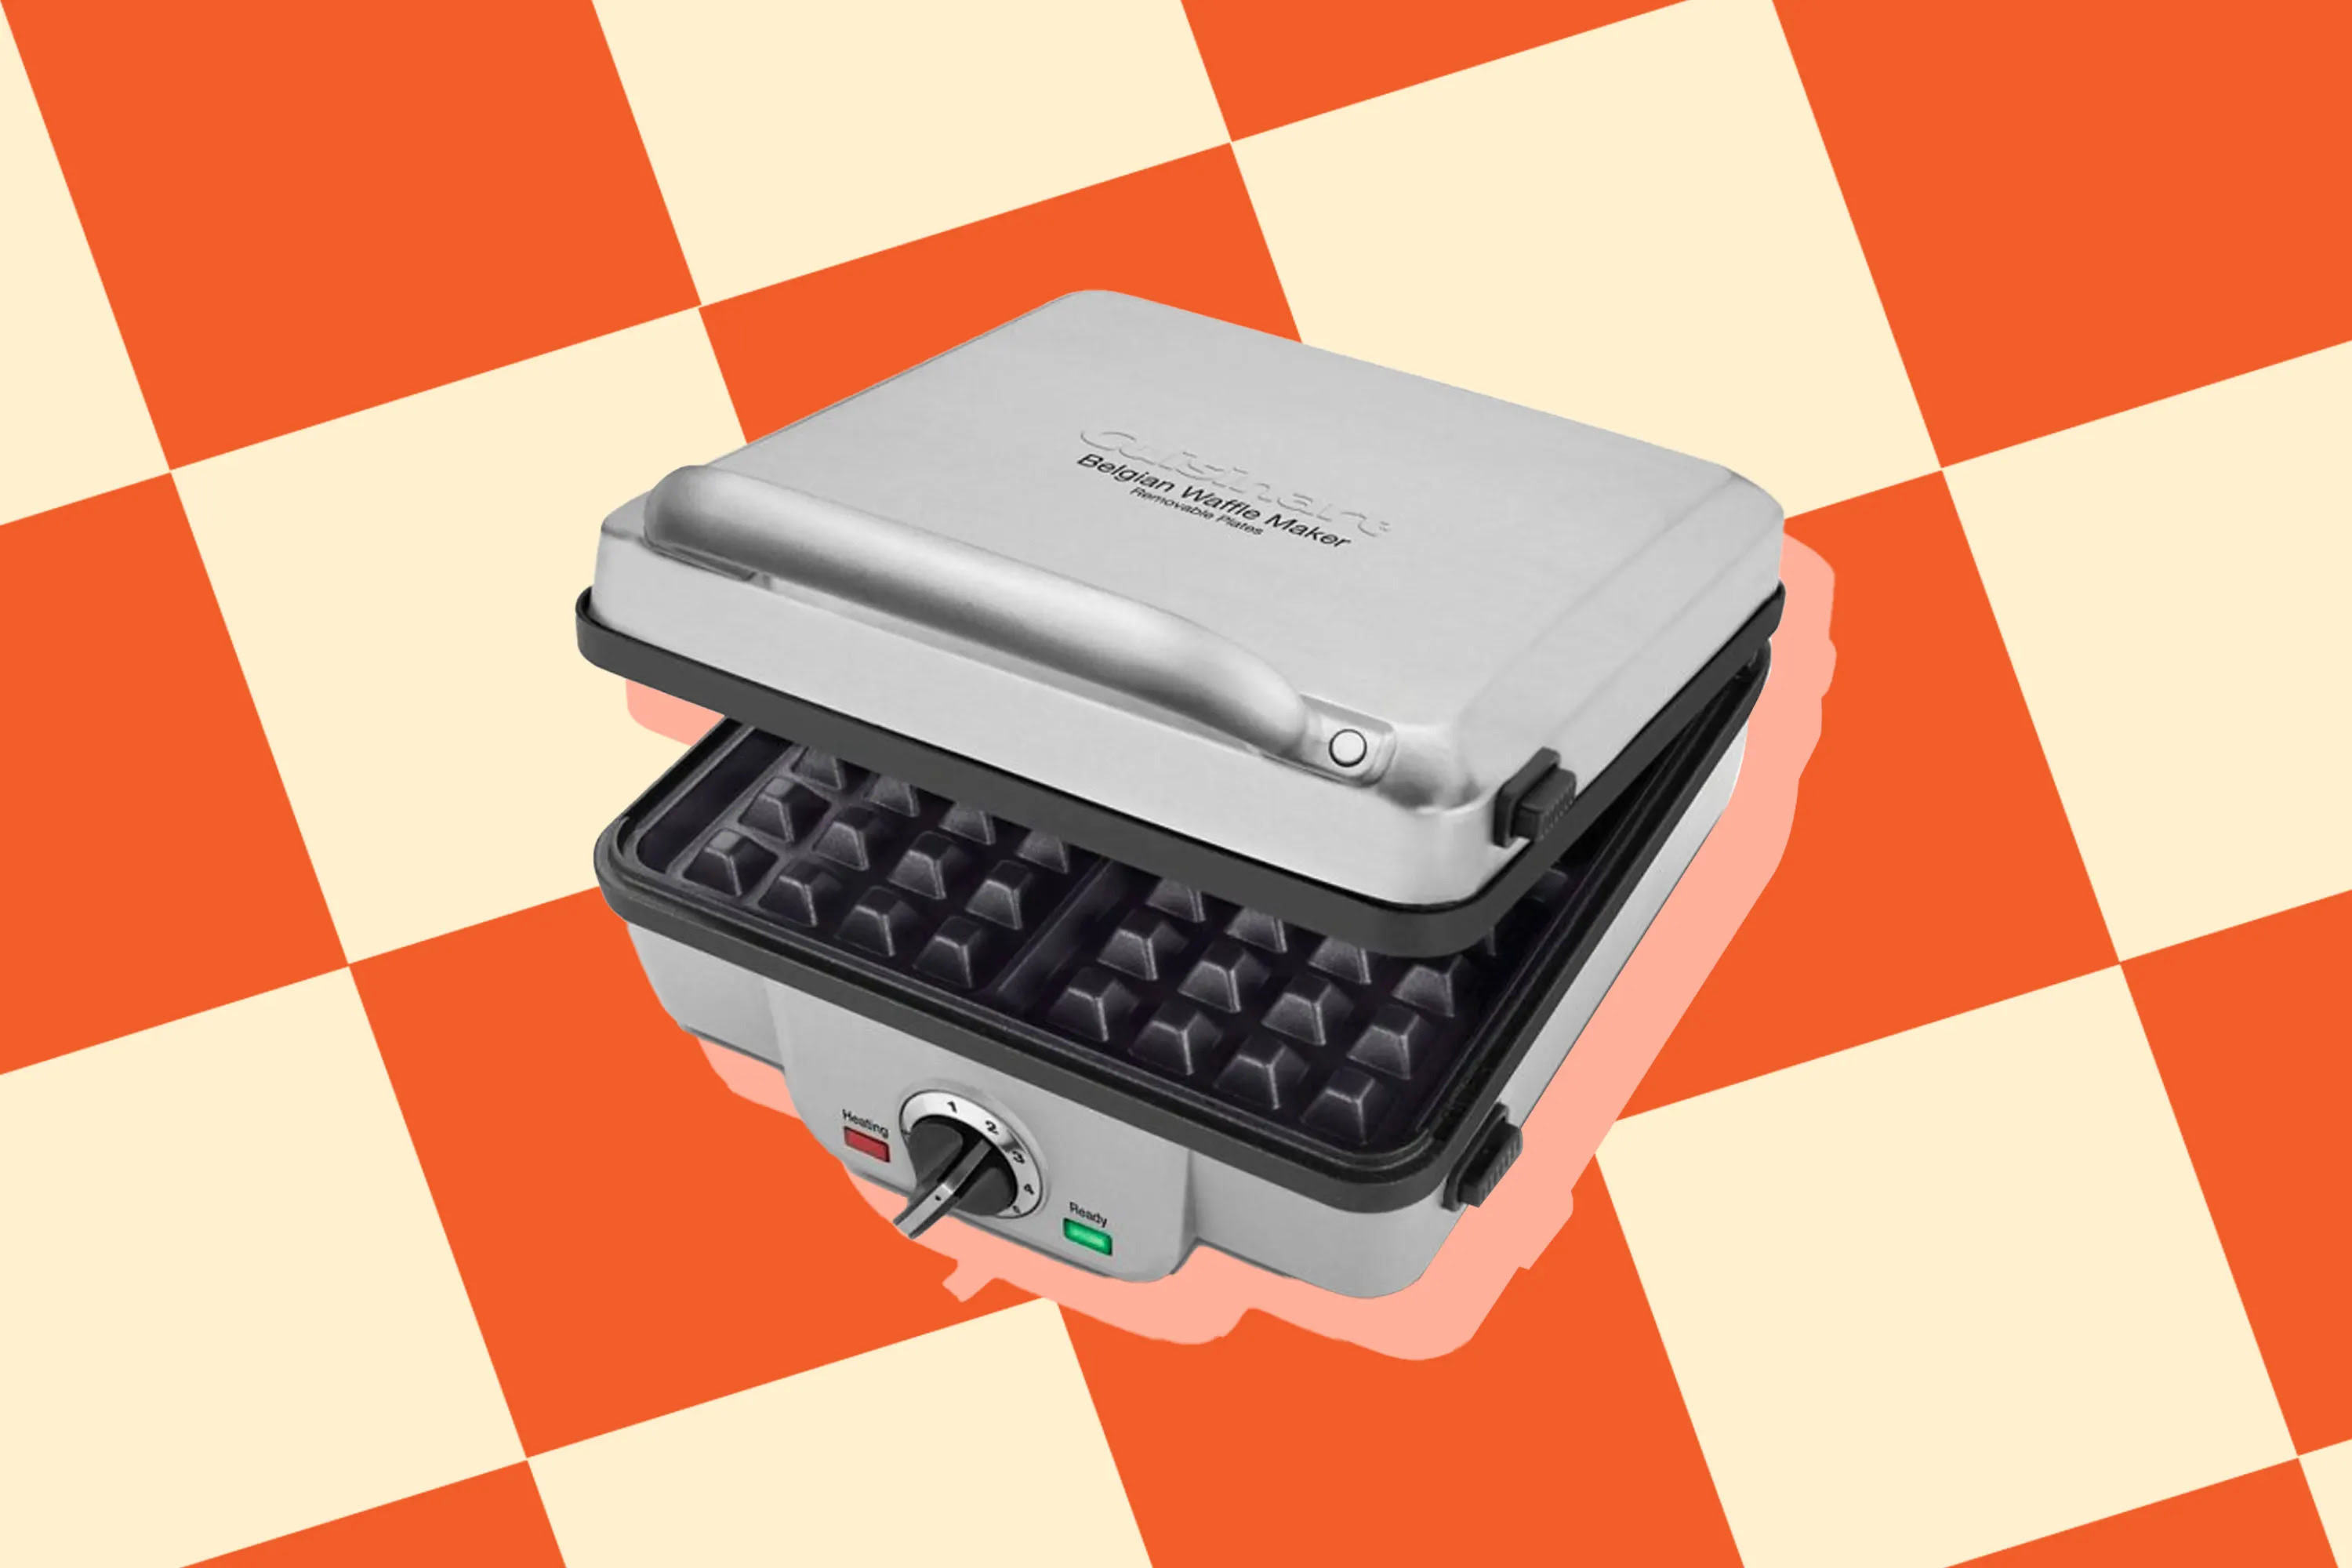
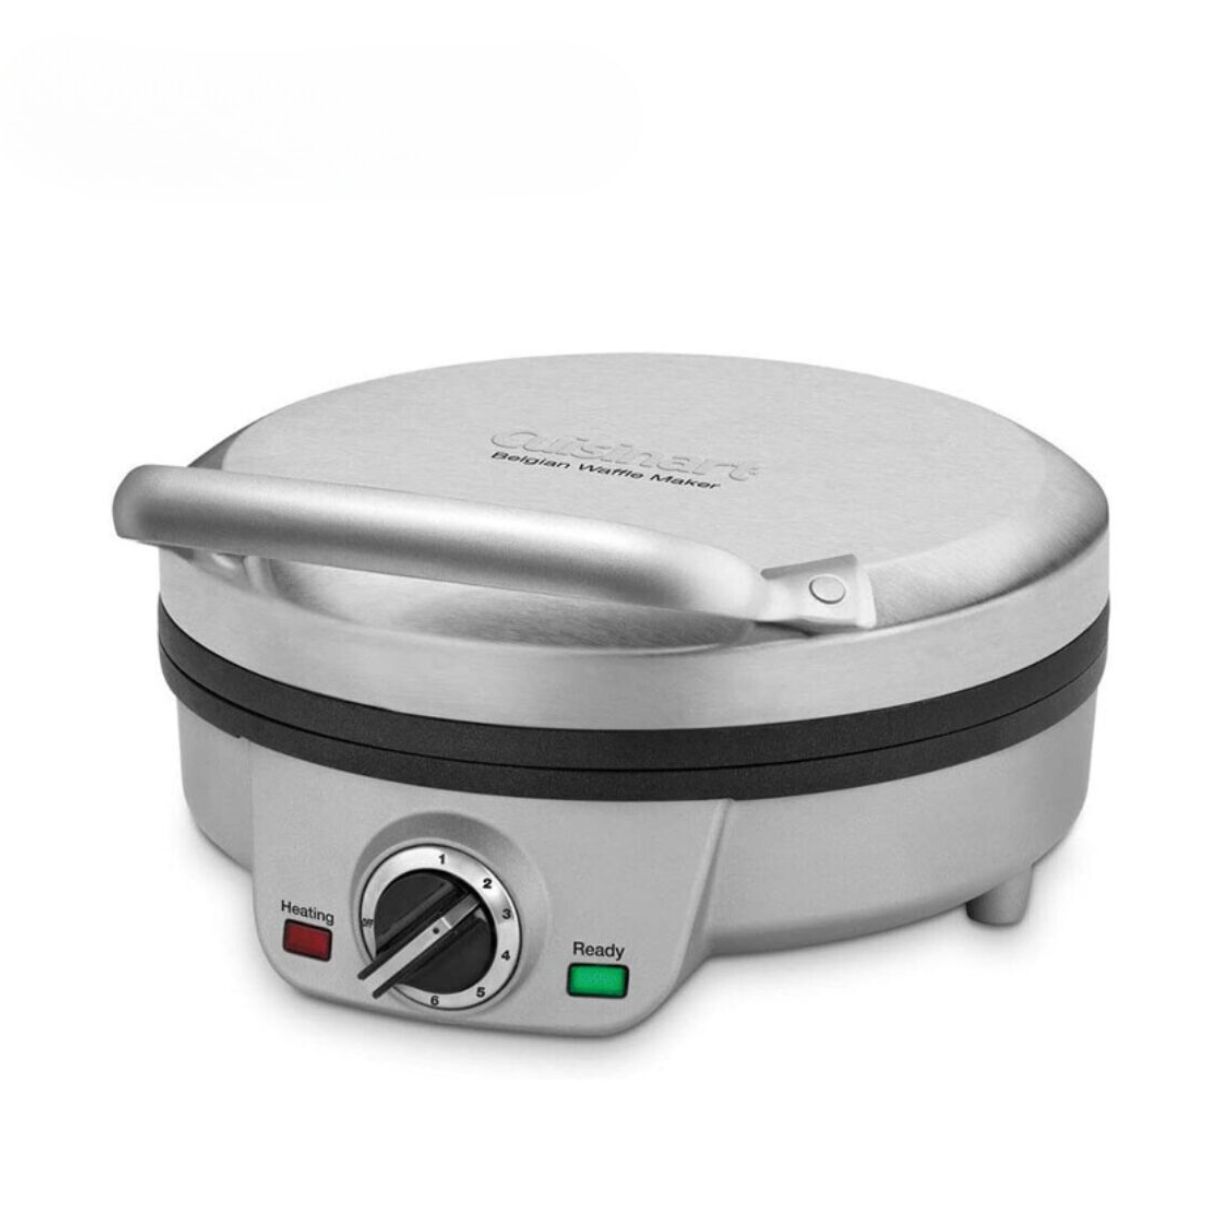
How To Clean Cuisinart Waffle Iron
Modified: August 28, 2024
Learn the best techniques and tips for cleaning your Cuisinart waffle iron with our informative articles. Keep your waffle iron in top shape!
(Many of the links in this article redirect to a specific reviewed product. Your purchase of these products through affiliate links helps to generate commission for Storables.com, at no extra cost. Learn more)
Introduction
Having a Cuisinart waffle iron is a wonderful addition to any kitchen. It allows you to make delicious, crispy waffles right at home. However, like any kitchen appliance, it requires regular maintenance and cleaning to ensure optimal performance and longevity.
In this article, we will guide you through the step-by-step process of cleaning your Cuisinart waffle iron. Whether you have leftover batter on the plates or want to give the exterior a thorough wipe-down, we’ve got you covered. By following these simple cleaning tips, you can keep your Cuisinart waffle iron in pristine condition and continue enjoying perfectly cooked waffles for years to come.
Before we dive into the cleaning process, it’s essential to emphasize the importance of safety. Always ensure that your waffle iron is unplugged and cooled down completely before starting the cleaning process. This will prevent any accidental burns or electrical hazards.
Now, let’s get started on cleaning your Cuisinart waffle iron!
Key Takeaways:
- Regularly cleaning and maintaining your Cuisinart waffle iron is crucial for optimal performance and longevity. Follow the step-by-step guide to ensure your waffle iron remains in pristine condition and continues to deliver delicious waffles for years to come.
- Prioritize safety by unplugging and cooling down the waffle iron before cleaning. Incorporate regular maintenance into your routine, including cleaning after each use, proper storage, and periodic inspections for wear and tear.
Step 1: Preparing the Waffle Iron
Before you begin cleaning your Cuisinart waffle iron, it’s crucial to prepare it properly. This step will ensure a smoother and more effective cleaning process.
Start by unplugging the waffle iron and allowing it to cool down completely. This is an essential safety precaution to prevent any accidents or injuries while cleaning.
Next, detach any removable parts, such as the plates or drip tray, if your waffle iron has them. Refer to your product manual for specific instructions on how to remove these parts safely. Once detached, set them aside for cleaning separately.
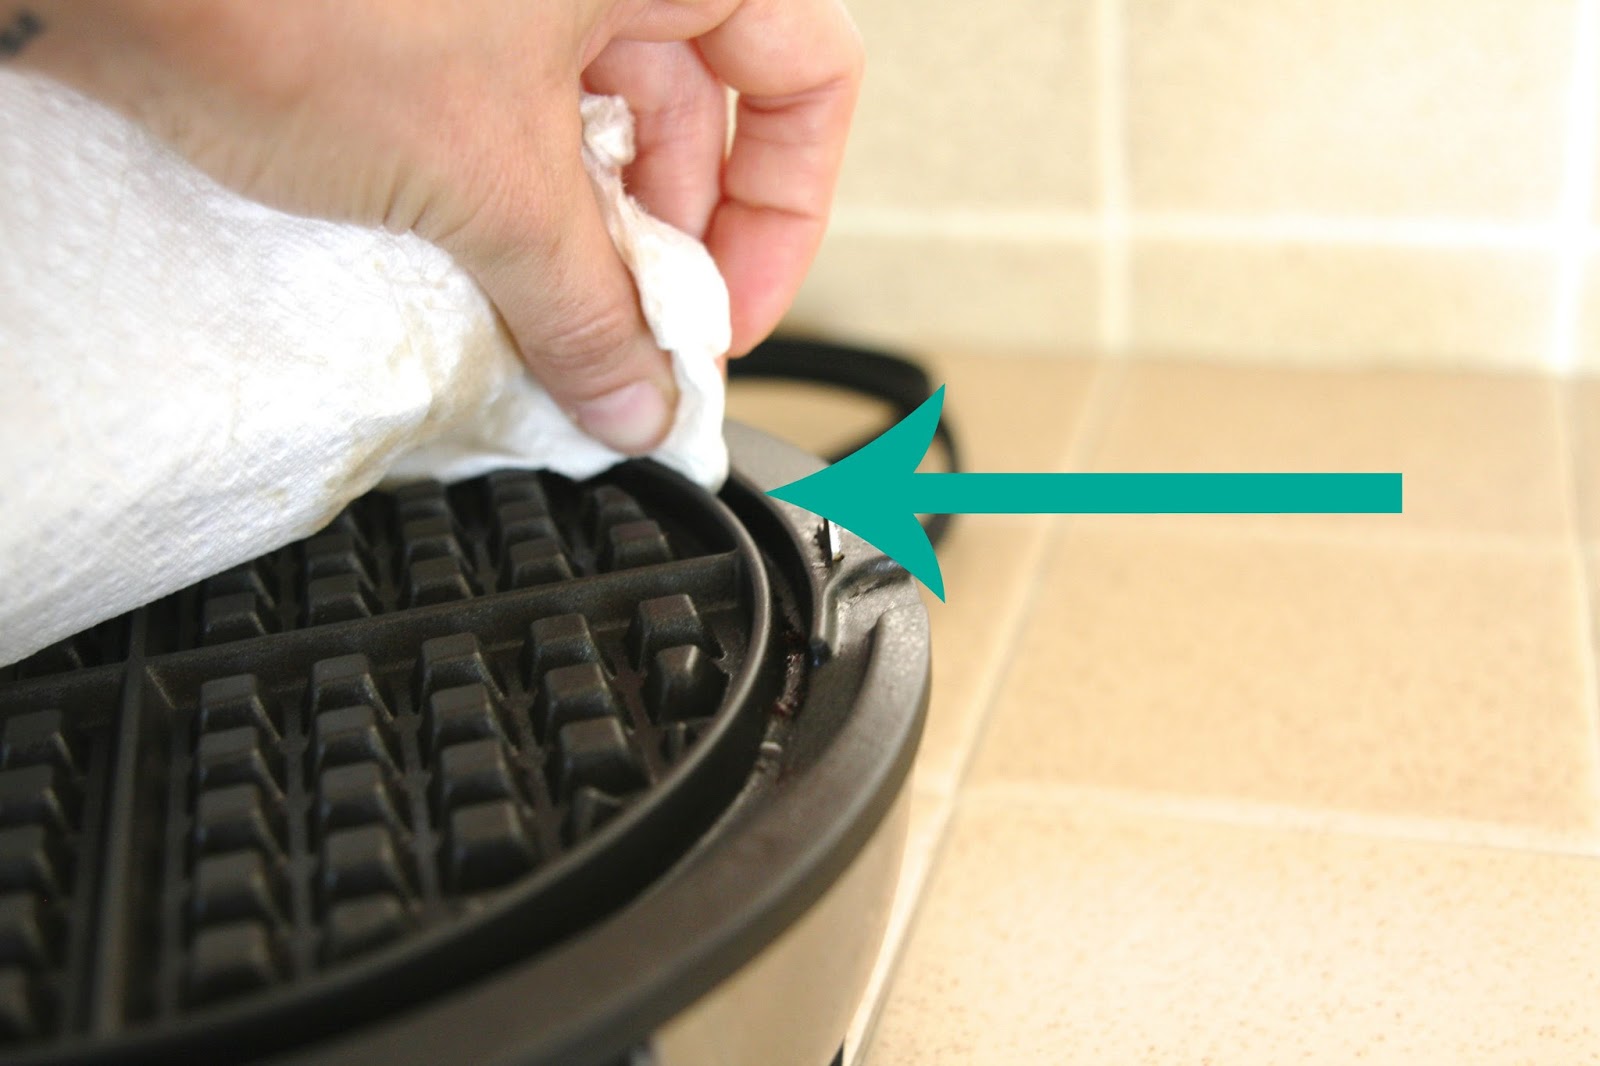
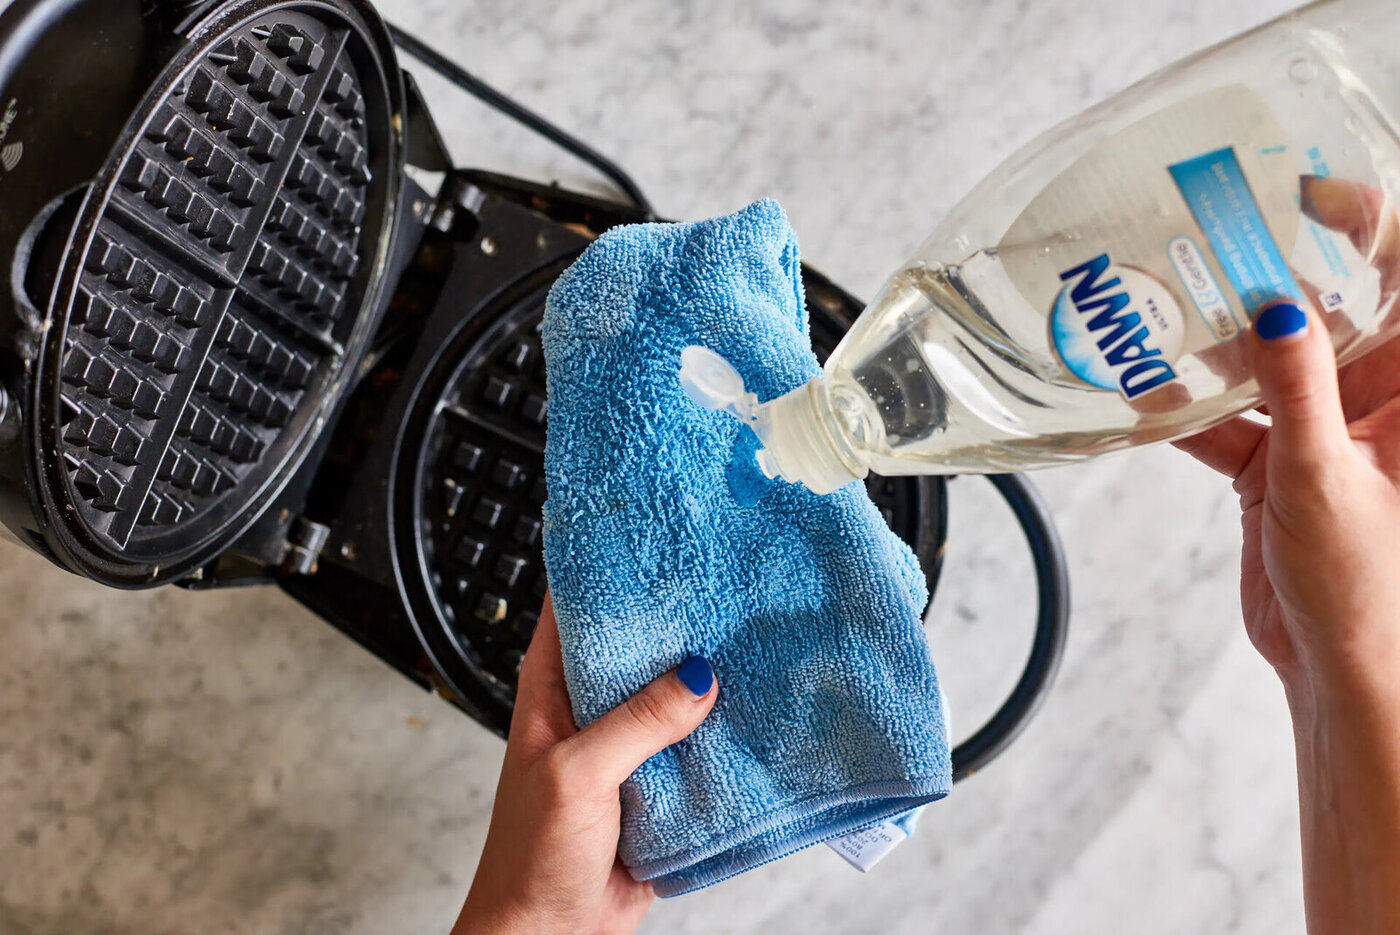
Now, take a damp cloth or sponge and wipe down the exterior of the waffle iron. Pay close attention to any areas that may have accumulated grease or food debris. Use mild dish soap if necessary to remove stubborn stains.
Additionally, check for any loose crumbs or batter on the heating plates. Gently brush off any debris using a soft-bristle brush or a clean, dry cloth. Take care not to scratch or damage the non-stick coating of the plates.
Once you have prepared the waffle iron by removing any removable parts and cleaning the exterior, you are ready to move on to the next step: removing any leftover batter.
Step 2: Removing Any Leftover Batter
After preparing the waffle iron, it’s time to tackle any leftover batter that may be stuck on the plates. Removing this residue will prevent it from burning or affecting the taste of future waffles.
To start, use a rubber spatula or a plastic scraper to gently scrape off any excess batter. Be careful not to apply too much pressure or scratch the non-stick surface of the plates. It’s best to scrape in a sweeping motion, following the contours of the waffle iron plates.
If the batter is particularly stubborn or hard to remove, you can try dampening a cloth or sponge with warm water. Gently wipe the plates in a circular motion to loosen the residue. Avoid using any abrasive cleaners or scrub brushes, as they can damage the non-stick coating.
For any batter that remains stuck in the deep crevices of the waffle iron, you can use a soft-bristle toothbrush or a small cleaning brush. Dip the brush in warm water and lightly scrub the affected areas, making sure to reach into the grooves. This will help dislodge any stubborn remnants and ensure a thorough cleaning.
Once you have removed all the leftover batter, take a damp cloth or sponge and wipe down the plates again. This will help remove any remaining traces of batter or residue. Make sure to dry the plates thoroughly with a clean towel or allow them to air dry before moving on to the next step.
Now that the plates are clean and free of any leftover batter, it’s time to move on to cleaning the exterior of the waffle iron.
Step 3: Cleaning the Plates
Once you have removed any leftover batter from the waffle iron, it’s time to focus on cleaning the plates themselves. This step is crucial to ensure that your waffles turn out perfect every time and to maintain the longevity of your Cuisinart waffle iron.
Start by preparing a mixture of warm water and mild dish soap. You can also add a small amount of vinegar to help remove any grease or residue. Dampen a cloth or sponge with the soapy solution and gently wipe down the plates, paying close attention to any areas with stubborn stains or buildup.
If there are any hard-to-reach areas or intricate patterns on the plates, you can use a soft-bristle toothbrush or a small cleaning brush to scrub them gently. Be sure to use gentle and circular motions to avoid scratching the non-stick surface.
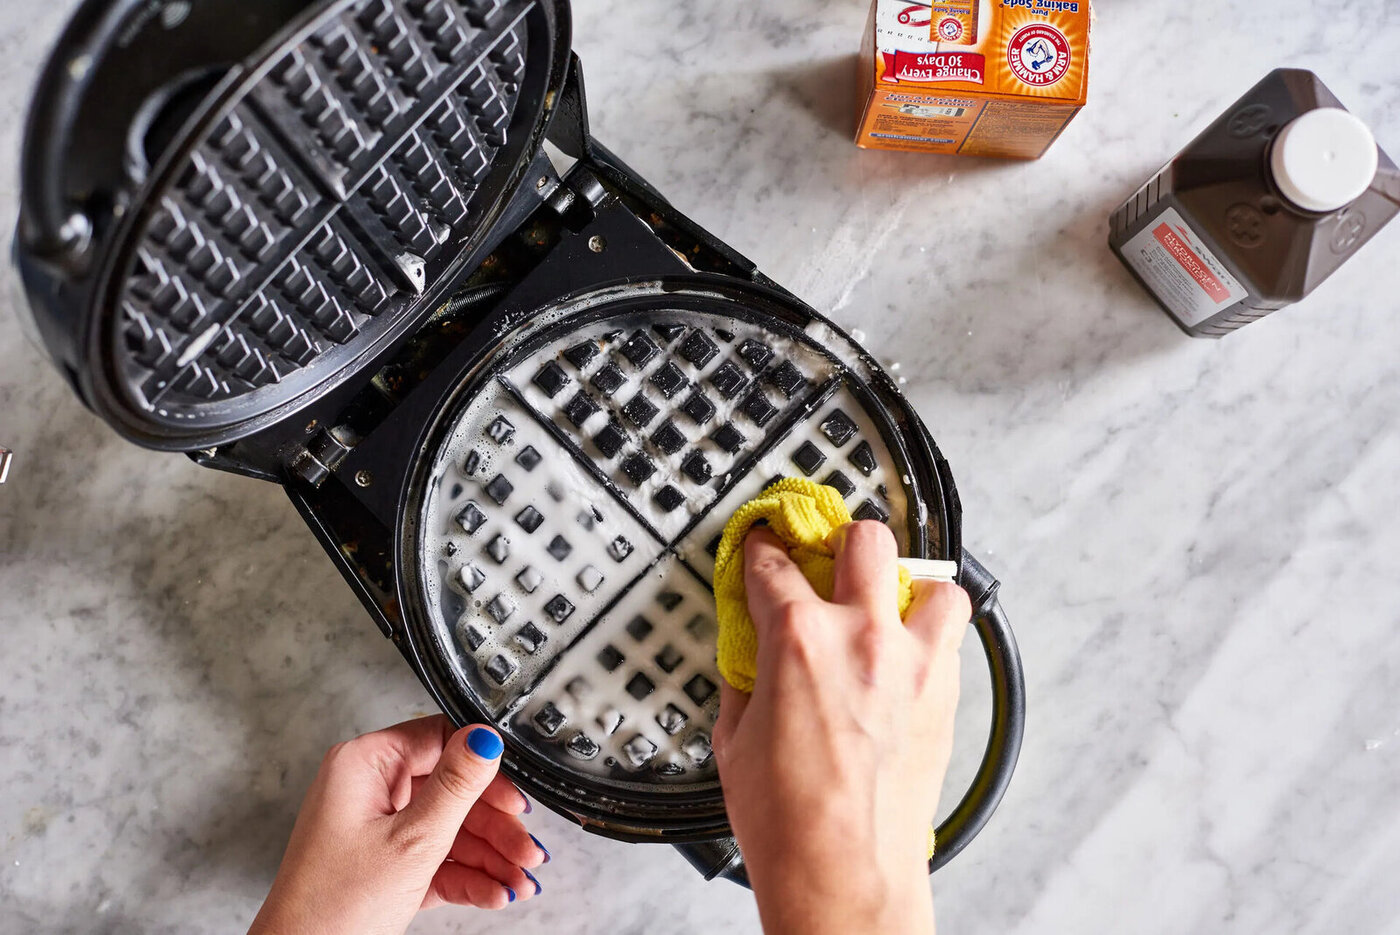
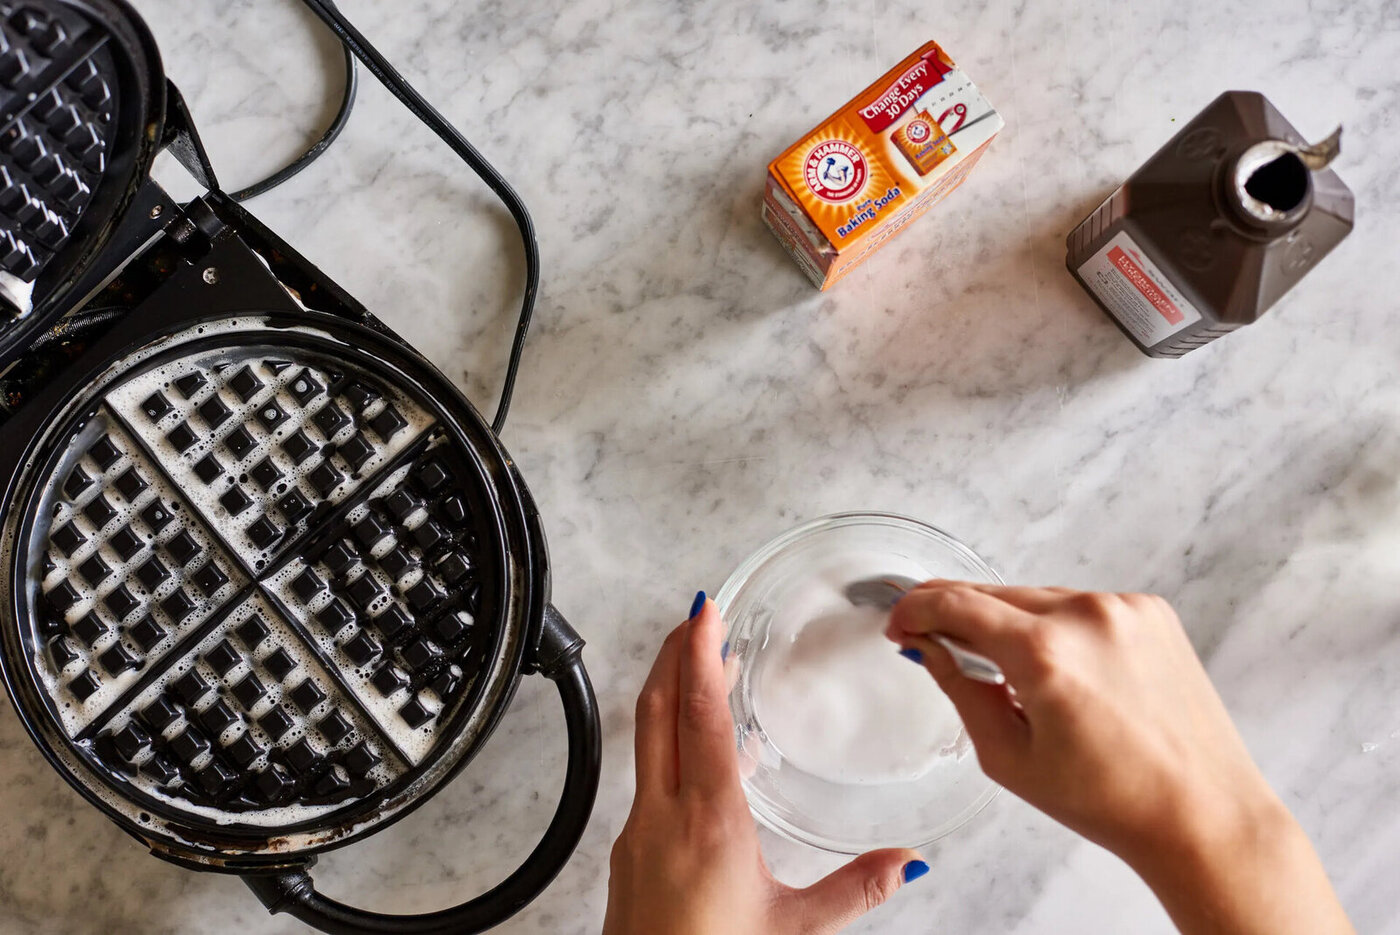
For any particularly stubborn stains or residue, you can create a paste using baking soda and water. Apply the paste to the affected areas and let it sit for a few minutes to loosen the buildup. Then, use a sponge or cloth to scrub away the paste and rinse the plates thoroughly with clean water.
Once you have cleaned the plates to your satisfaction, make sure to dry them thoroughly before reassembling the waffle iron. This will prevent any moisture from causing rust or mold growth.
If your Cuisinart waffle iron has removable plates, take this opportunity to clean them separately. Follow the manufacturer’s instructions on how to remove and clean these plates. Make sure to dry them completely before reattaching them to the waffle iron.
Now that the plates are clean and dry, it’s time to move on to cleaning the exterior of the waffle iron.
To clean a Cuisinart waffle iron, unplug it and let it cool. Wipe down the plates with a damp cloth or sponge. For stubborn residue, use a soft-bristled brush. Never immerse the entire unit in water.
Step 4: Cleaning the Exterior
While cleaning the plates of your Cuisinart waffle iron is essential, let’s not forget about the exterior. Keeping the exterior clean and free from grease or food residue will not only enhance the appearance of your waffle iron but also prevent any potential buildup that could affect its performance.
To clean the exterior of your waffle iron, start by unplugging it and ensuring it has cooled down completely. This is crucial for safety and to avoid any accidents while cleaning.
Use a damp cloth or sponge and mild dish soap to wipe down the exterior surfaces of the waffle iron. Pay extra attention to any areas that may have accumulated grease or food splatters. Gently scrub in circular motions to remove any stubborn residue.
If there are any tough stains or dried-on food particles, you can create a paste using baking soda and water. Apply the paste to the stains and let it sit for a few minutes to loosen the buildup. Then, use a sponge or cloth to scrub away the paste and rinse the exterior surfaces with clean water.
When cleaning the exterior, be cautious not to let water or cleaning solutions come into contact with the electrical components of the waffle iron. Avoid submerging the appliance in water entirely.
Once you have cleaned the exterior, use a clean, dry cloth to wipe away any excess moisture. Make sure all surfaces are completely dry before plugging in or storing the waffle iron to prevent any potential damage.
Now that you have cleaned the exterior of your Cuisinart waffle iron, it’s time to move on to the final step: maintaining the waffle iron for long-lasting performance.
Read more: How To Clean Waffle Iron Stuck
Step 5: Maintaining the Waffle Iron
Cleaning your Cuisinart waffle iron is not just a one-time task. To ensure its longevity and optimal performance, it’s essential to incorporate regular maintenance into your routine. Here are a few tips for maintaining your waffle iron:
1. Clean after each use: After making delicious waffles, make it a habit to clean the plates and the exterior of the waffle iron after each use. This will prevent any buildup or residue from hardening and becoming difficult to remove later on.
2. Avoid abrasive cleaners: When cleaning your waffle iron, refrain from using abrasive cleaners or scrub brushes. These can scratch the non-stick coating of the plates or damage the exterior surface. Stick to mild dish soap, warm water, and gentle cleaning tools.
3. Store properly: When not in use, store your waffle iron in a cool and dry place. Avoid placing heavy objects on top of it, as this can cause damage to the appliance. Additionally, make sure the plates and the exterior are completely dry before storing to prevent any moisture-related issues.
4. Be mindful of the cord: Take care of the power cord and handle it gently. Avoid twisting or pulling the cord forcefully, as this can cause damage. If the cord becomes worn or frayed, it’s important to replace it to ensure safety while using the waffle iron.
5. Periodically check for wear and tear: Regularly inspect your waffle iron for any signs of wear and tear. Check the plates for any damage to the non-stick coating and the exterior for any cracks or loose parts. If you notice any issues, contact the manufacturer or a professional for repairs or guidance.
By following these maintenance tips, you can prolong the life of your Cuisinart waffle iron and continue to enjoy delicious waffles for years to come.
Now you have learned the step-by-step process of cleaning your Cuisinart waffle iron and maintaining it for long-lasting performance. With regular cleaning and proper maintenance, your waffle iron will consistently deliver crispy and delightful waffles whenever you desire.
Remember, always prioritize safety during the cleaning process, and enjoy your homemade waffles with peace of mind!
Conclusion
Cleaning and maintaining your Cuisinart waffle iron is essential for its optimal performance and longevity. By following the step-by-step process outlined in this article, you can ensure that your waffle iron remains in pristine condition and continues to deliver delicious waffles for years to come.
Start by preparing the waffle iron and removing any leftover batter from the plates. Take care to clean both the interior and exterior surfaces, using gentle cleaning tools and mild dish soap. Remember to avoid abrasive cleaners or scrub brushes that can damage the non-stick coating.
Once the plates are clean, make sure to dry them thoroughly before reassembling the waffle iron. Additionally, clean the exterior of the appliance to remove any grease or food residue. Take care not to let any moisture come into contact with the electrical components of the waffle iron.
Incorporating regular maintenance into your routine is crucial. Clean the waffle iron after each use, store it properly in a dry place, and periodically check for any signs of wear and tear. By following these maintenance tips, you can extend the life of your Cuisinart waffle iron and enjoy countless batches of mouthwatering waffles.
Remember, safety should always be a priority during the cleaning process. Ensure the waffle iron is unplugged and cooled down before starting, and handle the power cord with care.
With proper cleaning and maintenance, your Cuisinart waffle iron will continue to be a valuable and delightful addition to your kitchen. So, get ready to enjoy perfectly cooked waffles whenever the craving strikes!
Now that you’re armed with the knowledge to clean and maintain your Cuisinart waffle iron, it’s time to roll up your sleeves and give it the care it deserves. Happy waffle-making!
Frequently Asked Questions about How To Clean Cuisinart Waffle Iron
Was this page helpful?
At Storables.com, we guarantee accurate and reliable information. Our content, validated by Expert Board Contributors, is crafted following stringent Editorial Policies. We're committed to providing you with well-researched, expert-backed insights for all your informational needs.

0 thoughts on “How To Clean Cuisinart Waffle Iron”