
Articles
How To Clean Dryer Lint Trap
Modified: August 28, 2024
Learn how to effectively clean your dryer lint trap with our informative articles. Keep your dryer running efficiently and prevent fire hazards.
(Many of the links in this article redirect to a specific reviewed product. Your purchase of these products through affiliate links helps to generate commission for Storables.com, at no extra cost. Learn more)
Introduction
Welcome to our comprehensive guide on how to clean your dryer lint trap. Although it may seem like a mundane task, maintaining a clean lint trap is crucial for the performance and safety of your dryer. From reducing the risk of fire to improving energy efficiency, regularly cleaning the lint trap is a simple yet essential step in dryer maintenance.
In this article, we’ll provide you with step-by-step instructions on how to clean your dryer lint trap effectively. We’ll also discuss why cleaning the lint trap is important and provide you with some valuable maintenance tips to keep your dryer running smoothly.
So let’s dive right in and discover everything you need to know about cleaning your dryer lint trap!
Key Takeaways:
- Regularly cleaning your dryer lint trap is crucial for preventing fire hazards, improving energy efficiency, and preserving the lifespan of your dryer. It also helps maintain clothing quality and prevents air vent blockages.
- To effectively clean your dryer lint trap, gather essential tools and materials, follow a step-by-step guide, and incorporate proper maintenance tips. Prioritize safety, reduce fire risks, and ensure optimal dryer performance with regular maintenance.
Why Cleaning your Dryer Lint Trap is Important
Regularly cleaning the lint trap is not just a simple chore; it is a crucial step in dryer maintenance for several reasons:
- Preventing Fire Hazards: Lint is highly flammable, and when it accumulates in the lint trap, it increases the risk of a dryer fire. As the hot air circulates through the dryer, it can ignite the built-up lint, leading to a potentially devastating household fire. By cleaning the lint trap regularly, you reduce the chance of lint igniting and minimize the risk of a fire.
- Improving Energy Efficiency: A clogged or dirty lint trap can hinder the airflow in your dryer. When airflow is restricted, it takes longer for clothes to dry, resulting in higher energy consumption. By cleaning the lint trap, you ensure proper airflow, allowing the dryer to operate efficiently and reducing energy waste. This not only saves you money on your electricity bill but also reduces your ecological footprint.
- Prolonging the Life of your Dryer: When the lint trap is clogged, it puts additional strain on your dryer’s internal components. The motor has to work harder, and the dryer may overheat, leading to premature wear and tear. By regularly cleaning the lint trap, you reduce the stress on your dryer, increasing its lifespan and saving you from costly repairs or the need for a new dryer altogether.
- Preventing Air Vent Blockages: When lint accumulates in the lint trap, there is a higher chance that it will also find its way into the dryer’s vent system. Over time, this can lead to a blockage in the vent, hindering proper airflow and causing potential ventilation issues. A blocked vent can not only affect the dryer’s efficiency but also pose health risks, as it can lead to the buildup of carbon monoxide gas. Cleaning the lint trap regularly helps to prevent these blockages, ensuring proper airflow and ventilation.
- Preserving Clothing Quality: Excessive lint in the dryer can transfer onto your clothes, causing them to appear dull, faded, or covered in lint particles. By cleaning the lint trap, you remove the excess lint, keeping your clothes cleaner and maintaining their quality. This is especially important for delicate fabrics that are more prone to lint accumulation.
By understanding the importance of cleaning your dryer lint trap, you can prioritize this simple task as part of your regular household maintenance routine. The benefits of a clean lint trap are numerous, from reducing fire hazards to improving energy efficiency and prolonging the life of your dryer. So, let’s move on to the tools and materials you’ll need to effectively clean your dryer lint trap.
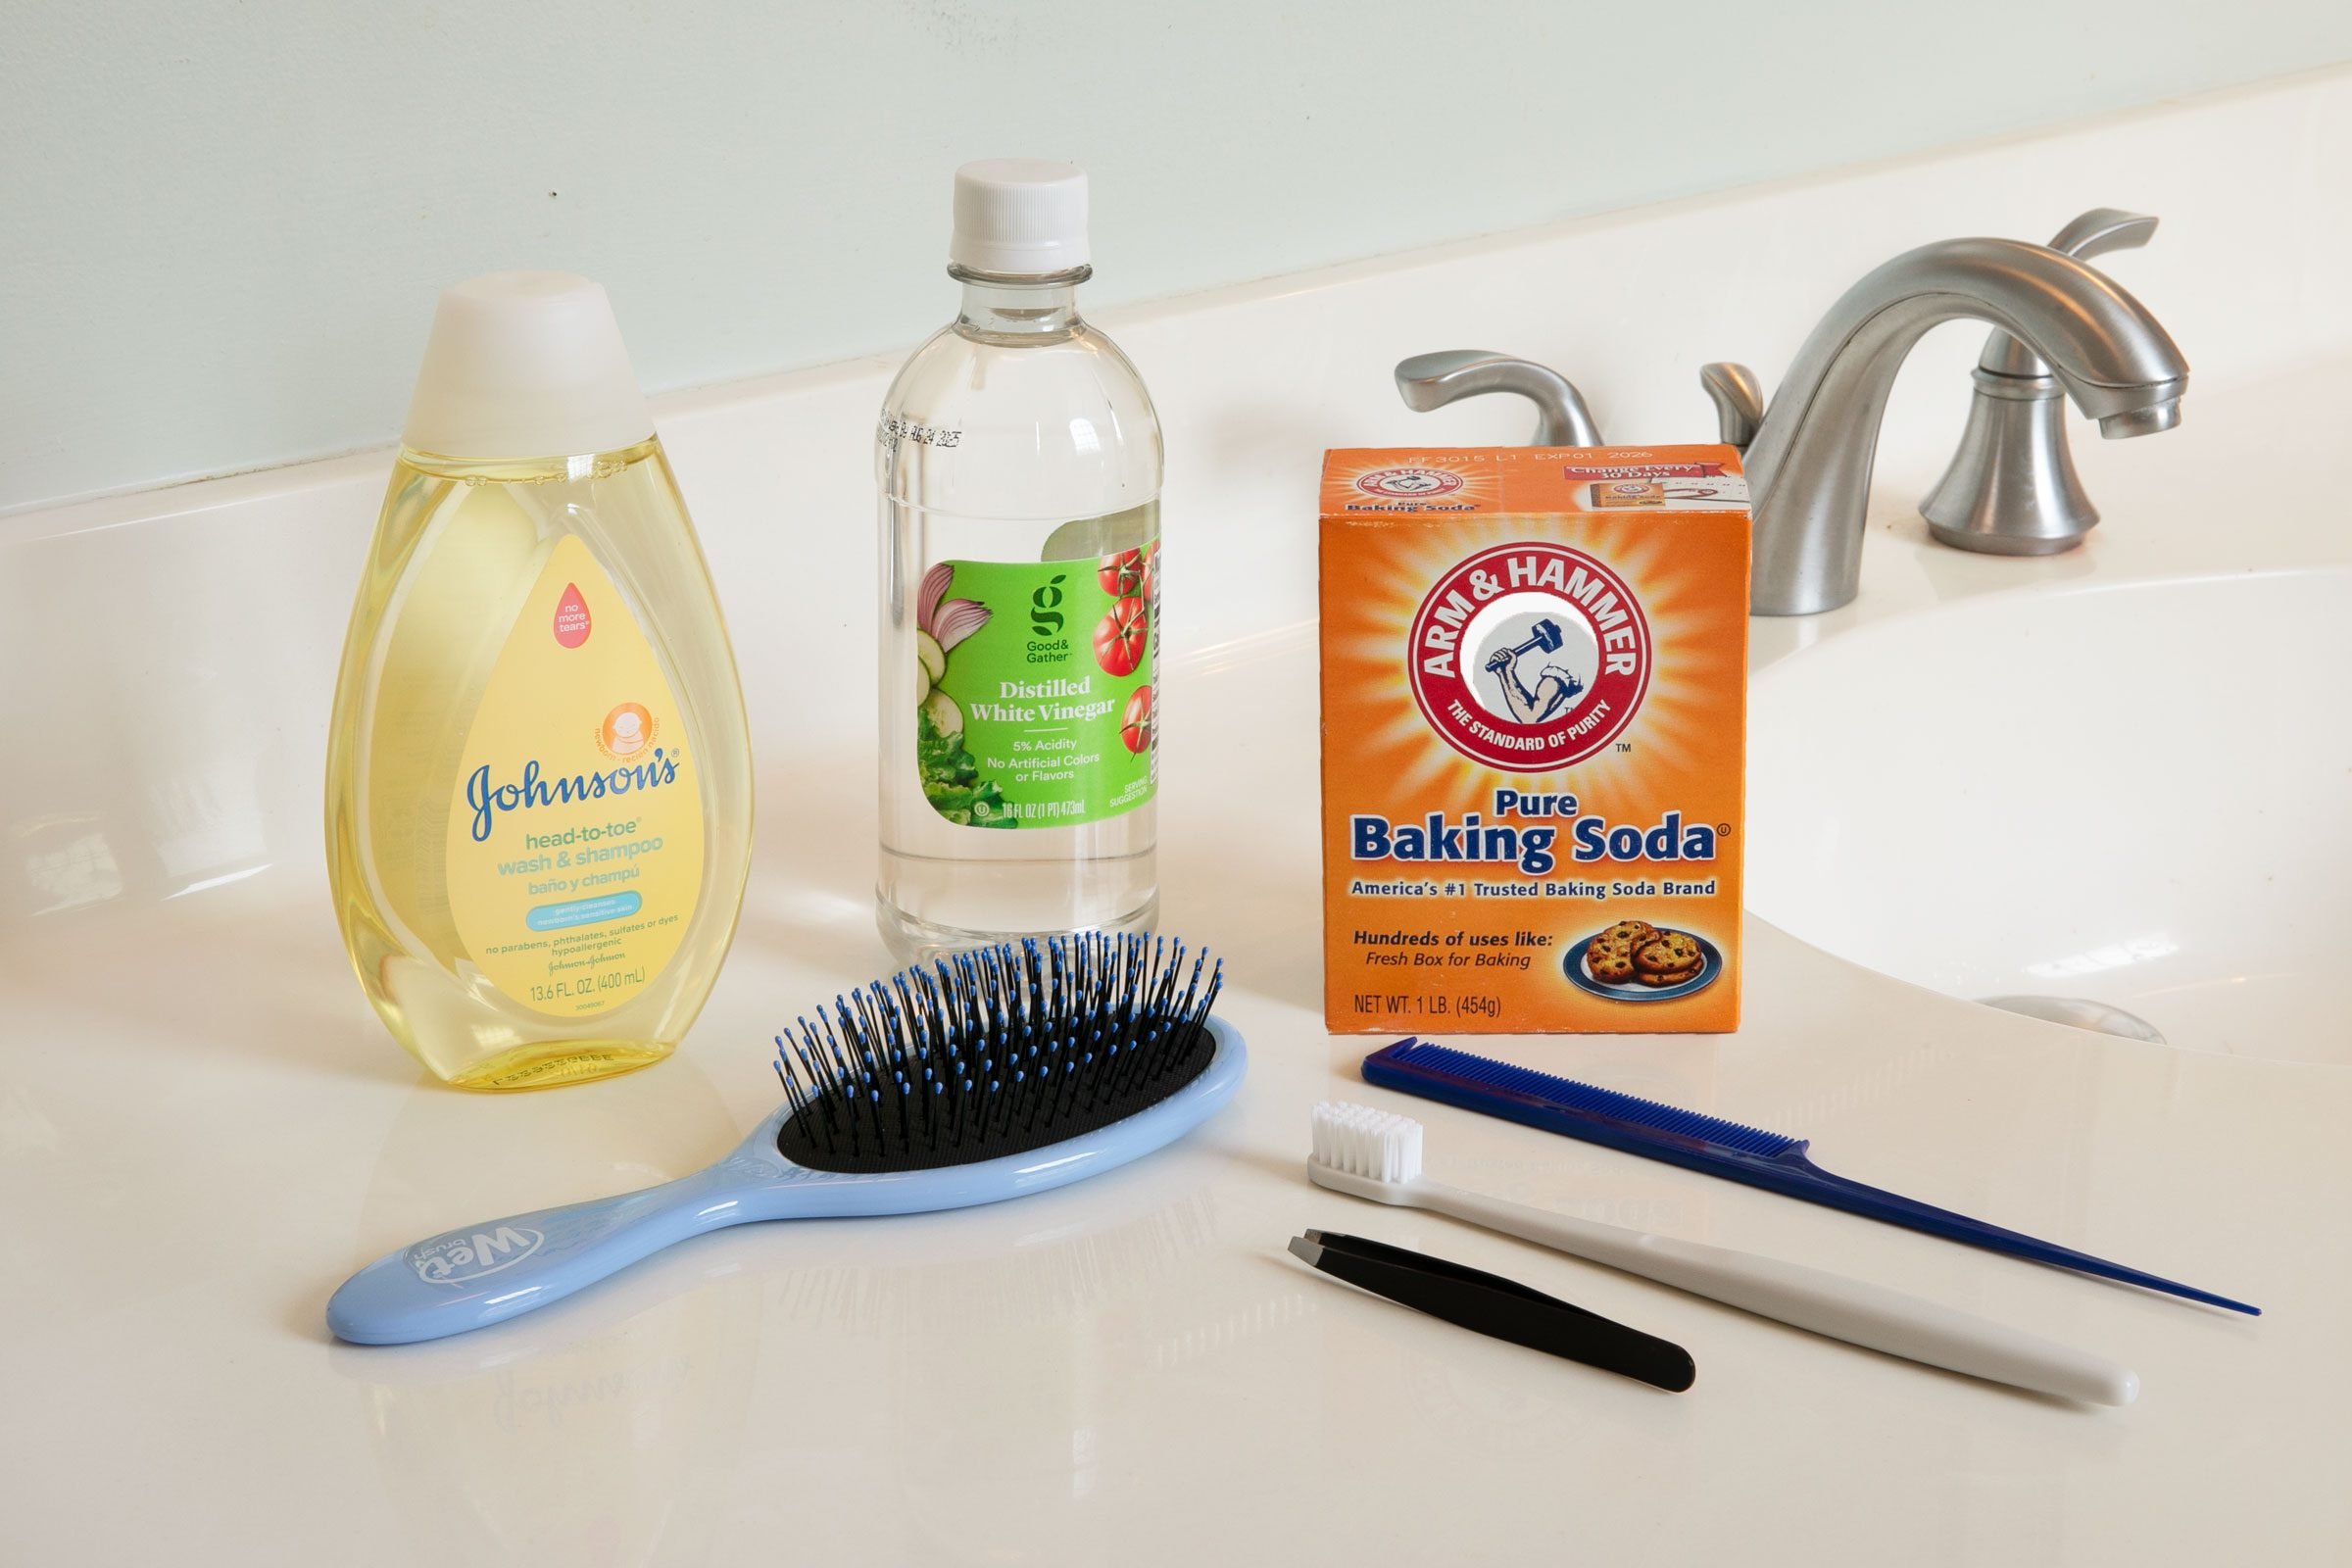
Tools and Materials Needed
Cleaning your dryer lint trap requires minimal tools and materials. Most of these items are readily available and affordable. Here’s what you’ll need:
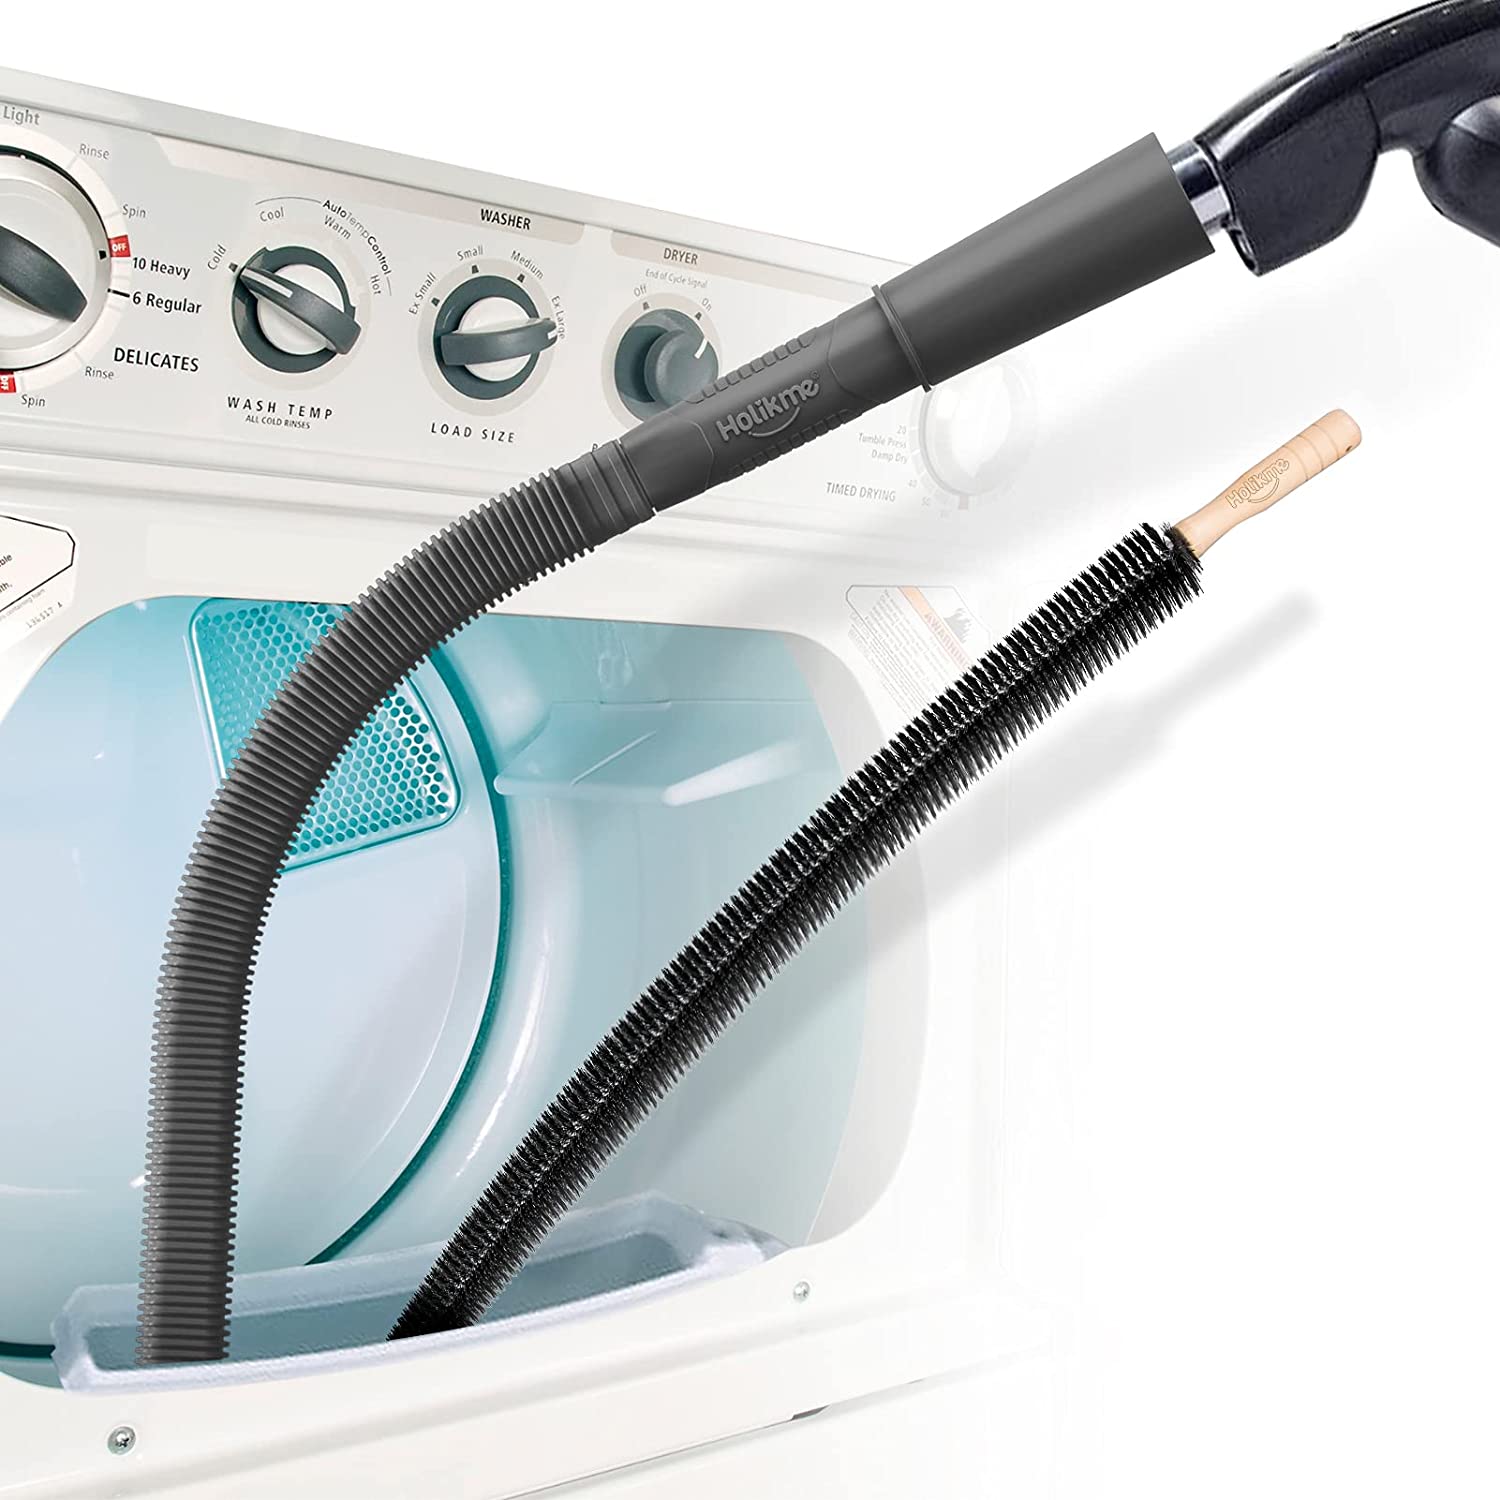
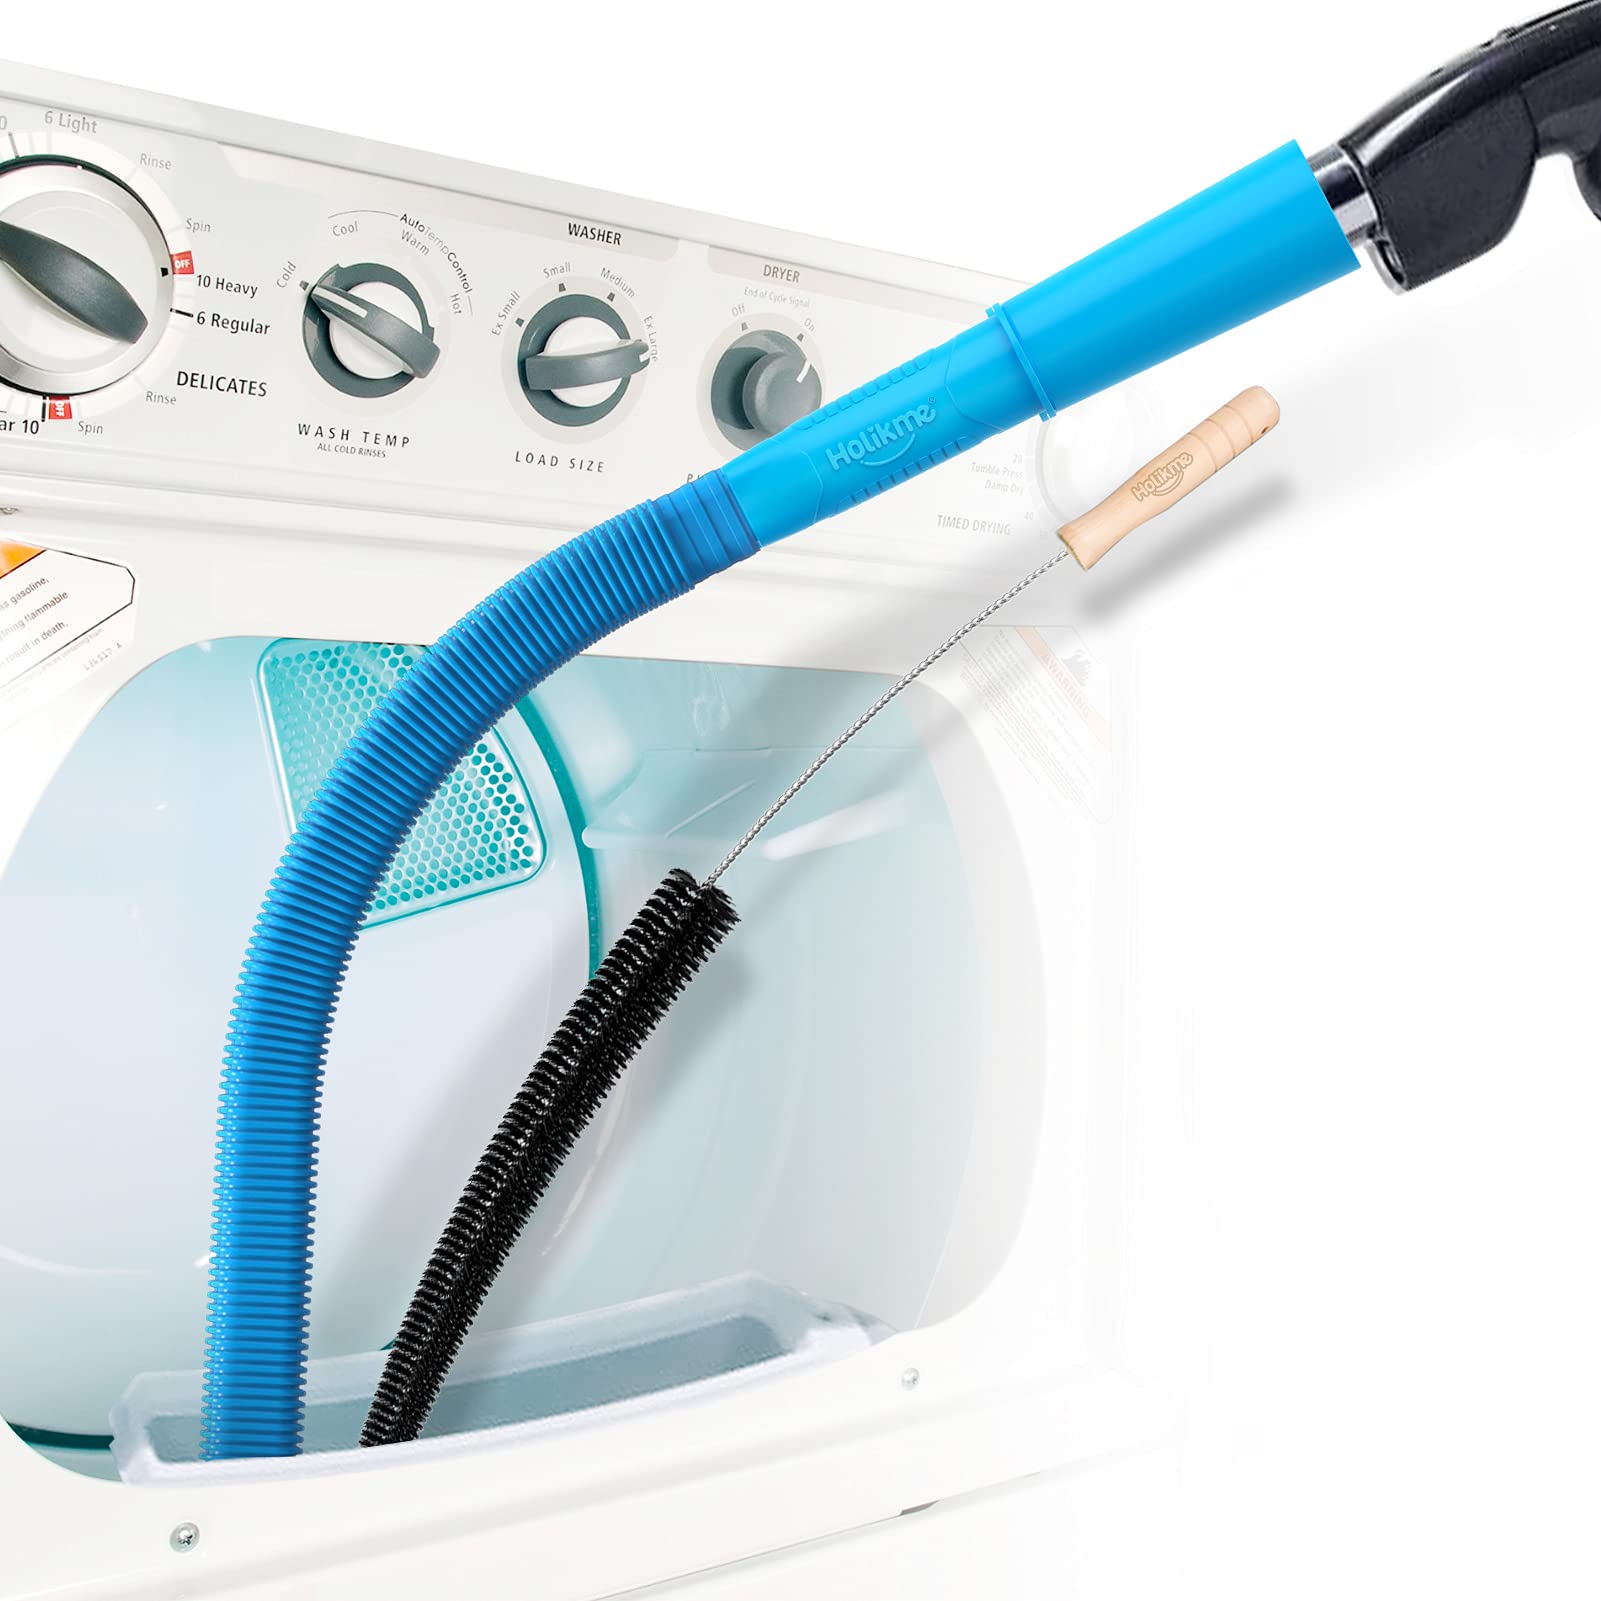
- Lint Trap Brush: A lint trap brush is a specially designed brush with long bristles that can easily reach into the lint trap to remove accumulated lint. It is an essential tool for effective cleaning.
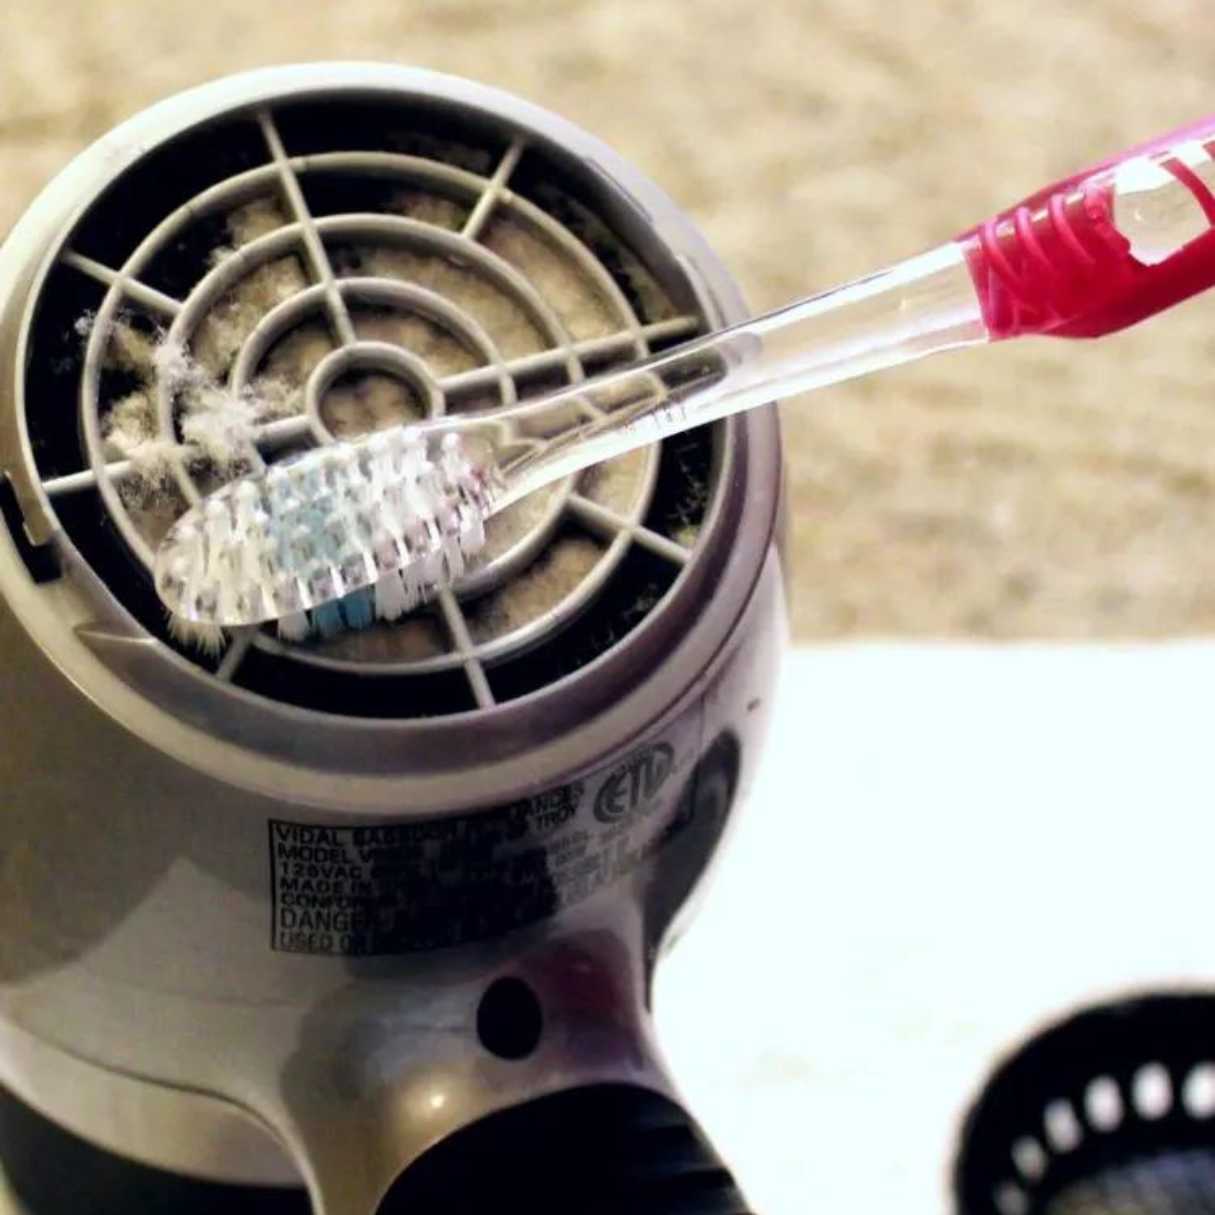
- Vacuum Cleaner: A vacuum cleaner with a hose attachment can be used to suck up any loose lint or debris from the lint trap. It helps to thoroughly clean the trap and prevents any particles from spreading around your laundry area.
- Mild Soap or Dish Detergent: To clean the lint trap, you may need a mild soap or dish detergent to remove any sticky residue or buildup. It’s best to use a non-abrasive, gentle detergent to avoid damaging the lint trap.
- Warm Water: Warm water is used in conjunction with mild soap or dish detergent to create a cleaning solution for the lint trap. It helps to dissolve and remove any dirt or debris more effectively.
- Clean Cloth or Rag: A clean cloth or rag is needed to wipe down the lint trap after cleaning. It helps to remove any remaining residue and ensures the lint trap is left clean and dry.
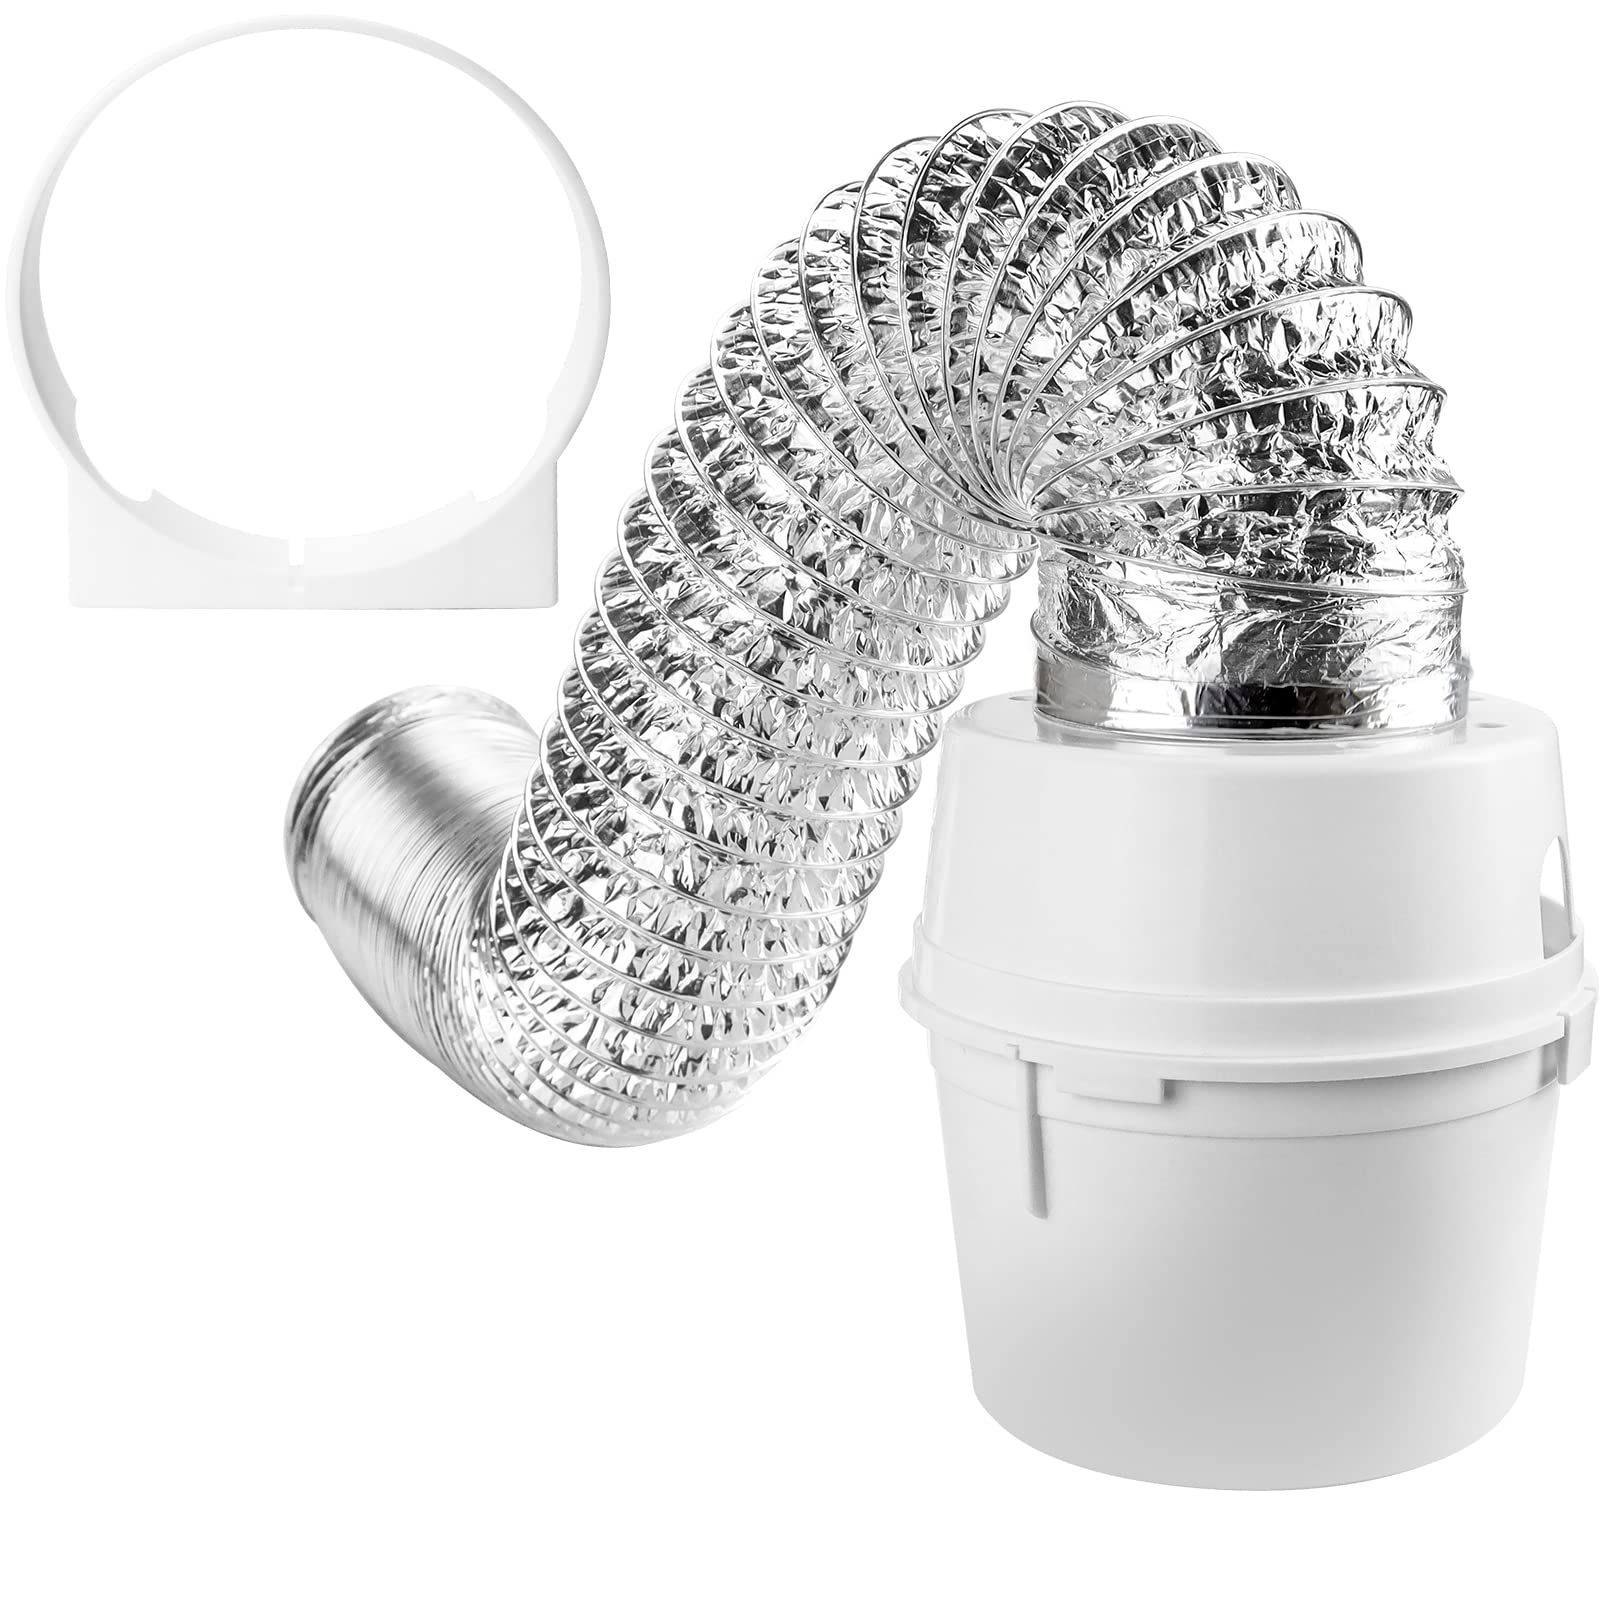
- Optional: Replacement Lint Trap Screens: If your lint trap screens are damaged, worn out, or missing, you may want to consider purchasing replacement screens. They ensure proper functioning and prevent lint from entering the dryer vent system.
These are the basic tools and materials required for cleaning your dryer lint trap. It’s always a good idea to gather everything you need before starting the cleaning process to ensure a smooth and efficient experience. Now that you know what you’ll need let’s move on to the step-by-step guide on how to clean the dryer lint trap.
Clean your dryer lint trap after every load to improve air circulation and prevent fire hazards. Use a vacuum attachment to remove stubborn lint buildup.
Step-by-Step Guide to Cleaning the Dryer Lint Trap
Follow these simple steps to clean your dryer lint trap effectively:
- Step 1: Disconnect the Dryer: Before starting the cleaning process, ensure that your dryer is turned off, and disconnect it from the power source. This eliminates the risk of injury or accidental damage during the cleaning process.
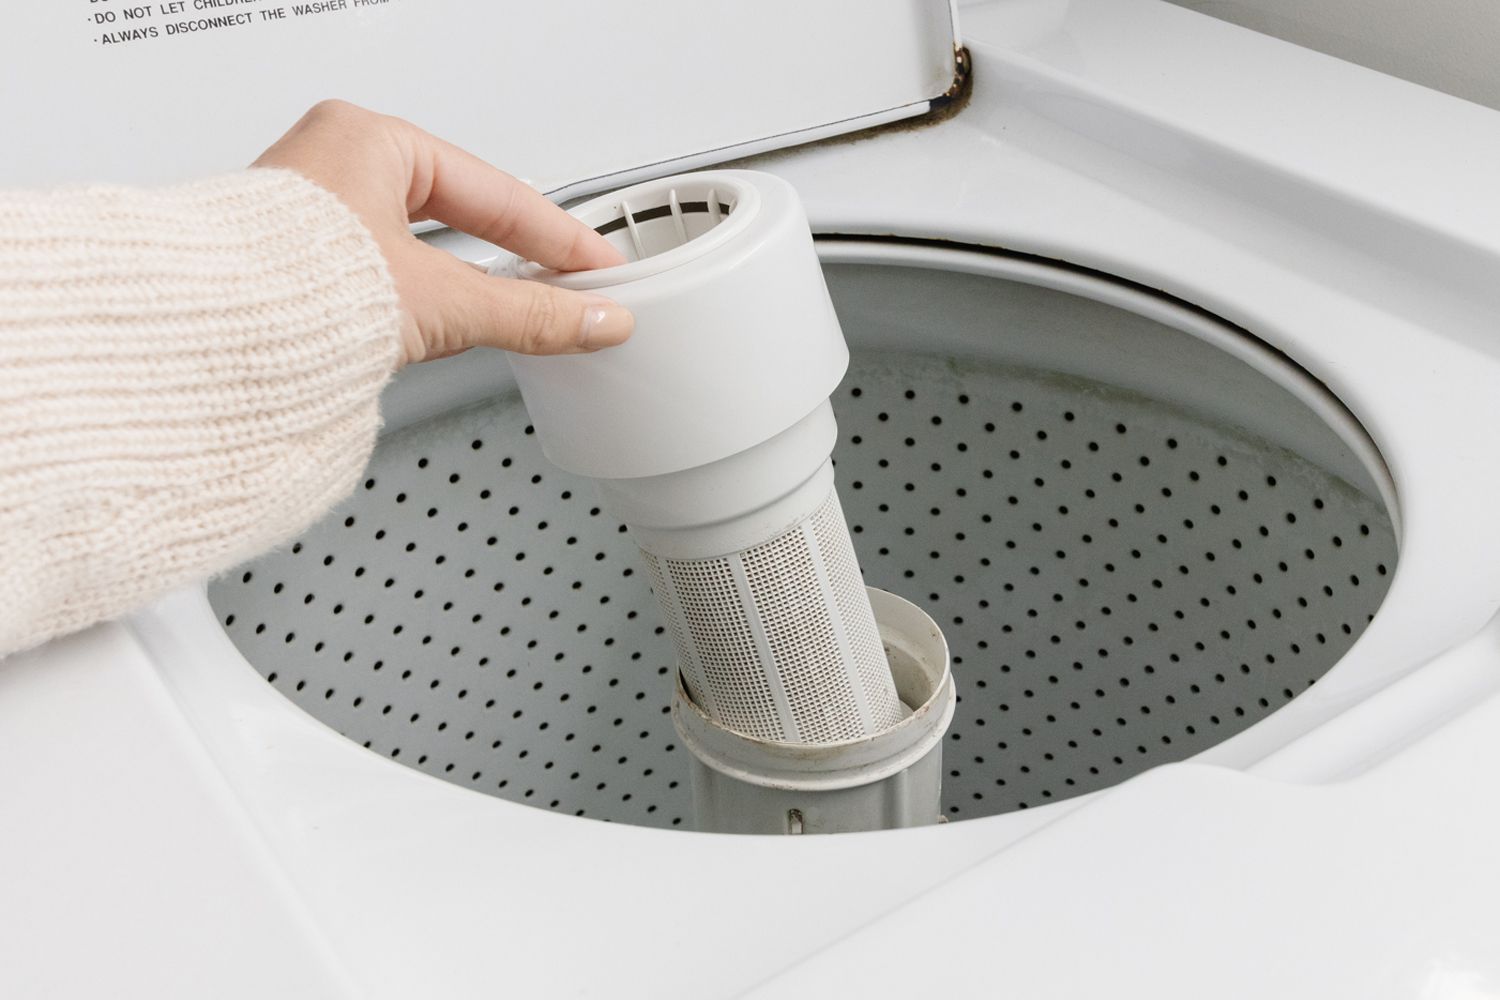
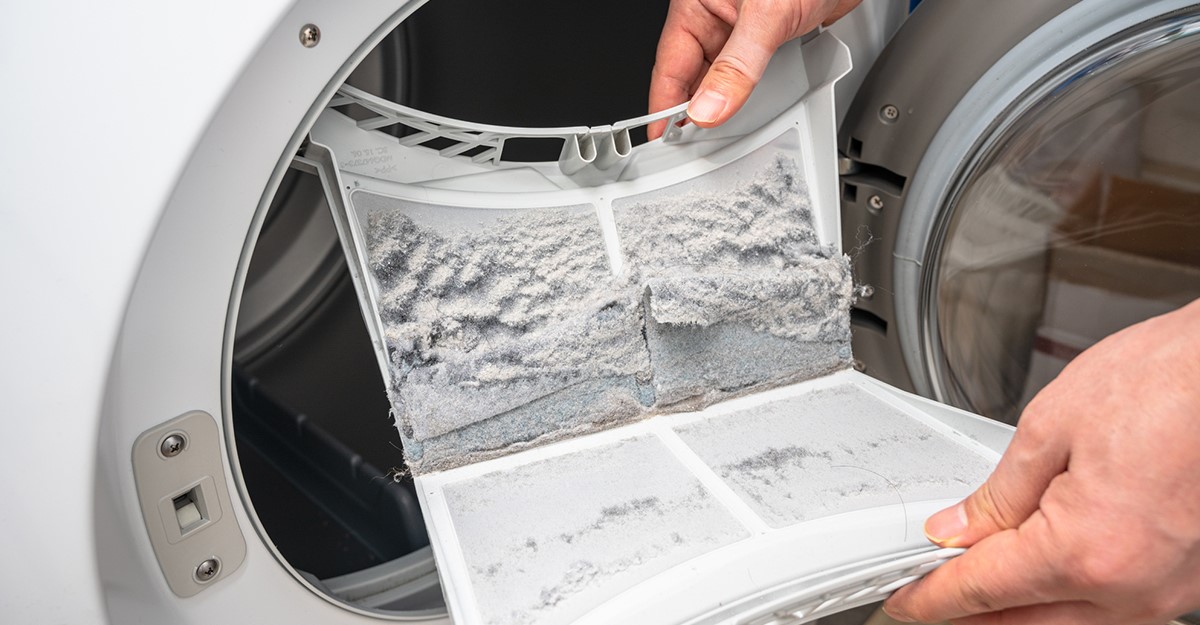
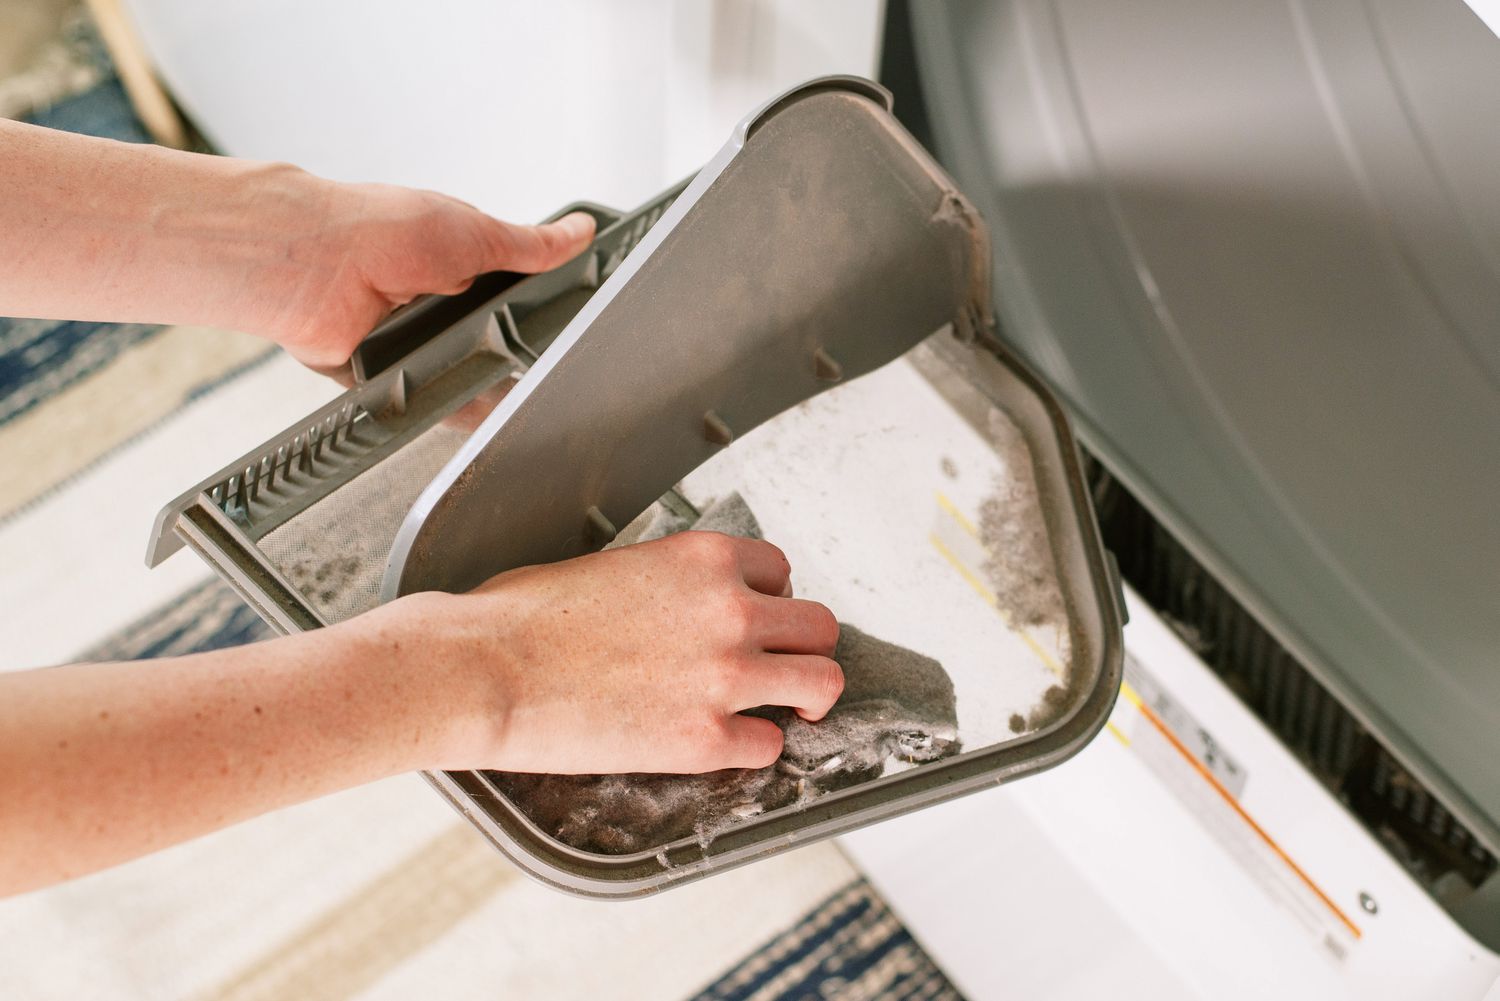
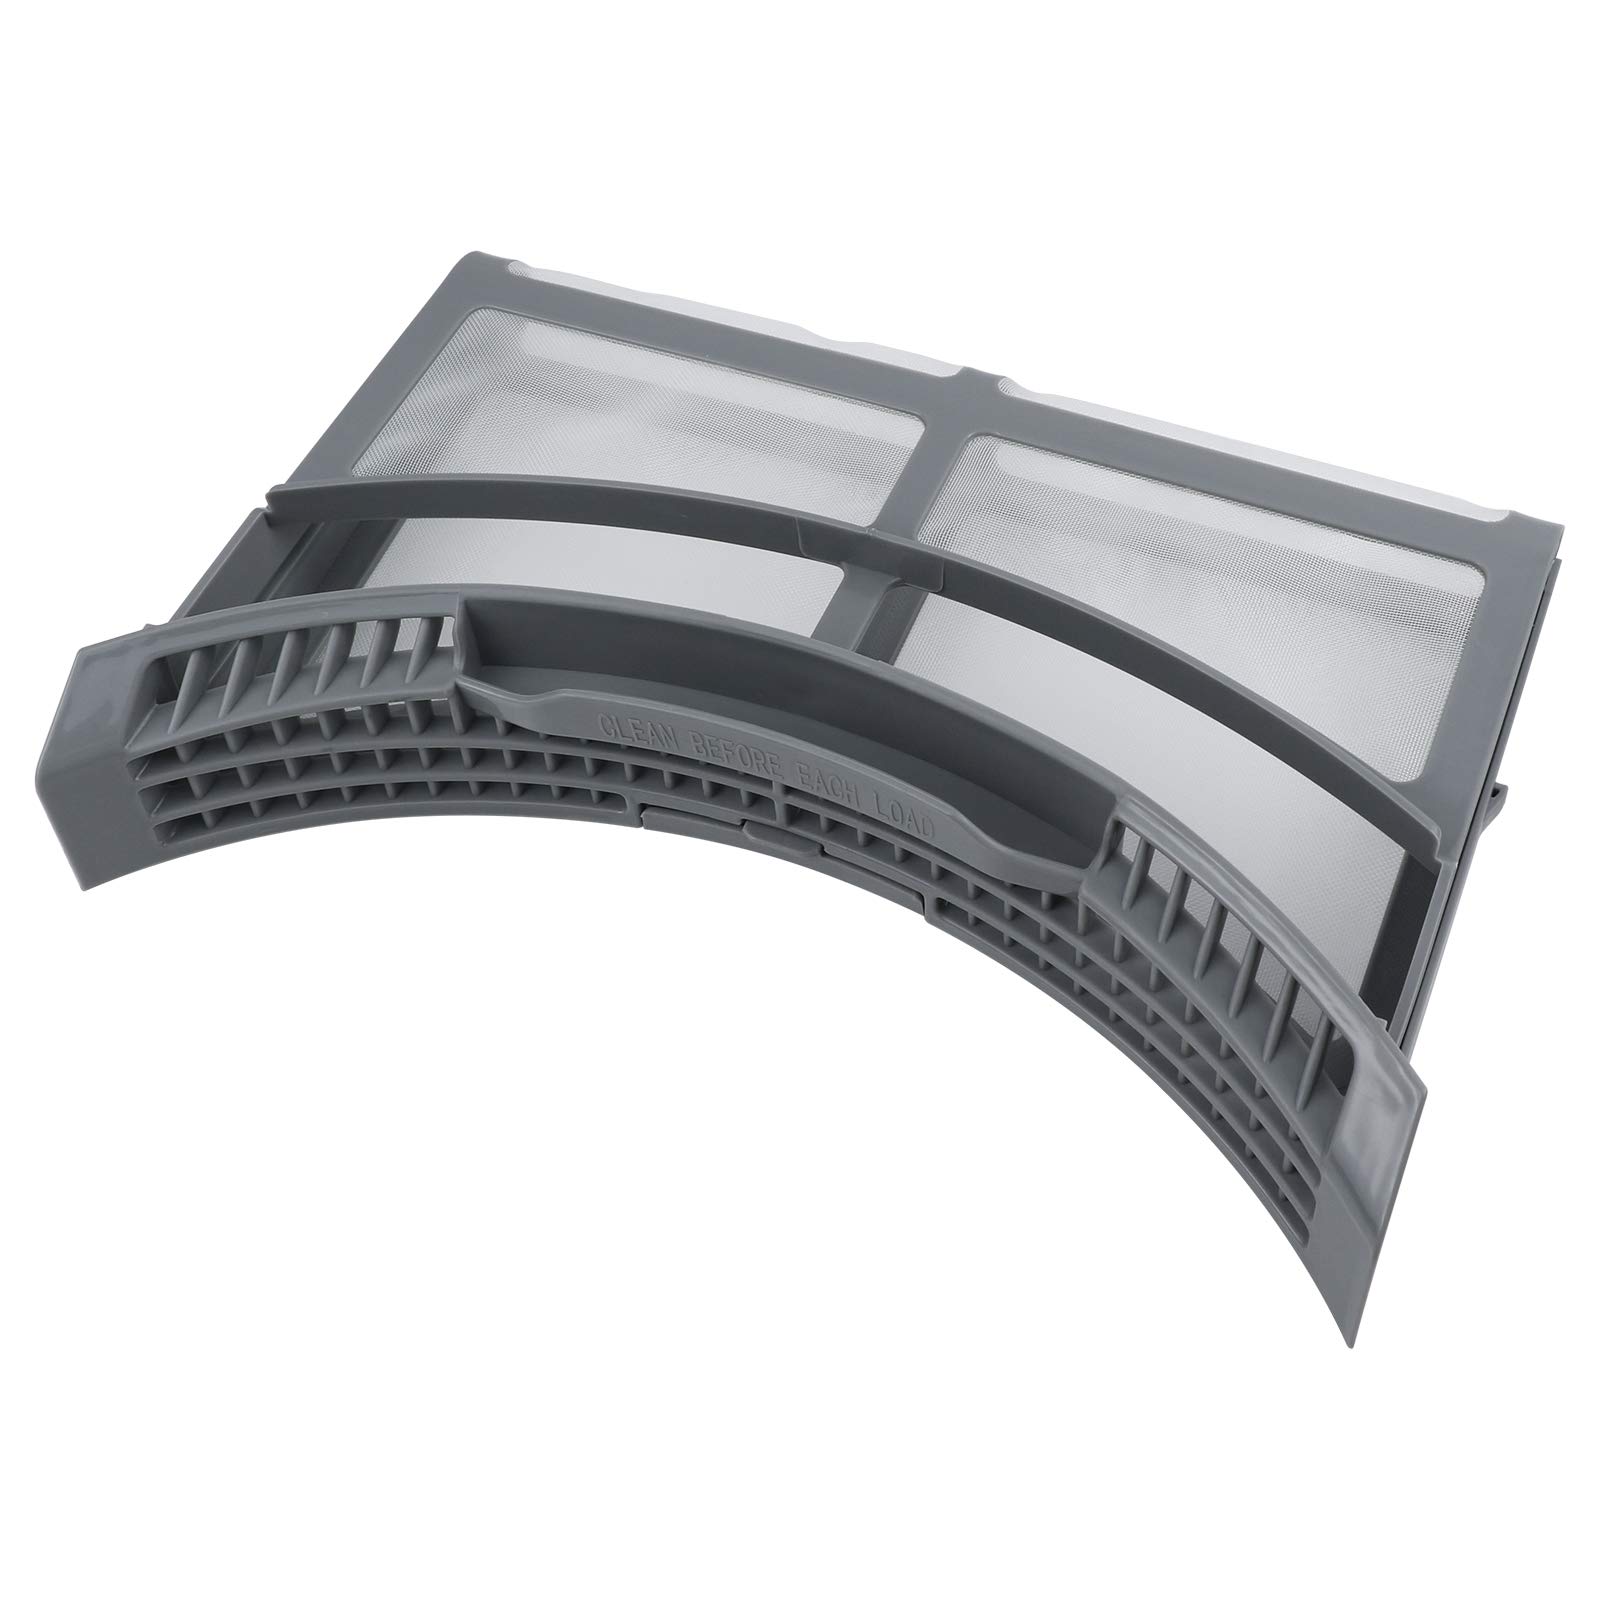
- Step 2: Locate the Lint Trap: The lint trap is typically located on the top or inside the door of your dryer. Open the door or remove the top cover to access the lint trap. If you’re unsure about its location, refer to your dryer’s manual for guidance.
- Step 3: Remove Visible Lint: Use your fingers or a lint trap brush to remove any visible lint from the trap. Gently pull the lint towards you, making sure not to force it deeper into the trap. Remove as much lint as possible before proceeding to the next step.
- Step 4: Vacuum the Lint Trap: Attach the hose attachment of your vacuum cleaner to the nozzle. Insert the nozzle into the lint trap and use the vacuum to suck out any remaining lint or debris. Move the nozzle around to cover all areas of the lint trap and ensure a thorough cleaning.
- Step 5: Clean with Soap and Water: Fill a bucket or sink with warm water and add a small amount of mild soap or dish detergent. Immerse the lint trap in the soapy water and allow it to soak for a few minutes. Use a sponge or cloth to gently scrub the lint trap, removing any stubborn residue or buildup.
- Step 6: Rinse and Dry: Once you’ve cleaned the lint trap with soapy water, rinse it thoroughly with clean water to remove any soap residue. Shake off any excess water and use a clean cloth or rag to dry the lint trap completely. Ensure that it is completely dry before reinserting it into the dryer.
- Step 7: Reassemble the Dryer: Once the lint trap is dry, reinsert it back into its original position in the dryer. Close the dryer door or replace the top cover, ensuring a secure fit.
- Step 8: Dispose of the Lint: Properly dispose of the lint collected from the lint trap. You can throw it in the trash or use it for composting, as long as it doesn’t contain any synthetic fibers or chemicals.
- Step 9: Clean the Exterior and Vent: After cleaning the lint trap, take a moment to clean the exterior of the dryer and the dryer vent. Wipe down the surface of the dryer with a clean cloth, and use a vacuum cleaner to remove any dust or lint from the vent area.
Following these steps on a regular basis will help ensure that your dryer lint trap is clean and functioning optimally. Now, let’s explore some additional tips for properly maintaining your dryer lint trap.
Tips for Proper Maintenance of the Dryer Lint Trap
In addition to regularly cleaning the lint trap, here are some important tips to ensure proper maintenance of your dryer lint trap:
- Check the lint trap before each use: Make it a habit to inspect the lint trap before starting each load of laundry. Remove any visible lint or debris to prevent clogging and improve airflow.
- Clean the lint trap after every use: While regularly cleaning the lint trap is important, it is also essential to clean it after every use. This prevents lint buildup and keeps your dryer running efficiently.
- Inspect the lint trap for damage: Regularly check the lint trap for signs of damage such as cracks or frayed edges. If you notice any damage, replace the lint trap to ensure proper functioning.
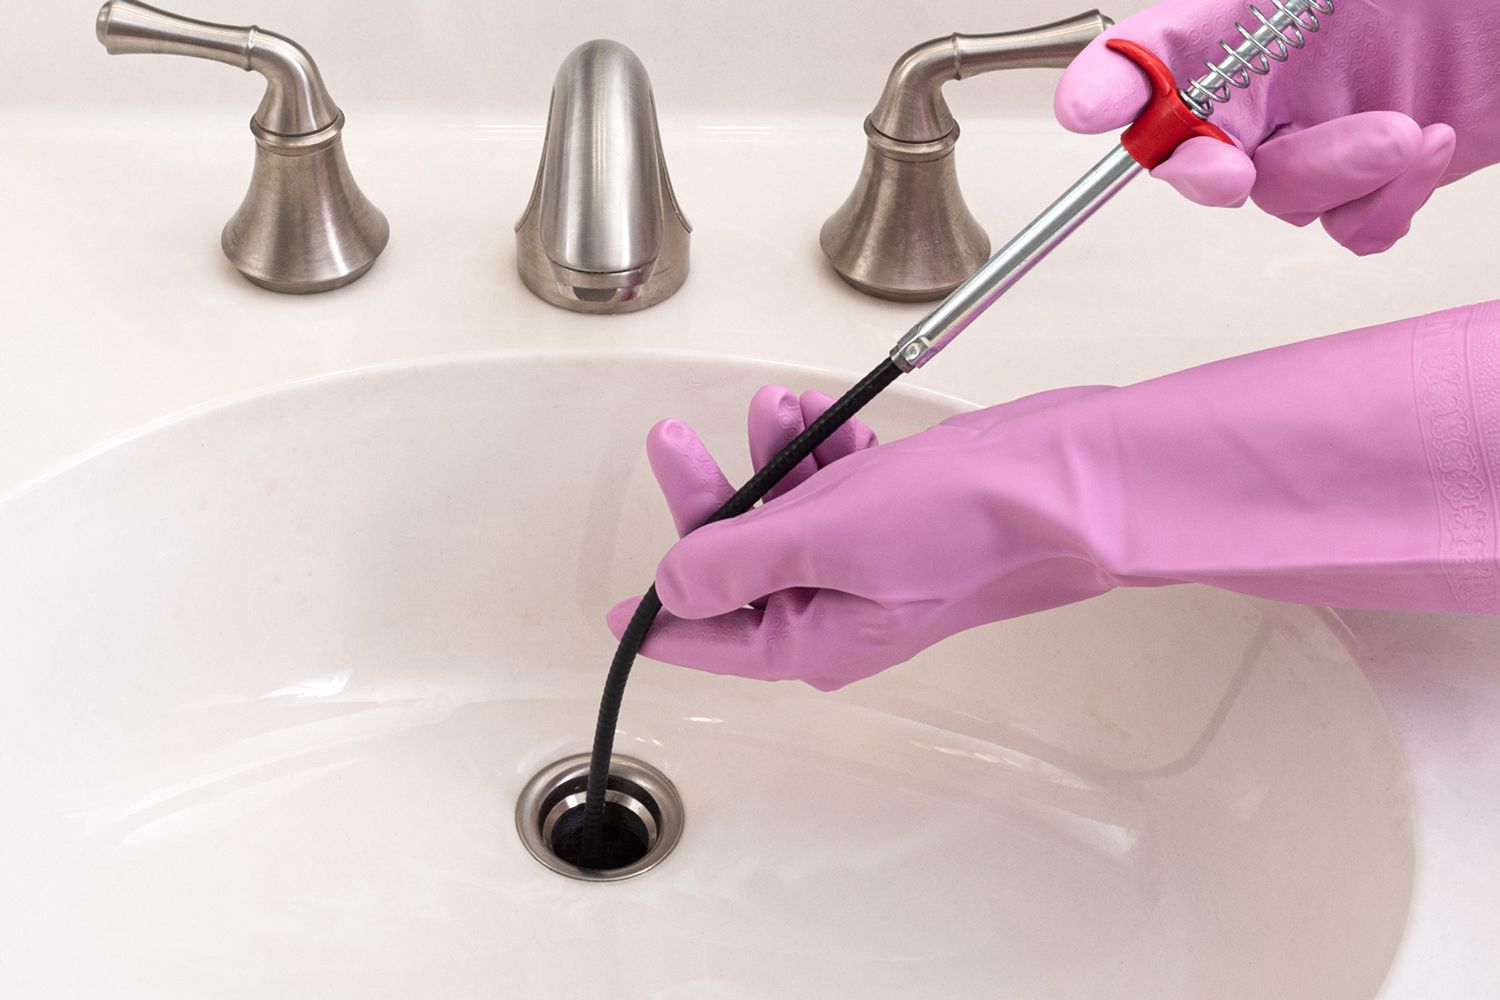
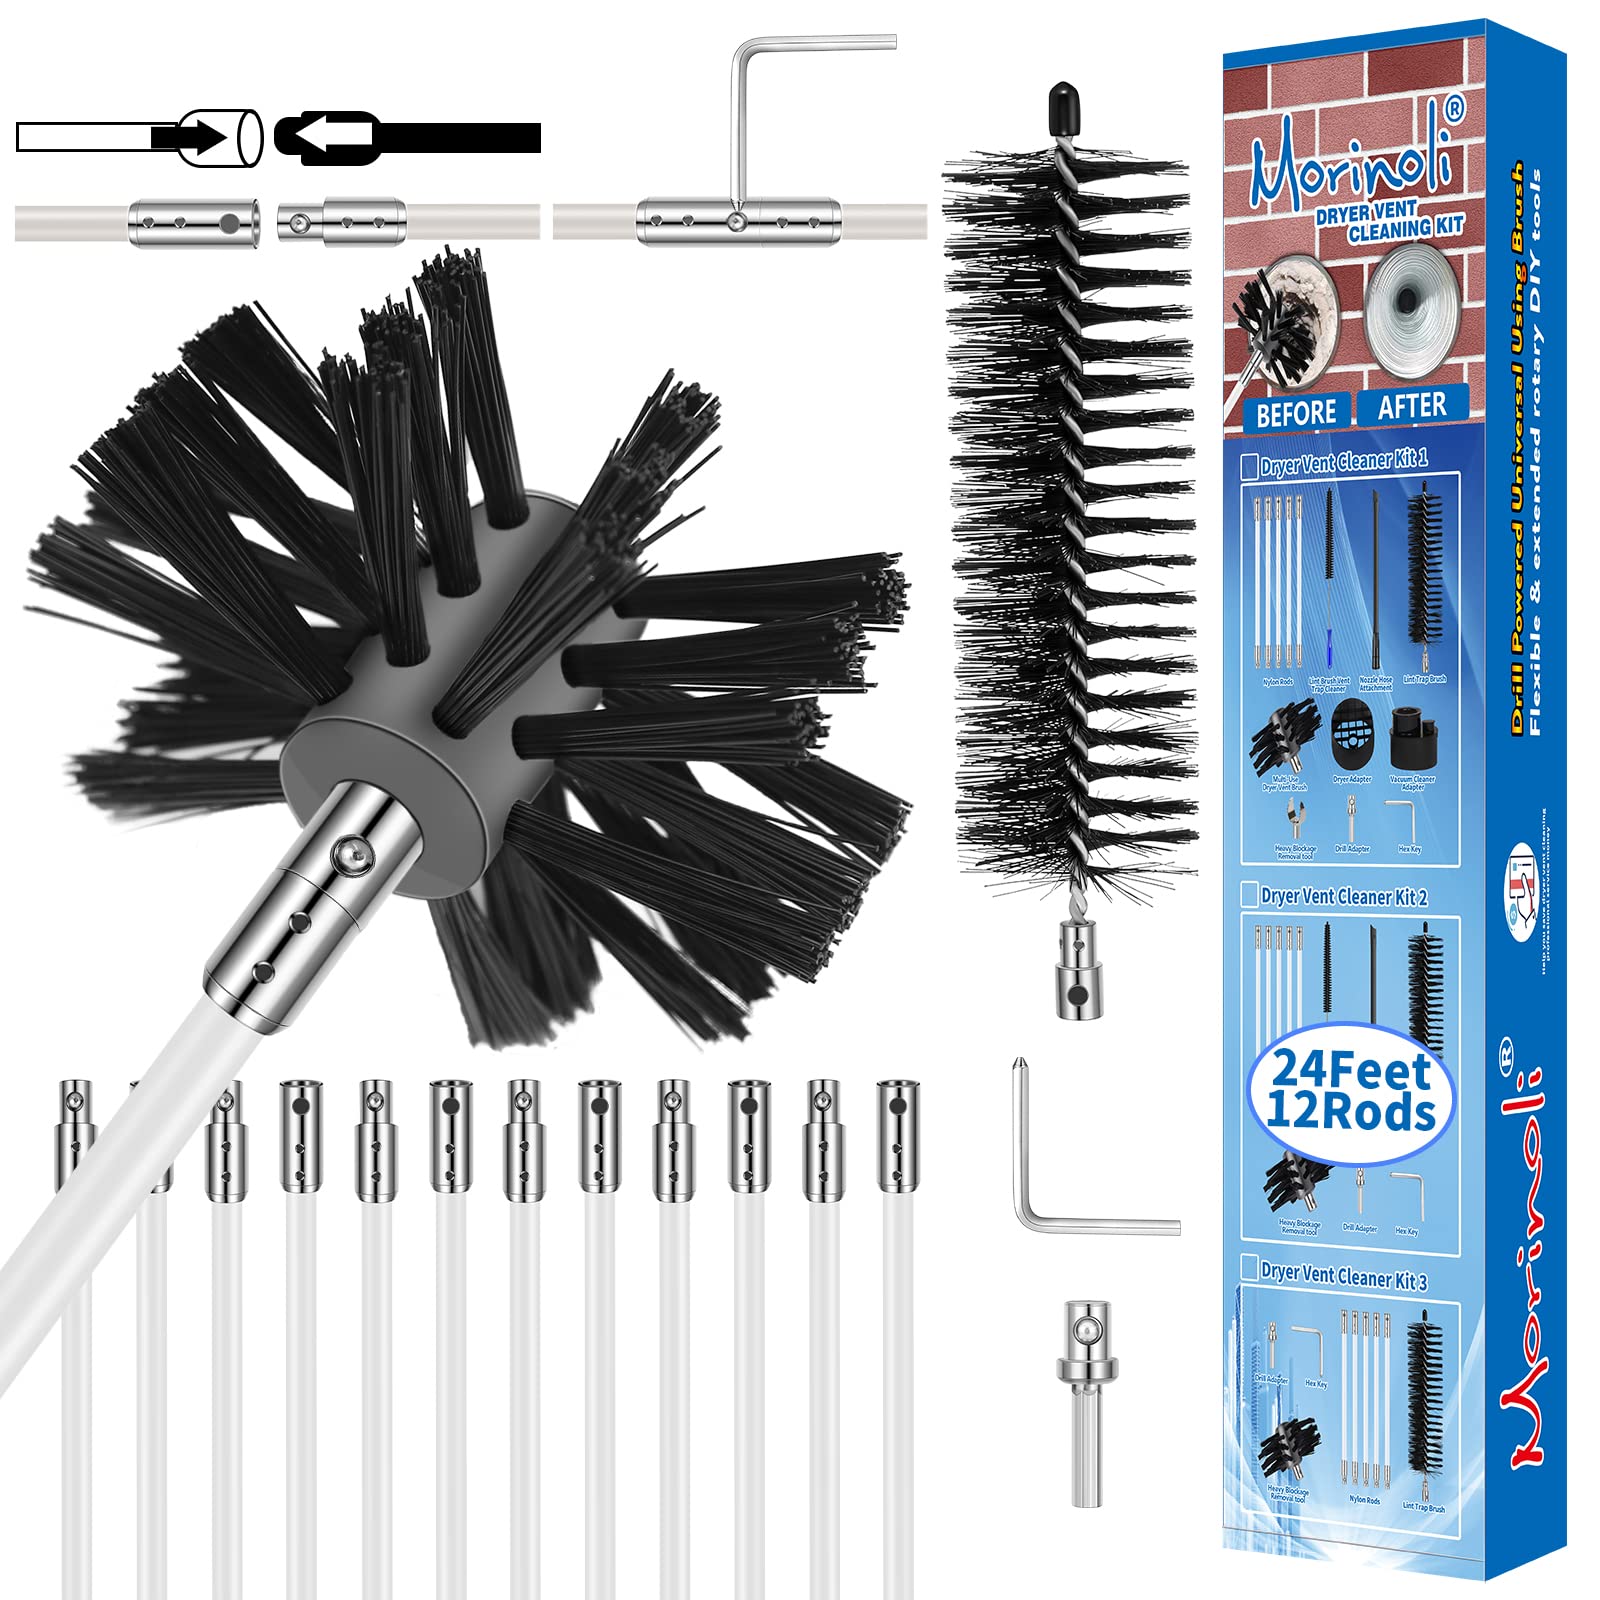
- Clean the dryer vent regularly: Along with cleaning the lint trap, it is crucial to clean the dryer vent periodically. A clogged vent restricts airflow and increases the risk of fire. Use a vent brush or hire a professional to clean the vent and remove any lint or debris.
- Consider using a lint trap screen: If your dryer lint trap doesn’t have a screen or if the existing screen is damaged, consider purchasing a lint trap screen. This additional layer of protection helps to catch lint and prevent it from entering the dryer vent system.
- Avoid overloading the dryer: Overloading the dryer can lead to poor airflow and increased lint accumulation. Follow the manufacturer’s guidelines for load capacity to ensure optimal drying performance and reduce the risk of lint buildup.
- Keep the dryer area clean and clutter-free: Regularly clean the area around the dryer to prevent lint, dust, and debris from obstructing the ventilation system. A clean and clutter-free space ensures proper airflow and reduces fire hazards.
- Schedule professional maintenance: Consider scheduling regular professional maintenance for your dryer. A professional can inspect and clean the dryer vents, ensuring optimal performance and safety.
By following these tips, you can maintain a clean and efficient dryer lint trap, reducing the risk of fire, improving energy efficiency, and prolonging the life of your dryer. Now, let’s conclude our guide on cleaning the dryer lint trap.
Read also: 10 Best Dryer Lint Trap For 2025
Conclusion
Cleaning your dryer lint trap is a simple yet crucial task that should not be overlooked. Regular maintenance of the lint trap not only improves the safety of your home but also enhances the performance and efficiency of your dryer. By following the step-by-step guide provided in this article, you can effectively clean your dryer lint trap and enjoy the following benefits:
- Reduced risk of fire hazards;
- Improved energy efficiency;
- Prolonged lifespan of your dryer;
- Prevention of air vent blockages;
- Preservation of clothing quality.
Additionally, incorporating the tips for proper maintenance outlined in this article will help to ensure the optimal functioning of your dryer lint trap over time. Regularly checking, cleaning, and inspecting the lint trap, as well as cleaning the dryer vent, are essential practices to maintain efficiency and minimize the risk of lint-related issues.
Remember, it’s important to prioritize safety when it comes to your dryer. Always disconnect the power before cleaning the lint trap, and never leave the dryer unattended while in use. By following these precautions and regular maintenance routines, you can have peace of mind knowing that your dryer is operating safely and efficiently.
So, don’t neglect the importance of cleaning your dryer lint trap. With just a few simple steps and regular maintenance, you can keep your dryer running smoothly, reduce energy consumption, and ensure the safety of your home and family.
Frequently Asked Questions about How To Clean Dryer Lint Trap
Was this page helpful?
At Storables.com, we guarantee accurate and reliable information. Our content, validated by Expert Board Contributors, is crafted following stringent Editorial Policies. We're committed to providing you with well-researched, expert-backed insights for all your informational needs.


0 thoughts on “How To Clean Dryer Lint Trap”