Home>Home Maintenance>How To Clean The Lint Screen And Dryer Vent
Home Maintenance
How To Clean The Lint Screen And Dryer Vent
Modified: August 27, 2024
Learn how to effectively clean the lint screen and dryer vent as part of your home maintenance routine. Ensure optimal performance and prevent fire hazards.
(Many of the links in this article redirect to a specific reviewed product. Your purchase of these products through affiliate links helps to generate commission for Storables.com, at no extra cost. Learn more)
Introduction
Proper maintenance and cleaning of your home appliances are crucial for their efficient operation and longevity. When it comes to your dryer, it’s not only important to clean out the lint screen after each use, but also to regularly clean the dryer vent. Neglecting this routine maintenance can not only decrease the performance of your dryer but also pose a potential fire hazard.
In this article, we will guide you through the process of cleaning the lint screen and dryer vent, ensuring that your dryer operates at its best and reducing the risk of lint buildup and potential fires. We will provide step-by-step instructions and highlight the tools and materials you will need to complete the task effectively.
So, let’s get started and learn how to clean the lint screen and dryer vent for a safer and more efficient laundry experience!
Key Takeaways:
- Regularly cleaning the lint screen and dryer vent is crucial for preventing fire hazards, improving energy efficiency, and prolonging the lifespan of your dryer. It also reduces drying time and prevents mold formation.
- By following simple steps to clean the lint screen and dryer vent, you can ensure a safer and more efficient laundry experience. Regular maintenance not only extends your dryer’s lifespan but also saves energy and reduces fire risks.
Read also: 15 Incredible Dryer Lint Screen For 2025
Importance of Cleaning the Lint Screen and Dryer Vent
Regularly cleaning the lint screen and dryer vent is essential for several reasons. Let’s take a closer look at the importance of this maintenance task:
- Preventing Fire Hazards: Lint buildup in the lint screen and dryer vent is highly flammable. When the lint trap becomes clogged, it restricts airflow and causes the dryer to overheat, increasing the risk of a fire. According to the U.S. Fire Administration, dryer fires are responsible for an estimated 2,900 residential fires each year.
- Improving Energy Efficiency: A lint-free screen and vent allow for proper air circulation, which enhances the efficiency of your dryer. When the vent is clogged, the dryer has to work harder to dry your clothes, resulting in increased energy consumption and higher utility bills.
- Prolonging the Lifespan of the Dryer: Excessive lint in the dryer vent not only affects the dryer’s performance but also puts excessive strain on the motor. Regular cleaning helps prevent unnecessary wear and tear, extending the lifespan of your appliance.
- Preventing Mold and Mildew Formation: A clogged vent can create a damp environment inside the dryer, leading to the growth of mold and mildew. These organisms can then spread to your clothes, causing unpleasant odors and potential health issues.
- Reducing Drying Time: Over time, lint buildup can cause air blockages in the vent, resulting in longer drying cycles. By cleaning the lint screen and dryer vent, you can ensure that hot air circulates freely, reducing drying time and saving you valuable time and energy.
Now that we understand the importance of cleaning the lint screen and dryer vent, let’s move on to the tools and materials you’ll need for this task.
Tools and Materials Needed
Before you begin, gather the following tools and materials to ensure a smooth cleaning process:
- Screwdriver: You’ll need a screwdriver to remove the lint screen and access the dryer vent.
- Vacuum Cleaner: A vacuum cleaner with a hose attachment will help you thoroughly clean the lint screen and lint trap area.
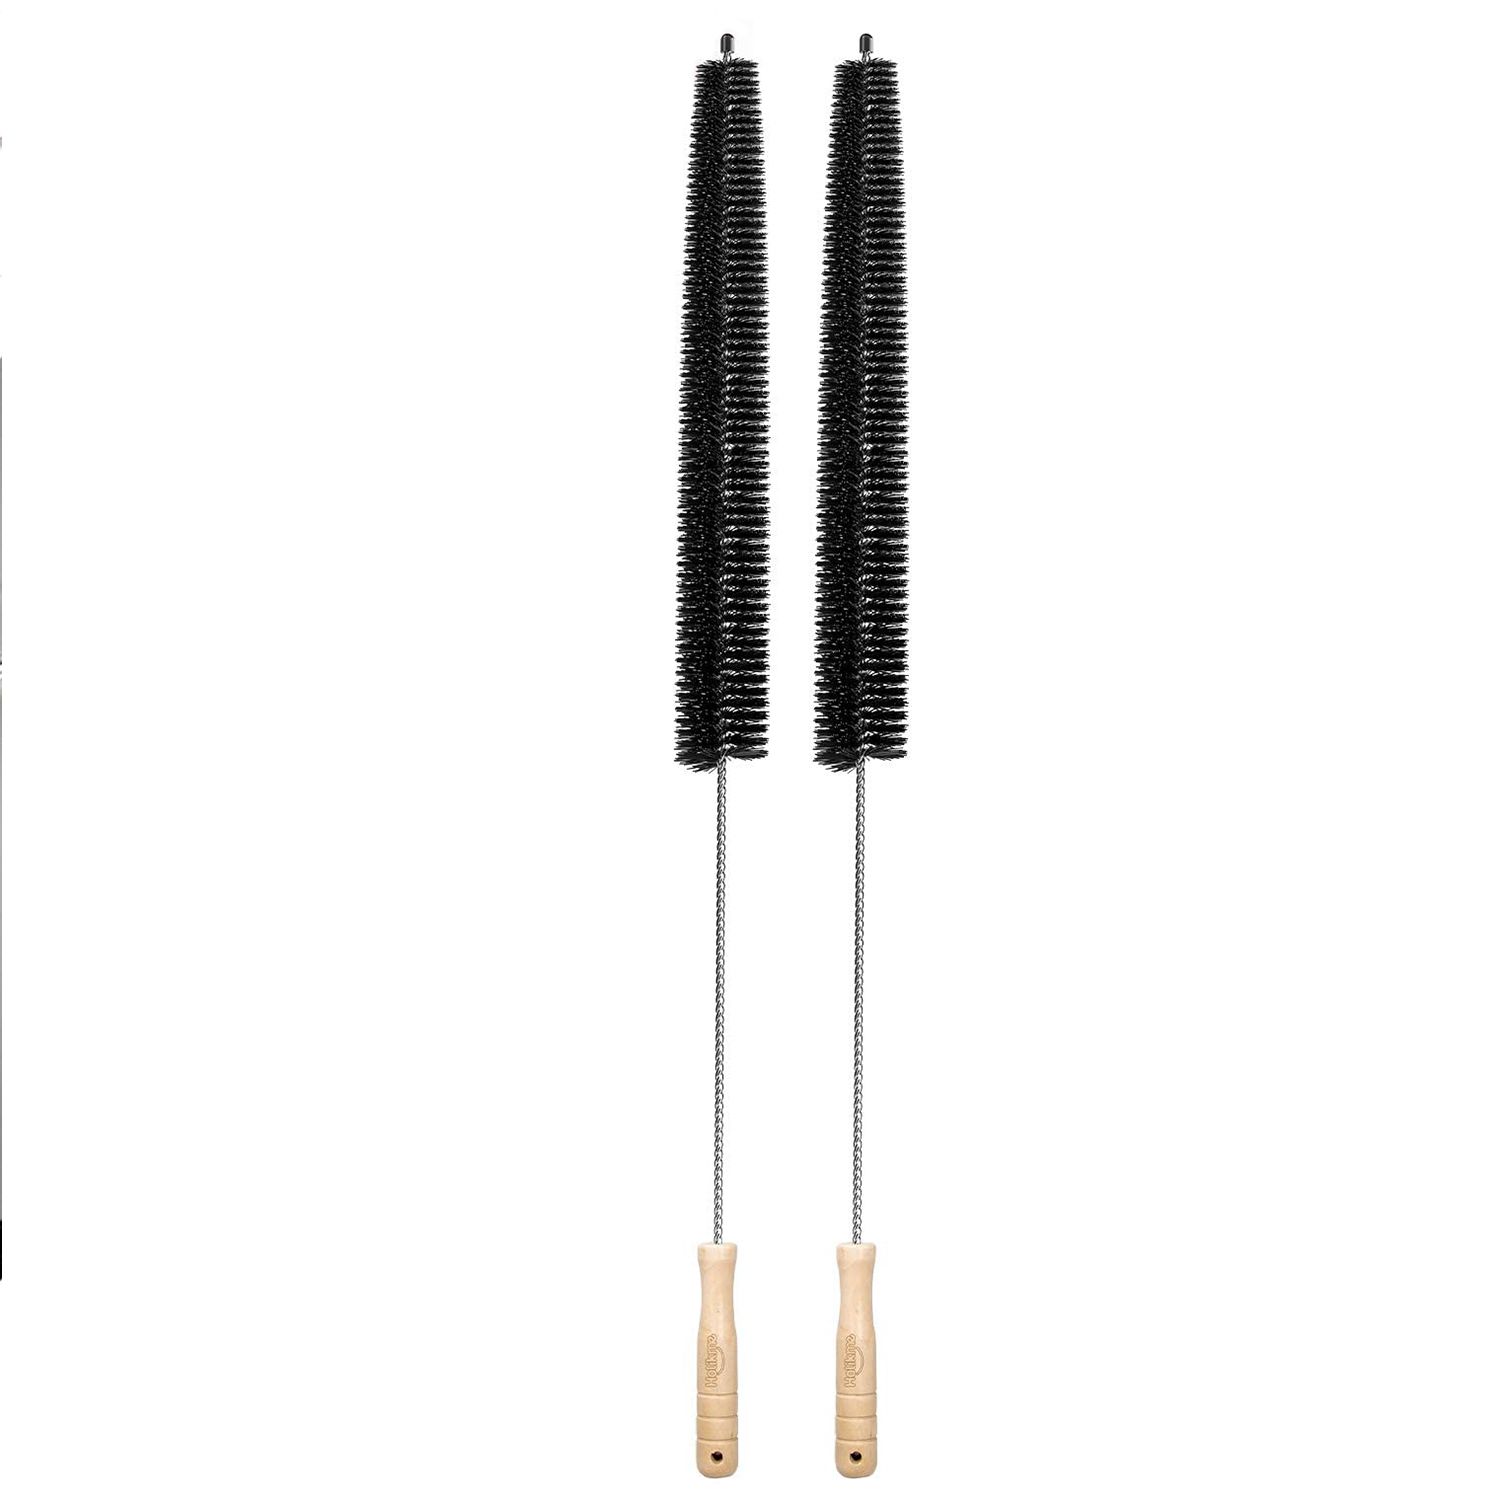
- Dryer Vent Brush: This specialized brush is designed to reach deep into the dryer vent and remove lint buildup. Look for a brush with long, flexible bristles for optimal cleaning.
- Lint Trap Cleaning Kit: A lint trap cleaning kit typically includes a brush and a vacuum attachment designed specifically for cleaning the lint screen and trap.
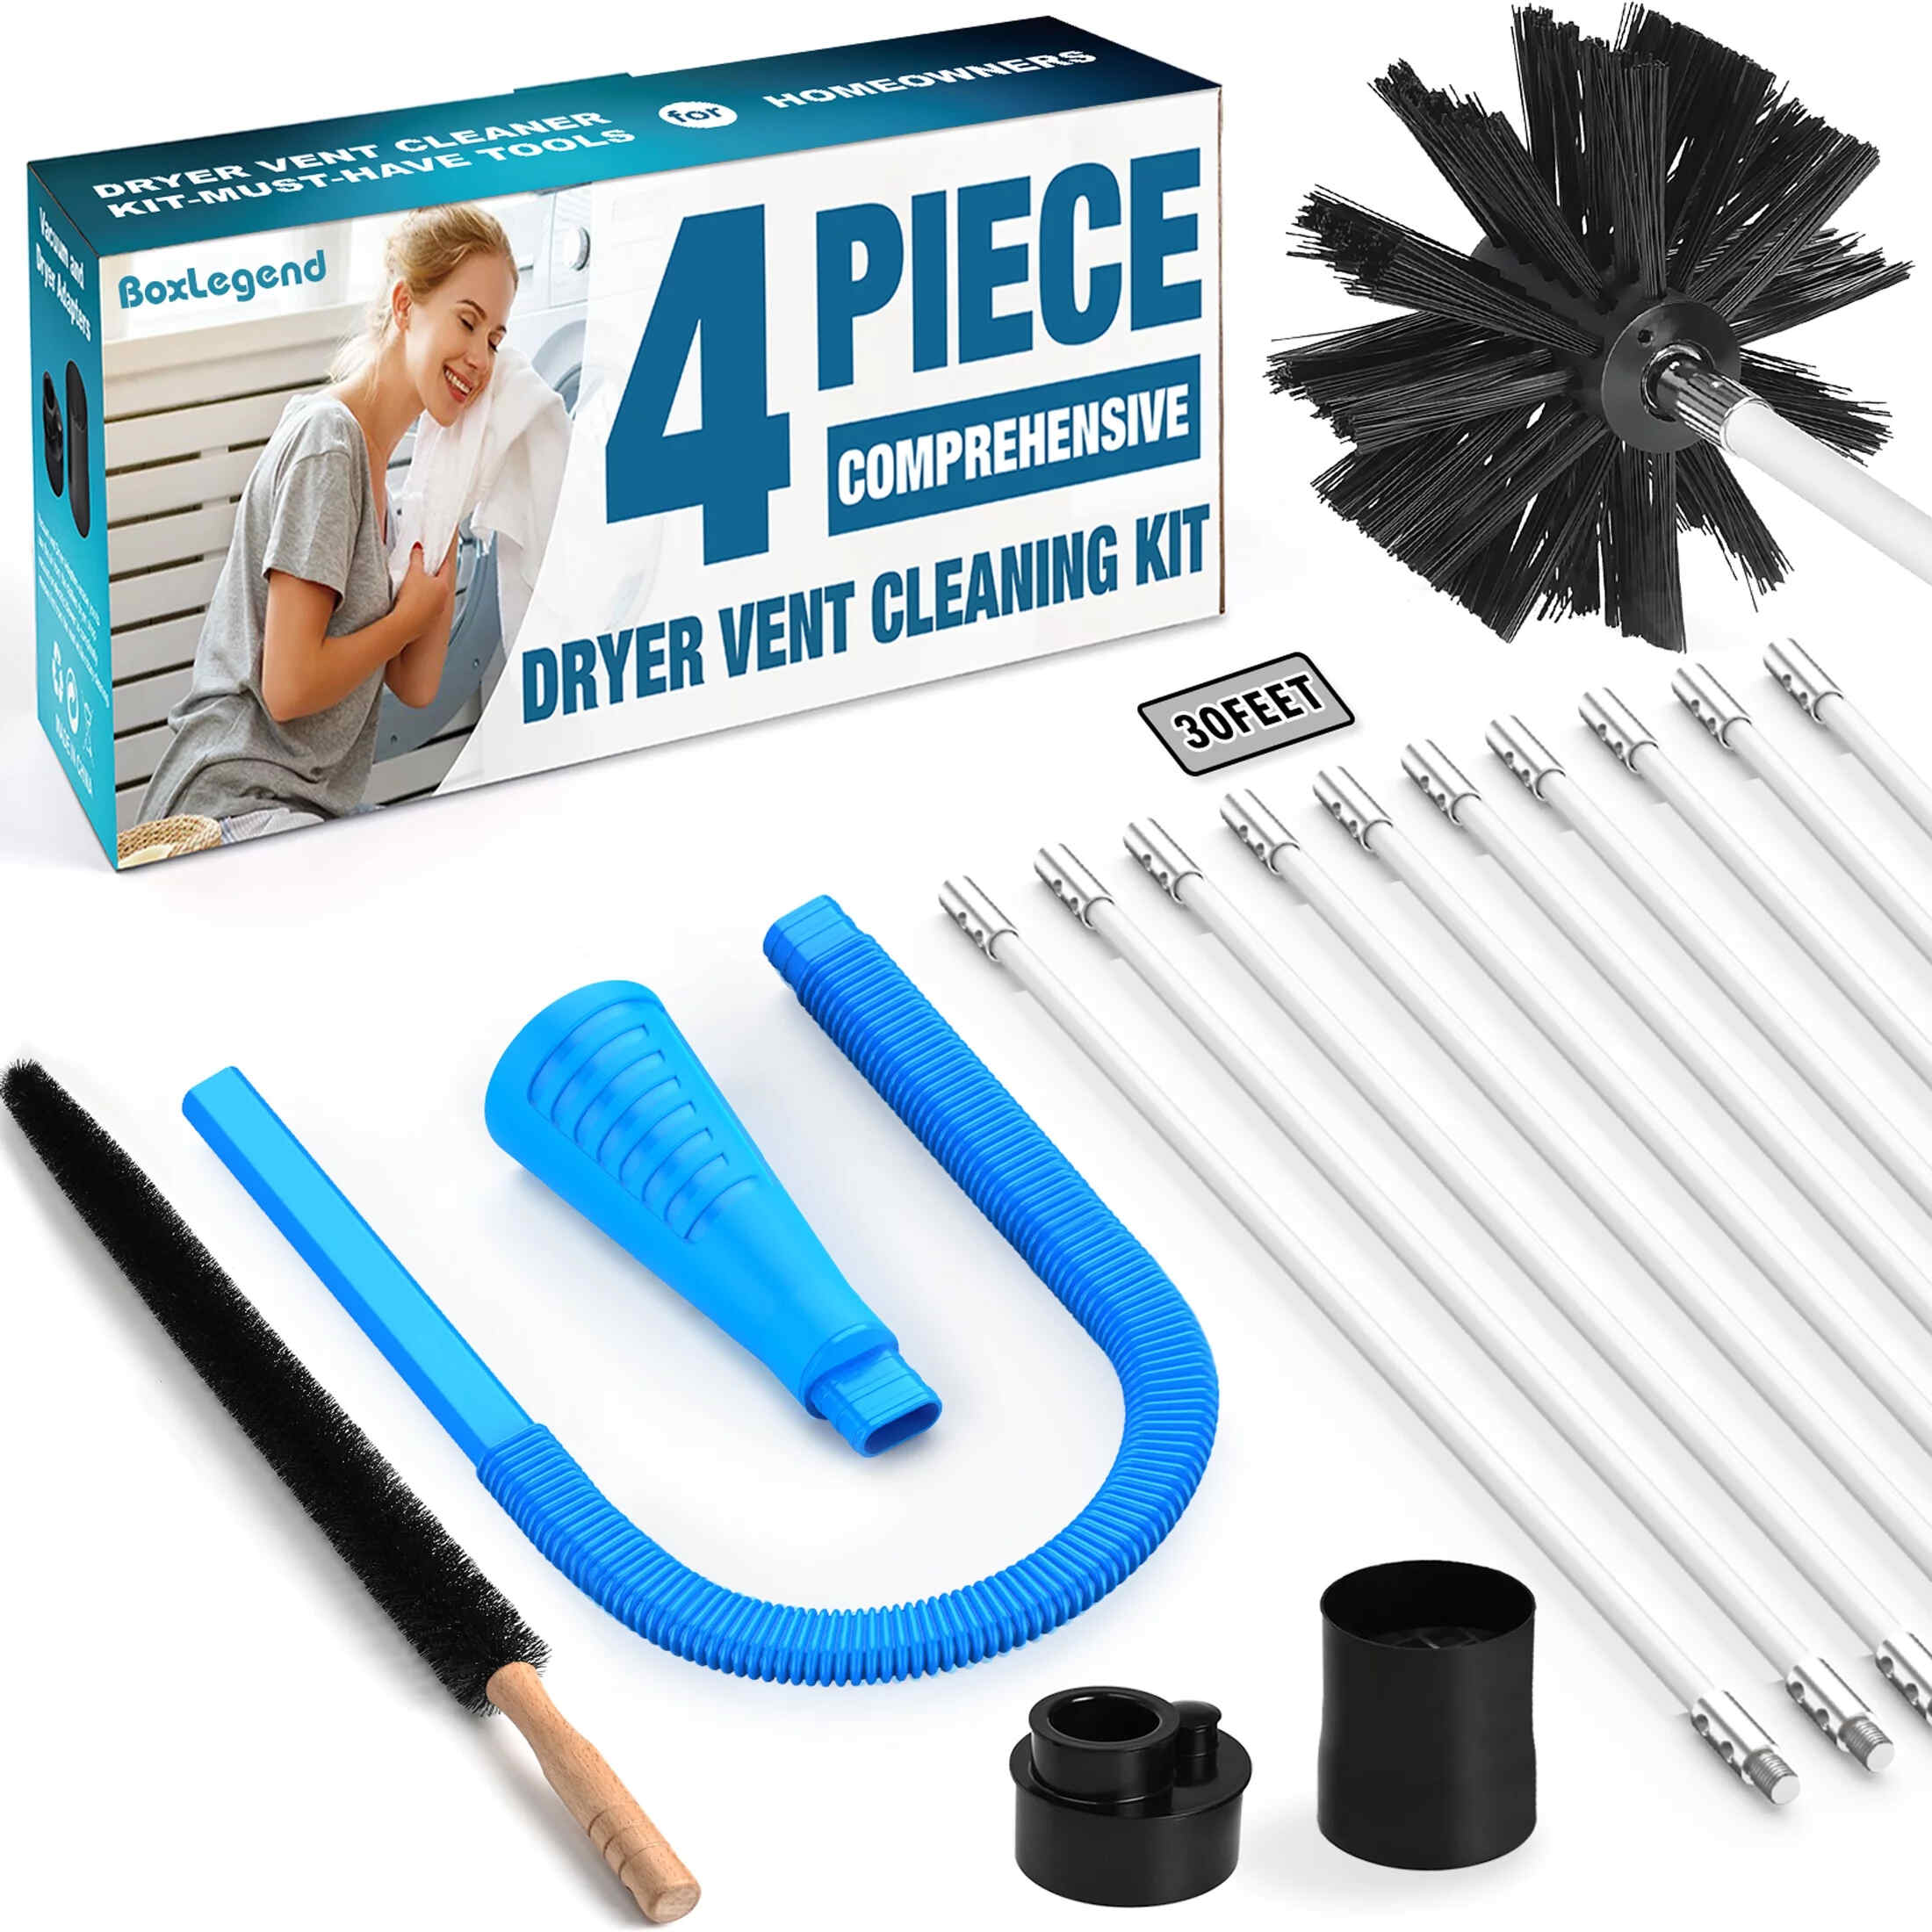
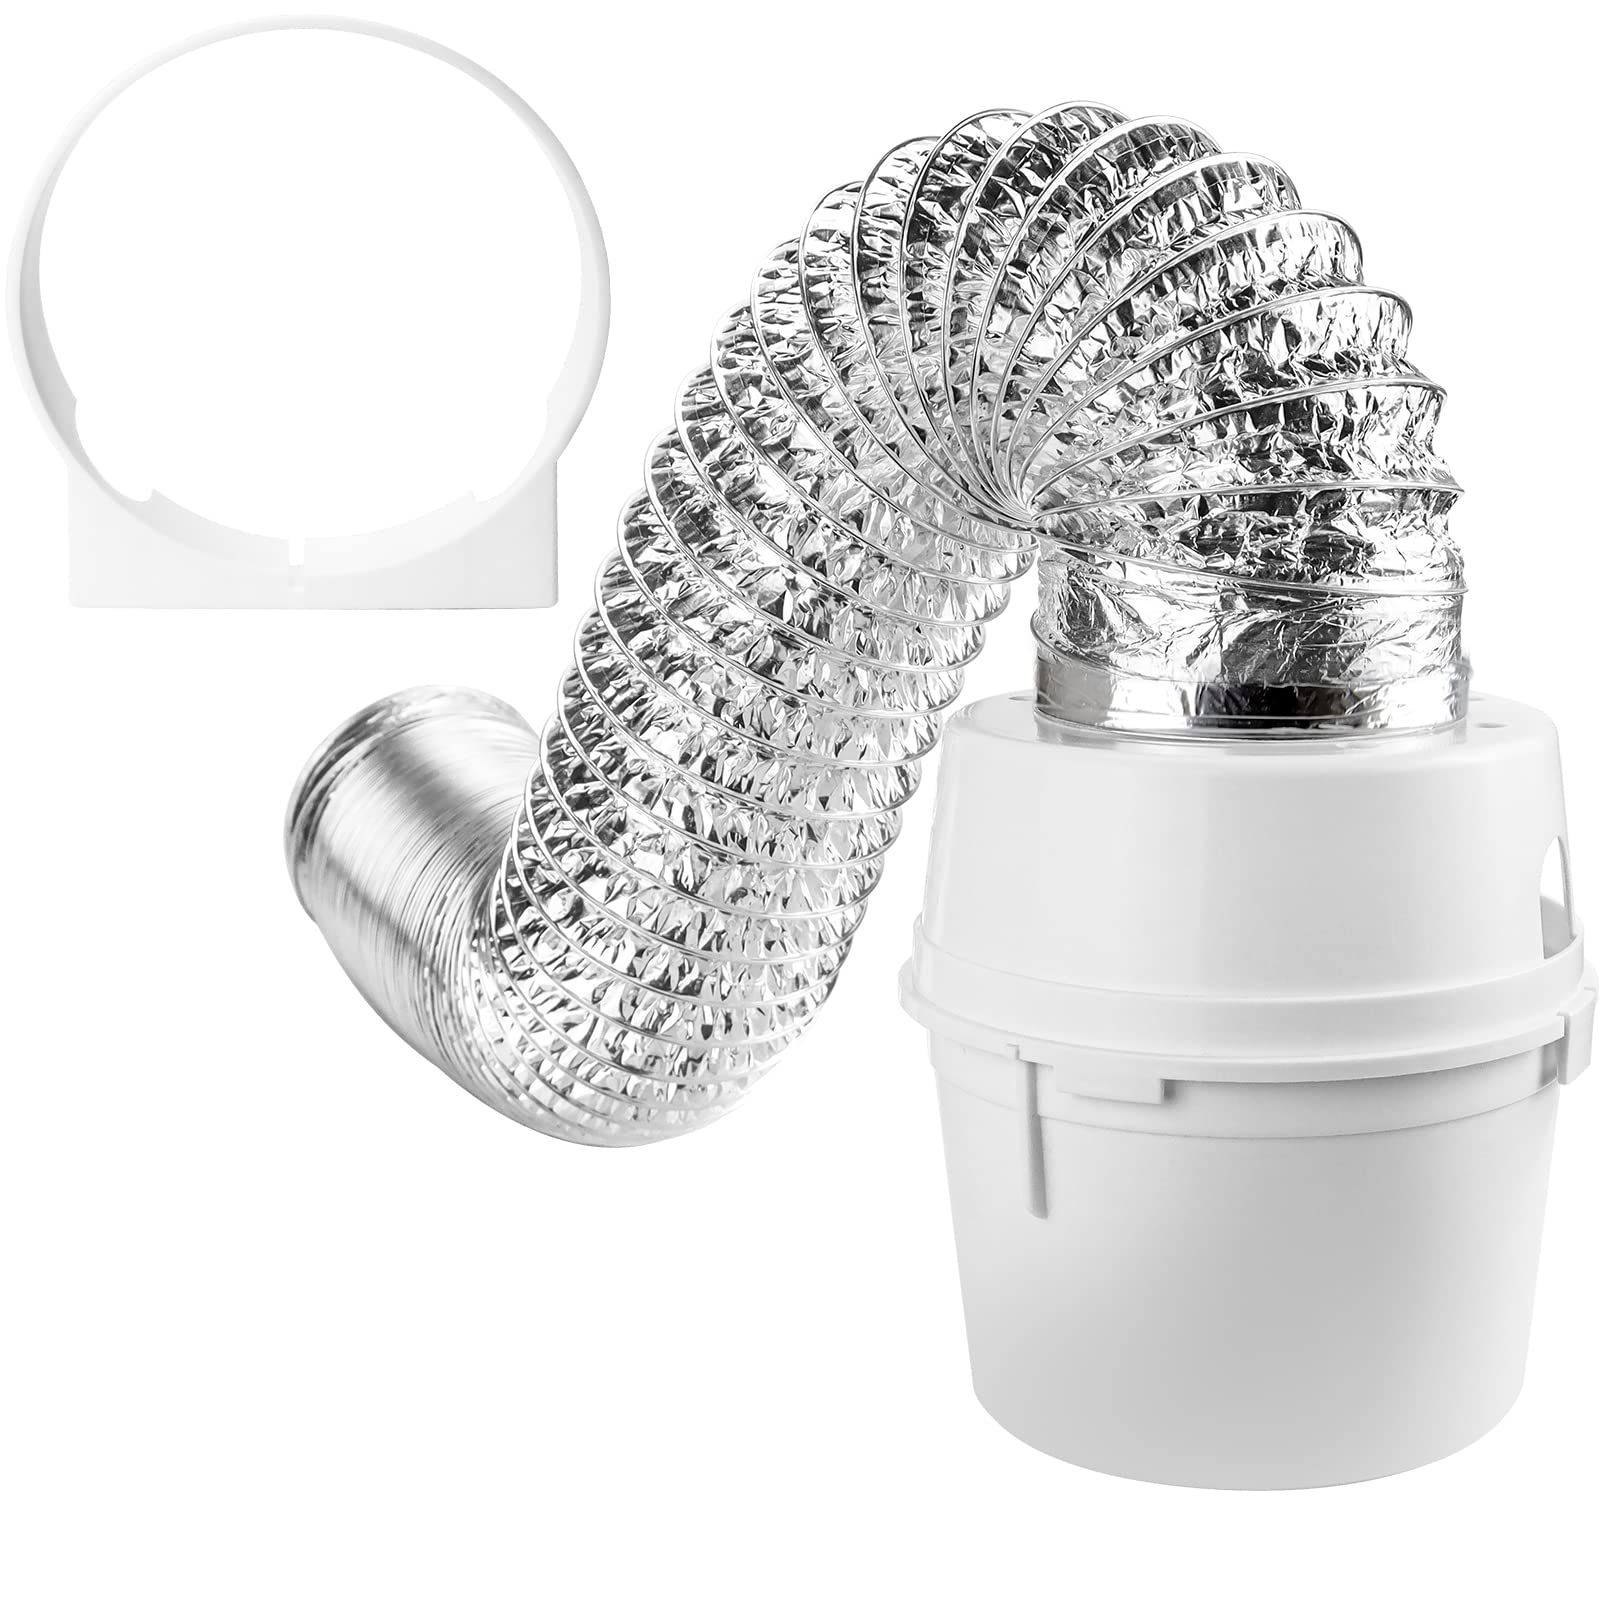
- Dryer Vent Cleaning Kit: This kit contains flexible rods and brushes of various sizes to clean the dryer vent efficiently. It may also include a vacuum connector for thorough cleaning.
- Replacement Vent Clamps: If the existing vent clamps are damaged or worn, have replacement ones ready so you can secure the dryer vent properly after cleaning.
- Protective Gloves: Wearing gloves will protect your hands from dirt, dust, and any potential sharp edges inside the dryer.
- Microfiber Cloth: Use a microfiber cloth to wipe down the lint screen and remove any remaining lint or debris.
- Cleaning Solution: Prepare a mixture of mild dish soap and warm water to clean the lint screen.
- Towel or Drop Cloth: Place a towel or drop cloth near the dryer to catch any debris or lint that may fall during the cleaning process.
Gathering these tools and materials in advance will ensure that you have everything you need to clean the lint screen and dryer vent effectively. With the necessary equipment ready, let’s move on to the step-by-step process of cleaning the lint screen.
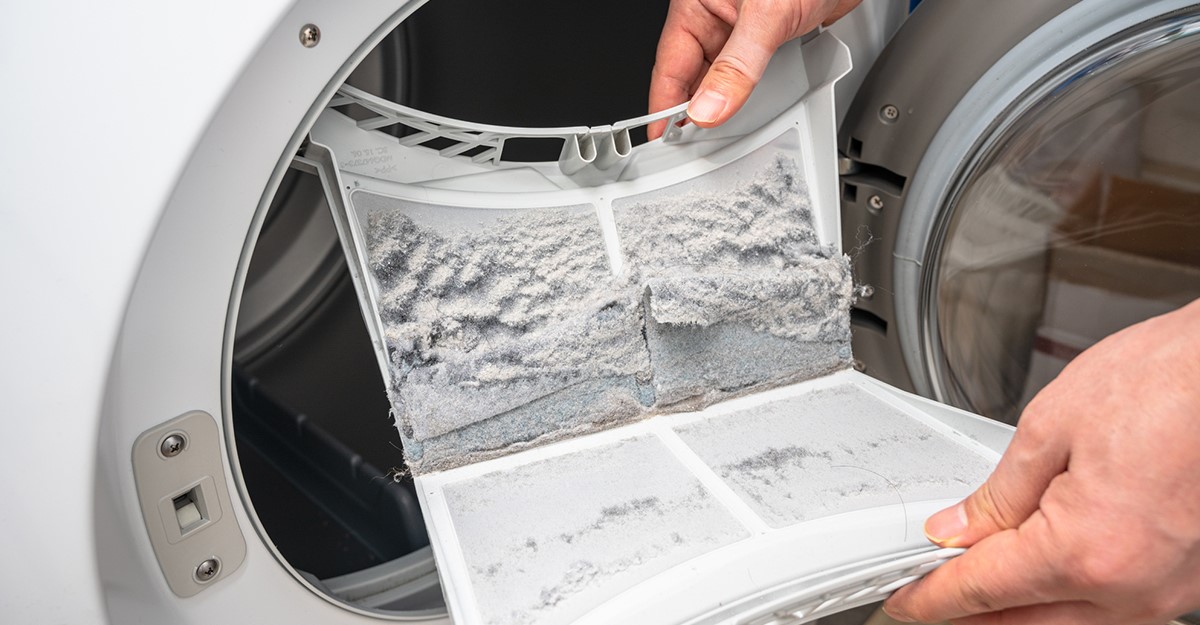
Step 1: Removing the Lint Screen
To begin the cleaning process, follow these steps to remove the lint screen from your dryer:
- Ensure that the dryer is turned off and unplugged to avoid any accidents or injury during the cleaning process.
- Locate the lint screen, which is typically situated on the top, inside the dryer door, or on the front panel.
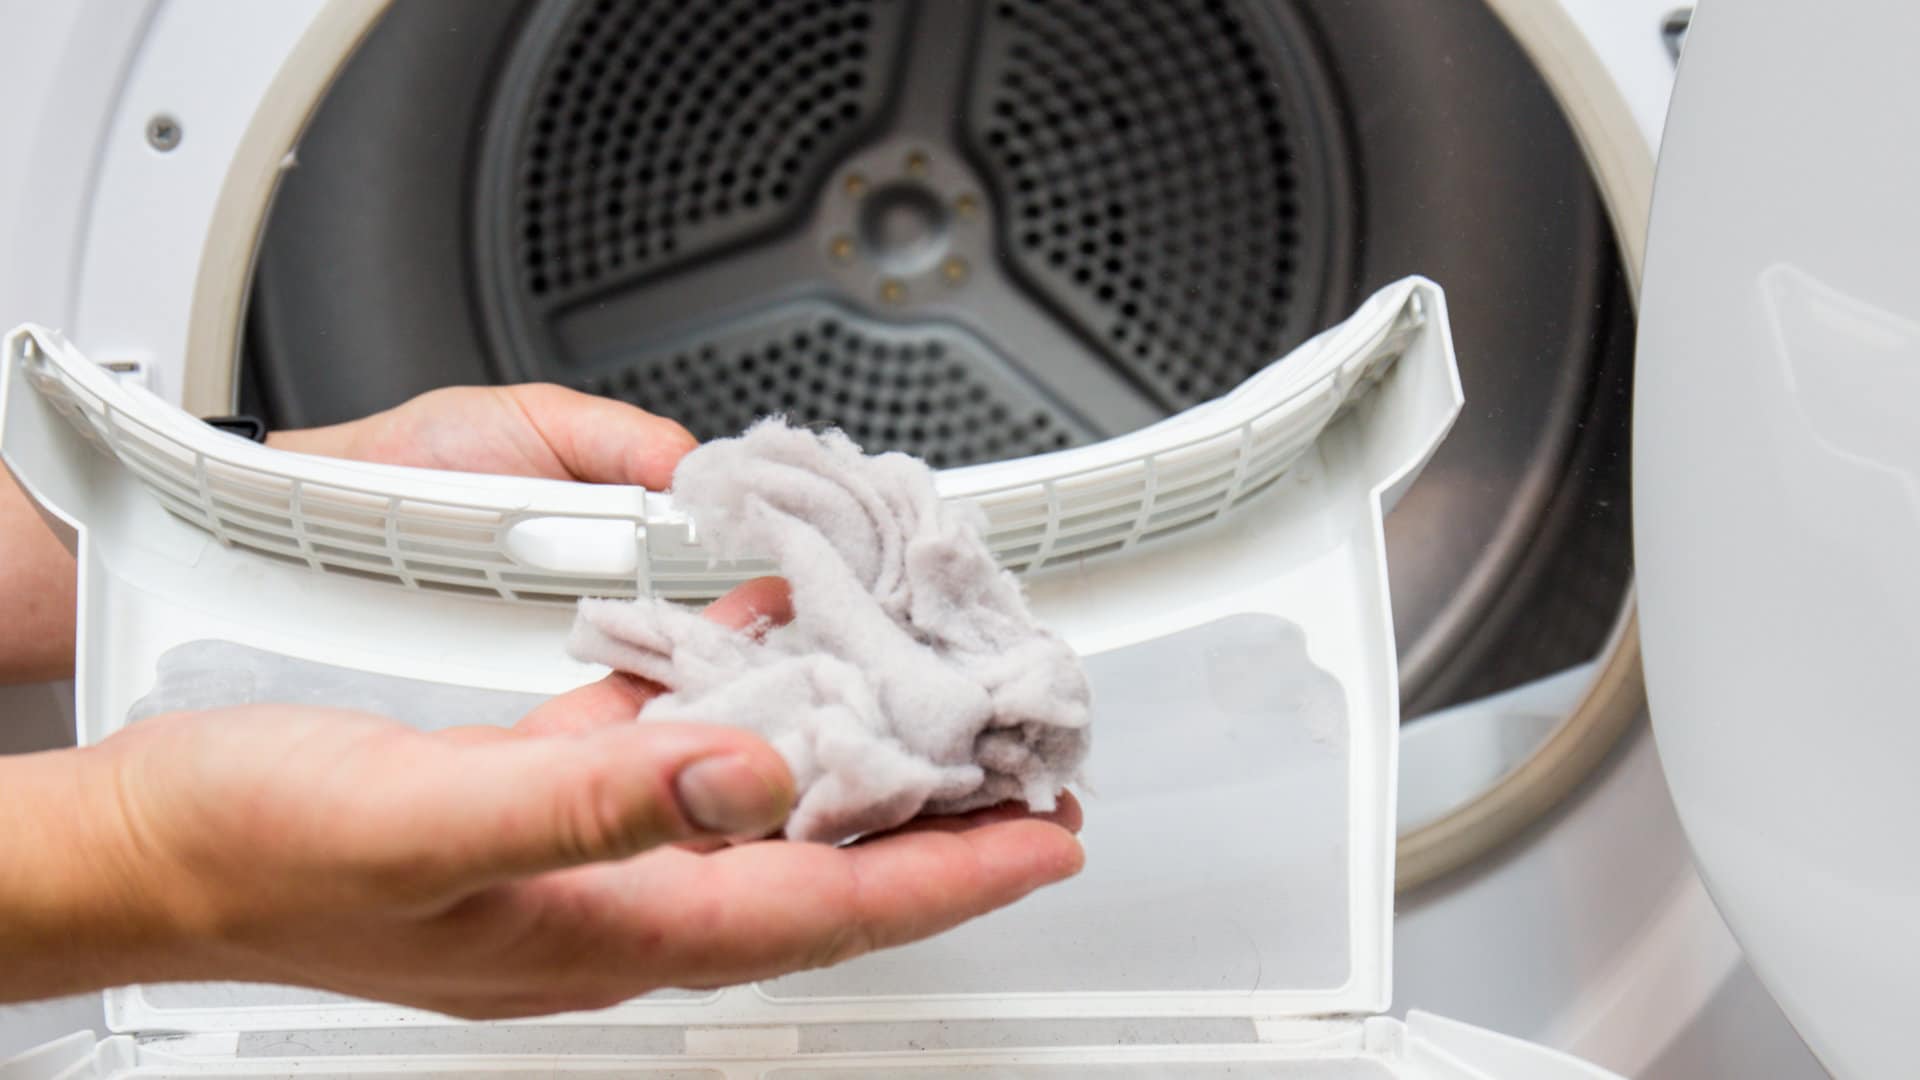
- Gently pull the lint screen out of its slot. If there’s a handle or grip, use it for easy removal.
- Inspect the lint screen for visible lint or debris. If you notice a significant buildup, it’s an indication that it needs cleaning.
- Place the lint screen aside on a clean, flat surface while you clean the dryer’s interior and the lint trap area.
Removing the lint screen is a simple and important first step in the cleaning process. Now that you’ve successfully taken out the lint screen, let’s move on to the next step, which involves cleaning the lint screen itself.
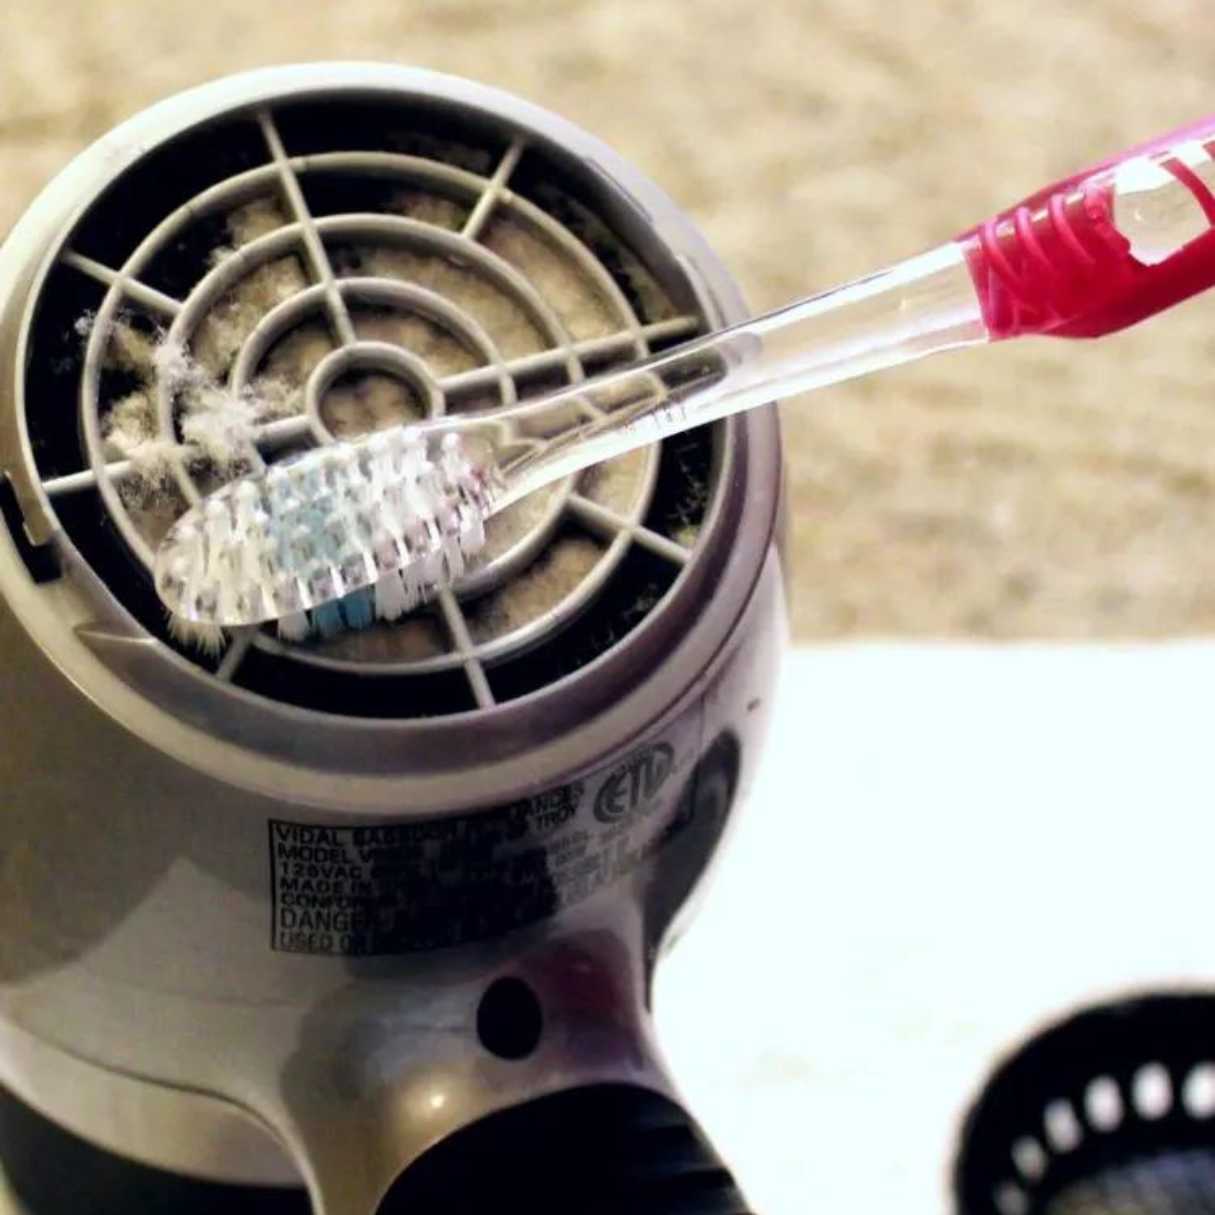
Step 2: Cleaning the Lint Screen
Now that you have removed the lint screen, it’s time to clean it thoroughly to ensure proper airflow and prevent lint buildup. Follow these steps to clean the lint screen:
- Fill a sink or basin with warm water and add a small amount of mild dish soap.
- Submerge the lint screen in the soapy water and let it soak for a few minutes. This will help loosen any trapped debris or residue.
- Gently scrub the lint screen using a soft brush or a non-abrasive sponge. Pay attention to both sides of the screen, ensuring that you remove all visible dirt and lint.
- Rinse the lint screen thoroughly under running water to remove any soap residue.
- Inspect the cleaned lint screen for any remaining lint or debris. If necessary, repeat the cleaning process until the screen is completely free of buildup.
- Shake off any excess water from the lint screen, and use a towel or allow it to air dry completely before reinserting it.
- Before moving on to the next step, take a moment to clean any lint or debris from the surrounding area, including the slot where the lint screen is inserted.
Cleaning the lint screen is an important task to maintain the efficiency of your dryer. Once the lint screen is thoroughly cleaned and dried, you’re ready to proceed to the next step, which involves vacuuming the lint trap.
Regularly clean the lint screen after each load to prevent buildup. Also, remove lint from the dryer vent at least once a year to maintain proper airflow and reduce the risk of fire.
Read more: Why Is Lint Coming Out Of The Dryer Vent
Step 3: Vacuuming the Lint Trap
After you have cleaned and dried the lint screen, the next step is to vacuum the lint trap area for a thorough cleaning. Follow these steps to vacuum the lint trap:
- Retrieve your vacuum cleaner with a hose attachment.
- Turn on the vacuum and attach the hose to the nozzle.
- Carefully insert the hose into the lint trap area, reaching as deep as possible to remove any lint or debris.
- Move the hose gently back and forth and in circular motions to dislodge any trapped lint.
- Continue vacuuming until you can no longer see any visible lint or debris inside the lint trap area.
- Once you are satisfied with the vacuuming, remove the hose from the lint trap area.
- Take a moment to inspect the area and make sure there is no remaining lint or debris.
Vacuuming the lint trap area is crucial in removing any loose lint that may have accumulated. This step helps to maintain proper airflow and prevents lint from clogging the dryer vent. As you move on to the next step, remember to be cautious and follow safety procedures. We will now discuss how to clean the dryer vent.
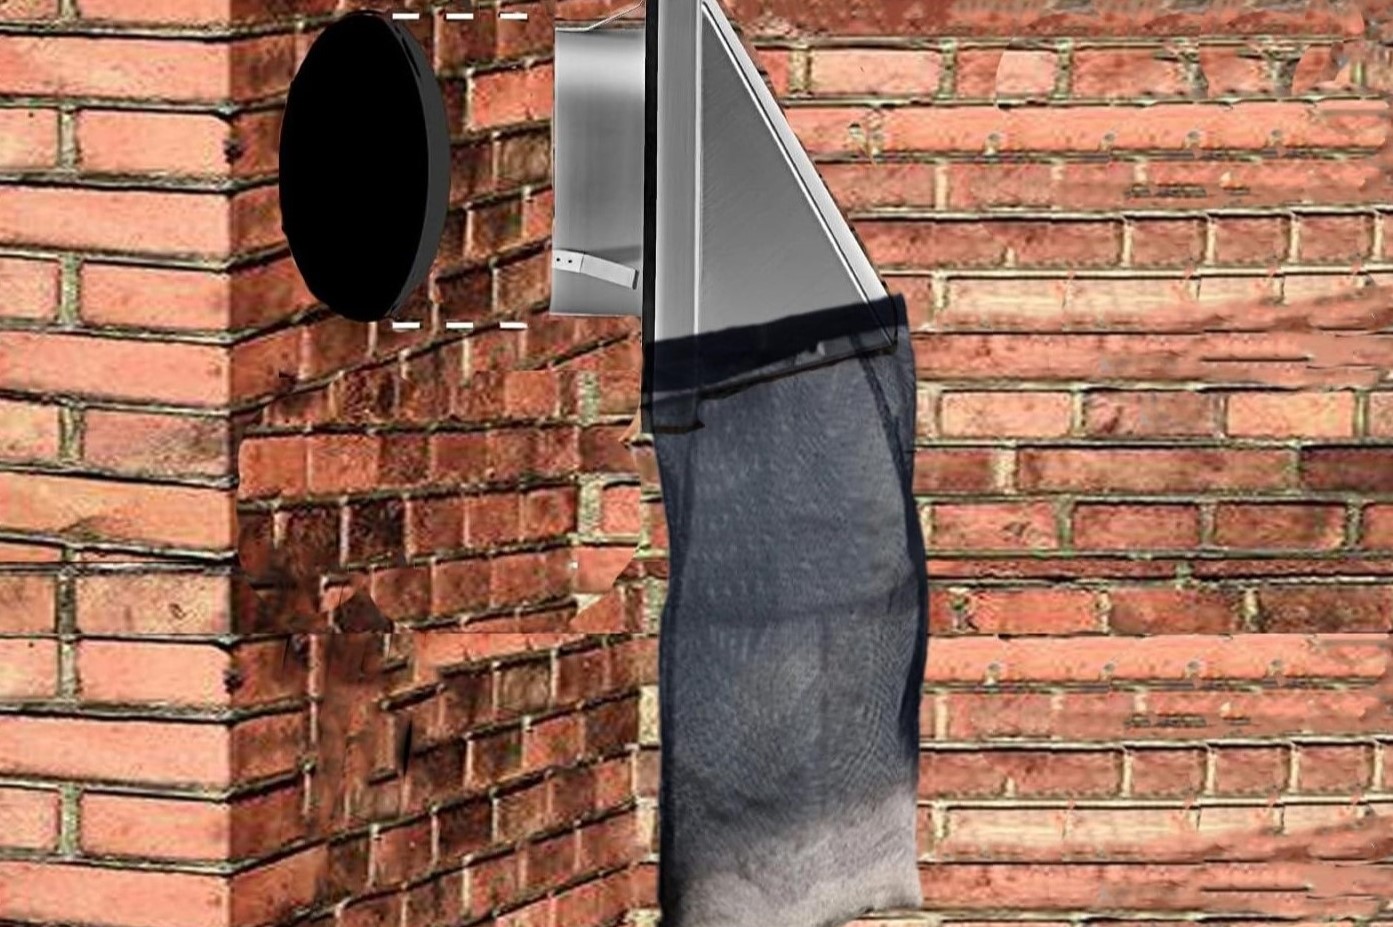
Step 4: Cleaning the Dryer Vent
Now that you have cleaned the lint screen and vacuumed the lint trap, it’s time to move on to cleaning the dryer vent. Follow these steps to effectively clean the dryer vent:
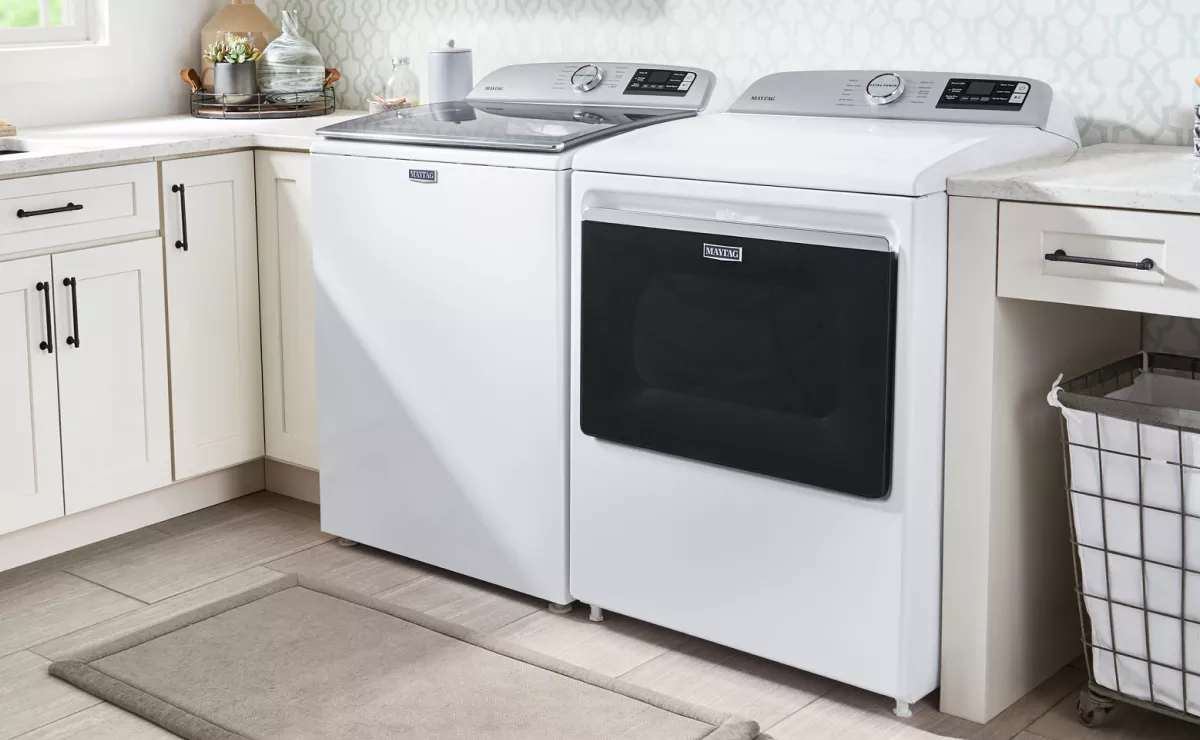
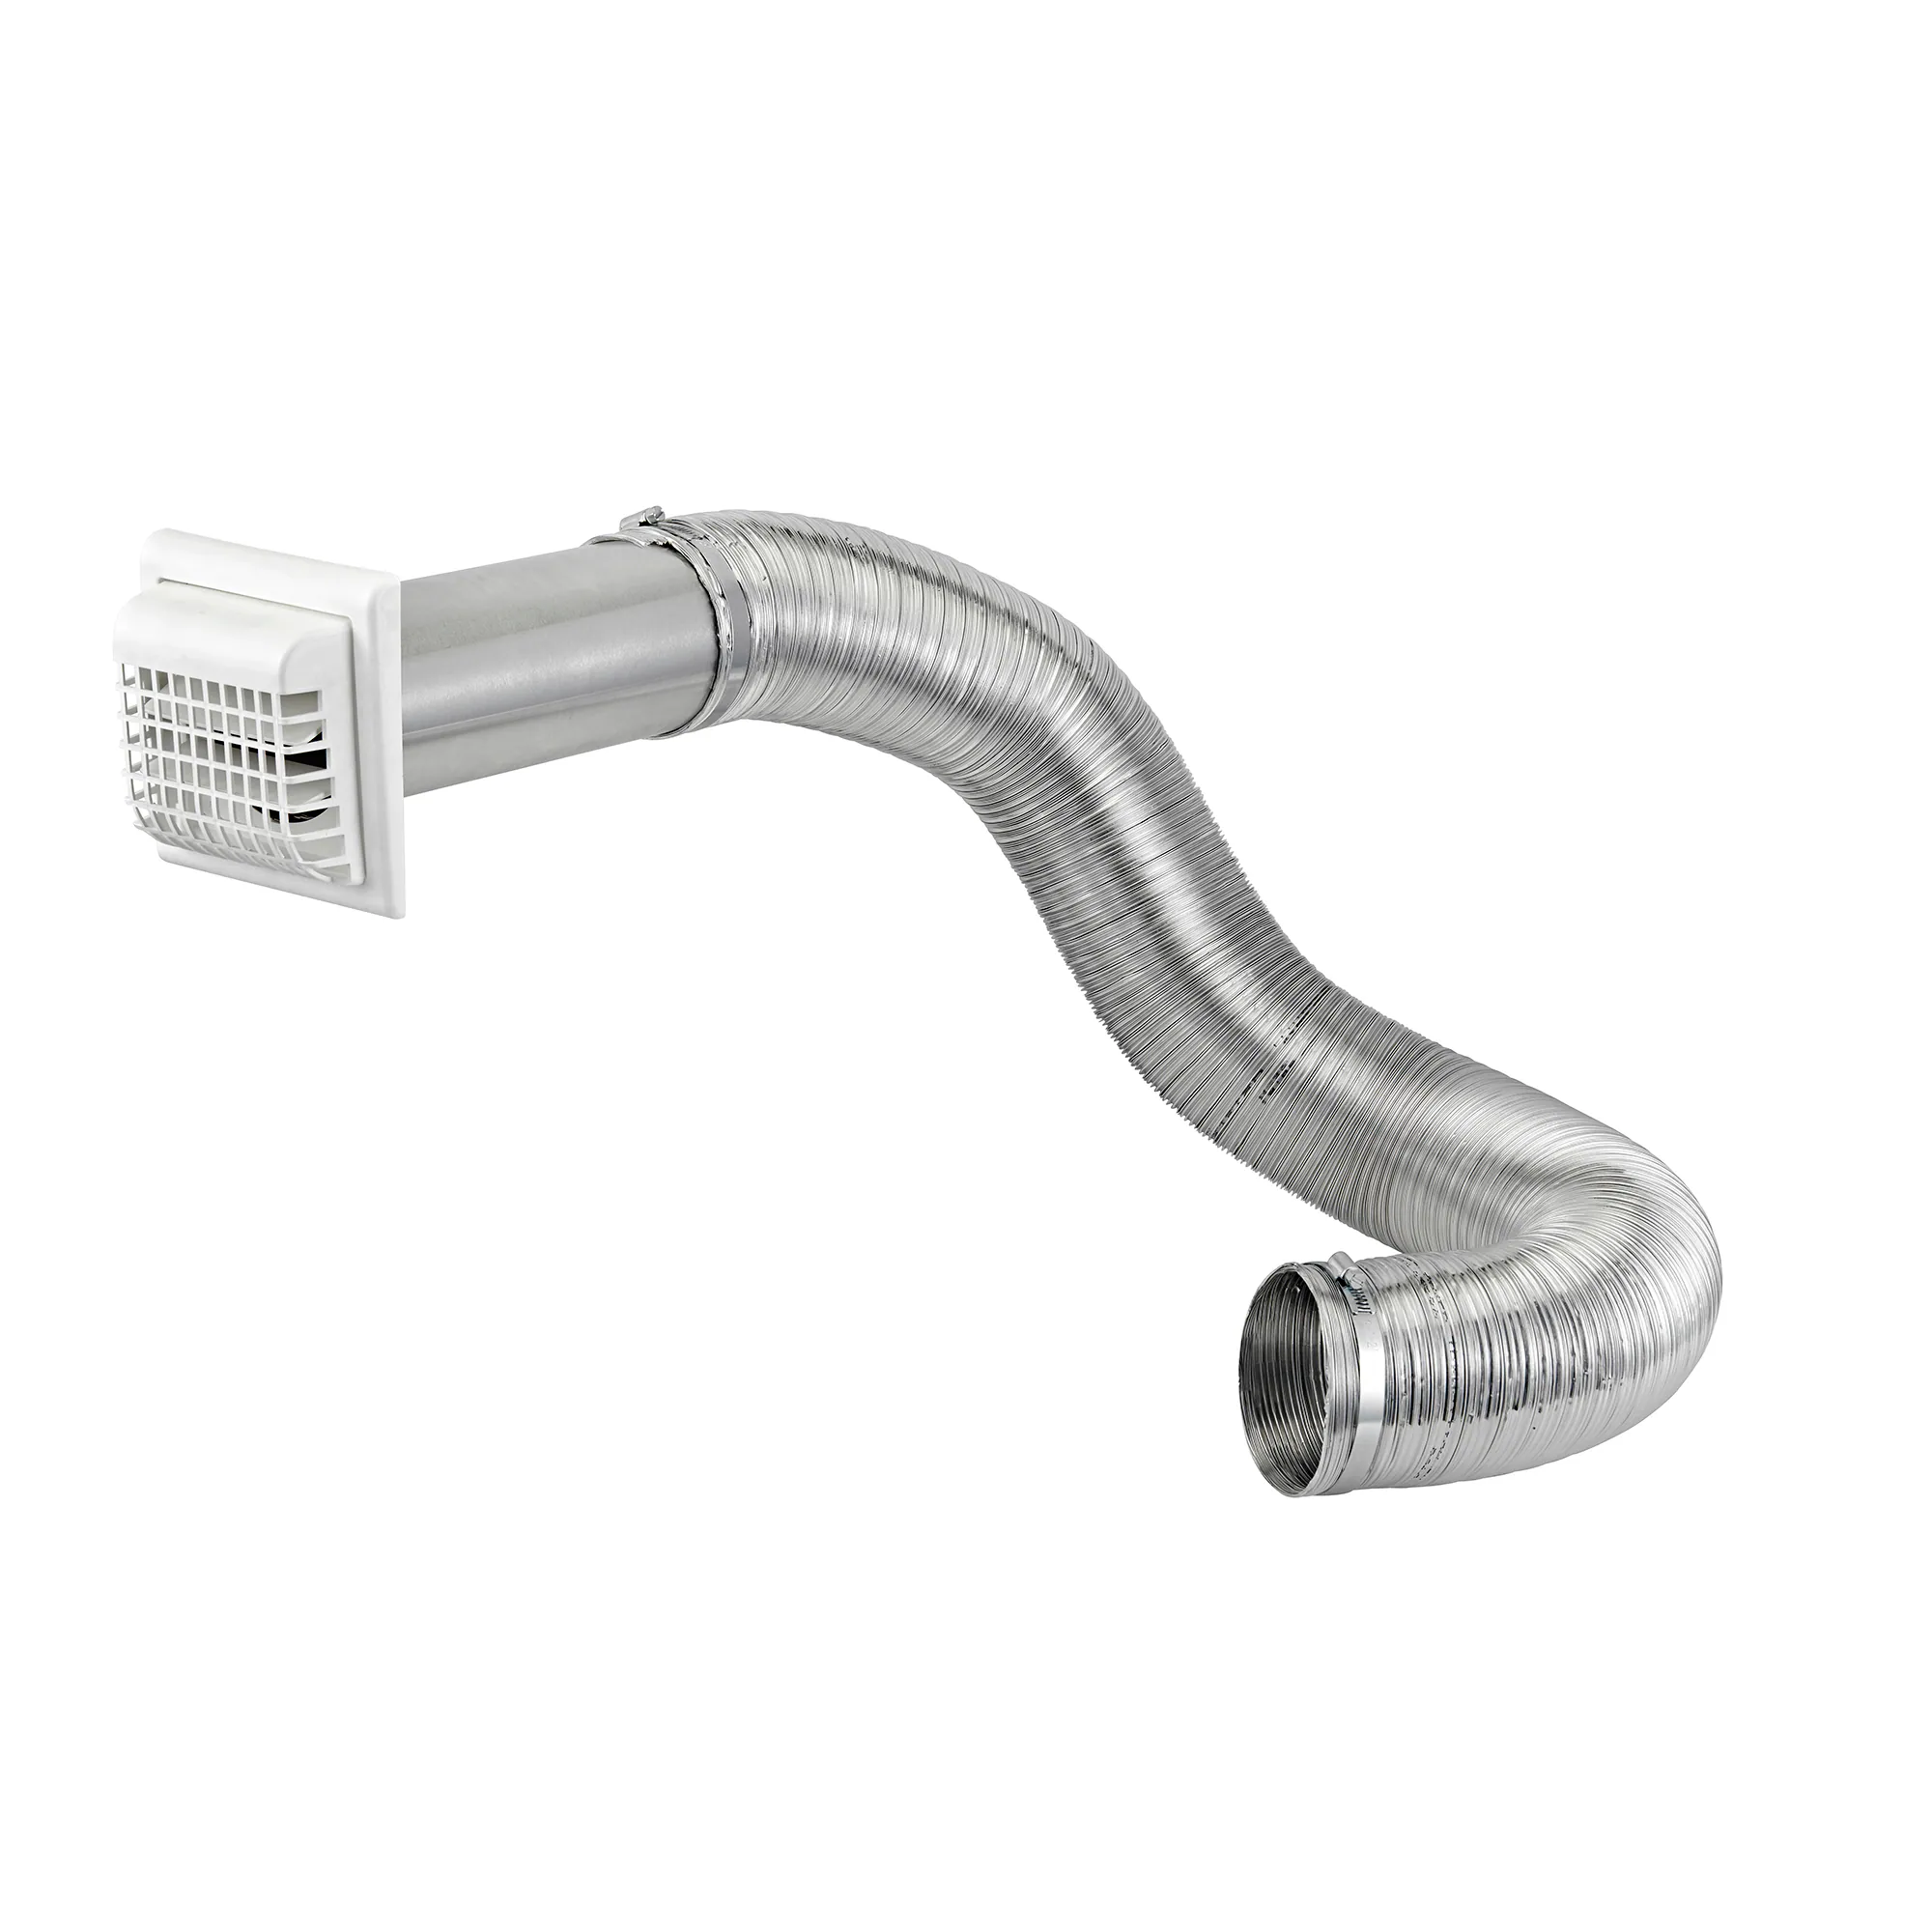
- Locate the dryer vent, which is typically located on the back of the dryer or on the side of the house.
- Using a screwdriver, loosen the clamps that secure the dryer vent to the exhaust duct.
- Gently pull the dryer vent off the exhaust duct. Be careful not to damage the vent or the duct while removing it.
- Inspect the removed vent for any signs of lint buildup or blockage. If you notice a significant buildup, it’s crucial to clean the vent thoroughly.
- Attach the appropriate sized brush attachment to your dryer vent cleaning kit.
- Insert the brush attachment into the dryer vent and rotate it in a clockwise motion. This will capture any lint or debris as it moves through the vent.
- Continue pushing the brush attachment into the vent until you have reached the end or cannot push it any further.
- Slowly retract the brush attachment from the vent, capturing any trapped lint or debris along the way.
- Repeat the process of inserting and retracting the brush attachment until you are satisfied with the cleanliness of the vent.
- Use a vacuum cleaner with a hose attachment to remove any remaining debris from both the dryer vent and the exhaust duct.
- Once you have thoroughly cleaned the dryer vent, reattach it to the exhaust duct and secure it in place by tightening the clamps.
Cleaning the dryer vent is an essential step in preventing lint buildup and maintaining the safety and efficiency of your dryer. With the vent properly cleaned and reattached, let’s move on to the final steps of reassembling the lint screen and completing the cleaning process.
Step 5: Reassembling and Final Steps
After thoroughly cleaning the lint screen and dryer vent, it’s time to reassemble and complete the cleaning process. Follow these final steps:
- Take the clean and dry lint screen and carefully reinsert it into the slot from where you initially removed it. Ensure that it fits securely and is positioned correctly.
- Double-check that the vent clamps connecting the dryer vent to the exhaust duct are tightened securely. This prevents any air leaks and ensures proper airflow.
- Wipe down the exterior of the dryer using a clean, dry microfiber cloth. This will remove any remaining dust or debris.
- Clean the area surrounding the dryer, including the floor and any nearby surfaces, to remove any lint or debris that may have accumulated during the cleaning process.
- Plug the dryer back into the power source and turn it on to ensure that everything is functioning properly.
- Dispose of the lint and debris collected during the cleaning process in a trash bag or bin.
- Make it a habit to clean the lint screen after every drying cycle to prevent future lint buildup. Regularly check the dryer vent and clean it as needed to maintain optimal performance.
By following these final steps, you have successfully reassembled your dryer and completed the cleaning process. Regularly maintaining and cleaning the lint screen and dryer vent not only increases efficiency but also minimizes the risk of fire hazards. Remember to schedule routine cleanings to ensure that your dryer operates safely and effectively for years to come.
Now you can enjoy a safer and more efficient laundry experience with a clean and well-maintained dryer!
Conclusion
Properly cleaning the lint screen and dryer vent is essential for maintaining the safety, efficiency, and longevity of your dryer. Neglecting this routine maintenance can lead to lint buildup, decreased performance, and even fire hazards. By following the step-by-step instructions outlined in this article, you can ensure a thorough and effective cleaning process.
Start by removing the lint screen and cleaning it with warm, soapy water. This will remove any trapped lint or debris. Next, use a vacuum cleaner to thoroughly clean the lint trap area, removing any loose lint. Then, proceed to clean the dryer vent using specialized brushes and a vacuum cleaner to eliminate lint buildup and blockages.
Reassembling the dryer and completing the final steps, such as wiping down the exterior and checking for proper functioning, ensures that your dryer is in optimal condition. Additionally, incorporating regular cleaning of the lint screen after every drying cycle and periodically checking the dryer vent for maintenance will help prevent future problems.
By properly maintaining and cleaning the lint screen and dryer vent, you can improve energy efficiency, reduce drying time, and minimize fire hazards. As a result, you’ll not only extend the lifespan of your dryer but also enjoy a safer and more cost-effective laundry experience.
Remember, safety should always be a priority. If you’re unsure about any aspect of the cleaning process or suspect a more significant issue with your dryer, consult a professional for assistance.
So, take the time to clean your lint screen and dryer vent regularly – it’s a small investment of time that yields significant benefits. With a clean and well-maintained dryer, you can enjoy peace of mind and efficient drying for years to come.
Frequently Asked Questions about How To Clean The Lint Screen And Dryer Vent
Was this page helpful?
At Storables.com, we guarantee accurate and reliable information. Our content, validated by Expert Board Contributors, is crafted following stringent Editorial Policies. We're committed to providing you with well-researched, expert-backed insights for all your informational needs.