Articles
How To Clean Sink Trap
Modified: October 19, 2024
Learn how to clean your sink trap with these helpful articles. Eliminate odors and keep your sink running smoothly.
(Many of the links in this article redirect to a specific reviewed product. Your purchase of these products through affiliate links helps to generate commission for Storables.com, at no extra cost. Learn more)
Introduction
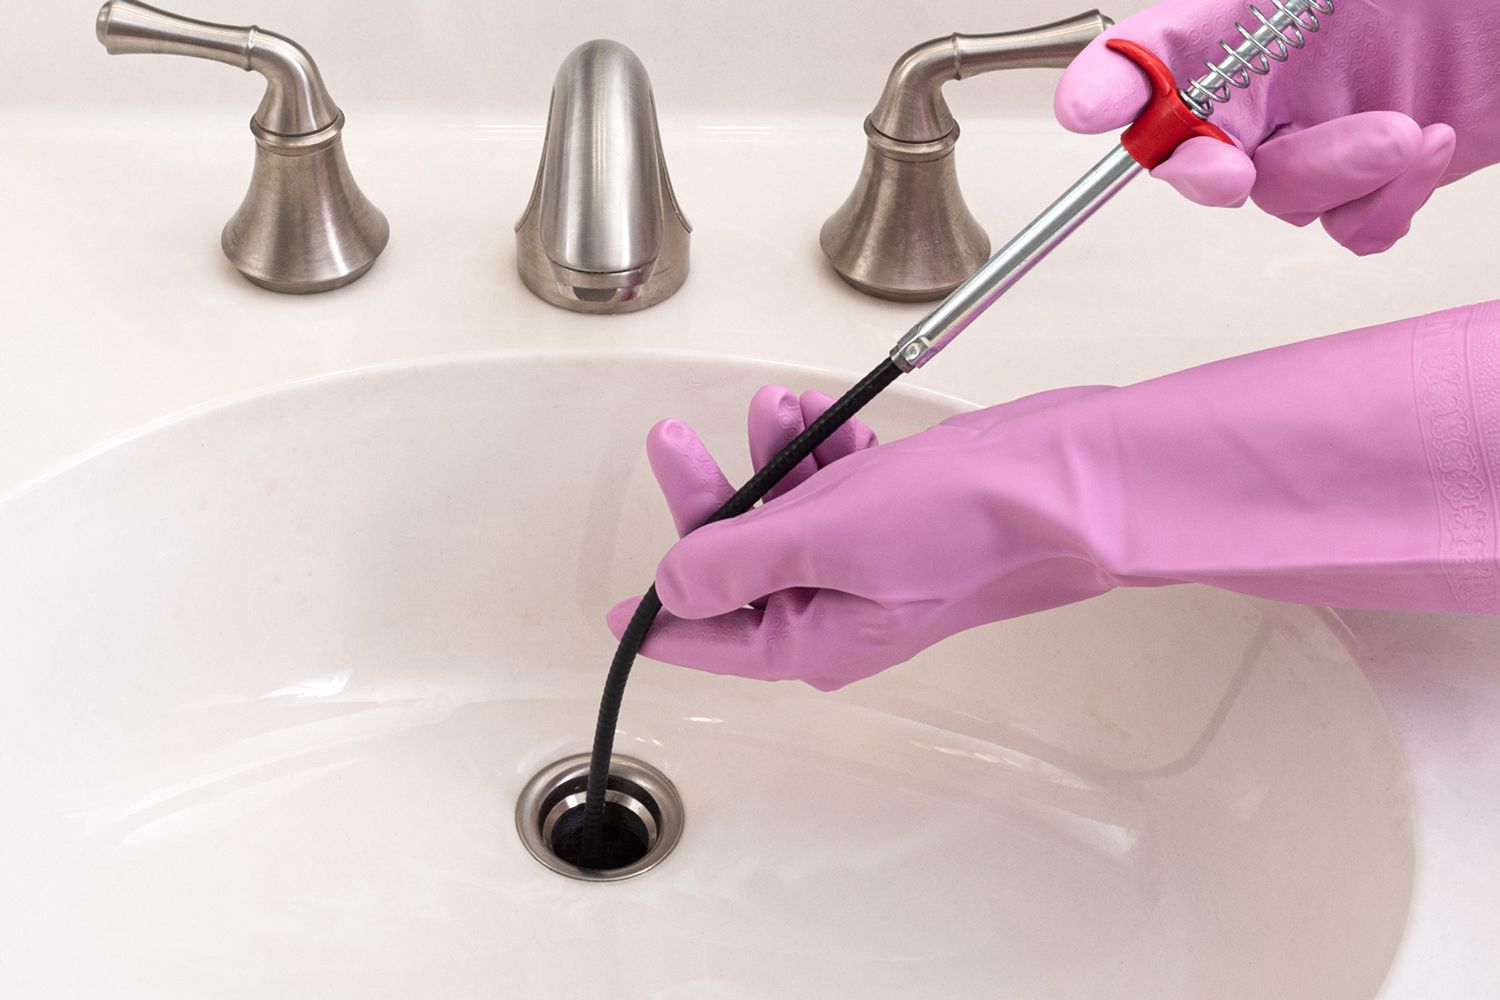
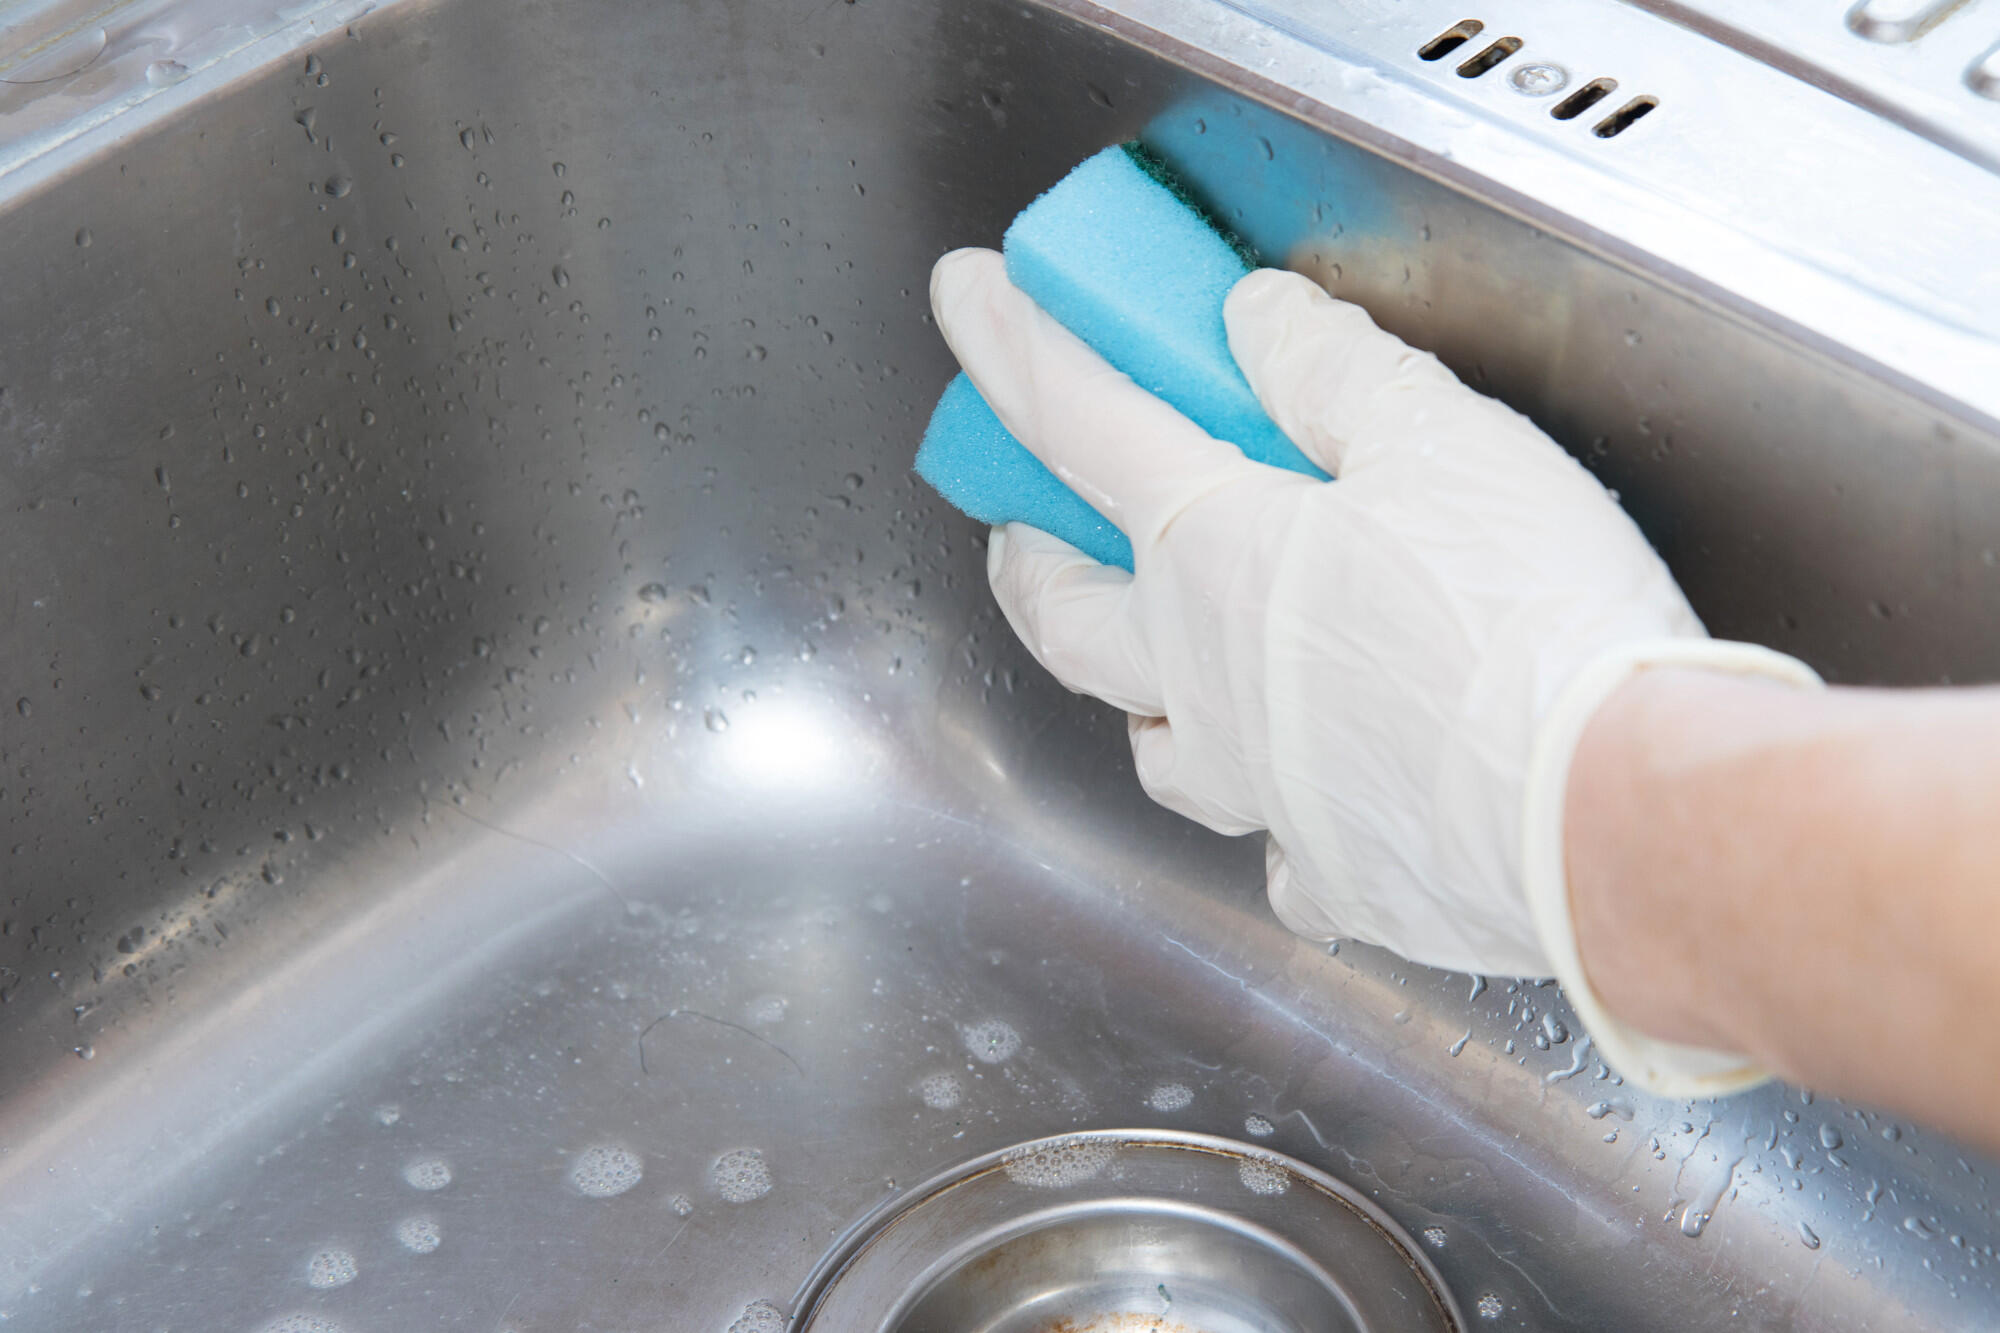
Having a clean and properly functioning sink is essential for a hygienic and efficient kitchen or bathroom. One component that often requires attention is the sink trap. Over time, the sink trap can become clogged with debris, causing water to drain slowly or even backing up into the sink. Cleaning the sink trap is a simple task that can be done with just a few basic tools and materials.
In this article, we will guide you through the step-by-step process of cleaning the sink trap. Whether you have a kitchen or bathroom sink, this method applies to both. By following these instructions, you can restore the proper function and flow of water in your sink, preventing any unpleasant odors and potential plumbing issues.
Before we begin, please note that if you are unsure about handling plumbing tasks, it is always best to consult a professional plumber. However, if you are confident in your skills and want to save some money, let’s dive into how to clean your sink trap!
Key Takeaways:
- Regularly cleaning your sink trap with simple tools and materials can prevent clogs, backups, and unpleasant odors, ensuring smooth water flow and a hygienic kitchen or bathroom sink.
- By following the step-by-step process of removing, cleaning, and reinstalling your sink trap, you can easily maintain its proper function without the need for professional assistance.
Read more: How To Remove Sink Trap
Tools and Materials Needed
Before you can start cleaning the sink trap, gather the following tools and materials:
- Adjustable wrench or pliers
- Bucket or large bowl
- Old toothbrush or small brush
- Warm water
- Mild dish soap
- Clean cloth or towel
These tools and materials will help you easily remove and clean the sink trap. Make sure to have them all within reach before you begin the process.
Step 1: Gather Supplies
Before diving into the process of cleaning the sink trap, it’s essential to gather all the necessary supplies. This will ensure that you have everything you need within reach, making the task more efficient and convenient. Here’s what you need to do:
- Locate a bucket or large bowl that will fit under the sink trap. This will be used to catch any debris or water that may spill during the cleaning process.
- Grab an adjustable wrench or pliers. These tools will help loosen and remove the nuts securing the sink trap.
- Find an old toothbrush or small brush. This will be used to scrub away any residue or buildup within the sink trap.
- Prepare warm water and mild dish soap. This will serve as the cleaning solution to break down grease and grime.
- Lastly, ensure you have a clean cloth or towel to wipe down any excess water and clean the area around the sink trap.
Once you have gathered all the necessary supplies, you are ready to move on to the next step: removing the sink trap.
Step 2: Remove the Sink Trap
Now that you have all your supplies ready, it’s time to remove the sink trap. Follow these steps:
- Start by locating the sink trap. It is usually located beneath the sink, connected to the drain pipe.
- Place the bucket or large bowl underneath the sink trap to catch any water or debris that may spill during removal.
- Using an adjustable wrench or pliers, loosen and remove the nuts that secure the sink trap to the drain pipe. Turn them counterclockwise to loosen them.
- Be prepared for some water to spill out as you remove the sink trap. The bucket or large bowl will help contain the mess.
- Once the nuts are loosened, gently pull the sink trap away from the drain pipe. If it feels stuck, try twisting it slightly to loosen it.
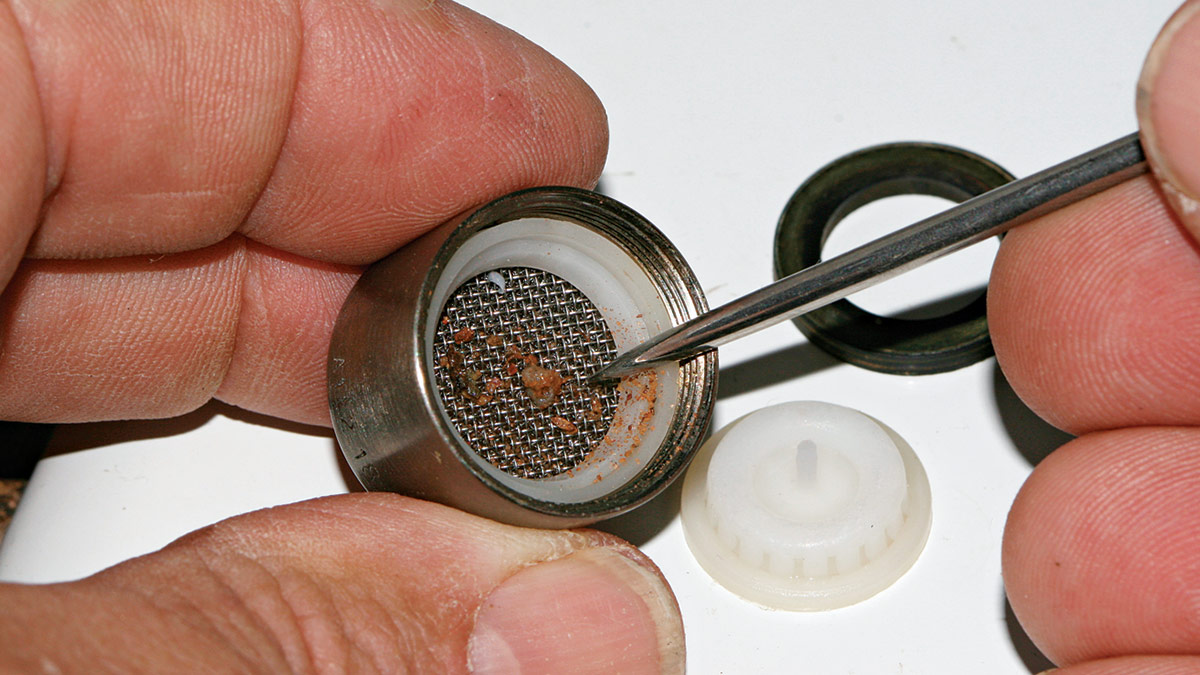
- Inspect the sink trap for any visible clogs or debris. You may need to use your brush or old toothbrush to dislodge and remove any stubborn buildup.
By following these steps, you will successfully remove the sink trap and be ready to move on to the next step: cleaning the sink trap.
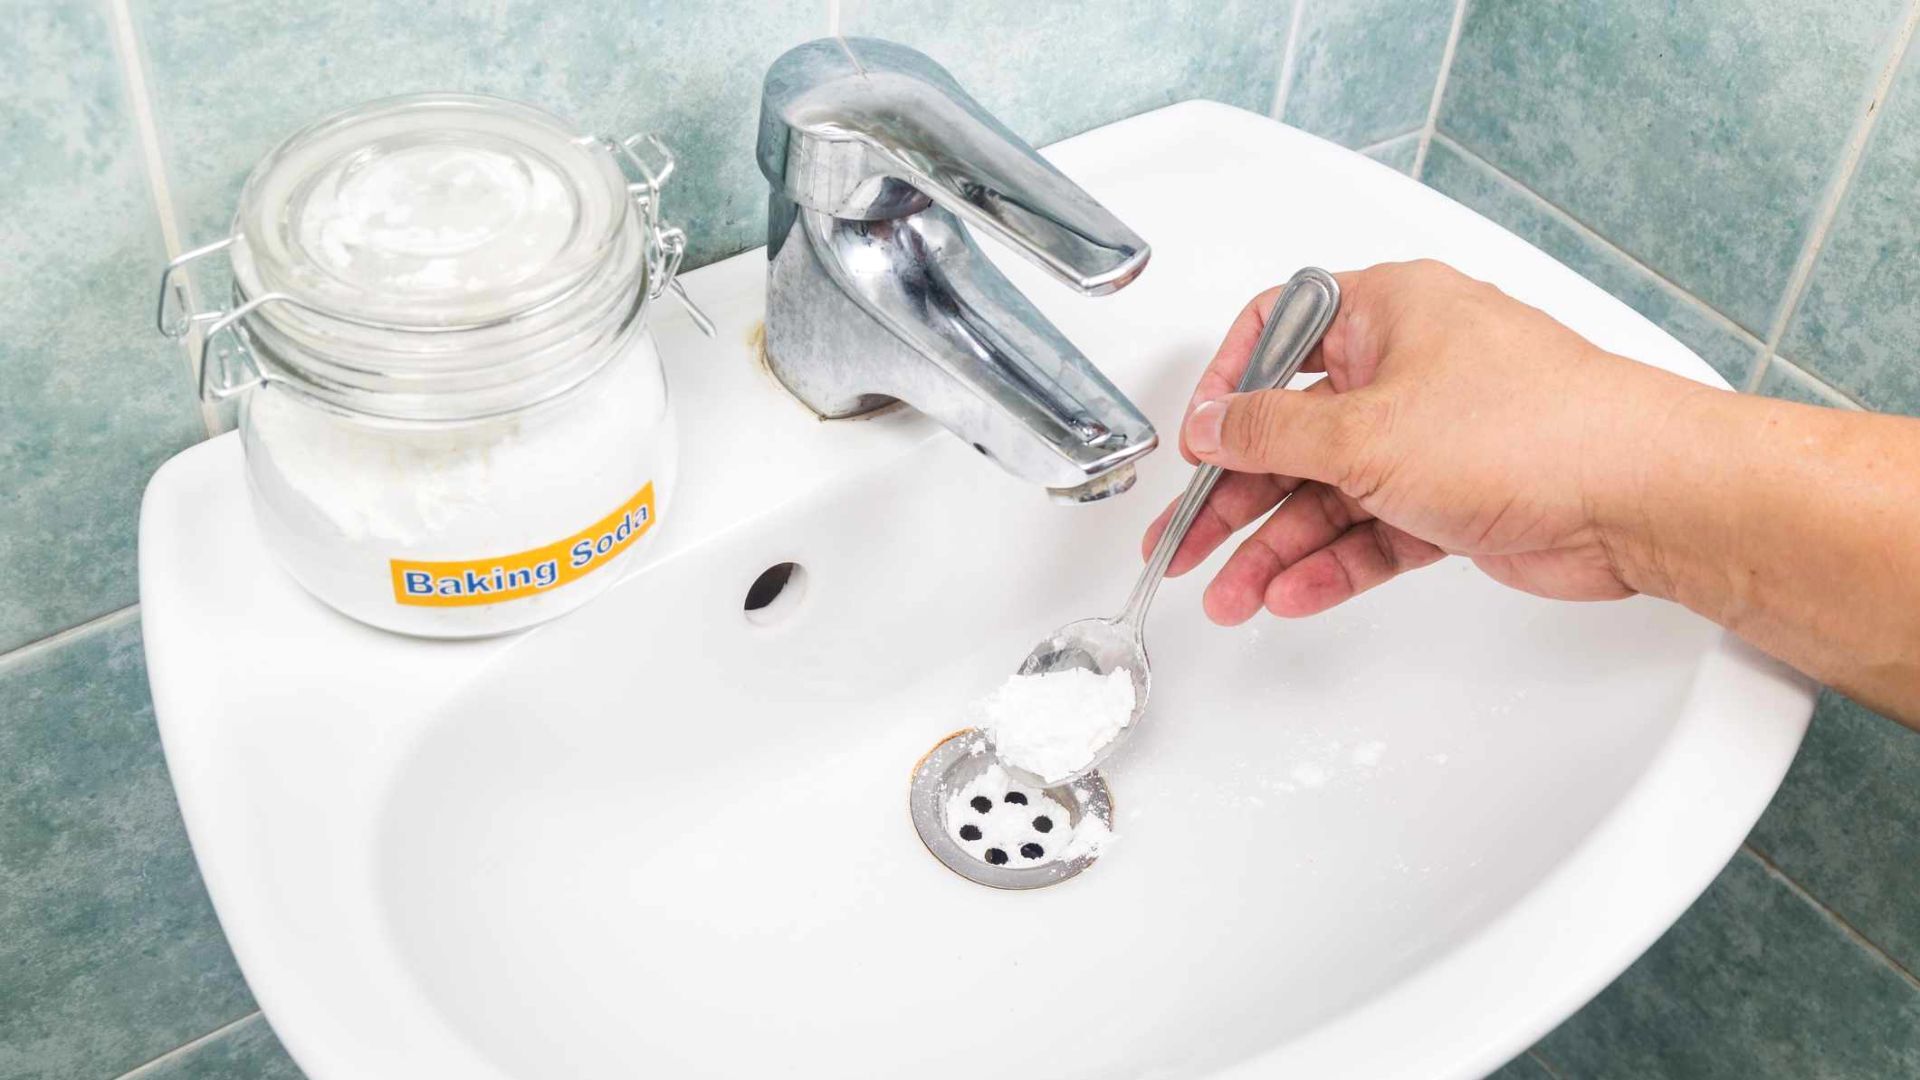
To clean a sink trap, place a bucket underneath to catch water, then unscrew the trap and remove any debris. Use a pipe brush to scrub the trap and pipes, then reassemble.
Step 3: Clean the Sink Trap
Now that you have removed the sink trap, it’s time to give it a thorough cleaning. Follow these steps to ensure a clean and unclogged sink trap:
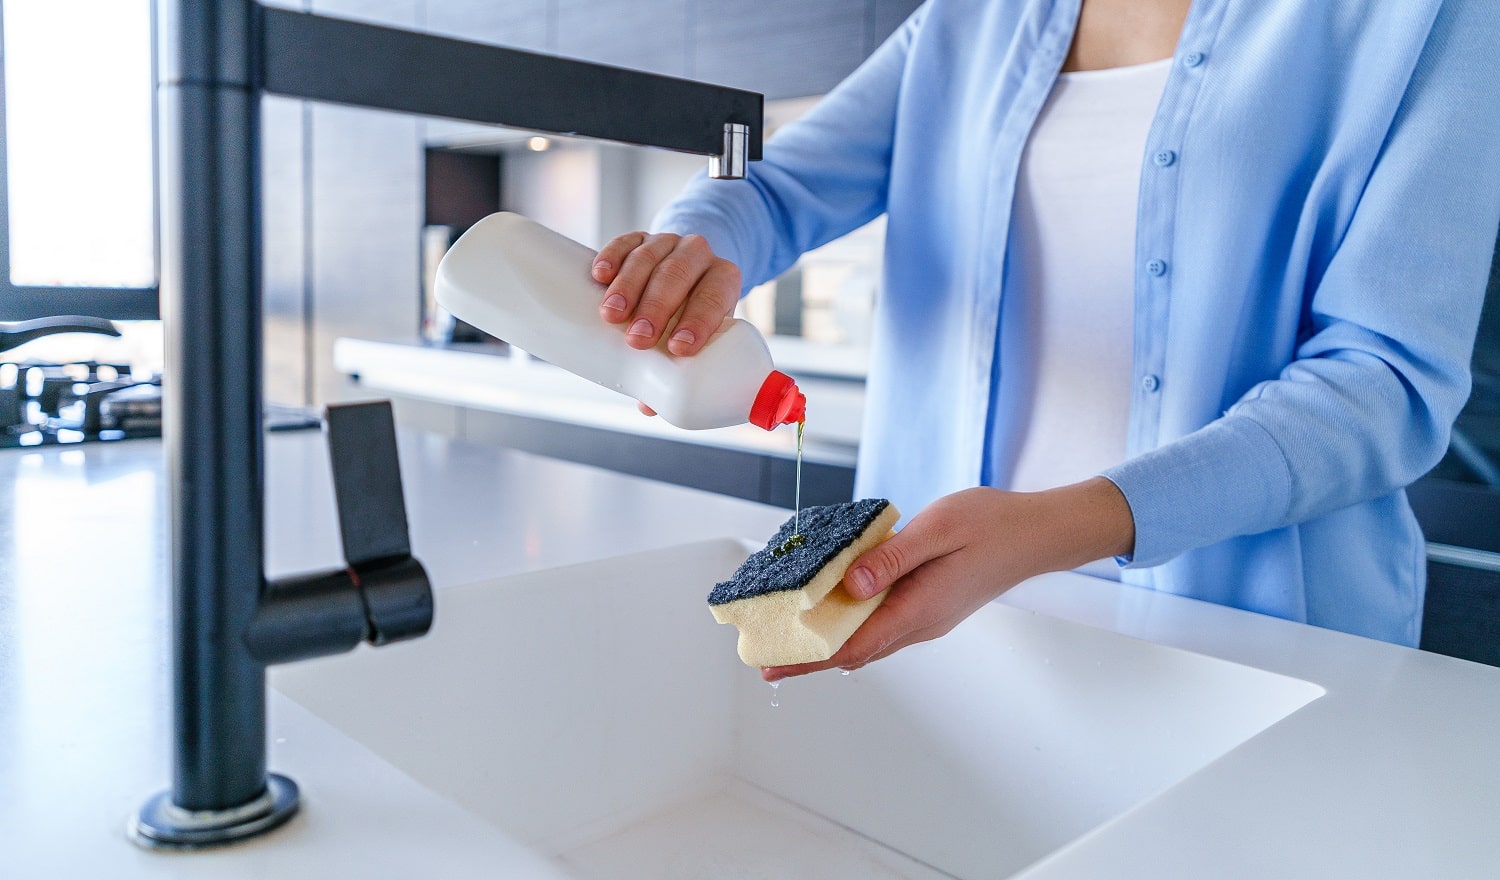
- Bring your bucket or large bowl filled with warm water and add a small amount of mild dish soap to create a cleaning solution.
- Take your brush or old toothbrush and dip it into the cleaning solution.
- Scrub the inside of the sink trap, paying special attention to any visible clogs or residue. Rotate the brush to dislodge and remove any trapped debris.
- Rinse the sink trap under running water to remove any loosened debris and soap residue. Make sure all parts are thoroughly cleaned.
- Inspect the drain pipe where the sink trap was connected. Use the brush or toothbrush to clean any buildup or residue from the pipe as well.
- Once the sink trap and drain pipe are cleaned, use a clean cloth or towel to wipe them dry.
Ensure that all components are free from any debris or blockages before moving on to the next step. Cleaning the sink trap is crucial in ensuring proper water flow and preventing future clogs.
Read more: What Is The P-Trap Under The Sink
Step 4: Reinstall the Sink Trap
Now that you have cleaned the sink trap, it’s time to reinstall it back into place. Follow these steps to ensure proper reinstallation:
- Line up the sink trap with the drain pipe, making sure that all the pieces fit together correctly.
- Using your hands, tighten the nuts onto the drain pipe to secure the sink trap. Start by hand-tightening and then use an adjustable wrench or pliers to give it a final snug fit.
- Make sure the nuts are securely tightened, but be careful not to overtighten as it may cause damage or leaks.
- Double-check that all connections are properly aligned and tightened, and there are no gaps or loose fittings.
Once the sink trap is successfully reinstalled, you can move on to the final step: testing for proper water flow.
It is important to note that if you encounter any difficulty during the reinstallation process or notice any leaks, it is recommended to seek the assistance of a professional plumber.
Step 5: Test for Proper Water Flow
After reinstalling the sink trap, it’s crucial to test for proper water flow to ensure that everything is functioning correctly. Follow these steps to test your sink trap:
- Ensure that all under-sink valves are turned on to allow water flow.
- Slowly turn on the faucet and let the water run for a few minutes.
- Observe the water flow and check for any signs of slow draining or backups.
- If the water flows smoothly down the drain without any issues, congratulations! Your sink trap is clean and working properly.
- If you notice any problems like slow drainage or backups, there may still be a clog in your plumbing system. In this case, you may need to repeat the cleaning process or call a professional plumber for further assistance.
Remember, regular maintenance and cleaning of your sink trap can help prevent clogs and keep your sink operating smoothly.
Now that you have completed all the steps, take a moment to clean up your work area, disposing of any debris properly. Wipe down the sink and surrounding area to leave it clean and tidy.
By following these steps, you have successfully cleaned and restored the functionality of your sink trap. Regular cleaning and maintenance will help keep your sink trap free from debris and ensure smooth drainage in the future.
Conclusion
Cleaning the sink trap is a simple yet important task to maintain the proper function and flow of water in your kitchen or bathroom sink. By following the steps outlined in this article, you can easily and effectively clean your sink trap without the need for professional assistance.
Remember, a clogged sink trap can lead to slow draining, backups, and unpleasant odors. Regular cleaning of the sink trap helps prevent these issues, keeping your sink clean and hygienic.
Throughout the process, gathering the necessary tools and materials, removing the sink trap, cleaning it thoroughly, and reinstalling it correctly are crucial steps. Testing for proper water flow ensures that your sink trap is working efficiently.
If you ever encounter difficulties during the cleaning process or notice persistent drainage problems, it is always best to consult a professional plumber to avoid further damage to your plumbing system.
By taking the time to clean your sink trap regularly, you can enjoy a clean and properly functioning sink for all your daily activities. So go ahead, grab your tools, and give your sink trap the attention it deserves!
Frequently Asked Questions about How To Clean Sink Trap
Was this page helpful?
At Storables.com, we guarantee accurate and reliable information. Our content, validated by Expert Board Contributors, is crafted following stringent Editorial Policies. We're committed to providing you with well-researched, expert-backed insights for all your informational needs.

0 thoughts on “How To Clean Sink Trap”