Home>Storage Ideas>Bathroom Storage>How To Clean Hairbrushes To Remove Lint And Buildup
Bathroom Storage
How To Clean Hairbrushes To Remove Lint And Buildup
Modified: August 27, 2024
Learn the best techniques for cleaning hairbrushes to eliminate buildup and lint. Discover effective tips for maintaining bathroom storage.
(Many of the links in this article redirect to a specific reviewed product. Your purchase of these products through affiliate links helps to generate commission for Storables.com, at no extra cost. Learn more)
Introduction
Welcome to our comprehensive guide on how to clean hairbrushes to remove lint and buildup. Hairbrushes are essential tools for maintaining healthy and beautiful hair. However, over time, they can accumulate a significant amount of hair, product residue, and lint, leading to ineffective brushing and not-so-pleasant looking brushes.
Cleaning your hairbrush regularly is crucial to ensure its optimal performance and prolong its lifespan. Not only will it help you achieve smoother and more evenly distributed hair styling, but it will also prevent the transfer of dirt and oils back onto your freshly washed hair.
In this article, we will explore the benefits of cleaning hairbrushes and discuss the common types of buildup and lint that can accumulate on them. We will also provide you with a step-by-step guide on how to properly clean your hairbrushes, as well as alternative methods you can try.
So, let’s dive in and discover how to keep your hairbrushes clean and free from unwanted lint and buildup!
Key Takeaways:
- Regularly cleaning your hairbrush is essential for promoting scalp health, preventing product buildup, reducing hair breakage, and maintaining good overall hygiene, leading to healthier and more beautiful hair.
- Alternative cleaning methods, such as using baking soda, vinegar, or dish soap, offer effective options for keeping your hairbrush free from lint and residue, ensuring optimal performance and cleanliness.
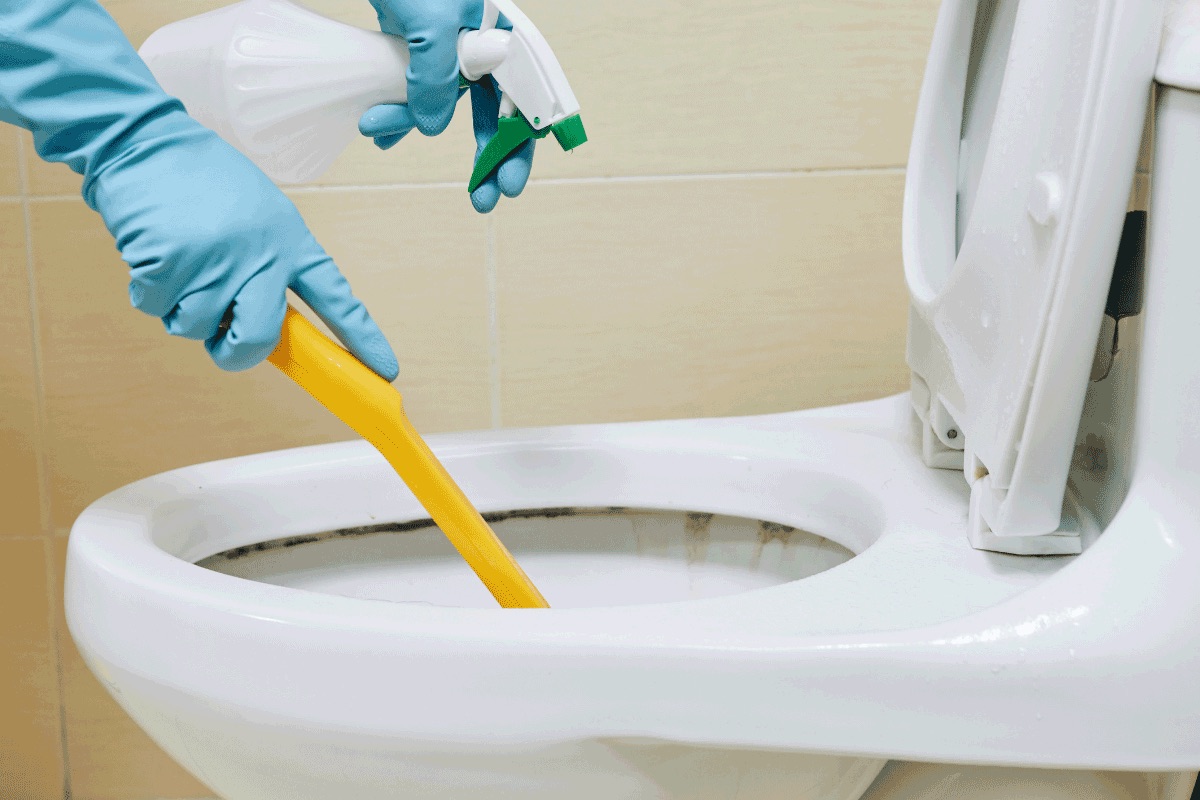
Read more: How To Remove Buildup In Toilet Bowl
Benefits of Cleaning Hairbrushes
Regularly cleaning your hairbrushes offers numerous benefits that go beyond just maintaining their appearance. Here are some key reasons why you should incorporate hairbrush cleaning into your grooming routine:
- Promotes Scalp Health: When you use a dirty hairbrush, you’re essentially brushing dirt, oils, and old styling products back onto your scalp. Cleaning your hairbrush removes these impurities, ensuring a cleaner and healthier environment for your scalp.
- Prevents Product Buildup: Over time, hair products like hairspray, mousse, and leave-in conditioners can accumulate on the bristles of your hairbrush. This buildup can make your hair appear dull and lack volume. Regular cleaning helps remove these residues, allowing your styling products to work more effectively.
- Reduces Hair Breakage: Lint, hair, and residue on your brush can cause tugging and pulling as you brush, leading to hair breakage. By cleaning your hairbrush, you ensure that the bristles are free from obstructions, reducing the risk of damaging your hair strands.
- Enhances Styling Results: A clean hairbrush with free-moving bristles enables smoother brushing and better distribution of natural oils from your scalp, resulting in more desirable styling outcomes. This can help you achieve sleeker, shinier, and more manageable hair.
- Extends Hairbrush Lifespan: Hairbrushes that are not cleaned regularly tend to wear out faster. The buildup on the bristles can make them stiff and less effective over time. By keeping your hairbrush clean, you can prolong its lifespan and ensure that it continues to work optimally.
- Maintains Hygiene: Hairbrushes can harbor bacteria, fungi, and dandruff flakes due to their contact with the scalp and hair. Cleaning your hairbrush helps eliminate these microorganisms, reducing the risk of scalp infections and maintaining good overall hygiene.
By understanding the benefits of cleaning hairbrushes, you can see why it’s important to incorporate this simple yet effective task into your hair care routine. With regular cleaning, you’ll not only maintain the performance of your hairbrush but also promote healthier and more beautiful hair.
Common Buildup and Lint Found on Hairbrushes
Before we dive into the cleaning process, it’s important to understand the common types of buildup and lint that can accumulate on hairbrushes. Identifying these substances will help you determine the best cleaning method to effectively remove them. Here are some of the most common culprits:
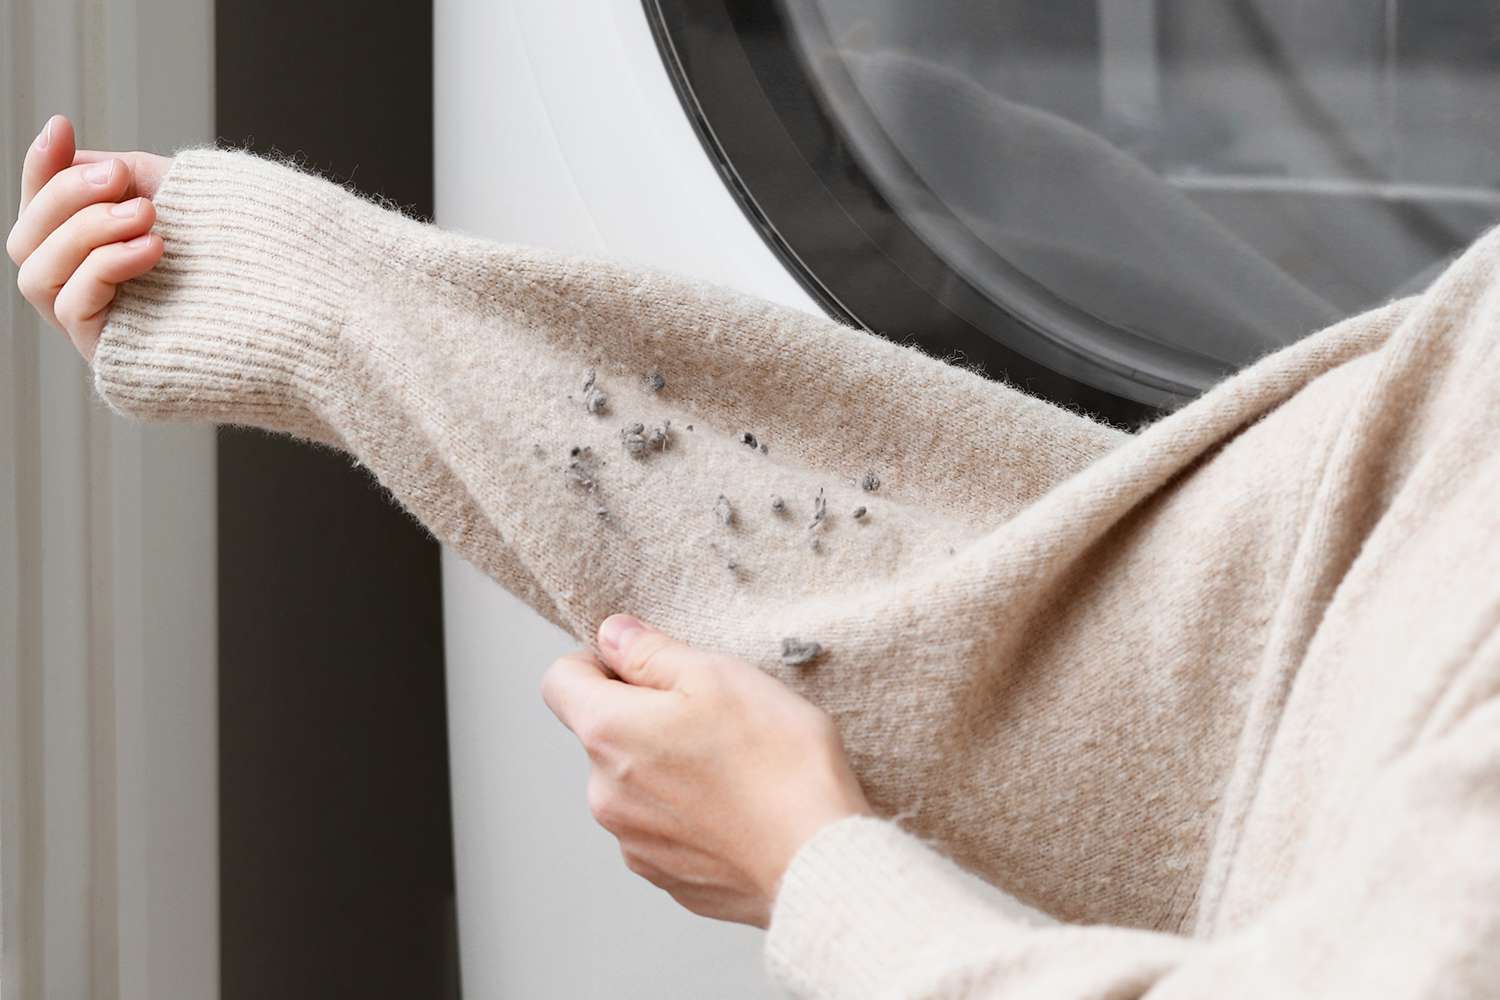
- Hair: Hair is the most obvious type of buildup found on hairbrushes. As you brush your hair, loose strands get tangled in the bristles, forming a thick layer over time. The more hair you have, the more frequently you’ll need to remove it from your brush.
- Product Residue: Styling products like hairspray, gel, and mousse can leave behind residue on the bristles. This sticky buildup not only affects the performance of your hairbrush but can also make your hair look limp and greasy.
- Lint and Dust: Lint from towels, clothing, or other fabric surfaces can easily get trapped in the bristles of your hairbrush. Dust particles from the environment can also accumulate over time. These unwanted materials can make your brushes look dirty and affect their usability.
- Natural Oils and Sebum: Your scalp produces natural oils that are essential for healthy hair. However, these oils can transfer onto your hairbrush, mixing with other buildup and creating a greasy layer. Over time, this can lead to bristles that are difficult to clean and less effective in distributing natural oils through your hair.
- Dead Skin Cells: Just like the rest of your body, your scalp sheds dead skin cells regularly. These cells can stick to the bristles of your hairbrush, combining with other buildup and creating an unhygienic environment.
It’s important to note that the specific buildup and lint on your hairbrush may vary depending on factors such as your hair type, the products you use, and your environment. Understanding the common culprits will help you tailor your cleaning method accordingly.
Now that we’ve covered the common types of buildup and lint found on hairbrushes, let’s move on to the step-by-step process of cleaning your brushes effectively and efficiently.
Step 1: Removing Hair from the Brush
The first step in cleaning your hairbrush is to remove the accumulated hair from the bristles. Over time, hair strands can get tangled and form a thick layer, reducing the effectiveness of your brush. Here’s how you can easily remove hair from your brush:
- Start with a clean, dry hairbrush: It’s best to remove hair from a dry brush. So, if your brush has any product residue or oils, wipe it off with a clean, dry cloth or tissue before proceeding.
- Hold the brush firmly: Grip the handle of the brush firmly to provide stability while removing the hair. This will prevent the brush from slipping out of your hand or causing bristles to break.
- Use your fingers or a comb: Slide your fingers or a wide-toothed comb between the bristles from one end to the other. Gently lift the hair upward and pull it out. If the hair is stubborn, you can use a pair of cleaning tweezers to grasp and remove it.
- Repeat the process: Continue sliding your fingers or comb through the bristles, gradually moving across the entire brush surface. Take your time and be thorough to ensure you remove all the hair from the brush.
- Dispose of the hair: Once you’ve removed all the hair from your brush, dispose of it in a trash bin. Avoid letting the hair fly around the room, as it can be messy and create an extra cleaning task.
By regularly removing hair from your brush, you’ll not only maintain its performance but also prevent excessive hair buildup that can become difficult to remove later on. Now that you’ve successfully cleared your brush of hair, let’s move on to the next step: preparing a cleaning solution.
Step 2: Preparing a Cleaning Solution
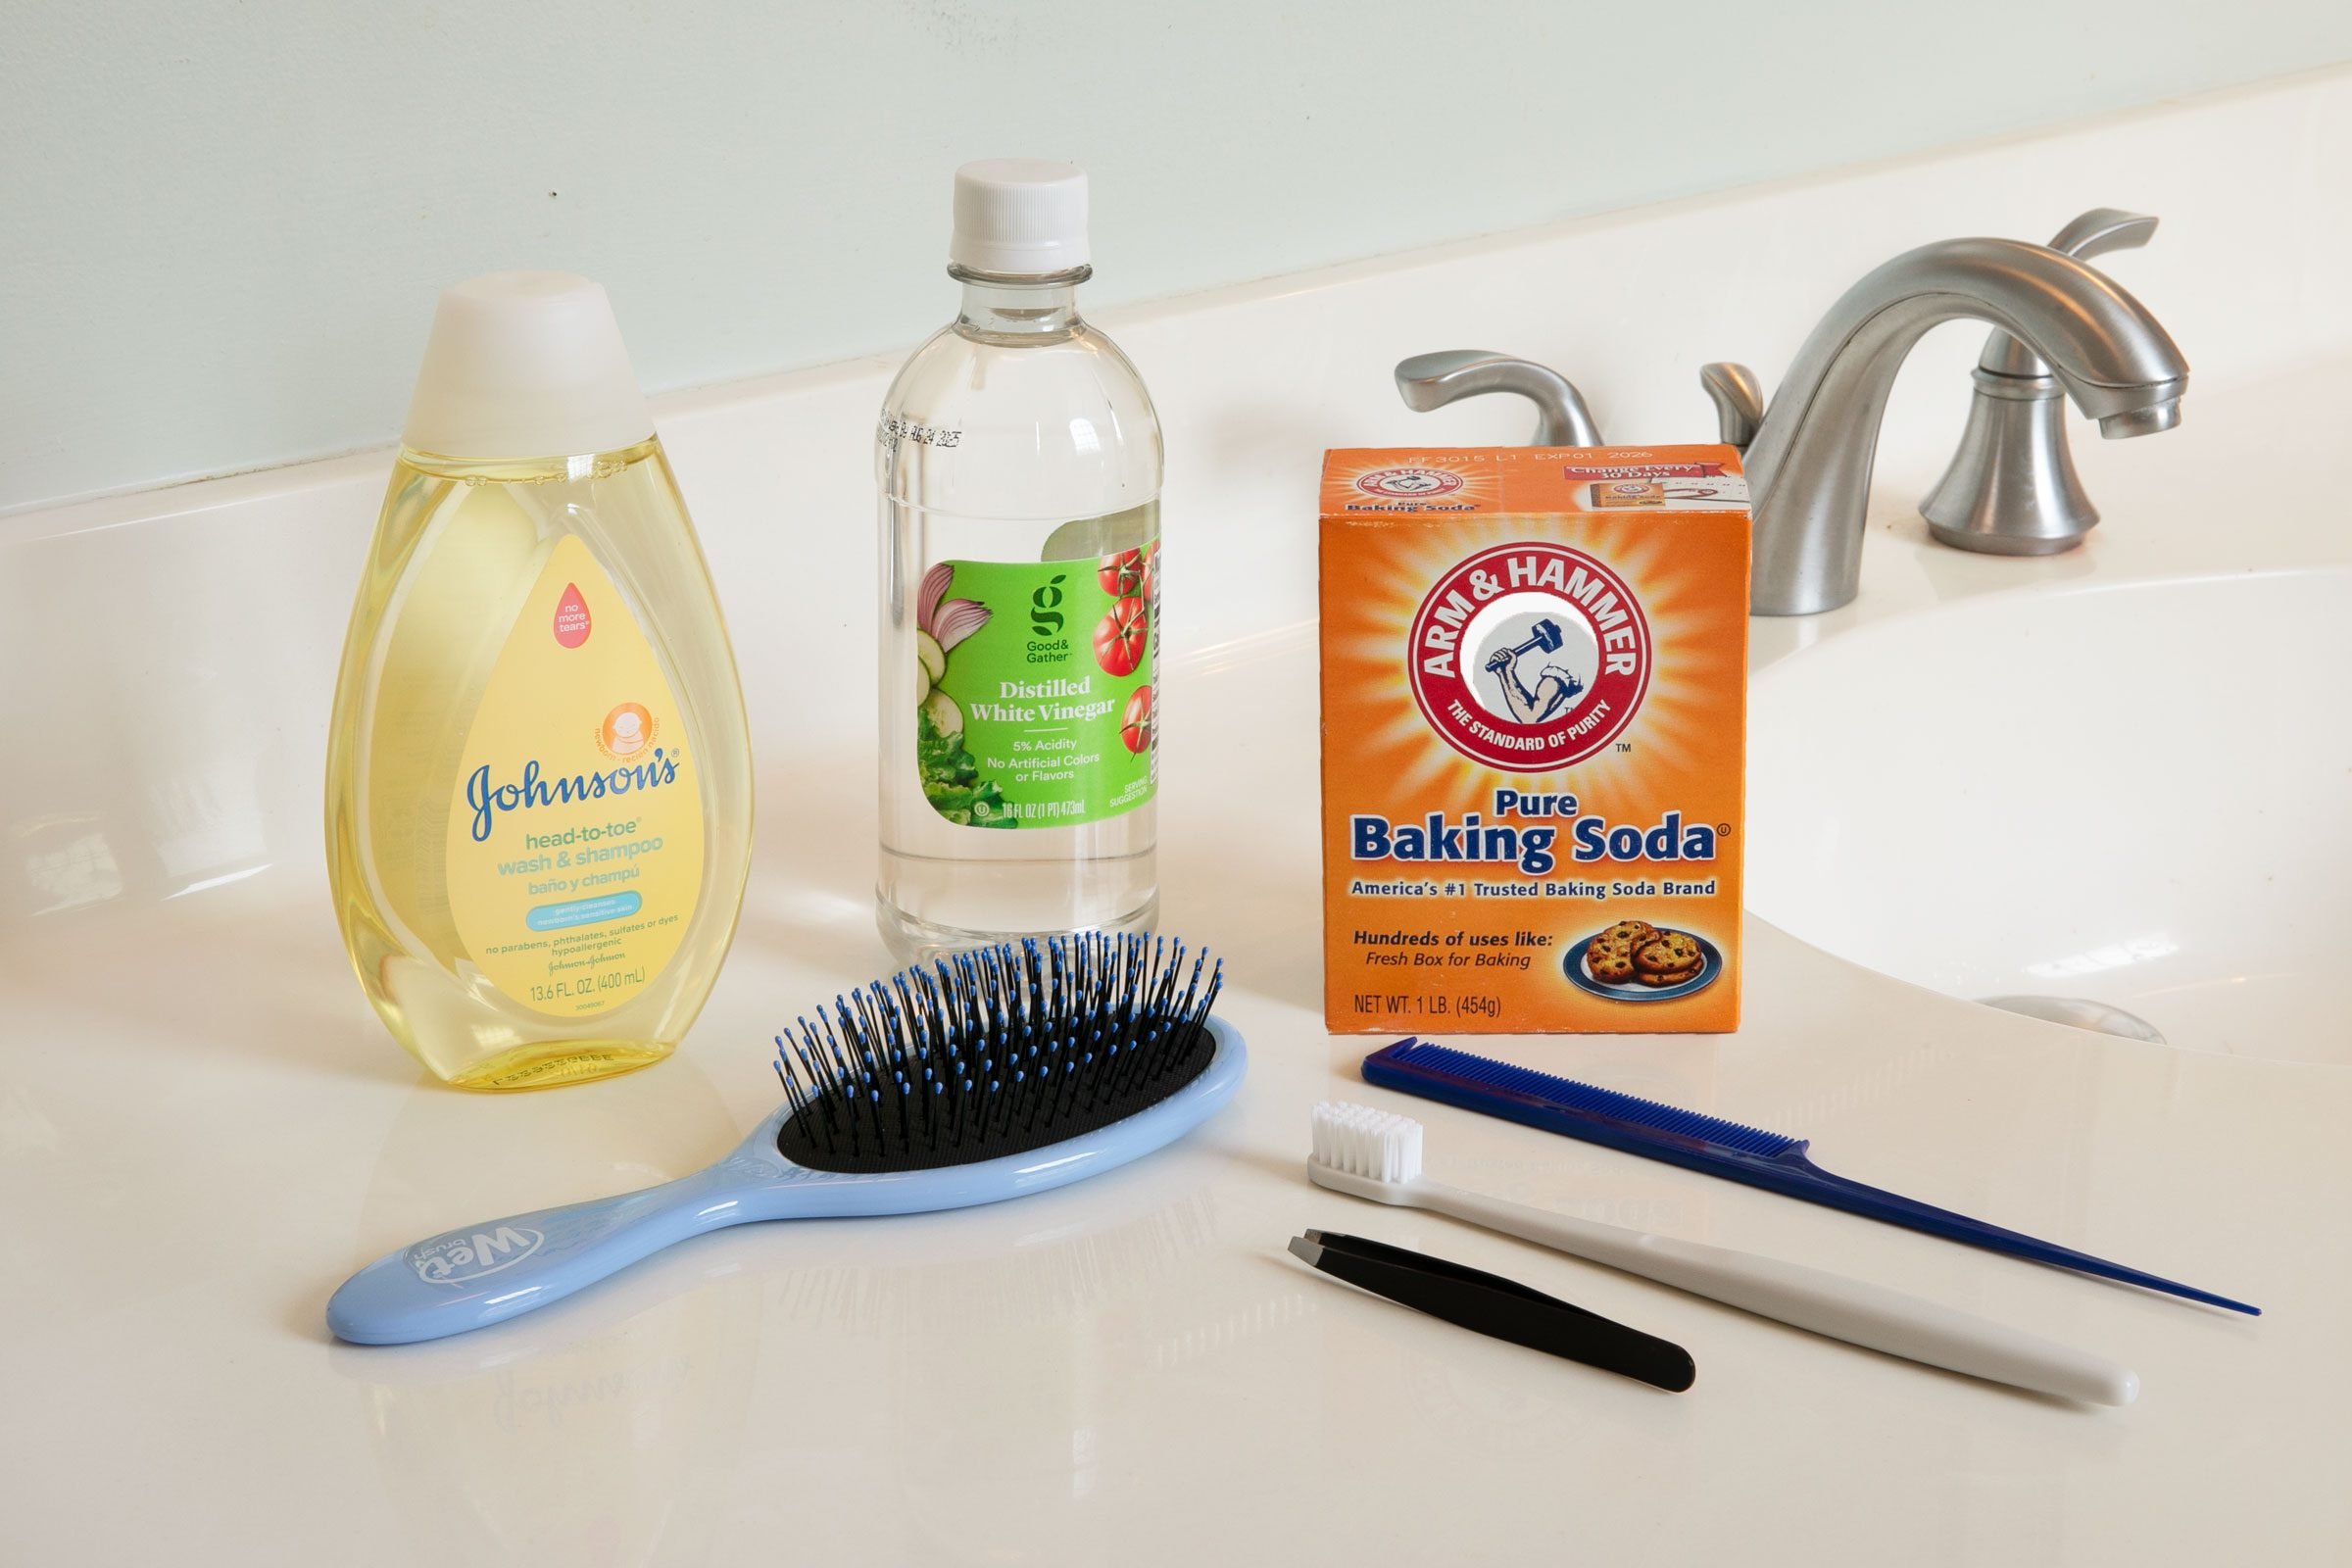
Once you have removed the hair from your hairbrush, it’s time to prepare a cleaning solution to tackle the remaining buildup, product residue, and lint. You can use a simple and effective DIY solution using ingredients commonly found at home. Here’s how to prepare the cleaning solution:
- Gather your materials: To prepare the cleaning solution, you will need warm water, a small bowl or basin, and a mild liquid soap or shampoo. Avoid using harsh cleaners or abrasive substances, as they may damage the bristles of your hairbrush.
- Fill the bowl or basin with warm water: Fill a bowl or basin with warm water, ensuring it’s enough to submerge the bristles of your hairbrush. The warm water will help loosen and dissolve the buildup on the brush.
- Add a small amount of mild liquid soap or shampoo: Pour a small amount of mild liquid soap or shampoo into the warm water. Swirl the water gently to create a soapy solution.
- Mix the solution well: Use your fingers to mix the solution, ensuring that the soap or shampoo is well incorporated into the water. This will help create a cleaning solution that effectively breaks down the residue on your hairbrush.
- Optional: Add a few drops of essential oil: If you prefer a pleasant scent or want to add an extra touch of freshness to your cleaning solution, you can add a few drops of your favorite essential oil. Mix it well with the solution.
With your cleaning solution ready, you’re now prepared to move on to the next step: soaking the hairbrush to remove the remaining buildup from the bristles.
Use a comb to remove hair from the brush, then soak the brush in a mixture of warm water and shampoo. Use an old toothbrush to scrub away any remaining buildup, rinse, and let it air dry.
Step 3: Soaking the Brush
Now that you have prepared the cleaning solution, it’s time to soak your hairbrush to effectively remove the remaining buildup, product residue, and lint. Soaking the brush will help loosen the debris and make it easier to clean. Follow these steps to properly soak your hairbrush:
- Submerge the brush: Gently place the hairbrush in the bowl or basin with the cleaning solution, ensuring that the bristles are fully submerged. Allow the brush to soak for at least 15-30 minutes. The warm water and soap or shampoo will help break down the buildup on the bristles.
- Swirl the brush: After the brush has soaked for a while, swirl it around gently in the solution. This will help further loosen any stubborn residue and ensure that all the bristles are thoroughly cleaned.
- Pay attention to the base: While swirling the brush, make sure to pay attention to the base and handle as well. These areas can also accumulate product residue and dirt. Use your fingers or a soft toothbrush to gently scrub these areas to remove any buildup.
- Leave it to soak longer if needed: If you notice that there is still significant buildup on your hairbrush after the initial soak, you can leave it in the solution for a longer period. This will help further break down stubborn residue and make the cleaning process easier.
- Do not soak wooden brushes: If your hairbrush has a wooden handle or bristles, avoid soaking it in water for an extended period. Instead, moisten a cloth or cotton pad with the cleaning solution and gently wipe the bristles and handle to remove any residue. Make sure not to saturate the wood, as it can cause damage.
Soaking your hairbrush is an essential step in the cleaning process as it helps to loosen the remaining buildup and debris, making it easier to scrub off. Once you have soaked the brush appropriately, let’s move on to the next step: scrubbing the brush.
Step 4: Scrubbing the Brush
After soaking your hairbrush to remove the buildup and debris, it’s time to give it a thorough scrub to ensure all the residue is effectively cleaned. Follow these steps to scrub your hairbrush effectively:
- Remove the brush from the cleaning solution: Carefully take the hairbrush out of the cleaning solution, ensuring not to drip any water onto the surrounding area. Shake off any excess liquid.
- Use a toothbrush or cleaning brush: To scrub the bristles and remove the remaining buildup, use a toothbrush with soft bristles or a dedicated cleaning brush. Gently scrub the bristles in a back and forth motion, focusing on each individual bristle and the spaces in between.
- Pay attention to the base and handle: Don’t forget to scrub the base and handle of the hairbrush as well. These areas can accumulate product residue and dirt. Use the toothbrush or a cloth soaked in the cleaning solution to gently scrub these areas and remove any buildup.
- Repeat if necessary: If you still notice stubborn residue or buildup, repeat the scrubbing process until your hairbrush appears clean. Take your time and be thorough, ensuring all areas of the brush are covered.
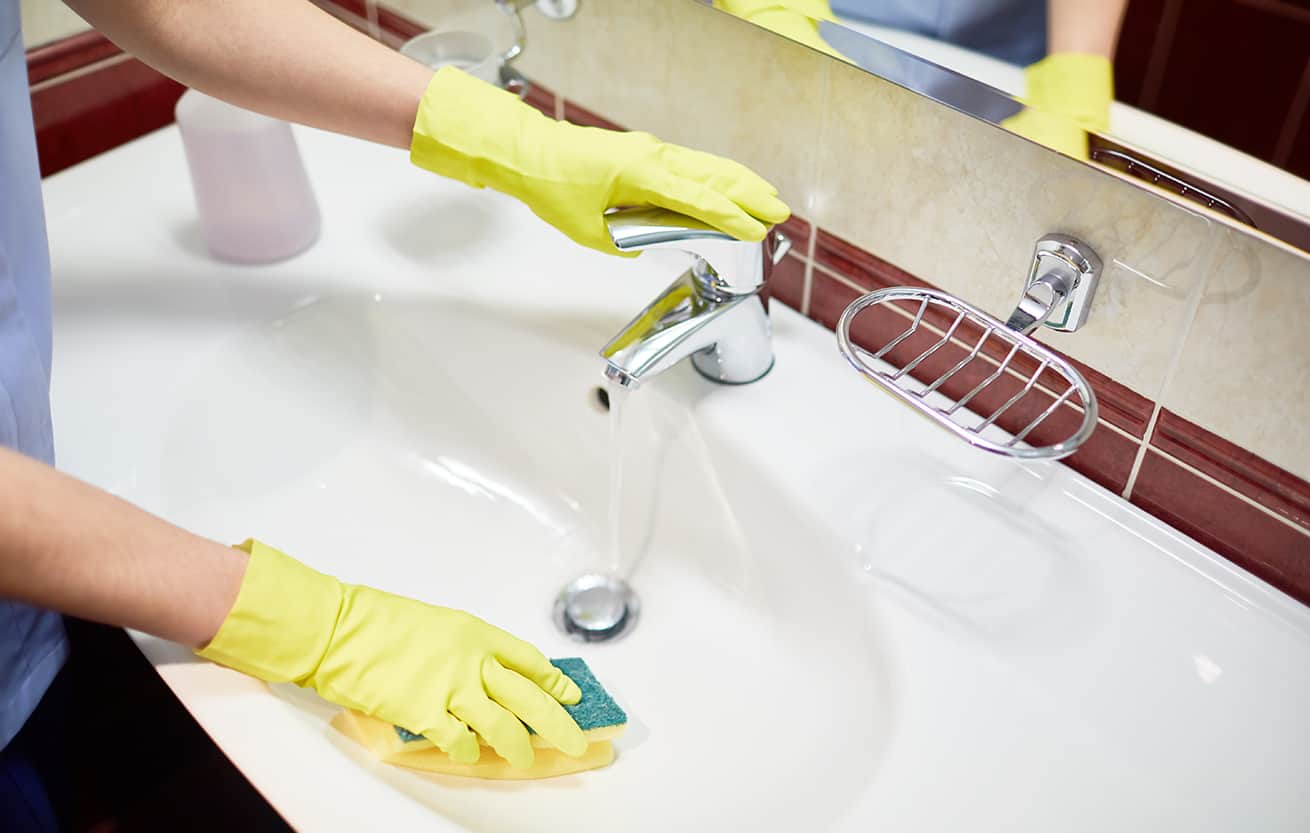
- Rinse the brush: Once you are satisfied with the cleaning, rinse the hairbrush under warm running water to remove the cleaning solution and any loosened debris. Make sure to rinse until the water runs clear and free from any soap or shampoo residue.
By scrubbing your hairbrush, you ensure that all the remaining residue and buildup are thoroughly removed from the bristles. Once you have completed this step, it’s time to move on to the final step: rinsing and drying the brush.
Step 5: Rinse and Dry
After scrubbing your hairbrush to remove all the residue and buildup, it’s important to properly rinse and dry it to ensure its cleanliness and longevity. Follow these steps to effectively rinse and dry your hairbrush:
- Rinse under warm water: Hold the hairbrush under warm running water, using your fingers or a comb to gently separate the bristles and ensure all the remaining cleaning solution is rinsed off. Make sure that the water runs clear and free from any soap or shampoo residue.
- Remove excess water: After rinsing, gently shake the hairbrush to remove any excess water. Use a clean towel or cloth to pat the bristles and handle dry. Avoid rubbing vigorously, as this can damage the bristles or handle of the brush.
- Allow to air-dry: Once you have removed excess water, place the hairbrush on a clean towel or a drying rack with the bristles facing down. This will allow any remaining water to drain away and ensure proper drying of the brush. Avoid placing the brush on a surface where it can collect dust or other debris.
- Optional: Use a blow dryer: If you’re in a rush and need to dry your hairbrush quickly, you can use a blow dryer on a low or cool setting. Hold the blow dryer several inches away from the brush and gently blow-dry it, ensuring the bristles don’t get too hot or melt.
- Gently reshape the bristles: Once the hairbrush is completely dry, use your fingers or a comb to gently reshape the bristles, ensuring they are straight and aligned. This will help maintain the brush’s overall performance and appearance.
By properly rinsing and drying your hairbrush, you ensure that it is thoroughly cleaned and ready for use. Now that you have completed all the steps, your hairbrush should be free from lint, buildup, and residue, ready to provide you with clean and effective brushing.
While these are the general steps for cleaning a hairbrush, keep in mind that certain brush types or materials may require specific care instructions. Always refer to the manufacturer’s guidelines for cleaning and maintenance, especially if you have a specialized brush made of boar bristles or other delicate materials.
Congratulations! You have successfully completed the process of cleaning your hairbrush and ensuring its optimal performance. By incorporating regular cleaning into your hair care routine, you’ll not only maintain the cleanliness of your hairbrush but also promote healthier and more beautiful hair.
Alternative Methods for Cleaning Hairbrushes
While the step-by-step guide we’ve provided is an effective and thorough method for cleaning hairbrushes, there are alternative methods you can try if you prefer different approaches or materials. Here are a few alternative methods for cleaning your hairbrush:
- Using a toothpick or comb: If you don’t have a cleaning brush on hand, you can use a toothpick or a fine-toothed comb to remove hair from the bristles. Gently slide the toothpick or comb through the bristles, starting at the base and working your way up. This method is especially useful for removing stubborn hair that may be tightly tangled.
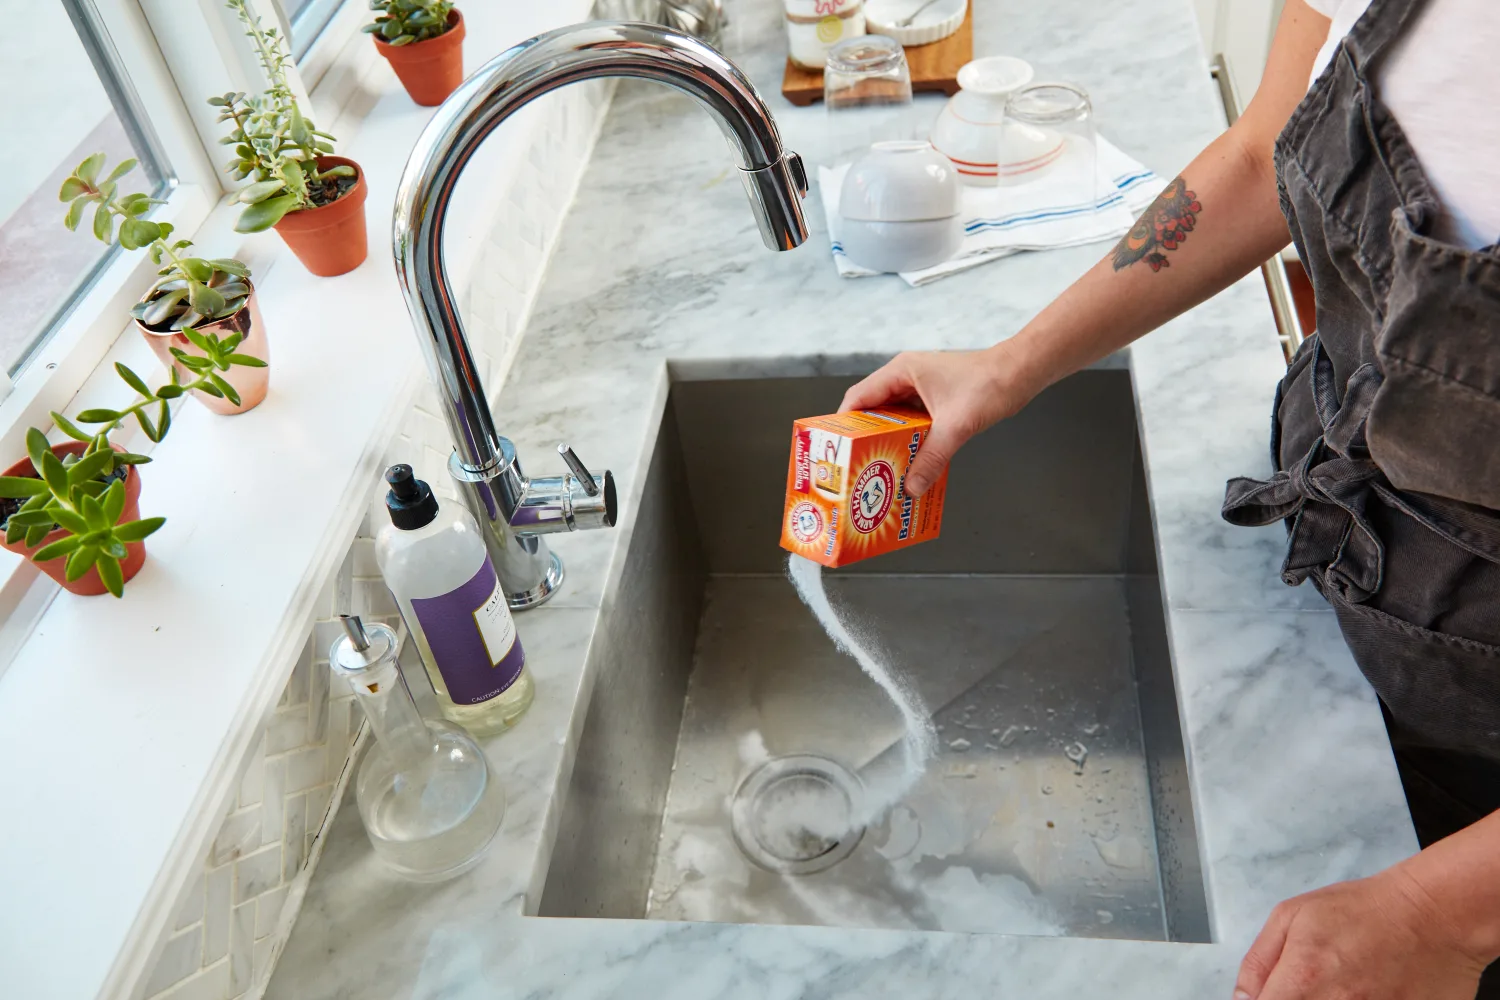
- Using baking soda: Baking soda can be a natural and effective cleaner for removing residue and buildup from hairbrushes. Create a paste using baking soda and water, and apply it to the bristles. Gently scrub the brush using a toothbrush or cleaning brush, then rinse and dry as usual.
- Using vinegar: Vinegar is known for its cleaning properties. Fill a bowl or basin with equal parts white vinegar and warm water, and soak the hairbrush for about 20 minutes. Scrub the bristles with a toothbrush or cleaning brush, then rinse and dry thoroughly. Vinegar helps to remove any stubborn residue and leaves the brush fresh and clean.
- Using dish soap: If you don’t have liquid soap or shampoo on hand, mild dish soap can be a suitable alternative. Mix a small amount of dish soap with warm water and follow the same steps in the cleaning process. Make sure to rinse the brush thoroughly to remove any soap residue.
- Using a dishwasher: Some hairbrushes, such as those with plastic handles, may be dishwasher-safe. Check the manufacturer’s instructions to determine if your brush can be washed in the dishwasher. If so, place it in the utensil compartment or on the top rack, and run a gentle cycle without any harsh chemicals or high heat.
These alternative methods can be useful if you don’t have access to certain cleaning materials or prefer to use natural or readily available ingredients. Whichever method you choose, it’s important to ensure that your hairbrush is thoroughly cleaned and properly dried before using it again.
Remember, regular cleaning of your hairbrush is essential for maintaining its performance and preventing the buildup of lint, residue, and bacteria. Find a cleaning method that works best for you and incorporate it into your hair care routine for optimal results.
Now that you have explored the alternative methods, you can choose the one that suits your preferences and cleaning supplies. Properly cleaning your hairbrush will ensure that it stays in excellent condition and continues to provide you with smooth and tangle-free hair.
Conclusion
Cleaning your hairbrush regularly and effectively is crucial for maintaining the health and appearance of your hair. By following the step-by-step guide and alternative methods provided in this comprehensive article, you can ensure that your hairbrush remains free from lint, buildup, and residue.
Regularly removing hair from the brush is the first step towards a clean brush, followed by preparing a suitable cleaning solution to soak and break down the remaining debris. Scrubbing the brush thoroughly, rinsing it under warm water, and allowing it to air-dry ensures that it is thoroughly cleaned and ready for use.
Throughout the cleaning process, it’s important to pay attention to the base and handle of the hairbrush, as they can accumulate product residue and dirt. Remember to use gentle tools and avoid harsh chemicals that may damage the bristles or handle.
Additionally, we explored alternative methods for cleaning hairbrushes, such as using baking soda, vinegar, or even utilizing the dishwasher for certain brush types. These alternatives can be helpful if you prefer different cleaning approaches or don’t have specific cleaning materials on hand.
By incorporating regular cleaning into your hair care routine, you promote scalp health, prevent product buildup, reduce hair breakage, enhance styling results, extend the lifespan of your hairbrush, and maintain good hygiene overall.
Remember to consult the manufacturer’s guidelines for cleaning and maintenance, especially for specialized brushes made of delicate materials. Adhering to proper cleaning techniques will ensure that your hairbrush remains in excellent condition, providing you with smooth, tangle-free hair every time you use it.
So, go ahead and give your hairbrush the attention it deserves. Clean it regularly, remove the hair, scrub away the residue, rinse it thoroughly, and let it air-dry. Your hair will thank you for it, and you’ll enjoy the benefits of a clean and well-maintained hairbrush.
Frequently Asked Questions about How To Clean Hairbrushes To Remove Lint And Buildup
Was this page helpful?
At Storables.com, we guarantee accurate and reliable information. Our content, validated by Expert Board Contributors, is crafted following stringent Editorial Policies. We're committed to providing you with well-researched, expert-backed insights for all your informational needs.

0 thoughts on “How To Clean Hairbrushes To Remove Lint And Buildup”