Articles
How To Clean Faucet With Vinegar
Modified: February 11, 2024
Learn effective ways to clean your faucet using vinegar and other common household ingredients in this informative article. Get expert tips and tricks for keeping your faucet looking spotless.
(Many of the links in this article redirect to a specific reviewed product. Your purchase of these products through affiliate links helps to generate commission for Storables.com, at no extra cost. Learn more)
Introduction
Keeping your faucets clean and free from grime and mineral deposits not only helps them look sparkling and new but also ensures their proper functionality. While there are various commercial cleaning products available in the market, these often contain harsh chemicals that can be harmful to both you and the environment.
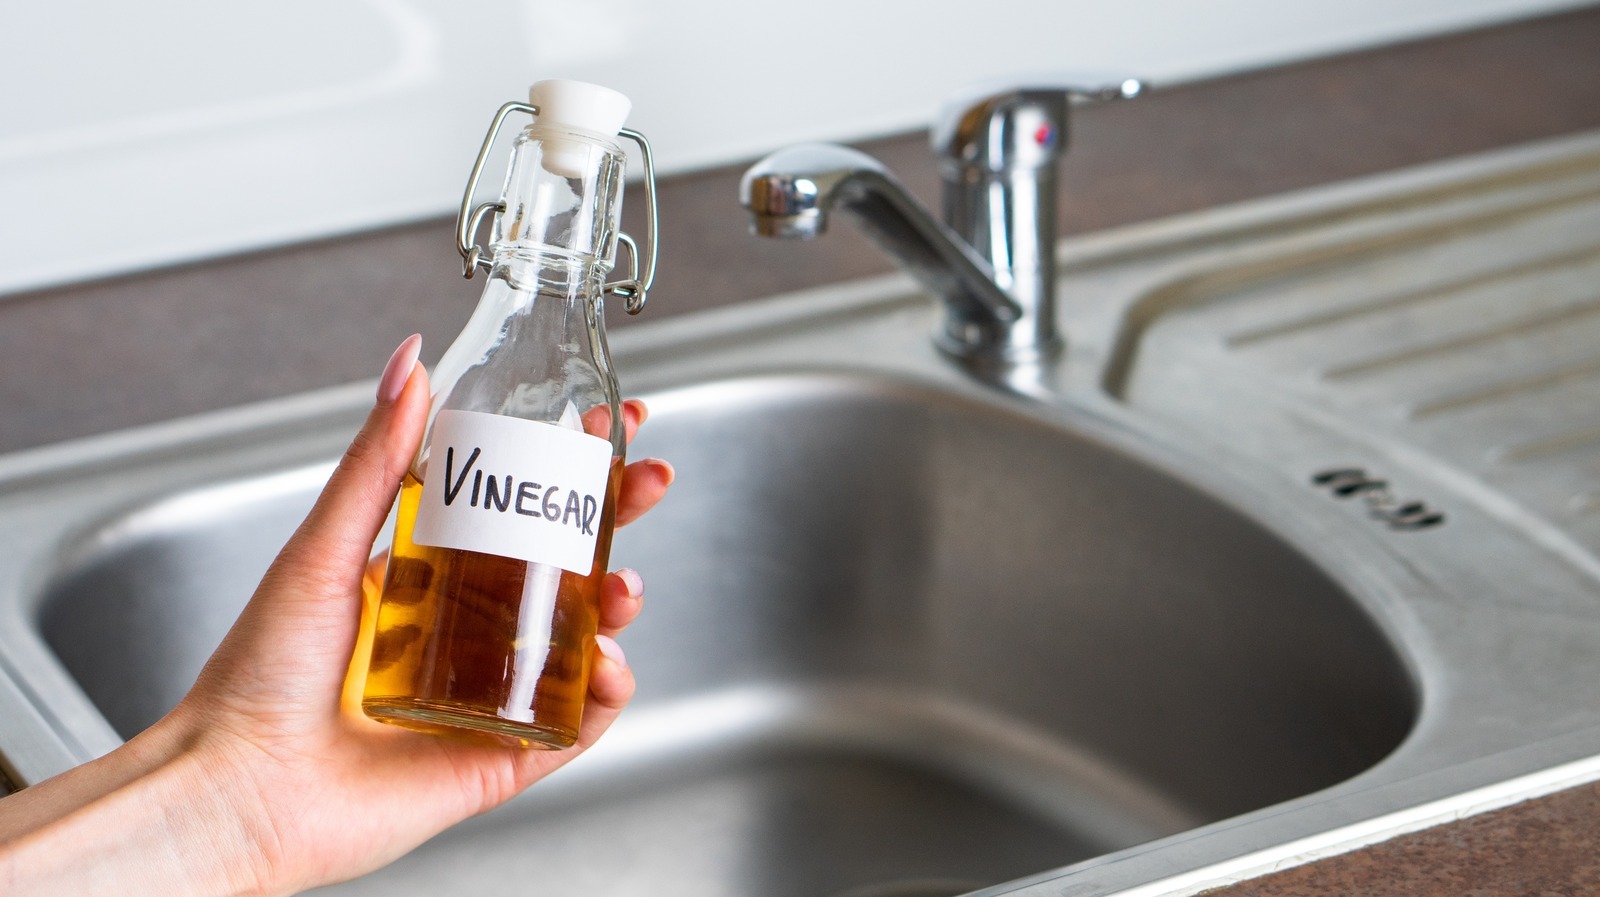
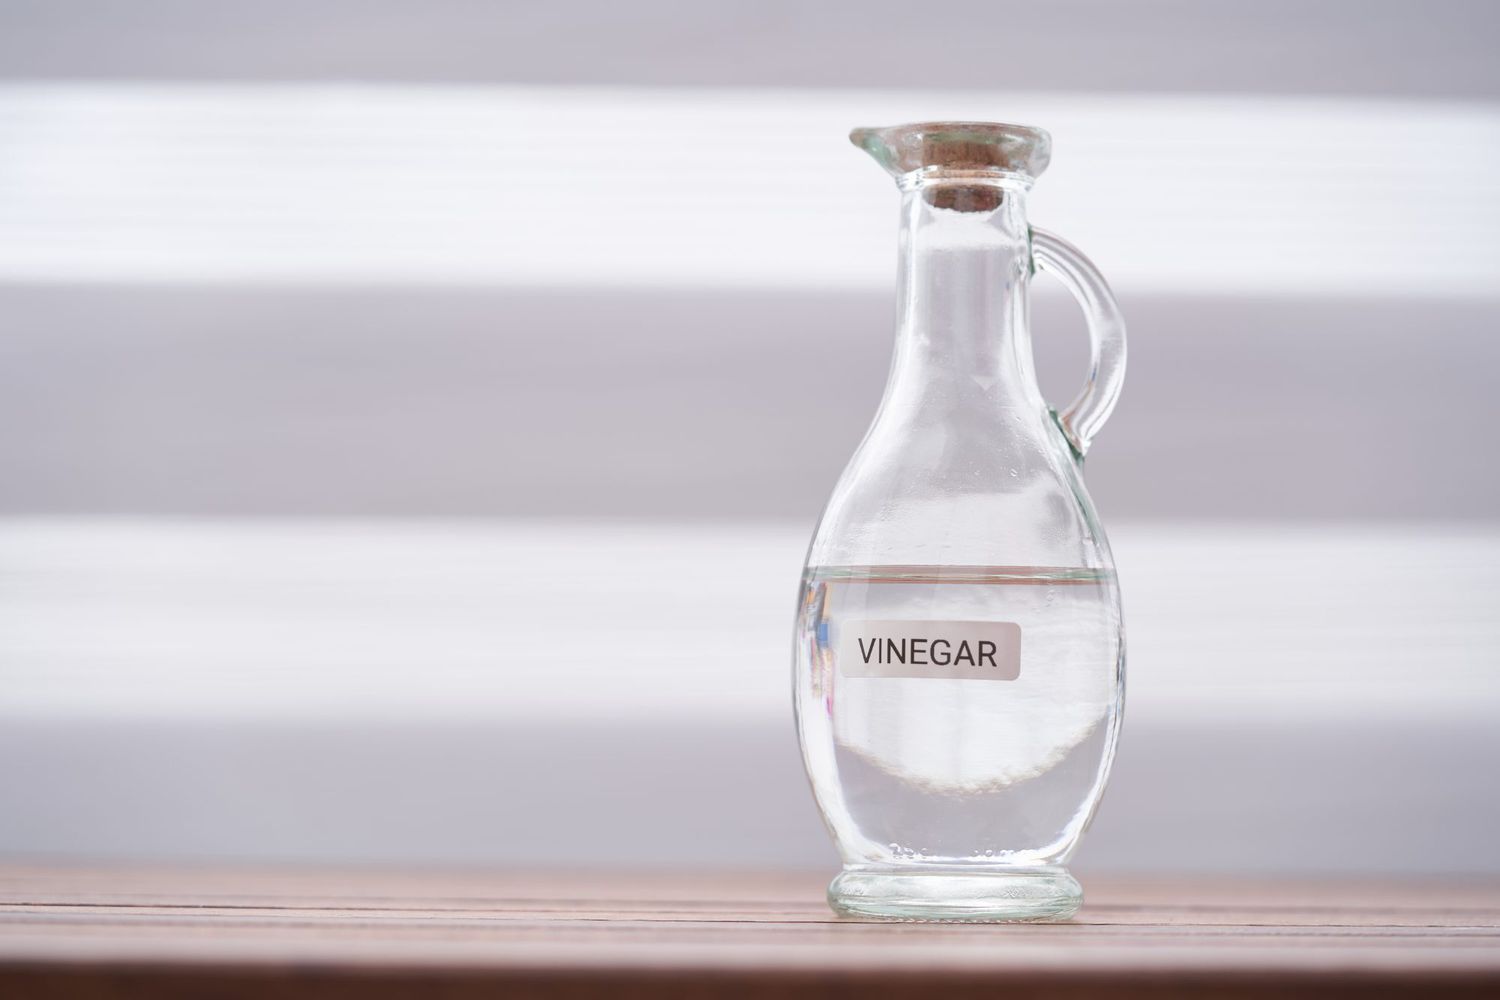
One natural and effective solution for cleaning your faucets is vinegar. Vinegar is a versatile household ingredient that is safe, inexpensive, and easily available. Its acidic properties make it an excellent cleaner, capable of removing stubborn stains, mineral buildup, and even bacteria.
In this article, we will guide you through the process of cleaning your faucet with vinegar, providing step-by-step instructions and additional tips for achieving the best results. You will learn how to make a vinegar solution, apply it to your faucet, scrub away dirt and grime, rinse thoroughly, and finally, dry and polish the faucet for a beautiful, streak-free finish.
So, let’s dive in and discover the wonders of vinegar in faucet cleaning!
Key Takeaways:
- Vinegar is a natural, cost-effective, and environmentally friendly solution for cleaning faucets. Its acidic properties effectively remove mineral deposits, stains, and grime, ensuring sparkling and bacteria-free faucets without the use of harsh chemicals.
- By following a simple step-by-step process, including preparing a vinegar solution, scrubbing, rinsing, and polishing, you can achieve a pristine faucet. Additionally, taking precautions and regular maintenance ensures optimal results and long-term cleanliness.
Read more: How To Clean Faucet Head Without Vinegar
Why Use Vinegar to Clean Faucets
Vinegar has long been recognized as a versatile and effective cleaning agent, and its benefits extend to faucet cleaning as well. Here are several reasons why vinegar is a preferred choice for many when it comes to keeping their faucets clean:
- Natural and Environmentally Friendly: Vinegar is a natural cleaner that is derived from fermented fruits or grains. Unlike many commercial cleaning products that contain harsh chemicals, vinegar is gentle on both your health and the environment.
- Effective Against Mineral Deposits: One of the most common problems with faucets is the buildup of mineral deposits, known as limescale. These deposits, caused by hard water, can make faucets appear dull and affect their performance. Vinegar’s acidic nature helps break down and dissolve these mineral deposits, restoring the shine and functionality of your faucet.
- Removes Stains and Grime: Vinegar’s acidity also makes it effective in removing stains, dirt, and grime that can accumulate on faucets over time. Whether it’s water spots, soap scum, or rust stains, vinegar can help loosen and dissolve these unsightly marks, leaving your faucets clean and bright.
- Antibacterial Properties: Vinegar has natural antibacterial properties, making it an ideal choice for cleaning faucets that come into contact with germs and bacteria. By using vinegar, you can ensure that your faucets are not only visually clean but also free from harmful microbes.
- Cost-Effective Option: Vinegar is an affordable cleaning solution that is available in most households. By using vinegar, you can save money on expensive commercial cleaning products without compromising on the effectiveness of your faucet cleaning.
These reasons make vinegar a popular and practical choice for cleaning faucets. By harnessing the power of this natural ingredient, you can maintain the cleanliness, beauty, and functionality of your faucets in an eco-friendly and cost-effective way.
Materials Needed
Before you begin cleaning your faucet with vinegar, gather the following materials:
- Vinegar: Choose white vinegar or apple cider vinegar for cleaning purposes. These types of vinegar have a higher acidity level, making them more effective in removing stains and mineral deposits.
- Warm Water: You will need warm water to dilute the vinegar and create a cleaning solution. Make sure the water is comfortably warm, but not too hot.
- Microfiber Cloth or Soft Sponge: To apply the vinegar solution and clean the faucet surfaces, it’s best to use a microfiber cloth or a soft sponge. These materials are non-abrasive and won’t scratch or damage the faucet’s finish.
- Cotton Swabs: For those hard-to-reach areas or tight spaces around the faucet, cotton swabs can be useful for removing grime and dirt. They allow for precise cleaning and ensure no spot is left untouched.
- Toothbrush: A toothbrush with soft bristles can be handy for scrubbing away stubborn stains and debris. It’s best to use an old toothbrush dedicated solely to cleaning purposes.
- Bucket or Basin: Having a bucket or basin nearby will allow you to easily mix the vinegar solution and collect water for rinsing the faucet.
- Old Towels: Keep a few old towels handy to dry the faucet after cleaning. Avoid using towels with rough textures that could potentially scratch the faucet’s surface.
- Optional: Lemon or Essential Oil: If you want to add a fresh scent to your cleaning process, you can include a few drops of lemon juice or essential oil, such as lavender or tea tree, in your vinegar solution.
By having these materials prepared, you’ll be fully equipped and ready to tackle the task of cleaning your faucet with vinegar.
Step 1: Prepare the Vinegar Solution
The first step in cleaning your faucet with vinegar is to create a vinegar solution. This mixture will effectively break down stains, mineral deposits, and grime on the faucet surfaces.
- Start by filling a bucket or basin with warm water. The amount will depend on the size of your faucet and how thorough you want the cleaning to be.
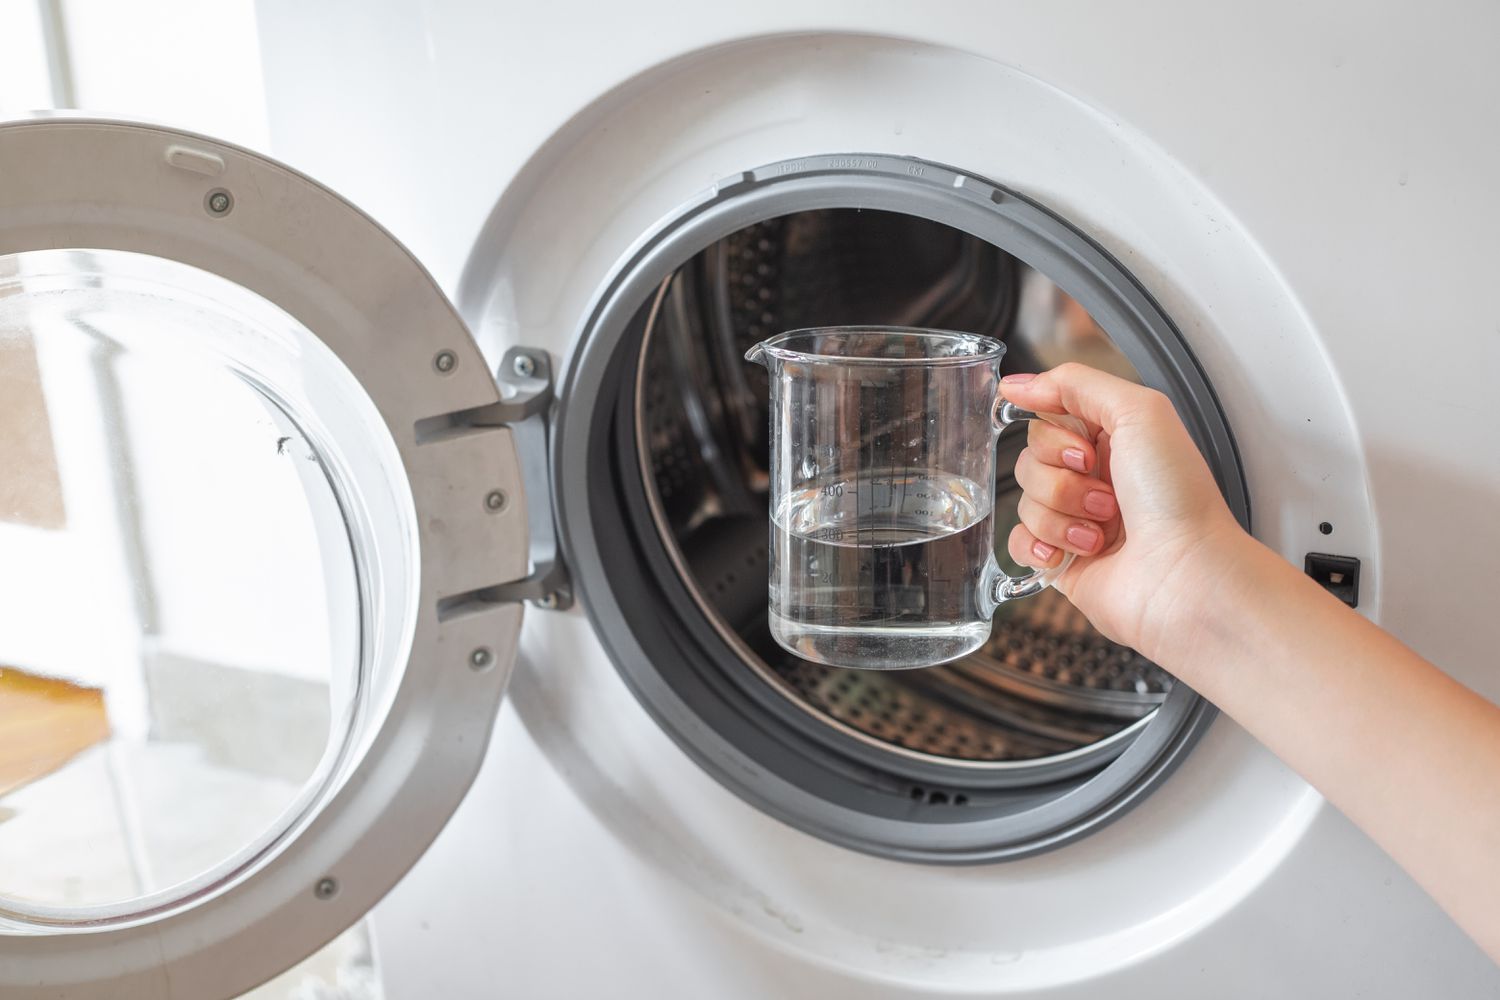
- Add vinegar to the warm water in a 1:1 ratio. If you’re using a small bucket or basin, you can use half a cup of vinegar and half a cup of water. For larger containers, adjust the quantities accordingly.
- If you want to add a fresh scent to the cleaning solution, squeeze the juice of a lemon into the mixture or add a few drops of your favorite essential oil.
- Stir the solution gently to mix the vinegar, water, and any added scent. Ensure that the vinegar is evenly distributed in the mixture.
By diluting the vinegar, you create a safe and effective cleaning solution that will not damage your faucet’s finish. The warm water helps to activate the vinegar’s cleaning properties and makes the solution more comfortable to work with.
Once you have prepared the vinegar solution, you are ready to move on to the next step: applying it to the faucet surfaces.
Step 2: Apply the Vinegar Solution to the Faucet
Now that you have prepared the vinegar solution, it’s time to apply it to the faucet surfaces. This step helps to loosen and dissolve dirt, stains, and mineral deposits, making them easier to remove during the cleaning process.
- Begin by dipping a microfiber cloth or soft sponge into the vinegar solution. Make sure the cloth or sponge is thoroughly soaked but not dripping.
- Gently squeeze out any excess liquid from the cloth or sponge to avoid excessive dripping while cleaning.
- Apply the vinegar solution to the entire faucet, focusing on the areas with visible stains, grime, or mineral buildup. Pay close attention to the spout, handles, and any other intricate parts of the faucet.
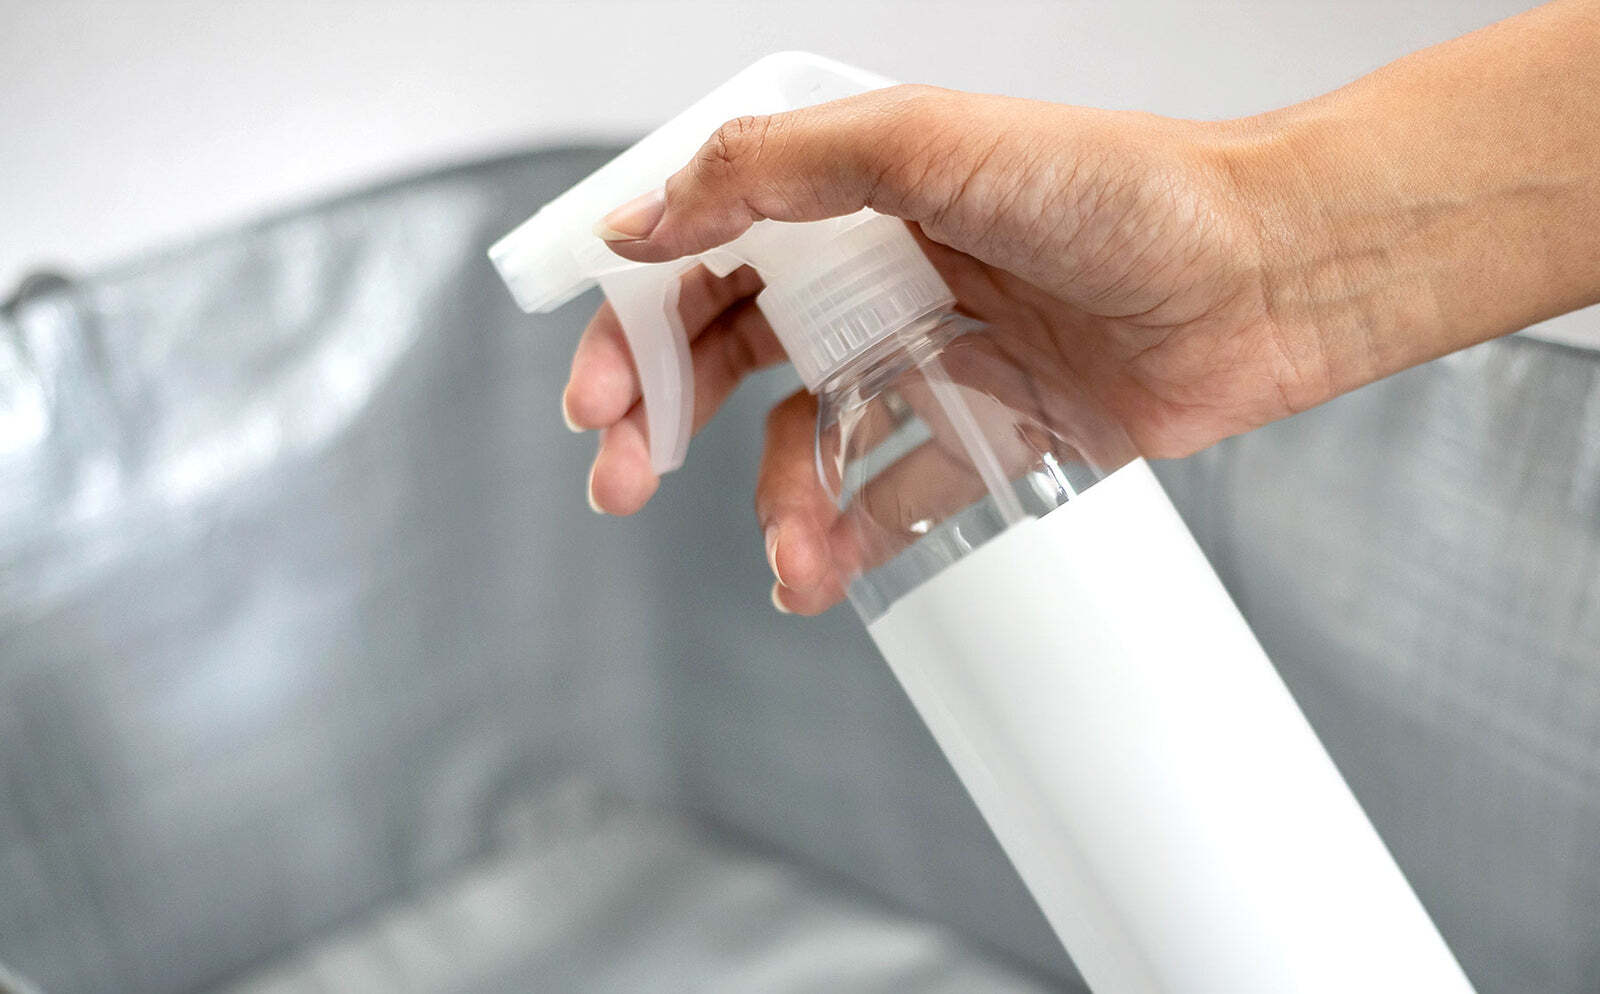
- If you have a spray bottle, you can also spray the vinegar solution directly onto the faucet surfaces. This method allows for better coverage and control over where the solution is applied.
Ensure that all surfaces of the faucet are coated with the vinegar solution. The acidic properties of vinegar will work to dissolve and break down the stubborn deposits and stains.
If you encounter any tough spots or hard-to-reach areas, you can use a cotton swab dipped in the vinegar solution to target and apply the solution directly to those spots.
Once you have evenly applied the vinegar solution to the faucet, move on to the next step: scrubbing the faucet to remove dirt and grime.
Mix equal parts of vinegar and water in a spray bottle. Spray the solution onto the faucet and let it sit for a few minutes. Then, scrub the faucet with a soft-bristled brush or cloth to remove any buildup or stains. Rinse with water and dry with a clean cloth.
Read more: How To Clean The Dishwasher With Vinegar
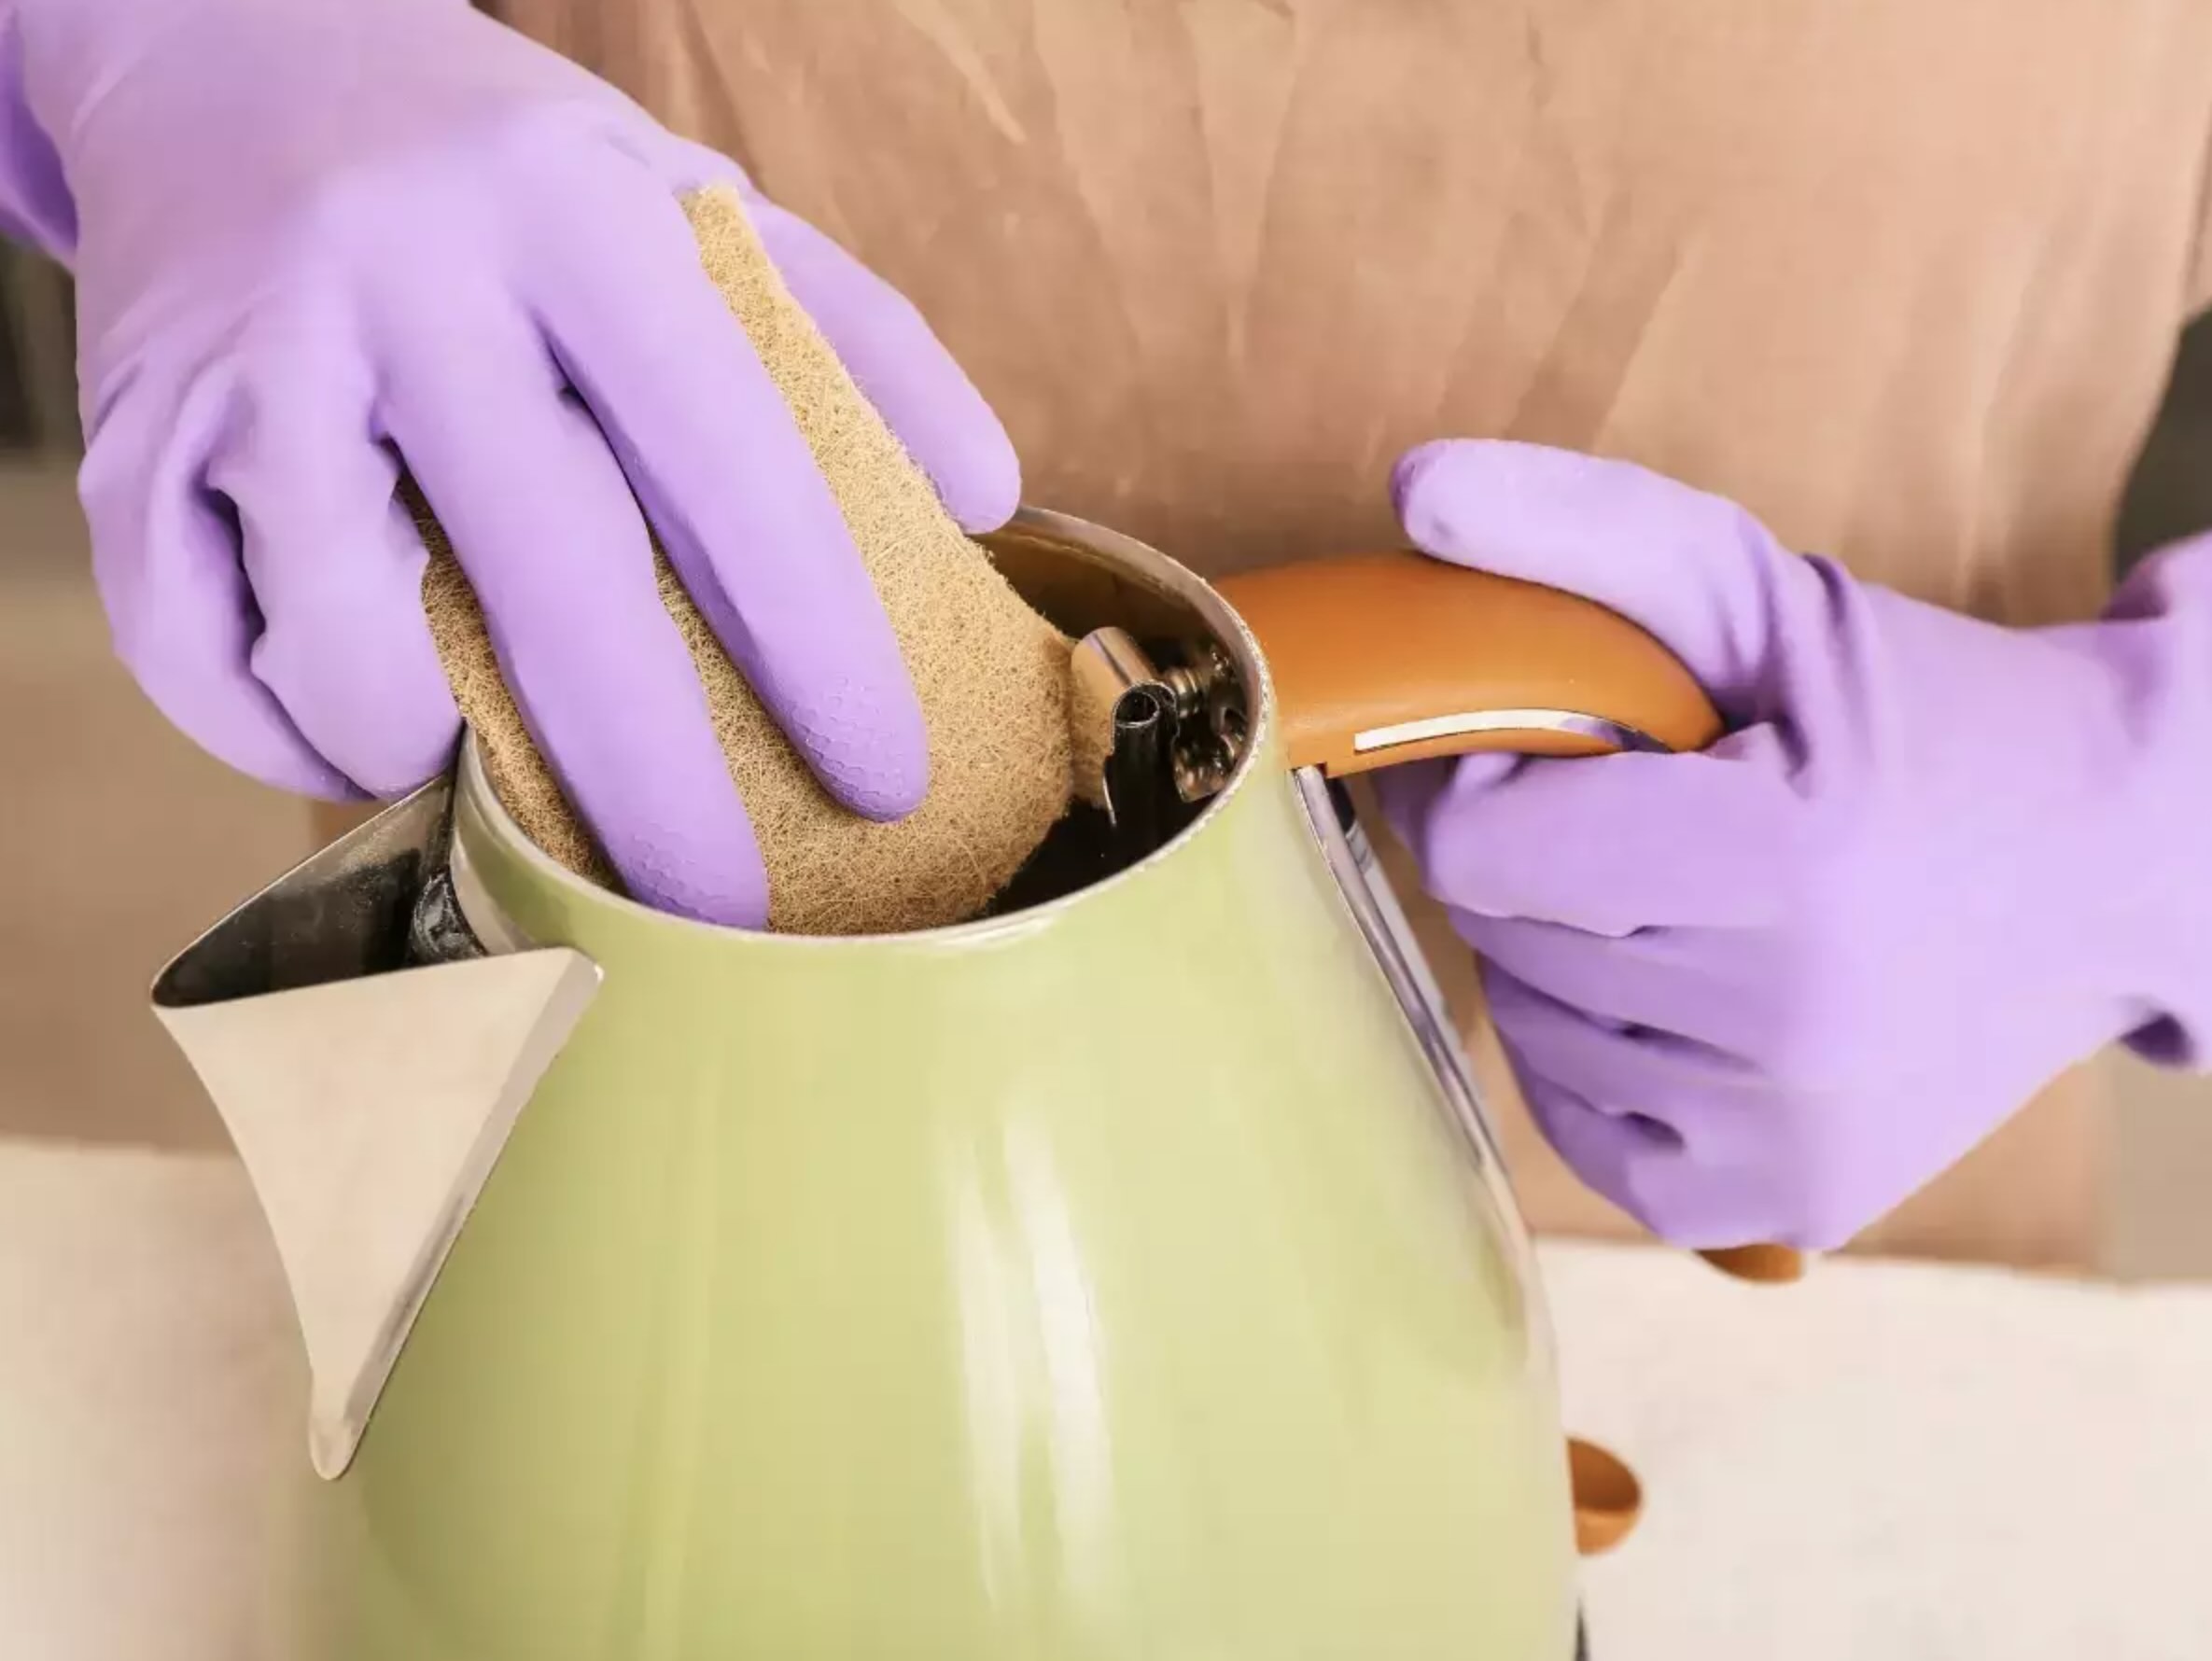
Step 3: Scrub the Faucet
After applying the vinegar solution to the faucet, it’s time to start scrubbing away dirt, stains, and mineral deposits. This step helps to agitate and loosen any stubborn buildups, ensuring a thorough and effective cleaning.
- Take a soft toothbrush or an old toothbrush dedicated to cleaning purposes and dip it into the vinegar solution.
- Gently scrub the faucet, paying close attention to areas with visible stains or mineral deposits. Use small circular motions to cover the entire surface of the faucet.
- For areas that are more difficult to reach with a toothbrush, use a cotton swab dipped in the vinegar solution to scrub away dirt and grime.
- If the faucet has grooves or textured surfaces, use the bristles of the toothbrush or a soft sponge to get into those crevices and remove any buildup.
- Continue scrubbing until you are satisfied with the cleanliness of the faucet. Focus on removing any stubborn stains or deposits that may have accumulated over time.
While scrubbing, remember to apply gentle pressure to avoid scratching or damaging the faucet’s finish. The combination of vinegar solution and scrubbing action will help break down and remove the buildup effectively.
If you encounter any particularly tough stains or mineral deposits, you can let the vinegar solution sit on the faucet for a few minutes before scrubbing to allow for better penetration and loosening.
Once you have finished scrubbing the faucet, move on to the next step: rinsing the faucet to remove any remaining residue.
Step 4: Rinse the Faucet
After scrubbing the faucet with the vinegar solution, it’s important to thoroughly rinse off any remaining residue. This step ensures that no vinegar or dirt is left behind, leaving your faucet clean and ready for the final polishing.
- Fill a bucket or basin with clean water. Ensure that the water is at a comfortable temperature.
- Dip a clean microfiber cloth or soft sponge into the water and wring it out to remove any excess moisture.
- Gently wipe down the entire faucet, rinsing away the vinegar solution and any loosened dirt or residue. Ensure that you reach all areas, including the spout, handles, and other parts of the faucet.
- If necessary, you can also use the running water from the faucet to help rinse off the residue.
- Continue rinsing until you are confident that all the vinegar solution and any remaining dirt or residue have been thoroughly washed away.
Proper rinsing is essential to remove any traces of the vinegar solution, as well as any loosened dirt and grime from the faucet. This step ensures that your faucet is left clean and free from any cleaning product residue.
Once you have completed the rinsing process, proceed to the final step: drying and polishing the faucet for a beautiful finish.
Step 5: Dry and Polish the Faucet
Now that you have thoroughly rinsed off the vinegar solution from your faucet, it’s time to dry and polish it to achieve a sparkling, streak-free finish. This final step will not only enhance the appearance of your faucet but also help protect it from water spots.
- Take a clean, soft microfiber cloth or a soft, lint-free towel dedicated specifically for drying purposes.
- Starting from the top, carefully wipe down the entire faucet, including the spout, handles, and other surfaces. Make sure to dry all areas thoroughly.
- Pay extra attention to any water spots or areas where moisture tends to accumulate, such as around the nozzle or handle bases.
- For a polished finish, use a separate clean microfiber cloth or a polishing cloth to buff the faucet lightly. This step will help remove any remaining streaks or smudges, leaving the faucet shiny and gleaming.
- If desired, you can also apply a small amount of olive oil or baby oil to a cloth and gently rub it onto the faucet. This will add an extra layer of protection and shine to the surface.
By drying and polishing your faucet, you not only remove any remaining moisture but also give it a pristine appearance. The polishing step adds that extra touch of brilliance, making your faucet look brand new.
Remember to use gentle motions while drying and polishing to avoid scratching or damaging the faucet’s finish. Take your time to ensure that every part is thoroughly dried and buffed for the best results.
Once you have completed the drying and polishing process, stand back and admire the sparkling faucet that you have achieved through the power of vinegar and a little elbow grease!
Additional Tips and Precautions
Cleaning your faucet with vinegar can be a highly effective and safe method, but there are a few additional tips and precautions to keep in mind to ensure optimal results:
- Test in an inconspicuous area: Before applying the vinegar solution to the entire faucet, it’s a good idea to test it in a small, inconspicuous area to check for any adverse reactions or damage to the finish. This will help ensure that the vinegar is safe to use on your specific faucet.
- Regular maintenance: To prevent stubborn buildup and make future cleaning easier, it’s recommended to regularly wipe down your faucet with a soft cloth or sponge. This will help prevent mineral deposits and stains from accumulating and keep your faucet looking its best.
- Don’t use vinegar on certain faucet finishes: While vinegar is generally safe for most faucet finishes, it is not suitable for certain materials like brass or gold finishes, which can be damaged by acid. Always check the manufacturer’s instructions or consult a professional if you are uncertain about cleaning particular finishes.
- Keep vinegar away from eyes and open wounds: Vinegar can cause irritation if it comes into contact with your eyes or open wounds. Take precautionary measures, such as wearing gloves and avoiding direct contact with vinegar if you have any cuts or sensitive skin.
- Ventilation: When using vinegar for cleaning, ensure proper ventilation by opening windows or turning on fans. This will help dissipate the strong smell of vinegar and prevent it from lingering in your living spaces.
- Store vinegar properly: When not in use, make sure to store your vinegar in a cool, dark place away from direct sunlight. This will help maintain its effectiveness for future cleaning needs.
By following these tips and precautions, you can safely and effectively clean your faucet with vinegar, keeping it in pristine condition for years to come. Enjoy the satisfaction of a sparkling clean faucet while knowing that you have used a natural and eco-friendly cleaning solution!
Conclusion
Cleaning your faucet with vinegar is a simple, cost-effective, and eco-friendly way to maintain its cleanliness and functionality. Vinegar’s natural cleaning properties make it a versatile and effective solution for removing stains, mineral deposits, and grime from your faucets.
In this article, we have walked you through the step-by-step process of cleaning your faucet with vinegar. From preparing the vinegar solution to scrubbing away dirt and grime, rinsing thoroughly, and finally drying and polishing the faucet, each step is essential for achieving a thorough and impressive clean.
Remember, vinegar is not only an excellent cleaning agent but also a safer alternative to harsh chemical cleaners. It is natural, environmentally friendly, and readily available in most households. By using vinegar, you can maintain the cleanliness and beauty of your faucets without exposing yourself or the environment to harmful chemicals.
Additionally, we provided you with some additional tips and precautions to ensure optimal results and protect your faucet’s finish. Testing in an inconspicuous area, regular maintenance, and following manufacturer’s instructions are all crucial factors to consider during the cleaning process.
So, the next time your faucet needs a refresh, reach for the vinegar and give it a natural cleaning treatment. You’ll be amazed at the transformation and satisfaction that comes from using a simple household ingredient to achieve a sparkling result.
Clean faucets not only enhance the aesthetics of your kitchen or bathroom but also contribute to the overall hygiene of your home. With the power of vinegar, you can keep your faucets looking brand new and in optimal condition for years to come.
So, go ahead and give vinegar a try – your faucets will thank you!
Frequently Asked Questions about How To Clean Faucet With Vinegar
Was this page helpful?
At Storables.com, we guarantee accurate and reliable information. Our content, validated by Expert Board Contributors, is crafted following stringent Editorial Policies. We're committed to providing you with well-researched, expert-backed insights for all your informational needs.


0 thoughts on “How To Clean Faucet With Vinegar”