Home>Interior Design>How To Make Pine Vinegar For Cleaning

Interior Design
How To Make Pine Vinegar For Cleaning
Modified: October 20, 2024
Learn how to make pine vinegar for cleaning and keep your interior design looking fresh and pristine.
(Many of the links in this article redirect to a specific reviewed product. Your purchase of these products through affiliate links helps to generate commission for Storables.com, at no extra cost. Learn more)
Introduction
Welcome to the world of natural cleaning solutions! If you’re passionate about maintaining a clean and healthy home while minimizing your exposure to harsh chemicals, then making your own pine vinegar for cleaning is a perfect choice. Pine vinegar is a versatile and effective cleaning agent that can be used on various surfaces, leaving a refreshing scent and a sparkling clean finish.
Pine has long been recognized for its natural cleaning properties. The essential oils found in pine needles have antimicrobial and disinfectant properties, making them an excellent choice for DIY cleaning solutions. By combining pine needles with vinegar, you can harness their cleaning power in a safe and eco-friendly way.
In this article, we will guide you through the process of making pine vinegar for cleaning. You’ll learn how to collect pine needles, prepare the vinegar solution, and properly ferment and strain the mixture to create a potent cleaning agent. So let’s dive in and discover the art of making pine vinegar for a fresh and clean home!
Key Takeaways:
- Harness the power of pine needles and vinegar to create an eco-friendly, versatile, and effective cleaning solution. Enjoy a sparkling clean home with a refreshing pine scent while minimizing exposure to harsh chemicals.
- Embrace DIY cleaning with pine vinegar, a sustainable alternative to commercial products. Reduce environmental impact, save money, and contribute to a healthier, greener living environment.
Read more: How To Clean The Dishwasher With Vinegar
Materials Needed
Before you begin your pine vinegar making journey, gather the following materials:
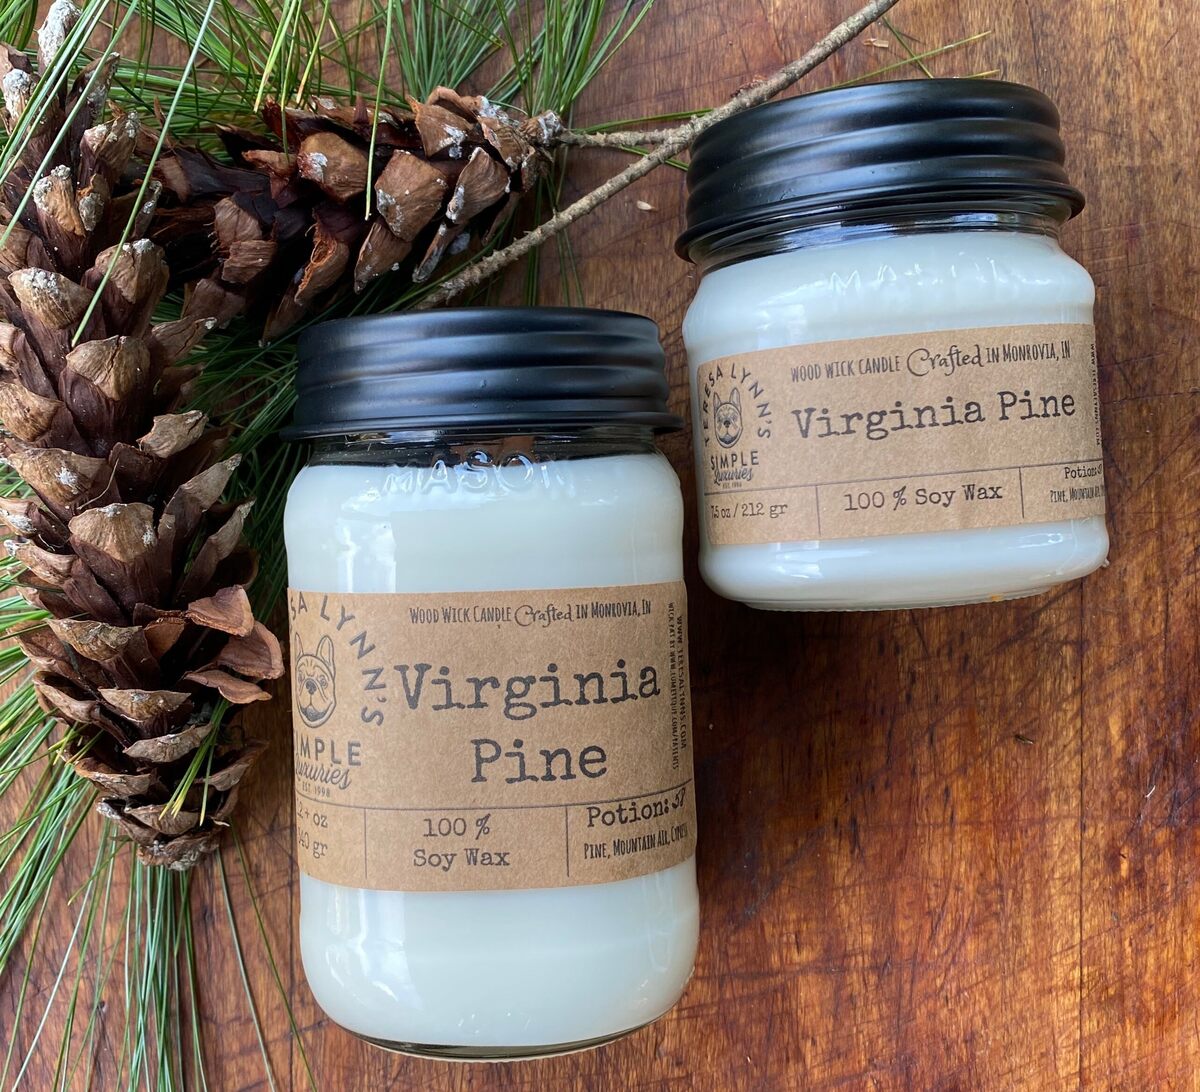
- A glass jar with a tight-fitting lid: It’s important to use a glass container as vinegar can react with certain metals or plastic containers.
- Fresh pine needles: Look for fresh pine needles from a pine tree in your area. Make sure they are clean and free from any dirt or debris.
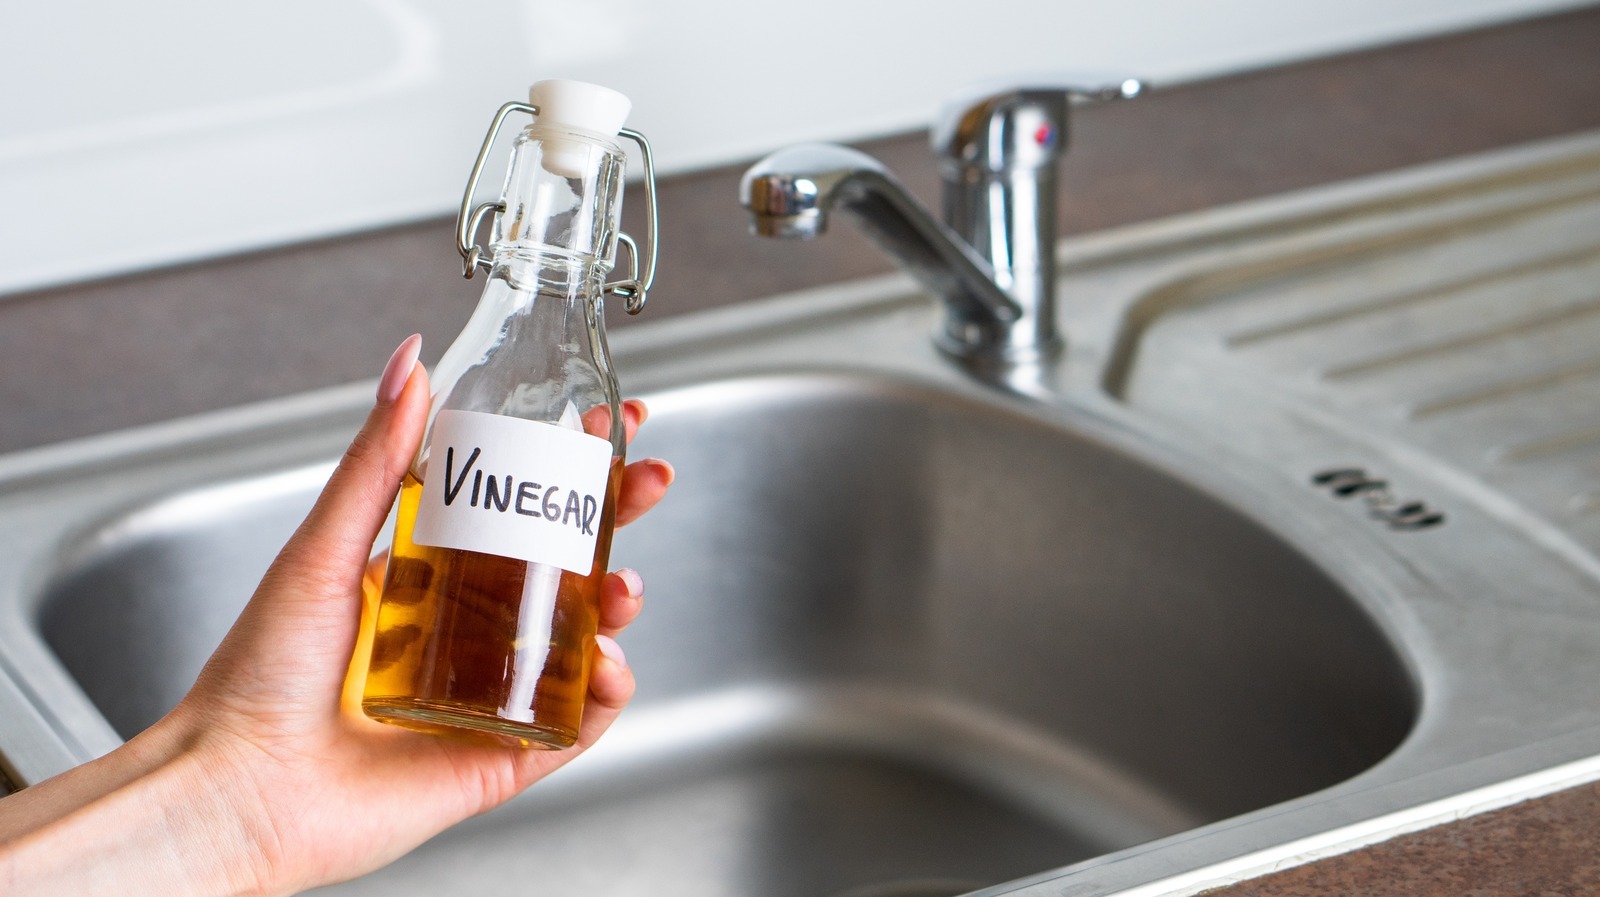
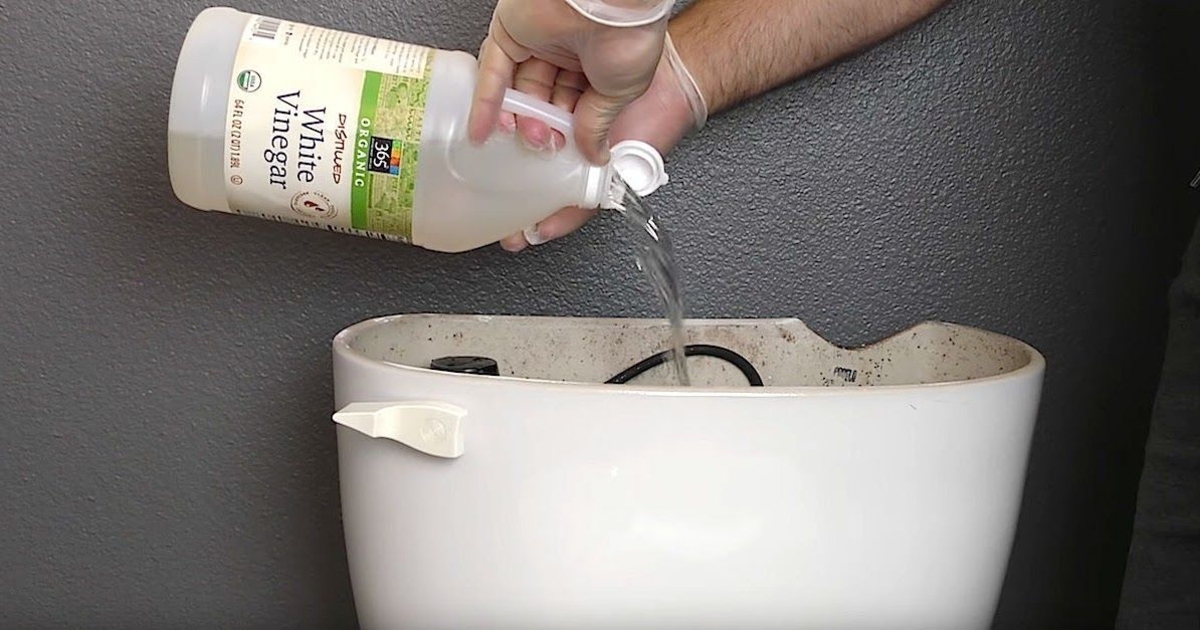
- Vinegar: Choose white vinegar or apple cider vinegar for this recipe. Both types of vinegar work well and have their own benefits.
- A strainer or cheesecloth: You’ll need a strainer or cheesecloth to strain out the pine needles from the vinegar solution.
- Storage bottles: Once the vinegar has fermented and strained, you’ll need storage bottles to transfer the pine vinegar for future use.
These materials are easily accessible and can often be found in your kitchen or obtained from a local grocery store. With everything in place, you’re now ready to embark on your pine vinegar making adventure!
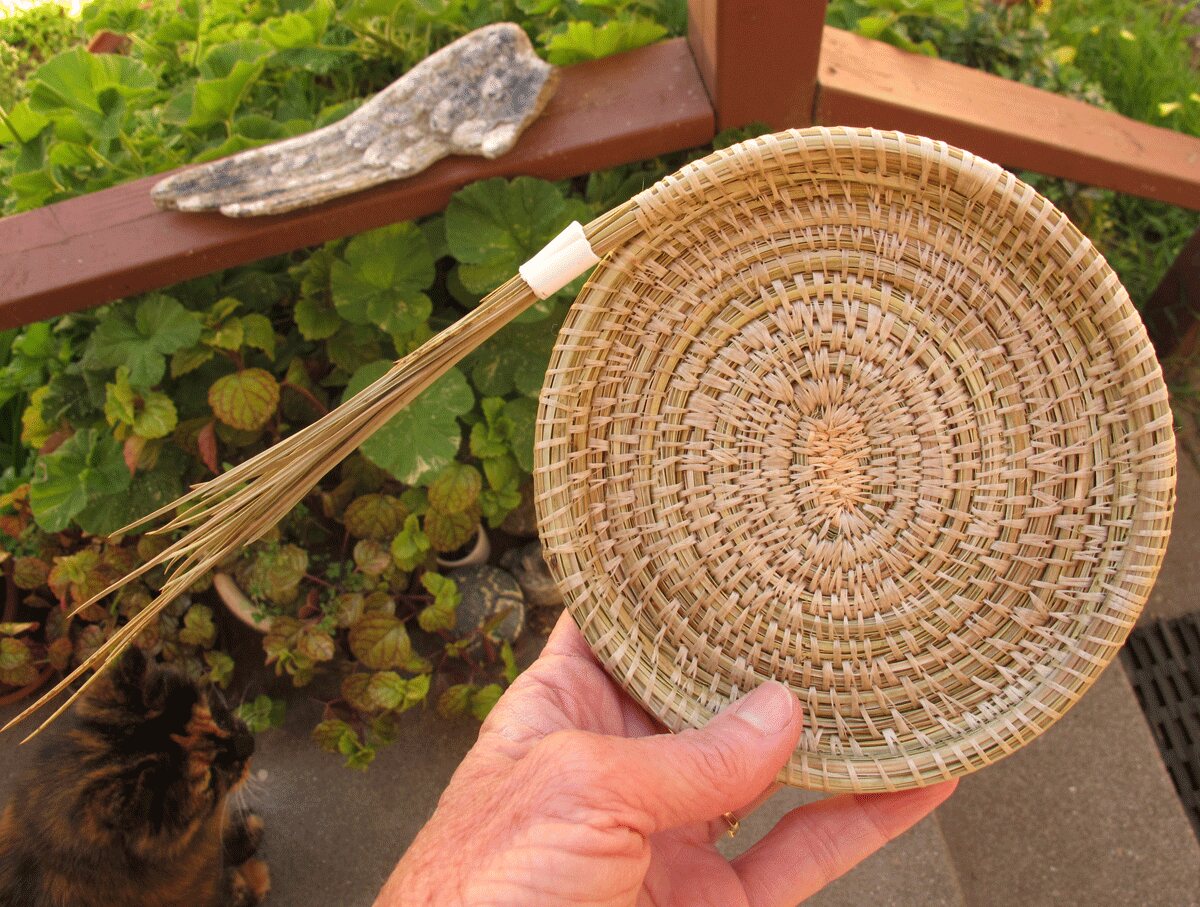
Step 1: Collecting Pine Needles
The first step in making pine vinegar for cleaning is to collect fresh pine needles. Look for a pine tree in your area where you can gather the needles. It’s important to choose a tree that is healthy and pesticide-free.
When collecting pine needles, make sure to choose ones that are green and aromatic. Avoid using brown or dry needles, as they may not have the same cleaning properties. Gently pluck the needles from the tree, being careful not to damage the branches or the tree itself.
To ensure the best results, it’s recommended to gather a good amount of pine needles. Aim for a handful or two, depending on the size of your glass jar. This will provide enough pine needles to infuse the vinegar with their beneficial properties.
Remember to approach the process of collecting pine needles with a sense of respect and gratitude for nature. Take only what you need, and avoid overharvesting from a single tree. This way, you can contribute to the sustainability of the ecosystem.
Once you have gathered the pine needles, move on to the next step of preparing the glass jar for the pine vinegar making process.
Step 2: Preparing the Glass Jar
Now that you have collected fresh pine needles, it’s time to prepare the glass jar for the pine vinegar making process. The glass jar will serve as the vessel for fermenting the pine needles in vinegar.
Start by ensuring the glass jar is clean and dry. Wash it with warm soapy water and rinse it thoroughly to remove any residue or impurities. Make sure the jar is completely dry before proceeding.
Next, sterilize the glass jar to create a clean environment for the fermentation process. You can do this by placing the jar in boiling water for a few minutes or by using a dishwasher with a high-temperature setting. This step is crucial to prevent any unwanted bacteria or contamination during the fermentation process.
After sterilizing the jar, it’s time to prepare it for the pine needles. Take a moment to appreciate the size of the jar in relation to the amount of pine needles you collected. You’ll want to ensure the jar is large enough to accommodate the needles and leave enough space for the vinegar solution to cover them adequately.
If needed, break the pine needles into smaller pieces to fit them into the jar. This will allow for better infusion of the pine’s natural properties into the vinegar. You can use your hands or a clean pair of scissors to cut the needles into smaller portions.
Once the jar is prepared, you’re ready to move on to the next step of preparing the vinegar solution.
Step 3: Preparing the Vinegar Solution
In this step, you will prepare the vinegar solution that will be used to extract the cleaning properties from the pine needles. Vinegar acts as a natural solvent, breaking down the essential oils in the pine needles and infusing them into the liquid.
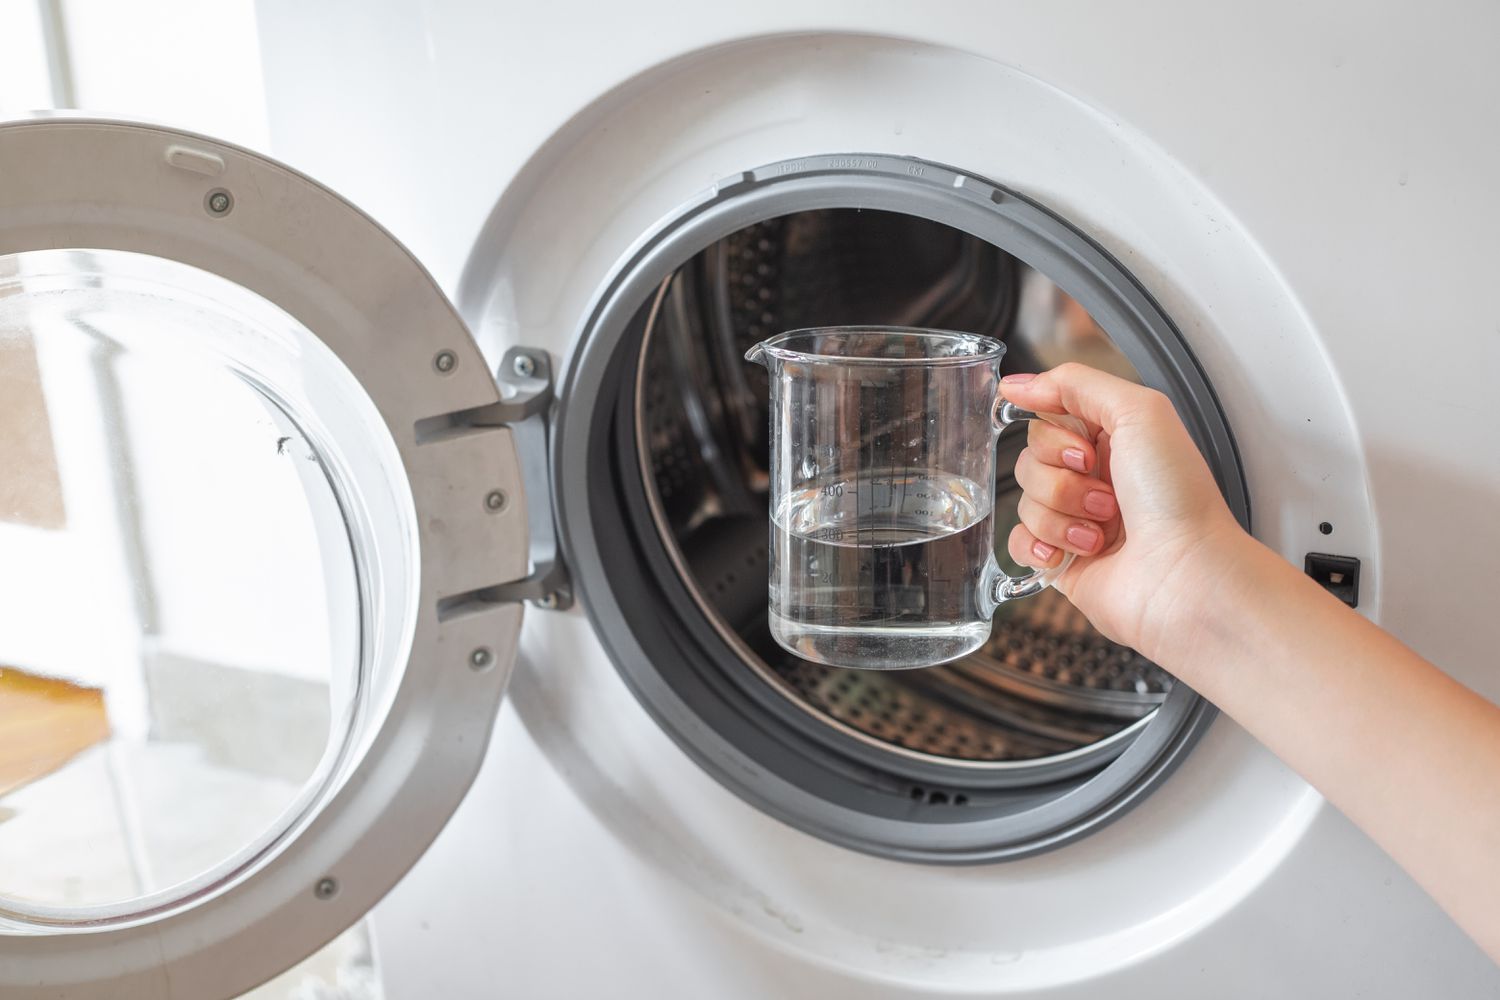
Start by selecting the type of vinegar you want to use for your pine vinegar. White vinegar and apple cider vinegar are both popular choices for cleaning purposes. While white vinegar has a stronger odor, apple cider vinegar offers a slightly milder scent.
Once you have chosen your vinegar, pour it into a separate container. This will allow you to measure the correct amount needed for the pine vinegar mixture. Depending on the size of your glass jar, you may need anywhere from one to two cups of vinegar.
Next, consider diluting the vinegar with water. This step is optional but can help to reduce the strong vinegar smell if desired. You can dilute the vinegar by adding an equal amount of water to the mixture.
It’s important to note that the ratio of vinegar to water may vary depending on personal preference and cleaning needs. Feel free to experiment with different ratios to find the one that works best for you.
Once you have prepared the vinegar solution, carefully pour it into the prepared glass jar. Ensure that the vinegar completely covers the pine needles, leaving little to no air space. This will maximize the contact between the vinegar and the pine needles, resulting in a more potent pine vinegar.
With the vinegar solution ready, it’s time to move on to the exciting part of adding the pine needles to the jar!
Step 4: Adding the Pine Needles to the Jar
Now that you have prepared the vinegar solution, it’s time to add the pine needles to the glass jar. This step is crucial for infusing the cleaning properties of the pine needles into the vinegar mixture.
Take the freshly collected and prepped pine needles and gently place them into the jar with the vinegar solution. Ensure that all the pine needles are submerged in the vinegar, allowing them to release their beneficial oils.
If the pine needles are too long to fit into the jar, you can cut them into smaller pieces to create a more compact arrangement. However, be cautious not to overcrowd the jar, as this can inhibit the proper infusion of the pine’s properties into the vinegar.
As you add the pine needles, take a moment to appreciate the wonderful aroma that will soon fill the jar. The fresh scent of pine is not only invigorating but also contains natural cleaning properties, making it an excellent choice for a homemade cleaning solution.
Once all the pine needles are in the jar, gently swirl or stir the mixture to ensure even distribution. This will help the vinegar solution penetrate the pine needles and extract their cleaning properties effectively.
Now that the pine needles are incorporated into the vinegar solution, it’s time to seal the jar and move on to the next step of the pine vinegar making process. Make sure the lid is tightly secured to prevent any outside contaminants from entering the jar during fermentation.
Get ready for the exciting part – allowing the mixture to ferment and infuse for a period of time!
To make pine vinegar for cleaning, simply fill a jar with pine needles, cover with white vinegar, and let it sit for 2-4 weeks. Strain and use as a natural cleaner for surfaces.
Step 5: Sealing and Storing the Jar
After adding the pine needles to the jar, it’s important to seal and store it properly. This step ensures that the mixture can ferment and infuse effectively, allowing the pine’s cleaning properties to be extracted by the vinegar.
Start by double-checking that the lid is securely tightened on the glass jar. This will create an airtight seal, which is crucial for the fermentation process. An airtight seal prevents any bacteria or contaminants from entering the mixture while allowing the natural fermentation process to occur.
Once the jar is sealed, find a suitable spot to store it during the fermentation period. Choose a cool, dark place away from direct sunlight. Sunlight exposure can affect the quality of the vinegar and decrease its cleaning effectiveness.
It’s recommended to leave the jar undisturbed for a minimum of two weeks during the fermentation process. However, you can let it ferment for up to a month to achieve a stronger infusion of the pine needles’ properties into the vinegar.
During the fermentation period, you may notice slight changes in the appearance of the mixture. It’s normal for the vinegar to darken and develop sediment at the bottom of the jar. This is a sign that the fermentation is occurring and the pine needles are releasing their beneficial properties into the vinegar solution.
Remember to label the jar with the date of preparation to keep track of the fermentation time. This will help you determine when the pine vinegar is ready for the next step of the process.
Now that the jar is sealed and safely stored, it’s time to wait patiently for the fermentation to take place and the pine vinegar to develop its cleaning power. Let’s move on to the next step and learn how to strain the vinegar!
Step 6: Allowing the Mixture to Ferment
With the jar sealed and stored in a suitable location, it’s time to allow the mixture to ferment. This step is crucial for the pine needles to infuse their beneficial properties into the vinegar, creating a potent and effective cleaning solution.
During the fermentation process, the natural chemicals found in the pine needles are released and meld with the vinegar. This results in a powerful combination that is not only great for cleaning but also carries the refreshing scent of pine.
It’s recommended to let the mixture ferment for a minimum of two weeks, but you can choose to prolong the fermentation period for a stronger infusion. Keep in mind that the longer the fermentation period, the more potent the pine vinegar will become.
While the mixture is fermenting, it’s natural for some sediment to settle at the bottom of the jar. This is a sign that the pine needles are releasing their properties into the vinegar. To prevent the sediment from affecting the final product, avoid agitating or shaking the jar during this time.
As the mixture ferments, you may notice changes in color and aroma. The vinegar may darken in color and develop a distinct pine scent. These changes signify that the pine needles are successfully infusing their qualities into the vinegar solution.
During the fermentation period, it’s essential to resist the temptation to open the jar and check on the progress too frequently. Opening the jar too often may introduce outside contaminants and interrupt the fermentation process.
Now that you’ve allowed the mixture to ferment and infuse, it’s time to move on to the next step and strain the pine vinegar to remove the pine needles and any sediment.
Step 7: Straining the Vinegar
After allowing the mixture to ferment and infuse, it’s time to strain the pine vinegar. This step is essential to remove the pine needles and any sediment that may have formed during the fermentation process.
To strain the vinegar, you’ll need a strainer or cheesecloth. Place the strainer or cheesecloth over a clean container or bowl. Carefully pour the fermented vinegar mixture through the strainer, allowing it to catch the pine needles and sediment while allowing the strained vinegar to pass through.
Gently press down on the pine needles and sediment in the strainer to extract as much vinegar as possible. This will ensure you get the maximum benefit from the infused pine properties.
Once you’ve strained the vinegar, take a moment to observe its clarity. The strained vinegar should appear clear and free from any particles or debris. This is a sign that you have successfully removed the pine needles and sediment.
Reserve the strained vinegar in a separate container. You can discard the pine needles and sediment or compost them for an eco-friendly option.
This strained pine vinegar is now ready to be used as a natural cleaning agent. Its aromatic scent and cleaning properties make it perfect for a variety of household cleaning tasks. However, before using it, make sure to test a small area on a surface or material to ensure compatibility and avoid any potential damage.
Now that you have strained the vinegar, it’s time to transfer it to storage bottles for convenient use. Let’s move on to the final step of the process.
Step 8: Transferring to Storage Bottles
Now that you have strained the pine vinegar, it’s time to transfer it to storage bottles for easy and convenient use. Properly storing the pine vinegar will ensure its longevity and allow you to access it whenever you need a natural cleaning solution.
Start by selecting clean and dry storage bottles with airtight lids. Glass bottles with screw-top or flip-top lids are ideal for storing the pine vinegar. Ensure that the bottles are free from any residue or odors that may contaminate the vinegar.
Carefully pour the strained pine vinegar into the storage bottles, leaving a small amount of headspace at the top. This headspace will allow for expansion in case the vinegar continues to ferment slightly over time.
Label the storage bottles with the date of preparation and indicate that it is pine vinegar. This will help you keep track of the vinegar’s freshness and contents.
Store the filled storage bottles in a cool and dark place, away from direct sunlight and heat sources. The pine vinegar will maintain its cleaning properties and fragrance best under these conditions.
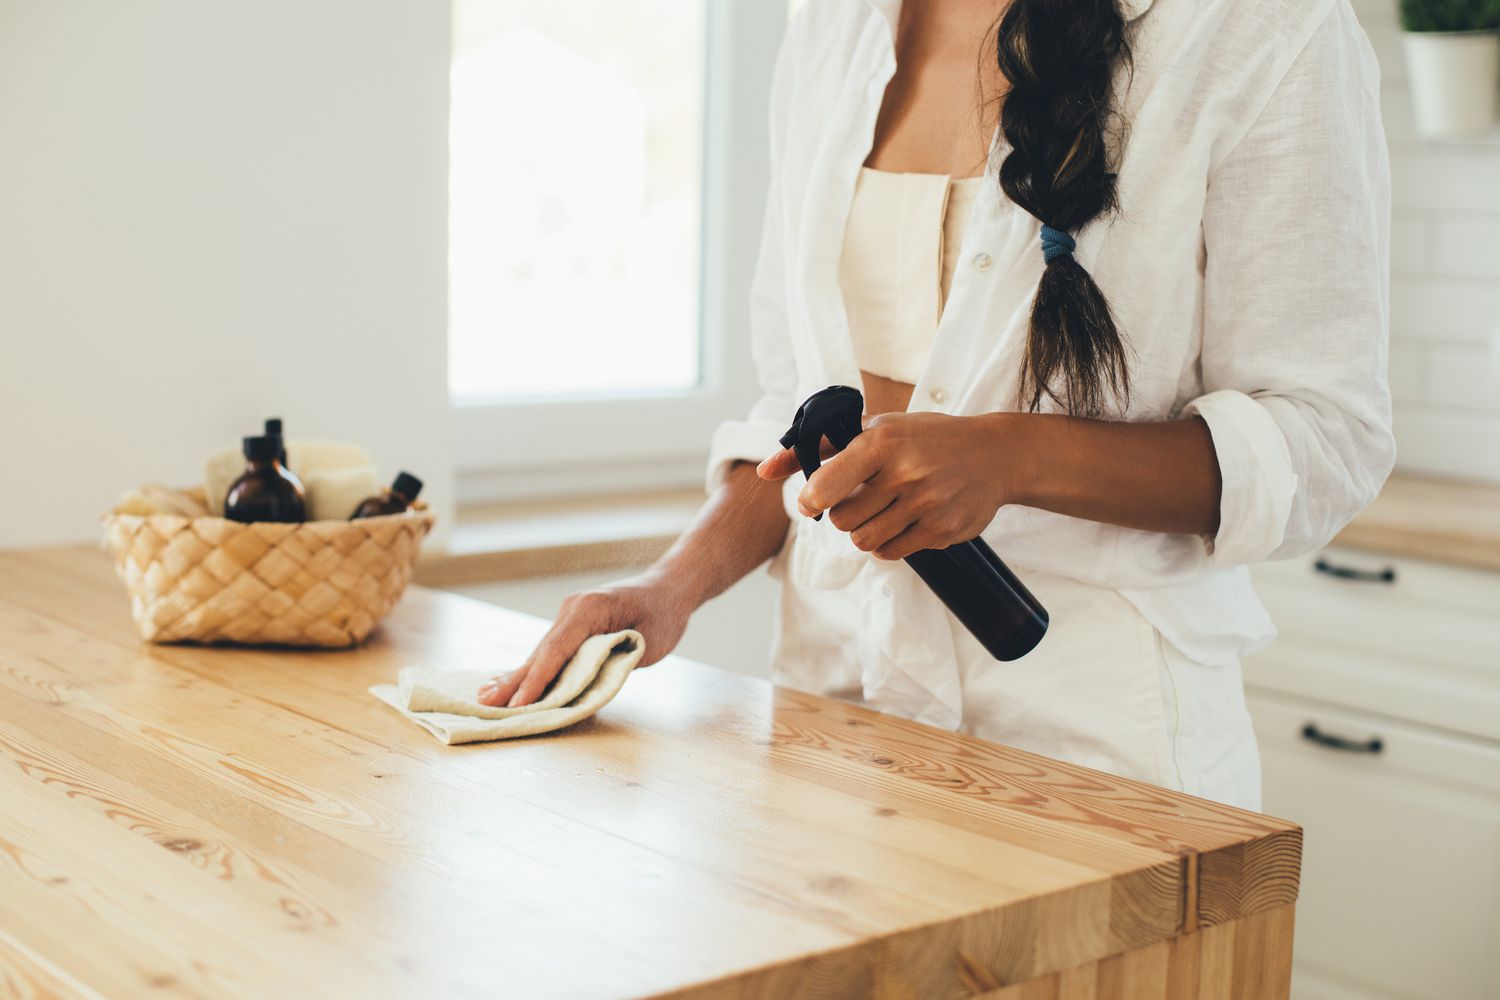
With the pine vinegar properly stored in the bottles, you now have a ready-to-use, all-natural cleaning solution that will effectively clean and leave a fresh scent in your home.
Remember to keep the storage bottles out of reach of children and pets. While pine vinegar is non-toxic, it’s always best to exercise caution and store cleaning products safely.
Congratulations! You have successfully made your own pine vinegar for cleaning. Enjoy the benefits of this eco-friendly and effective solution as you tackle various cleaning tasks around your home.
Finally, don’t forget to share your newfound knowledge with others who may be interested in making their own natural cleaning solutions!
Conclusion
Congratulations on completing the journey of making pine vinegar for cleaning! By using simple ingredients and following the step-by-step process, you have created a natural and effective cleaning solution that is both eco-friendly and versatile.
Pine vinegar harnesses the cleaning properties of pine needles and combines them with the solvent power of vinegar. This powerful combination creates a potent cleaning agent that can be used on various surfaces in your home, leaving a refreshing scent and a sparkling clean finish.
Throughout the process, you have learned how to collect fresh pine needles, prepare the glass jar, create the vinegar solution, infuse the pine needles, allow the mixture to ferment, strain the vinegar, and transfer it to storage bottles. These steps have empowered you to create your own supply of pine vinegar, providing a natural and sustainable alternative to commercial cleaning products.
By making your own cleaning solutions, you have the opportunity to reduce your exposure to harsh chemicals found in conventional cleaners, minimize your impact on the environment, and save money in the long run. Plus, the fresh scent of pine will add a delightful aroma to your cleaning routine.
As you embark on your cleaning journey with pine vinegar, remember to test it on a small area before using it on delicate surfaces to ensure compatibility. Additionally, continue to explore other natural cleaning solutions and techniques to further enhance your eco-friendly cleaning arsenal.
By incorporating pine vinegar into your cleaning routine, you’re not just maintaining a clean home, but also contributing to a healthier and greener living environment. So join the movement of DIY cleaning and embrace the power of pine!
Happy cleaning and enjoy the fresh and natural benefits of pine vinegar!
Frequently Asked Questions about How To Make Pine Vinegar For Cleaning
Was this page helpful?
At Storables.com, we guarantee accurate and reliable information. Our content, validated by Expert Board Contributors, is crafted following stringent Editorial Policies. We're committed to providing you with well-researched, expert-backed insights for all your informational needs.

0 thoughts on “How To Make Pine Vinegar For Cleaning”