Home>Storage Ideas>Bathroom Storage>How To Clean Bathroom Faucets And Fixtures For Spotless Surfaces
Bathroom Storage
How To Clean Bathroom Faucets And Fixtures For Spotless Surfaces
Modified: August 27, 2024
Learn how to clean bathroom faucets and fixtures for spotless surfaces with these expert tips. Keep your bathroom storage looking fresh and free from grime with our easy-to-follow cleaning techniques.
(Many of the links in this article redirect to a specific reviewed product. Your purchase of these products through affiliate links helps to generate commission for Storables.com, at no extra cost. Learn more)
Introduction
Welcome to the ultimate guide on how to clean bathroom faucets and fixtures for spotless surfaces. Your bathroom is an essential part of your home, and keeping it clean and tidy is crucial for hygiene and aesthetics. One area that often gets overlooked in bathroom cleaning is the faucets and fixtures. These elements not only add functionality to your bathroom but also contribute to its overall appearance.
Over time, bathroom faucets and fixtures can accumulate dirt, grime, and mineral deposits, which can tarnish their shine and make them look dull. Cleaning and maintaining these surfaces not only ensures their longevity but also keeps your bathroom looking fresh and inviting.
In this comprehensive guide, we will provide you with step-by-step instructions on how to clean bathroom faucets and fixtures effectively. We will walk you through the process of gathering supplies, preparing the surface, and deep cleaning the different components to achieve spotless results. Additionally, we will cover tips on removing mineral deposits, cleaning the showerhead, polishing the fixtures, and maintaining a clean bathroom in the long run.
Whether you are a cleaning enthusiast or simply looking for ways to spruce up your bathroom, this guide has got you covered. So, let’s dive in and learn how to restore your bathroom faucets and fixtures to their former glory.
Key Takeaways:
- Keep your bathroom faucets and fixtures spotless by using mild cleaning agents, preparing the surface, and adopting a regular maintenance routine. Regular cleaning and polishing will maintain their longevity and shine.
- Utilize natural cleaning solutions like vinegar and lemon juice to remove mineral deposits and maintain the appearance and functionality of your bathroom faucets and fixtures. Regular maintenance and good hygiene habits are key to a sparkling bathroom.
Read more: How To Clean Faucet Head Without Vinegar
Gather Supplies
Before you begin the process of cleaning your bathroom faucets and fixtures, it is essential to gather all the necessary supplies. Having the right tools and cleaning agents on hand will make the task easier and more efficient.
Here are the supplies you will need:
- Mild dish soap or bathroom cleaner
- White vinegar or lemon juice
- Baking soda
- Toothbrush or soft-bristled brush
- Clean microfiber or soft cloth
- Old toothbrush or small brush for hard-to-reach areas
- Cotton swabs
- Rubber gloves
- Old towel or mat to protect the countertop or sink
It is important to use mild cleaning agents to avoid damaging the surface of your bathroom faucets and fixtures. Abrasive cleaners and harsh chemicals can cause scratches or discoloration on certain materials, so it’s best to stick to gentler options.
Additionally, having a variety of brushes and tools will help you reach all the nooks and crannies of your faucets and fixtures. A toothbrush or soft-bristled brush will work well for scrubbing, while cotton swabs can be used for intricate areas where dirt and grime tend to accumulate.
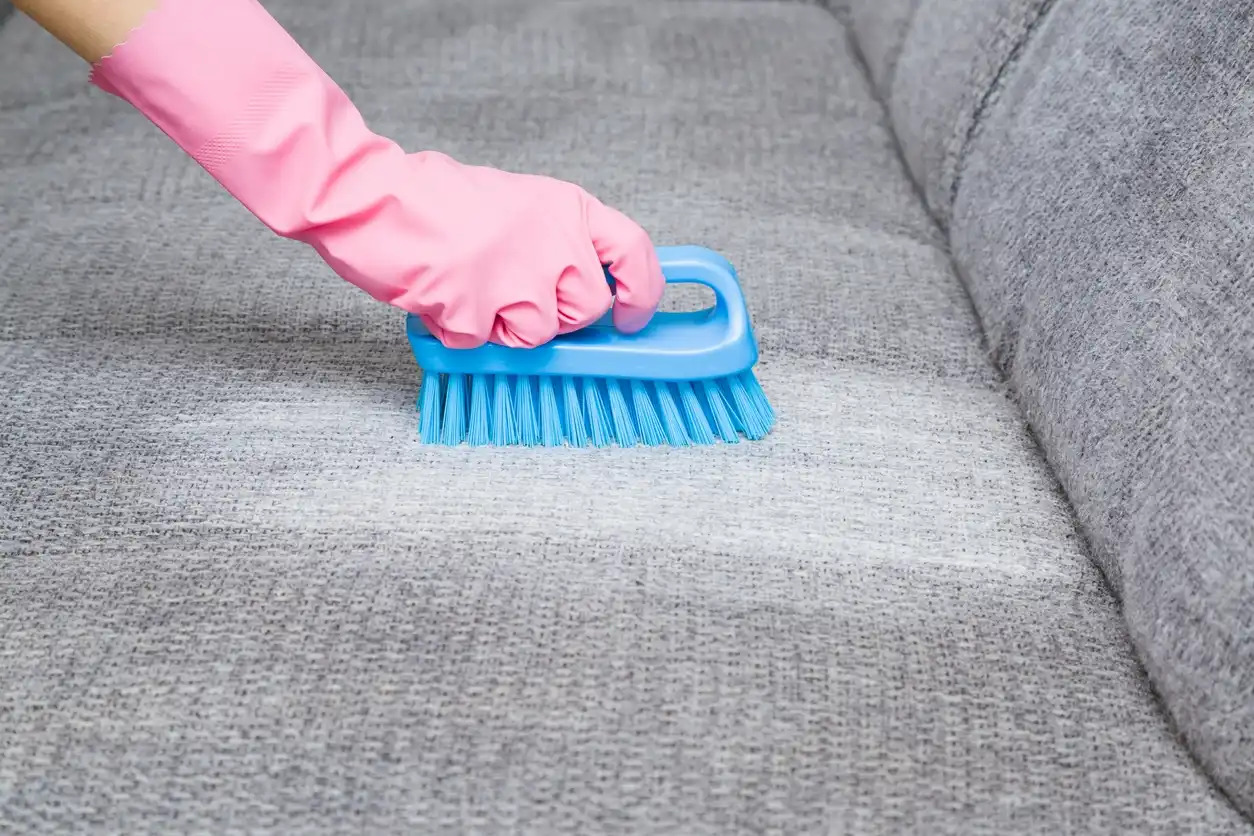
Finally, don’t forget to protect your hands by wearing rubber gloves. Some cleaning agents might irritate the skin, so it’s better to be safe than sorry.
With these supplies at your disposal, you are now ready to embark on the journey of cleaning your bathroom faucets and fixtures. In the next section, we will discuss how to prepare the surface for the cleaning process.
Preparing the Surface
Before diving into the actual cleaning process, it’s important to properly prepare the surface of your bathroom faucets and fixtures. This step will help loosen any dirt or grime, making it easier to clean and achieve spotless results.
Here’s how you can prepare the surface:
- Turn off the water supply: Locate the shut-off valve for your bathroom faucets and turn the water supply off. This will prevent any water from flowing as you clean, allowing you to focus on the surface without any interruptions.
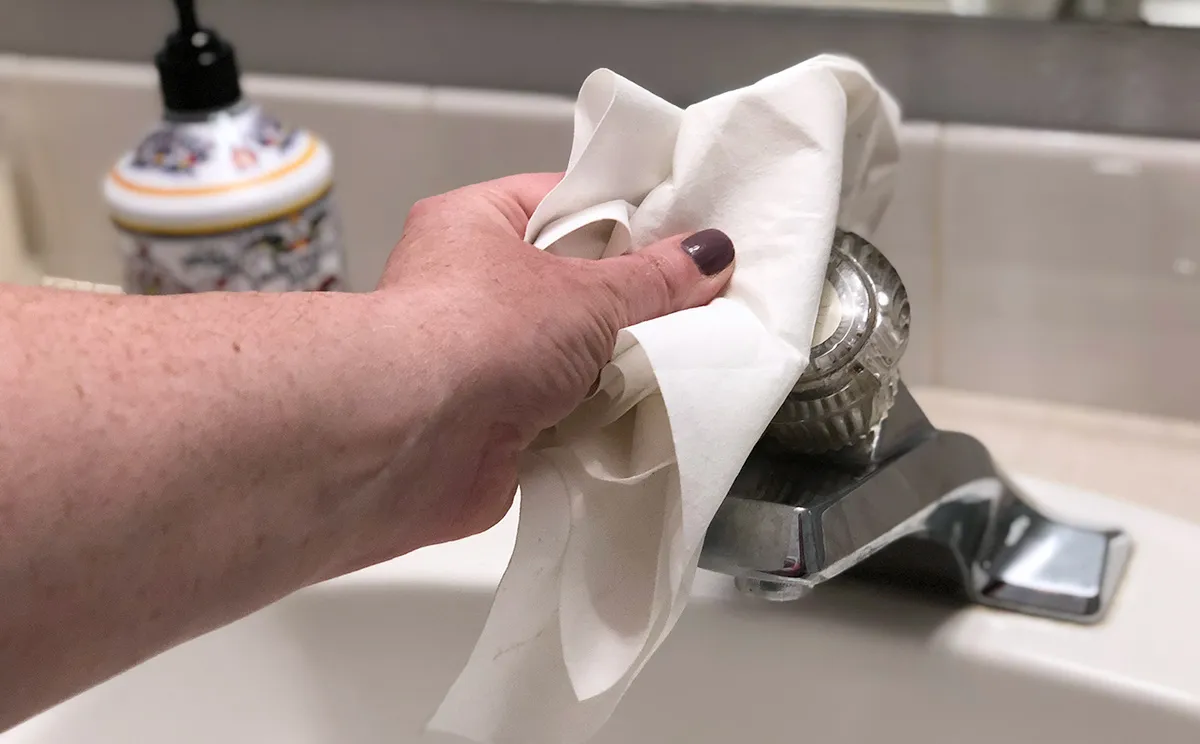
- Wipe down the surface: Use a clean microfiber or soft cloth to wipe down the faucets and fixtures, removing any surface dust or loose debris. This step will make the subsequent cleaning process more effective.
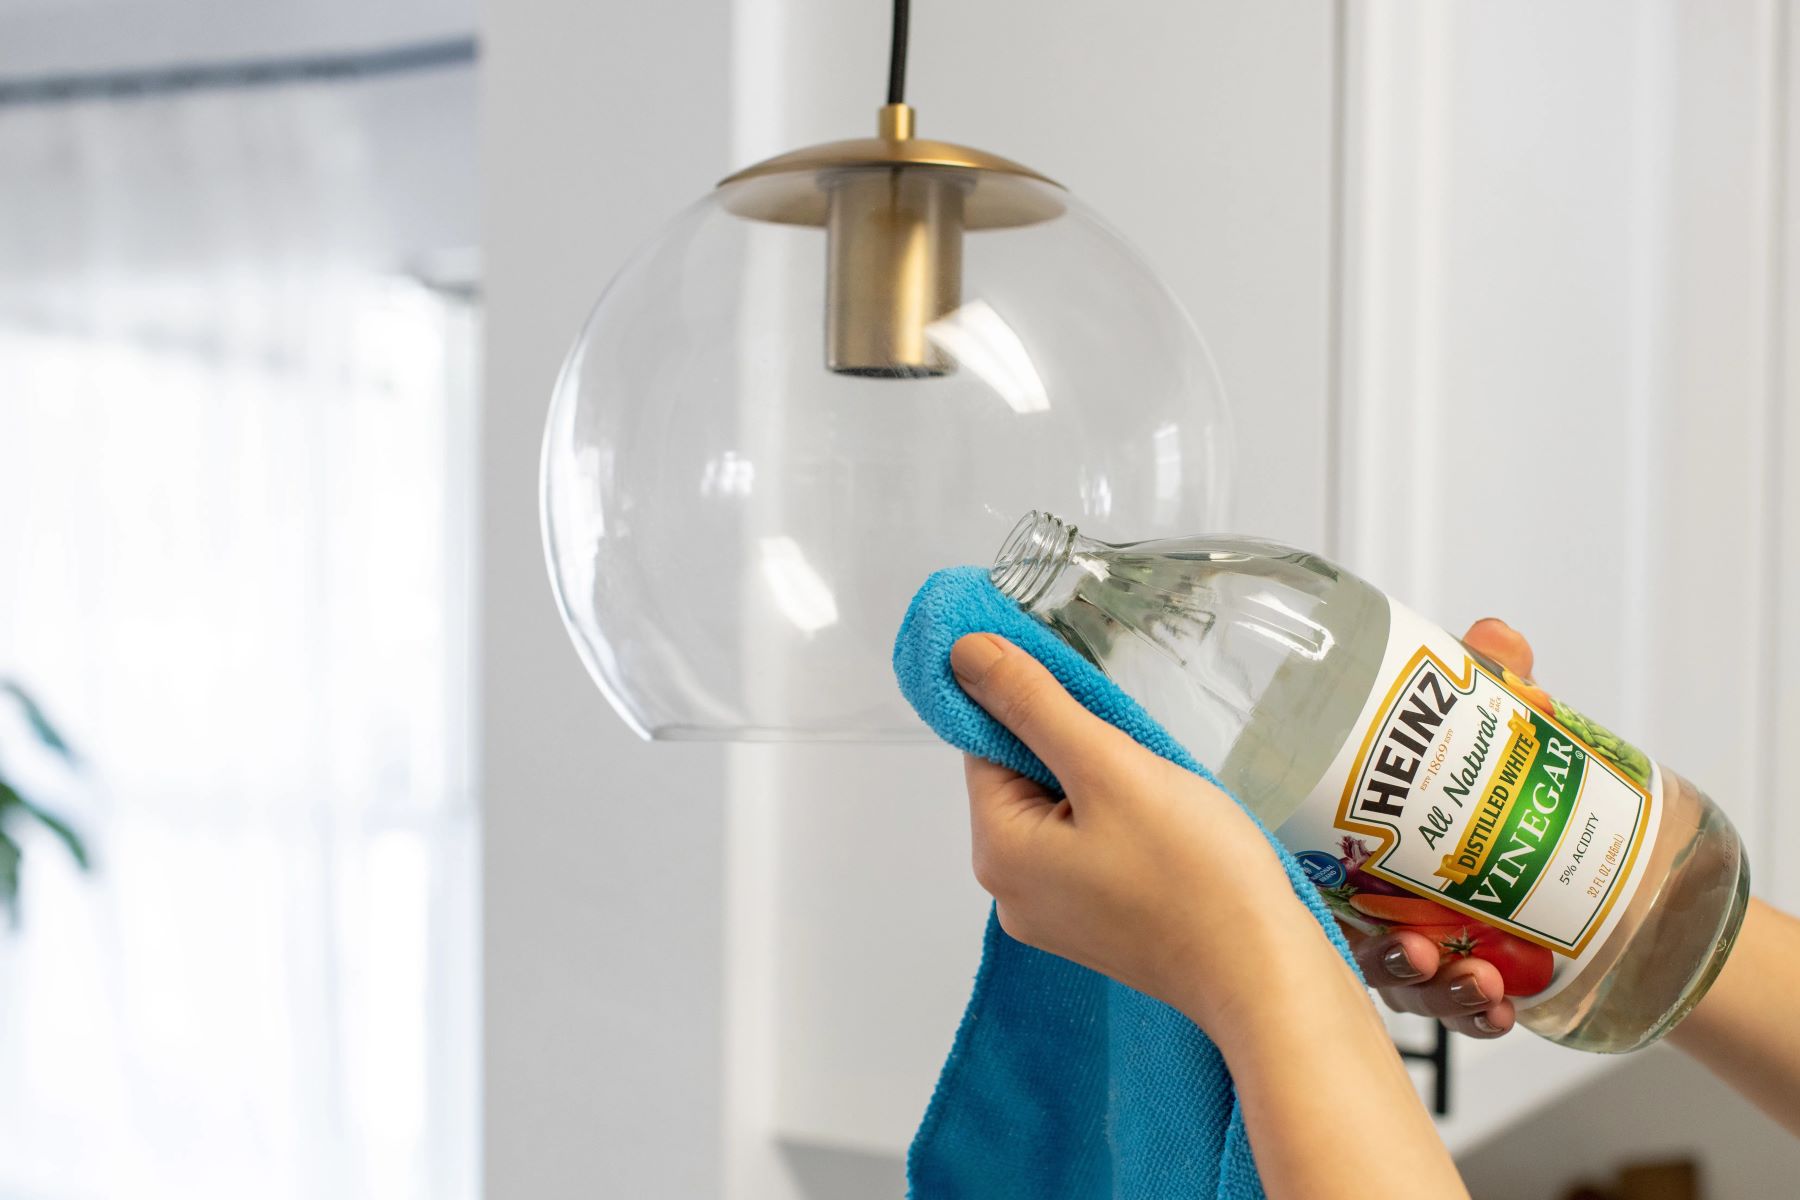
- Apply a cleaning agent: Depending on the severity of the dirt or grime, you can choose to apply a mild dish soap or bathroom cleaner directly to the surface. Alternatively, you can create a homemade cleaning solution using a mixture of white vinegar or lemon juice and water. This natural solution helps remove mineral deposits and adds extra shine to your fixtures.
- Let the cleaning agent sit: Allow the cleaning agent to sit on the surface for a few minutes. This will help break down stubborn stains and grime, making it easier to remove during the cleaning process.
By taking the time to prepare the surface properly, you are setting the stage for a more efficient and thorough cleaning. Now let’s move on to the next step – cleaning the faucet handles.
Cleaning the Faucet Handles
The faucet handles in your bathroom are one of the most frequently touched areas, which means they can accumulate dirt and grime quickly. Cleaning them regularly will not only keep them looking good but also maintain good hygiene.
Follow these steps to clean the faucet handles:
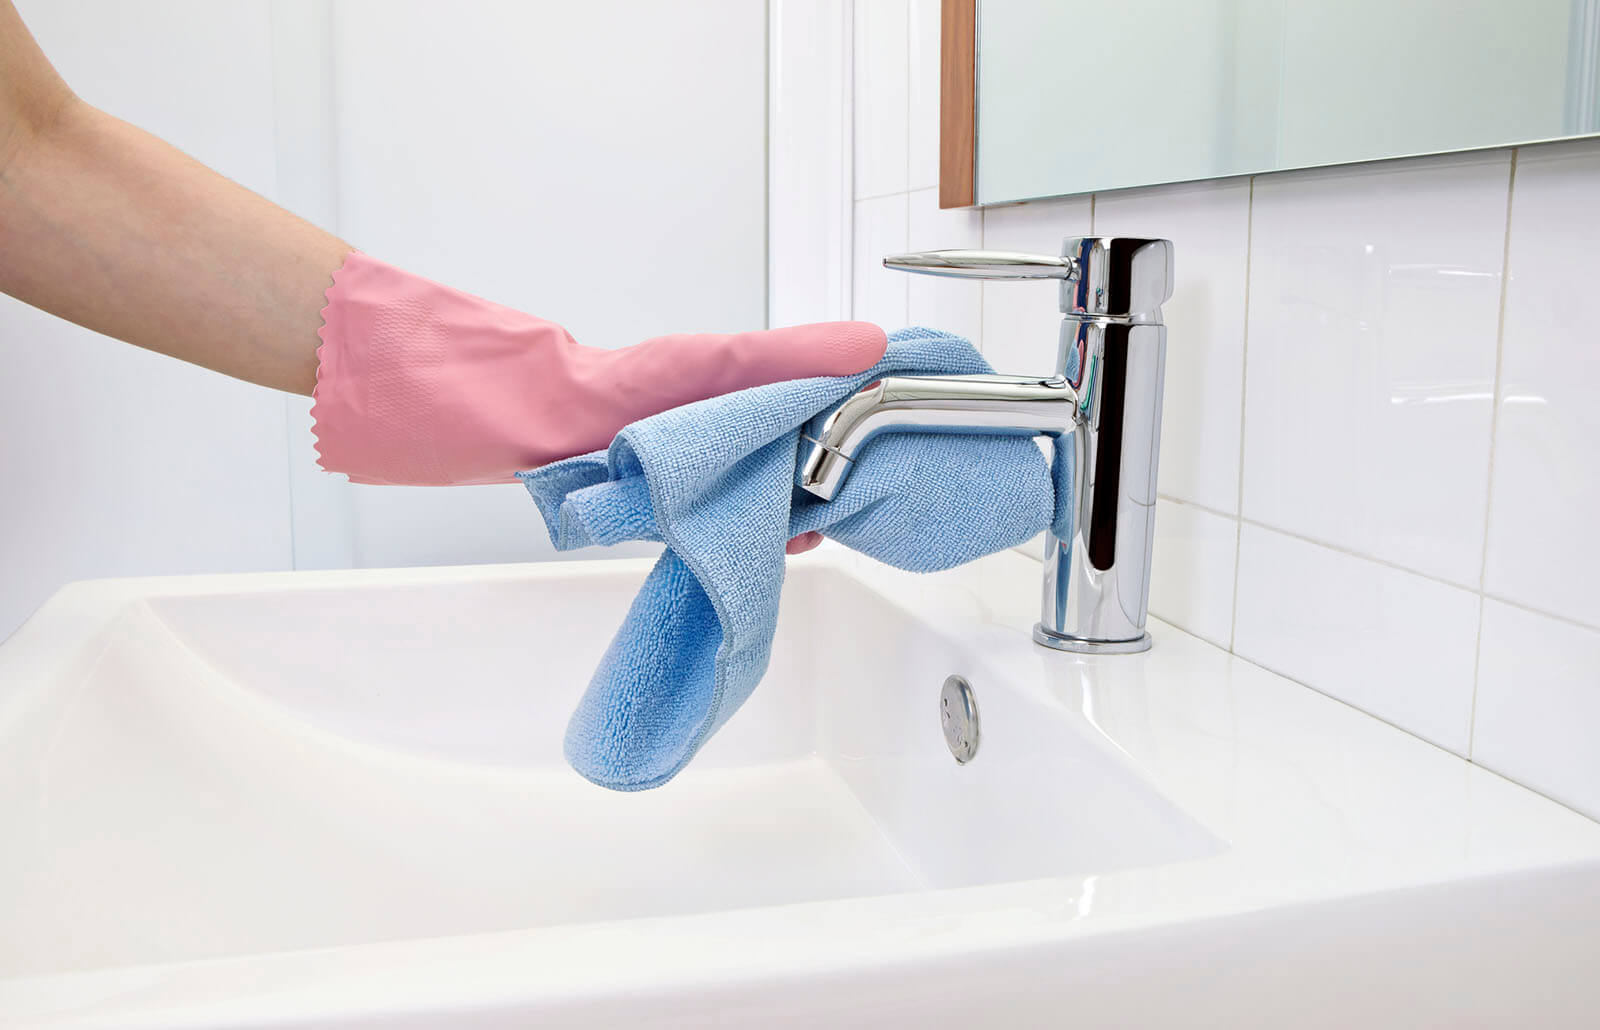
- Dampen a clean microfiber or soft cloth with warm water. This will help loosen any surface dirt and make the cleaning process easier.
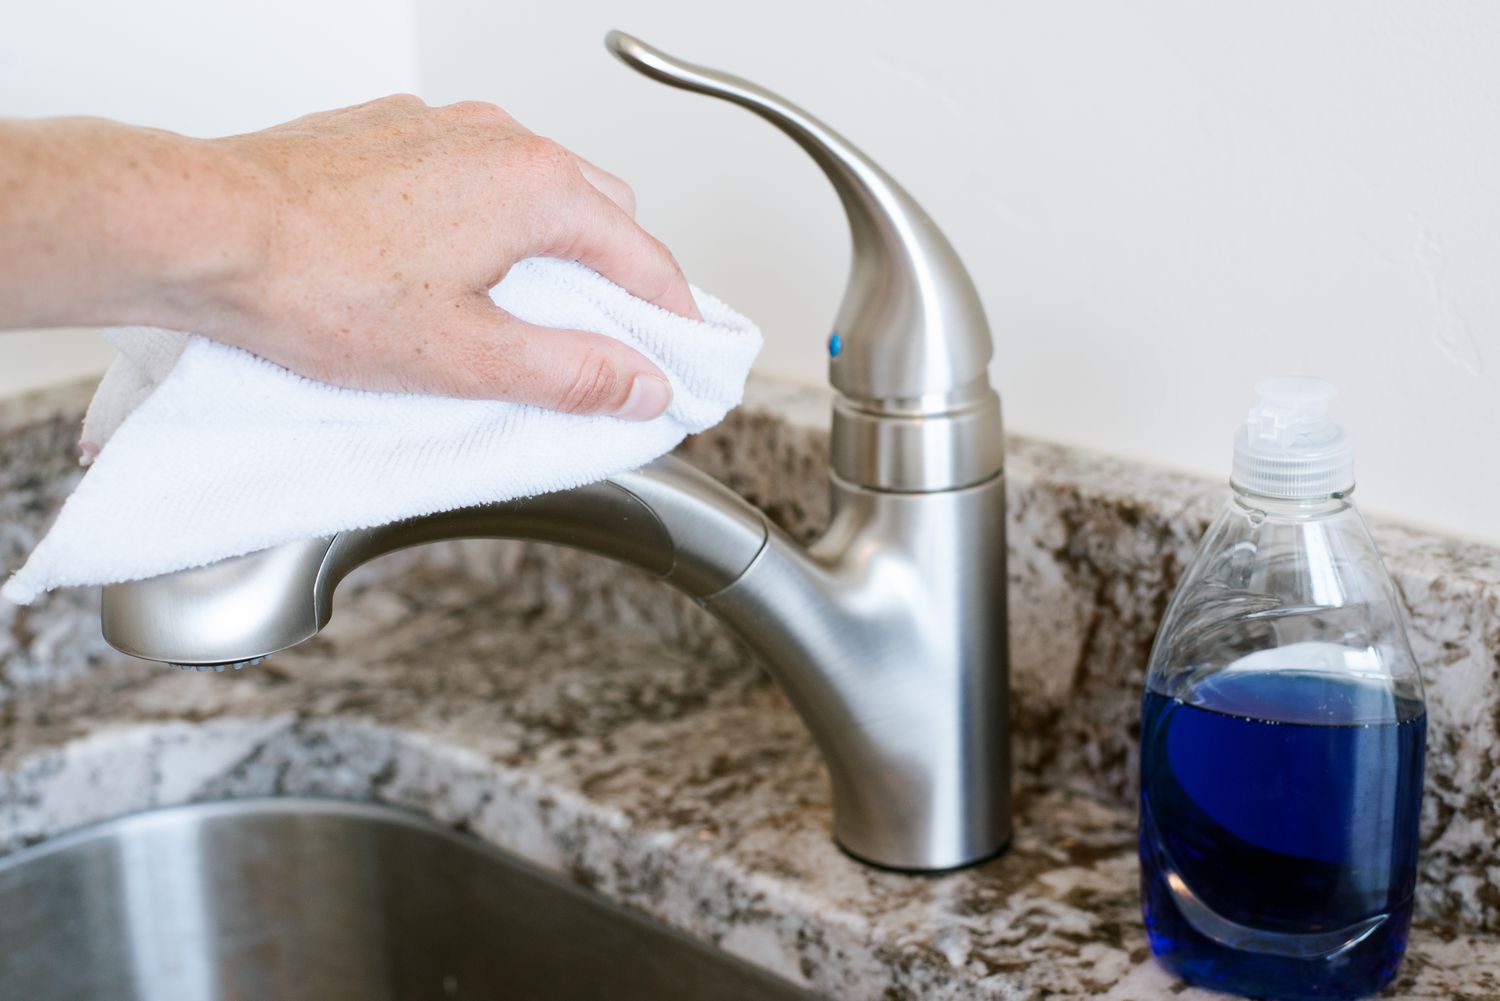
- Apply a small amount of mild dish soap or bathroom cleaner to the cloth. Gently scrub the handles, paying attention to any crevices or grooves where dirt may be trapped.
- If there are any stubborn stains or sticky residue, dampen an old toothbrush or small brush with the cleaning solution and use it to scrub those areas.
- Rinse the handles thoroughly with warm water to remove any soap residue.
- Dry the faucet handles with a clean, dry cloth to prevent water spots or streaks from forming.
It’s important to use gentle pressure and avoid using abrasive materials or harsh chemicals that could damage the finish of the faucet handles. If your faucet handles have a specific cleaning recommendation from the manufacturer, make sure to follow those instructions.
By regularly cleaning your faucet handles, you can maintain their appearance and functionality while promoting a clean and healthy bathroom environment. Next, let’s move on to deep cleaning the faucet spout.
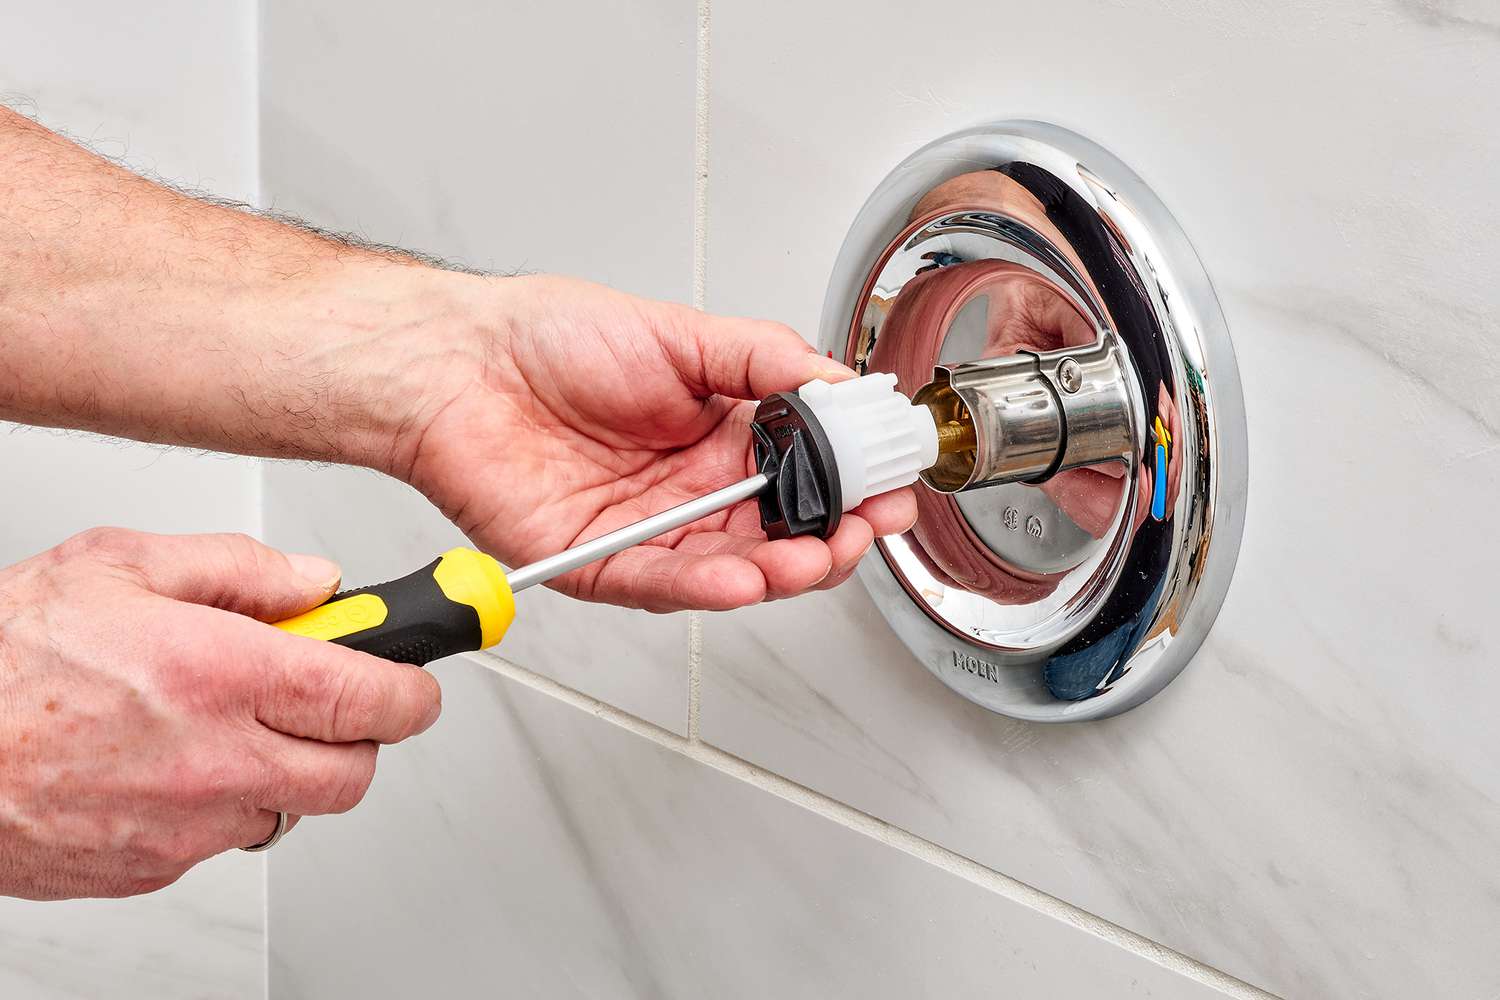
Deep Cleaning the Faucet Spout
The faucet spout is another important component of your bathroom faucet that requires regular cleaning to maintain its shine and functionality. Over time, mineral deposits and grime can build up inside the spout, affecting the flow of water and diminishing its overall appearance.
Follow these steps to deep clean the faucet spout:
- Start by unscrewing or detaching the aerator from the end of the faucet spout, if possible. The aerator is a small mesh screen that can collect debris and mineral deposits, affecting the water flow. Soak the aerator in a mixture of equal parts water and vinegar or lemon juice to dissolve any buildup. Scrub it gently with a toothbrush, rinse it, and reattach it to the spout.
- If you cannot remove the aerator, soak a clean cloth or paper towel in vinegar or lemon juice. Wrap the cloth or paper towel around the end of the faucet spout and secure it with a rubber band. Let it sit for about 15-20 minutes to allow the cleaning solution to break down mineral deposits.
- After the soaking period, remove the cloth or paper towel, and use an old toothbrush or small brush to scrub the inside of the spout. Pay extra attention to any areas where grime or mineral deposits may have accumulated.
- Rinse the spout thoroughly with warm water, ensuring that all traces of the cleaning solution are removed. Use a cotton swab or toothpick to clean out any hard-to-reach areas if necessary.
- Dry the faucet spout with a clean, dry cloth to prevent water spots or streaks from forming.
Deep cleaning the faucet spout will not only improve the water flow but also enhance the overall appearance of your bathroom faucet. By regularly maintaining the spout, you can enjoy a clean and efficient bathroom experience. Next, let’s move on to removing mineral deposits from the faucets and fixtures.
Use a mixture of equal parts water and white vinegar to clean bathroom faucets and fixtures. Spray the solution onto the surfaces, let it sit for a few minutes, then wipe clean with a microfiber cloth for spotless results.
Read more: How To Clean Moen Kitchen Faucet
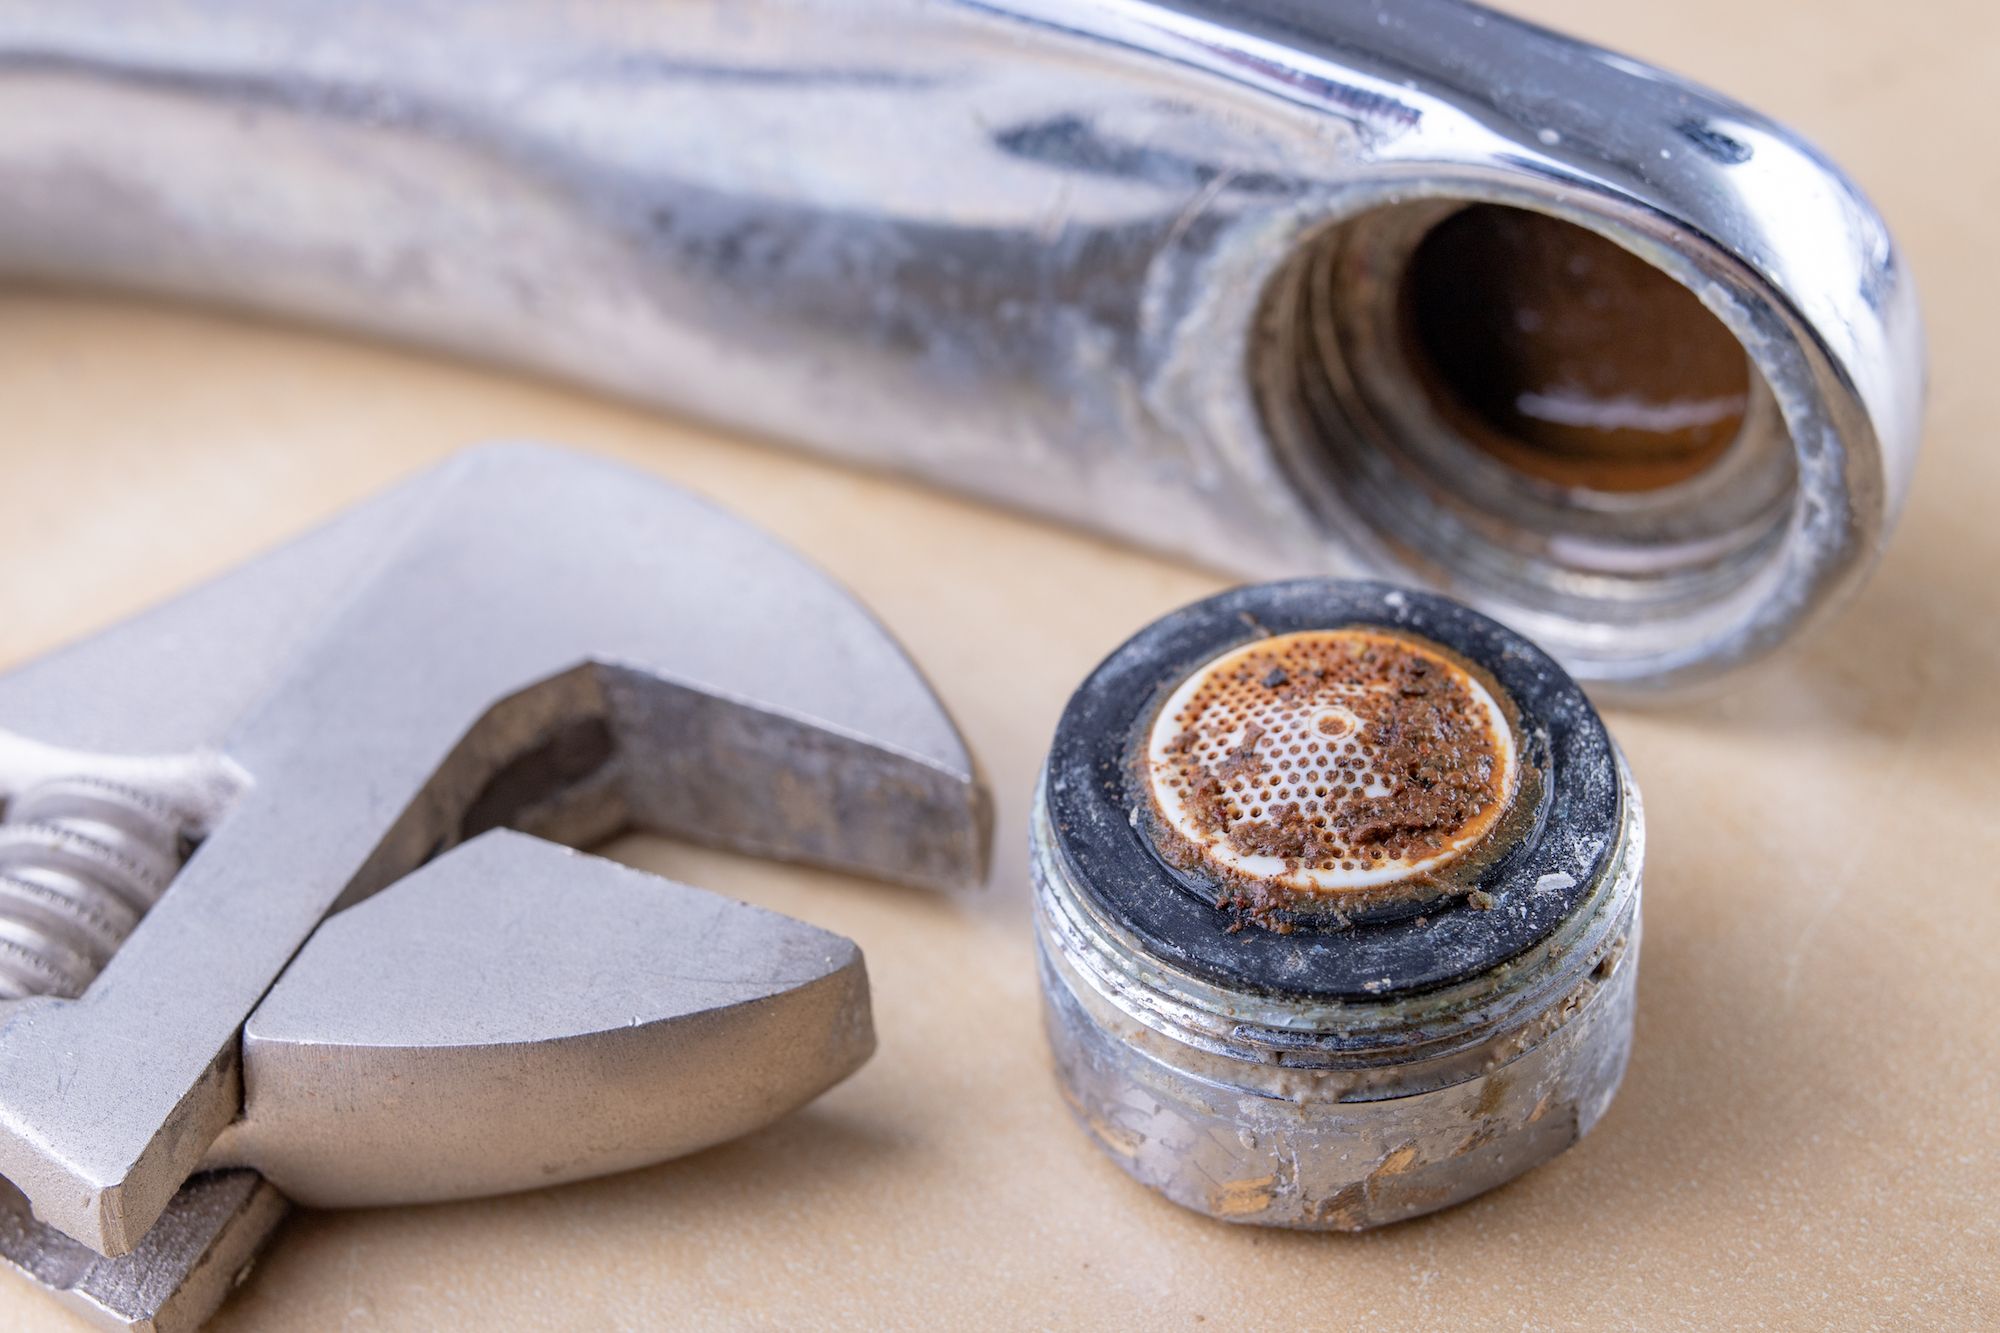
Removing Mineral Deposits
Mineral deposits, such as limescale and calcium buildup, can accumulate on bathroom faucets and fixtures over time. These deposits can give your fixtures a dull and dirty appearance. Fortunately, there are effective methods to remove mineral deposits and restore the shine of your faucets and fixtures.
Here’s how to remove mineral deposits:
- Soak a cloth or paper towel in white vinegar or lemon juice. These acidic solutions are excellent for breaking down mineral deposits.
- Wrap the cloth or paper towel around the affected areas, ensuring that the deposits are fully covered. Secure the cloth or paper towel with a rubber band or clip, if necessary.
- Let the vinegar or lemon juice soak on the deposits for at least 30 minutes. The acid will dissolve the mineral buildup, making it easier to remove.
- After the soaking period, use a soft-bristled brush or toothbrush to gently scrub the affected areas. The brush will help loosen and remove the loosened deposits.
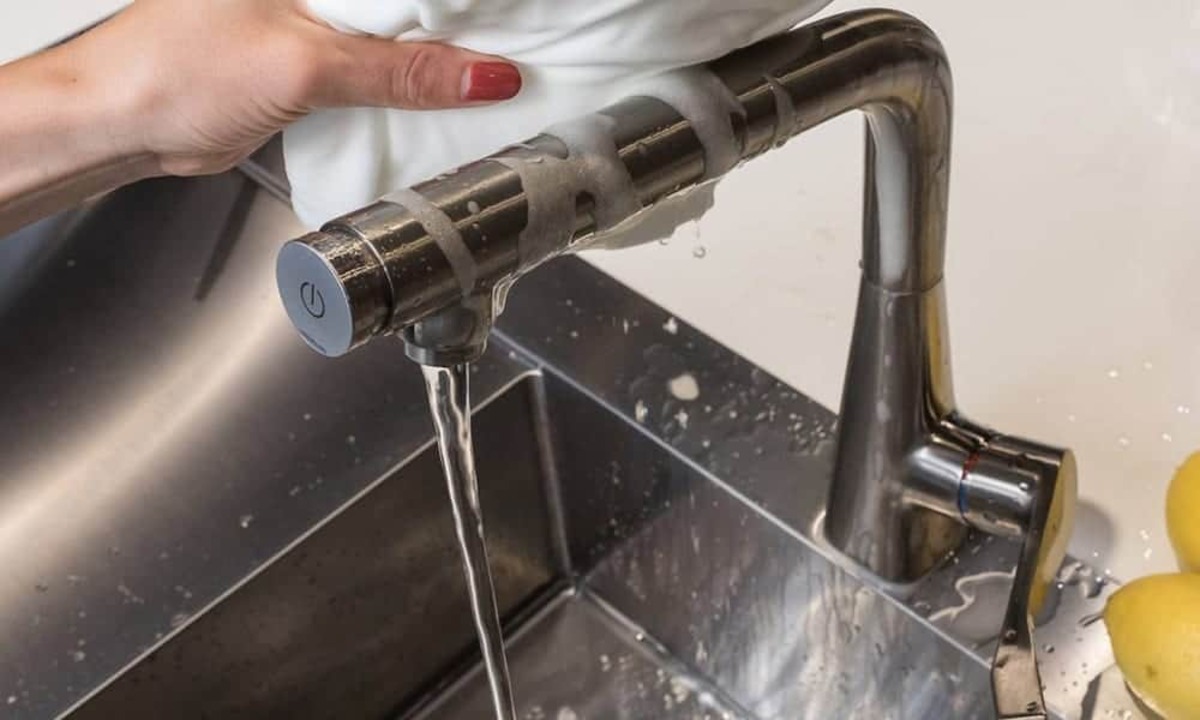
- Rinse the faucets and fixtures thoroughly with warm water to remove any remaining residue.
- If there are stubborn deposits that do not come off with vinegar or lemon juice, create a paste with baking soda and water. Apply the paste to the affected areas and let it sit for 15-20 minutes. Scrub with a soft brush, then rinse well with warm water.
Regularly removing mineral deposits will not only maintain the aesthetic appeal of your faucets and fixtures but also ensure their longevity and functionality. The next step is cleaning the showerhead, which is often prone to mineral buildup. Let’s dive in!
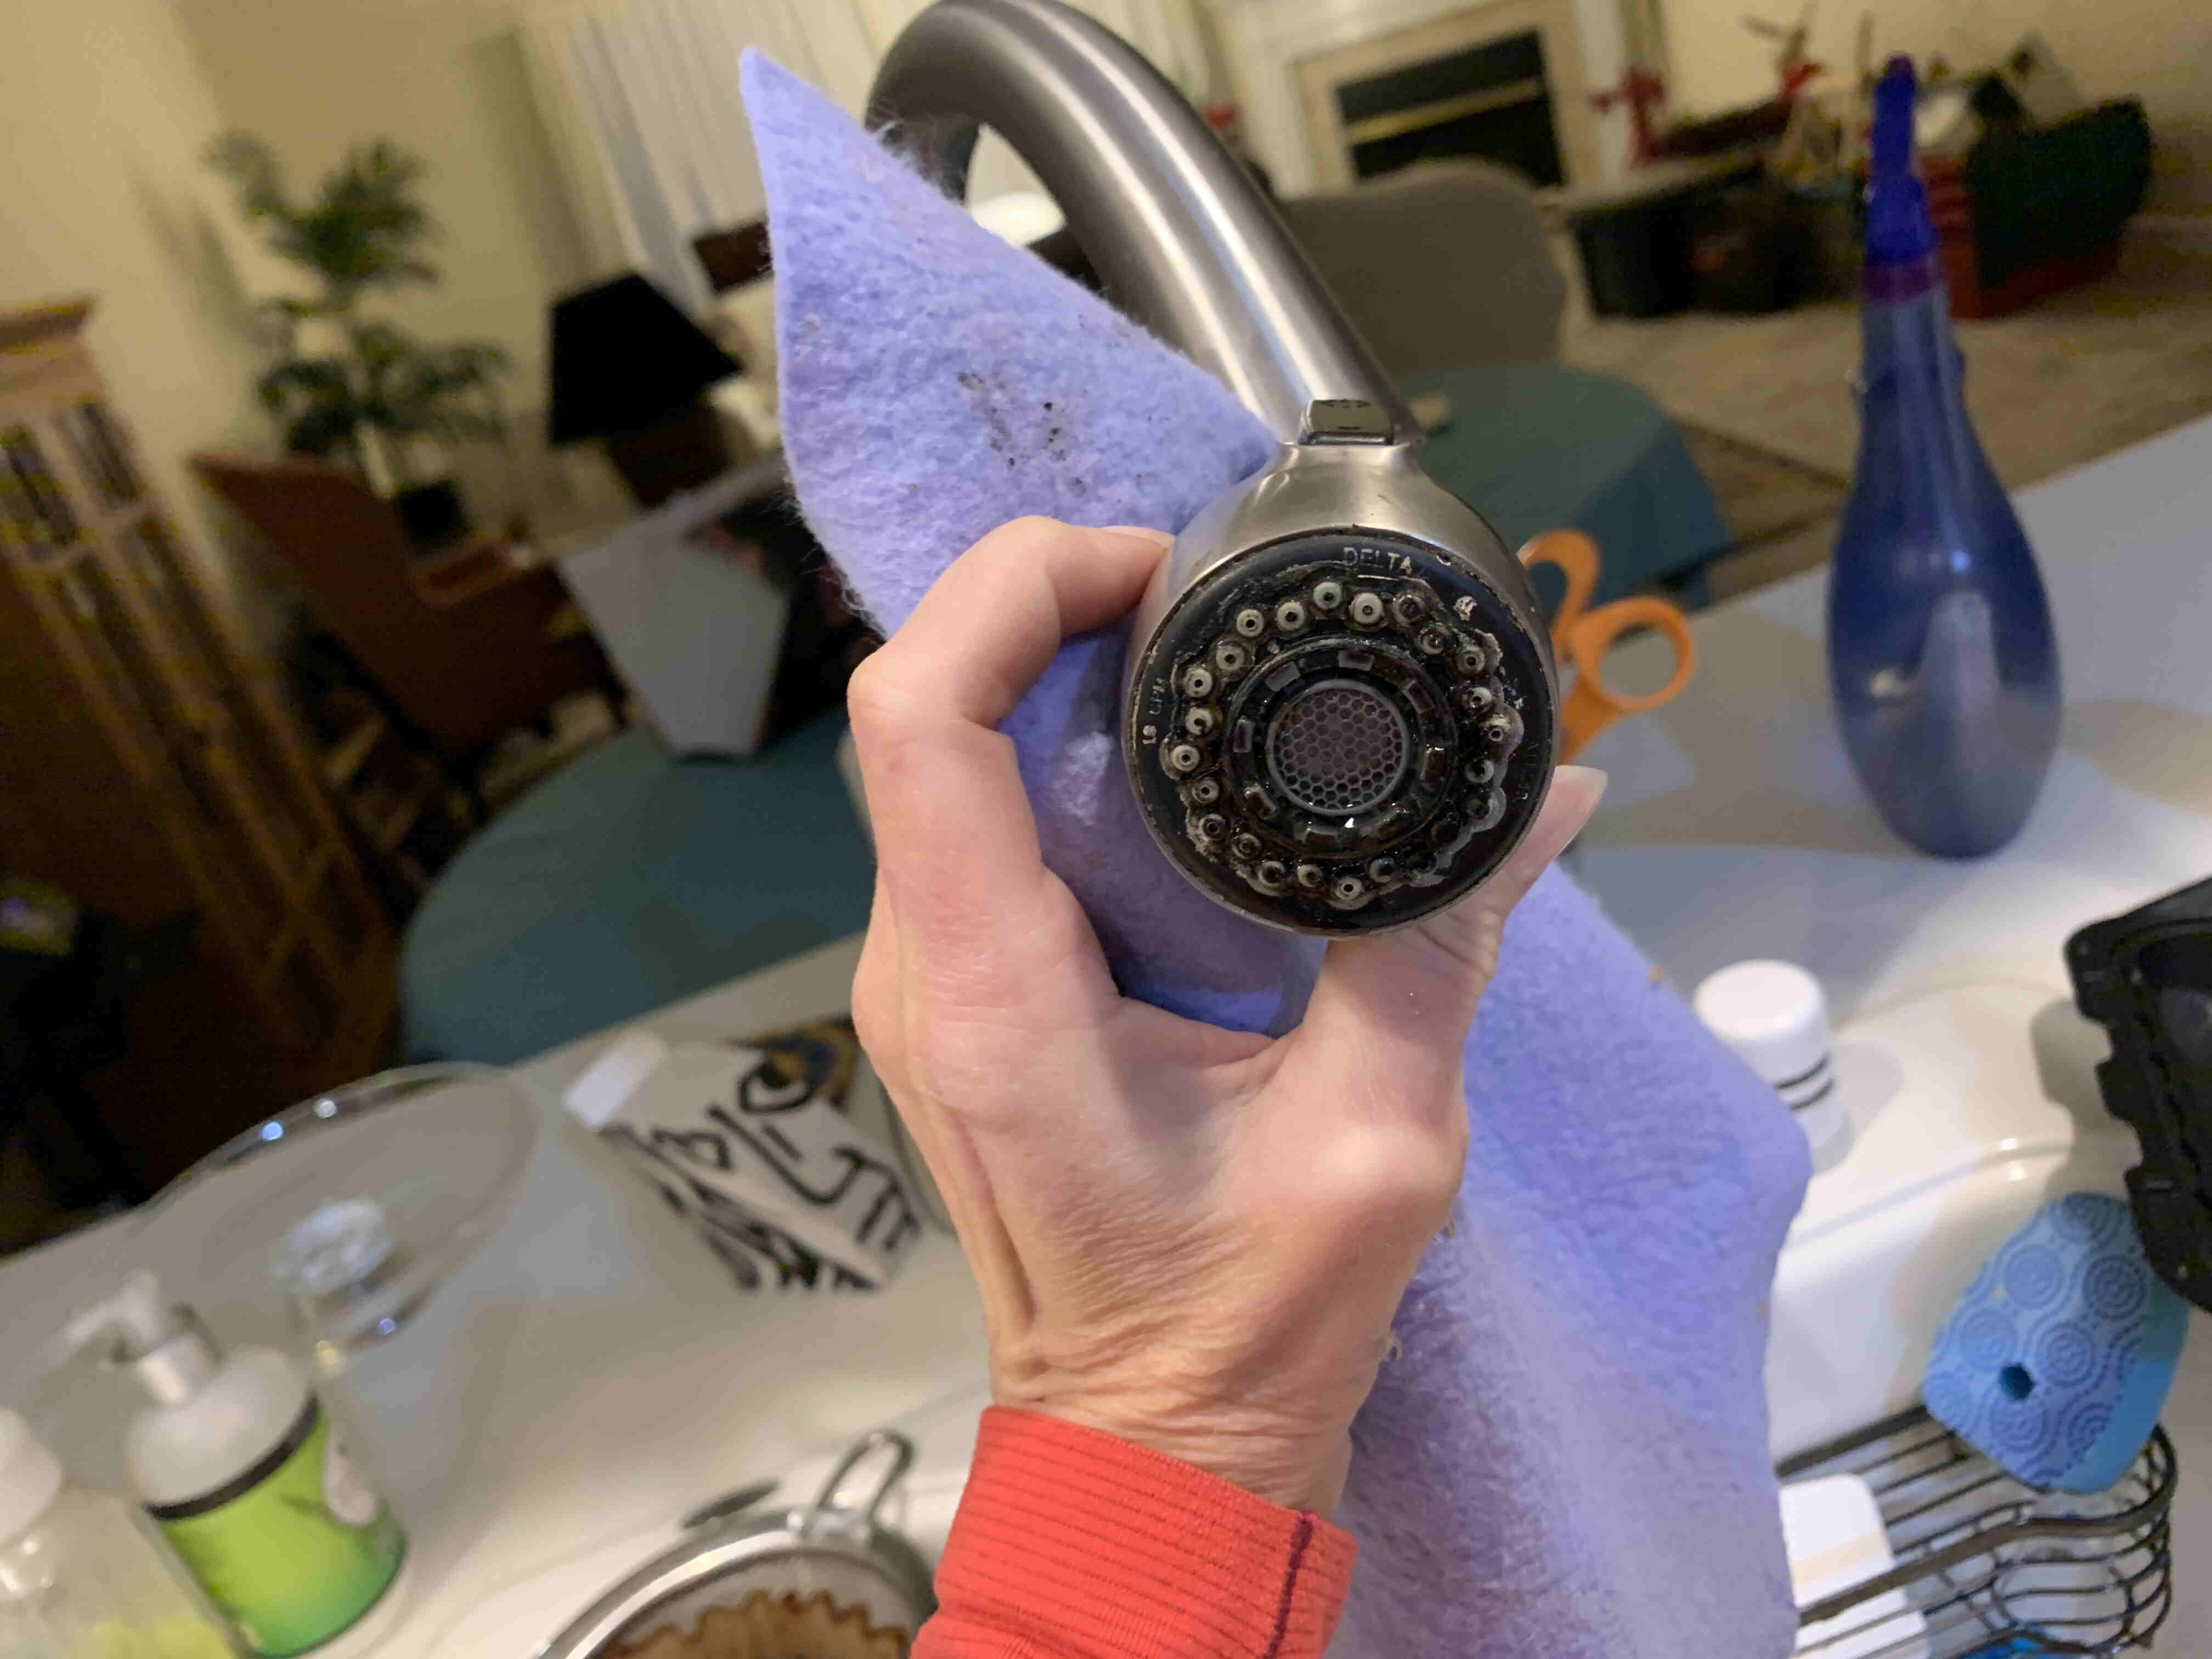
Cleaning the Showerhead
The showerhead is an integral part of your bathroom that can accumulate mineral deposits, soap scum, and bacteria over time. Cleaning the showerhead regularly will ensure a steady flow of water and a refreshing shower experience. Here’s how you can clean your showerhead:
- Fill a plastic bag or container with equal parts water and white vinegar.
- Submerge the showerhead in the vinegar mixture, ensuring that it is fully immersed. If you cannot remove the showerhead, you can wrap the plastic bag around it and secure it with a rubber band, making sure that the vinegar mixture covers the entire showerhead.
- Allow the showerhead to soak in the vinegar mixture for at least 30 minutes. The vinegar’s acidity will help dissolve mineral deposits and other buildup.
- After the soaking period, remove the showerhead from the vinegar mixture and use a toothbrush or a small brush to scrub away any remaining debris or mineral deposits.
- Rinse the showerhead thoroughly with warm water to remove any vinegar residue. Ensure that all openings are clear and free from debris.
- If there are stubborn mineral deposits that do not come off easily, you can create a paste of baking soda and water. Apply the paste to the showerhead and let it sit for a few minutes before scrubbing and rinsing it off.
Regularly cleaning your showerhead will not only maintain water pressure and flow but also contribute to a more hygienic showering experience. Additionally, it can help prevent clogs and extend the lifespan of your showerhead. Next, let’s discuss how to polish the fixtures to achieve a sparkling finish.
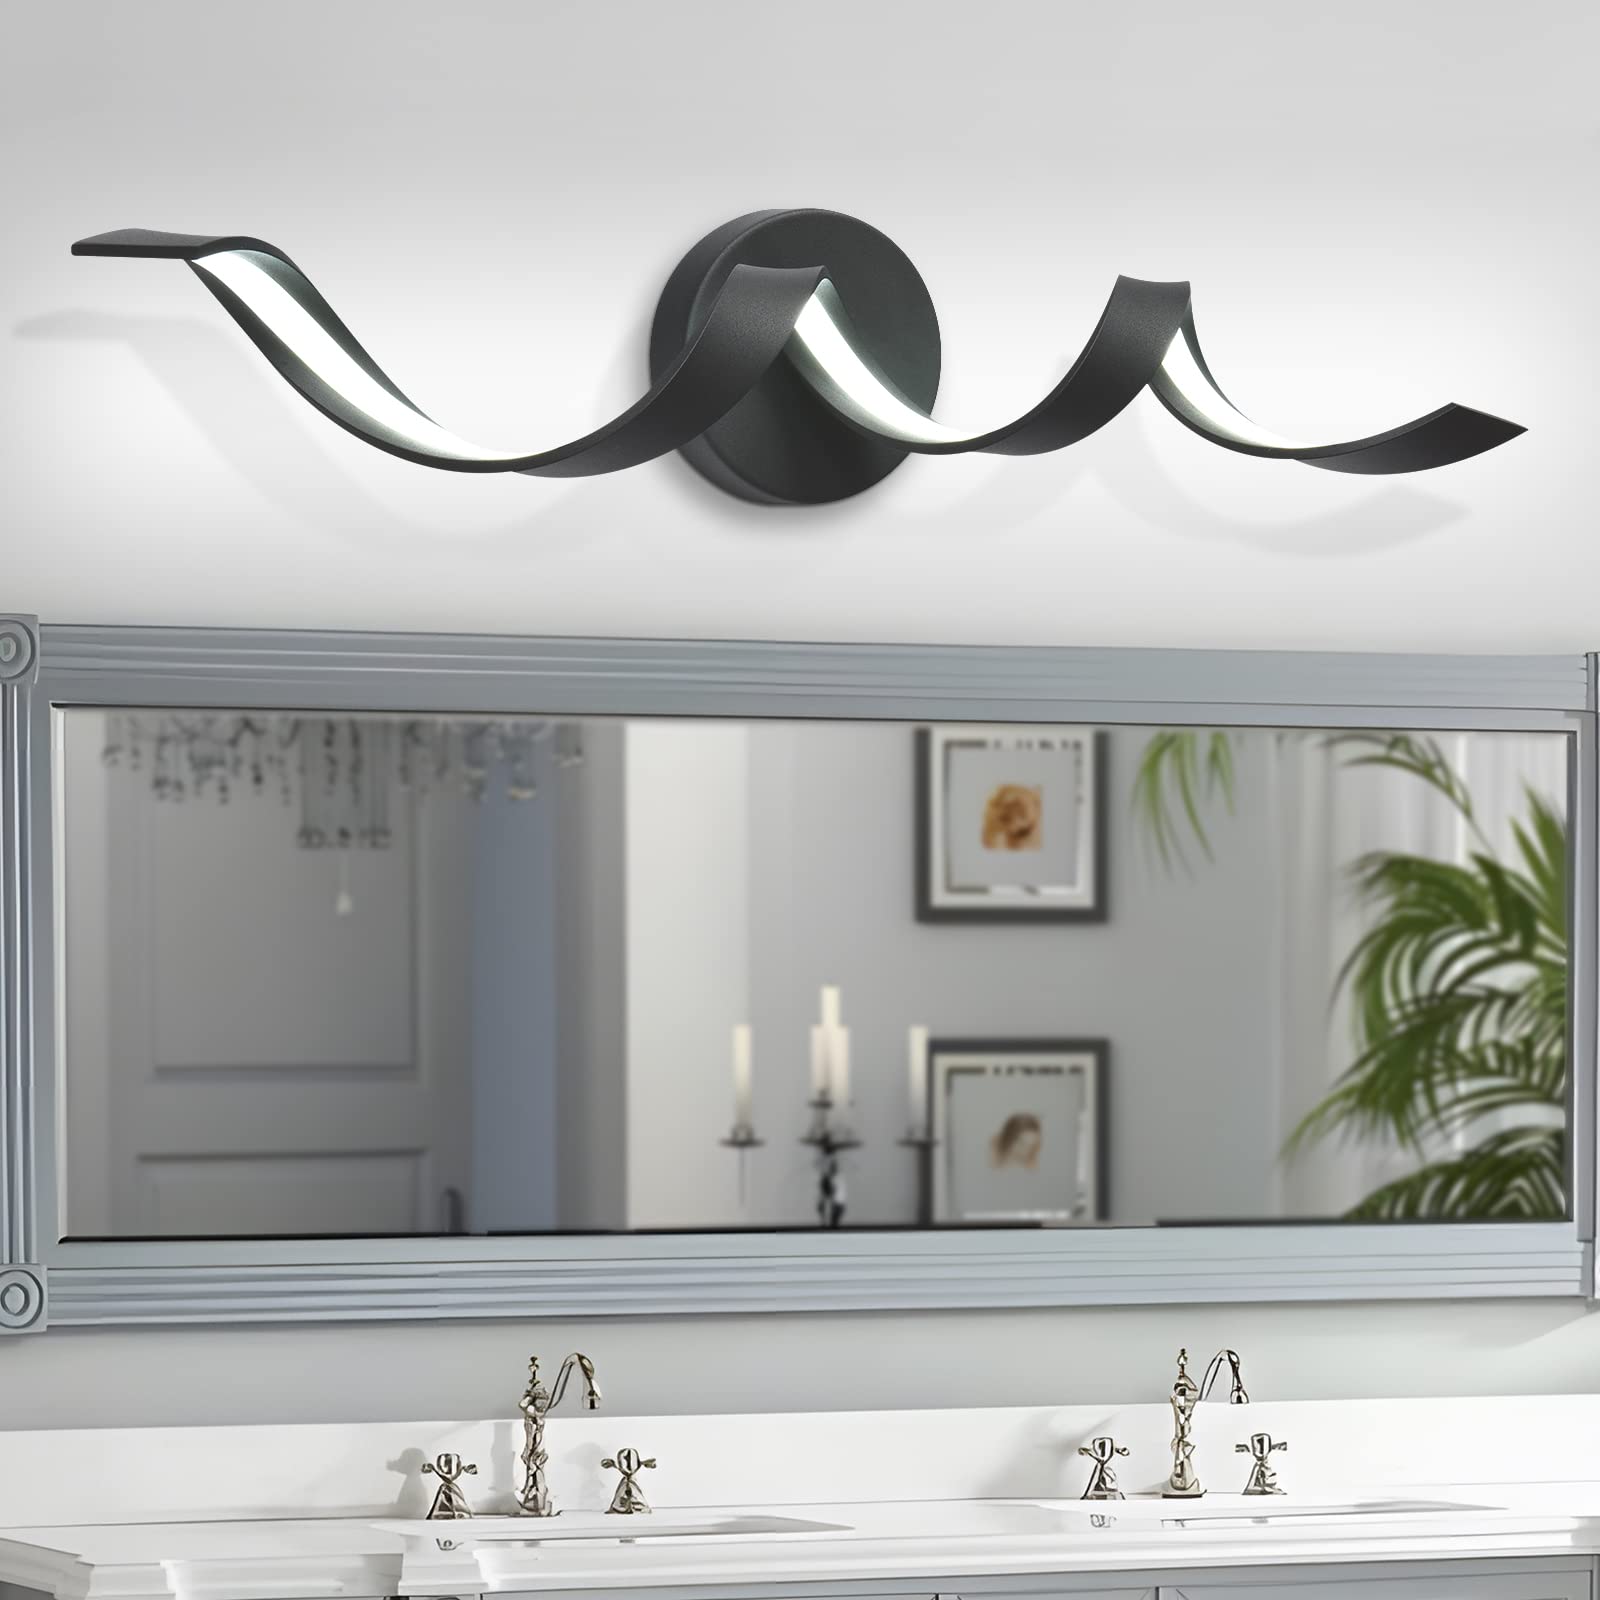
Polishing the Fixtures
Polishing the fixtures in your bathroom is the final step in achieving a sparkling finish. It adds a touch of elegance and helps maintain the shine of your faucets and hardware. Here’s how you can polish your bathroom fixtures:
- Start by drying the fixtures thoroughly with a clean cloth to remove any water or moisture.
- Apply a small amount of metal polish specifically designed for the type of material your fixtures are made of (e.g., chrome, brass, stainless steel) onto a soft cloth.
- Gently rub the polish onto the fixtures, focusing on any tarnished or dull areas. Follow the manufacturer’s instructions for the specific polish you are using.
- Use circular motions to buff the fixtures, applying light pressure. This will help remove any stains or imperfections and restore the shine.
- Once you have polished the fixtures, use a clean cloth to wipe away any excess polish and achieve a streak-free shine. Make sure to reach all the nooks and crannies.
- For fixtures with intricate details or hard-to-reach areas, you can use a cotton swab or a soft-bristled brush dipped in polish to clean and polish those specific spots.
- Finally, step back and admire the gleaming beauty of your polished fixtures.
Polishing your bathroom fixtures not only enhances their appearance but also helps protect them from oxidation and corrosion. It’s a simple yet effective way to maintain their longevity and keep your bathroom looking elegant. Once you have completed the polishing process, it’s time to move on to the final section – maintaining spotless surfaces.
Maintaining Spotless Surfaces
Now that you have cleaned and polished your bathroom faucets and fixtures to perfection, it’s important to adopt a regular maintenance routine to keep them looking spotless. By following a few simple steps, you can ensure that your bathroom stays clean and inviting. Here are some tips:
- Wipe down the faucets and fixtures regularly with a soft, dry cloth to remove any water spots or smudges. This simple step can help prevent the accumulation of dirt and maintain their shine.
- After each use, dry the surfaces thoroughly to prevent water droplets from evaporating and leaving behind mineral deposits. This will also minimize the chances of soap scum or grime buildup.
- If you notice any water stains or mineral deposits starting to form, address them promptly. Use a mild cleaning agent like vinegar or lemon juice to gently remove the stains before they become more challenging to tackle.
- Maintain good ventilation in your bathroom to reduce moisture and prevent mold or mildew growth. Use an exhaust fan or open a window when showering to allow proper air circulation.
- Regularly check and clean the aerator on your faucets to ensure a consistent water flow. This will prevent debris from building up and potentially slowing down the water flow.
- When cleaning your bathroom, avoid using abrasive cleaners, scrub brushes, or harsh chemicals on the faucets and fixtures. These can damage the finish and diminish their shine.
- Consider using a protective wax or sealant specifically designed for the material of your fixtures. This will create a barrier that prevents water spots and stains from forming and makes cleaning easier.
- Stay vigilant and address any plumbing issues promptly. Leaking faucets or fixtures can lead to water stains and damage over time.
- Lastly, encourage everyone in your household to practice good hygiene habits in the bathroom. Regularly remind them to wash their hands and avoid touching the fixtures with dirty or wet hands.
By incorporating these maintenance practices into your routine, you can enjoy a clean and shimmering bathroom for years to come. Remember, a little effort goes a long way in maintaining spotless surfaces!
With this comprehensive guide, you now have all the knowledge and steps needed to clean and maintain your bathroom faucets and fixtures. By following these tips and techniques, you can ensure that your bathroom remains a pristine and inviting space. So go ahead, put on those gloves, gather your cleaning supplies, and let your bathroom fixtures shine!
If you have any additional questions or need further assistance, feel free to reach out. Happy cleaning!
Read more: How To Clean Faucet With Vinegar
Conclusion
Cleaning and maintaining bathroom faucets and fixtures is essential for both hygiene and aesthetics. These elements not only add functionality to your bathroom but also contribute to its overall appearance. By following the steps outlined in this comprehensive guide, you can achieve spotless and gleaming surfaces that will enhance the beauty of your bathroom.
From gathering the necessary supplies to preparing the surface, and from cleaning the faucet handles and deep cleaning the faucet spout to removing mineral deposits, cleaning the showerhead, and polishing the fixtures, each step plays a crucial role in achieving the desired results.
By regularly cleaning and polishing your bathroom fixtures, you not only enhance their appearance but also ensure their longevity. Additionally, adopting a maintenance routine and practicing good hygiene habits will help keep your bathroom looking inviting and spotless for years to come.
Remember, it’s important to use the right cleaning agents and tools to avoid damaging the surface of your faucets and fixtures. Always follow manufacturer’s instructions and exercise caution when scrubbing or applying cleaners.
By following the tips and techniques provided in this guide and putting them into practice, you can transform your bathroom faucets and fixtures into sparkling focal points that elevate the overall ambiance of your bathroom.
Now it’s time to put your new knowledge into action! Gather your supplies, roll up your sleeves, and start the journey to a cleaner and more beautiful bathroom. Your faucets and fixtures are waiting to shine!
If you have any further questions or need assistance, don’t hesitate to reach out. Happy cleaning!
Frequently Asked Questions about How To Clean Bathroom Faucets And Fixtures For Spotless Surfaces
Was this page helpful?
At Storables.com, we guarantee accurate and reliable information. Our content, validated by Expert Board Contributors, is crafted following stringent Editorial Policies. We're committed to providing you with well-researched, expert-backed insights for all your informational needs.

0 thoughts on “How To Clean Bathroom Faucets And Fixtures For Spotless Surfaces”