Articles
How To Clean Floor Mats In Car
Modified: February 23, 2024
Learn how to clean floor mats in your car with these easy and effective articles. Keep your mats looking fresh and extend their lifespan.
(Many of the links in this article redirect to a specific reviewed product. Your purchase of these products through affiliate links helps to generate commission for Storables.com, at no extra cost. Learn more)
Introduction
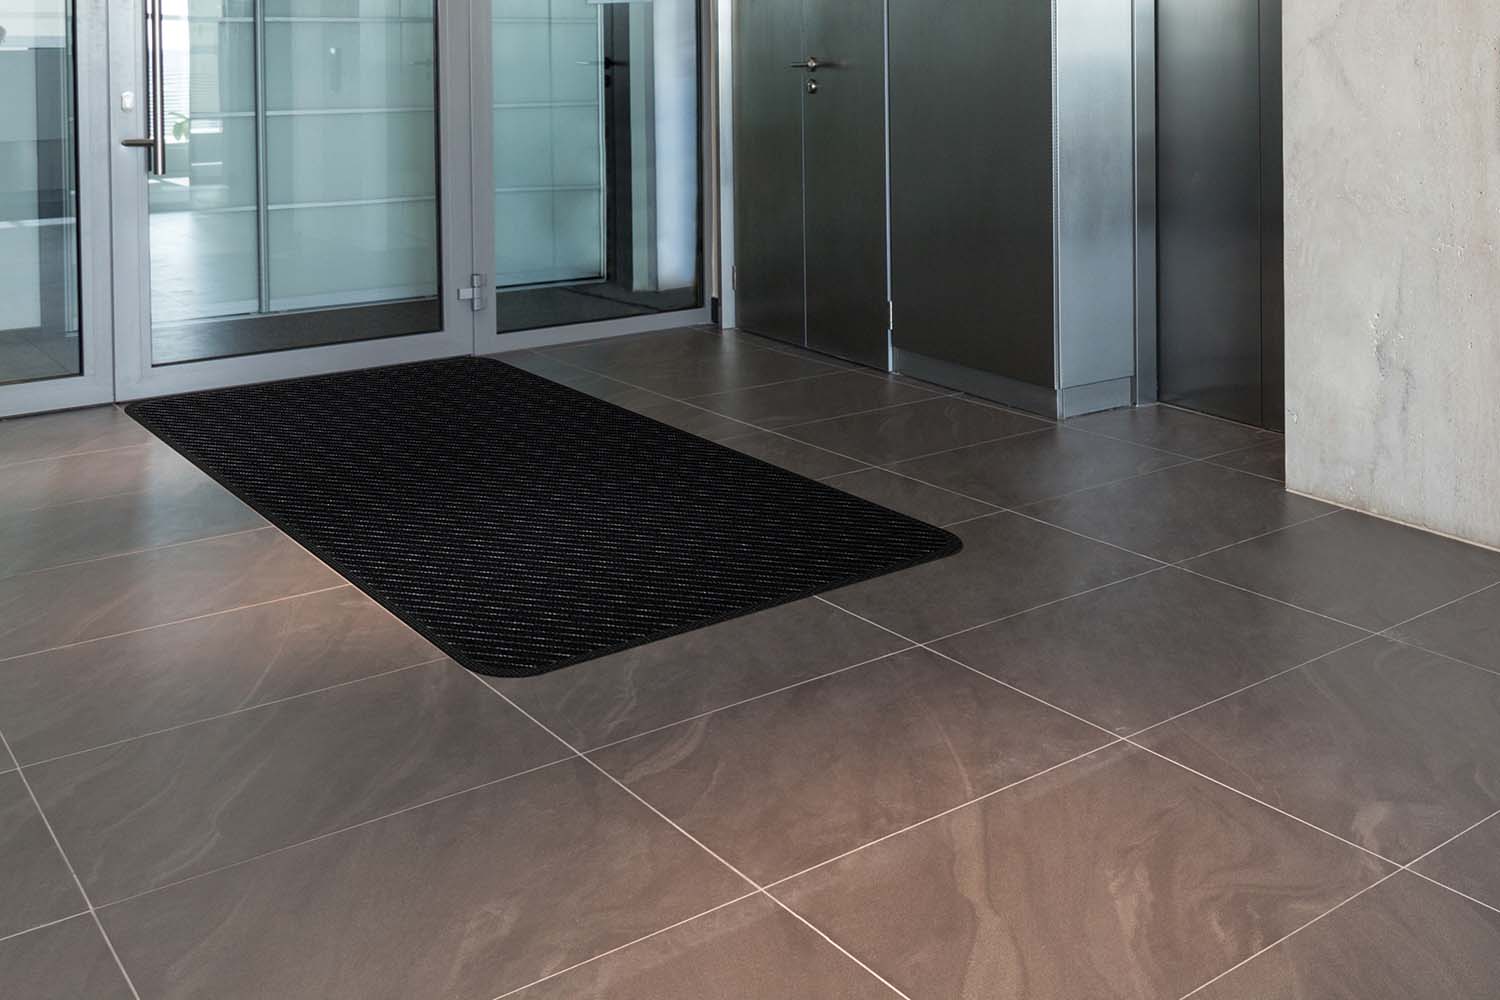
Floor mats are an essential accessory in your car that help protect the interior from dirt, debris, and spills. Over time, these mats can accumulate a significant amount of dirt, making them appear dirty and worn out. Cleaning your car floor mats not only enhances the overall appearance of your vehicle but also helps maintain a clean and hygienic environment inside.
While there are various cleaning methods available, it’s essential to choose the right approach to effectively clean your car floor mats without causing any damage. In this article, we will guide you through a step-by-step process on how to clean car floor mats to ensure they look as good as new.
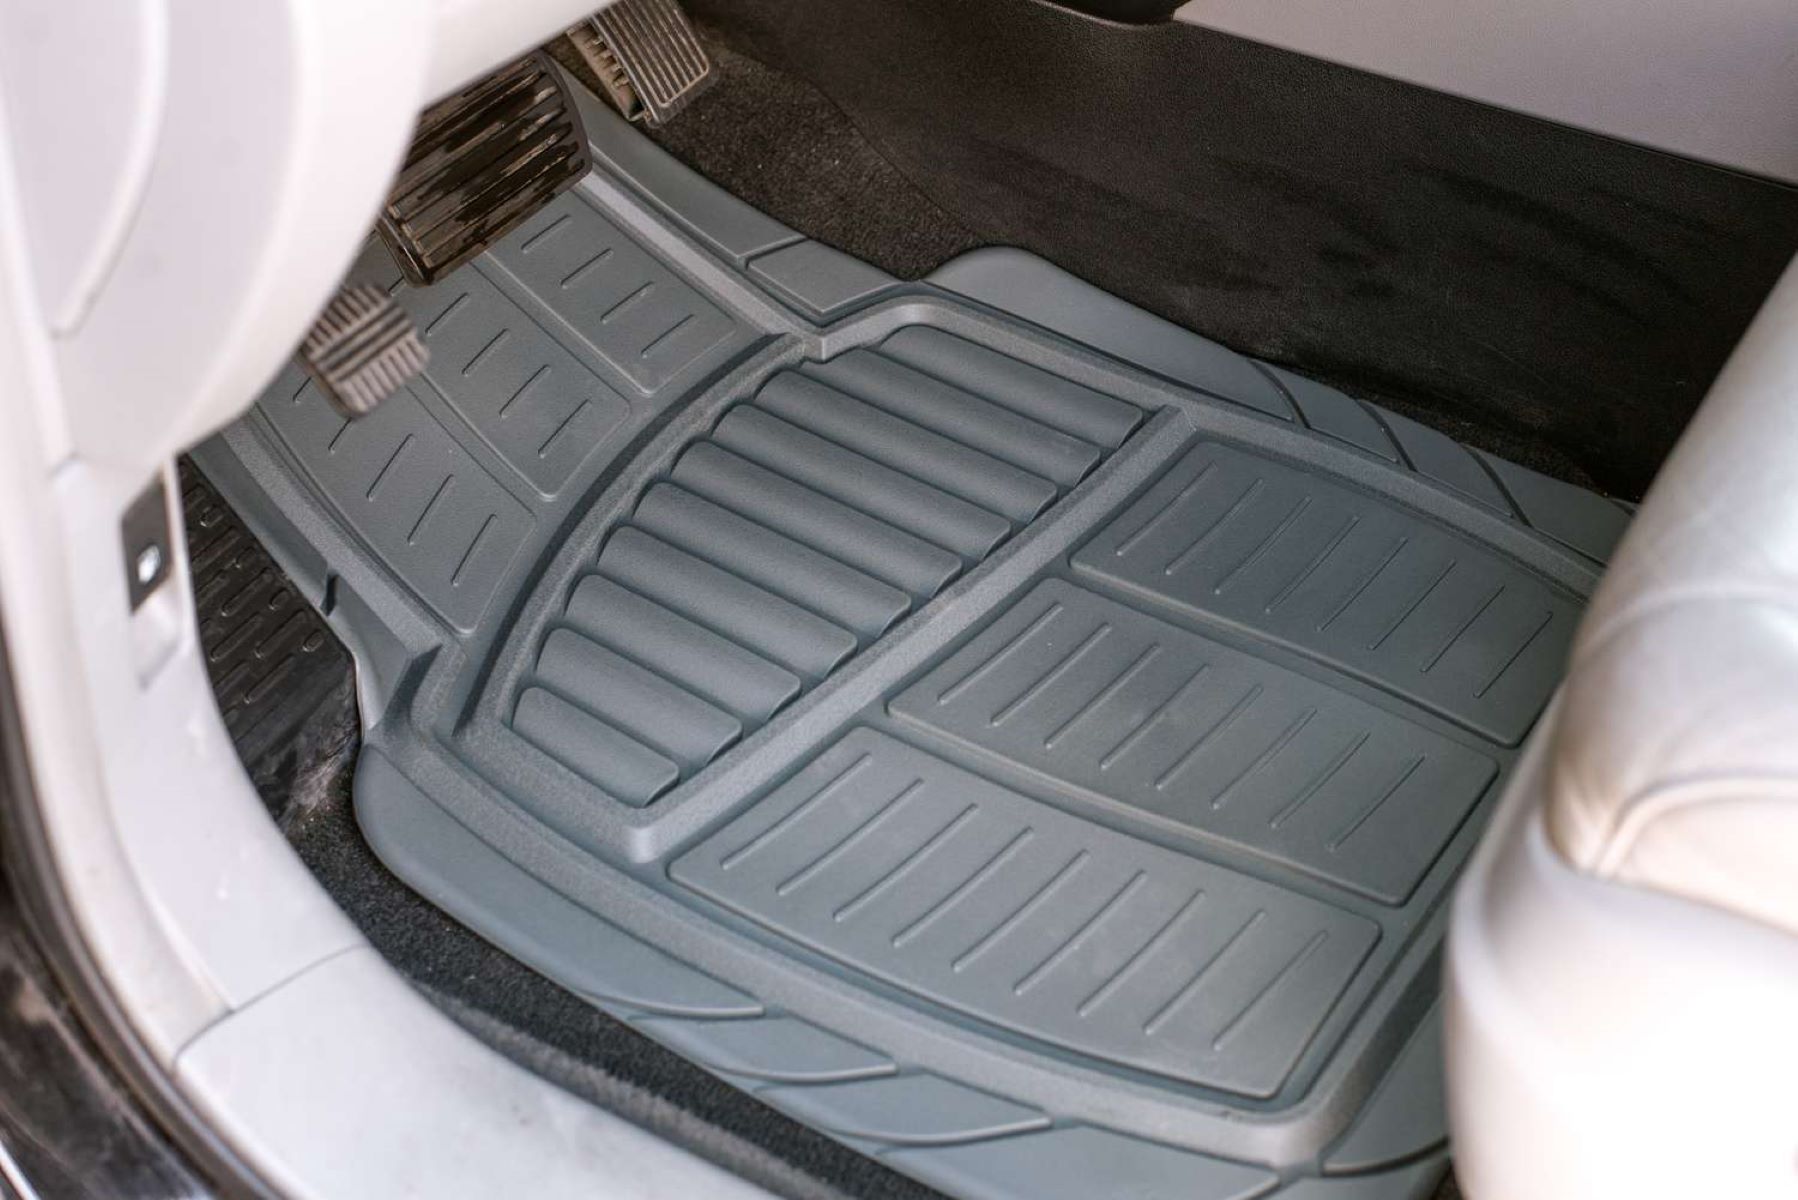
Before we dive into the cleaning process, it’s important to note that the method you choose will depend on the type of floor mats you have. There are typically two types of car floor mats:
- Rubber floor mats: These mats are durable, waterproof, and easy to clean. They are usually found in all-weather or heavy-duty mats.
- Carpet floor mats: These mats are made of fabric or carpet-like material and often have a backing to prevent slippage. They are commonly found in luxury or standard carpet floor mats.
Regardless of the type of floor mats you have, following the steps outlined in this article will help you achieve a thorough and effective clean.
Key Takeaways:
- Keep your car floor mats looking fresh and clean by following a step-by-step cleaning process tailored to the type of mat you have, ensuring a hygienic and appealing interior for your vehicle.
- Regular maintenance and cleaning of your car floor mats not only enhance their appearance but also contribute to a more pleasant and comfortable driving experience, promoting a clean and hygienic environment inside your vehicle.
Read more: How To Clean Carpet Car Mats
Step 1: Remove the Floor Mats
The first step in cleaning your car floor mats is to remove them from your vehicle. This will allow you to have better access to the mats and ensure a thorough clean. Here’s how you can remove the floor mats:
- Start by opening your car doors to provide enough space to maneuver.
- Locate the floor mat retention clips or hooks on each mat. These are usually found underneath the mats.
- Release the retention clips or hooks by either pressing down on them or pulling them up, depending on the design.
- Once the clips or hooks are released, carefully lift the mats out of your vehicle.
- It’s a good idea to take this opportunity to shake off any loose dirt or debris that may have accumulated on the mats.
By removing the floor mats, you can ensure a more thorough cleaning process without any restrictions. It also prevents any dirt or cleaning solutions from dripping onto other parts of your car’s interior.
After removing the mats, it’s a good idea to inspect them for any signs of wear or damage. If you notice any tears, fraying, or significant damage, it may be time to consider replacing the floor mats altogether.
Now that you have successfully removed the floor mats from your car, you’re ready to move on to the next step: shaking off loose dirt and debris.
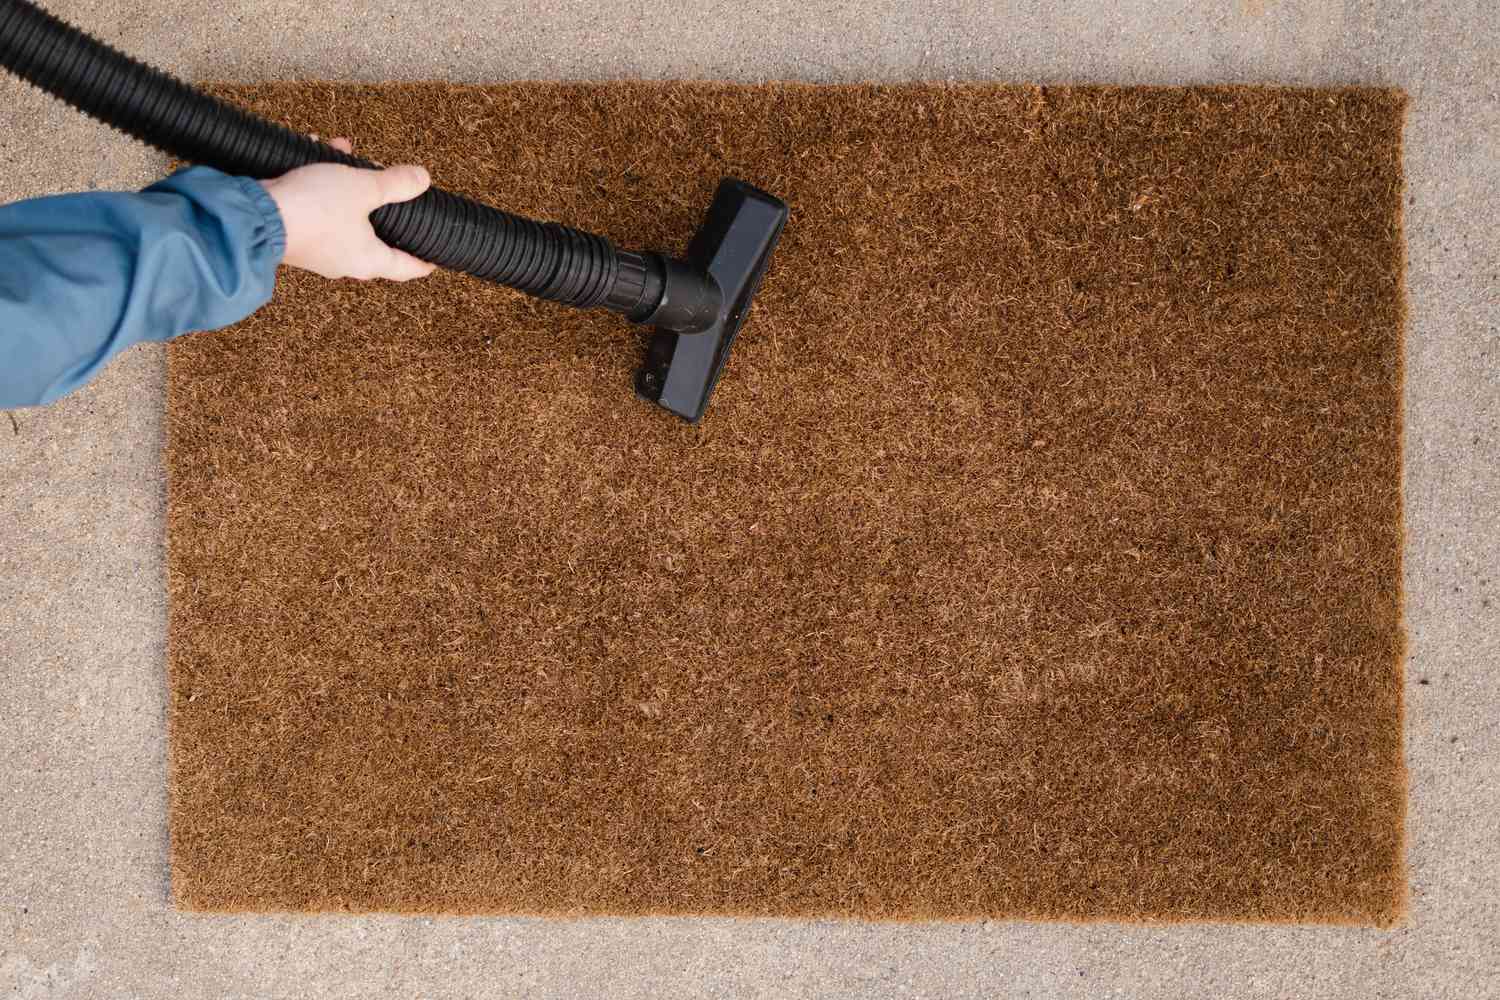
Step 2: Shake off Loose Dirt and Debris
Once you have removed the floor mats from your car, the next step is to shake off any loose dirt and debris. This step is crucial as it helps to eliminate a significant amount of dirt before moving on to cleaning the mats. Here’s how you can shake off loose dirt and debris:
- Take each floor mat and hold it at one end.
- Gently shake the mat in an up-and-down motion, allowing the loose dirt and debris to fall off.
- For stubborn dirt or debris that doesn’t easily come off, you can lightly tap the mat against a solid surface, such as a wall or the ground. Be careful not to damage the mat in the process.
- Continue shaking and tapping each mat until you have removed as much loose dirt and debris as possible.
Shaking off loose dirt and debris is a simple yet effective way to prepare your floor mats for the upcoming cleaning process. It helps to prevent excess dirt from spreading and makes the cleaning process more efficient. Additionally, by removing the loose dirt and debris, you reduce the risk of scratching or damaging the mats during the cleaning process.
Once you have finished shaking off the loose dirt and debris from your floor mats, you’re ready to move on to the next step: vacuuming the mats.
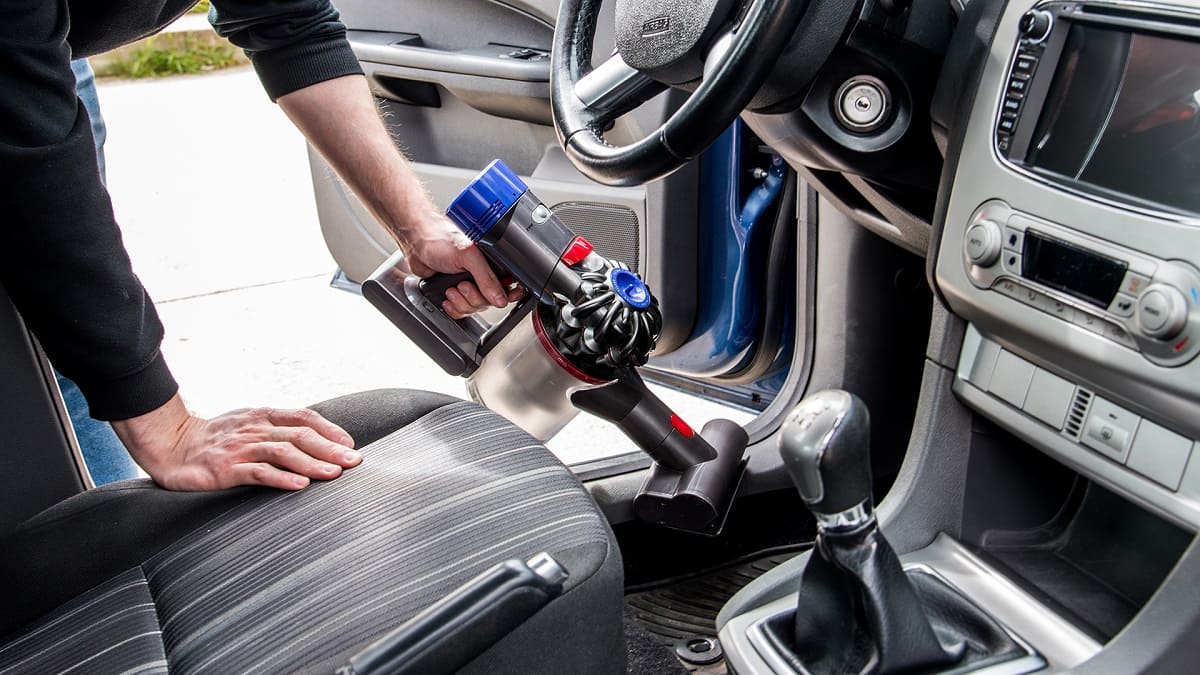
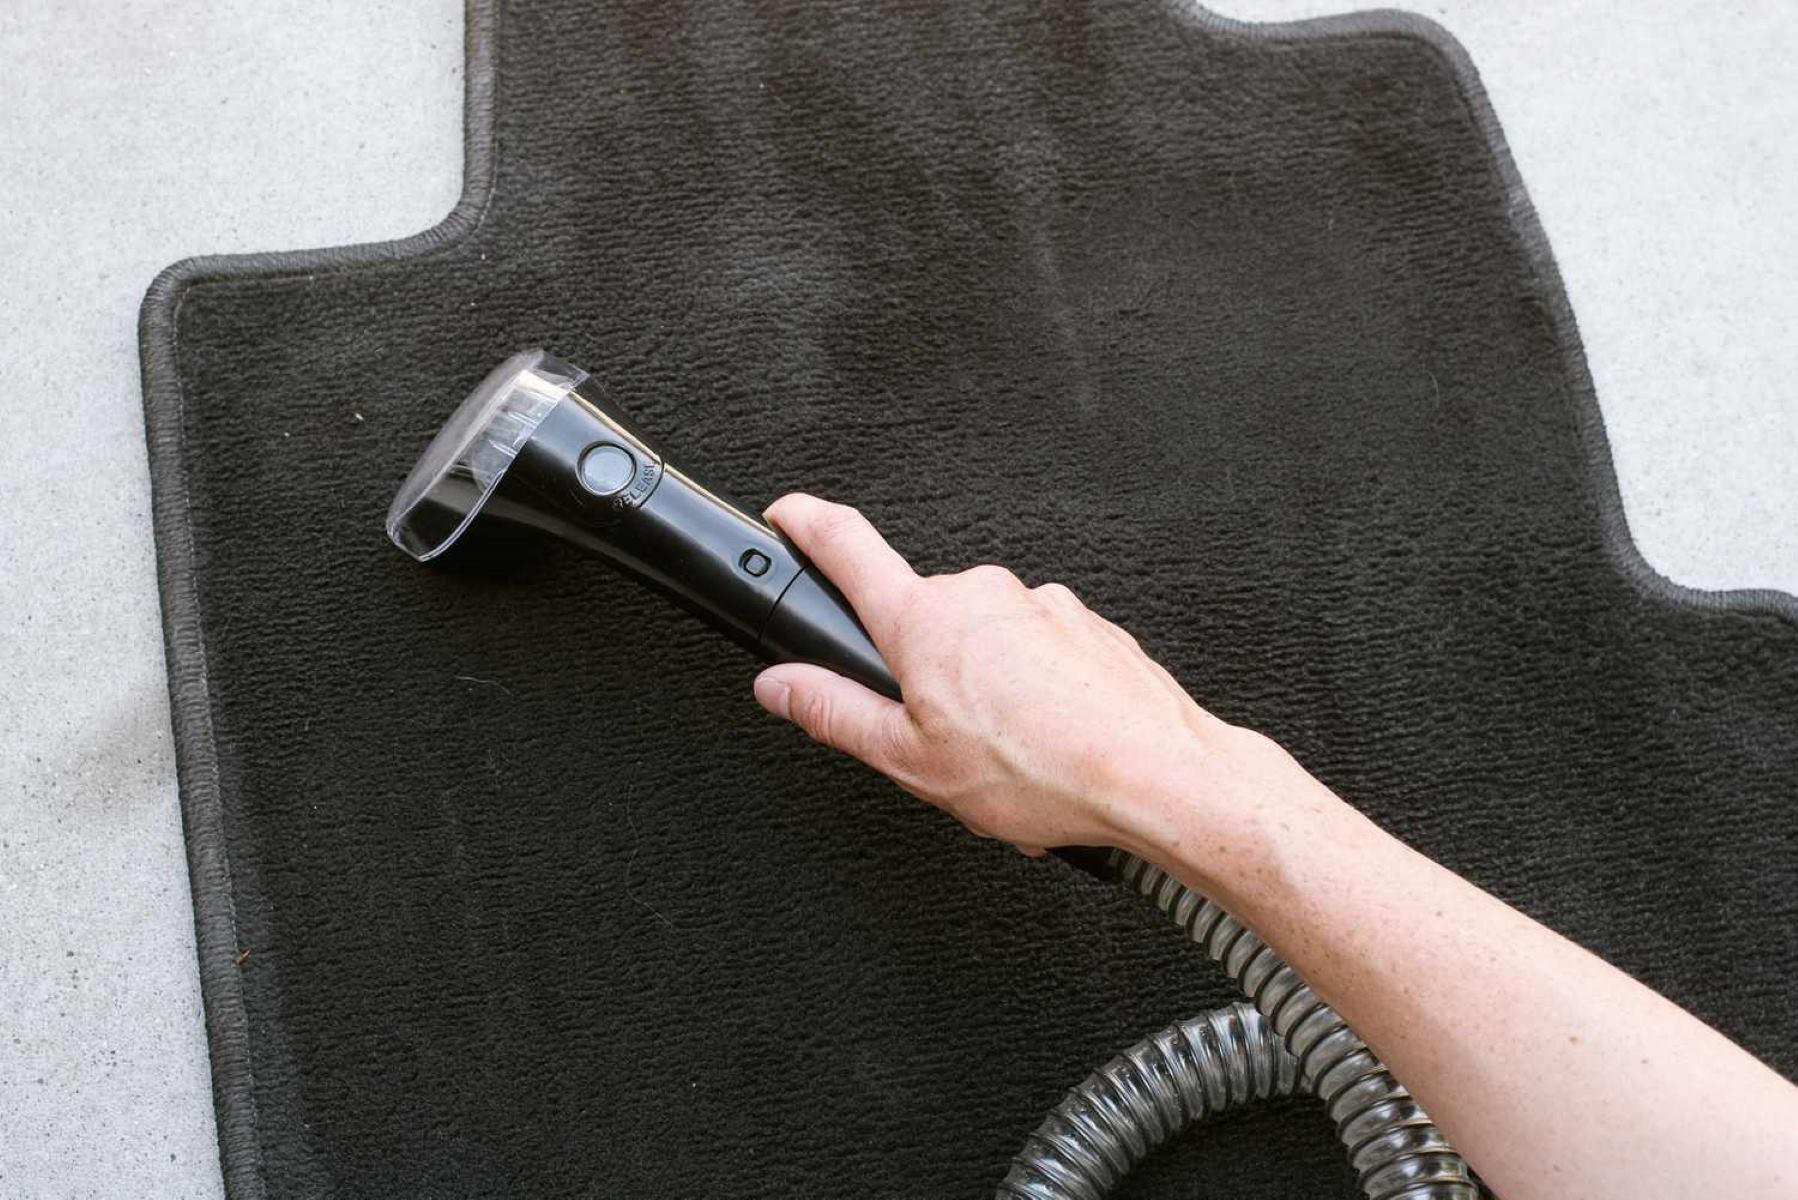
Step 3: Vacuum the Mats
After shaking off loose dirt and debris from your car floor mats, it’s time to thoroughly vacuum them. Vacuuming is an essential step as it helps to remove embedded dirt, dust, and particles that may still be present on the mats. Here’s how you can effectively vacuum your floor mats:
- Start by using a handheld vacuum cleaner or a regular vacuum cleaner equipped with a brush attachment.
- If you are using a handheld vacuum cleaner, make sure it is charged or plugged in and ready to use.
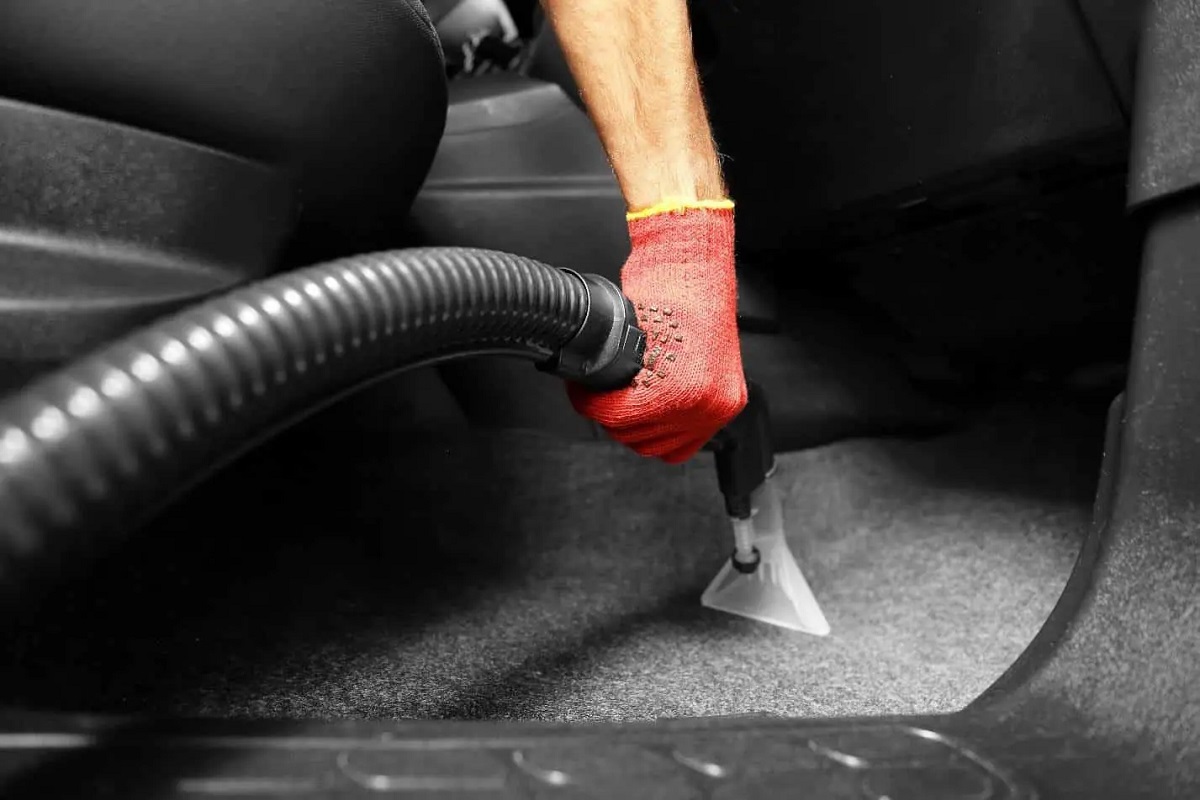
- Place the nozzle or brush attachment of the vacuum cleaner over the surface of the floor mat.
- Apply gentle pressure and move the nozzle or attachment in a back-and-forth motion to effectively pick up dirt and debris.
- Pay extra attention to the corners, edges, and textured areas of the mat, as dirt tends to accumulate in these areas.
- Continue vacuuming the entire surface of each mat, ensuring that you cover every inch.
- For carpet floor mats, consider using a soft-bristle brush attachment to agitate the fibers and loosen any embedded dirt or dust.
Vacuuming the mats helps to remove dirt that may have settled deep within the fibers or grooves. It also helps to eliminate any remaining loose dirt or debris that may have been left behind after shaking off the mats. By thoroughly vacuuming the mats, you prepare them for a deeper cleaning to effectively remove any stains or grime that may be present.
Once you have finished vacuuming the mats, you’re ready to move on to the next step: pre-treating stains (if any).
Step 4: Pre-treat Stains (if any)
If you notice any stains on your car floor mats after vacuuming, it’s important to pre-treat them before proceeding with the cleaning process. Pre-treating stains helps to break down and lift the stain particles, making them easier to remove. Here’s how you can pre-treat stains on your floor mats:
- Identify the type of stain you are dealing with, such as grease, oil, food, or beverage stains.
- Choose an appropriate stain remover based on the type of stain. You can use commercial carpet or upholstery cleaners, or household items like dish soap, baking soda, or white vinegar.
- Apply a small amount of the chosen stain remover directly to the stained area of the floor mat.
- Gently work the stain remover into the stain using a soft brush or sponge. Be careful not to scrub too vigorously, as it may damage the mat’s fibers.
- Allow the stain remover to sit on the stain for a few minutes, as recommended by the manufacturer or based on the severity of the stain.
- Blot the stained area with a clean cloth or paper towel to absorb the loosened stain particles.
- Repeat the process if necessary, depending on the stubbornness of the stain.
Pre-treating stains is an essential step in the cleaning process as it helps to break down the stain and prepare it for removal. By pre-treating the stains, you increase the chances of completely eliminating them during the subsequent cleaning steps.
After pre-treating any stains on your floor mats, you’re ready to move on to the next step: scrubbing the mats.
Use a vacuum to remove loose dirt and debris from the floor mats. Then, scrub the mats with a mixture of mild detergent and water. Rinse thoroughly and allow to air dry before placing back in the car.
Read more: Where To Buy Car Floor Mats
Step 5: Scrub the Mats
Now that you have pre-treated any stains on your car floor mats, it’s time to give them a thorough scrub. Scrubbing helps to further loosen dirt, grime, and stains, making it easier to clean and restore the mats to their original condition. Here’s how you can effectively scrub your floor mats:
- Fill a bucket with warm water and add a small amount of mild dish soap or a designated automotive carpet cleaner.
- Dip a soft-bristle brush or sponge into the soapy water solution.
- Gently scrub the entire surface of each floor mat using circular motions. Pay close attention to stained or heavily soiled areas.
- For rubber mats, you can use a stiffer brush or even a scrubbing pad to effectively clean the textured surface.
- Ensure that you scrub all sides of the mats, including the edges and corners.
- If necessary, reapply the soapy water solution and continue scrubbing until you are satisfied with the cleanliness of the mats.
During the scrubbing process, the soapy water solution helps to lift dirt, grime, and stains from the mats. The circular motions agitate the fibers or textured surface, ensuring thorough cleaning. By scrubbing the mats, you can rejuvenate their appearance and remove any remaining traces of dirt or stains.
Once you have finished scrubbing the mats, you’re ready to move on to the next step: rinsing and air drying.
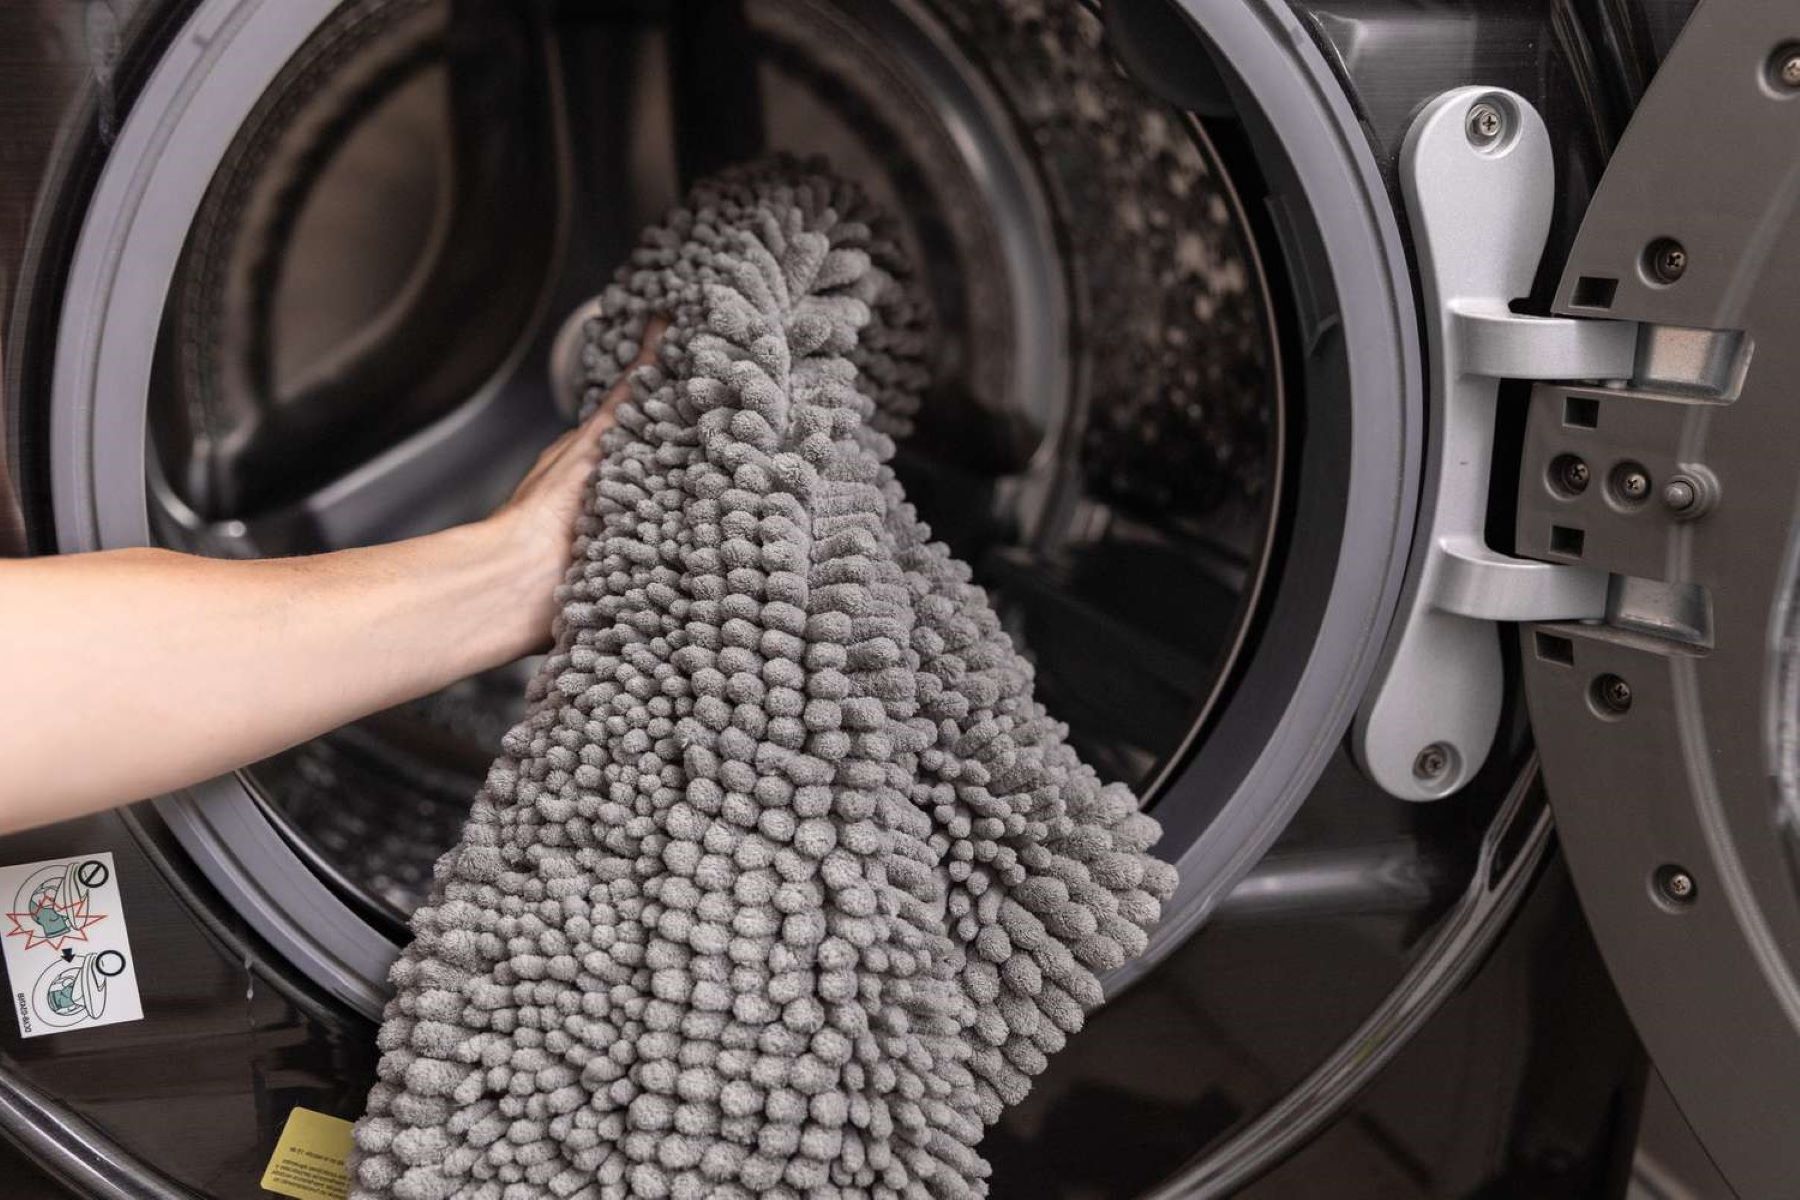
Step 6: Rinse and Air dry
After scrubbing the car floor mats, it’s important to rinse off any remaining residue and cleaning solution. This step ensures that the mats are thoroughly cleaned and ready for use. Here’s how you can effectively rinse and air dry your floor mats:
- Take each floor mat and rinse it under running water to remove the soapy water solution.
- Use your hands or a soft brush to gently squeeze and agitate the mat, ensuring that all soap residue is washed away.
- Alternatively, you can fill a clean bucket with water and submerge each mat, swishing it around to remove any remaining cleaning solution.
- Once the mats are rinsed, gently shake off any excess water from the surface.
- Place the mats in a well-ventilated area, away from direct sunlight, to air dry completely. Avoid placing them on top of each other to allow for proper airflow and faster drying.
- Depending on the weather conditions and the thickness of the mats, drying may take several hours to a full day.
Rinsing the mats removes any leftover cleaning solution, dirt, or residue, leaving them fresh and clean. Air drying is essential as it allows any remaining moisture to evaporate, preventing mold or mildew growth. Ensure that the mats are completely dry before re-installing them in your car.
Once the floor mats are thoroughly rinsed and air dried, you’re ready to move on to the final step: re-installing the mats.
Step 7: Reinstall the Floor Mats
Now that your car floor mats are clean, dry, and looking their best, it’s time to re-install them in your vehicle. Proper installation ensures that the mats stay in place and continue to provide effective protection. Follow these steps to re-install the floor mats:
- Take each floor mat and align it with the corresponding floor space in your car.
- Check for any retention clips or hooks on the mats and ensure they are properly aligned with the anchor points on the vehicle’s floor.
- Press down or push the retention clips/hooks firmly to secure the mats in place.
- Double-check that the mats are properly fitted and do not interfere with any pedals or driver controls.
- Adjust the mats if necessary to ensure a snug fit and proper functionality.
By re-installing the floor mats correctly, you ensure that they stay in place during daily use, preventing them from sliding or shifting around. This promotes a safer and more comfortable driving experience.
With the floor mats securely re-installed, you have completed the entire process of cleaning your car floor mats. Enjoy the fresh and clean environment they provide, and remember to regularly maintain and clean your mats to keep them in top condition.
Congratulations on successfully cleaning and re-installing your car floor mats!
Conclusion
Cleaning your car floor mats is an essential part of car maintenance that not only enhances the overall appearance of your vehicle but also promotes a clean and hygienic environment. By following the step-by-step process outlined in this article, you can effectively clean your floor mats and restore them to their original condition.
Starting with the removal of the mats, shaking off loose dirt and debris, and thoroughly vacuuming them sets the foundation for a successful cleaning process. Pre-treating stains and scrubbing the mats help to eliminate stubborn dirt, grime, and stains, leaving your mats looking fresh and renewed.
Rinsing off any remaining cleaning solution and allowing the mats to air dry completely ensures that they are ready for re-installation. Properly re-installing the mats guarantees they stay in place, providing optimal protection and comfort while driving.
Remember to regularly clean your car floor mats to prevent the buildup of dirt, stains, and odors. A clean and well-maintained set of floor mats not only prolongs their lifespan but also contributes to a more pleasant driving experience.
Next time your car floor mats start to show signs of dirt and wear, don’t hesitate to follow this comprehensive guide to restore their cleanliness and freshness. Your vehicle will thank you, and you can enjoy a cleaner and more comfortable ride.
Now, go ahead and give your car floor mats the cleaning they deserve!
Frequently Asked Questions about How To Clean Floor Mats In Car
Was this page helpful?
At Storables.com, we guarantee accurate and reliable information. Our content, validated by Expert Board Contributors, is crafted following stringent Editorial Policies. We're committed to providing you with well-researched, expert-backed insights for all your informational needs.


0 thoughts on “How To Clean Floor Mats In Car”